

Now that my tomato seedlings are underway, I’m turning my attention to planting flowers once again.
I have two large boxes of flower seeds that I’ve saved over my years of gardening from various places. I bought some of the seeds online. Others, I traded with friends or via seed libraries. And there are some odd mystery seed bags on which the only label is “this poked through the fence from neighbor’s garden; looks like lupine, but probably isn’t.”
In case you’re wondering, April is not too late to plant flower seeds. In fact, I would say for me April is about the perfect timing from a resource point of view.
With longer days comes warmer weather, which means I don’t have to run my heat at night or use a heating mat to keep seeds at the right temperature that encourages germination. On a mild day, I even take the seedlings out on my patio to get some direct sunshine warmth.
If you’re a garden procrastinator too, if you’ve simply prioritized other tasks this spring, let’s plant some flowers together.
1. Cosmos
You’d be excused to think that cosmos is a perennial, just judging by how fast it grows throughout the summer. Though to be fair to it, it just shoots up from seed too.
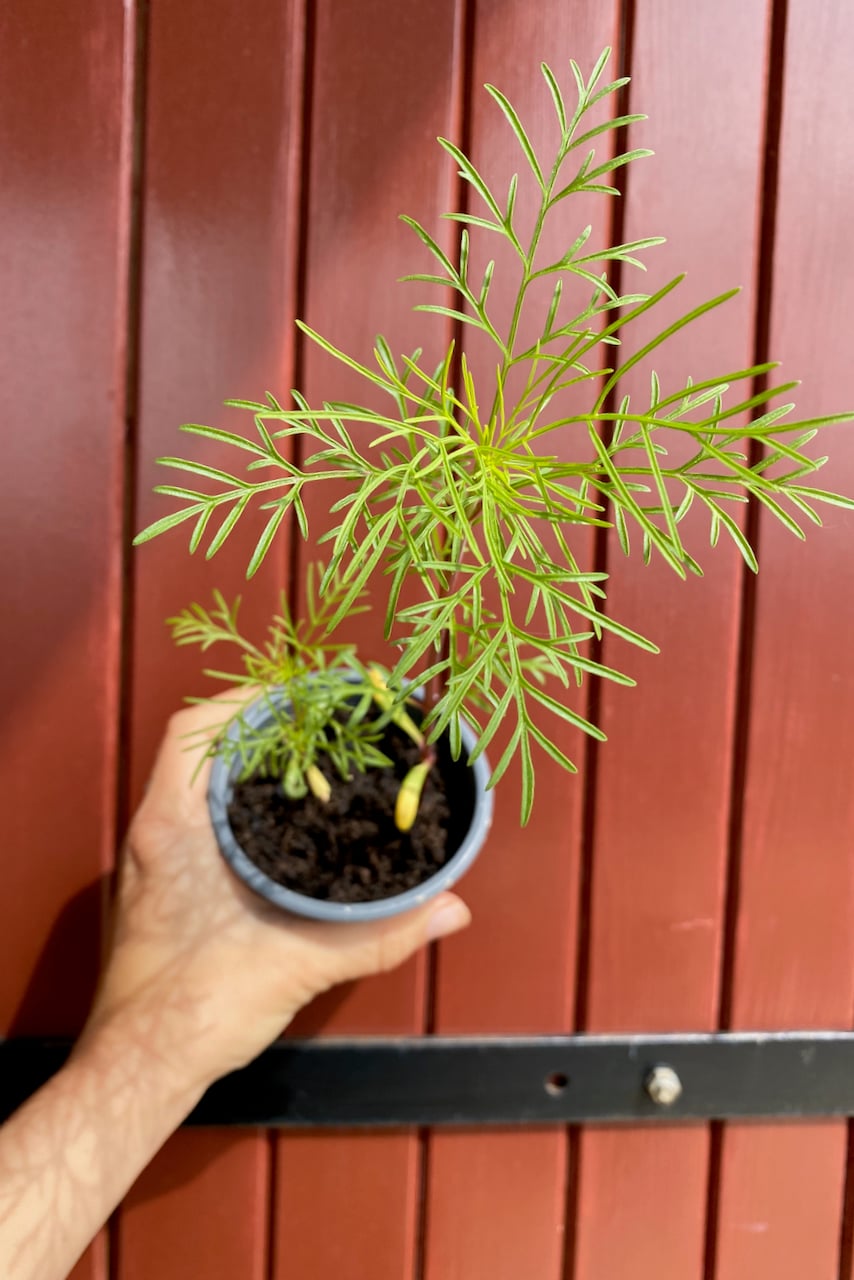
Here’s my cosmos, about five weeks after I first started it from seed. (I may have done the unconscionable and planted more seeds in the same pot a week or two later. They’re the smaller plants that you see. What can I say, I was tight for space with all the tomato seedlings taking over my life.)
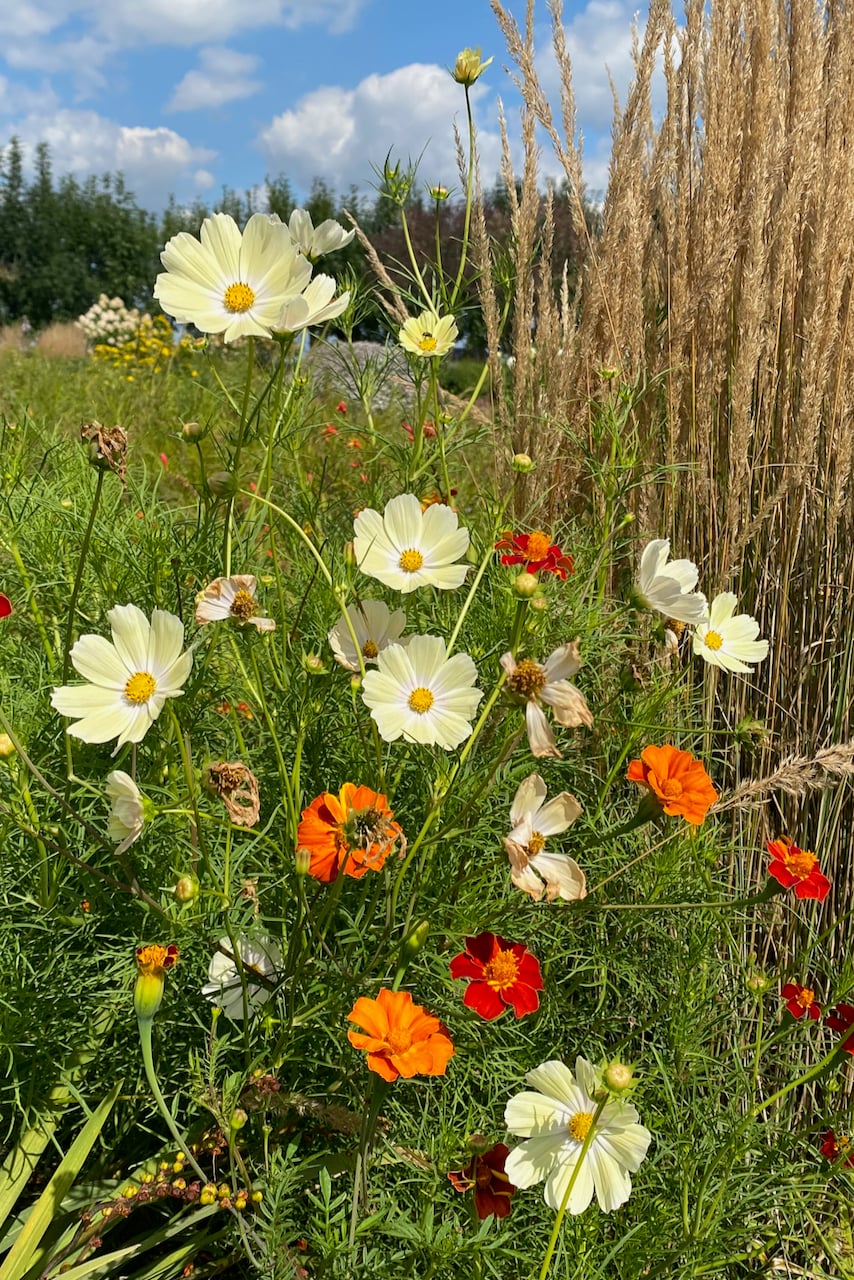
Cosmos is a short-day seeder, meaning they need the temperature to be warm enough to trigger germination, but they don’t necessarily need a lot of light. This makes it the perfect candidate for starting from seed in April, since it doesn’t need any extra heat other than that coming from a sunny window.
I like to plant my cosmos babies where I need a bit of a color filler while other perennials and shrubs are taking more time to fill up.
2. Zinnia
Really, this is just an excuse to show you the baby zinnias that I planted when I was writing this ode to this amazing annual.
Zinnias are very quick to start from seed – mine took about ten days for the new babies to be noticeable in the pots. We can start them about eight weeks before the predicted date of the last frost.
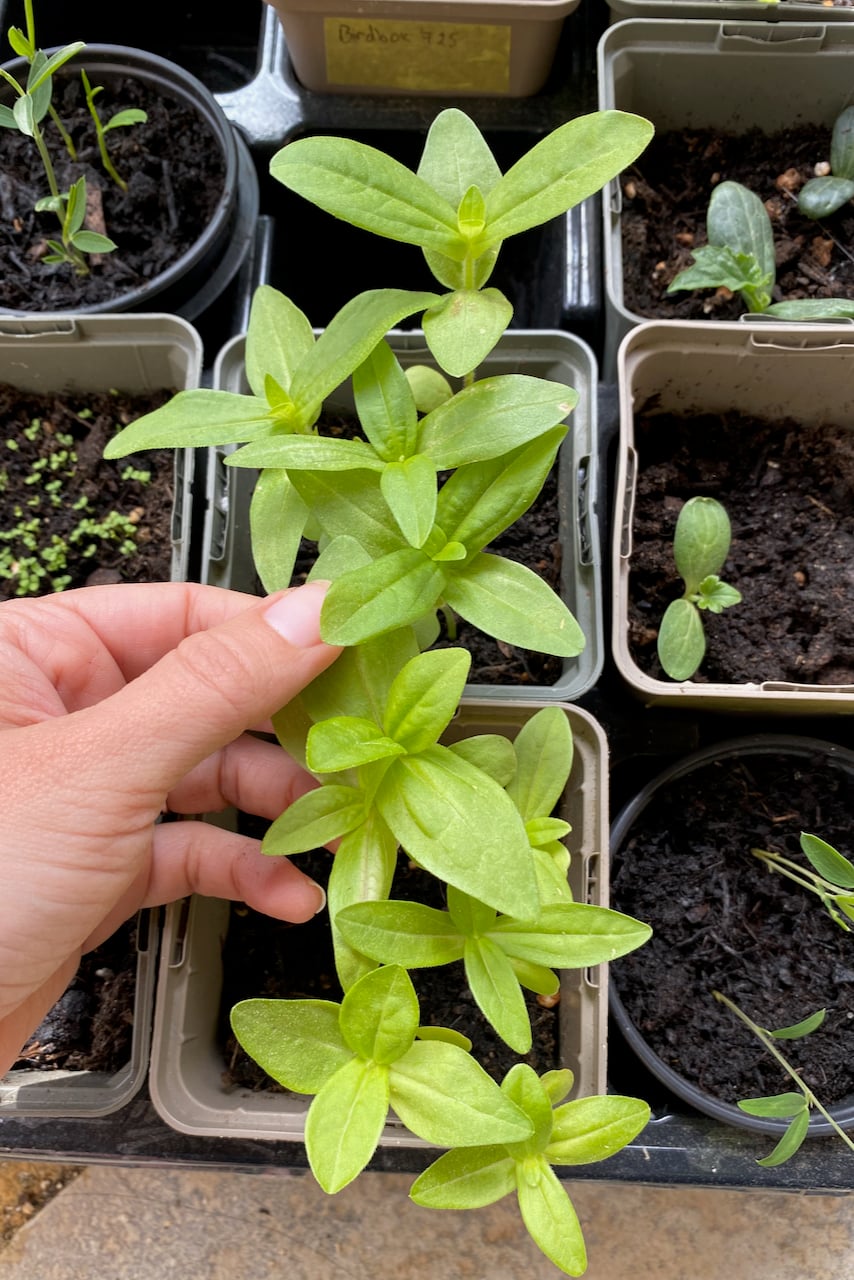
But really, we can start them at any point in spring. I could, theoretically, wait a few more weeks and sow my zinnia seeds straight in the ground. The problem with that plan is that slugs love baby zinnia plants, almost as much as I do. The young seedlings are smooth and crunchy.
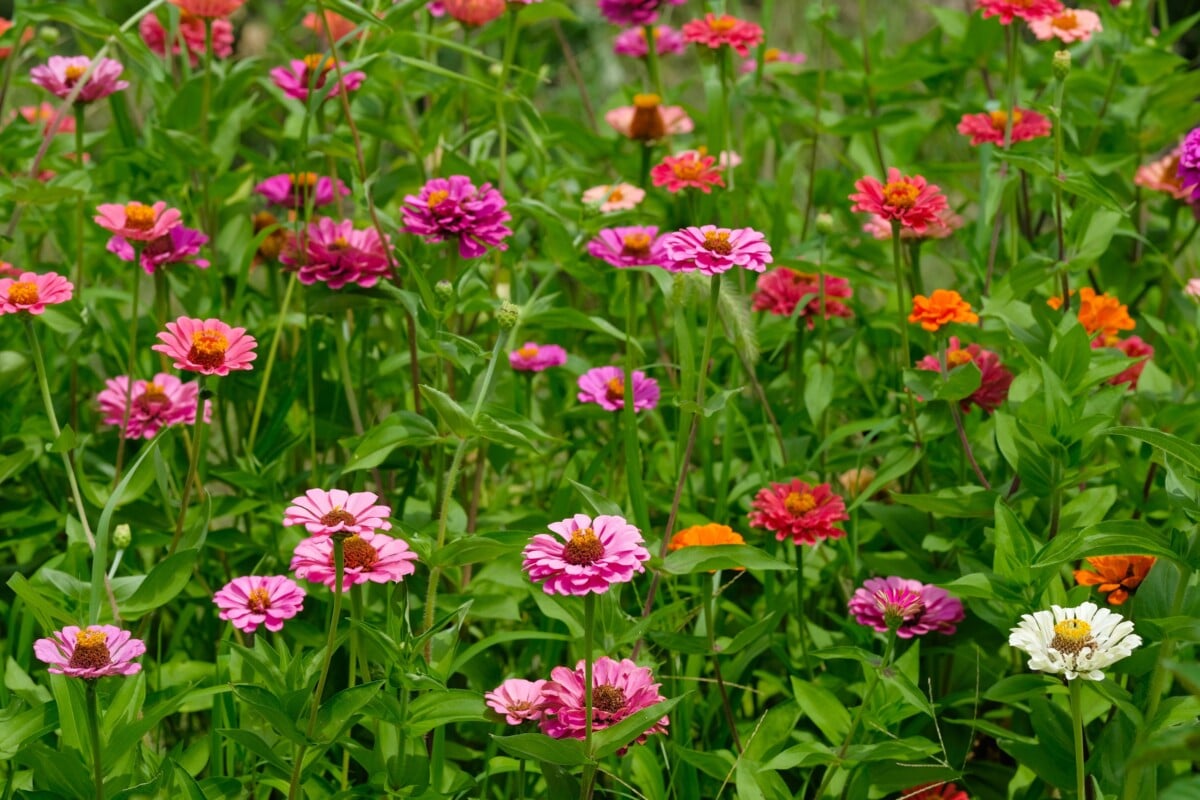
But once the plants start maturing, their texture changes to a more rough and hairy surface. So the chances of my zinnias surviving the slug onslaught are significantly higher if I transfer the plants to the garden when they’re bigger.
Common zinnia cultivars take about ninety days to go from seed to bloom. And once they start blooming, they’ll keep going until the first frost of the year.
Bonus tip: Do yourself a favor and buy a mixed pack of seeds. You’ll get zinnias of all colors and sizes.
3. Nasturtium (Tropaeolum majus)
Continuing the theme of instant gratification annuals we can sow in April, allow me to introduce the perfect spring start: nasturtium.
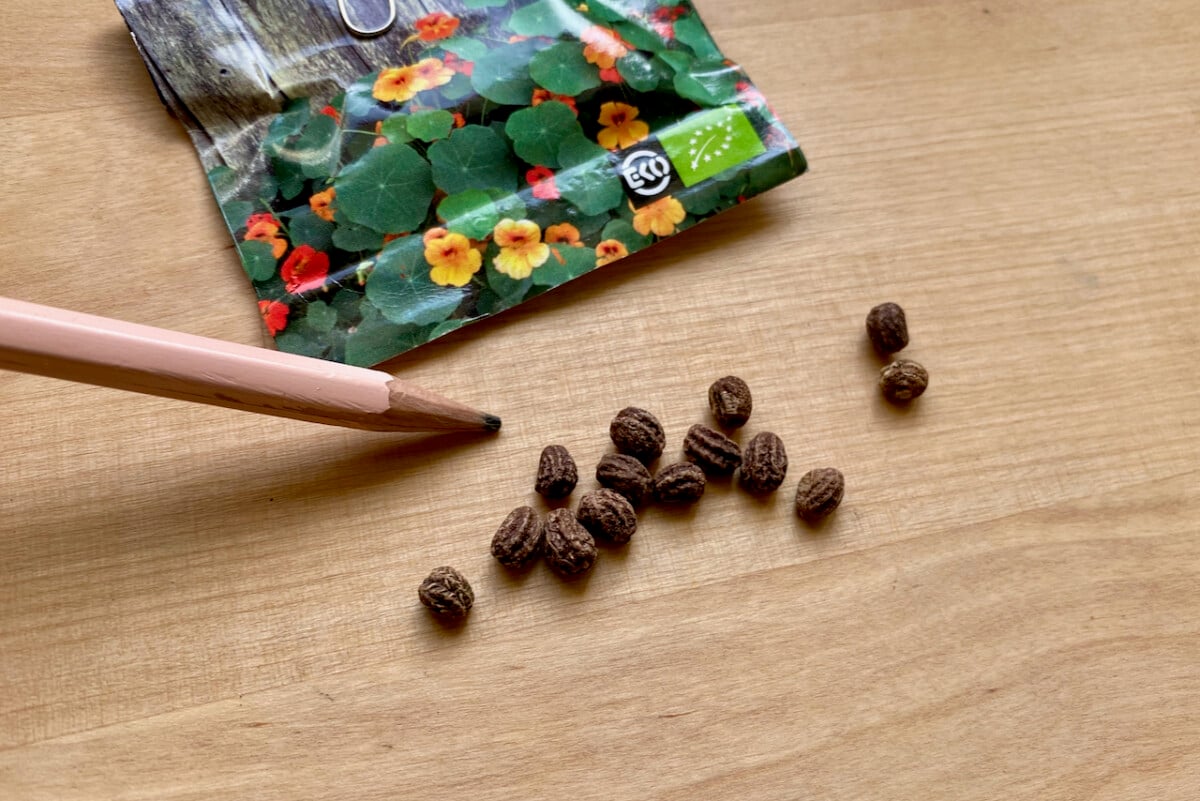
We can train it up a wall, let it cascade from a window box or allow it to spread as a ground cover. The flowers are cute (and tasty) and the leaves are cute (and tasty). And once the flowers are gone, the capers left behind are cute (and yes, tasty).
You’ll notice that nasturtium seeds (the capers I mentioned above) are chunkier than those of other annuals. Which means that, in order to improve the germination rate, we might need to scarify them before we put them in the ground.
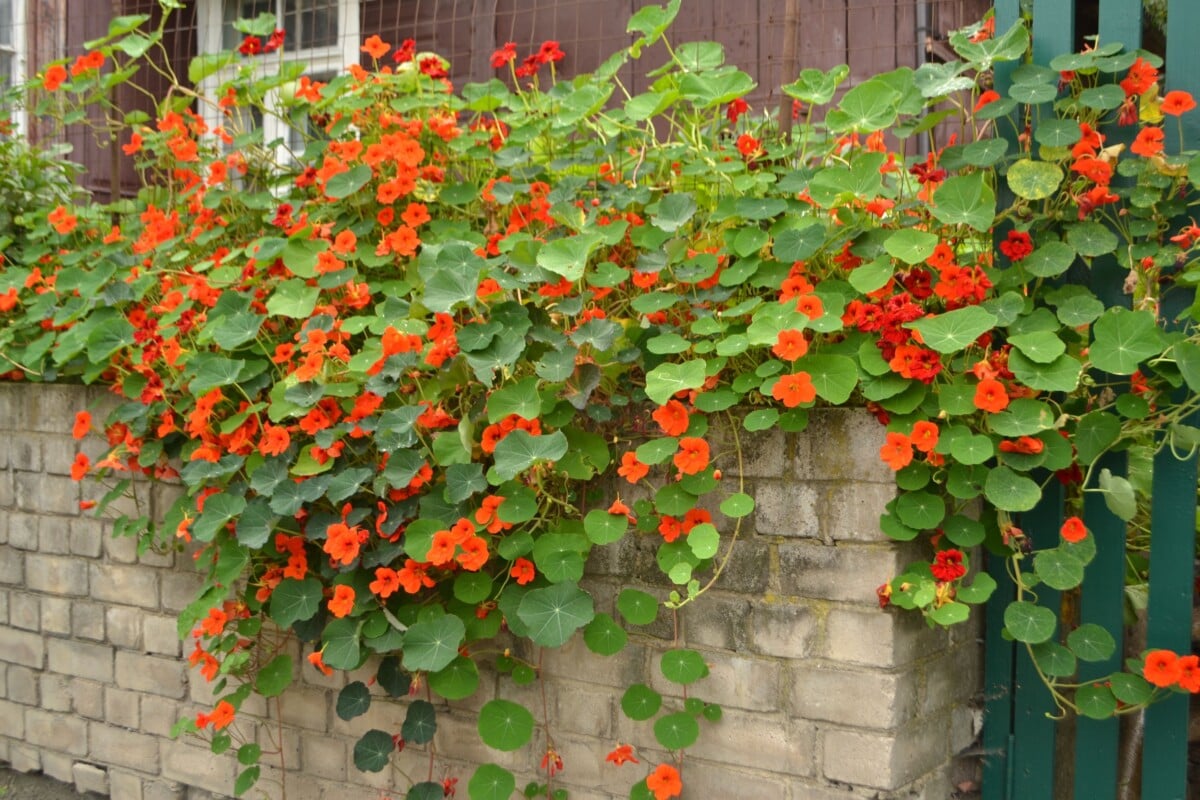
Simply nick their outer layer with a nail file to mimic a natural process that would start germination if we were to allow it to self-seed in the garden in the fall.
Nasturtiums germinate best in warmer temperatures 70-75F (21-23C) should be enough. It takes a couple of weeks for new shoots to be visible.
4. Black-eyed Susan (Rudbeckia)
Black-eyed Susan is one of the plants I overwinter in place in the garden – meaning it always makes the list of perennials I don’t prune in the fall. I love the way the seed heads look covered in frost and snow; and the birds seem to love to snack on the seeds.
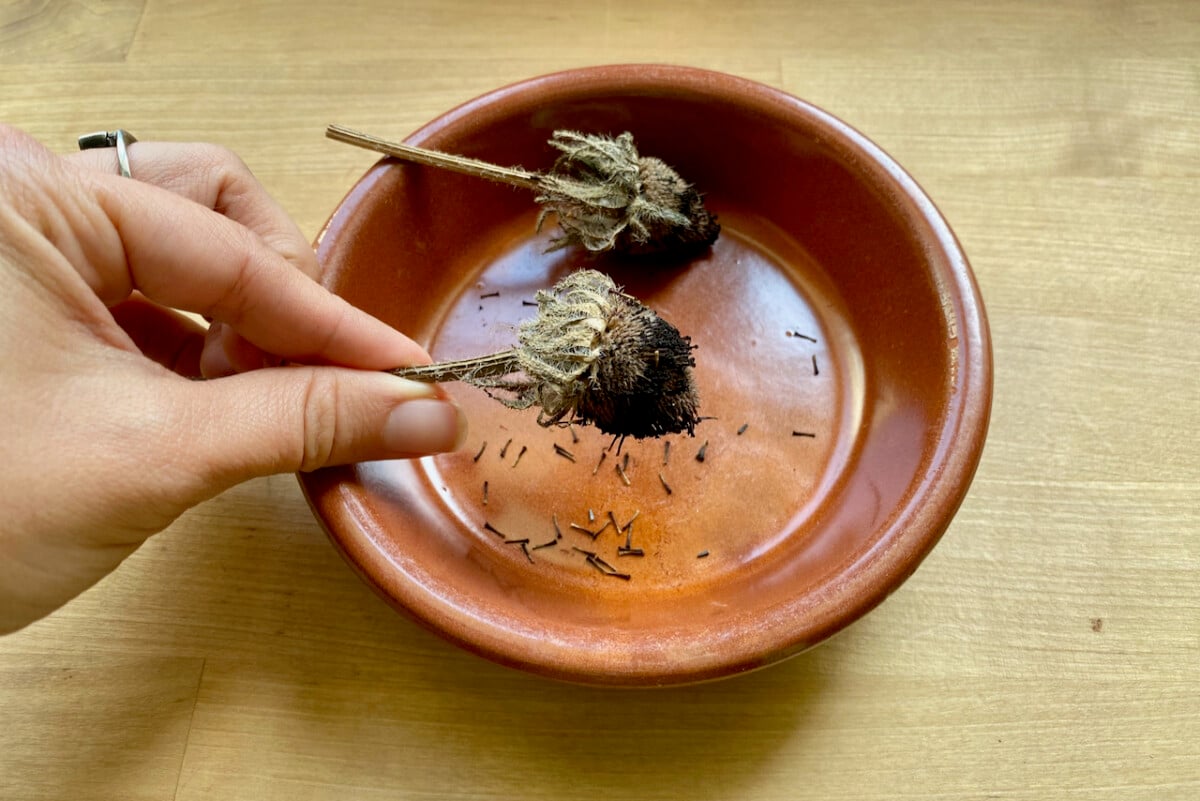
That also means that I get a lot of volunteer baby plants that have seeded themselves over the winter.
So why do I need to start it from seed? Oh, you sweet summer child! There are so many groups and cultivars of black-eyed Susan, there’s always another one to look for. I got the seeds I’m starting now from a community seed exchange. The photo showed a red ring around the black eye of the Rudbeckia. I’m very excited to see what sprouts.
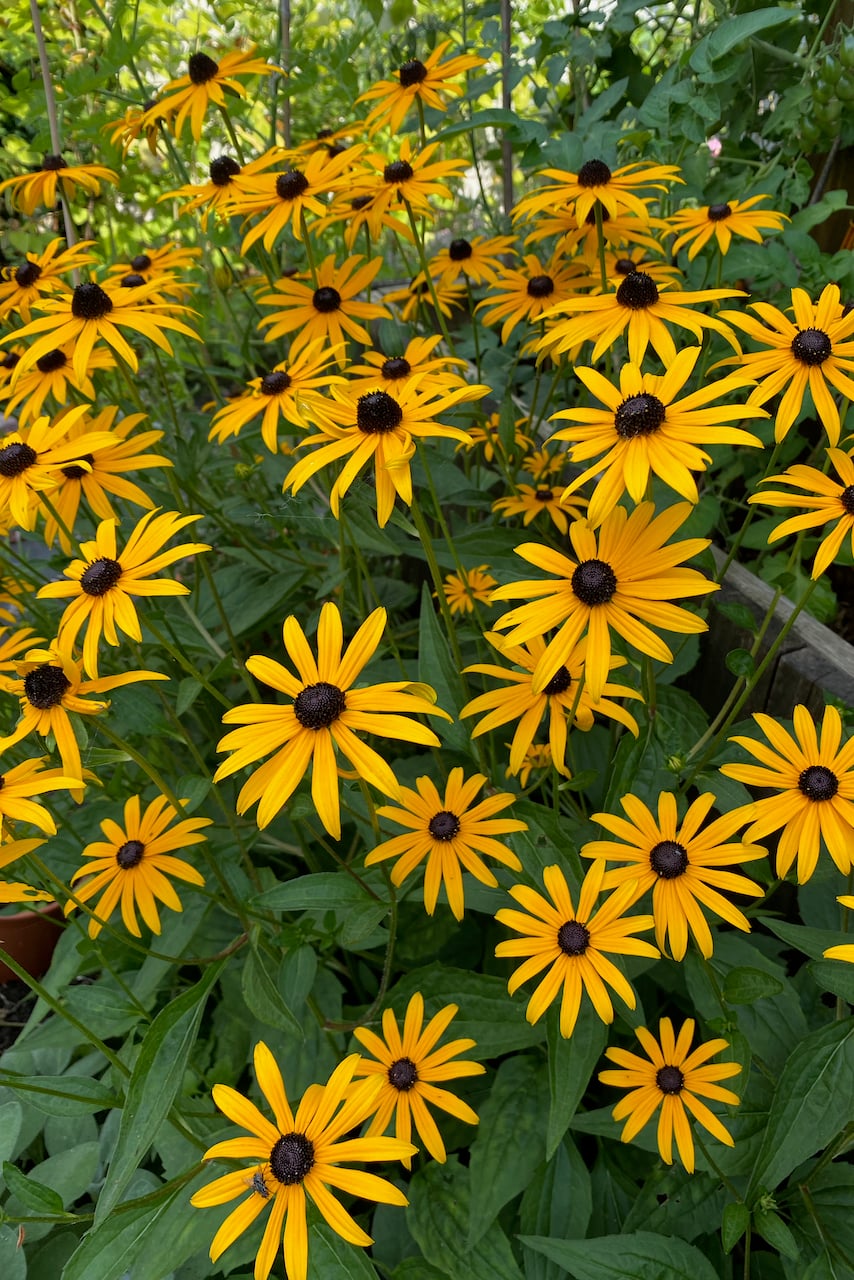
Rudbeckia seeds are small and finicky, so I just scatter them on top of wet potting mix, then mist them in place and sprinkle a bit more dirt on top. The trick is to not bury the seeds, just lightly cover them. Black-eyed Susans germinate best in a consistently warm temperature of around 70-75F (21-24C), which generally means a warm windowsill or a heated germination mat.
5. Coneflower (Echinacea)
Echinacea is one of those seeds which germinates better if we put it in the fridge for a couple of weeks before sowing it.
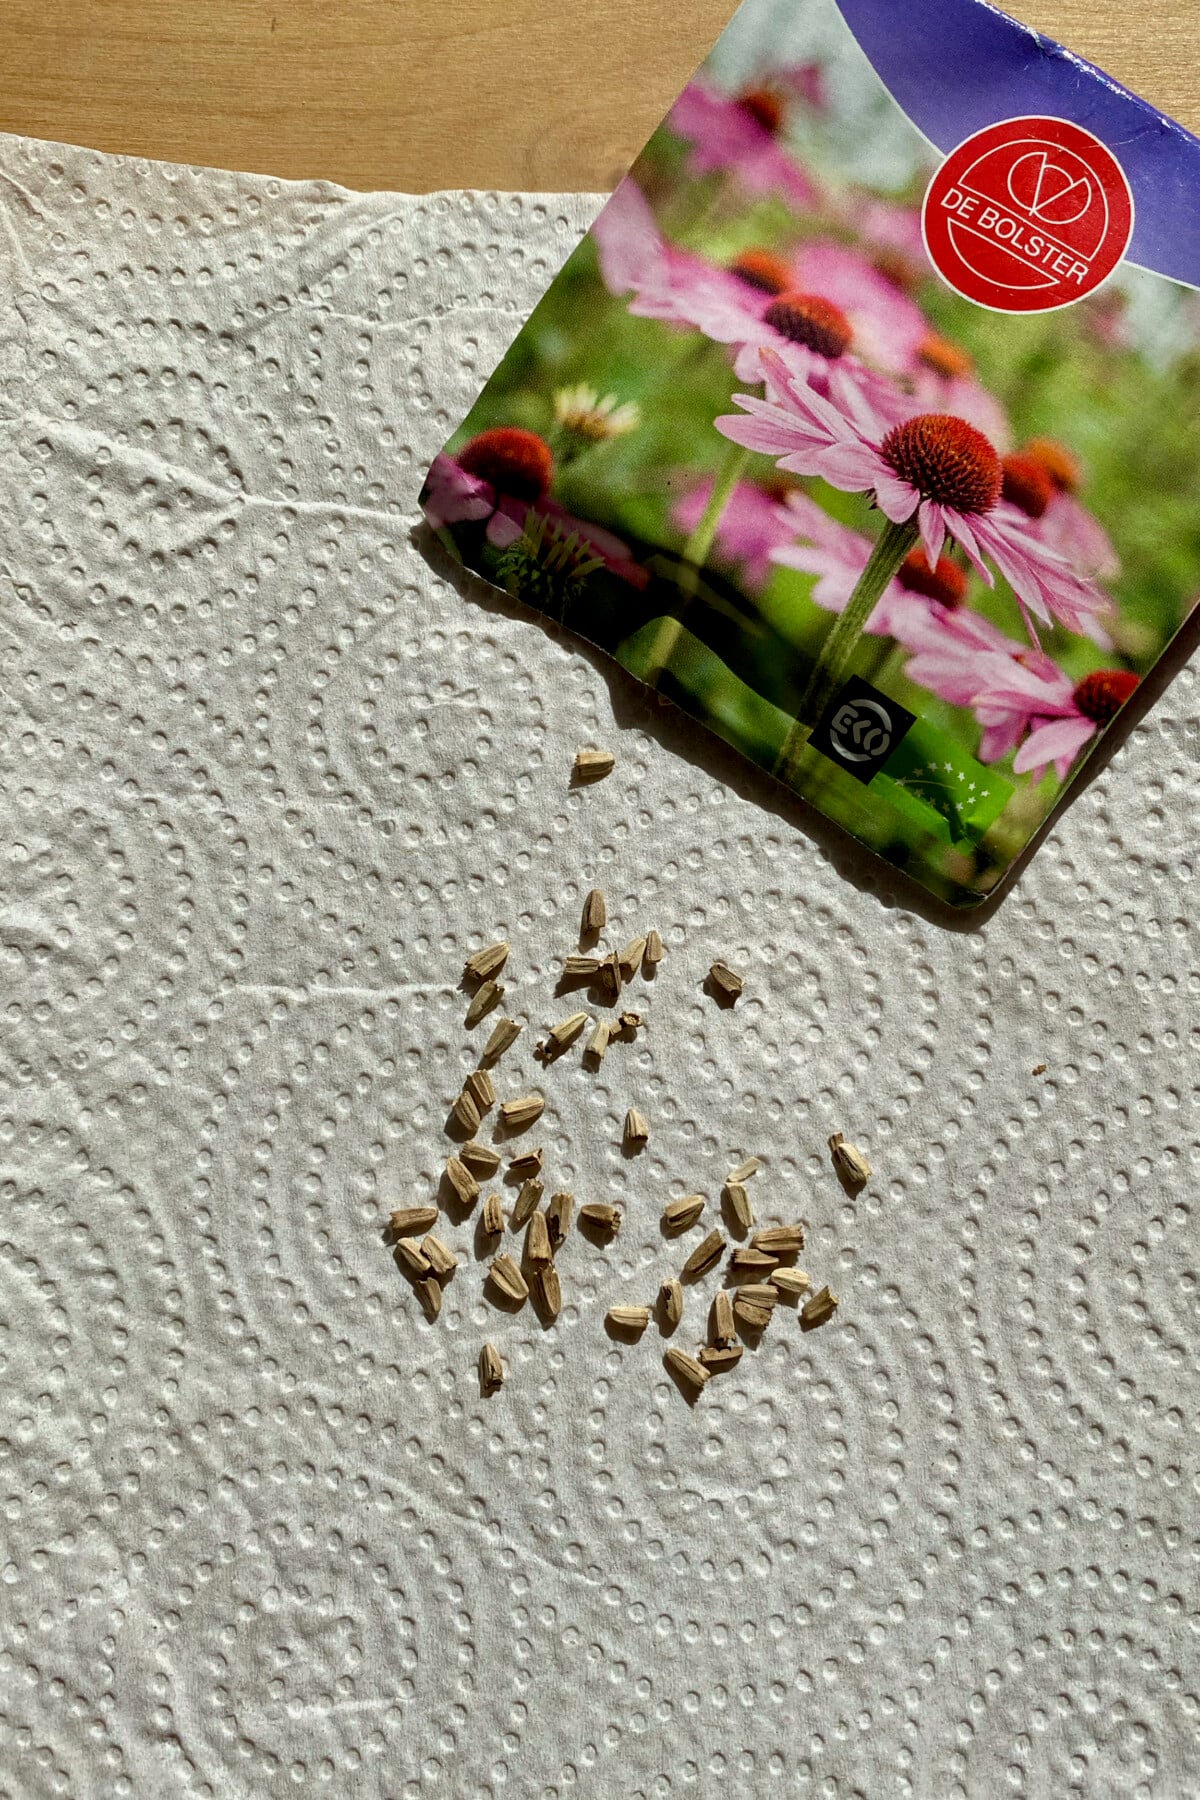
This process is called cold stratification (you can read more about it here) and it mimics the way seeds that fall on the ground at the end of their growth cycle, overwinter close to the soil surface, then sprout once the weather warms up in spring.
However, we can still sow echinacea seeds even if we don’t have the time to cold stratify them. The germination rate might be lower, that’s all, so sow a few extras just to make sure.
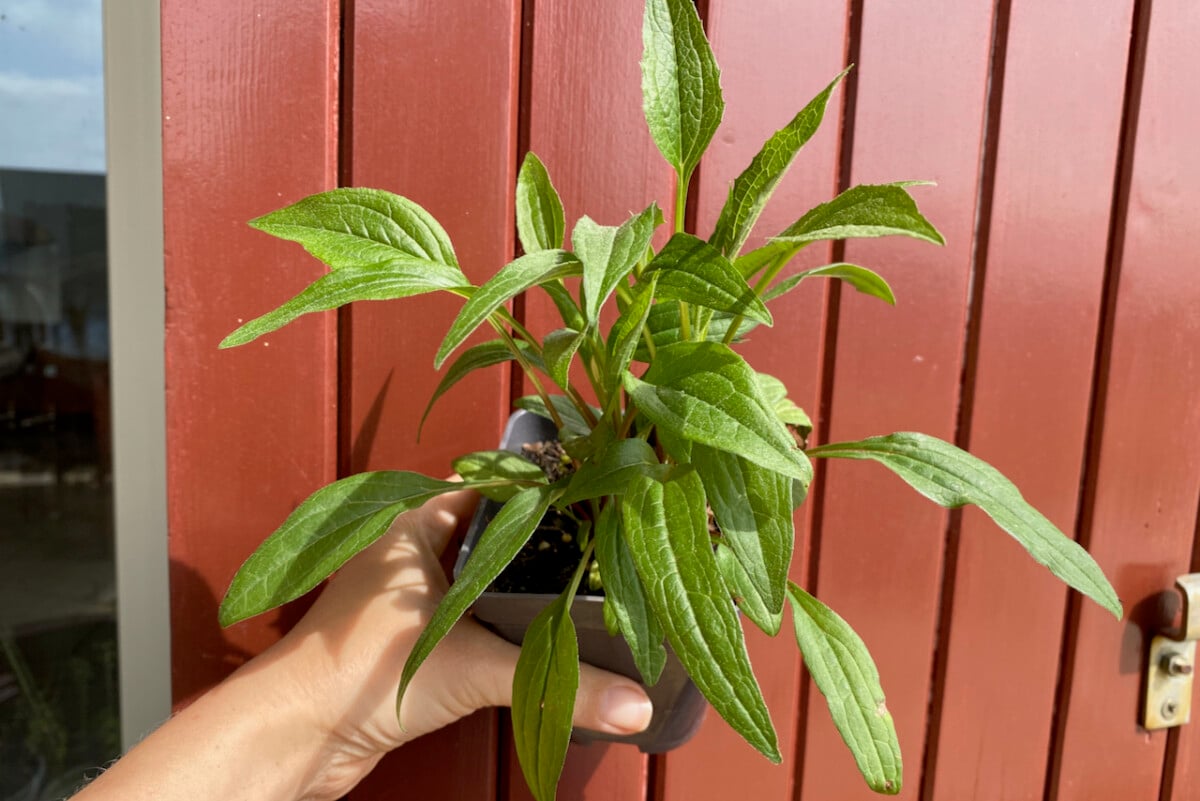
Coneflower seeds may seem a bit tricky to get right. Which way is up? The best way to sow them is to just plant them flat on the surface of the soil. All they need is moist soil and a temperature of around 65-70F (18-21C) to start growing.
6. Hollyhocks (Alcea)
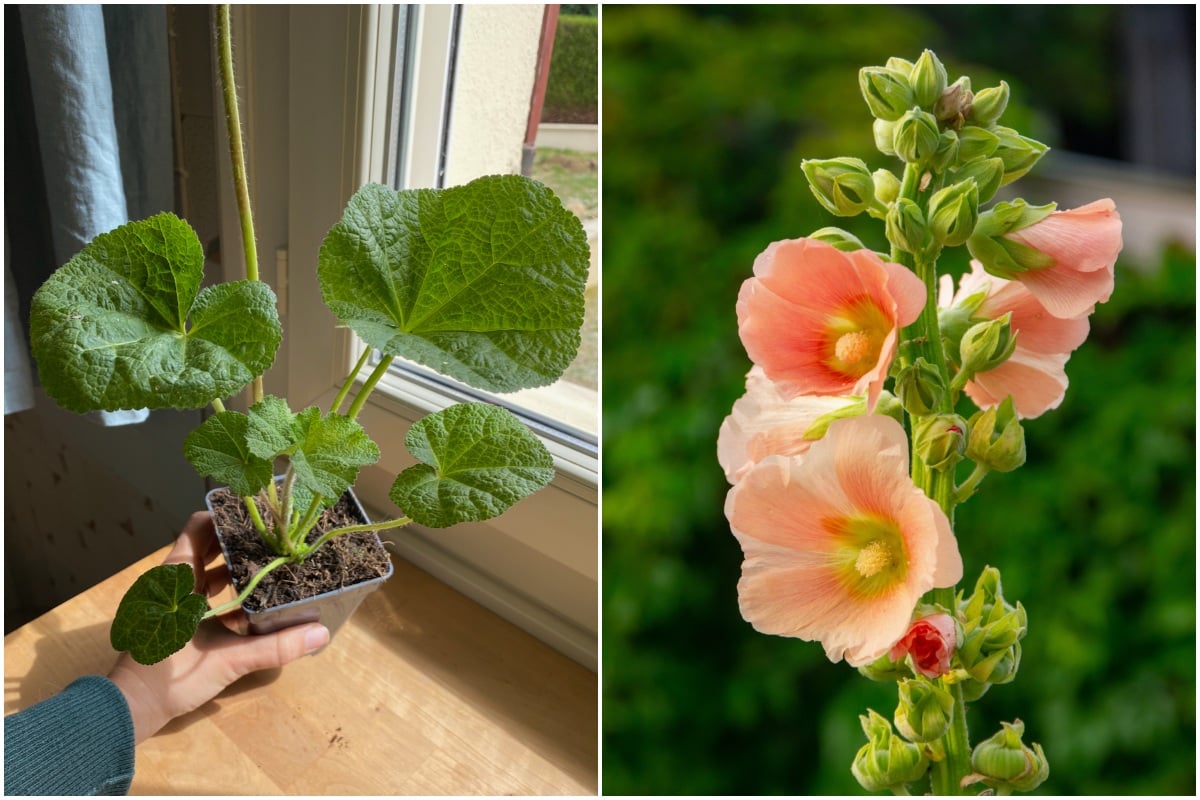
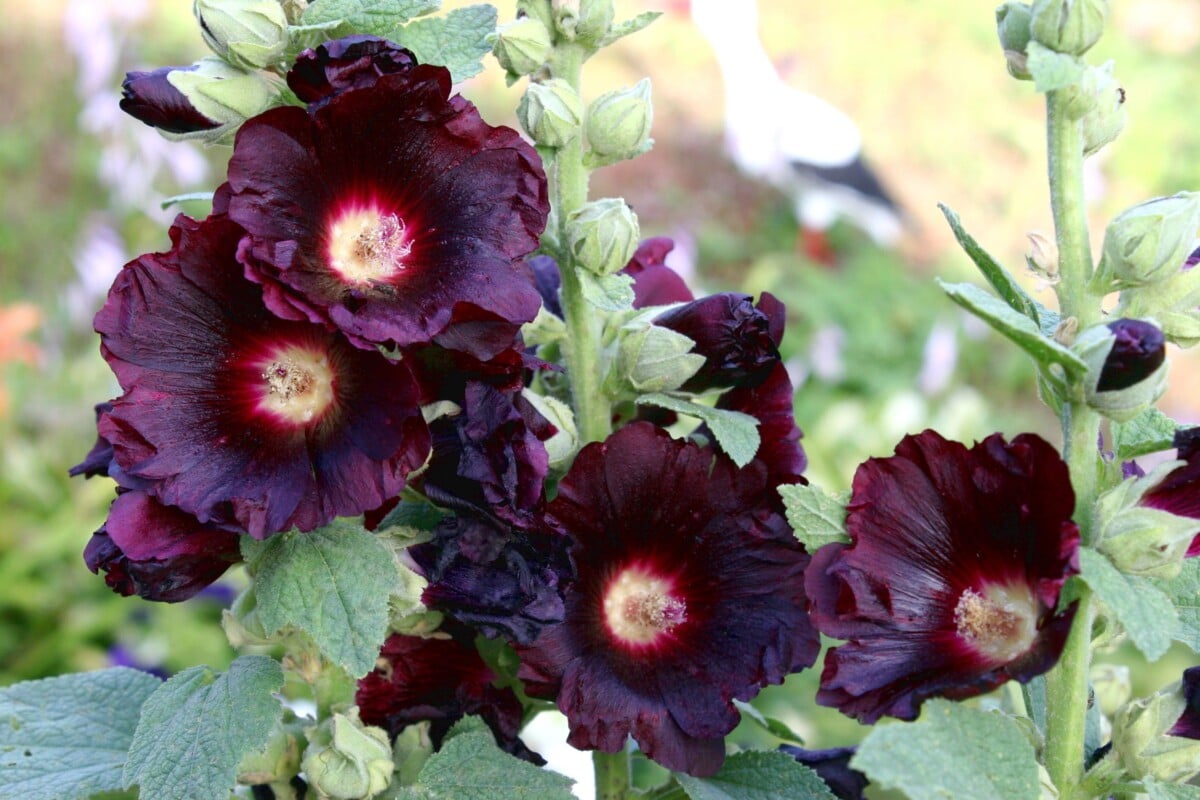
This is where you, dear reader, discover that the only reason I’m writing this article is to brag about my baby hollyhocks. Isn’t she the cutest?
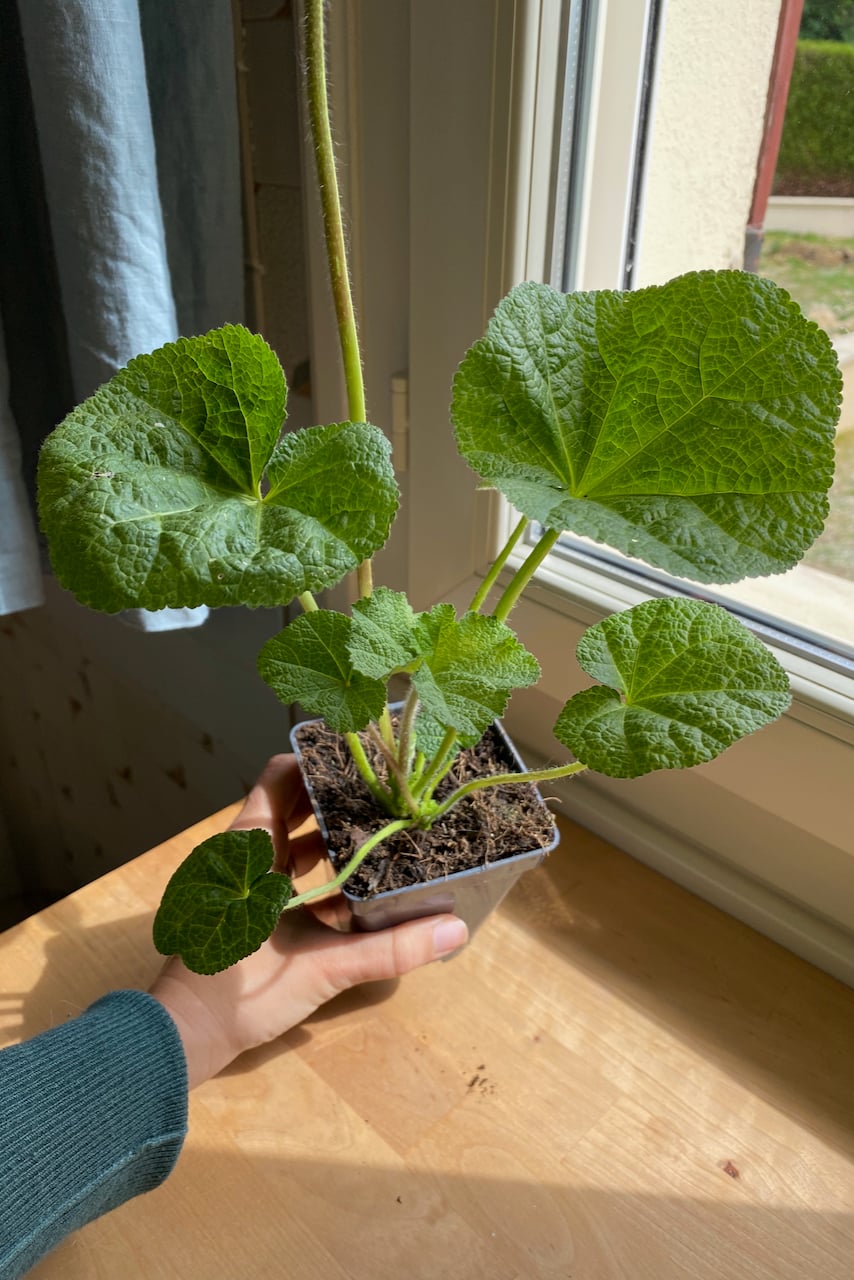
Ok, maybe it’s not as impressive if you’ve seen hollyhocks happily growing from a crack in the sidewalk in the middle of the hottest month of the year. So yes, these are resilient plants.
But I’m still genuinely impressed that such a majestically tall super-bloomer can grow from such a tiny seed.
Most hollyhocks grow as biennials, meaning that in the first year, they’ll spend some time getting established and we’ll have to wait for the second year for them to bloom. But sometimes, if we plant them early enough and keep them moist enough, some hollyhocks will flower in their first year.
If you’ve saved your own seeds and now are looking at something resembling a donut, just know that each little donut breaks apart into multiple seeds. We can pre-soak the seeds before planting to soften the hard shell and jumpstart the germination process.
Hollyhocks need some light to germinate, so don’t bury them too deeply. Only cover them with a thin layer of soil, just enough to prevent them from drying out.
7. Snapdragons (Antirrhinum majus)
I can’t begin to describe my level of excitement at the sight of these tiny snapdragons that (according to my notes) I’ve planted eight days ago. EIGHT DAYS!
I even shouted to my husband across the room: “We have so many baby dragons!” to which he replied “REAL baby dragons???” [inserting eye roll here, because how can one even answer that question].
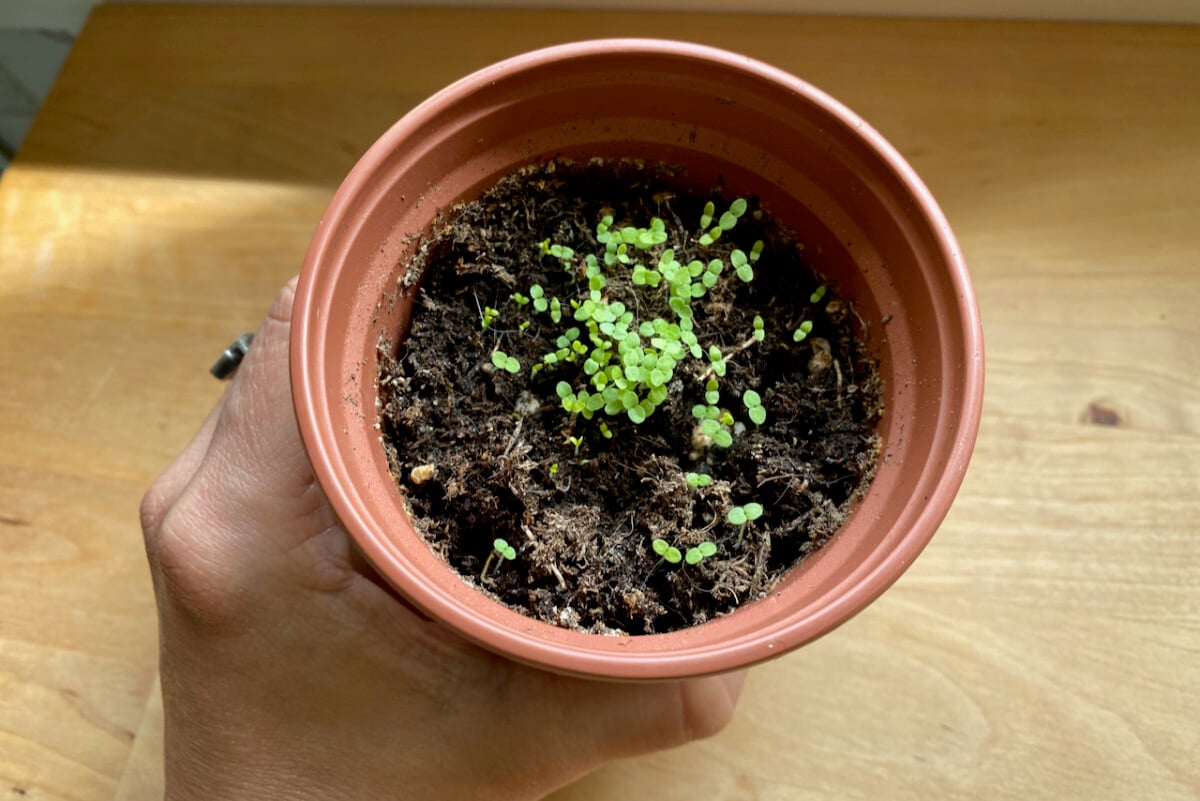
The excitement was quickly dulled by the realization that I’ll somehow have to separate the seedlings once they’re a bit bigger. I might just end up splitting the pot in half rather than pricking out every individual seedling. This is from a multi-color seed pack, so the result will be far from boring.
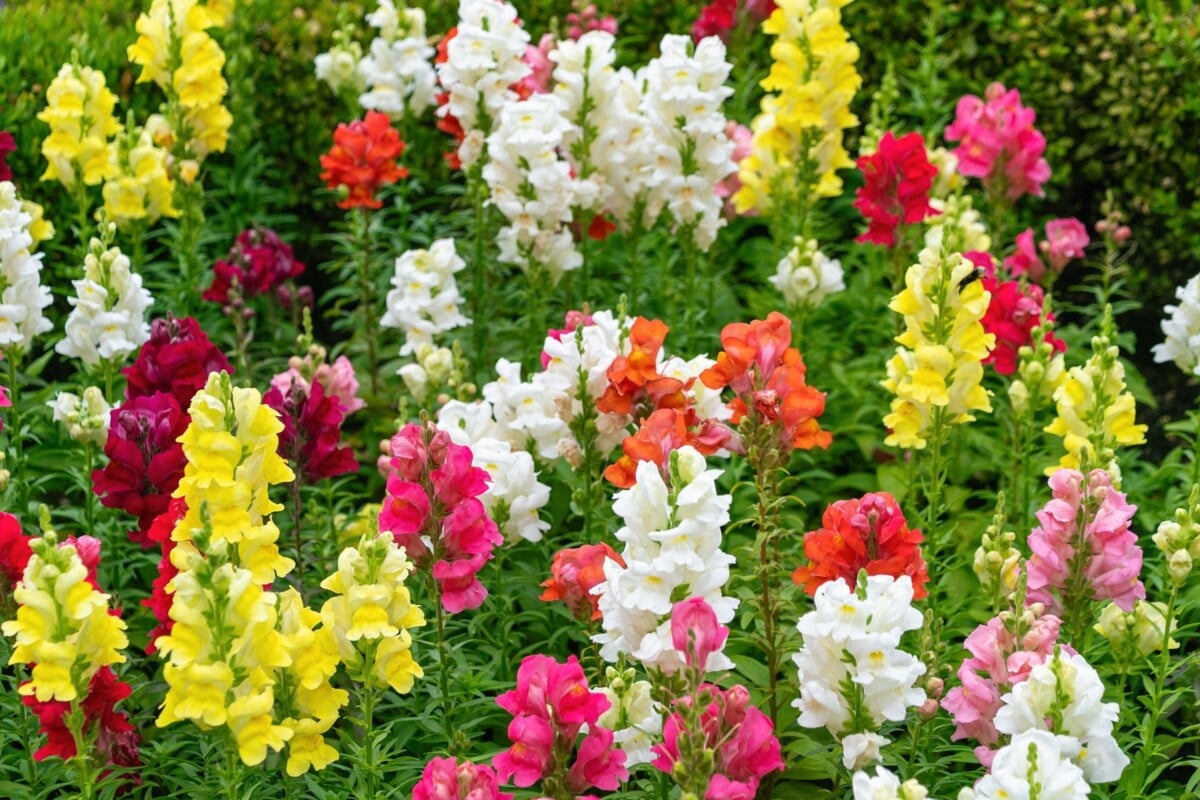
All this to say that snapdragons germinate really well and really fast. The seeds are very small, so just lightly scatter them on moist potting soil. There’s no need to bury them or cover them.
8. Blanket flower (Gaillardia)
Do you want blankets of blooms? Plant some Gaillardia. ‘Cause this is how you get blankets of blooms in all shades of yellow, orange, red and burgundy. Like a quilt made by grandma when she’s stubborn enough to only use up one particular fabric stash.
Gaillardia are a bit slower to start from seed. They still germinate reliably, but it takes about seven weeks to get a plant large enough to pot on in the garden. And even then, it’s a bit slow to get going. But once it does, you’ll be so happy you brought these beauties into your garden. Once we get them established, blanket flowers are both heat-resistant and drought-resistant.
Blanket flowers bloom for virtually the entire summer, from June to October, making them an excellent value perennial. Bees love them. Butterflies love them. And small birds – such as goldfinches – love to snack on the seeds in the winter.
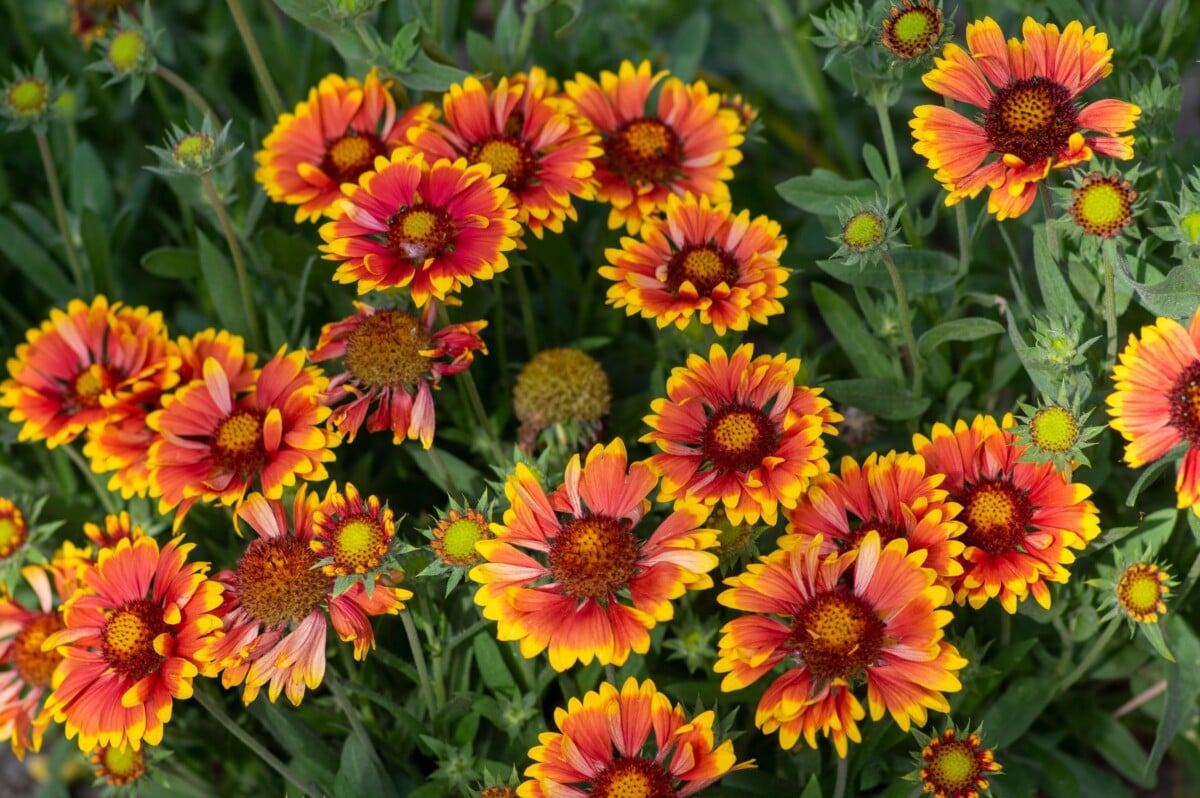
For a few more reasons why you should consider bringing this gal into your garden, have a look at this article I dedicated to this fiery ornamental.
9. Calendula
We talk a lot around here about getting as much bang for our gardening buck as possible. So when a plant comes along that is ornamental, medicinal, and a really useful pest control ally in the veggie garden, we jump on it. Well, not literally … that would be awkward.
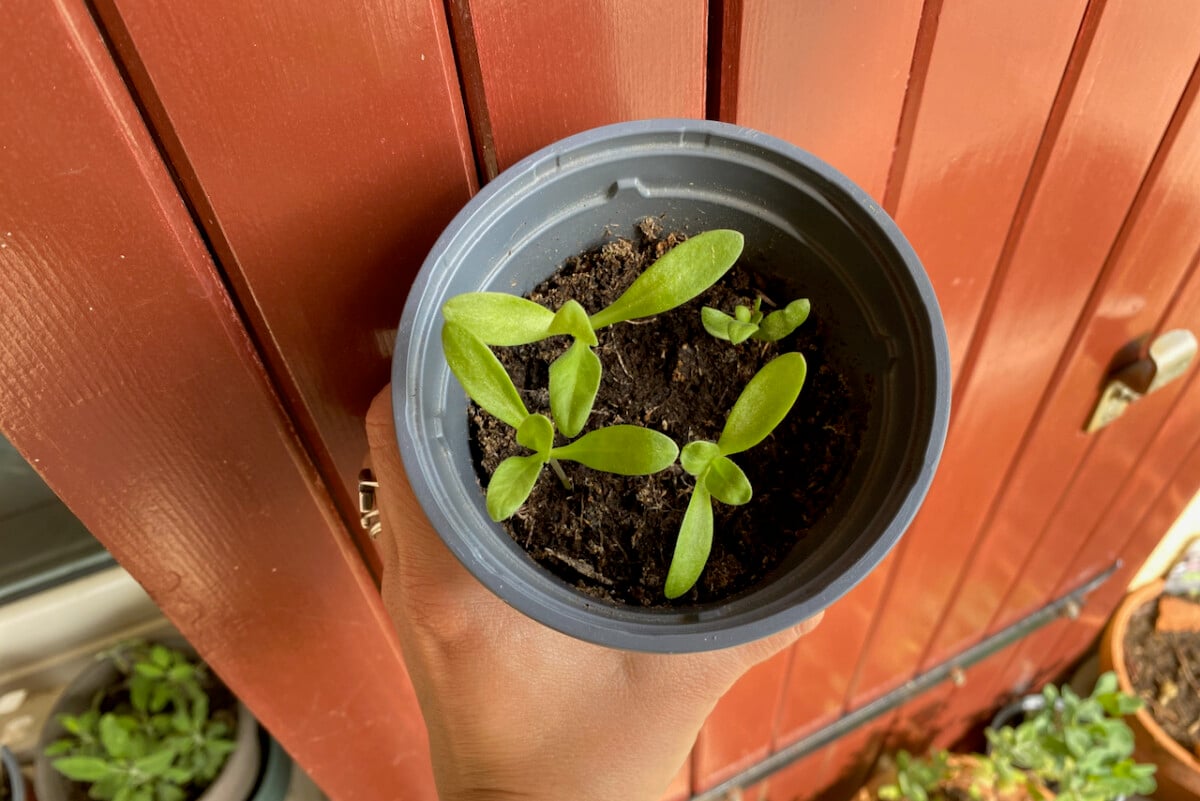
I’m talking about calendula, of course. A good indication that it’s super easy to start from seed is the fact that it always shows up in seed mixes for kids. You know, those mixes that are meant to demonstrate to little ones with zero patience how we go from seed to flower.
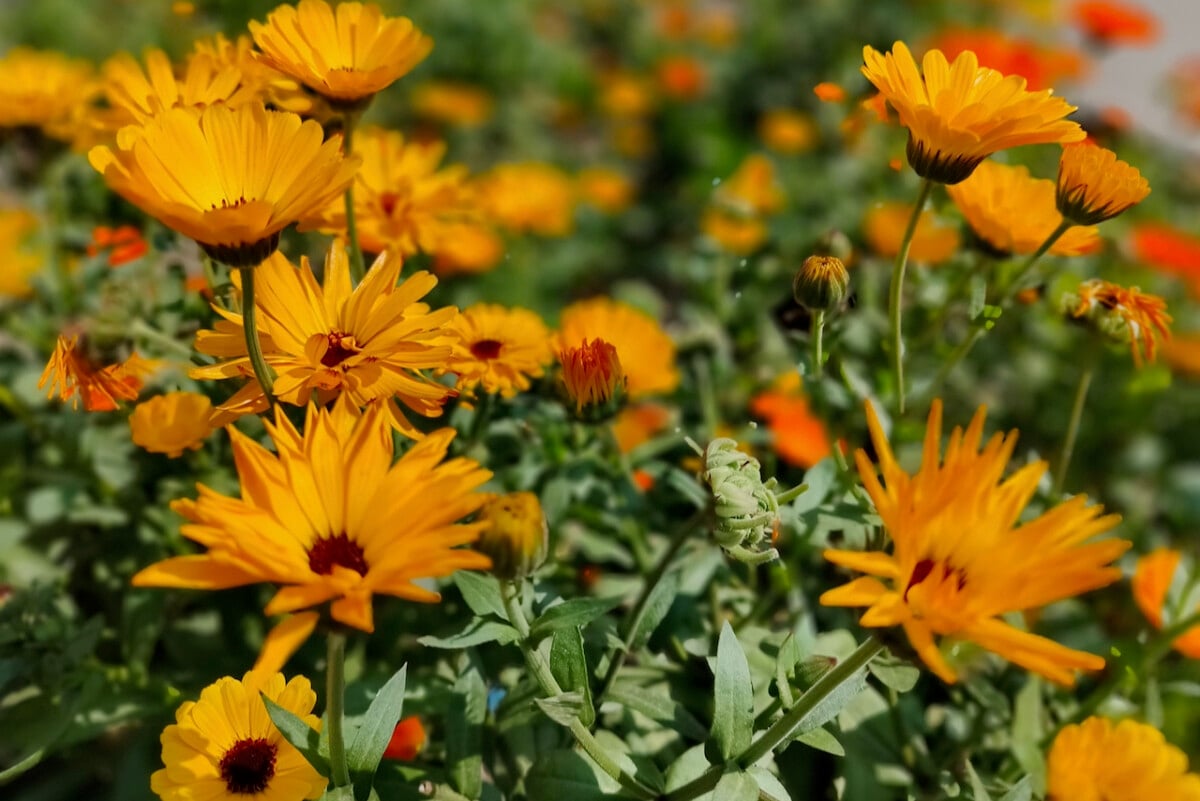
Calendula seeds have a harder shell, so we’ll need to bury them about half an inch and keep the soil moist (but not soggy) on top. They should germinate in about ten days. We can also sprinkle some calendula seeds now in our future tomato bed. The aphids will crowd to them, but so will the ladybugs, hoverflies and lacewings that feed on juicy aphids.
10. Sea holly (Eryngium)
Speaking of plants that attract pollinators, you have to see a sea holly plant from June through September to believe it.
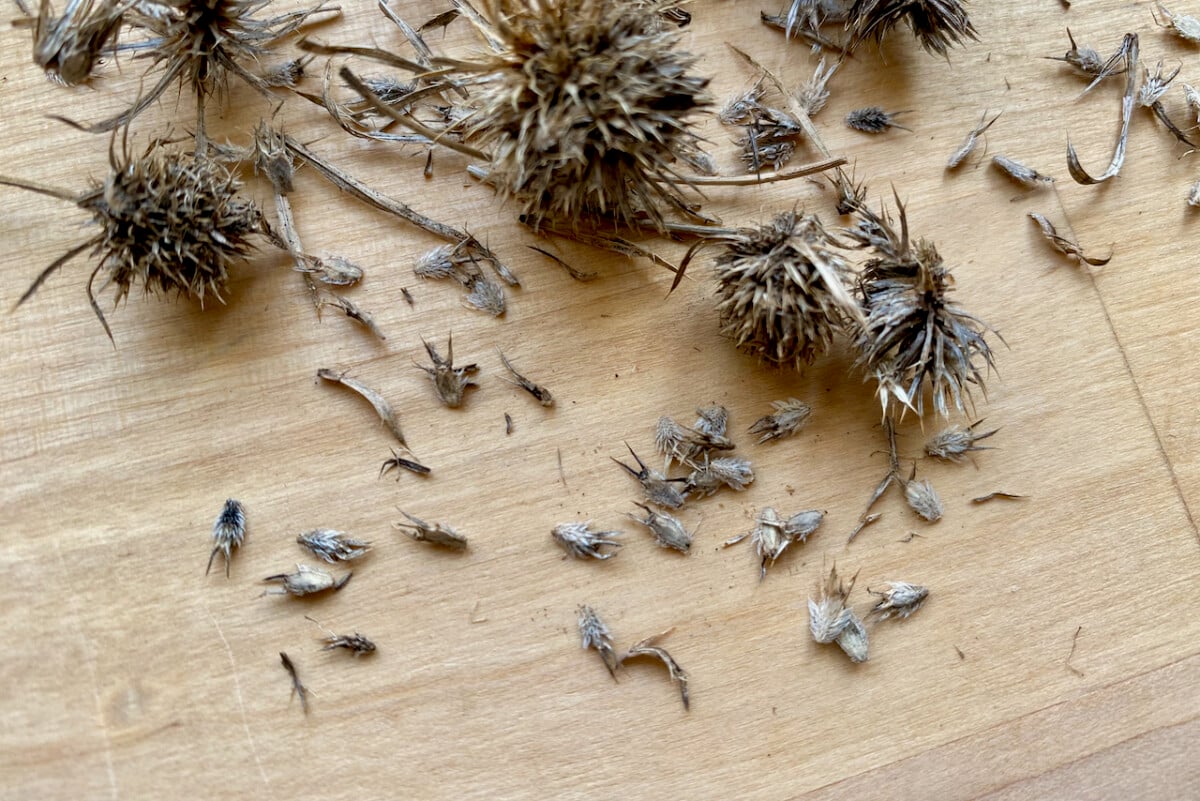
The spiky decorative flowers are covered in bees and hoverflies. The cone-shaped flowerheads surrounded by a star-like tiara are not the only blue parts of this flower. The stems are too and even the leaves may have some streaks.
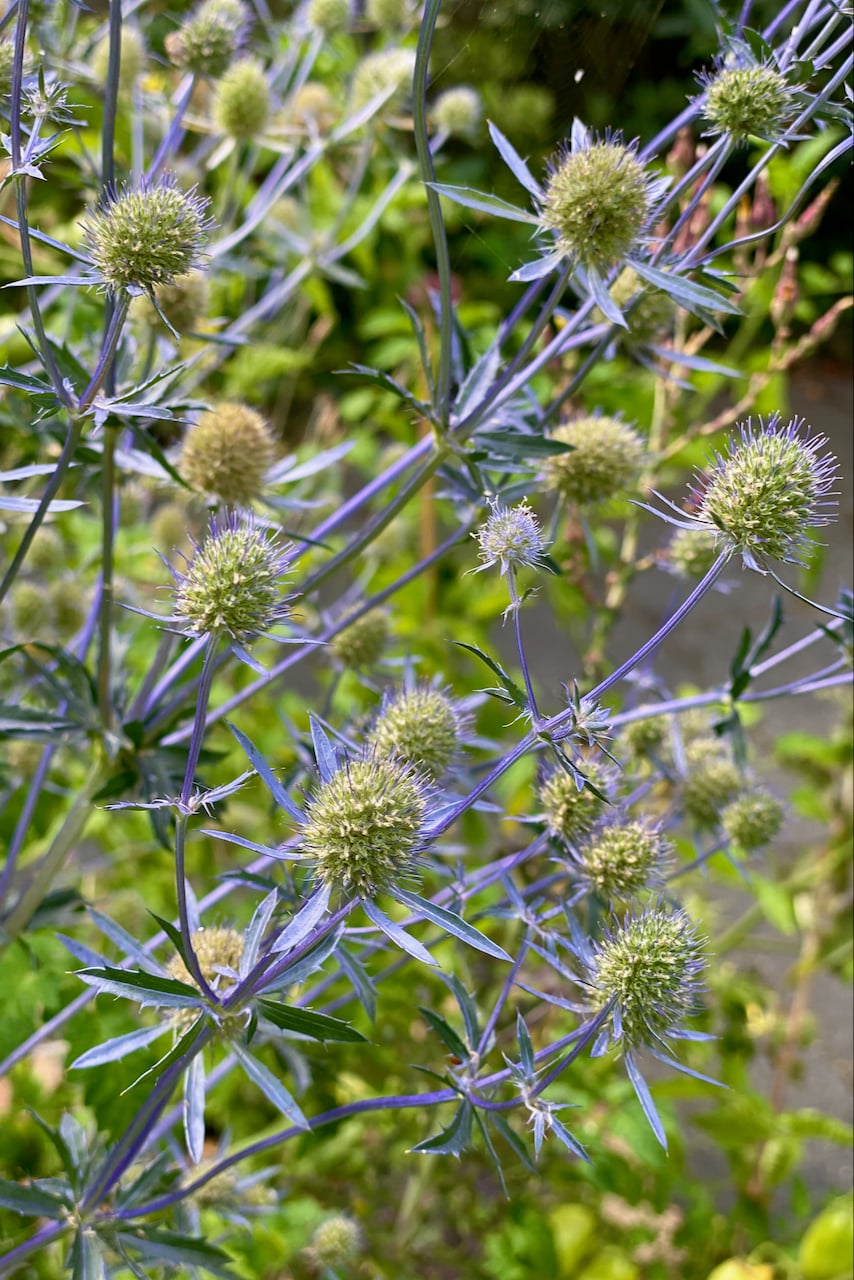
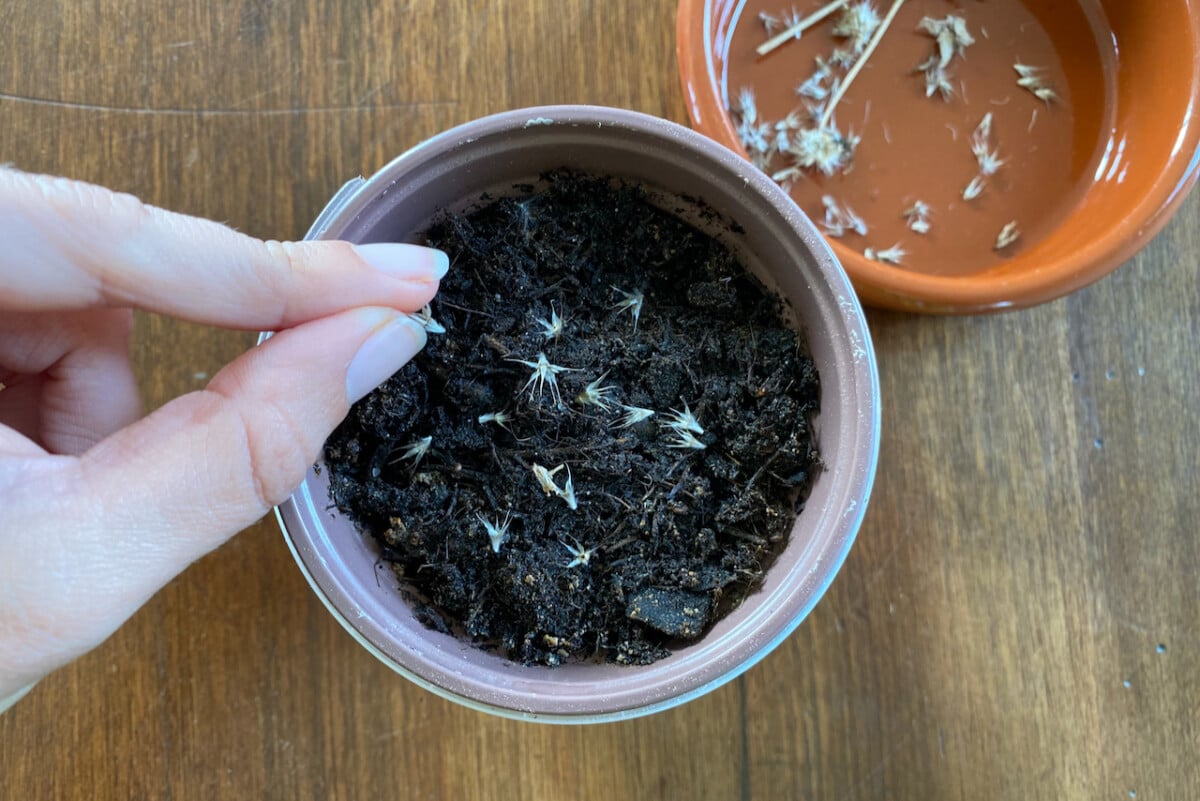
The sea holly seeds are like little velcro capsules. Just like with echinacea, it’s hard to know which way to plant them. So I just lay them out on the seed starting mix and sprinkle some soil on top. They don’t need high temperatures to germinate, so there’s no need for overcrowding them on the windowsills.
11. Lupines (Lupinus)
Starting lupines from seed is the most affordable way I found to get a larger patch of them in my garden. I noticed that they’re usually one of the most expensive plants to buy as starters. Perhaps because it may take up to 28 days for lupines to sprout. Not for the gardener who thrives on instant gratification.
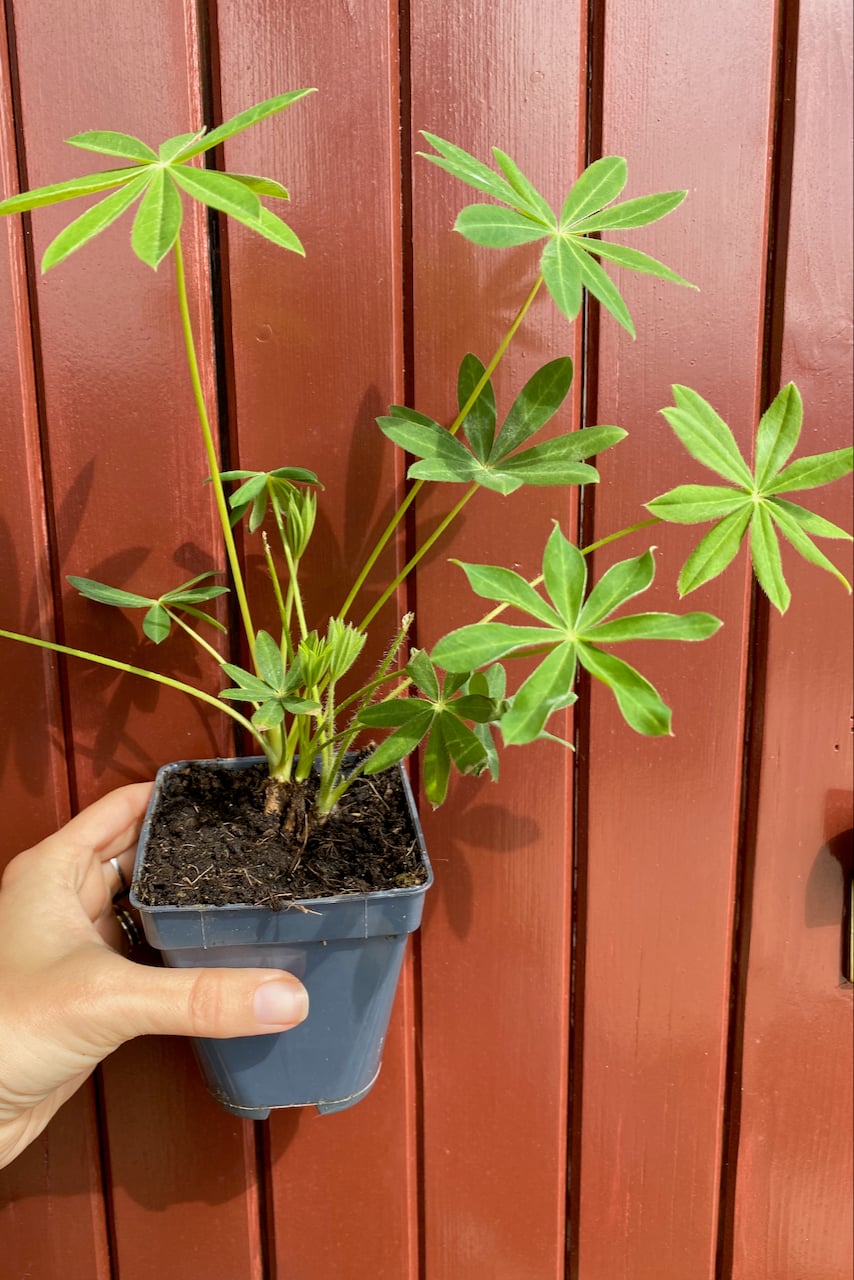
We can speed up this process by soaking the glossy lupine seeds overnight before we plant them. Or even just for a few hours. This will start to break down the waxy coating and signal to the seed that it’s time to germinate.
Lupines don’t like having their roots disturbed, so I’d recommend not sowing too many in the same pot. Or if you do, be ready to plant them together.
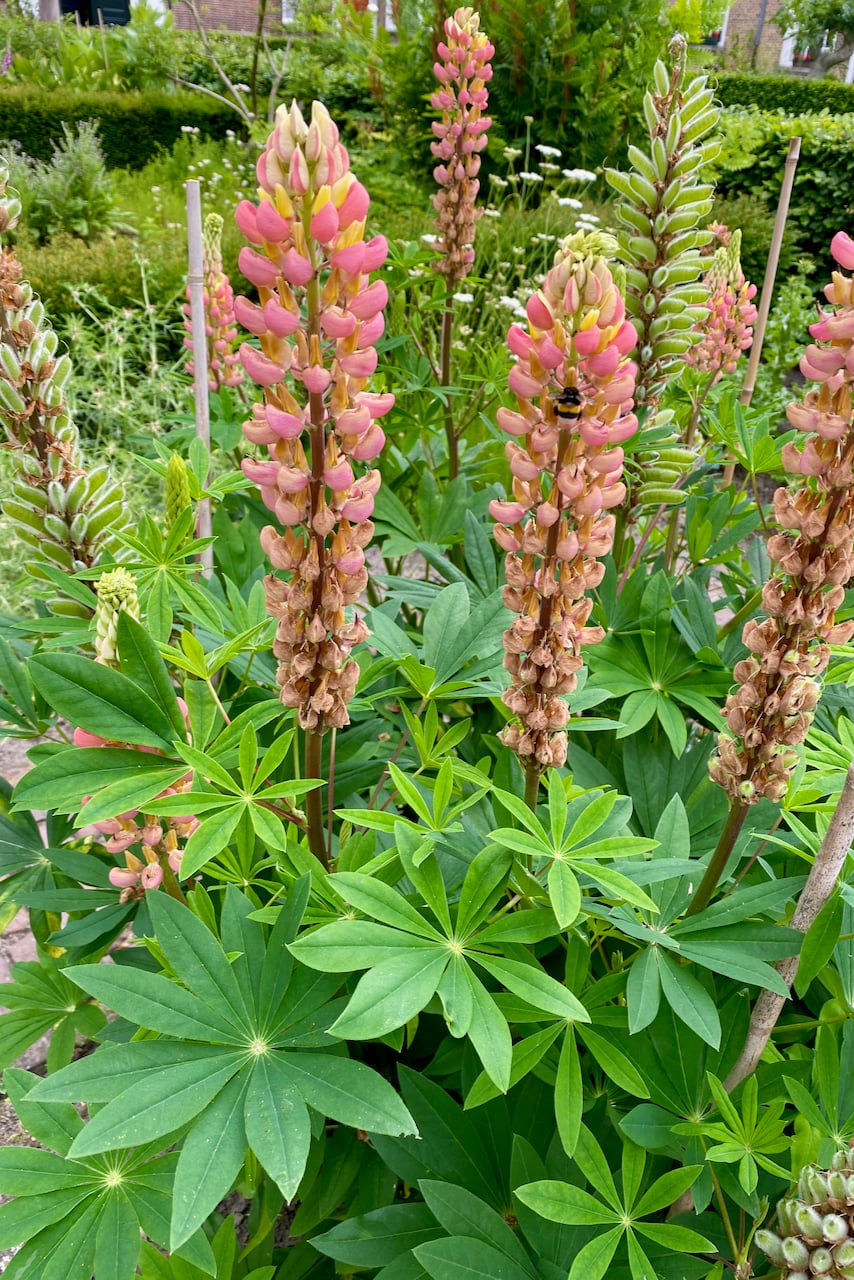
Keep the seedlings evenly moist and transplant them when the danger of frost has passed.
Most lupines are biennials, which means that they’ll spend the first year developing a strong root system and foliage and only bloom in their second year. I found that’s true of the large spire cultivars, in particular. There are some smaller ones that look just as pretty and bloom in their first year.
12. Sweet William (Dianthus)
Sweet William (also known as pinks or Dianthus) are the gardening equivalent of florists’ carnations. Just like lupines, they start as a biennial and spend their first year developing a strong root system and chunky foliage.
But by their second year in the garden, they’ll burst into a carpet of blooms until about the end of July. If we give them a mid-summer prune (aka the Chelsea chop), mature Dianthus put out a second set of blooms.
So their reputation of being tricky to start from seed is well-deserved, but the reward is well worth the effort.
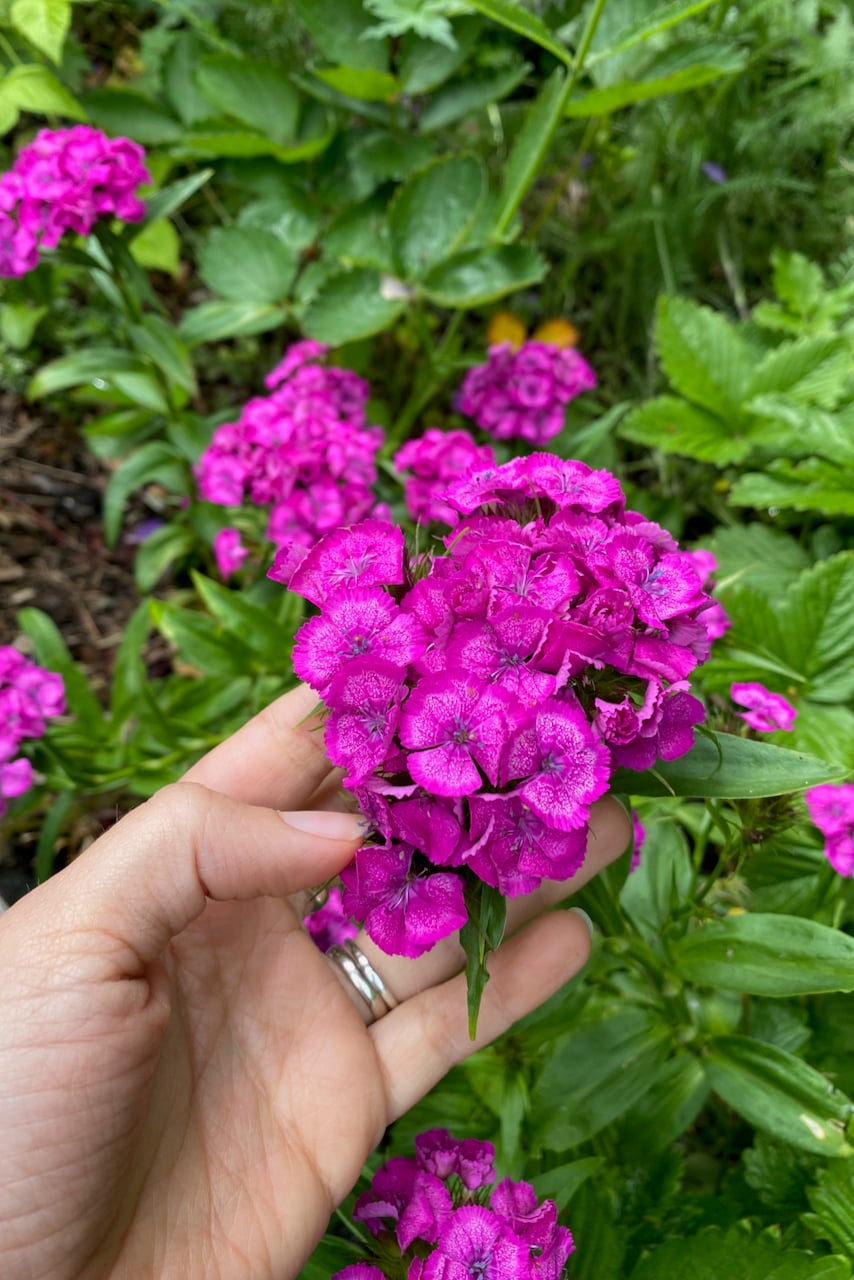
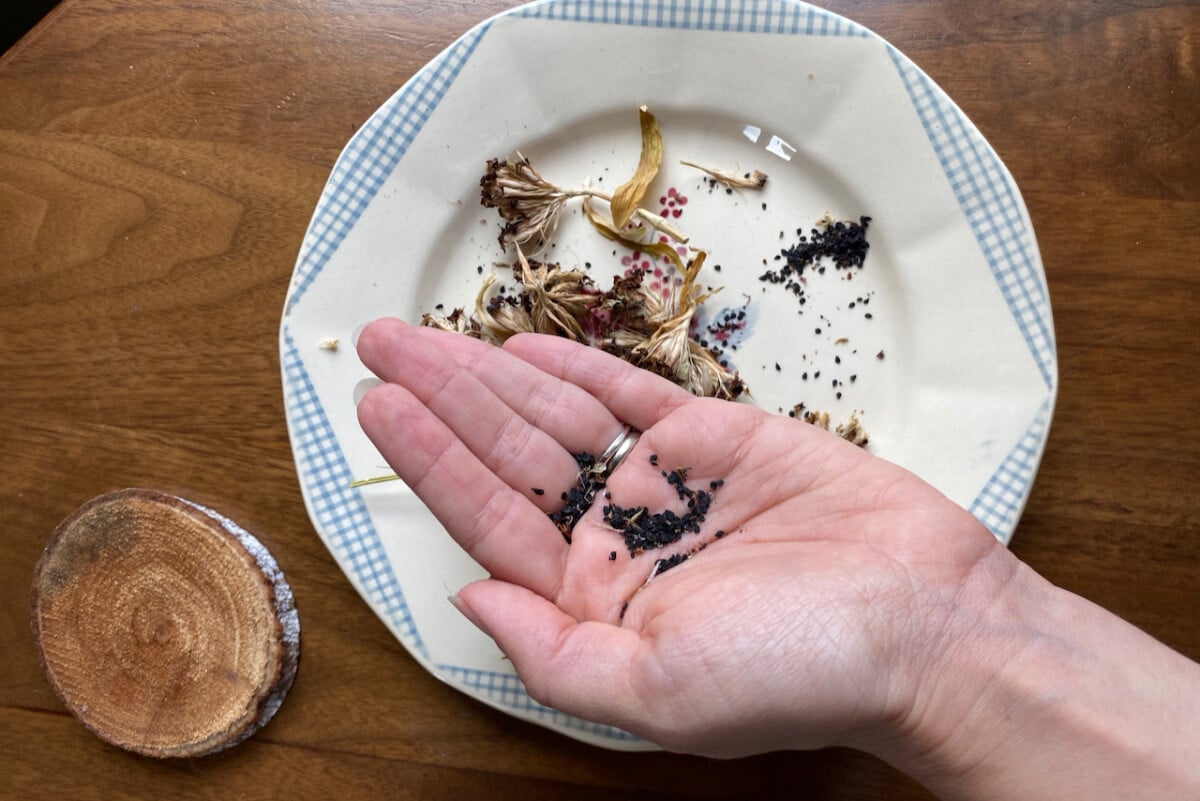
You can see in the photo I took above how small the seeds are. Scatter them over moist potting soil and sprinkle a bit of extra dirt on top. Sweet William seeds need light to germinate, so we should avoid burying them completely.
13. Sunflowers
I know the general advice for sunflowers is to sow them directly in the spot where you plan on growing them out in the garden. That’s because they’re not big fans of having their roots disturbed.
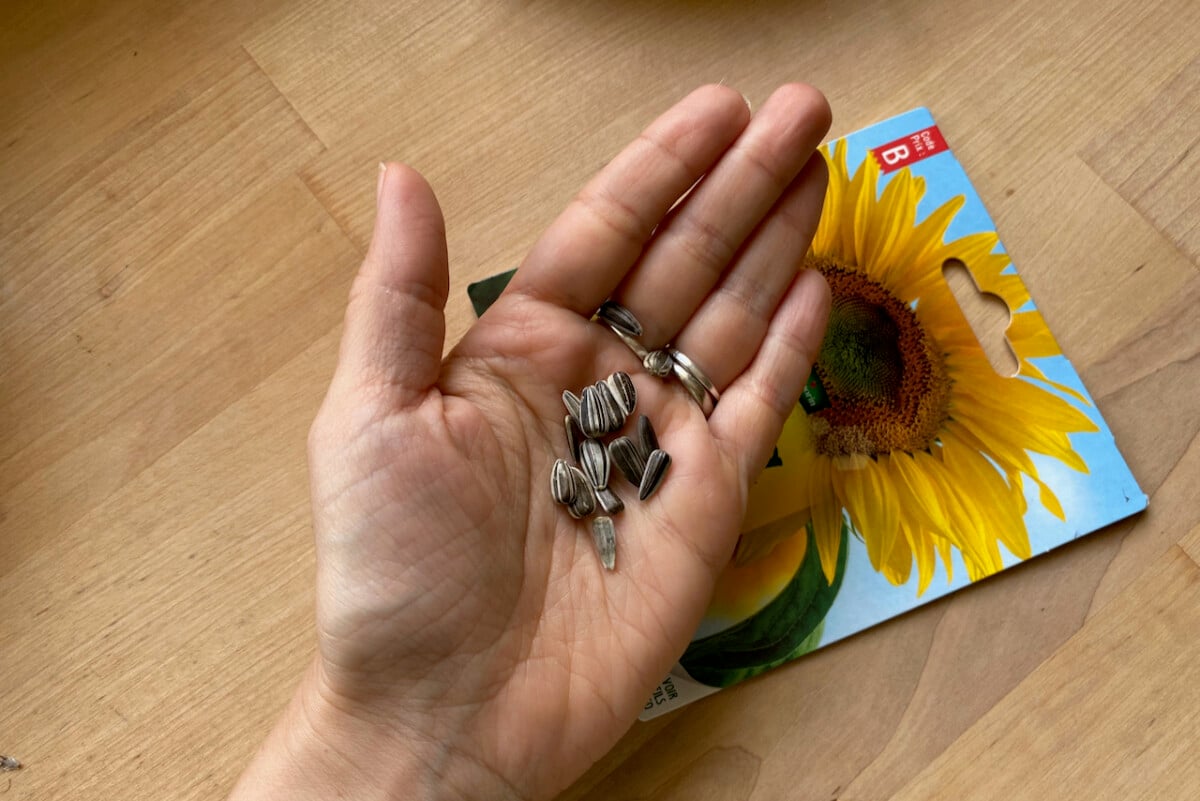
If I did that, all I’d be doing is feeding the birds with the seeds and wondering when the flowers will ever sprout. So I always start my sunflowers in modules indoors.
And precisely because I don’t want to disturb the roots, I only sow a single seed per pot. That way, there’ll be no dividing later.
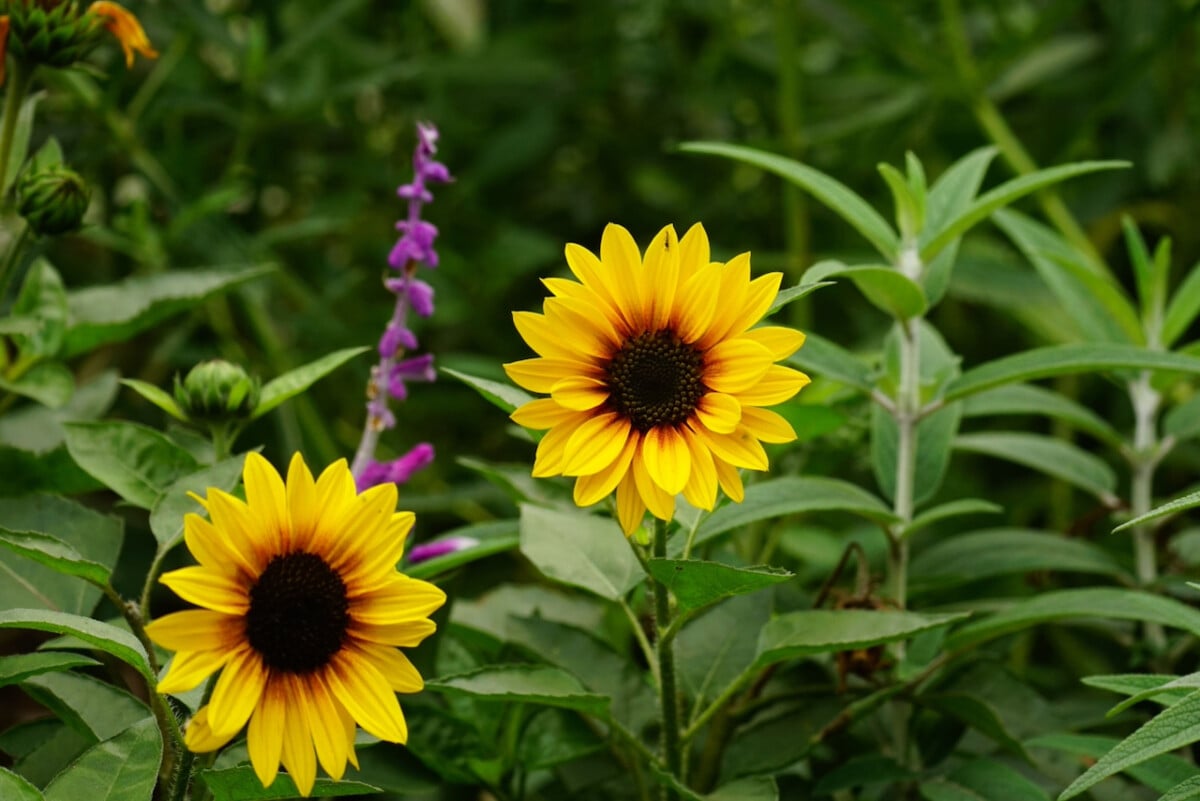
Simply press the seed pointy side down into the pot and cover it with a half an inch of soil. Sunflowers only take a couple of weeks to germinate, so they’re another favorite in seed starting experiments for kids.
14. Creeping phlox (Phlox subulata)
There are two types of phlox commonly used in gardening: creeping phlox (Phlox subulata) and tall phlox (Phlox paniculata). We can start both from seeds. But since I’ve already mentioned the tall phlox recently in my article on super scented plants we can grow by the front door, I’ll give the creeping phlox a shoutout this time.
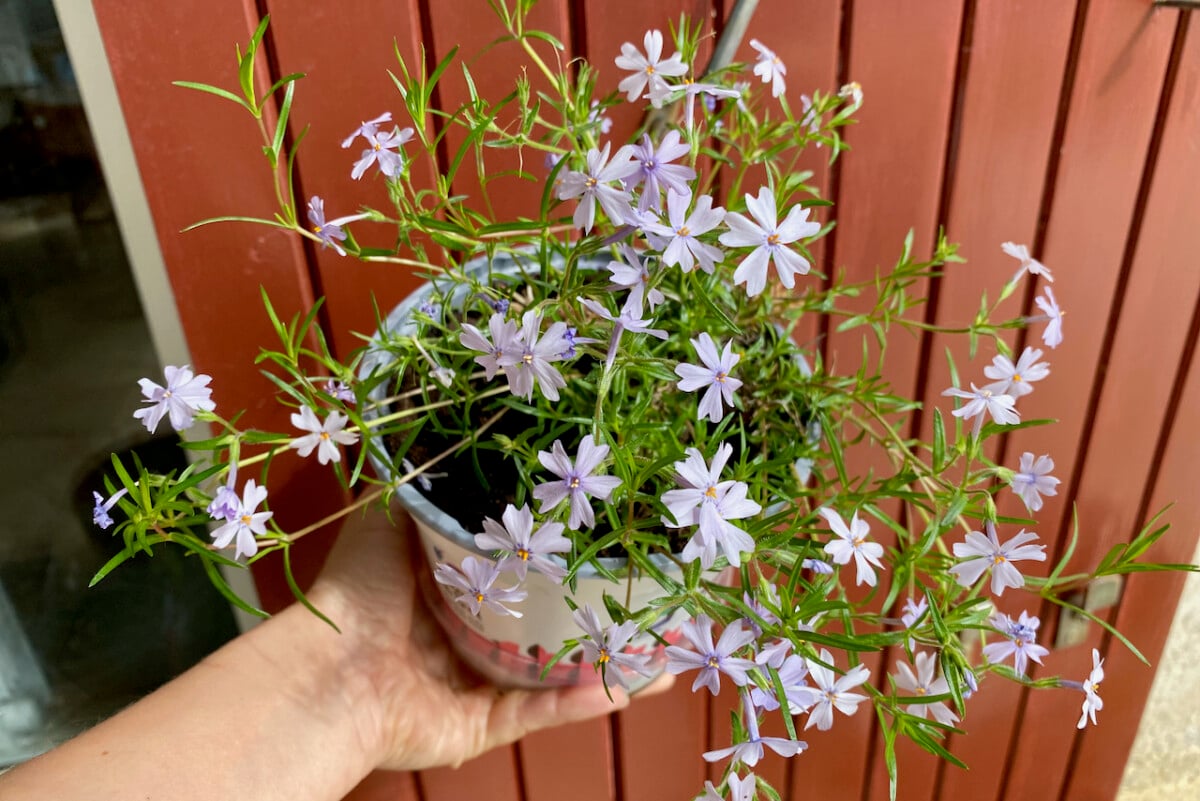
Creeping phlox is probably one of the plants that’s paid for itself a hundred-fold. Just from a few seeds, I can get a ground-cover that’s a couple of feet wide. The stunning display of flowers comes back even thicker every year. This year, I’m also planning on adding it to a summer container and as part of a rock garden.
That’s why I’m starting creeping phlox in multiple pots. The seeds are small and need light to germinate, so I’ll just scatter a few on top of moist potting soil.
15. Sweet peas (Lathyrus odoratus)
For the last time (in this article), look how cute my baby plants are:
These are sweet pea plants I started from seed and they’re about six weeks old. Which means I started them in early March. And yes, I wish I would have waited longer to sow them.
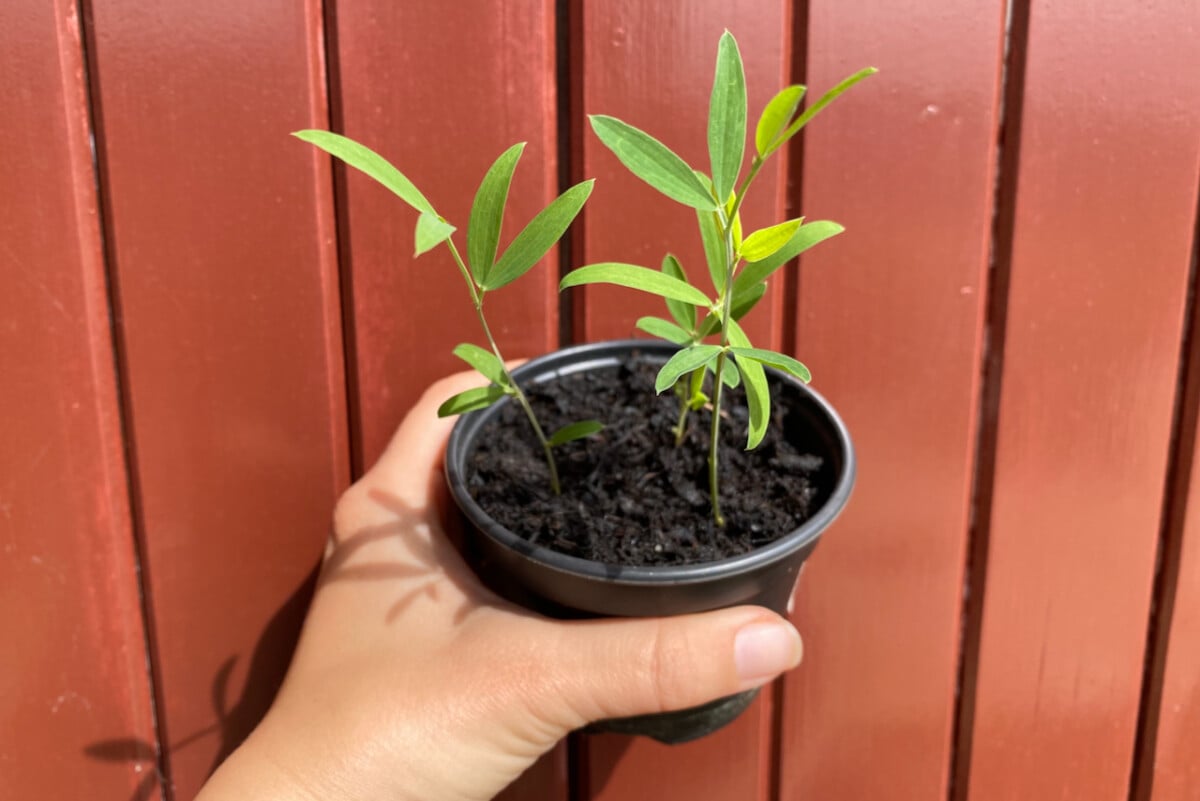
They were sooooo slow to germinate, even after I had cold stratified them in the fridge for a few weeks. The problem was they didn’t germinate until the seeds got warm enough. So I spent the better part of a month just looking at bare pots.
So if you’ve waiting until April to start your seeds, you should get results much faster. The seeds are glossy with a hard waxy cover, so either scarify them or soak them in water for a few hours.
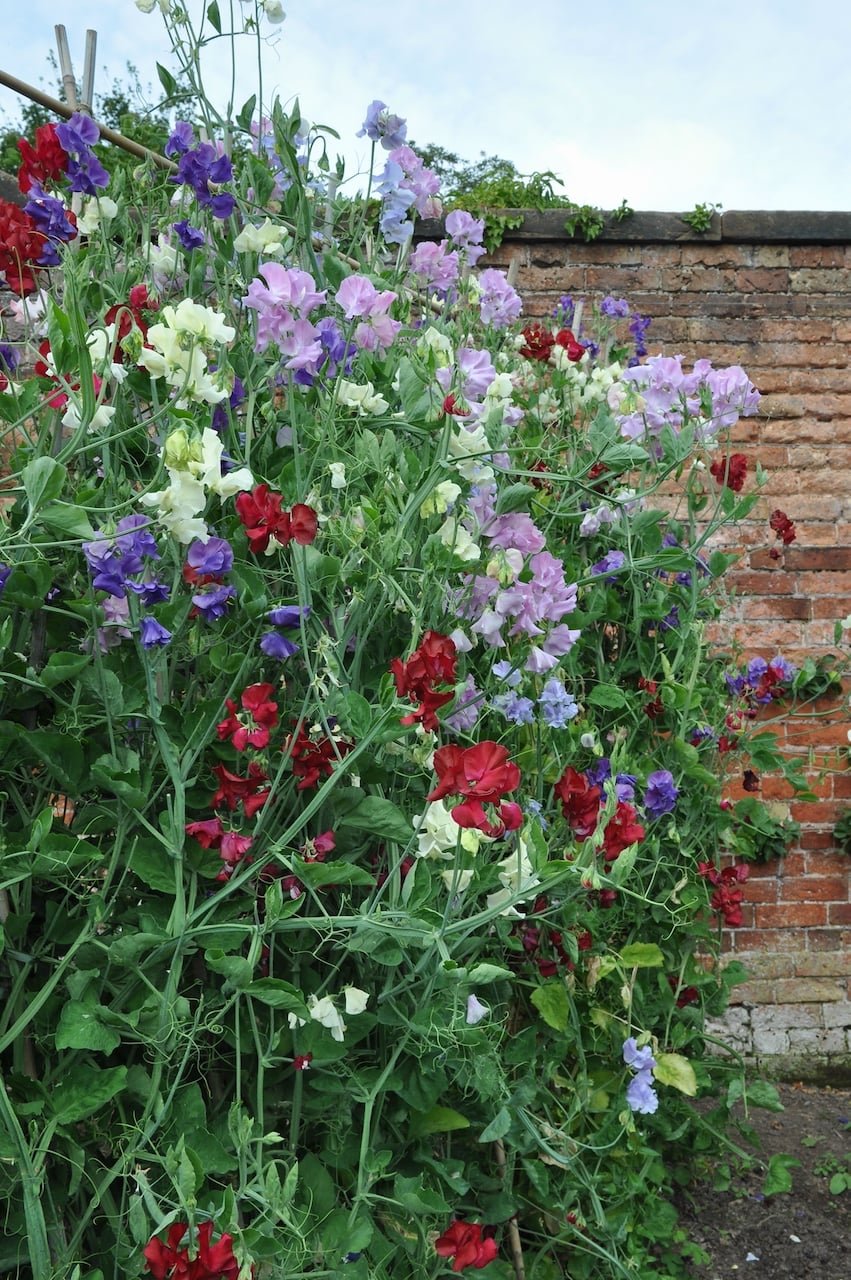
I think starting flowers from seed is the most exciting way to get these ornamentals in our gardens. And in this day and age, it’s also the most affordable way to garden on a tight budget.
Gotta go, I got seeds to stick in the ground.
Get the famous Rural Sprout newsletter delivered to your inbox.
Join the 50,000+ gardeners who get timely gardening tutorials, tips and tasks delivered direct to their inbox.