

Ready, set, wait. Just because you are ready to close your garden down for winter doesn’t mean that nature is willing and ready.
And so it happened that in early December, we finally got a few steps closer to preparing our no-dig garden for winter.
We had tried earlier in November to prepare our garden for winter when we had both time and sunny weather, but some plants were still enjoying the warmth of an extended fall. A plethora of beneficial insects were still in the garden, too, so we took a little rest while winter crawled closer.
Of course, you can always leave your garden “as is” as you head into winter and let nature do most of the work. That’s the lowest-maintenance approach I can think of. Although your springtime chores may seem more daunting when April and May roll around.
Just as you regularly clean your home, you should tidy up your garden from time to time too. Let’s walk you through a picture-by-picture of our process.
11 Steps To Prepare Your No-Dig Garden For Winter
Keep in mind that no two gardens look alike.
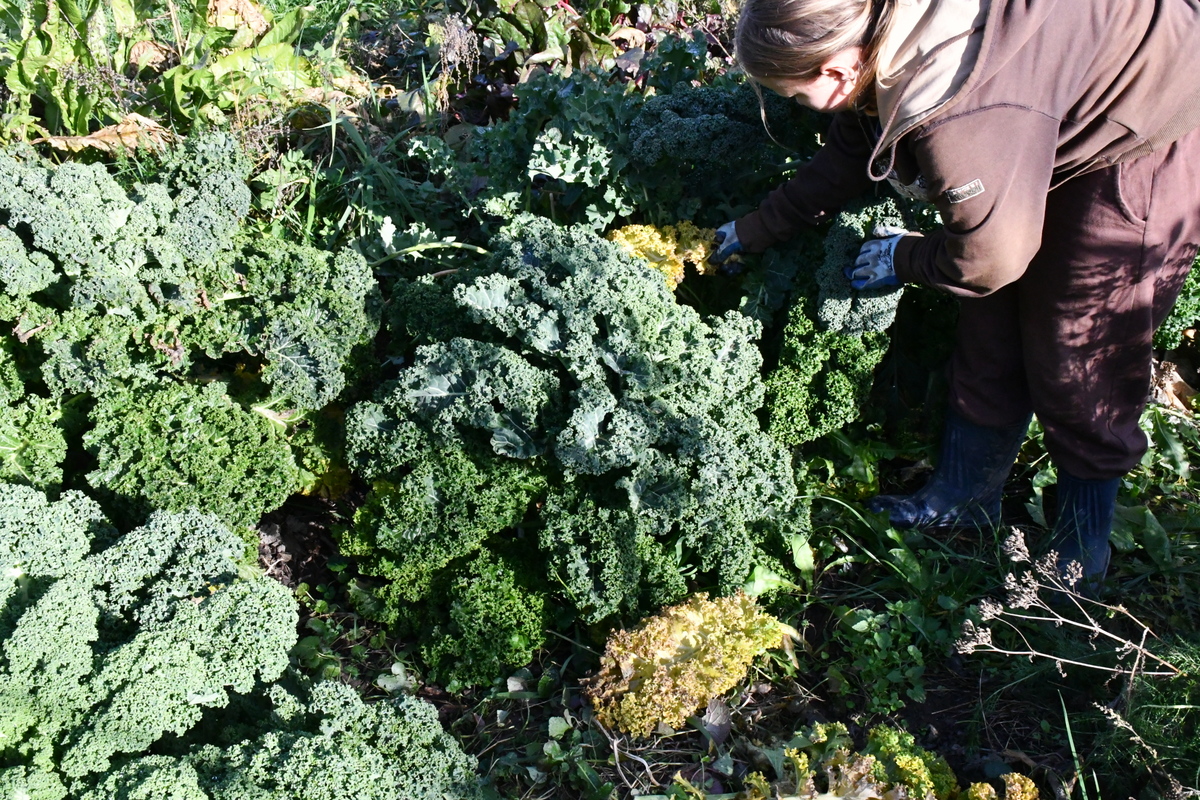
Ours has been here in the same location for 5 years and hasn’t been dug once. And while it may look somewhat messy by conventional standards, it’s really quite productive. We even managed to overplant kale this year, and we’ve had plenty to eat and share!
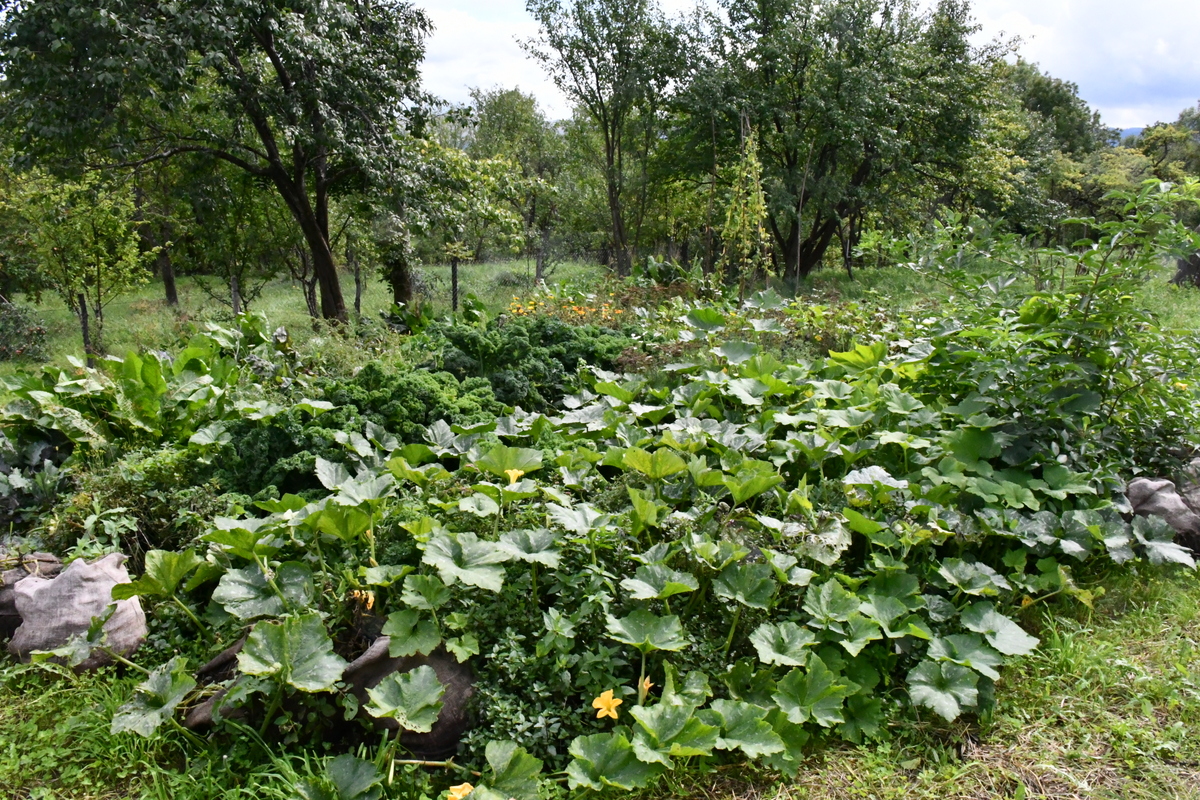
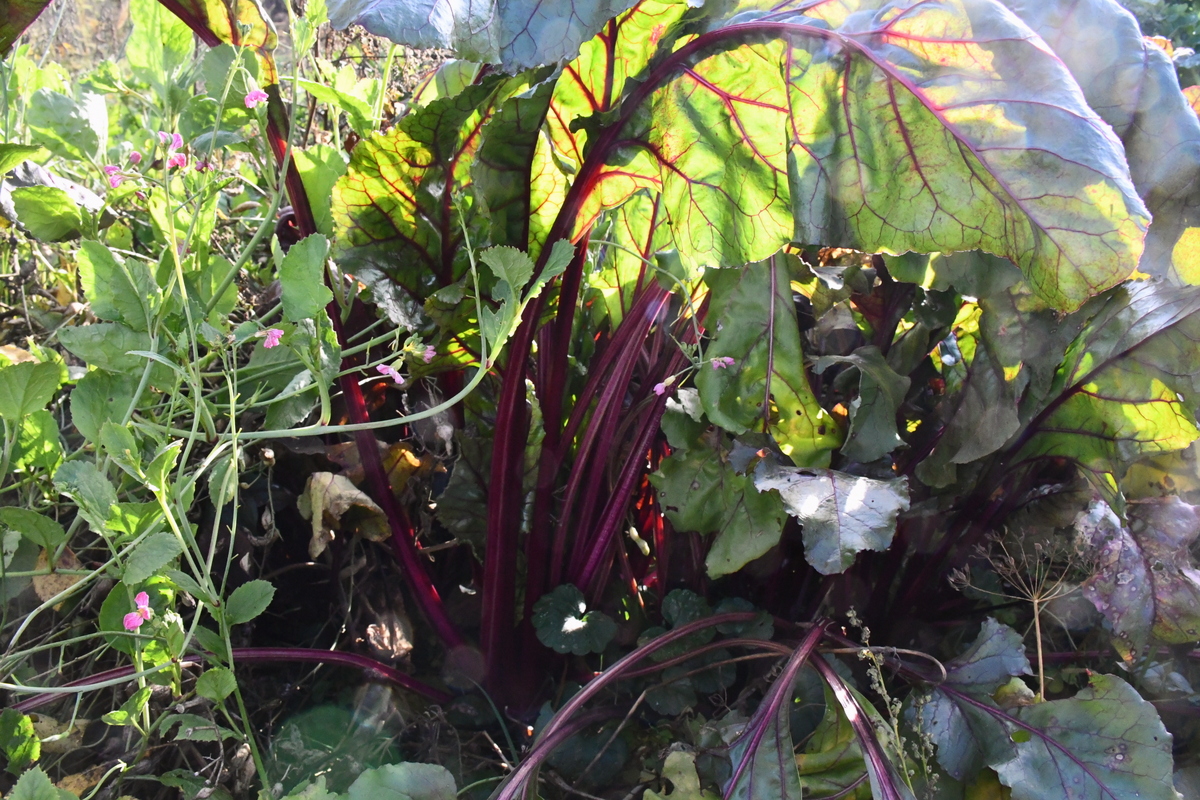
Here’s what our garden looked like in the height of summer:
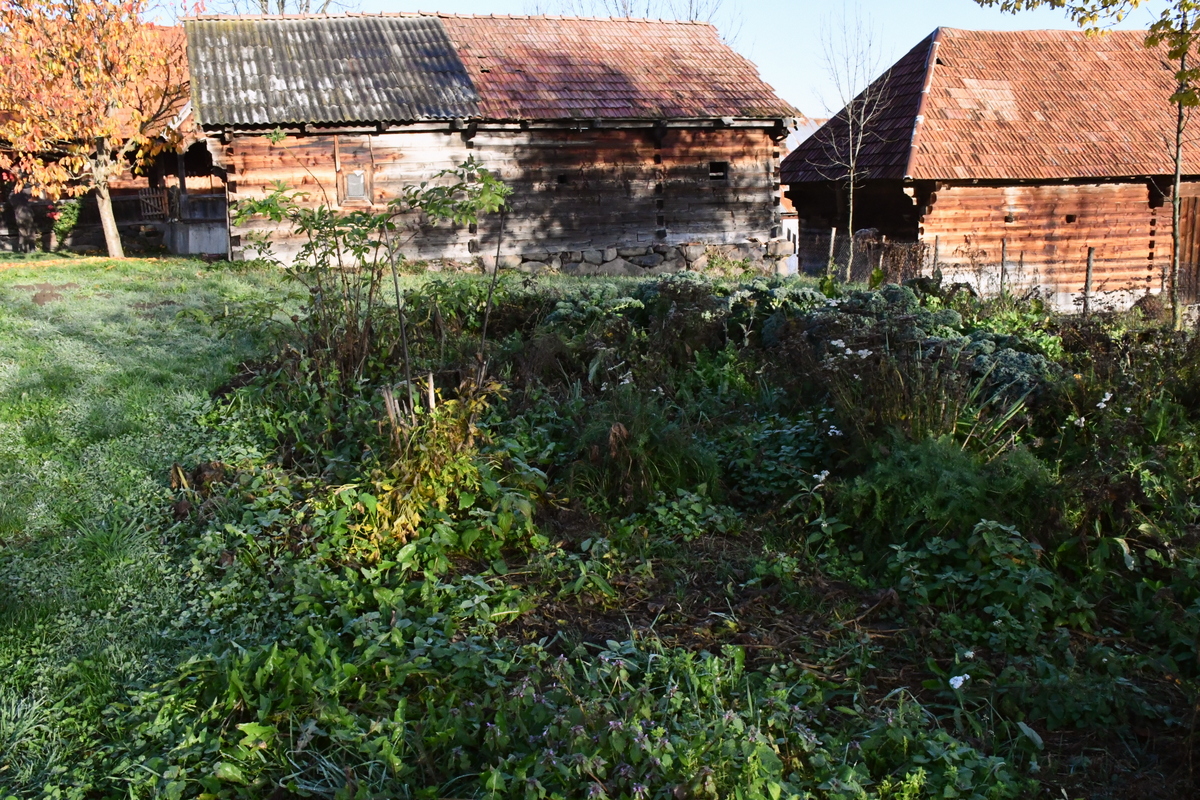
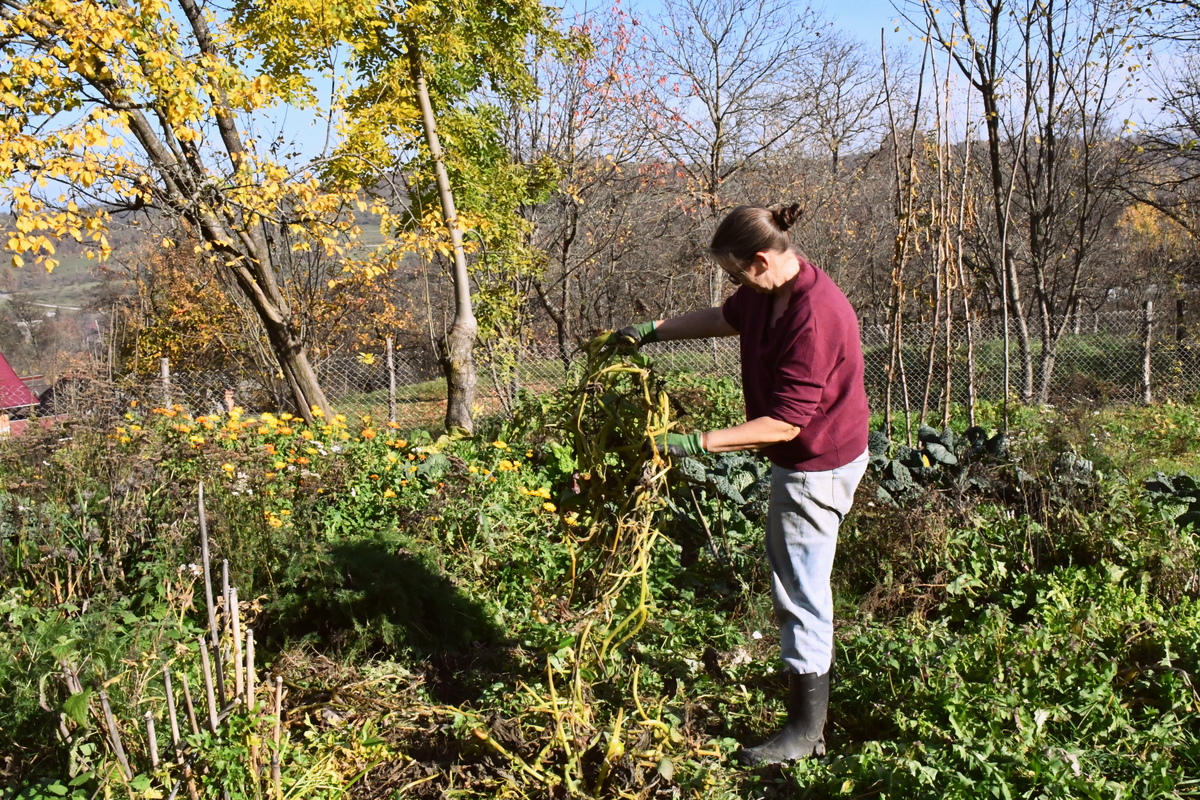
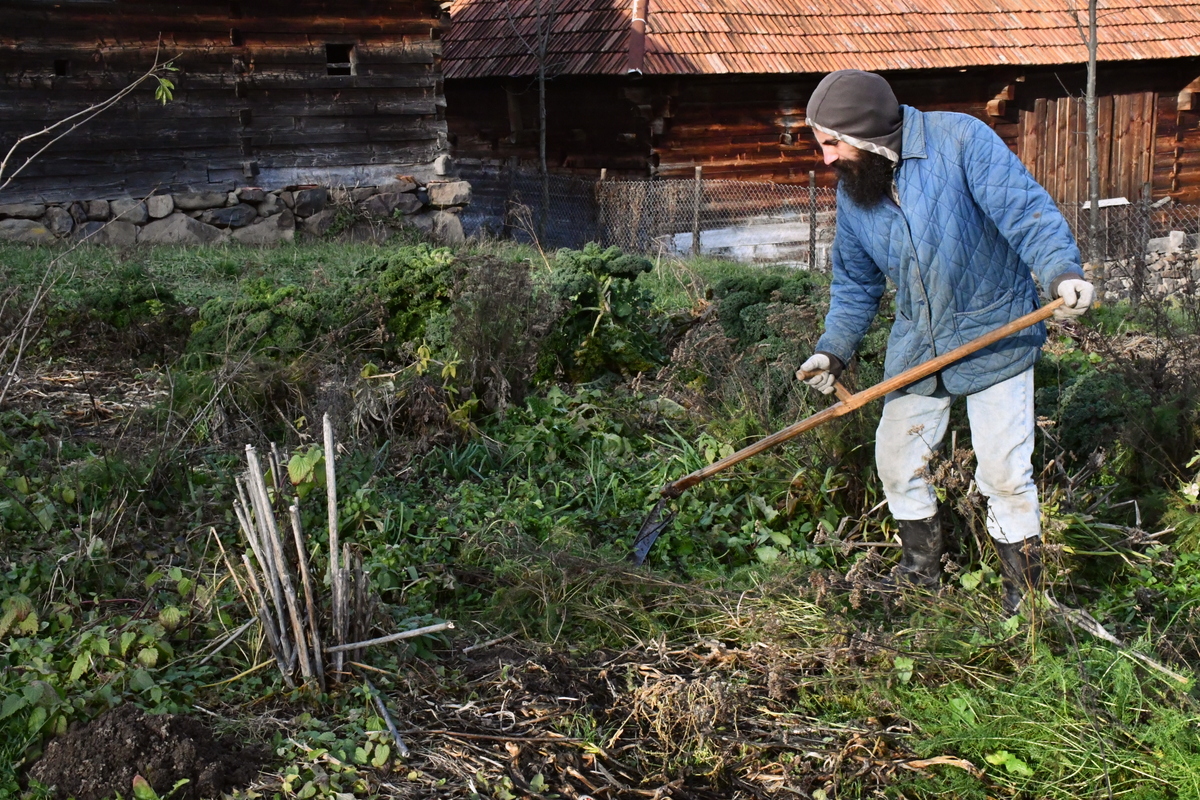
Now that December has arrived, surprisingly without snow, we figured it was about time to prepare it for winter.
After a couple of hours of work in the garden, here’s what it looks like now:
It’s ready for all the snow and ice that the mountains have to throw at it. Why didn’t we put mulch down like most no-dig gardeners? We’ll get to that under Step 8. We have our experienced reasons. I’ll give you a hint; it has to do with a long, wet and cold spring.
1. Plant Your Last Bulbs and Seeds for the Year
Before you do any weeding or pulling up of spent plants, the first thing you should do to prepare your garden for winter is to find some space for fall-planted vegetables. Keeping a simple crop rotation in mind, search for an area where the crop you are planting hasn’t been for at least two seasons.
This year both onions and garlic went into the ground in late autumn to get a head start on spring growth.
In keeping a no-dig garden, you may find that your planting habits change over time. At some point, you’ll come to the realization that in nature, plants often drop their seeds on the ground, and those do not germinate right away. They choose to remain dormant throughout the coldest weather, only to emerge as the soil in spring warms up.
In essence, this is cold stratification, and some plants were born for this. In gardening terms, we call this pre-seeding. And it’s a strategy you might want to try in your own garden.
However, the ability to take advantage of this depends greatly on your climate. It’s best if the freezing part of the year remains frozen, not a cycle of freeze-thaw-freeze and repeat.
Besides perennials, garlic and onions, you could also try fall planting the following seeds:
- beets
- broccoli
- carrots
- cauliflower
- kale
- leeks
- mustard
- peas
- radishes
- spinach
- Swiss chard
Related reading: 10+ Perennial Fruit & Vegetables To Plant In Fall
2. Mulch Tender Plants Before the First Frost
Usually, by this time of the year, snow has already fallen, and the haystacks in our backyard are covered with blankets of white. This year the grass is green, and the mud is slippery. One thing that is for sure is that frosts are inevitable and surprising.
If the sky is clear at night, you can bet it will be cold in the morning. But will it be frosty?
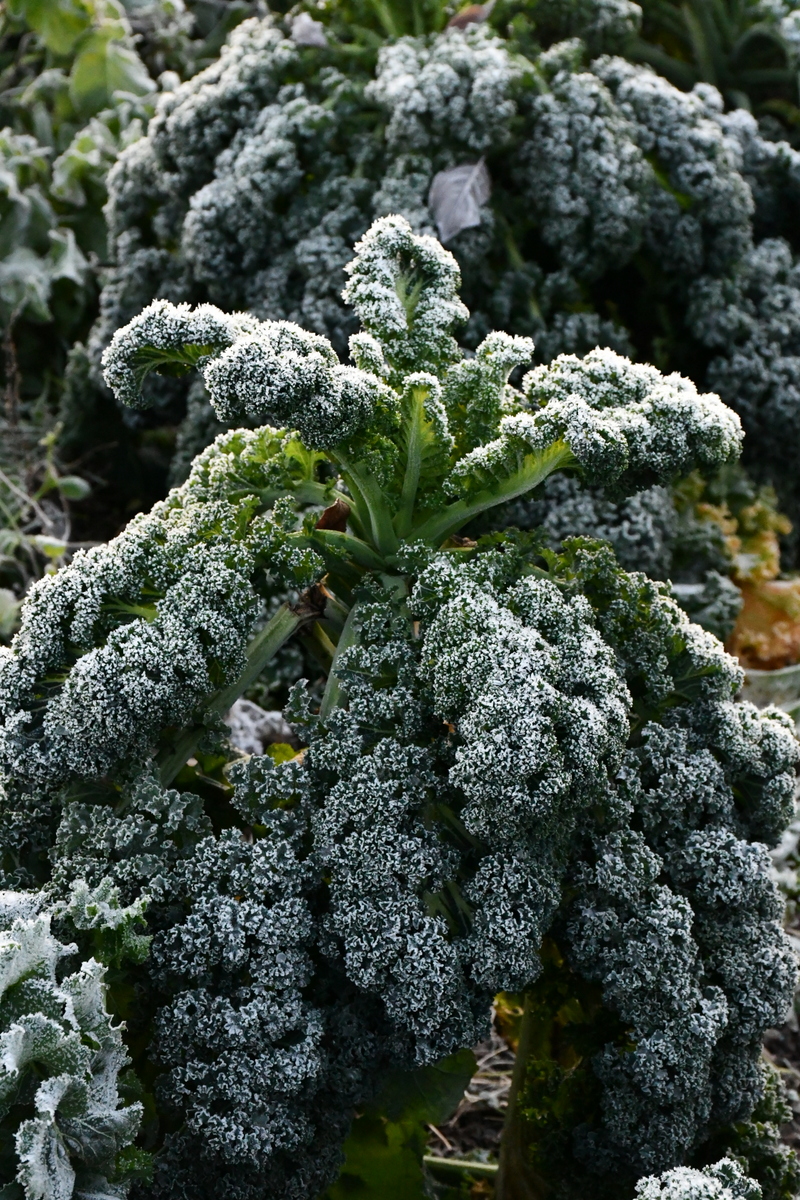
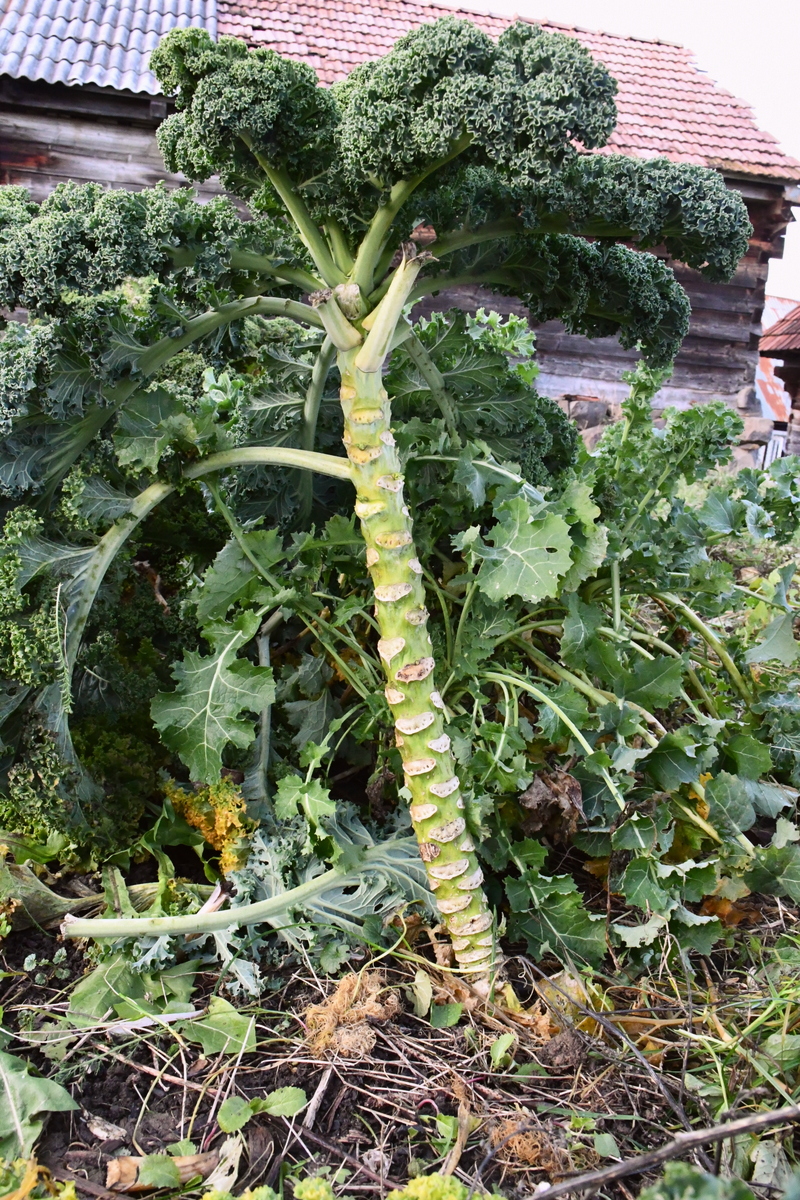
Sure, the kale can handle it.
But can the beets handle the morning freeze? The tubers more or less so, but the greens are more tender. So are the leaves of the Swiss chard.
If ever you are unsure about the erratic temperatures, go ahead and mulch any crop in your no-dig garden before the frost comes. Hay or straw is perfect for this. Then when you finally have time to make that borscht, go ahead and uncover them and pull them up.
In any case, know that beets can be stored in the ground. You can also do this with carrots, parsnips, turnips and rutabaga, so long as temperatures don’t dip below 25°F and they are covered with a generous layer of mulch.
Related reading: 5 Ways to Grow Vegetables Over the Winter & Year-Round
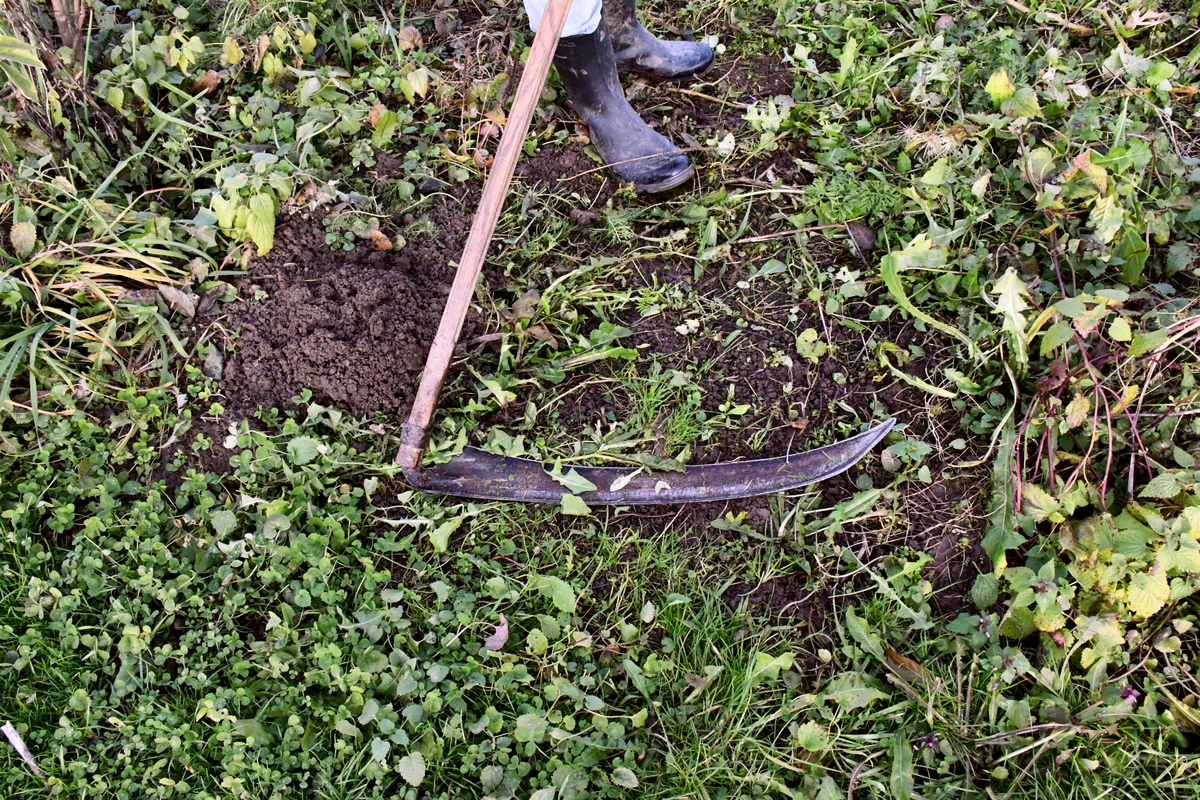
3. Prune Perennials and Divide Roots
Late fall to early winter is also a wonderful time to prune back those perennials, whether they are in your garden or flower beds.
Lemon balm is one of those perennial must-have herbs in the garden. It grows and grows till it can’t grow anymore. Hopefully, by then, you’ve eaten or drunk the essence of plenty of fresh leaves and cut some branches for drying.
Because it grows so vigorously, we cut it nearly back to the ground with pruners.
The same goes for mint, though we take a scythe to that because it is a much larger patch.
If you want to decrease the amount of space that your perennial herbs take up, now is a good time to divide their roots and gift them to other gardeners. No matter what kind of garden you have, to keep herbs happy, they should be divided every two to four years. Dividing plants isn’t a yearly chore, but an on-demand one; it all depends on what you have growing in your garden.
Here is a list of more perennial herbs that can be propagated via root division to prepare your no-dig garden for winter:
Once you’ve got the perennials in order, it’s time to bring in any late crops for fresh eating, fermenting or storing somewhere cold.
Also, use this time to leave a couple of biennials in the ground for next year’s seed stock.
4. Harvest Late Crops and Store Them Properly
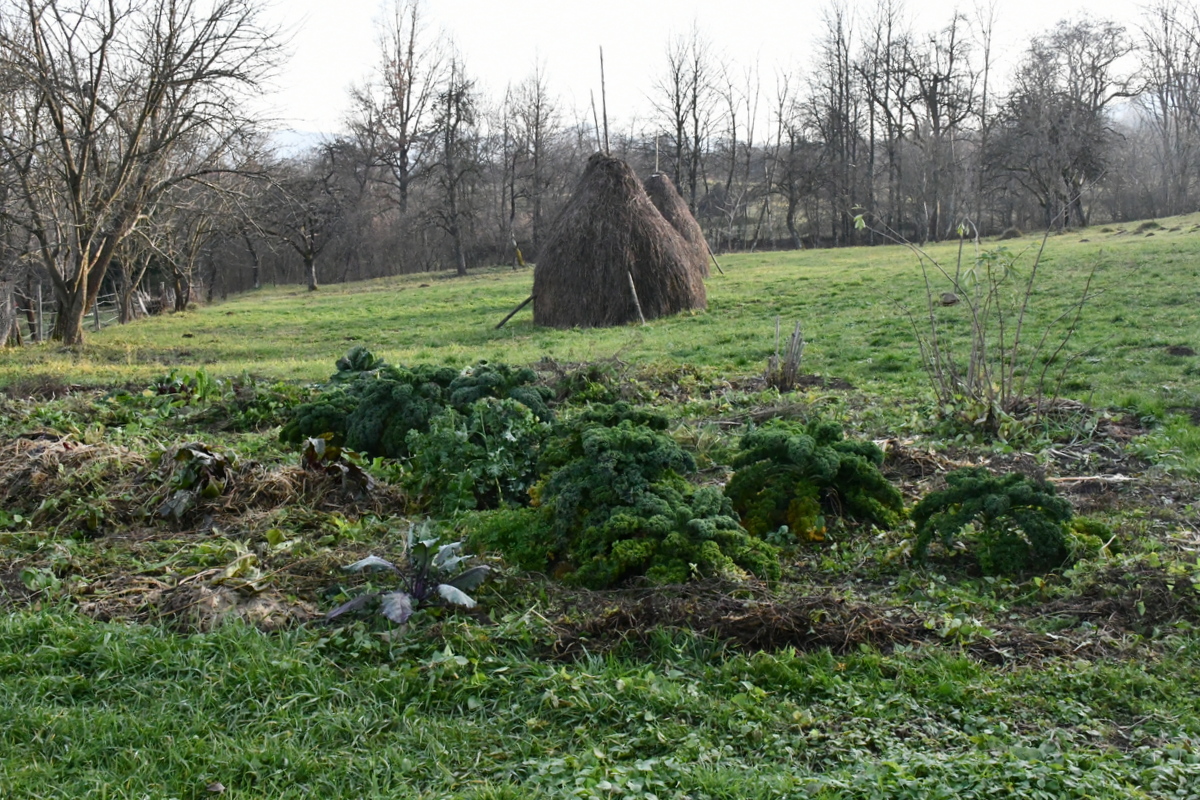
The latest edible crops this year in our garden are Swiss chard, beets, cabbage and kale, with kale being the hardiest. This fall and entrance to winter has been extremely mild, so we’ve only had to cover the beets once before a light frost. They’re still hanging in there, leaves and all.
Swiss chard is one of my garden favorites since it’s edible from spring to winter. As it never gets too hot here, it never bolts. In my opinion, this makes it far superior to spinach.
We simply leave the chard in the ground for as long as it lasts, as there’s no convenient way to store it without a fridge or freezer.
Beets receive a similar treatment in our no-dig garden; they get to stay as long as they can handle the cold. Though we will soon cover them with another layer of mulch before the first snow arrives. We’ll be able to locate them by the mounds that cover them. If they do start to go bad, it’s either borscht or fermented beets for the save. Quick pickled beets are another go-to recipe.
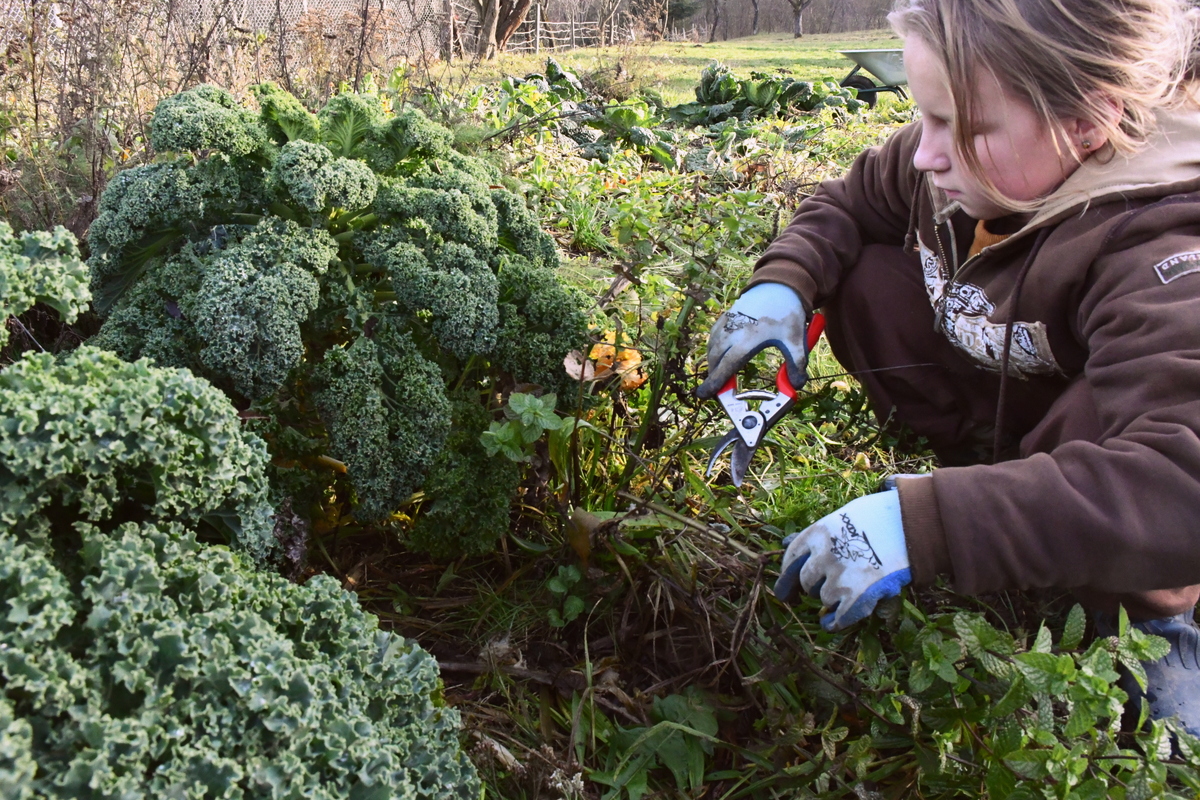
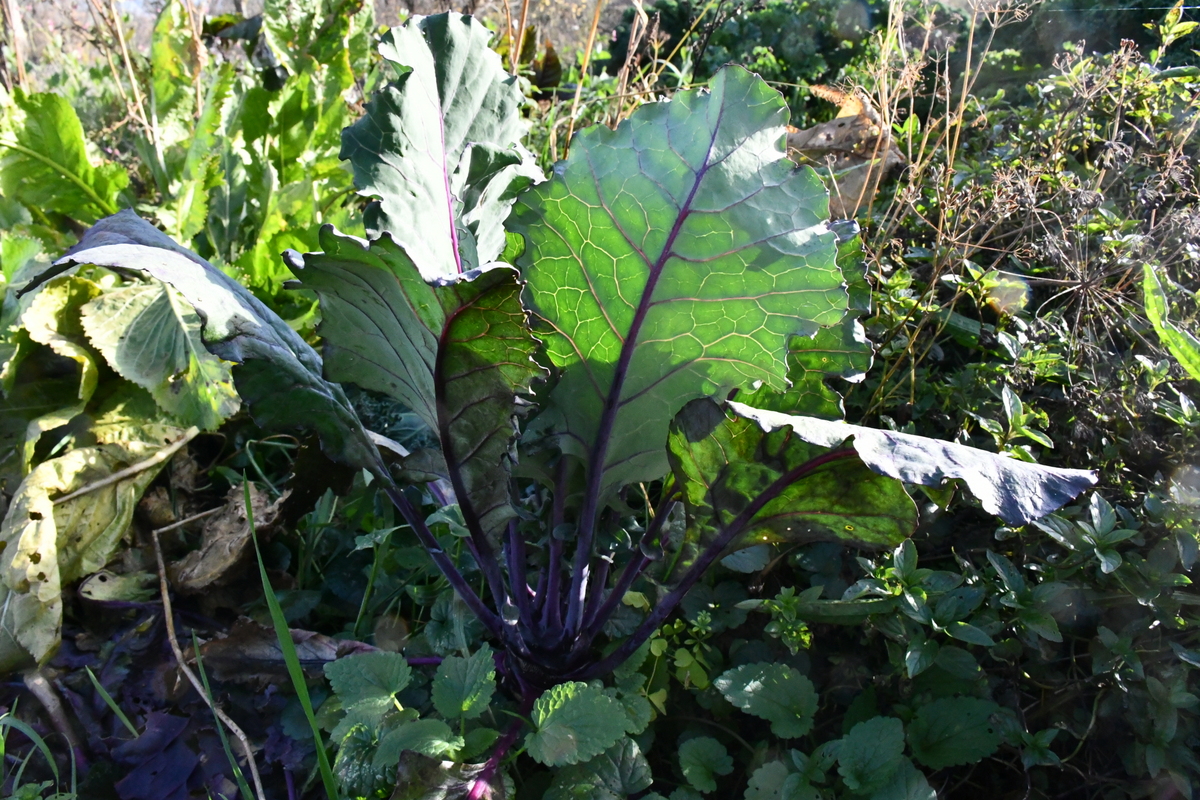
In preparing our no-dig garden for winter, we also harvested the remaining heads of cabbage, pulling off the damaged outer leaves and setting them atop a pile of hay in the cellar. We’ll manage to eat these up in the next month.
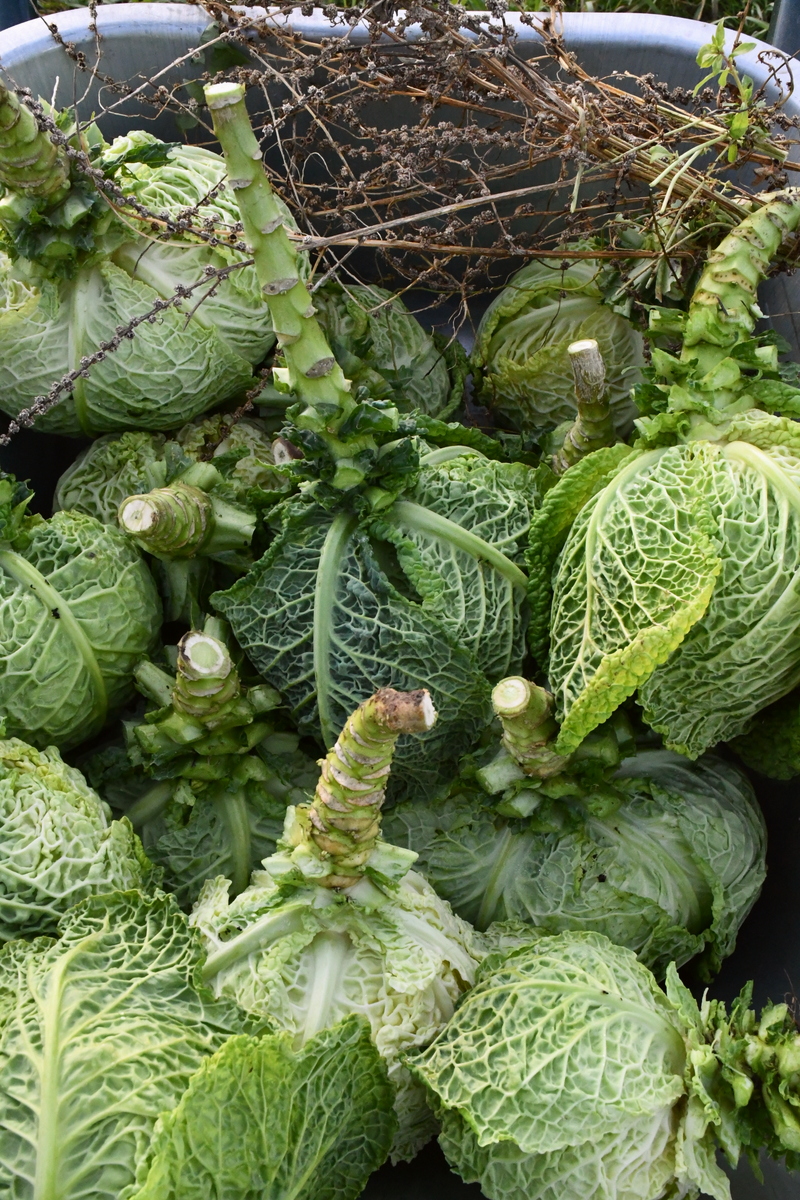
As for the kale, it was just too much for our small family and as beautiful as it is, I don’t think we’ll be growing the same next year. That’s one of the beauties about gardening – you get to try out new plants and varieties till you find something you want to eat more of. Although we did leave two heads of cabbage in the garden to go to seed, we’ll also replace the current variety with a more dense variety next season. Good thing there are multiple to choose from!
Don’t forget to harvest some extra horseradish for the holiday season too.
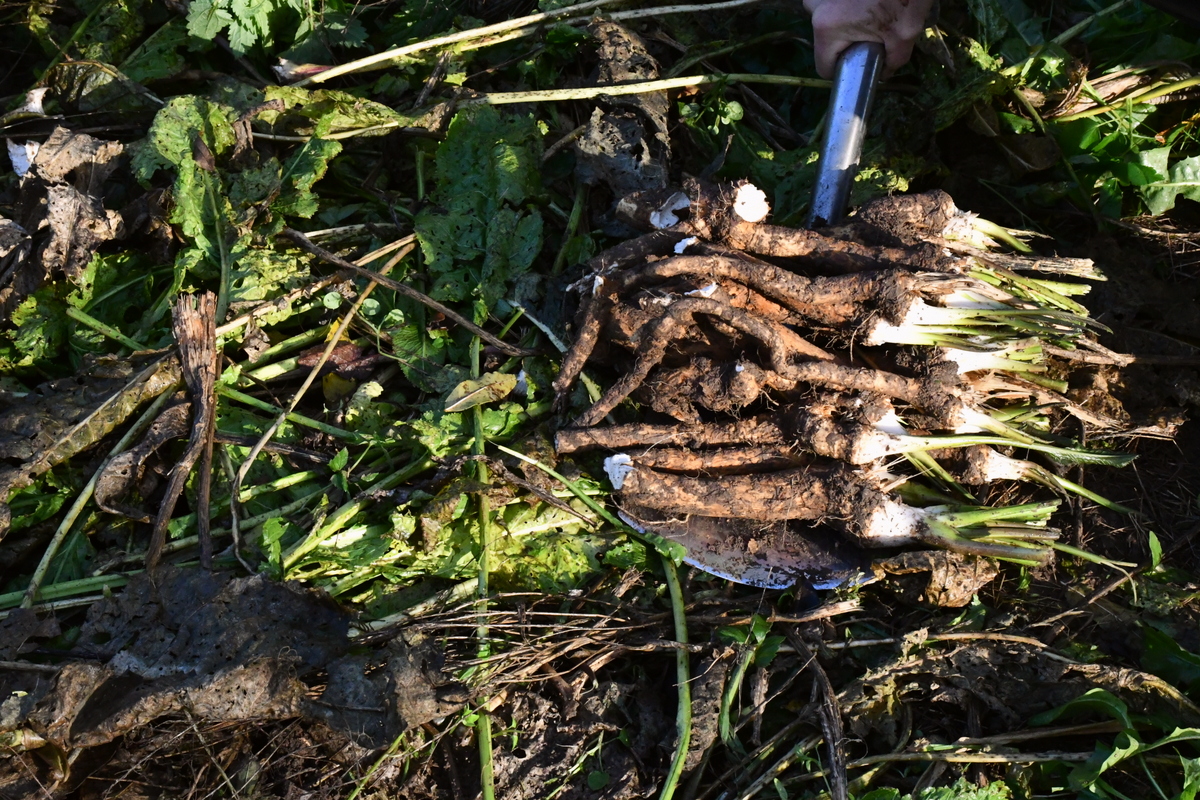
While the ground is a perfect place to store horseradish, it’s nice to have some handy in the cellar.
5. Pull Weeds
Some gardeners pride themselves on not having weeds, while others struggle to keep up with all that nature has to offer. At some point, most of us just let it go late in the season and end up with more wild greens than we bargained for.
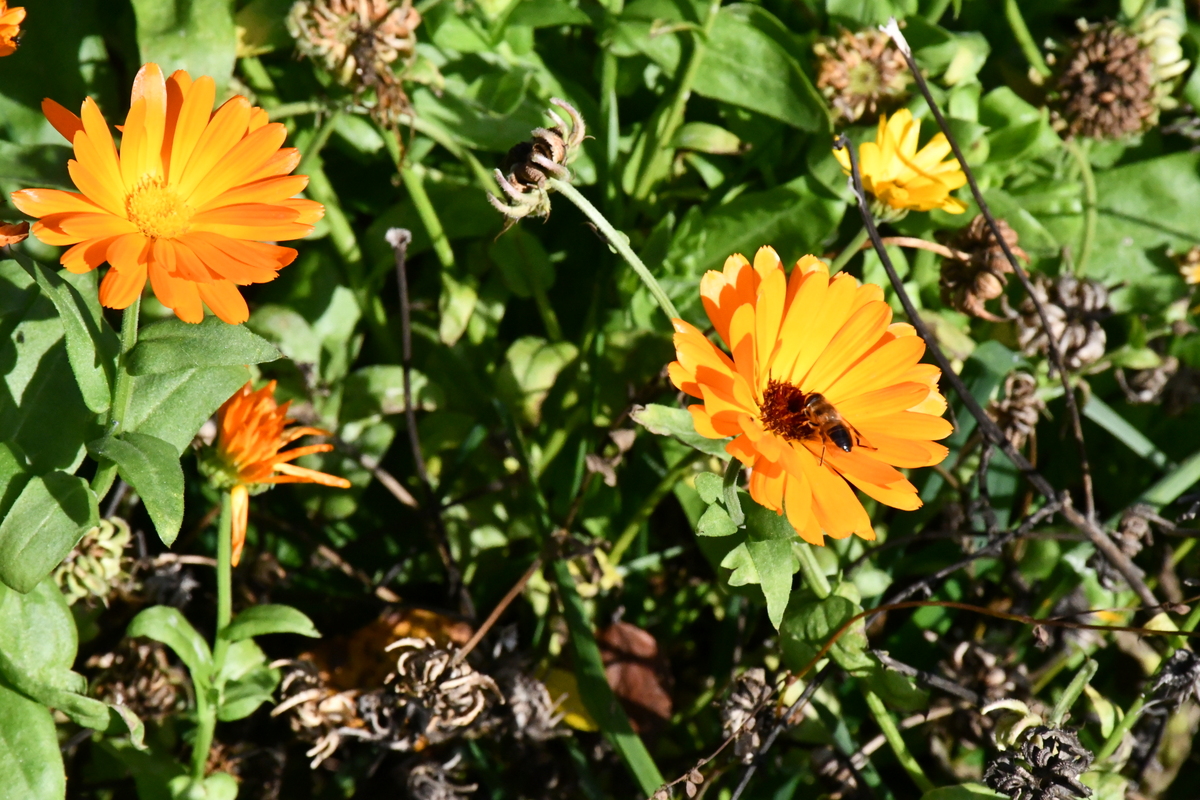
Let me just put it out there that some weeds are actually good for your garden. Some, like yarrow, attract all sorts of beneficial insects, plus you can concoct tinctures and healing teas from the flowers and leaves.
Outside of wild herbs, other “weeds” may also show up in your garden. For instance, goosefoot or fat hen (Chenopodium album). It’s edible to you and also for birds foraging in winter too.
In preparing your no-dig garden for winter, there may be times when you want to leave a few weedy specimens around the garden. You choose when and where.
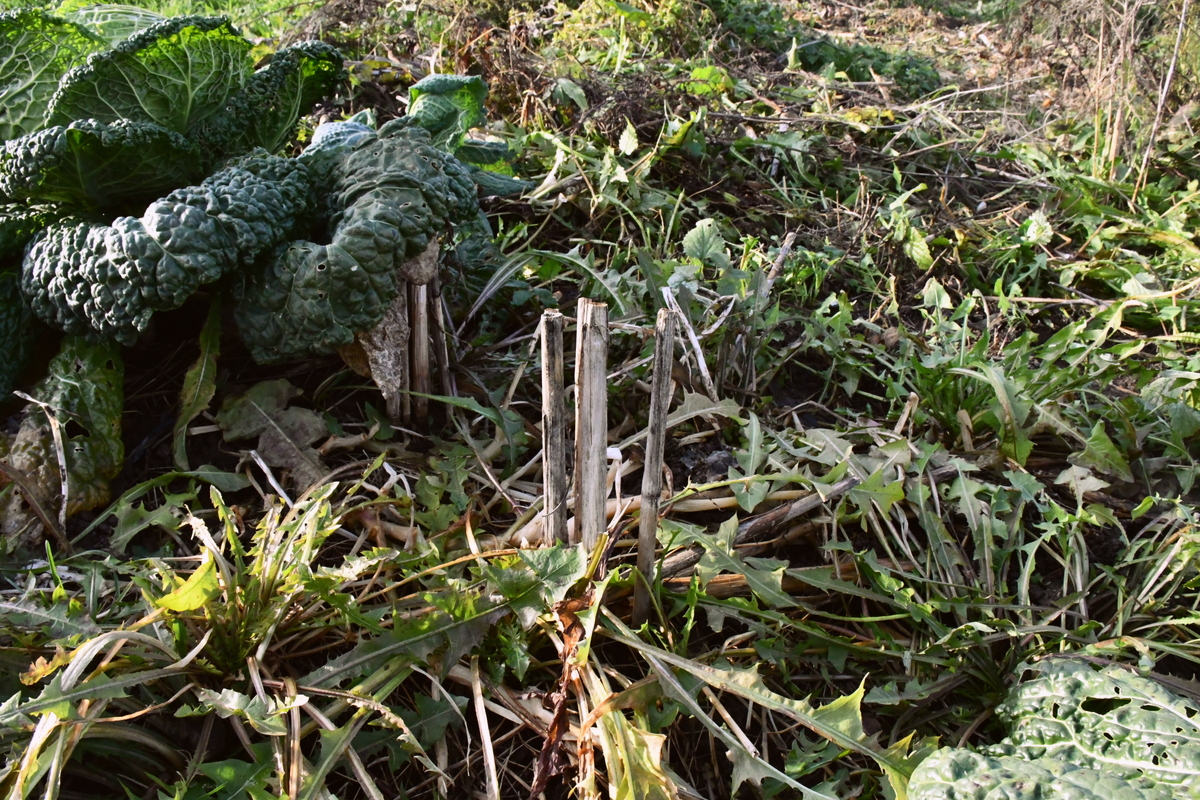
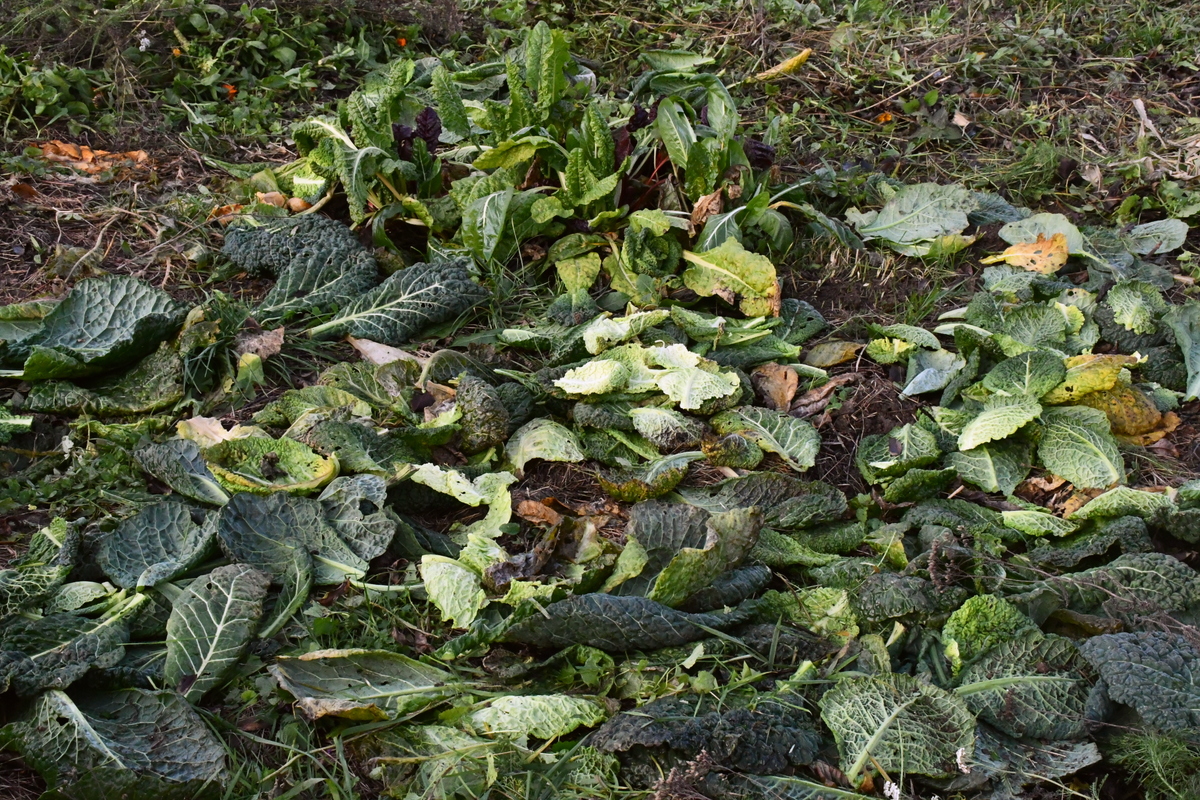
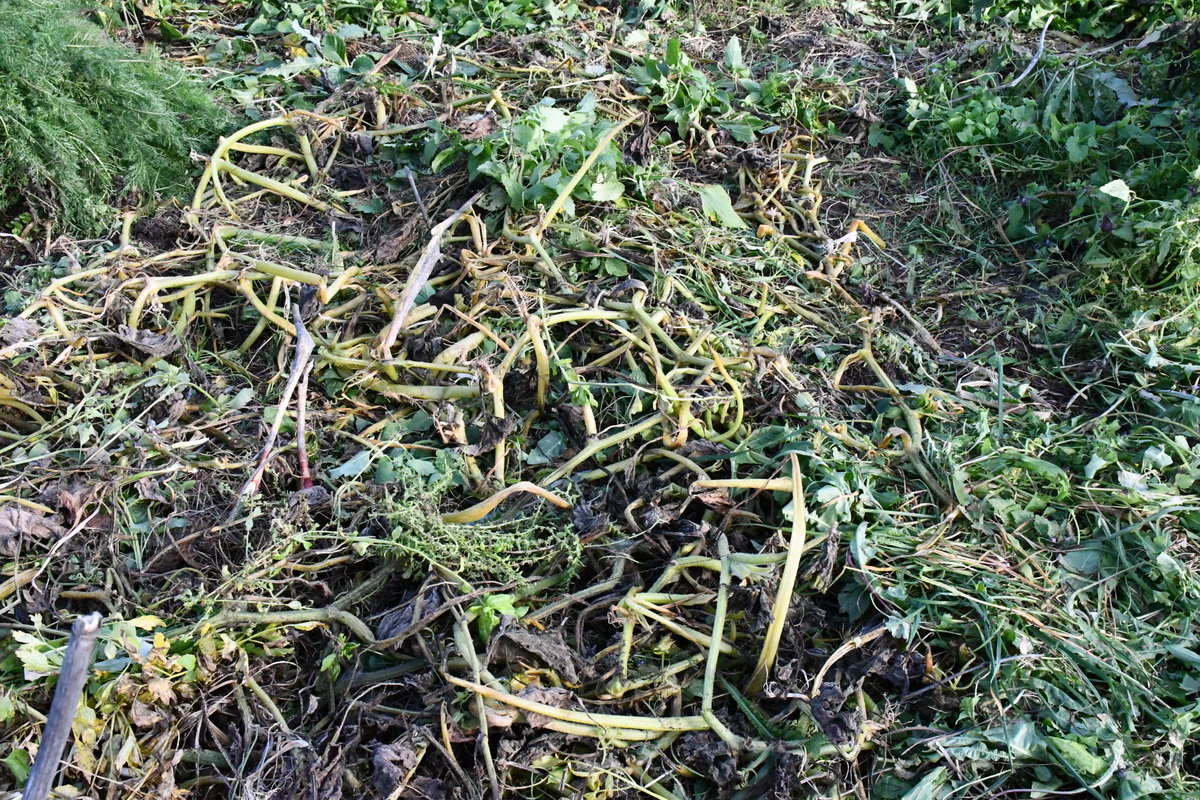
As for the rest of the weeds, or greens, as we tend to call them, we tend to pull them up (detach the roots from the ground) and leave them on top of the soil. This is the winter layer of mulch.
If the plants are healthy, there is no harm in allowing them to decay right where they lay. It all adds to the soil in the end. Naturally, diseased plants will be removed, dried and burnt.
Don’t stress too much about what stays and what goes. Pumpkin vines will break down over winter. The roots of cabbages, not so much. When we harvest cabbages, we leave the roots in the ground as we harvest with pruners at the soil line.
6. Leave the Leaves and Pull Out Stakes
When the plum leaves from the tree by the fence fall onto the garden, we are happy because that’s free mulch. We don’t even need to do anything. No removal, no raking. Just sit back and let nature help us with our gardening.
Of course, you wouldn’t want walnut leaves on the ground where you grow food, but chances are good that you aren’t trying to grow a garden by a walnut tree anyway.
Leaves actually make a fantastic mulch as they break down quite rapidly over the winter, providing necessary food for insects and earthworms, also nutrients to the soil. If you don’t want to leave them on your lawn, now is the time to bring them to the garden – or make a leaf mold if you haven’t done so already.
In a good dry autumn, we often bag dry leaves and save them until spring. They make a nice lightweight mulch to cover freshly sown seeds.
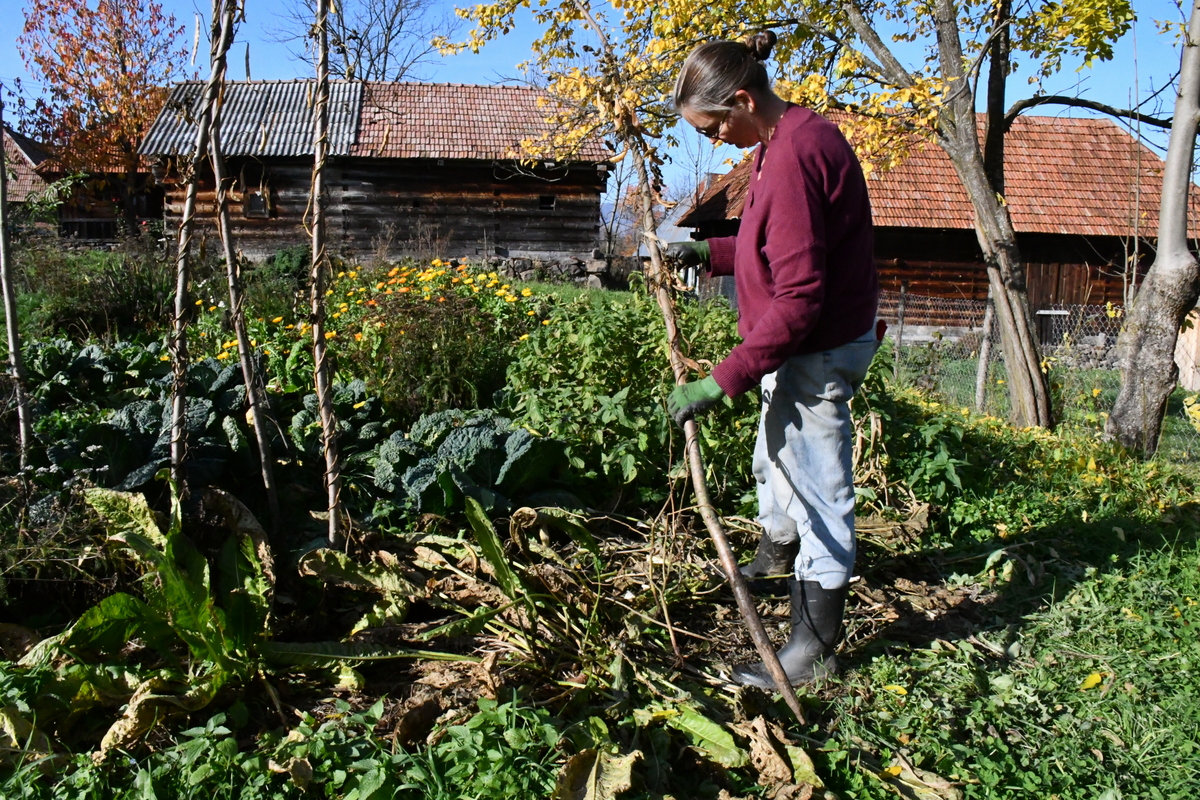
If you’ve used any tomato cages or other vertical growing devices, now is the time to remove them and store them out of the elements for reuse next growing season, or else use them as nice and dry kindling.
7. Add Compost to the Ground to Prepare Your No-Dig Garden for Winter
Compost can be added to your garden at any time of the year, though fall is probably the best time to lay it down so that the nutrients can fully incorporate into the soil.
Conventional gardening always has you digging the ground to mix the compost in. But we’ve made it easy on ourselves, and when we apply it (in spring or winter), the compost simply sits on top of the ground. Perhaps covered by a layer of mulch and let to rest throughout the winter. Again, nature helps us out by breaking it down via rain, snow, earthworms, bacteria and fungi. No technology can replace that.
Late fall and early winter is also a good time to apply compost to your garden because you have fewer chores to accomplish in general. It’s a great way to maximize your time; after all, once the temperatures warm up in spring, you may be too busy with other tasks, such as mulching and seeding.
Related reading: How To Prepare Your Garden Beds For Winter
8. Apply Mulch Where Necessary – Or Not
In preparing your no-dig garden for winter, you should definitely be thinking in terms of mulch. When, where and how much?
Mulching your garden definitely gives you an advantage: more control over weeds, improves the texture and nutrient content of the soil, protects against fluctuating temperatures and conserves moisture in the ground.
When applied at the right rate at the right time, it can really help your garden crops.
However, we’ve switched our strategy to mulching in spring instead. Read on to find out why.
Or not to mulch…
Our biggest reason for not putting down additional mulch in late autumn is the slow progression of the typically crisp and moist springtime here in the mountains of northern Romania.
Over the years, we’ve experienced several failed crops along with the slow emergence of sprouts due to the soil that remains consistently cold and wet under a heavy layer of mulch. So we stopped mulching in the fall, other than leaving the plants that are pulled up (detached) from the soil.
Our second reason not to mulch in fall is that the neighbor’s flock of chickens wanders further and further once the snow has melted in spring. This means our garden, with some soil peeking out here and there, is a prime foraging location. The birds love it, and we love their digging presence too.
At first, we tried to hush the chickens away.
Seeing as how that didn’t work, we let the hens and the random roosters do their busy work of scratching the ground. Turns out they were finding plenty of insects to eat, and since we weren’t doing any digging, they were helping out to loosen the soil. They wouldn’t have even tried if the soil was covered with 6″ or more of mulch.
How did they stop coming? Well, when the neighbors finally got around to planting their own gardens, they locked their roaming chickens back up in their yards. After all, you can only have so many fences.
The only mulch going on our no-dig garden this fall is the green growth that it put on over the summer.
9. Plant Cover Crops
The longer you garden, the more you’ll find that the soil always finds a way to be covered. Whether it be cloaked in growing sprouts or weeds. Or perhaps somewhere in between.
Besides garden mulches like leaves, hay or straw, you may want to consider planting a living mulch to keep the soil covered.
Cover crops will help prevent erosion, at the same time adding nutrients to the soil. Clover and alfalfa (both legumes) will also help fix nitrogen in the soil. Remember that nitrogen is essential for plant growth as it boosts leaf development and aids in the formation of healthy flower buds.
In addition to clover and alfalfa, you could also try sowing seeds of oats, winter rye or hairy vetch while the soil is nice and moist. Simply broadcast the seeds over a patch of ground and cover it with a thin layer of mulch.
In spring and before the cover crop matures, you can scythe or mow the greens. Again, let them lie directly on the ground. When you come to think about your no-dig garden in layers, you’ll begin to understand that there is no organic matter that it cannot absorb. Not even bones, if those are previously burned – then they become really crumbly; we’ve tried it with bird and pig bones from our diverse meals.
10. Take Notes of the Plants In Your Garden to Prepare for the Next Growing Season
Before you get to ordering next season’s seed catalogs, use this quiet time to reflect upon the performance of your garden.
Did you enjoy the flavor of all the crops you grew this year? Were some lacking in palatability?
For example, we’ve grown yellow zucchini in the past, and we enjoyed it, so we tried it again. Albeit with whatever seeds we could find at a local gardening store. As long as the package said the crop would be yellow, we were willing to give it a try. It grew well enough or rather took up space in the garden.
The pretty yellow fruits were near flavorless and hard, even at a young age. It was nothing like our large and tasty zucchini harvests of the past. So, we’ll scratch that off the list for planting again next year.
Another thing to consider is whether or not you had food to harvest at the right time. Are there earlier or later varieties that might suit you better?
Maybe those underperforming plants weren’t your fault after all. Identify what they were and make plans for some new trials next year.
At the same time, reflect upon what was too much (for us, it was kale).
Also, think about what you didn’t get enough of (more carrots, parsnips, salsify and other root vegetables next year, please!).
11. Clean and Sharpen Your Gardening Tools
When winter arrives, gift-giving shortly follows. While there’s a gift for every gardener, there’s also something to be said for taking good care of the tools you already have.
Quality tools can last for years and years, whereas lower-quality ones will barely last a gardening season. Ultimately, go for what gets the job done at the time – and make sure to clean and sharpen them when the garden is put to bed for the year.
As your garden soil hibernates, take time to sharpen your pruners and wash and sharpen your spades/hoes; not that you’ll use them too much in your no-dig garden, but hey, you need to get that deep-rooted horseradish out of the ground somehow. Here’s how to clean, maintain, sharpen and store your garden tools, so they last forever.
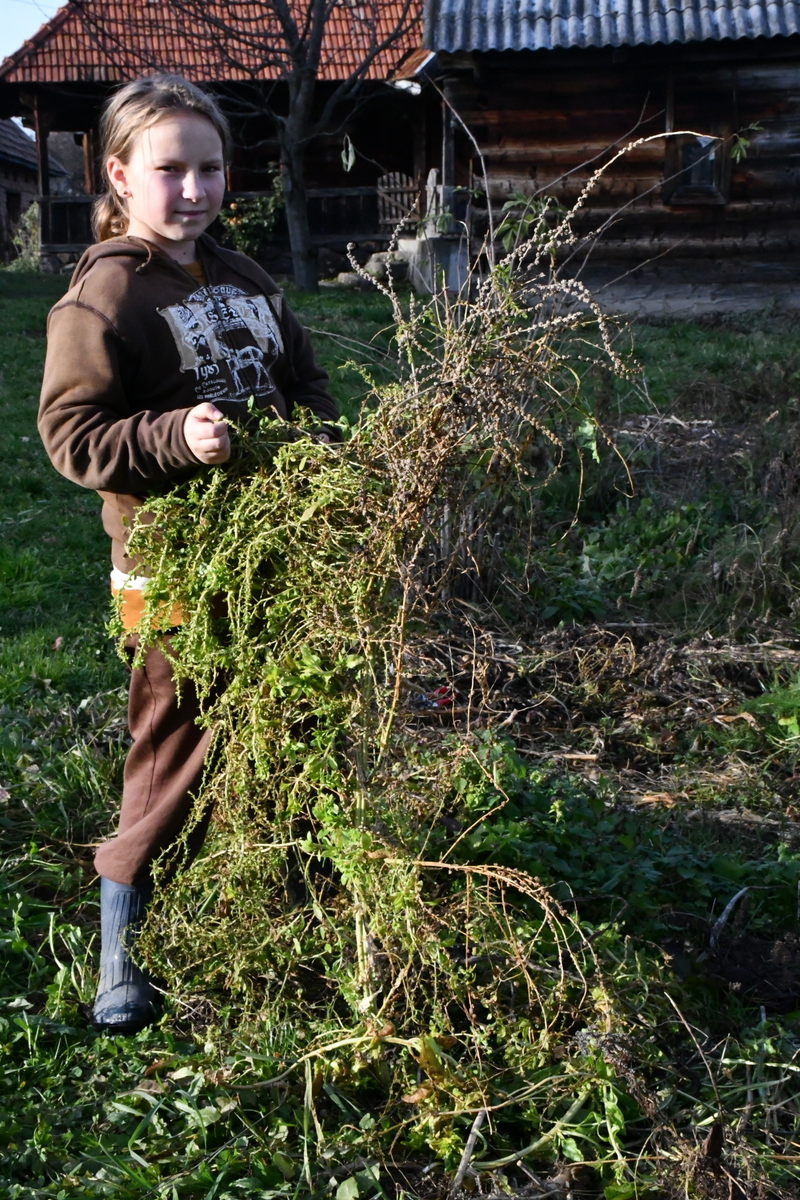
More hands make light work in preparing your no-dig garden for winter.
As you shut down your garden for winter, get some extra helping hands if you can. Children should always be part of the process; that’s how experience is passed down from one generation to the next.
All it takes is a couple of hours of work in a small garden to prepare it for the cold weather to come.

Get the famous Rural Sprout newsletter delivered to your inbox.
Join the 50,000+ gardeners who get timely gardening tutorials, tips and tasks delivered direct to their inbox.