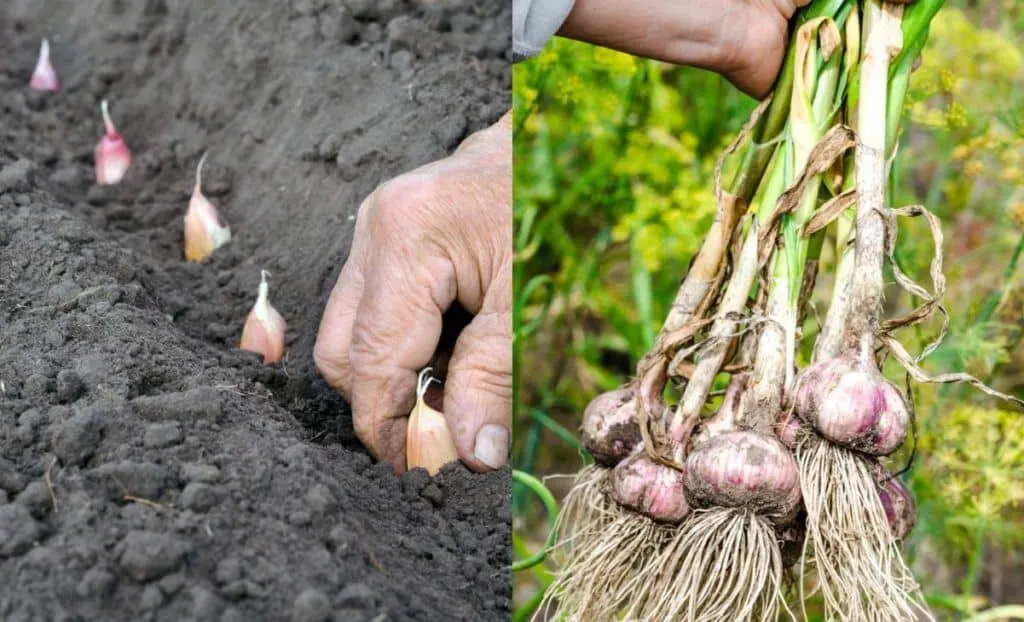
Fall is sneaking up on us quickly, which means it’s time to get digging in the garden to plant your garlic!
Garlic is one of the few crops that you plant in the fall in order to harvest in the following summer.
Read More: 10 Vegetables To Plant In The Fall For A Spring Harvest
Why do you plant garlic in the fall?
Planting garlic in the fall gives the crop a head start in development, so when spring rolls around it grows faster and hardier.
Fall planting allows the garlic to start its root development early without giving it a chance to sprout leaves yet.
Fall planting time depends entirely on your climate and growing region.
It’s general practice to plant garlic between mid September and mid October, but those dates may change if you’re growing in very short or very long growing seasons.
Can you plant garlic from the grocery store?
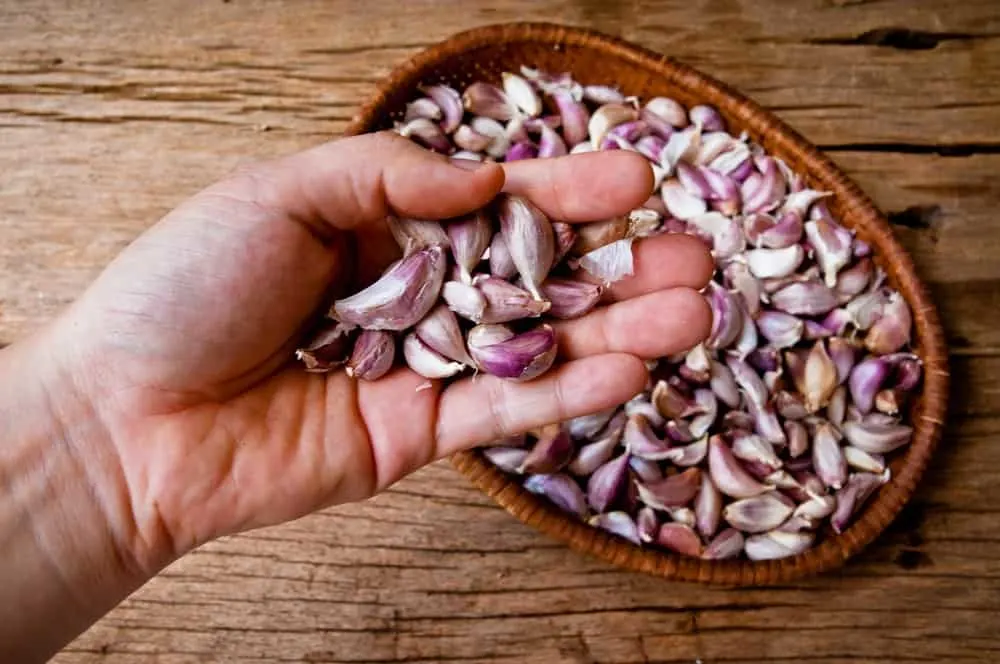
This question is complicated.
Yes you can plant the garlic cloves that you buy at the grocery store, but it’s likely they won’t grow as well for you as cloves purchased from a trusted gardening source.
Grocery store garlic often has growth inhibitor sprayed on it so it won’t sprout, or at least will take longer to sprout. This is obviously not what you want if you’re trying to grow garlic.
Additionally, grocery store garlic is likely from a much different growing region than your own and likely won’t grow as well in your climate as it would elsewhere.
With that said, you can of course try to grow garlic from the grocery store. We’ve done so in a pinch and it did grow, but produced very small bulbs.
Hard neck or soft neck garlic?
Garlic comes in two main varieties, hardneck and softneck.
Softneck garlic is milder in flavor, and is often what you’ll find in the produce section of your grocery store.
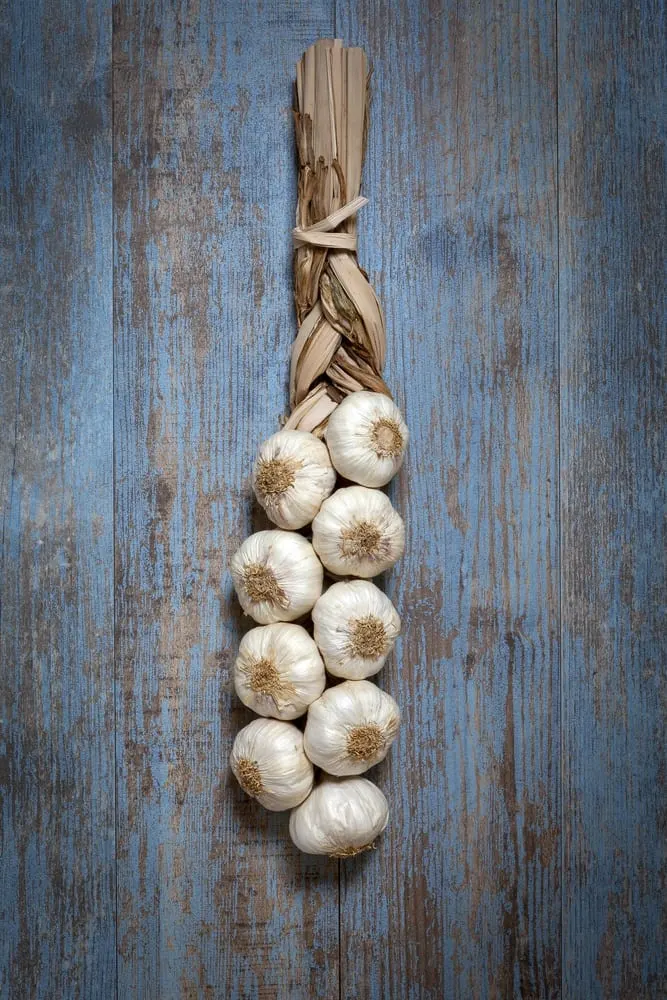
Softneck varieties tend to be easier to store and last longer, up to 9 months in the right conditions. Because of the soft neck, this type of garlic can be braided together for storage.
Hardneck garlic is well known for being hardier and thriving in almost any garden, especially those in colder climates.
Hardneck varieties develop the characteristic garlic scape, a flowering stem, during the summer. The scapes are edible and should be cut from the plant so as not to take precious energy away from the growth of the bulbs.
Hardneck garlic produces a single row of cloves around the stem, which is much different than the softneck which grows many cloves nestled together.
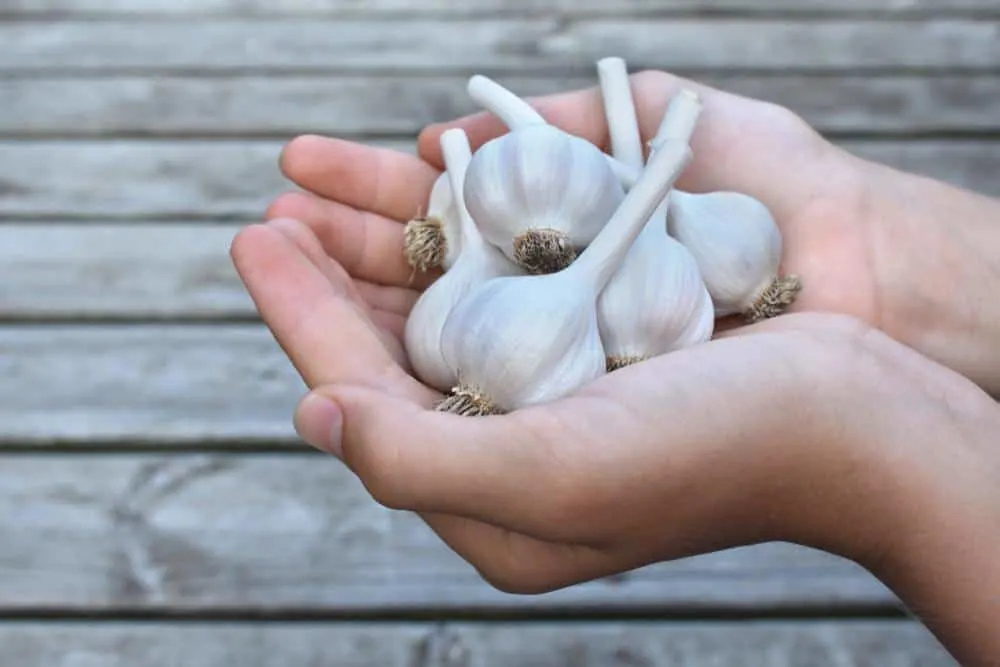
Unlike the softneck variety, this type of garlic will not store as long, it will generally only last about six months after harvesting.
As far as taste goes, most chefs and gardeners agree that hardneck garlic is more flavorful, and it’s prized for use in savory dishes.
3 garlic varieties to try growing
Fresh California Garlic – a softneck variety that’s easy to grow and a prolific producer. Mild flavor and great for storing. Purchase bulbs for planting here.
Chesnok Red Garlic Bulbs – a hardneck variety that can be grown in fall and harvested in early spring – or planted in spring and harvested in mid to late summer. Purchase Chesnok garlic bulbs for planting here.
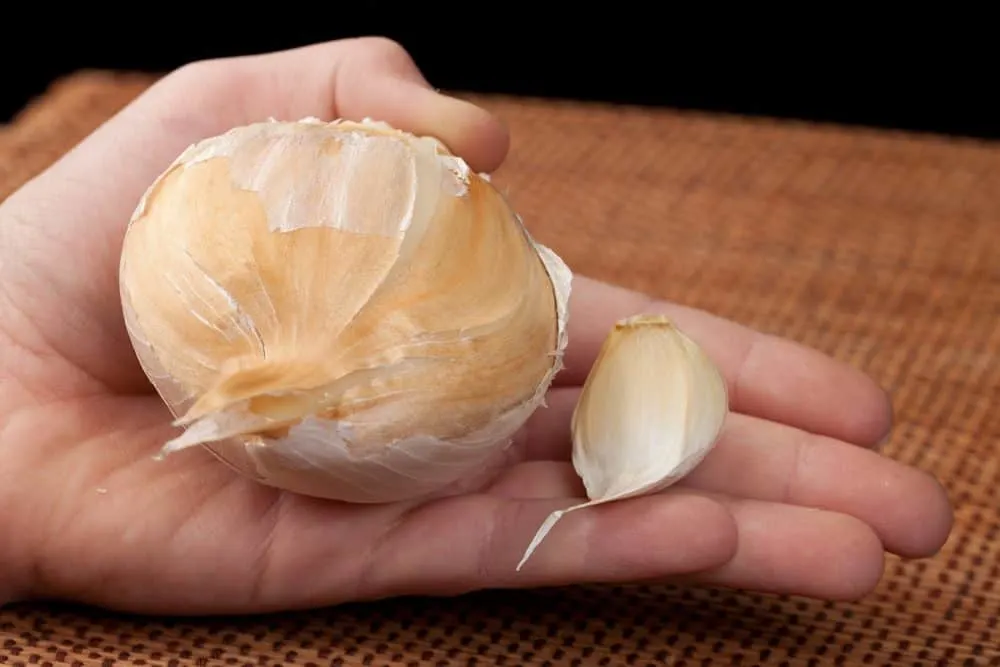
Elephant Garlic – this isn’t really garlic at all – but a bulb forming leek. Elephant garlic, as the name suggests, grows to an impressive size that will create a real talking point. It has a milder flavor. Purchase Elephant Garlic bulbs for planting from here.
Where do you buy garlic cloves for planting?
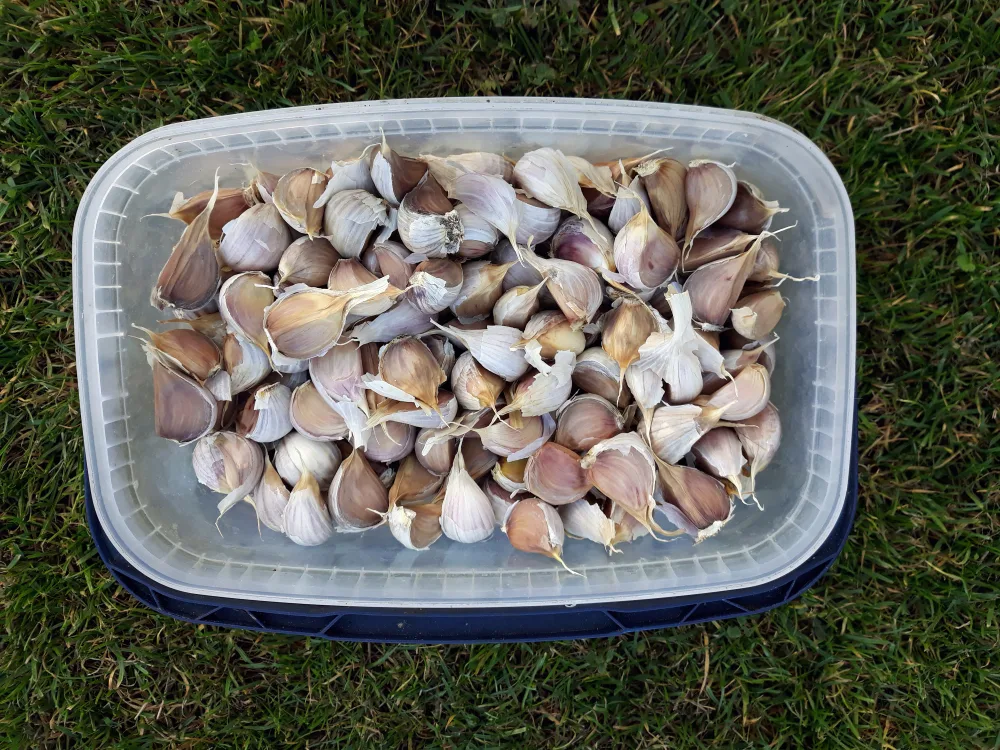
Garlic cloves for planting can be purchased at most farm stores, garlic farms, and seed catalogs. Do make sure you shop early though, seed catalogs in particular tend to sell out of garlic in the fall!
Most online catalogs allow for pre-order of garlic cloves starting in August or early September. Getting on that list will ensure you’ll have garlic when it’s time to plant.
Amazon – who act as a merchant for a number of specialist garden suppliers – also offer many varieties of garlic bulbs for sale that are ideal for both eating and planting. You can view the range here.
How to plant garlic cloves in the garden
Planting garlic is super simple.
Gently break up the garlic bulb to free all the cloves. Leave the cloves in their papery skin, but separate them from the bulb and from each other. Do so carefully so as not to damage the clove or tear the protective skin.
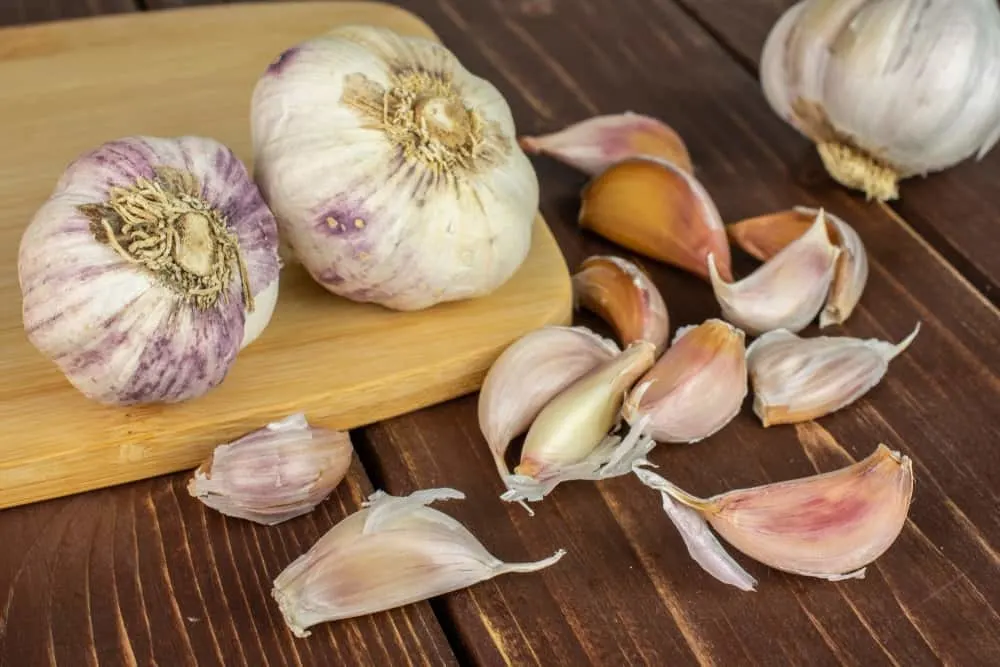
Remove any cloves that are pitted, moldy, squishy, or tiny. They won’t grow well in the garden and aren’t worth planting. You’ll be left with all the large and healthy cloves for your garden stock.
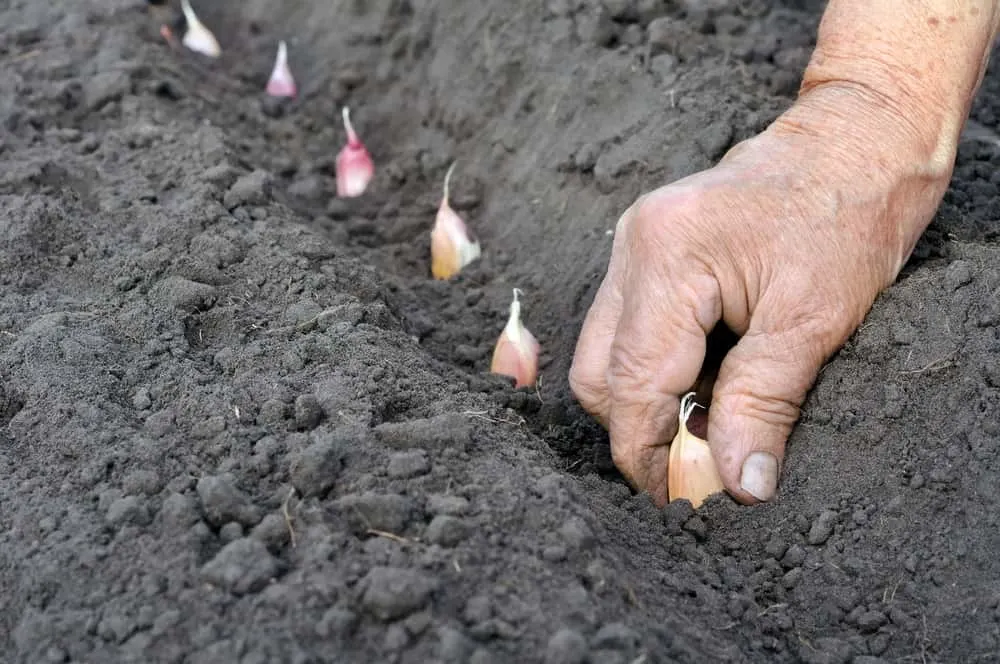
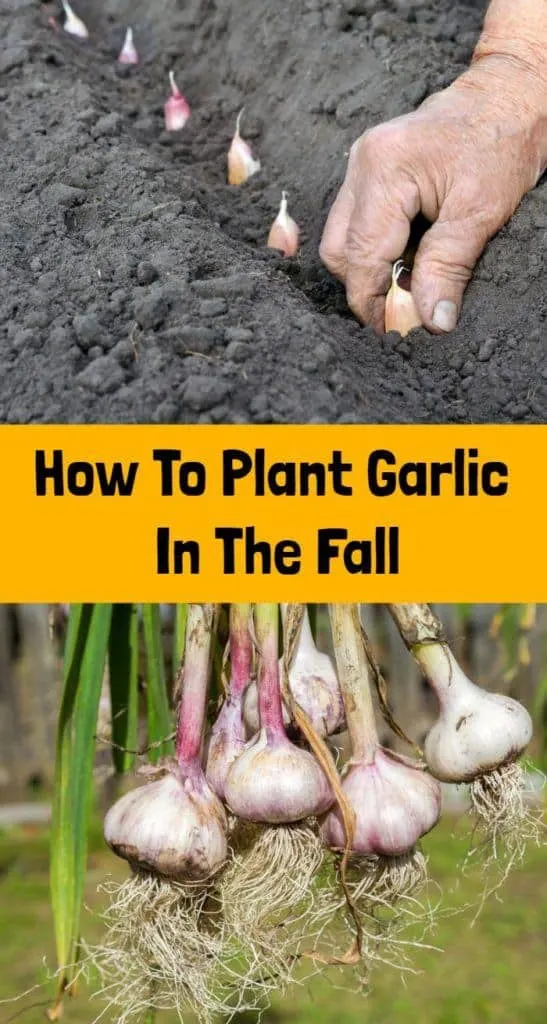
Each clove will be planted in its own hole. Dig the holes about three inches deep, and at least six inches apart from each other.
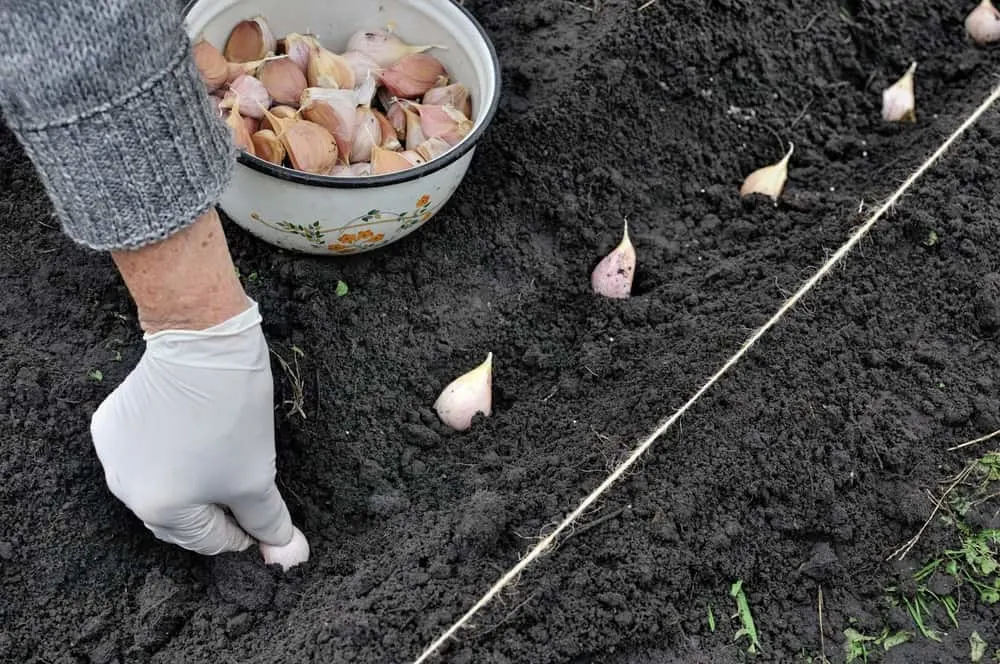
Drop the cloves of garlic into the holes, pointed side up. Cover the holes with soil and press down gently.
If you have fertilizer, aged manure, or compost, now is a great time to add it to the garlic bed!
Water the garlic bed then it’s time for mulching!
Mulching the garlic bed
You can use a variety of materials to mulch the garlic bed.
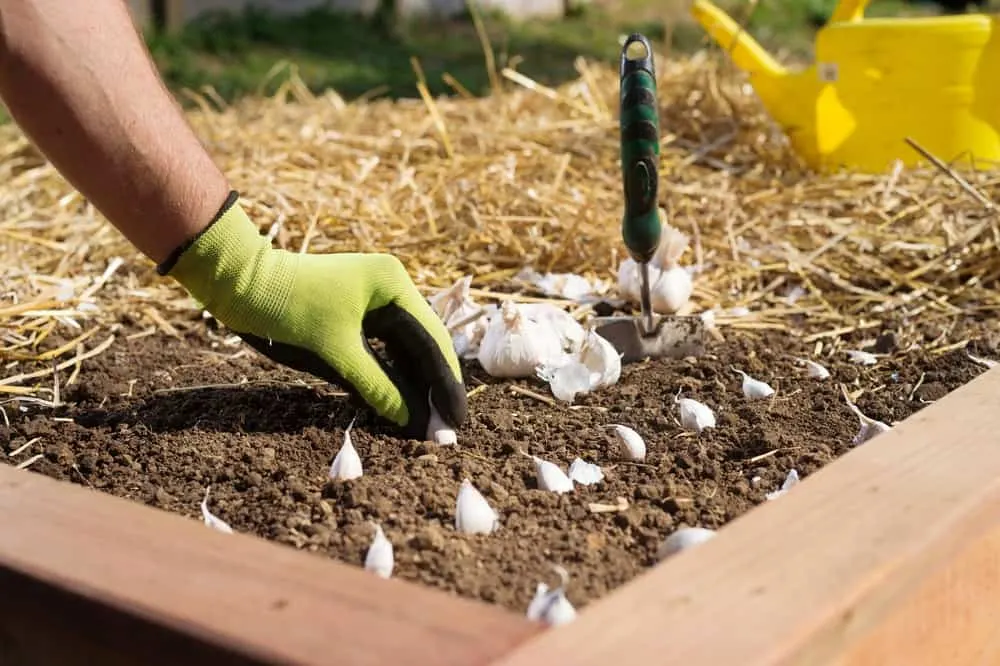
Organic materials like mulched leaves or straw are the best materials to use for mulching the garden. These will help to insulate the garlic in the winter, conserve moisture, and keep the weeds at bay.
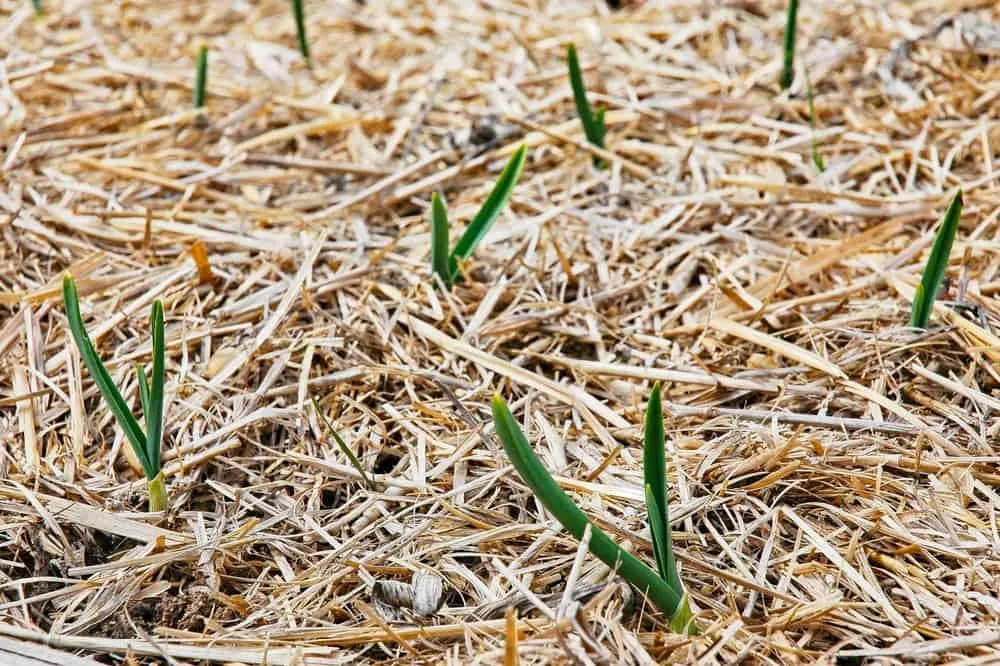
In the spring, the garlic will be one of the first crops you’ll see as it sprouts right through the layer of mulch.
Lay down the mulch in a thick 4 inch layer. This will help protect the cloves throughout the winter, yet will be easy enough for the garlic sprouts to push through in the spring.
If you are growing hardneck garlic varieties, then you can also enjoy a secondary yield of delicious garlic scapes right about mid-June. Here’s our guide to harvesting and eating garlic scapes.
If your region experiences an unusually warm and wet fall, your garlic may try to sprout a little early.
Don’t worry a bit about this, the leaves that sprouted will die when the cold hits, and new leaves will sprout in the spring.
Your garlic bed is now ready for the long winter, and we’ll see you back here in the summer when it’s time to harvest!
Harvest and Curing Garlic
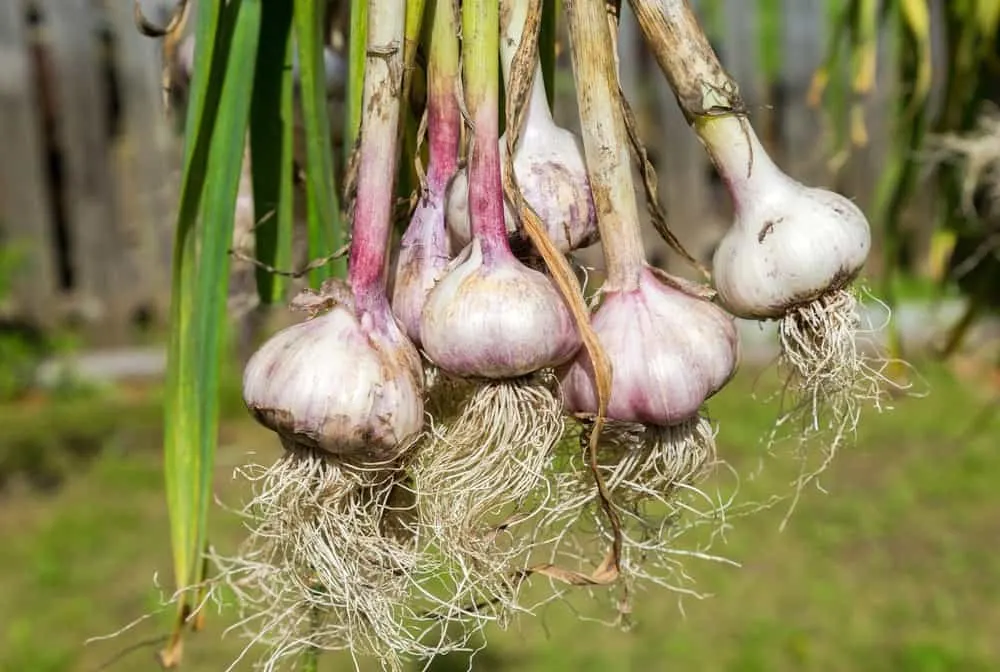
The garlic will be ready to harvest in the middle of summer. You’ll know it’s time when the outer leaves of the plant die off and turn brown. To harvest your garlic crop, carefully dig each bulb out of the ground.
It’s important to cure garlic before storing it.
Keep the green stems on the garlic and don’t wash it before curing. Lay each plant down flat in a row, then stack the next plants on top in a criss cross manner so the bulbs aren’t touching. Leave the garlic to cure in a cool, dry area with plenty of ventilation.
In 2-4 weeks your garlic will be ready to store!
At that point you can remove the stem, cut off the roots, and wash the garlic before storing it.
Here’s our in depth guide to harvesting, curing and storing garlic so it last eight months or more.
Pin This To Save For Later
Read Next: 10 Edibles To Plant In Fall For A Spring Harvest

Get the famous Rural Sprout newsletter delivered to your inbox.
Including Sunday ramblings from our editor, Tracey, as well as “What’s Up Wednesday” our roundup of what’s in season and new article updates and alerts.


