

So, you’d like to try your hand at making a broom, am I right?
Or maybe you are here to learn a thing or two about diversifying the bird feed that you can easily grow in your backyard.
Either way, let’s tuck into the subject of growing broom corn. By the time you’re done reading, all that’s left to do, is purchase some seeds and wait for the right time to plant them.
Then you can get rid of your plastic “broom”, sweeper, swifter, whatever you want to call it, and get back to your natural origins. If not for the sake of going plastic-free, then for the sake of returning to a simpler, self-reliant way of life.
Origins and a Brief History of Broom Corn
Although not for certain, it appears that broom corn (Sorghum vulgare var. technicum) originated in central Africa. How it spread to the Mediterranean and beyond, is anybody’s guess. I guess it just swept on through.
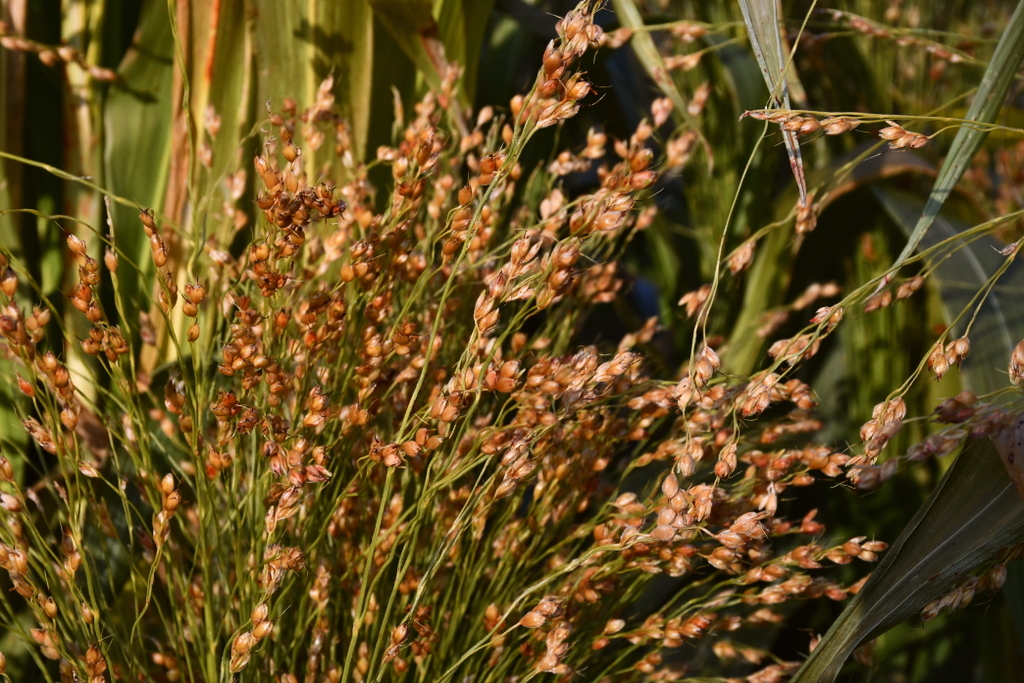
Sweeping the bad jokes aside, it seems that brooms were made first from broom corn in the Dark Ages. Due to its appearance, it immediately shows us what it wants to be – or to do. It’s even possible that some seed selection went along with helping to evolve the longest panicles (the loose branching clusters of flowers, like oats, growing singly from the top of each plant).
In the 1700s, Benjamin Franklin was credited with introducing it to the United States. From there it spread west as far as New Mexico and Colorado. But my question to you is this: have you ever seen fields of it waving in the breeze? Probably not, though you can attempt this by planting it in your backyard.
The sweeping sensation of broom corn production…
It’s known that broom corn was originally planted in home gardens, not plantations. We’ll get to this later on, but it’s worth knowing that it takes several plants to make your own broom. Even from a small plot you can make one.
However, if you consider the number of people needing brooms before electricity came along, you can envision a need for an alternative. Large acreages were planted in the 1830s, and for several decades more, as the popularity of broom corn production, along with the making of brooms, moved west.
The reason you don’t see large fields of it anymore, is because it isn’t exactly a high-value crop.
It takes a ton of broom corn to produce several hundred brooms. Yet, sometimes we grow plants for the nostalgia of it all. Growing broom corn isn’t a skill to simply sweep under the rug, so let’s go over what you need to know.
After all, it is a survival skill, that can grow in your survival garden, and can help keep your house clean for years to come. The work, however, is up to you.
Planting Time
The requirements of broom corn are very similar to that of growing corn, or sorghum.
For starters, it takes a long growing season to obtain a plentiful crop. Though it doesn’t tolerate frost very well, it can be grown in many different soils. At the same time it tolerates both heat and drought. That being said, it can be grown in most locations.
What it does prefer, however, is moist, well-draining soil that is rich in organic matter.
While most sources state that the soil must be plowed and harrowed, we’ve had great success with planting broom corn seeds in our no-dig garden.
Planting Broom Corn in Your No-Dig Garden
Broom corn grows best in full sun, so start there.
Find a nice place in your garden, even against a fence or wall to sow your seeds. Think carefully about this, since broom corn does have the potential to shade other garden crops.
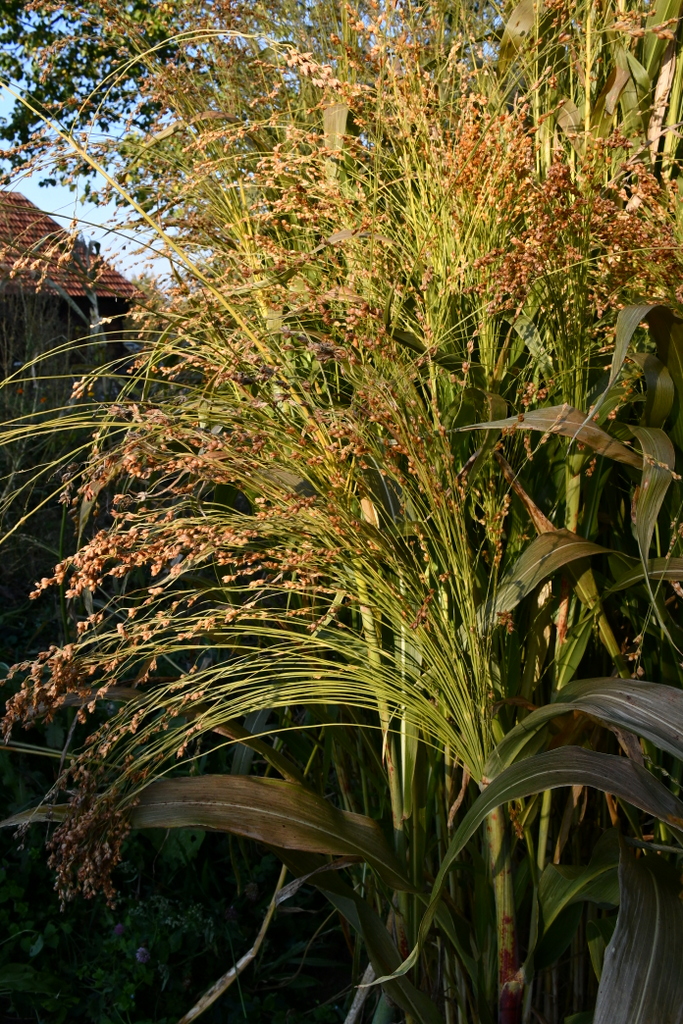
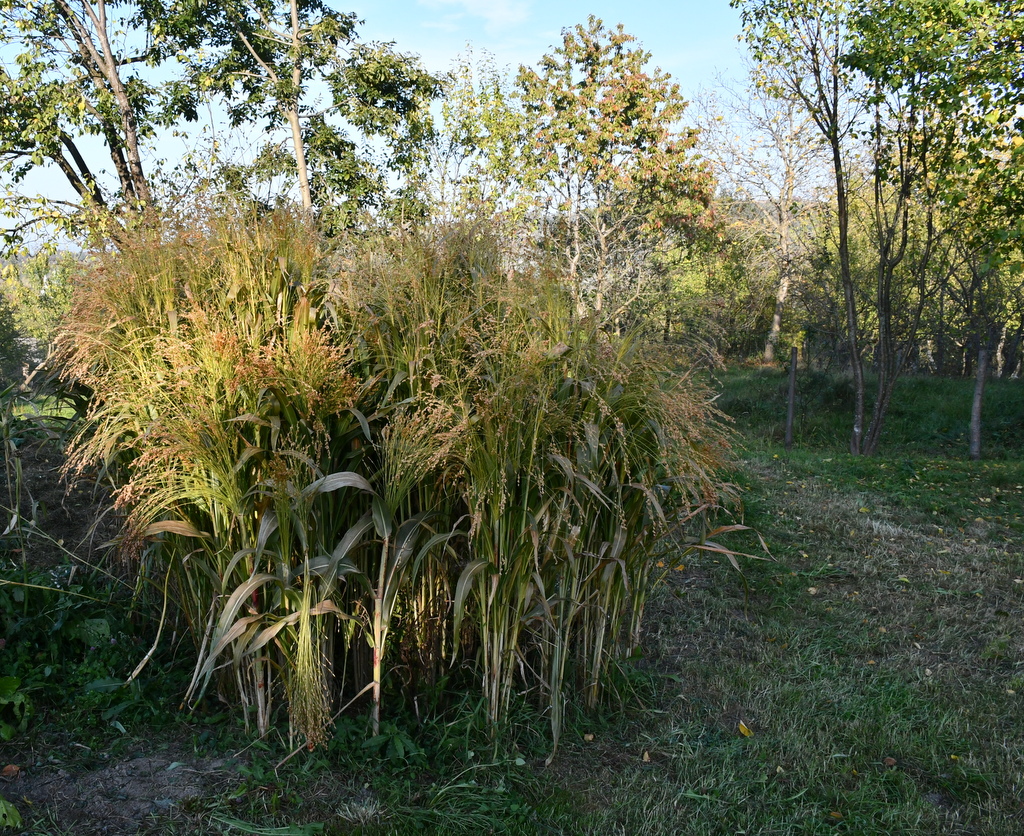
Our crop reached a maximum height of 2 meters (just shy of 7 feet). We live in a cooler, mountainous climate, so that was to be expected. Others report that broom corn can rise up to 5 m (15 feet). This will also depend on the variety, which we’ll give examples to below.
Planting in a no-dig garden consists of pulling back the mulch to drop in a small number of seeds. 10-20 per nest should be sufficient.
If you prefer the conventional method of planting, go ahead and prepare your lines, sowing seeds to a depth of ⅛–½ inch. Keep in mind, that they are very small seeds and don’t need to be covered with mass amounts of soil.
Sow the seeds 2″ apart in rows which, in turn, are approximately 30″ apart.
Time to reach maturity: 90-110 days
Be sure to sow seeds after all danger of frost has passed.
Broom corn is usually planted between the dates of May 1 and June 15.
As far as weeding goes, broom corn plants get off to a slow start, then surpass anything that might get in their way. Hardly any weeding is necessary. In the case of no-dig gardening, none at all. Especially if you supply the patches of broom corn with extra mulch before they grow up (when they are about knee-high).
Stages of Growing Broom Corn
As previously noted, be sure to plant your broom corn seeds once all danger of frost is passed. Plant in a sunny location in an area of the garden that was previously supplied with well-rotted manure.
It only takes about a week for the seeds to germinate, sending up green spears, not unlike that of grass, or corn.
When the plants are about 6″ tall, it is up to you whether or not you decide to thin them.
You will get larger, though fewer plumes/tassels when you thin your seedlings.
Once the broom corn is about knee-high, it will accelerate in growth. It’s not quite as prolific as a sunflower reaching for the heavens, though it is a good competitor. With squashes planted nearby, they will reach out and climb with broom corn, using it as a natural trellis. (Think of the Three Sisters.)
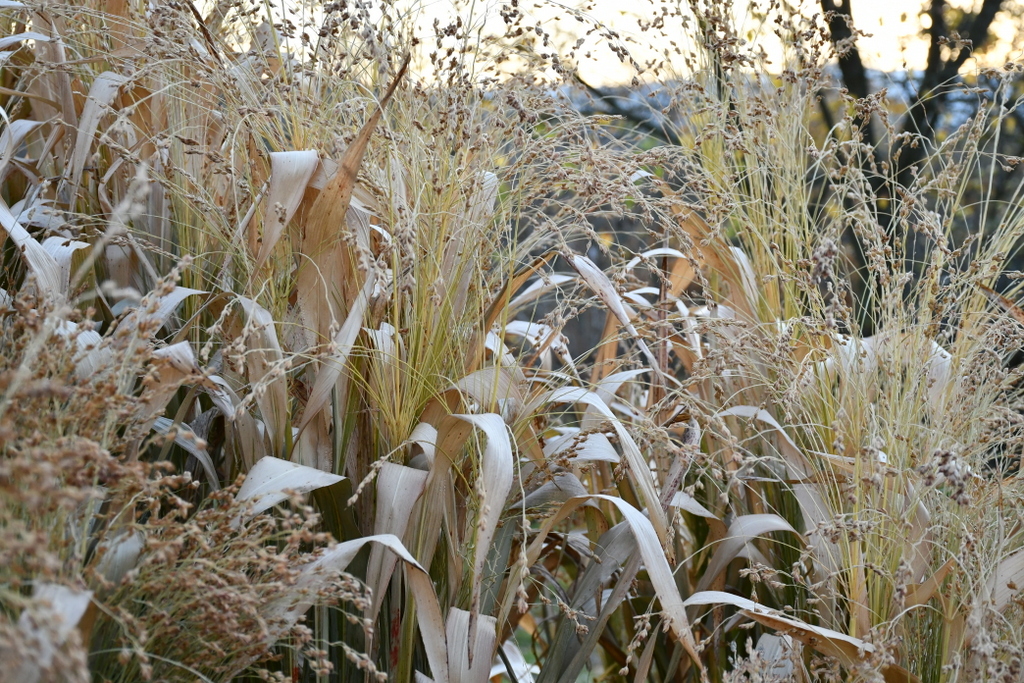
Wisdom and gathered knowledge tell us that as the plant matures, it is soon time to bend over the heads, often called tabling. Obviously, the lushest plumes make the best brooms. In a small stand, you’ll have all sorts to choose from. One way to deal with this is to categorize them as you harvest.
I’ve read that plumes will splay if they aren’t bent. For us, this simply wasn’t true with the variety we planted in our no-dig garden: Szegedi szlovák.
An annual that reseeds itself?
Yes, it’s true. Broom corn will always find a way to drop enough seeds to continue the cycle of life.
However, it’s not enough to let them grow where they lay. For they will be far too dense to become anything of use. In this case, you will need to thin them out or start again from scratch. Like with any plant in the garden, you should never sow broom corn too close together, for reasons of comfort alone.
Try cramming your carrots all in a row. What you end up with will not look like a store-bought carrot, guaranteed.
Harvesting Broom Corn
When is the best time to harvest your broom corn?
It depends on the weather, just as much as your energy and schedule of the day.
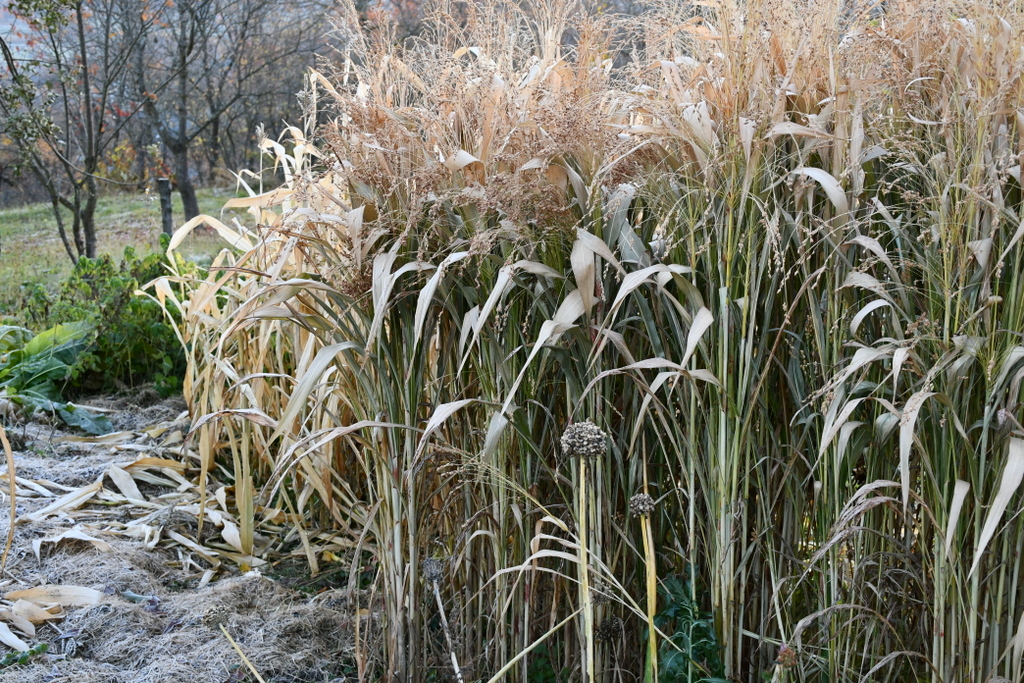
When the seeds are sown in time in spring, your broom corn will be ready for cutting by the harvest moon in October.
Some gardeners feel that broom corn is best to harvest when the plant is in flower. Others wait for the first seeds to form and harvest straight away. While still others, us included, choose to wait until the seeds are nearly mature and nothing is wasted.
If you are keen on saving your own seeds, don’t forget to leave enough plants standing. Bring them to full maturity before harvesting.
When harvest time comes around, get out your trusty pair of pruners, or two pairs to get the job done faster.
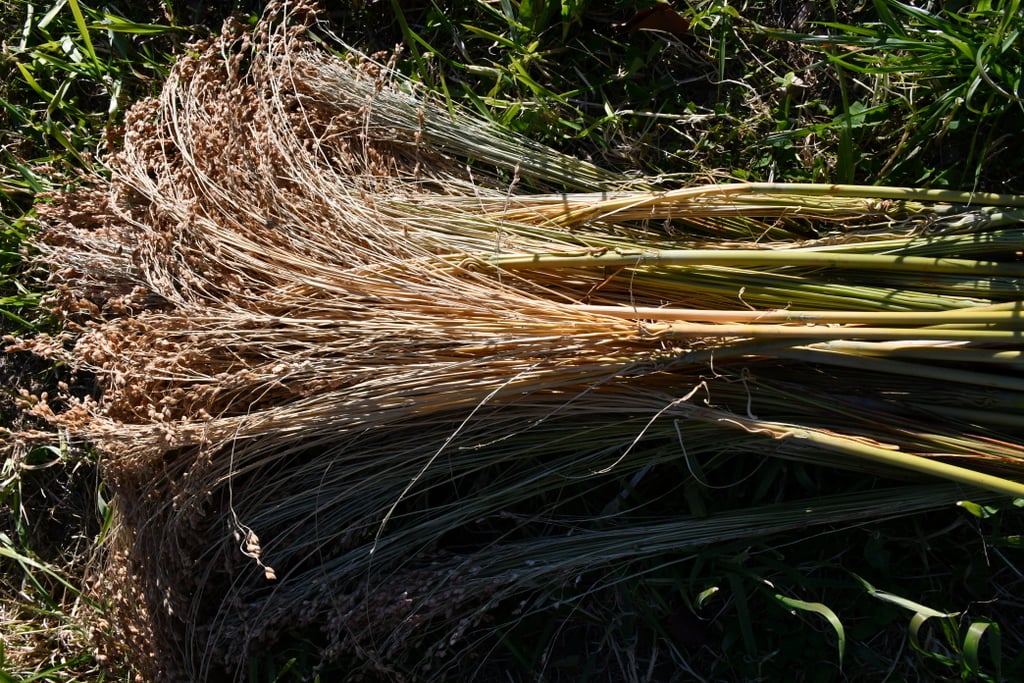
Cut back lower than you think, grabbing a single stalk with its plume at a time in one hand.
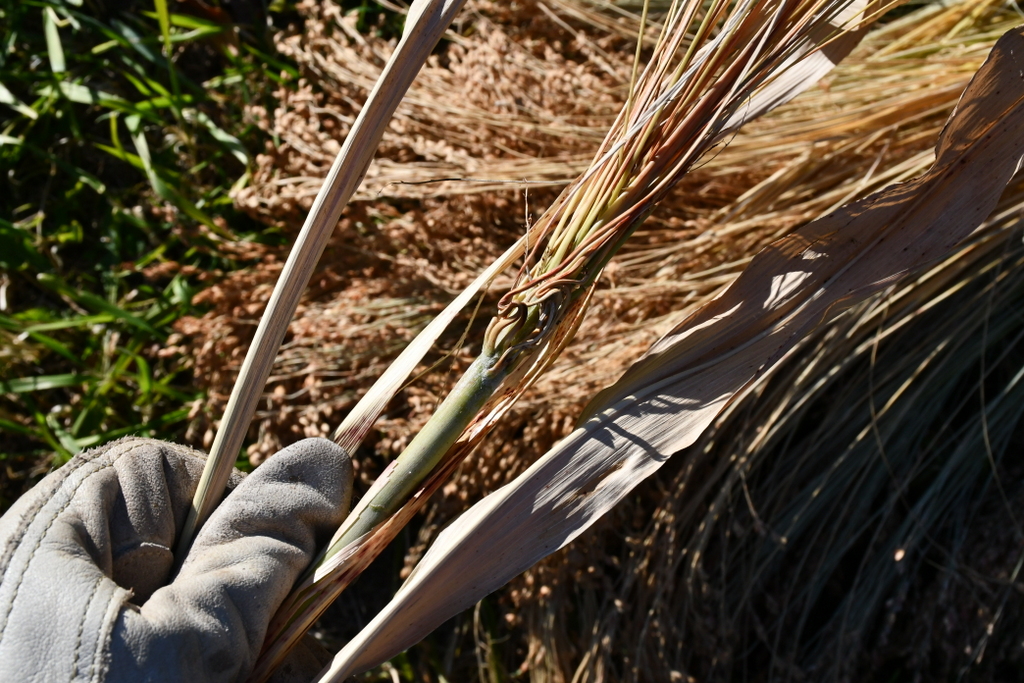
Then, individually, prepare the stalk. Cut back to just below the first node, above which the segment with the plume starts. This will leave you with something to hang them from.
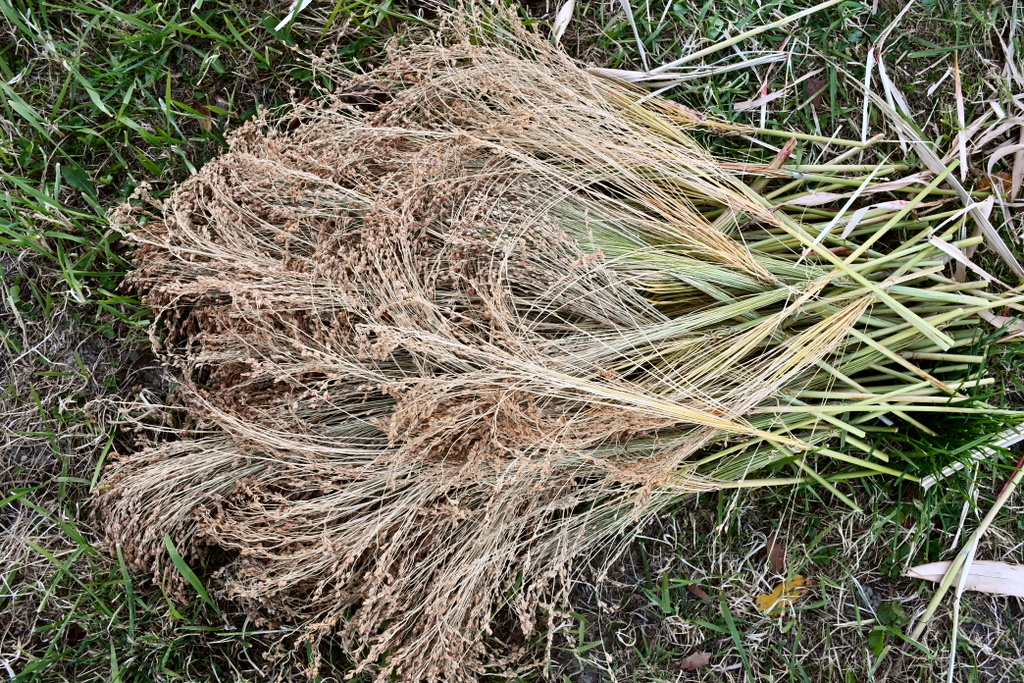
Hang in bunches and take them inside, or under cover to dry.
Drying Broom Corn
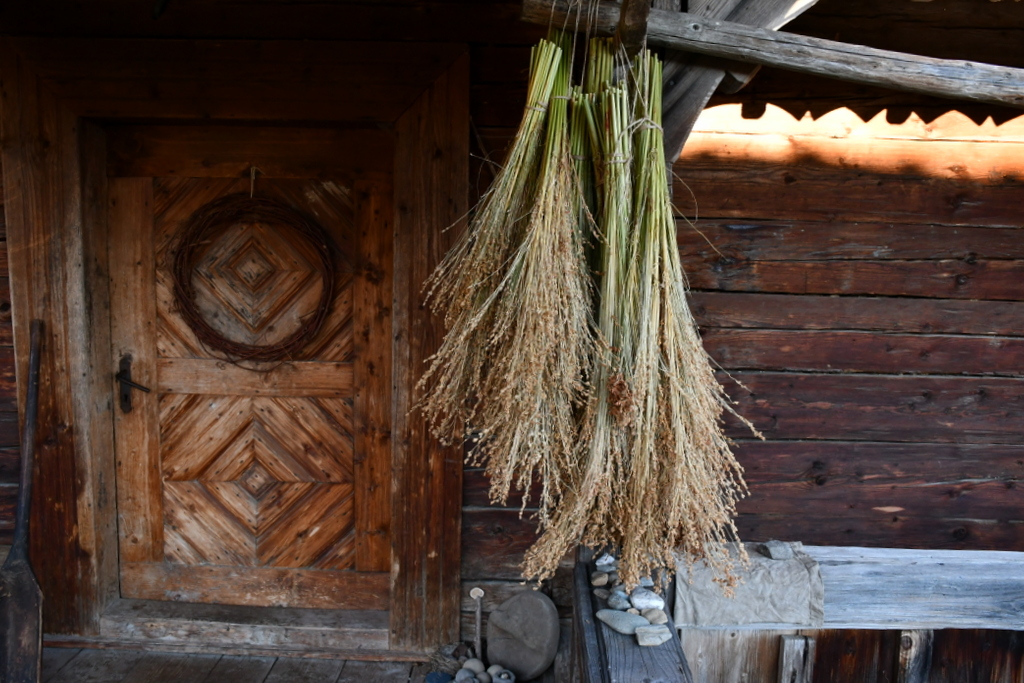
Then we brought the bundles inside to finish drying.
Broom corn takes several weeks to dry, approximately three weeks in a well-ventilated space. In our two-room house, we put them in the “other” room without the fireplace, where they can hang from the wooden beams.
Be sure to tie the bundles in a way that the plumes can all hang straight down. Naturally, there’s more than one way to do this. If you happen to have several wooden drying racks, you can lay them down as well.
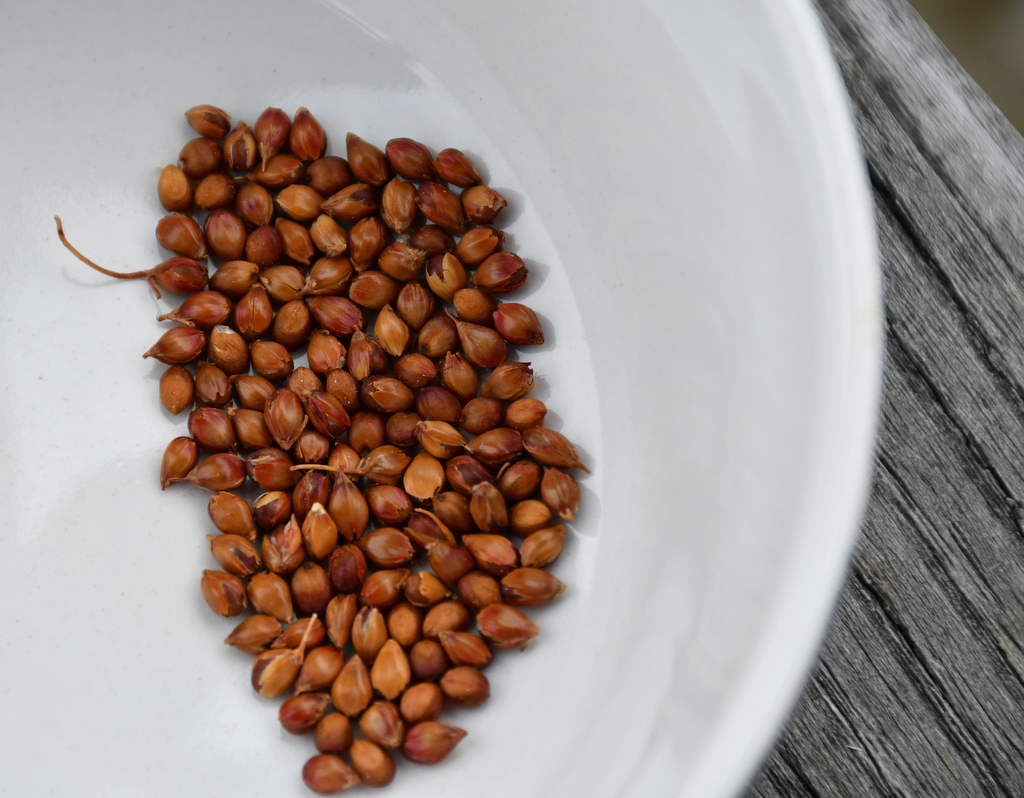
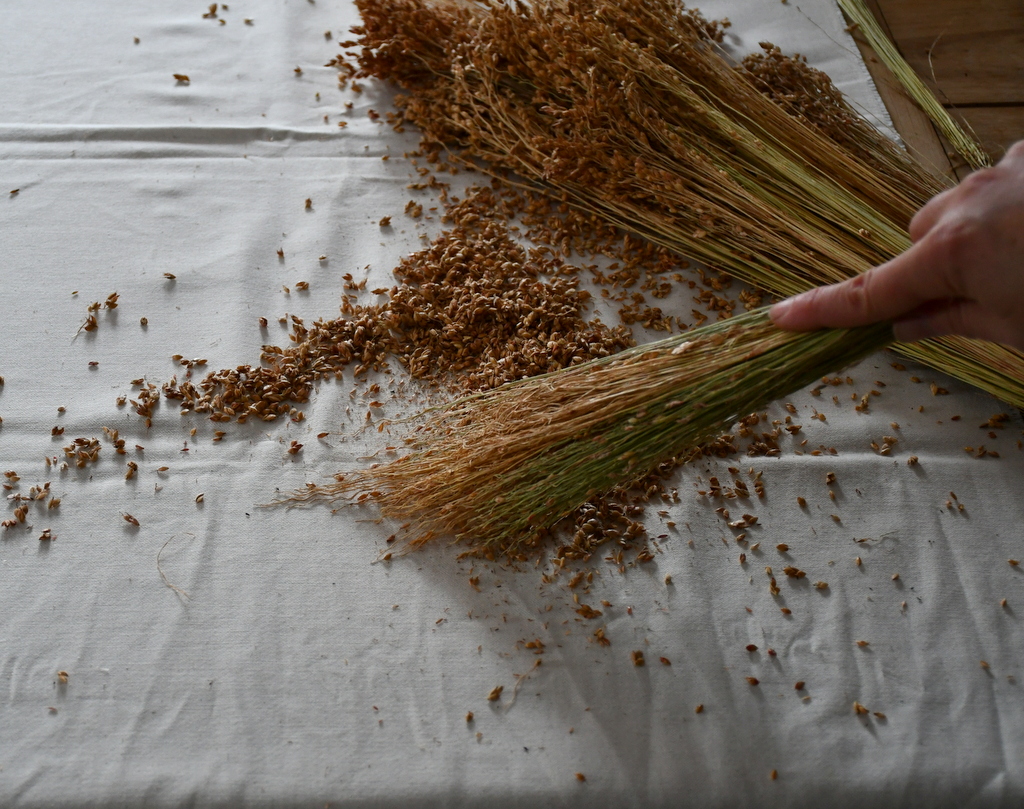
Once the stalks are thoroughly dry, it’s time to remove the seeds. This can be accomplished by pulling them off with a comb.
And with that, you’re now ready to make your very own broom. Here are some traditional brooms for inspiration.
Uses of Broom Corn
Outside of the obvious use as a broom, as the name implicitly suggests, the seed heads can also be used in floral arrangements.
You can also weave them into wreaths, swags, baskets and displays of autumn harvests.
Nicely dried specimens can be used on table displays at holiday meals, added to bouquets for fall weddings.

Naturally, the seeds can even be used to feed songbirds. In this case, you don’t even need to harvest them. Just let them stand where they were grown. An instant bird feeder, if you will. Well, almost instant, after the planting and waiting stage.
You can also feed the seeds to your own poultry. What you can’t harvest in mass, you can certainly make up for in nutrient density. Your chickens and quail are going to love this stuff. While the stalks have little value for foraging animals, the seed has similar dietary value to that of oats.
Varieties of Broom Corn
When going through your seed catalogs, you’ll find a few different types of broom corn:
- standard
- Western dwarf
- whisk dwarf

Standard broom corn is best for full-size brooms, the others are better for smaller and/or ornamental brooms. They can all be used in floral arrangements.
Texas Black Amber Sorghum Seed – more for ornamental purposes than for broom making, this variety should not be overlooked as a gem of the garden. Sometimes you have to keep unique plants alive for the love of color alone.
Hadley Kidd, Hungarian Red, Apache Red – generally sold as a color blend, you’ll find that these seed heads are perfect for making brooms. They can also be used as winter decorations, including wreaths, swags, dried arrangements and bird feeders. For the latter, simply hang them upside down in a tree and watch the birds happily dine away.
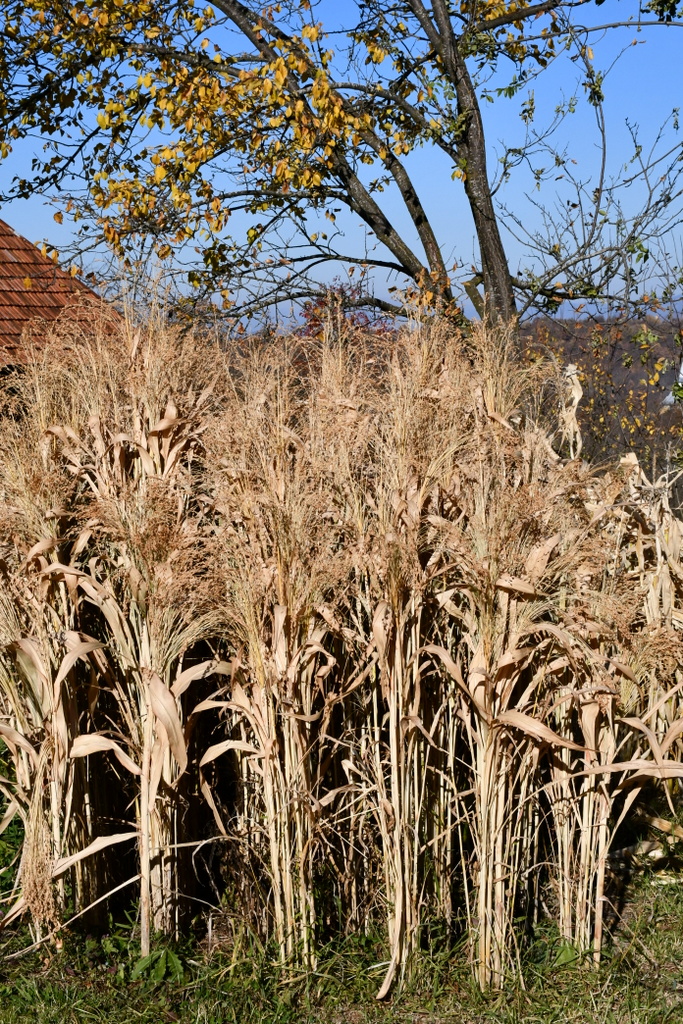
Amish Rainbow Blend Broom Corn Seeds – one more feature of broom corn is that it can be grown as a living privacy fence with plants growing 10′ or more. It’s an excellent feature to add to your garden, particularly if you want to attract birds.
There aren’t a ton of varieties out there, unlike when shopping for tomatoes, so you’ll have to be satisfied with what you can get where you are.
My best advice to you is to just try it. Even if you can’t harvest enough to make a broom, you’ve made positive strides to rewilding your backyard. For that, the earth thanks you.
Inspiration for Making a Broom Corn Broom

An article on growing your own broom corn wouldn’t be complete without an article on how to use it. While our own personal homestead broom in still in the process (or the waiting) of being made, let me share a few links you’ll find useful:
- Traditional Broom Making With Broom Corn (video)
- Making a Kitchen Broom from Broom Corn
- The Broom Making Process
If you can’t find the dried materials to accomplish this, you’ll just have to wait until next growing season to grow your own broom.
It’s ultimately rewarding, like with growing loofah. I highly suggest you try it.

Get the famous Rural Sprout newsletter delivered to your inbox.
Join the 50,000+ gardeners who get timely gardening tutorials, tips and tasks delivered direct to their inbox.