

Mint is a reliable perennial herb that needs little attention in the garden. That’s in part what makes it such a wonderful plant to grow.
It is one of those self-sufficient herbs that you can plant and forget about, only to find that it is nearing the point of being overgrown – perhaps even attempting to escape its boundaries or climb through a fence. And this can happen in only a matter of weeks!
We’ve already discussed how to control the spread of mint in your garden by utilizing containers or placing boards as boundaries in the soil. Beyond controlling where it grows above (and below) the soil, we also need to think about dividing it when the time is right.
Dividing perennial herbs, such as mint
There are two times in the year when you might want to dig up your mint. Mid-spring, or early fall before the ground is frozen.
Not just to move it to a new location, also to refresh the dense root system and rejuvenate the entire plant. As a bonus, you can divide it into as many plants as there are stems, providing you with the opportunity to give some mint plants away as gifts, or to make a side income from your homestead.
Every 2-4 years is when herbaceous perennials should be divided.
The choice to dig up your herbs in either fall or spring, is one that is closely tied to your climate and seasonal conditions.
If you live in an area that typically has mild autumn weather, then that is the best time to divide your herbs. In colder areas, with harder frosts, spring is a better time to multiply and nurture your plants.
Other perennial herbs and plants that benefit from root division
When your mint is ready to be divided, chances are that your other herbs and plants are in need of root treatment too.
Without getting into specific details, here is a quick list of more plants that can be successfully propagated by root division:
- chamomile
- chives
- lemon balm
- lovage
- oregano
- rhubarb
- strawberries
- tarragon
- thyme
- sage
Look all throughout your garden for signs of overcrowded herbs, then grab a spade and set them free.
Or if you see it happening in someone else’s garden, offer your services of dividing them yourself – for free. Both of you will benefit from this simple act of kindness! One with healthier, uncrowded plants, the other with new plants ready to fill in new and exciting spaces.
Propagating mint by root division
Dividing your mint is necessary in order for it to reach its summertime glory.

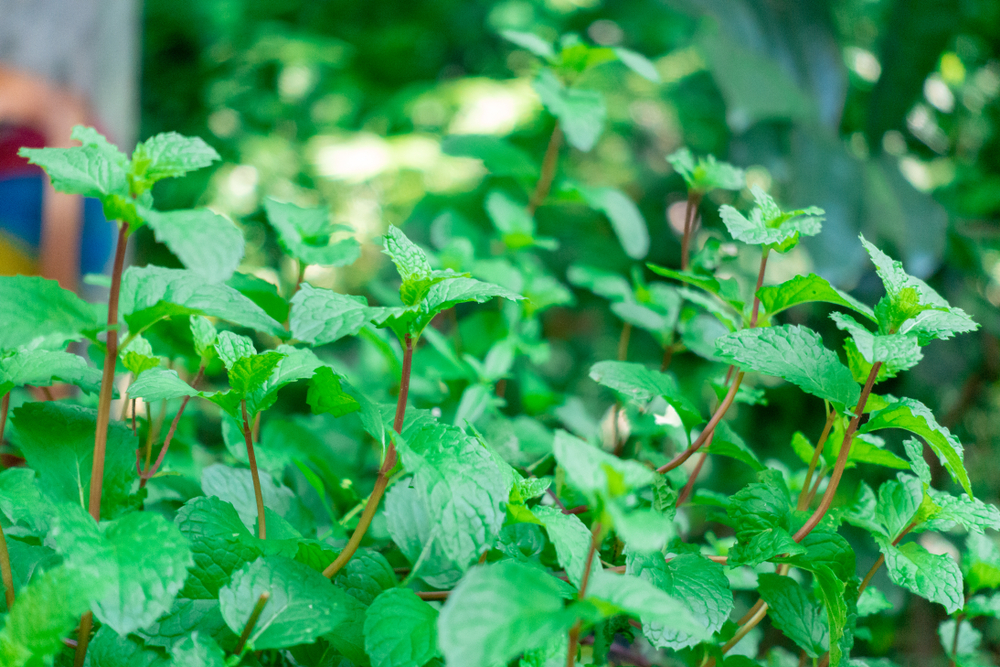
Throughout the season, mint will keep growing and growing. To the point that the base is so dense and thick, that it looks like a jungle when you peek in. Outwardly this may seem like a good thing, knowing that the ground is covered. However, it may attract some unwanted visitors such as mold and aphids, even cabbage loopers. Yes, even mint has its pests.
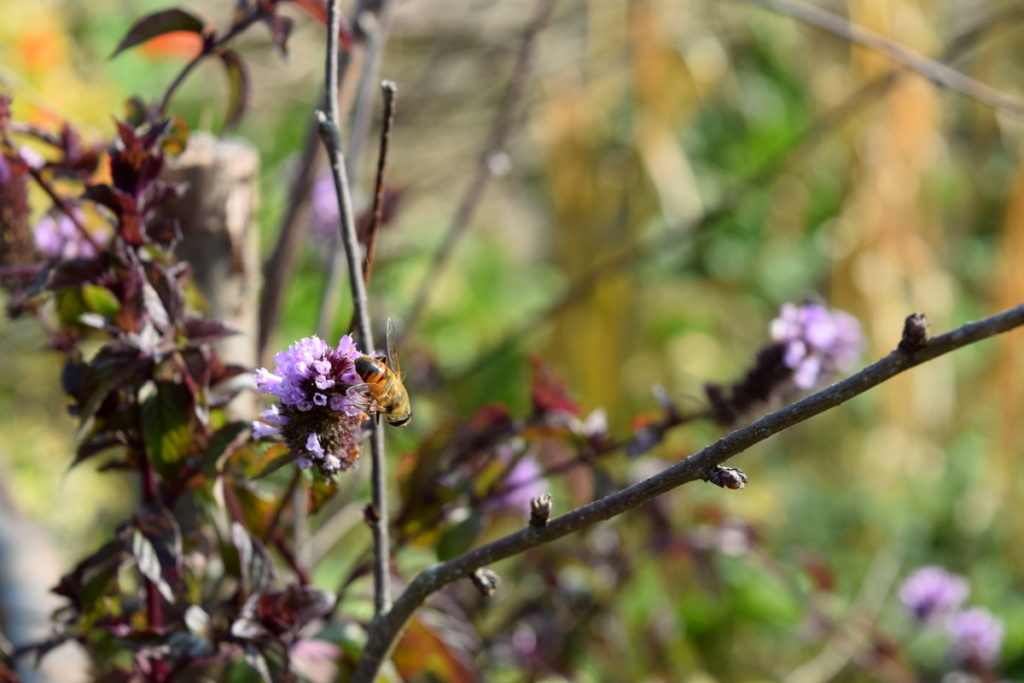
Once you have harvested all the mint you need for dry use, it is best to let it keep growing. Not necessarily for you, though it is beautiful, but for the bees and late-flying insects searching for a bit of pollen.
Here in late October, our mint is still host to quite a few species of winged insects.
During the summer we had to cut our way into our own garden 3 times – all from the mint growing all tall and falling over. By late autumn it was definitely in need of thinning.
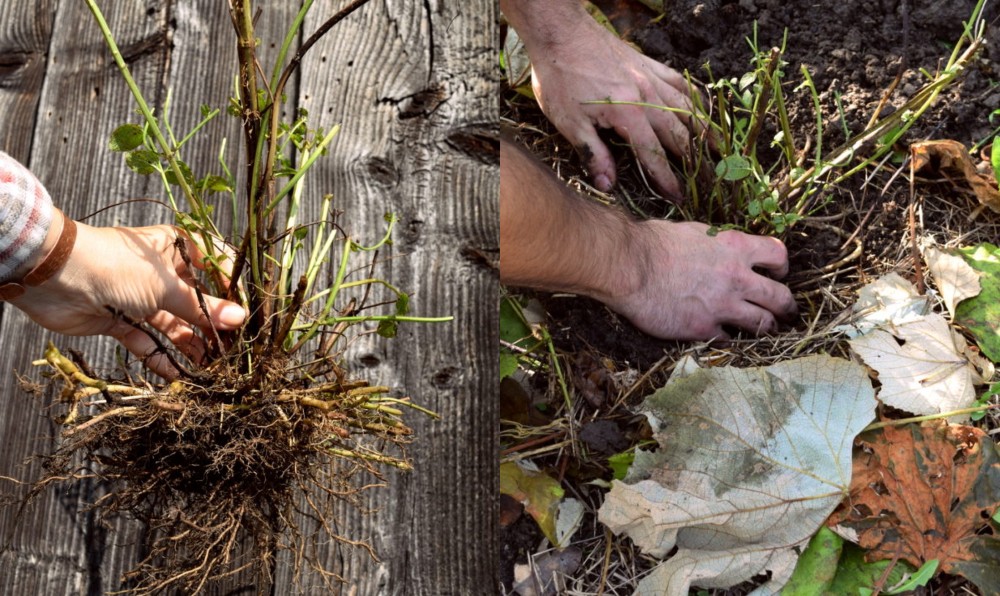
Root division of mint and other herbs
The first step is to cut the plant back to about 6-8″. Or rather, prune back a bunch of individual stems, since we are digging out a large batch at once.
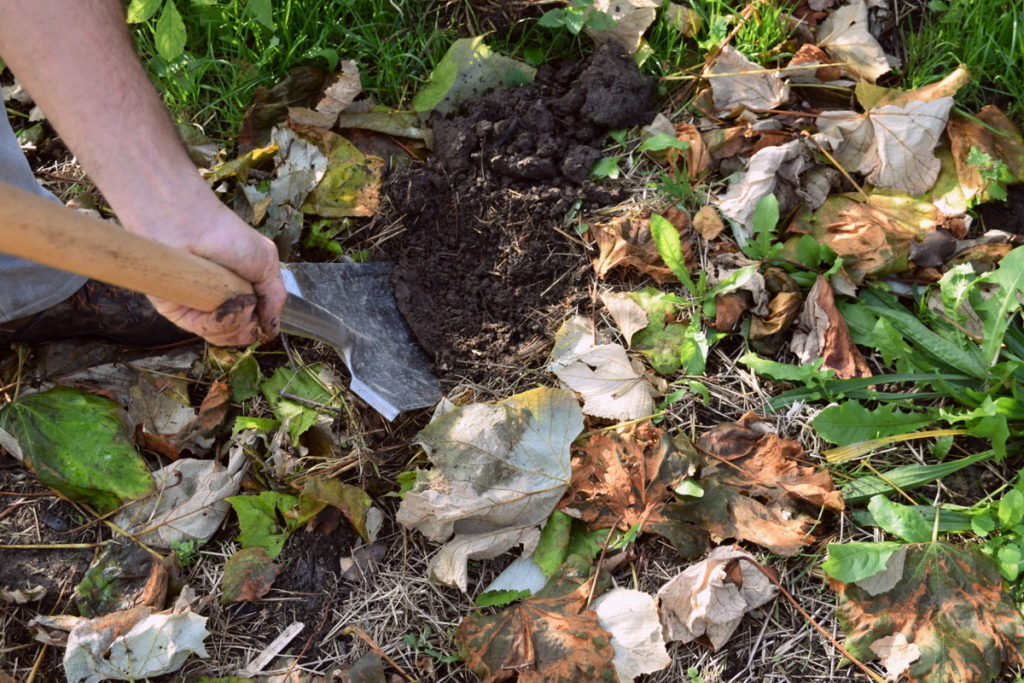
Then, with a spade dig around the patch of your mint that is ready to be relocated.
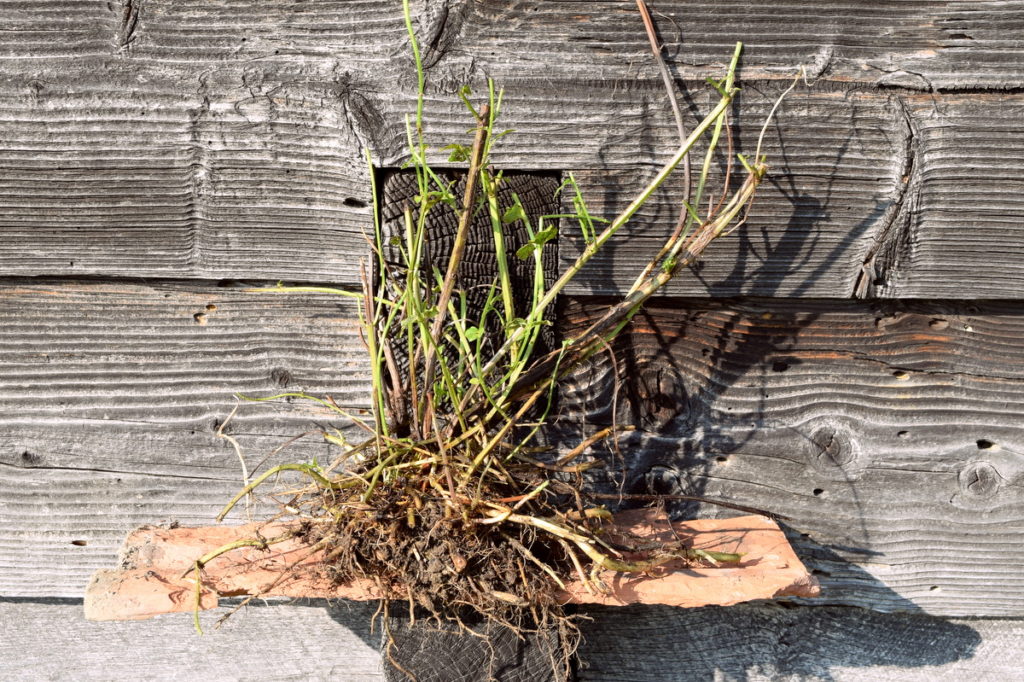
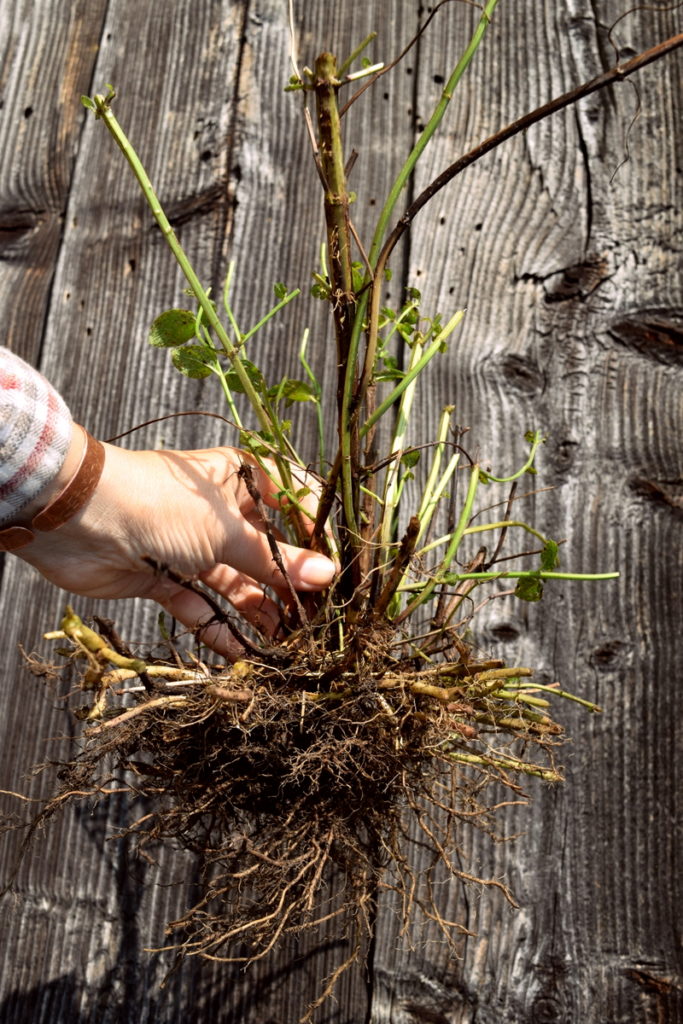
Notice that the roots are even more dense than the foliage and stems above.
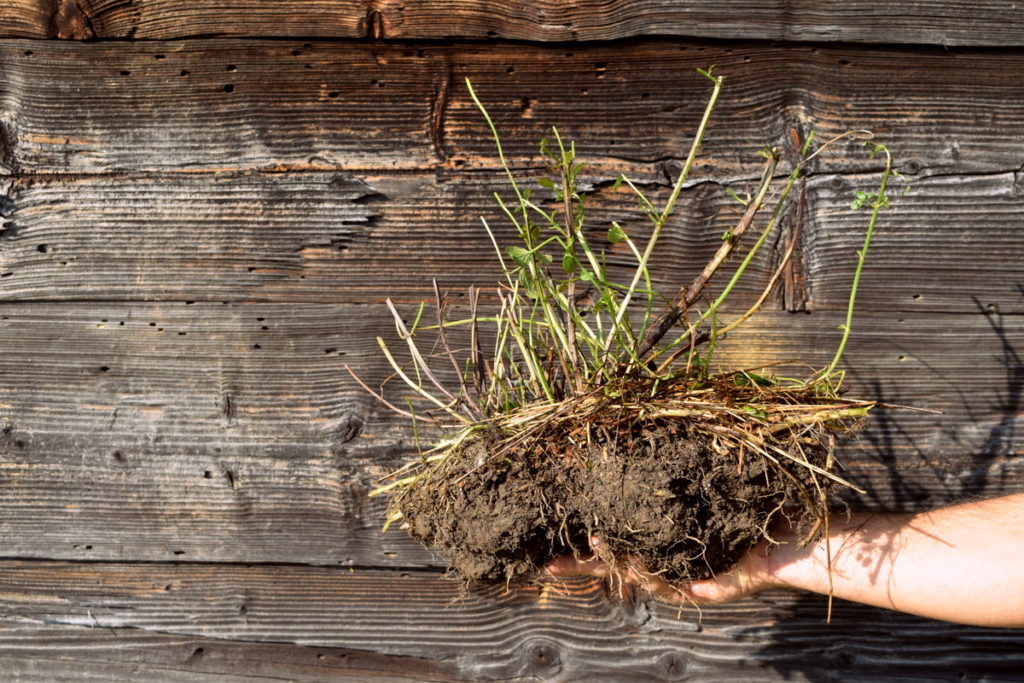
Shake off as much soil as possible, then pull apart a smaller section for planting. You can divide this into as many individual stems as you like.
Replanting the roots
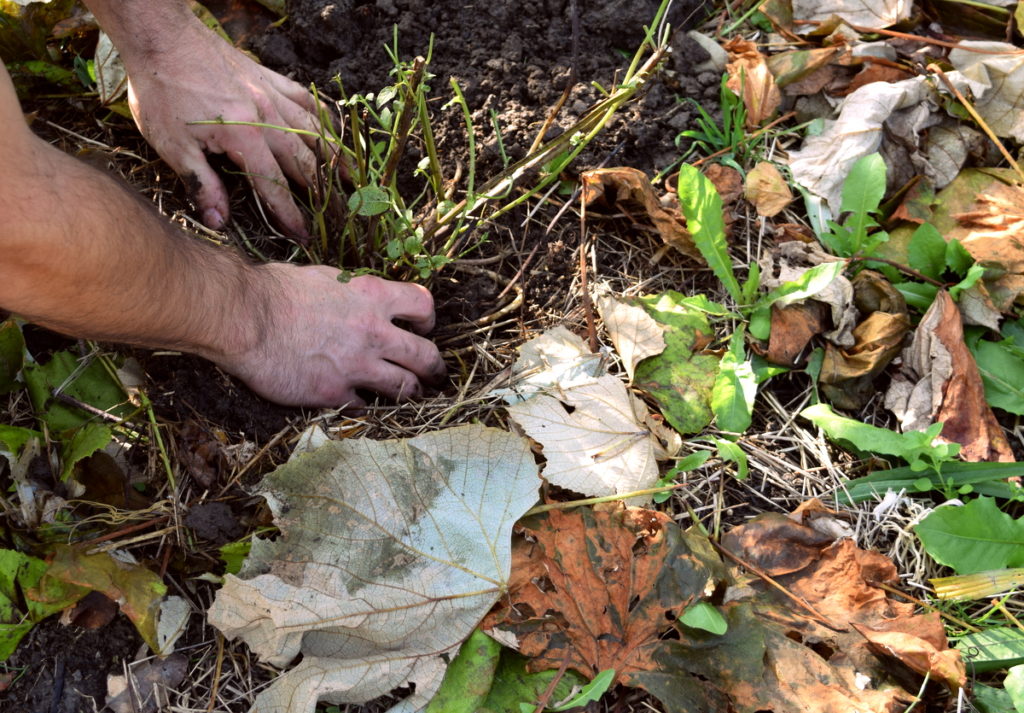
Once your mint is trimmed (top and bottom), all you have to do is find a new home for it. Somewhere at the edge of the garden, in a container, or in a set of plant pots. All are good places for it.
Dig a hole slightly bigger than the roots, and set it in, covering up the roots with the removed soil.
Firmly press down on the ground around it and water it in, if the soil is dry, or let the rain do it for you. There is no need to be fussy about planting mint. Use a handful of compost if you like, though it won’t necessarily need it. Mint is plenty strong enough on its own.
And be sure to mulch around your newly re-planted mint. Use autumn leaves, hay, grass clippings, whatever you have on hand.
Come next summer, your mint will be ready to soar again to new heights.
Another way to propagate mint is through cuttings
An article on mint is never complete without mentioning its superior ability to renew itself from cuttings.
With just a single stem placed in a glass of water you can watch the roots grow in about 2 weeks!
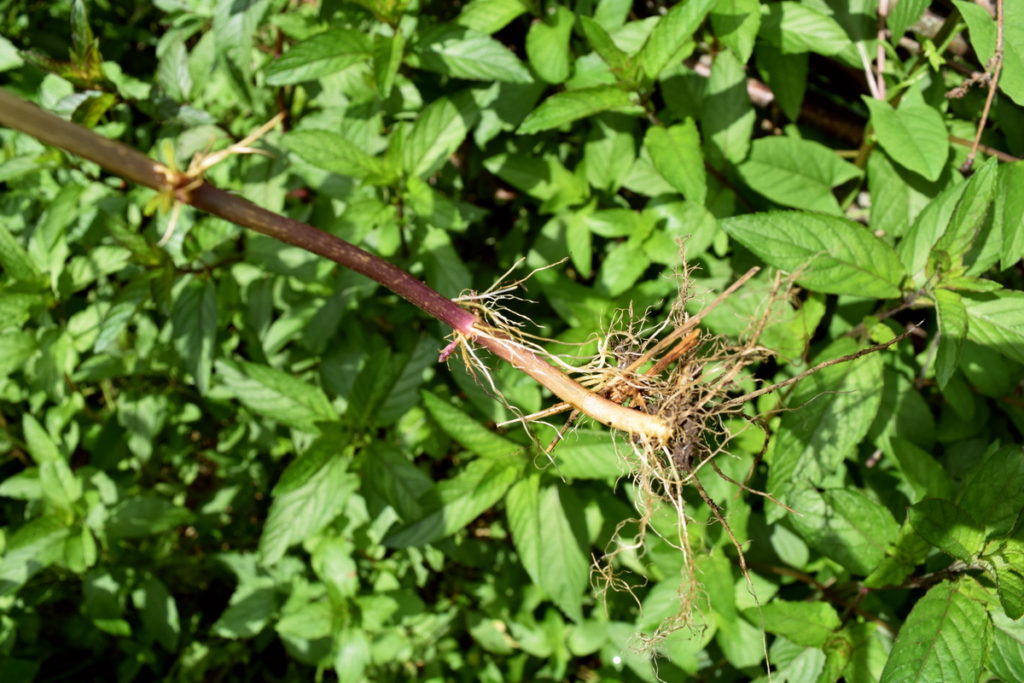
Though if you find your mint falling over from the weight of itself during the summer, roots will form at each node that meets the soil. You can just cut it back at the “old-root” side of that node and transplant the now independent new shoot. How easy is that?!
Once you start growing mint, you will be able to keep it growing for a very long time. Are you up to the task?

Get the famous Rural Sprout newsletter delivered to your inbox.
Join the 50,000+ gardeners who get timely gardening tutorials, tips and tasks delivered direct to their inbox.