

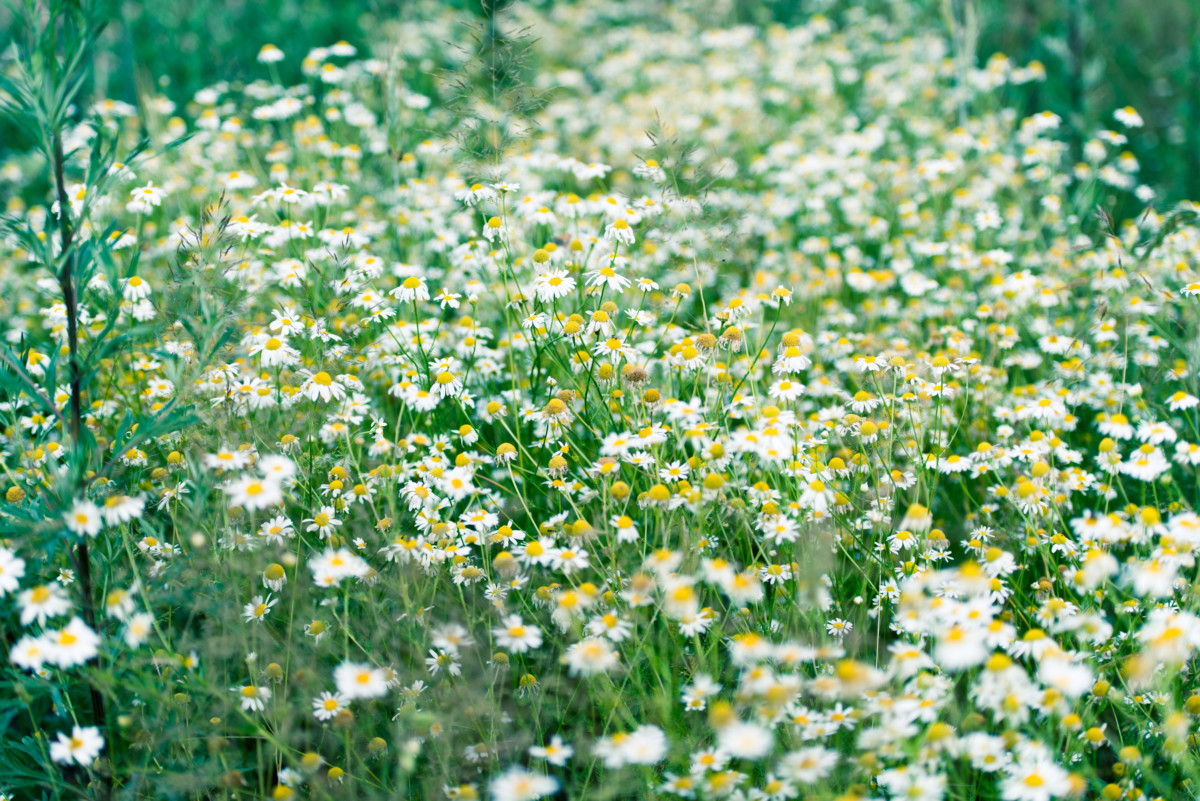
When it comes to herbs, most of us immediately think of thyme, rosemary or parsley. But when asked about herbal tea, generally, the first one to come to mind is chamomile. Its bright apple scent and light flavor are well known throughout the world.
Chamomile is a member of the cheeriest flower family: the daisy family, Asteraceae. This popular herbal tea ingredient also happens to be one of the most versatile, hardworking herbs you can put in your garden.
Not to mention one of the easiest to grow. It wouldn’t even be a stretch to say that it grows itself. It’s equally easy to harvest, and there are so many things to do with chamomile that go beyond a cup of tea.
If you’re thinking about making room for this beautiful plant this year, read on. I’ve got everything you need to know about chamomile.
German or Roman?
One of the first things we should discuss is which chamomile you wish to grow. The two most prevalent are German Chamomile (Matricaria recutita) and Roman Chamomile (Chamaemelum nobile).
Roman chamomile is an evergreen perennial, growing in zones 4-11.
It’s also known as English or Russian chamomile. The stems are hairy in appearance, with the customary fringe of green leaves. Each stem puts out a single flower on each stalk.
It’s most commonly grown as a ground cover because of its low, sprawling growth habits. Roman chamomile maxes out in height around 12”. It’s a great choice for landscaping as you can use it to fill in the cracks between stones and pavers and as an edging or border plant around patios.
You can even walk on it (which will keep it low-growing), and it will spring back up. It looks equally stunning growing out of crevices in a stone wall.
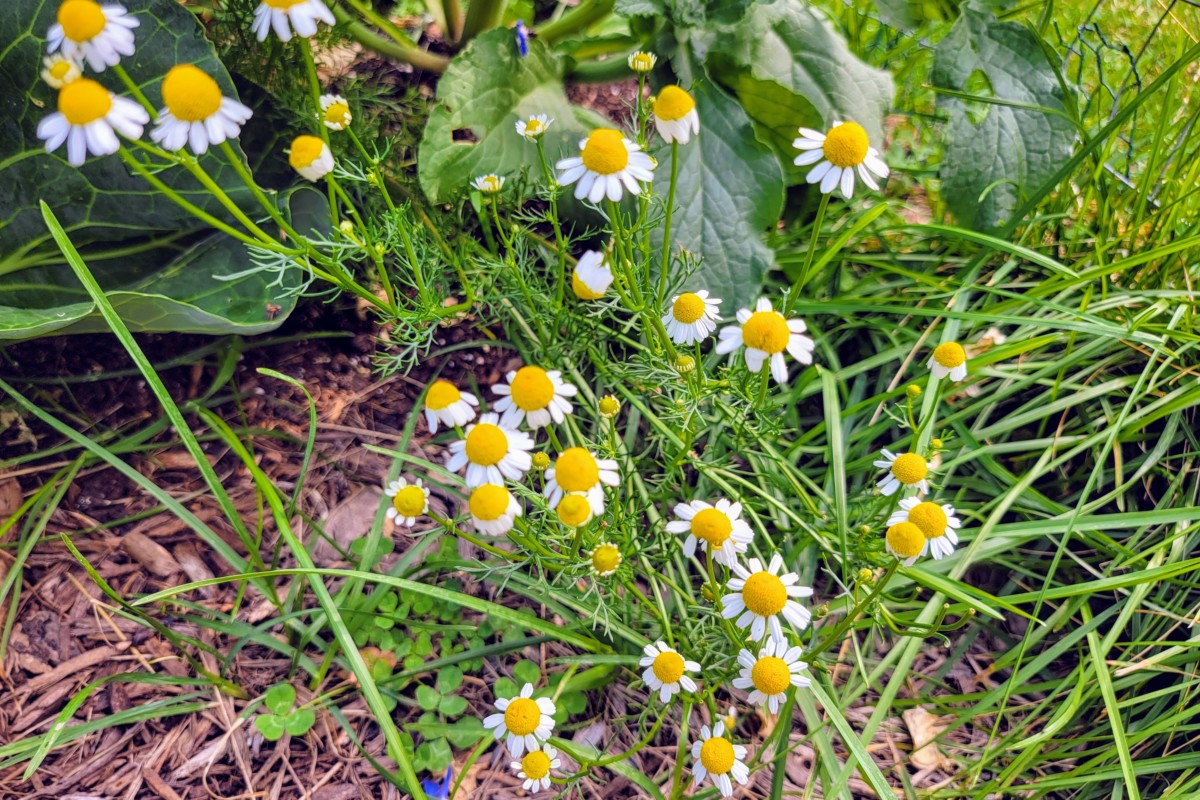
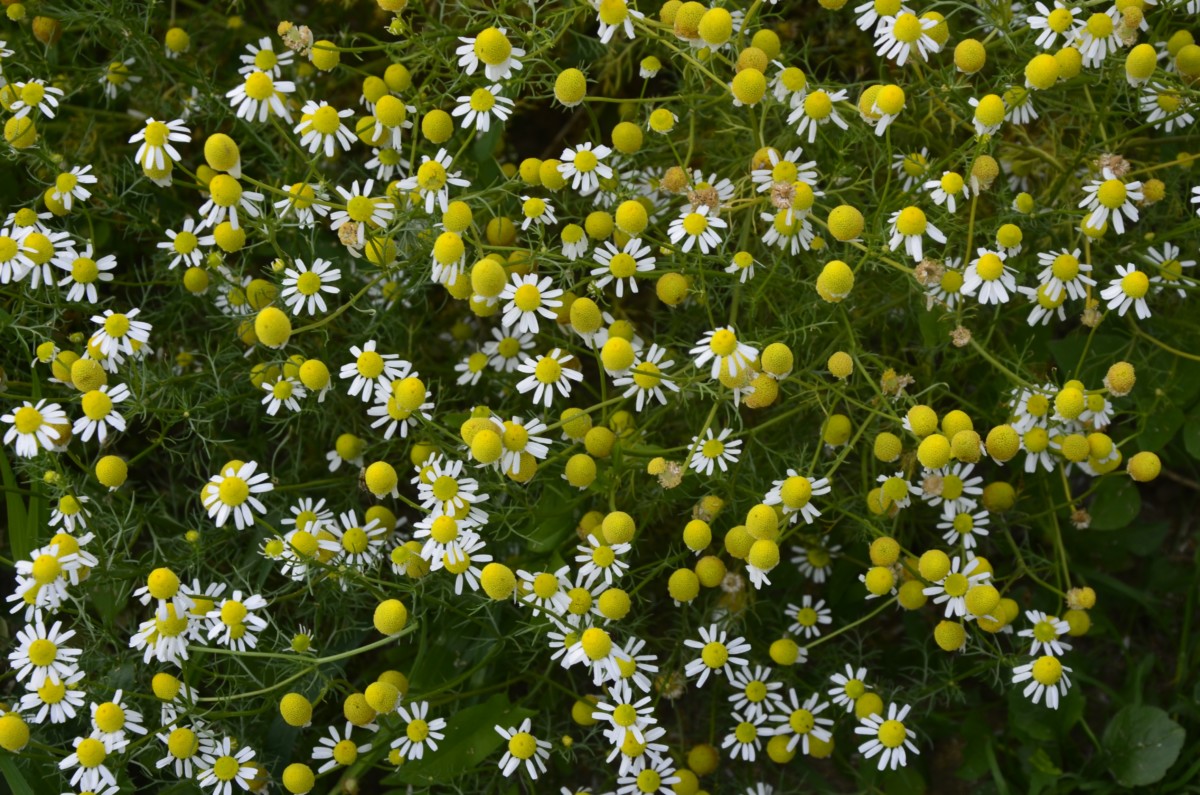
German chamomile, an annual, grows in zone 5-8.
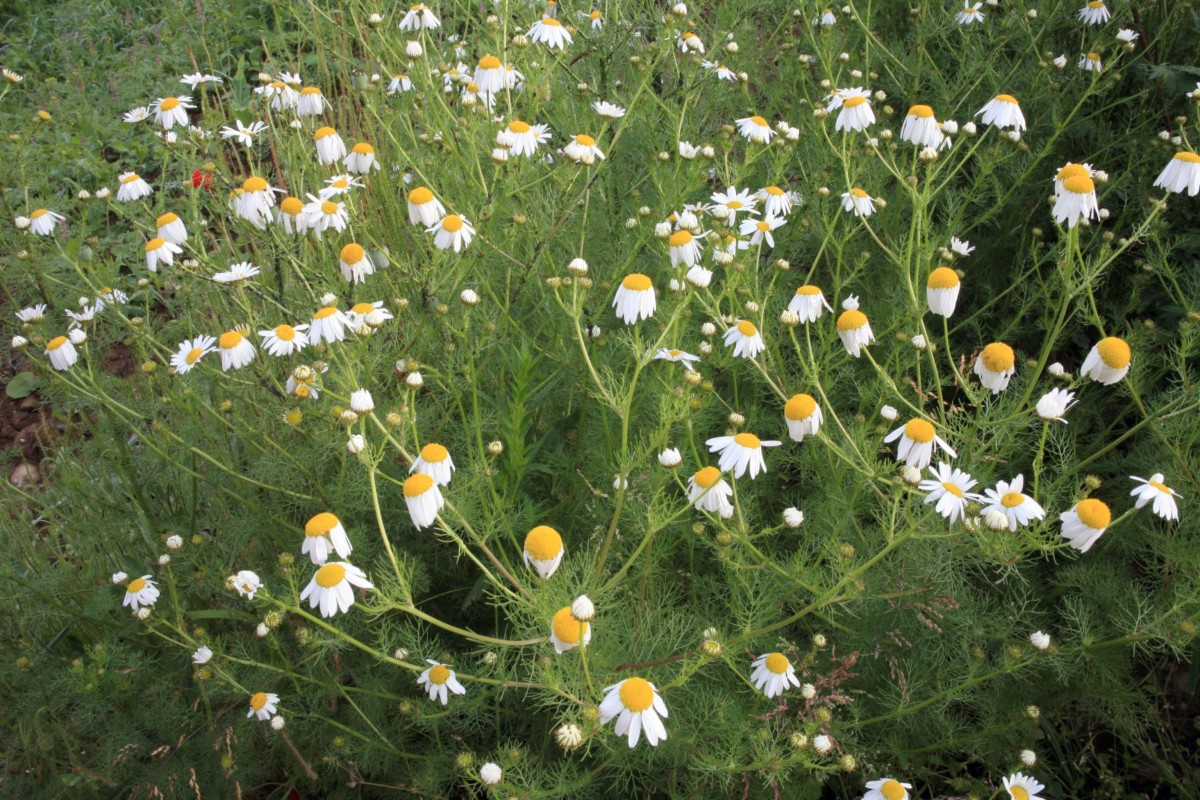
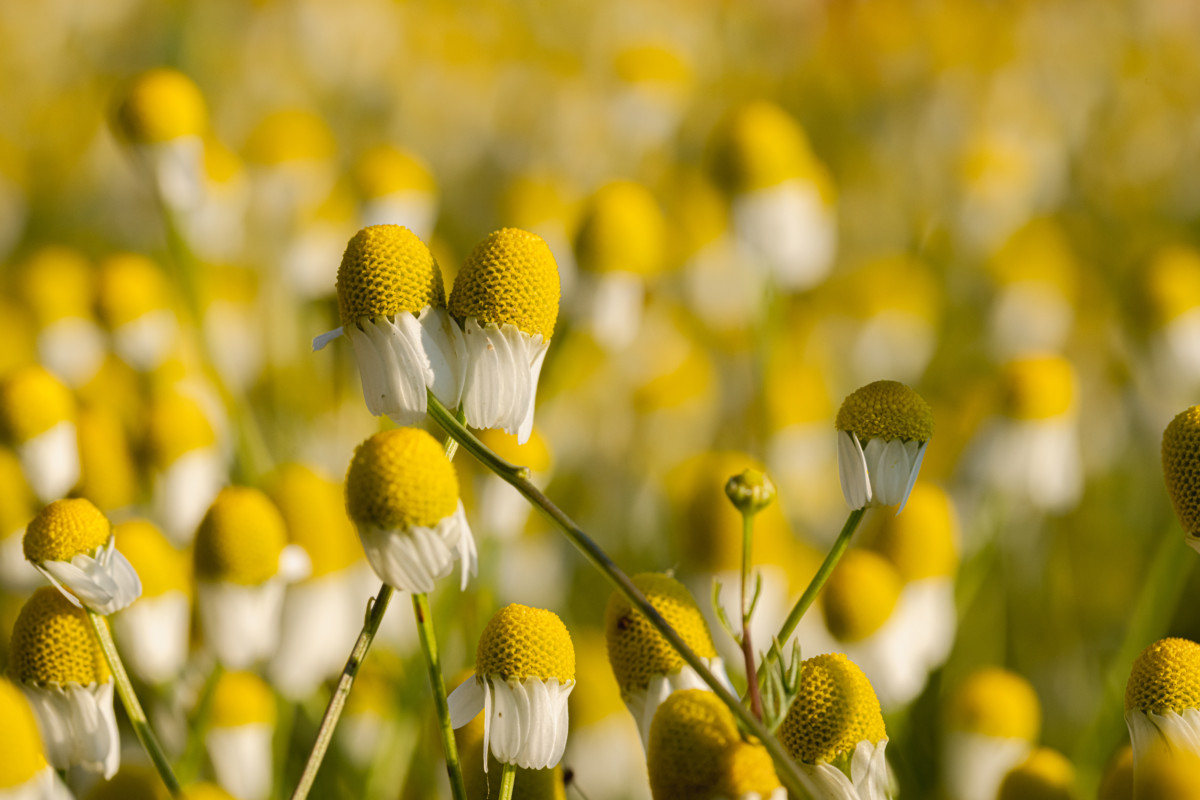
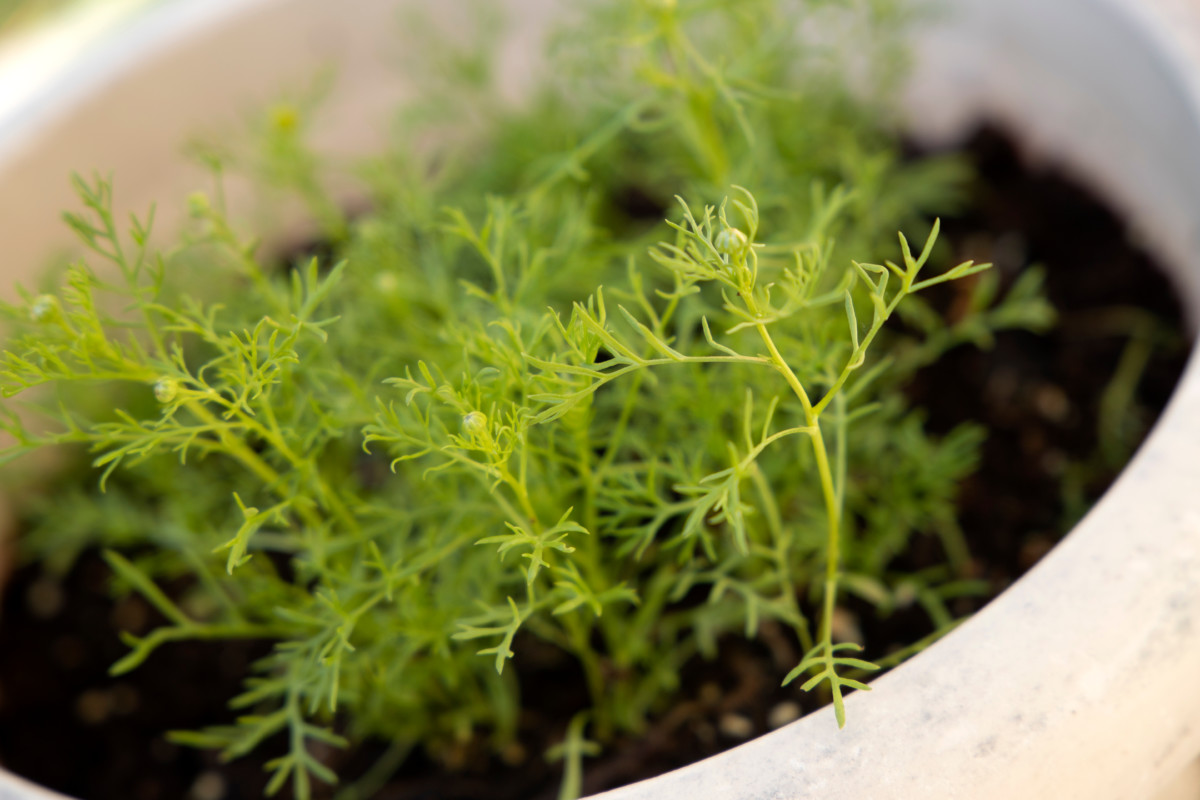
It is more popular among those wishing to grow the herb for teas, culinary and medicinal uses, as it produces more flowers than its Roman cousin. It grows around two feet high with soft, feathery fronds in bright green that branch out from the main stem to produce many flowers.
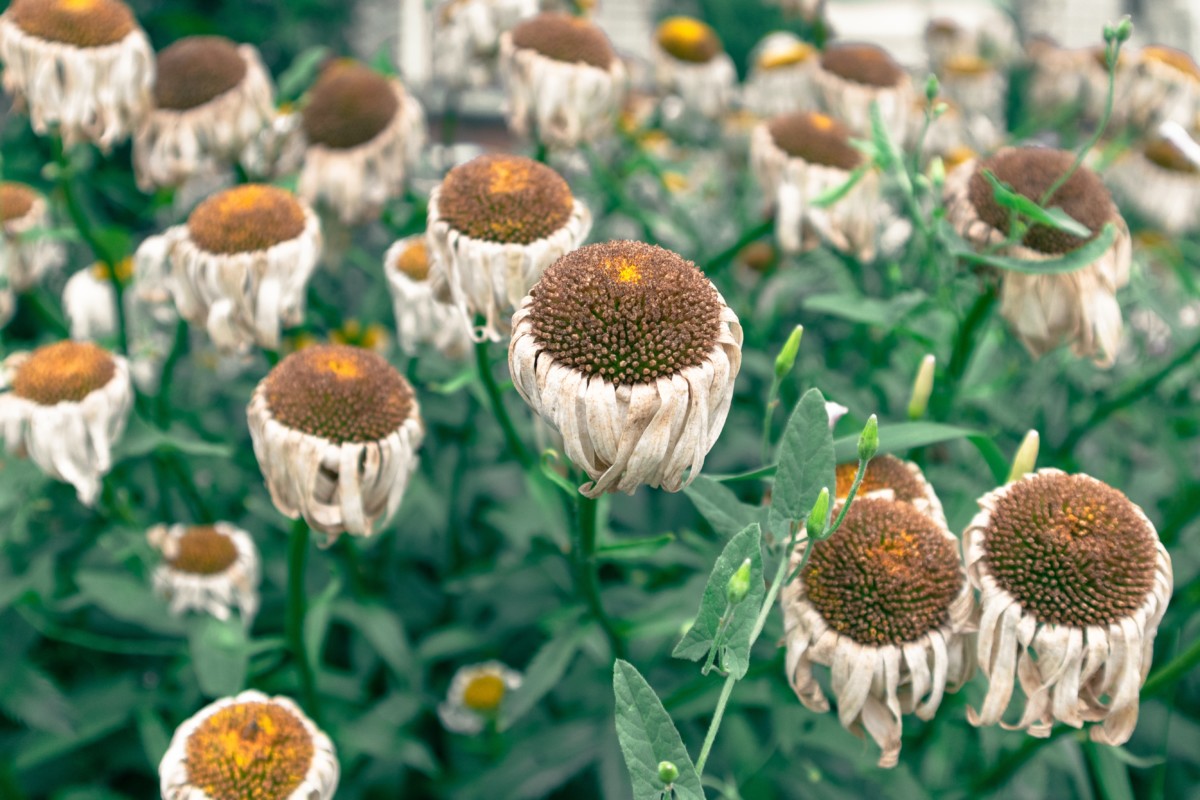
German chamomile is known for how easily it self seeds. As the flowers dry and fall off, hundreds of seeds are scattered, so it’s easy enough for one plant to multiply into a lovely patch of chamomile that keeps coming back each season.
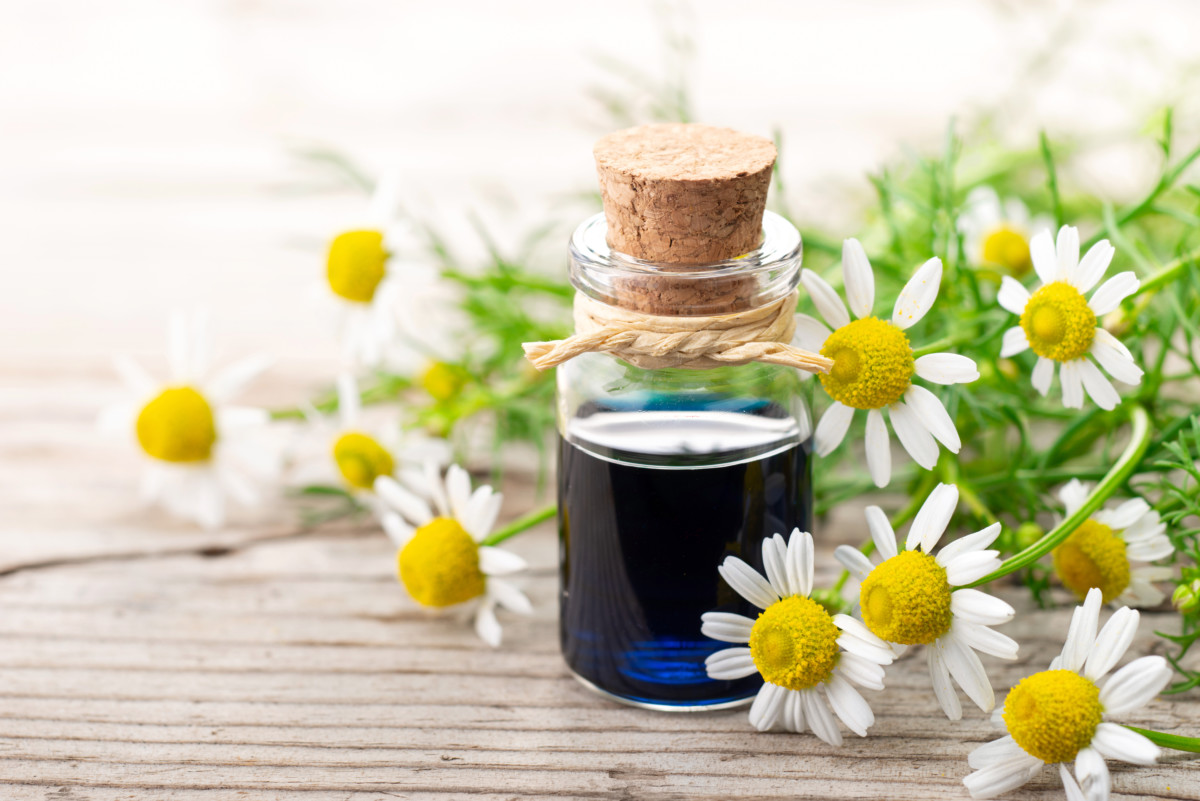
Both are used for teas, culinary purposes and medicinal uses, although home gardeners most often choose German chamomile because it produces more flowers. And those wishing to distill it into an essential oil usually prefer it because of its higher amount of chamazulene, a beneficial flavonoid used for medicinal and cosmetic purposes.
Growing Chamomile
You’ll be surprised to find that such a dainty and charming flower is a tough and durable garden occupant.
Starting from Seed & Nursery Starts
Chamomile can be started indoors 6-8 weeks before your last frost.
It’s always a shock to gardeners who open their first packet of Chamomile seeds to see how tiny they are.
Use a quality soil-less seed starting mix in small pots or seed starting trays. (Madison has a great “recipe” to make your own seed starting mix.) Premoisten the mix so that it’s thoroughly damp all the way through.
Sprinkle the seeds lightly over the top of the mix and then gently pat them into the soil with your fingertips. Using a fine-mist sprayer, lightly mist the seeds.
Cover your seed starting tray with the lid or use plastic wrap for pots. The seeds will germinate within a week, sometimes two. Remove the covers once the seeds have germinated.
Continue misting the tiny seedlings until they’re thoroughly established. Check them at least once a day as seedlings can go from fine to dried out and dead in a matter of hours. Thin out your seedlings to around 2” apart once they begin producing secondary leaves.
For your seedlings or nursery starts, begin hardening them off about a week before you plan to transplant them outdoors. Plant them outside after all danger of frost has passed. Check your USDA plant hardiness zones to find out the frost dates for where you live.
The seedlings can suffer transplant shock if not handled gently, so be sure to use extra care when transplanting your chamomile.
Direct Sow
If you wish, you can also direct-sow chamomile once you are past any danger of frost. Again, lightly sprinkle the seeds over the dampened and prepared earth, pat the seeds in, and then wait for germination.
You’ll need to water them carefully until they fill out a bit and thin them out to about 2”-4”.
Soil
Chamomile isn’t a fussy plant and will happily grow almost anywhere you put it. It does prefer well-draining soil, though. If you have especially compacted soil, you may want to mix in a bit of worm castings at the beginning of the season. The worm castings will improve the soil and provide a slow-release fertilizer for your chamomile.
Sun
Plant chamomile where it gets full sun, and you will have a happy plant; they don’t really tolerate shade well. Unfortunately, if your summer temperatures get too high, chamomile will bolt. It does the best right around 65 degrees. Keep an eye on it during hot stretches if you plan on harvesting the flowers so you can pick them before the whole thing goes to seed.
Water
Chamomile is a great drought-resistant plant choice for any gardener, but it makes an especially good choice for those who forget to water or don’t have a lot of time to devote to keeping up a garden.
You’ll rarely need to water chamomile as it does just fine with whatever rain nature provides. When you get a good dry spell, you may wish to water your chamomile to revive it, but don’t overdo it, or you risk root rot.
Nutrients
As mentioned earlier, Chamomile is a bit of a scrappy plant and doesn’t need a lot of special care. Fertilizer isn’t necessary, but if you wish, you can always add a bit of compost and worm castings to the soil at the beginning of the year to replace lost nutrients and improve the soil over time.
Disease & Pests
Chamomile is incredibly hardy and resistant to most diseases and pests. Still, you’ll want to keep an eye on it if you get an especially rainy period, as that’s when trouble can set in.
Chamomile can be susceptible to root rot, powdery mildew and a fungal disease called botrytis blight during the more humid days of summer and extended rainy spells. Use a natural fungicide, like neem oil to treat such diseases. Although, if the plant is too far gone and the weather doesn’t seem to be improving anytime soon, your best bet may be to pull up the plant and reseed it.
Pests are rarely an issue with chamomile mainly because they attract plenty of beneficial insects who feed on those pests. Chamomile will attract the occasional mealybug, thrip, or aphid, but if they do show up, they become another bug’s lunch.
Continuing this theme of chamomile and insects…
Chamomile and Pollinators
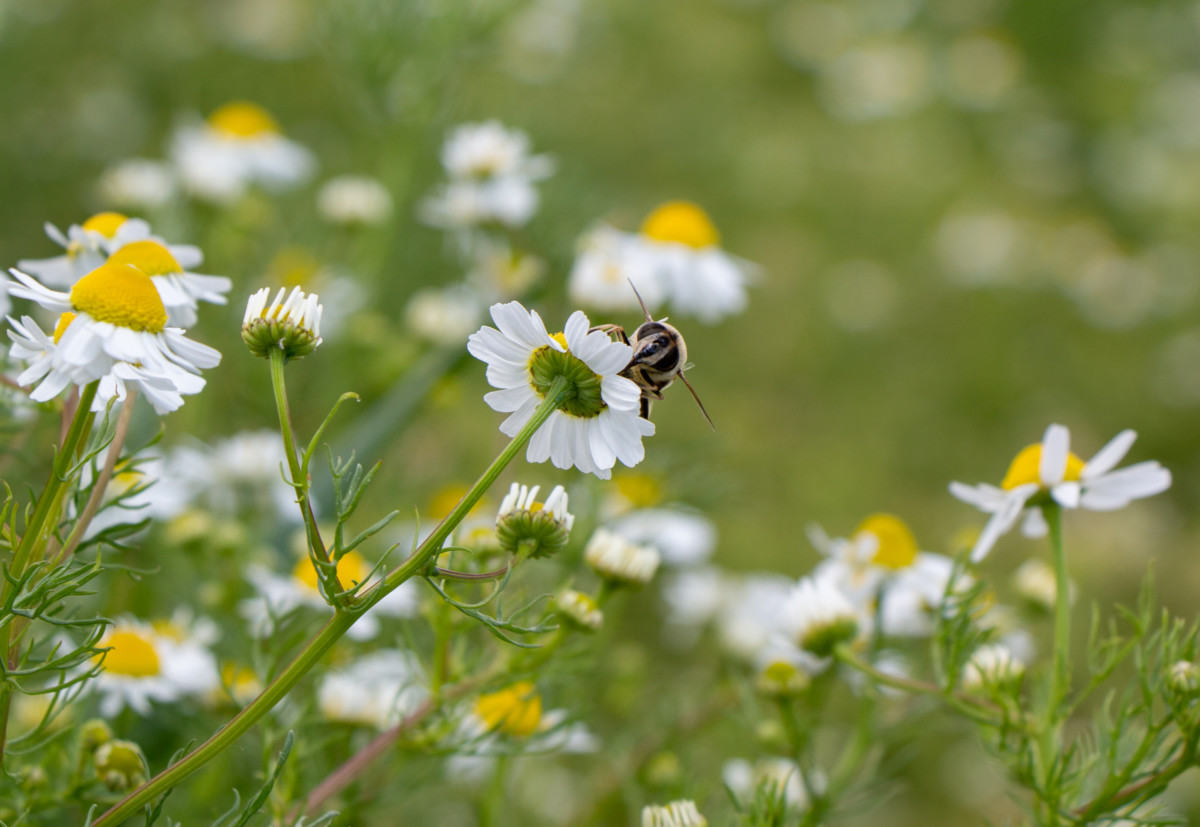
So often, those looking to attract pollinators to their garden will plant flowers – marigolds, zinnias, cosmos, etc. But I’ve often found that many herbs do a much better job attracting beneficial insects than only planting flowers. Chamomile is at the top of that list, along with dill, borage, bergamot and anise.
You can’t walk past a patch of chamomile in the summer without hearing the gentle buzz of its inhabitants. Ladybugs, hoverflies, parasitic wasps, butterflies and native bees are all attracted to chamomile.
If providing food for the native pollinator population is important to you, or you’re struggling with issues like low pollination rates in your zucchini, tomatoes, and peppers, consider planting chamomile in or around your garden.
Chamomile the Companion Plant
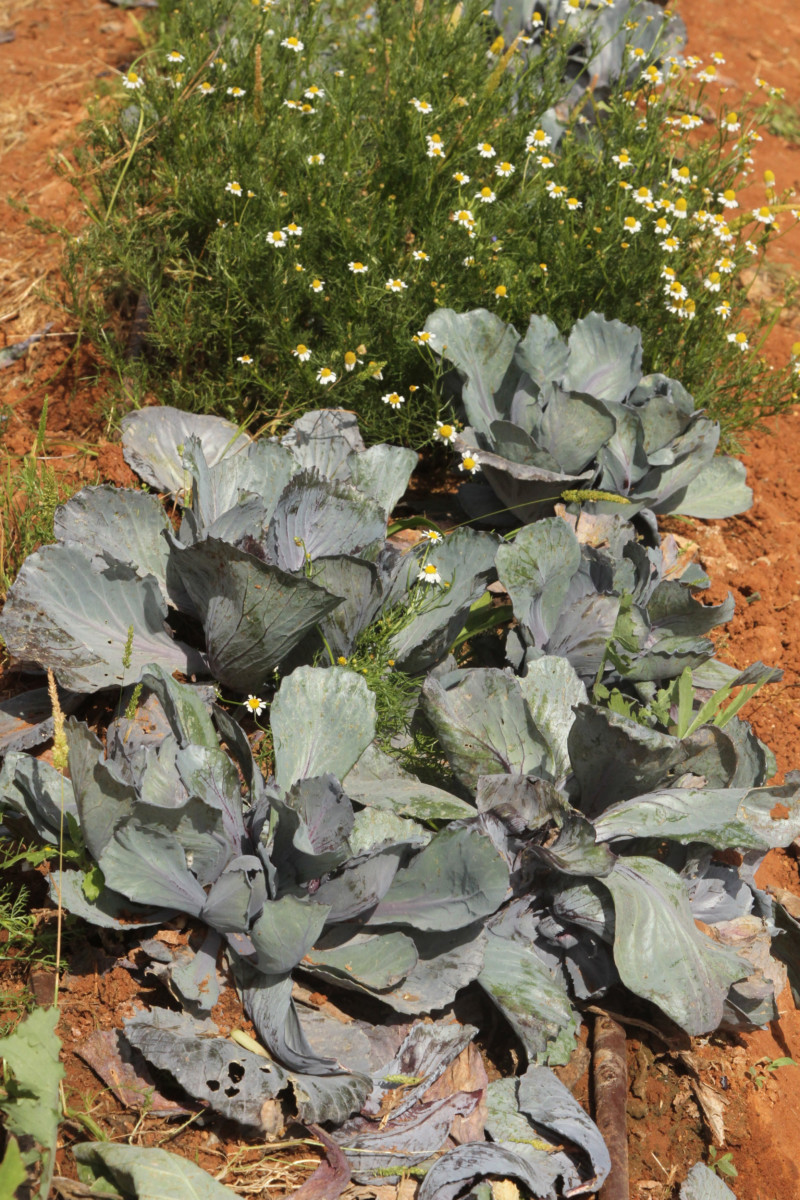
Chamomile makes an excellent companion plant for brassicas – cabbage, Brussels sprouts, bok choy, etc. Grown among your cole crops, chamomile can improve their flavor. Chamomile produces a naturally occurring compound called azulene that enhances the flavor of brassicas.
It’s not just cabbage; chamomile also improves the natural flavor of basil in the same way, so be sure and plant these two pals together in the garden.
The fresh apple scent of chamomile also helps to cover up the sulfur-like scent of your brassicas, masking them from common predators such as cabbage loopers.
Consider planting plenty of chamomile in among your cole crops this summer for extra healthy and tasty veggies.
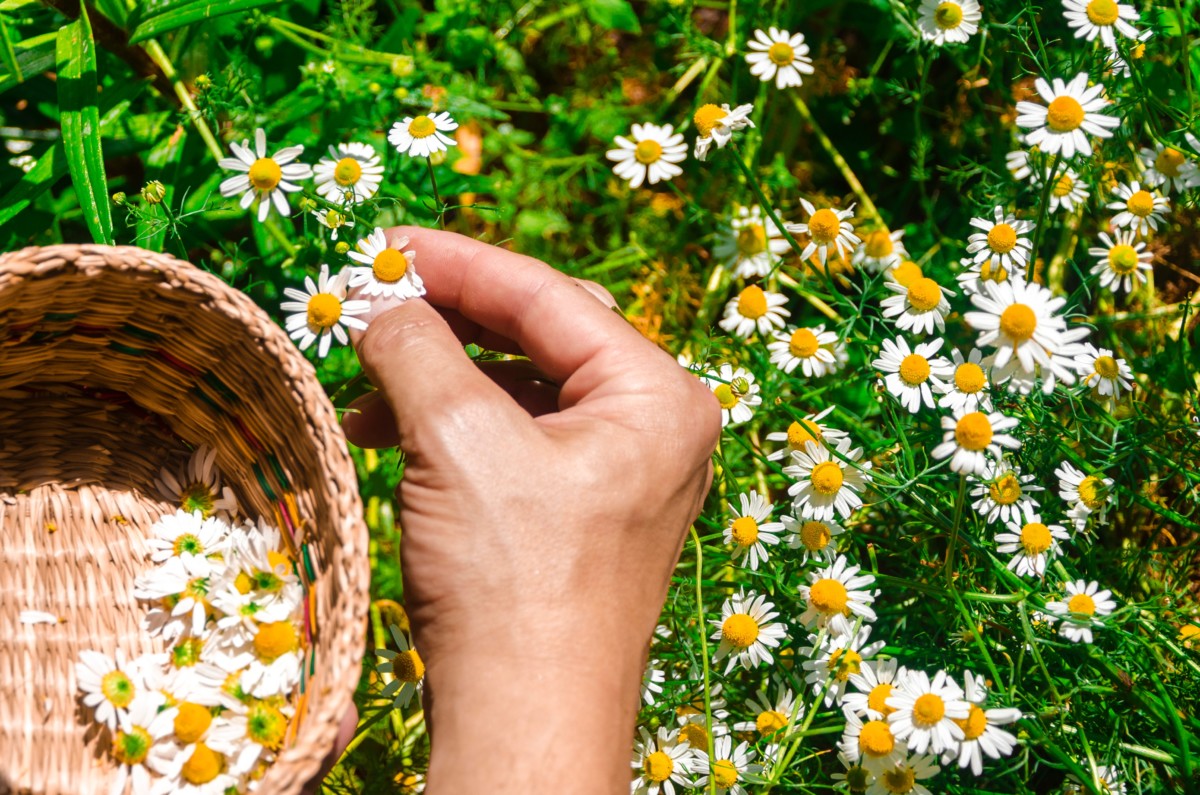
Harvesting the Flowers
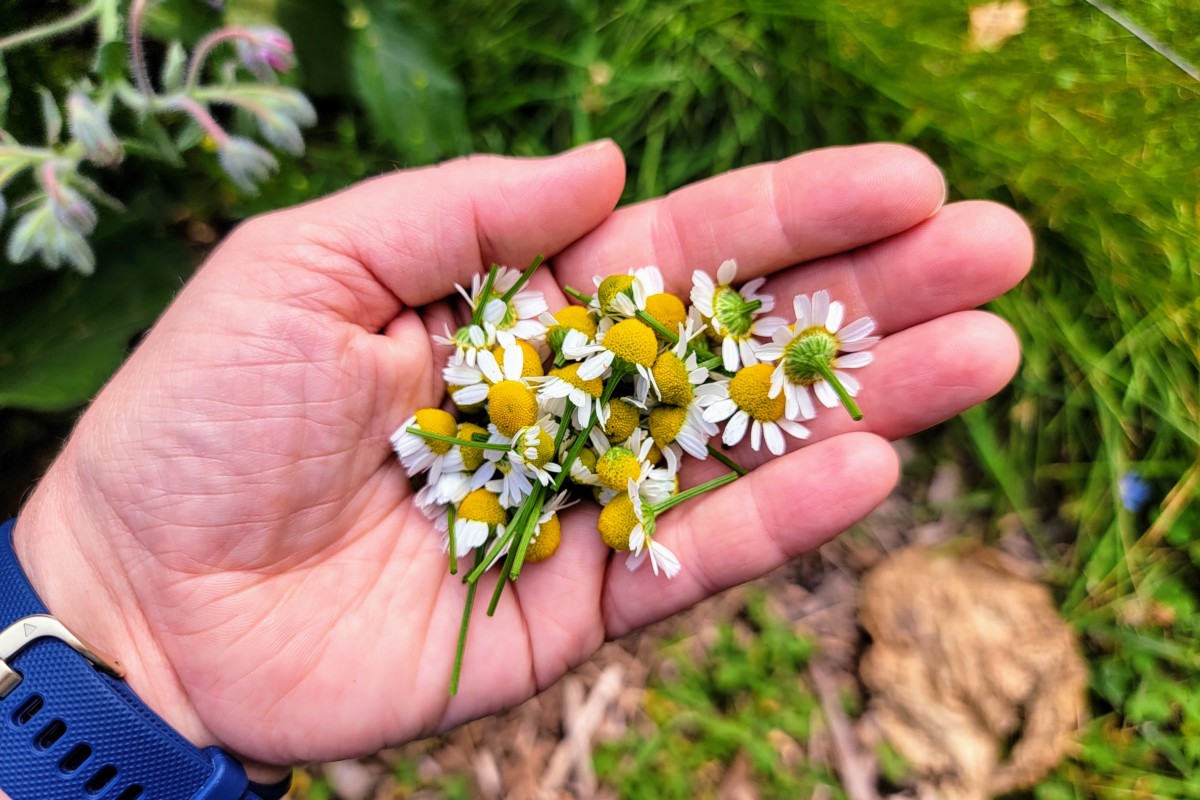
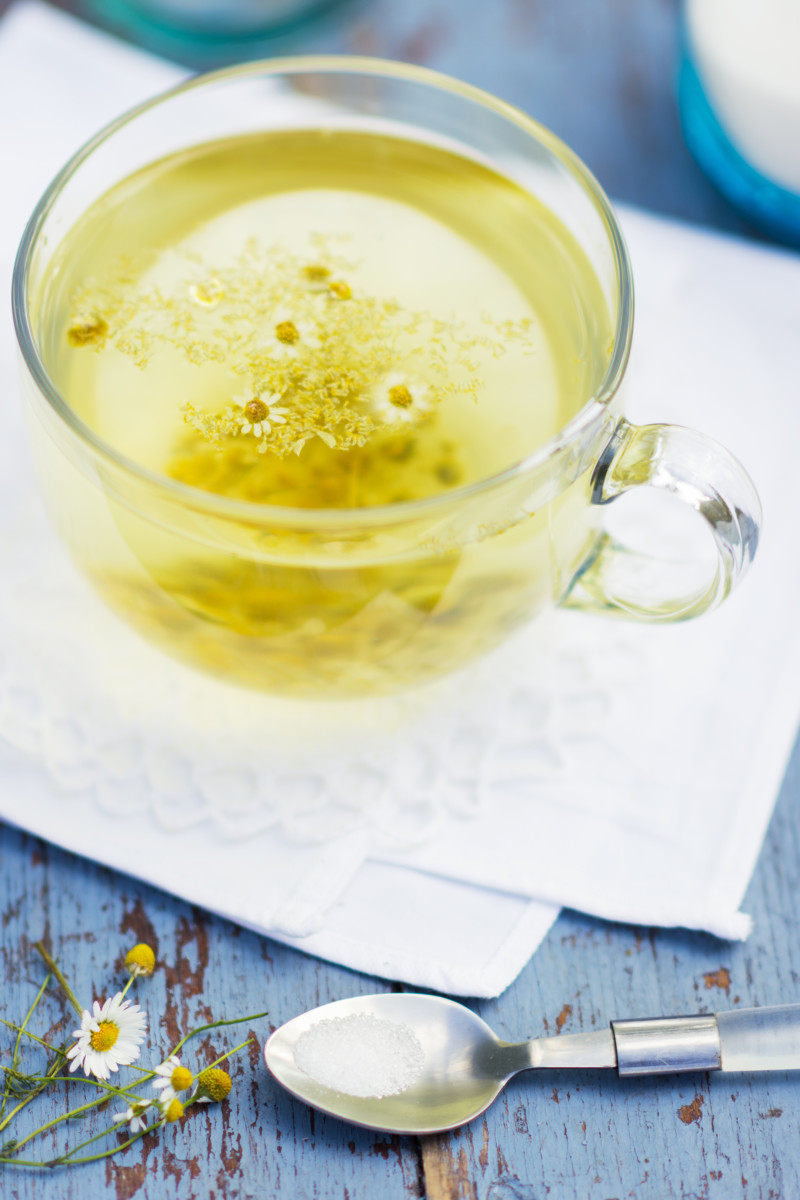
Like all herbs, it’s best to harvest chamomile flowers early in the day, once the dew has dried from the plants. Pick them as they open to use in teas, skin treatments, cooking and for medicinal uses. You can use them fresh or dry them to use later.
No special equipment is needed to dry the flowers. They need to be placed in an area that is warm and dry and out of the sun with proper air circulation. Because the flowers are so light and small, it’s best to dry them inside as they’re likely to be blown away outside.
Once they are completely dry, store them in a sealed mason jar in a cool dark place. Don’t forget to label your jar.
Chamomile flowers can be used in so many brilliant ways. Take a look at our article rounding up eleven of the best uses for chamomile flowers.
Save Some Seed for Next Year
German chamomile is a brilliant self-seeder, meaning you may find more of it growing in the same spot next year. Even though it’s an annual, it will often pop back up again the following year from seeds dropped during the previous season.
Of course, as a perennial, Roman chamomile will continue to grow and spread each year on its own. After a few years, you can begin to divide the plant. You can also take cuttings of the stems and root them in water or soil to propagate new plants. Be sure to take a cutting at least 3” long.
All you have to do to ensure your beautiful flowers return is to leave some of them on the plant to go to seed at the end of the season.
However, it’s always a good idea to save a bit of seed for the next year just to be safe. An especially tough winter can wipe out German chamomile. And giving seeds to family and friends makes a wonderful and personal gift.
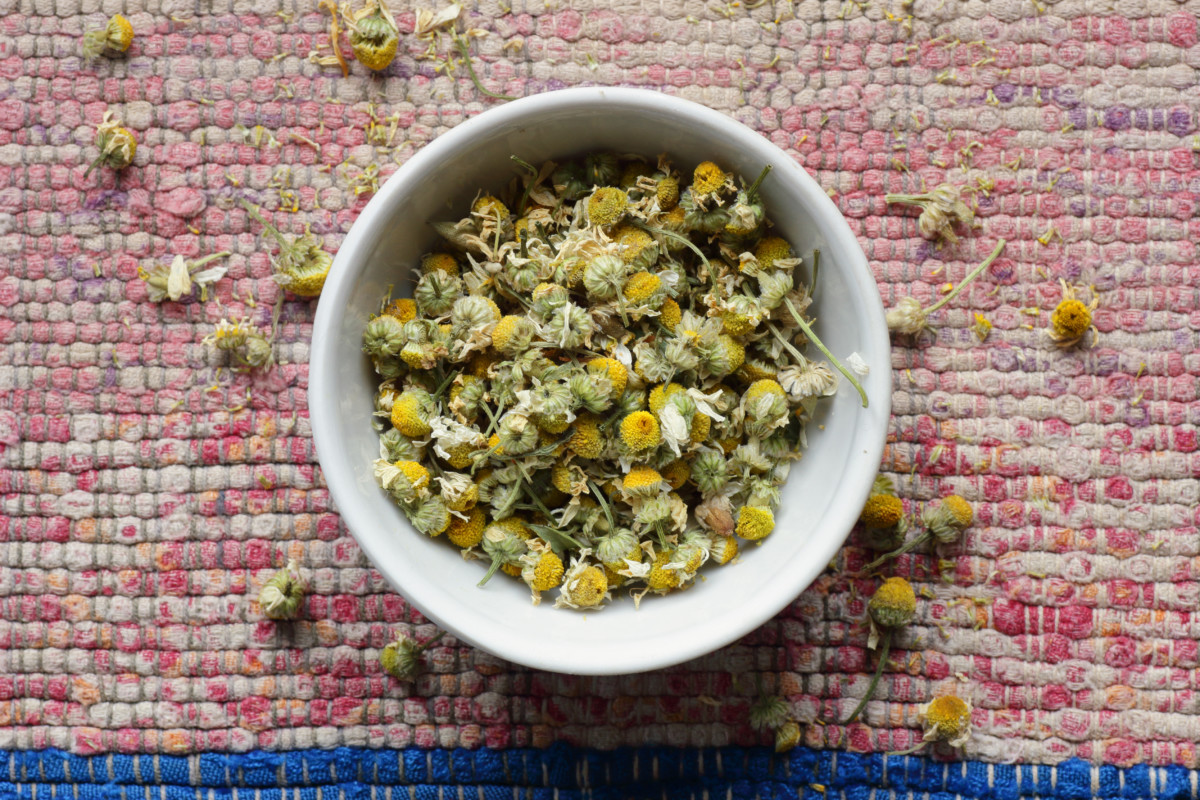
Saving chamomile seeds is ridiculously easy to do. Snip a few flower heads from the plant towards the end of the growing season and leave them someplace warm to dry, preferably out of direct sunlight.
Once the flower heads are completely dry, carefully put them in a small mason jar, screw the lid on, then shake it vigorously to separate the seeds from the stem and receptacle. You don’t need to bother removing the dried petals, only the bare stem.
Save the collected seeds in an envelope and store them somewhere dark, cool, and dry. Don’t forget to add a pinch of wood ash to protect the seeds.
Everyone Should Grow Chamomile
Even if you only grow chamomile for its pollinator-attracting and companion planting benefits, it’s well worth it. However, there is so much more to this herb once harvested than herbal tea. It’s one of the oldest documented medicinal herbs and is also used in cooking and skincare.
For a fascinating look at the myriad ways chamomile is being used medicinally in modern healthcare, check out this scientific paper – Chamomile: A herbal medicine of the past with bright future by authors – Srivastava, Shankar and Gupta.
Consider making space in your garden for a few chamomile plants; you won’t be disappointed.
Read Next: 11 Brilliant Uses For Chamomile Flowers

Get the famous Rural Sprout newsletter delivered to your inbox.
Join the 50,000+ gardeners who get timely gardening tutorials, tips and tasks delivered direct to their inbox.