

Once you have sown your seeds, they will soon germinate and begin to grow.
But if you have sown them in seed trays, or pots, you will at some point have to prick out seedlings and put them into individual plugs or plant pots to give them the space they need to grow.
In this article, we will discuss how to prick out those seedlings without causing damage to these delicate little plants.
What Does ‘Prick Out’ Mean?
The term ‘prick out’ is the horticultural term for delicately easing small seedlings out from among their neighbors.
While some seeds can be sown individually, and will come up alone at the centre of their pots or plugs, it is not uncommon, especially when dealing with smaller sized seeds, to have to thin the seedlings out as they come up too close together.
Some other seeds actually germinate into more than one seedling. In these cases too, you will have to separate out the seedlings that form. Rather than throwing these away, pricking out allows you to increase your stock of plants by moving these to their own separate plugs or containers.
When To Prick Out Seedlings
Different seedlings will be pricked out at different times, but generally speaking, this is carried out after the first ‘true’ leaves have formed, and before there are five leaves on the plants.
You may think of pricking out as a job that is done soon after sowing in spring. But year round growing and eating also involves sowing through the summer months.
Here on my homestead, we grow and eat our own food year-round. In July and August, one of the main jobs is sowing vegetables that will overwinter in the polytunnel and feed us over the coldest months and through the traditional ‘hungry gap’ next year.
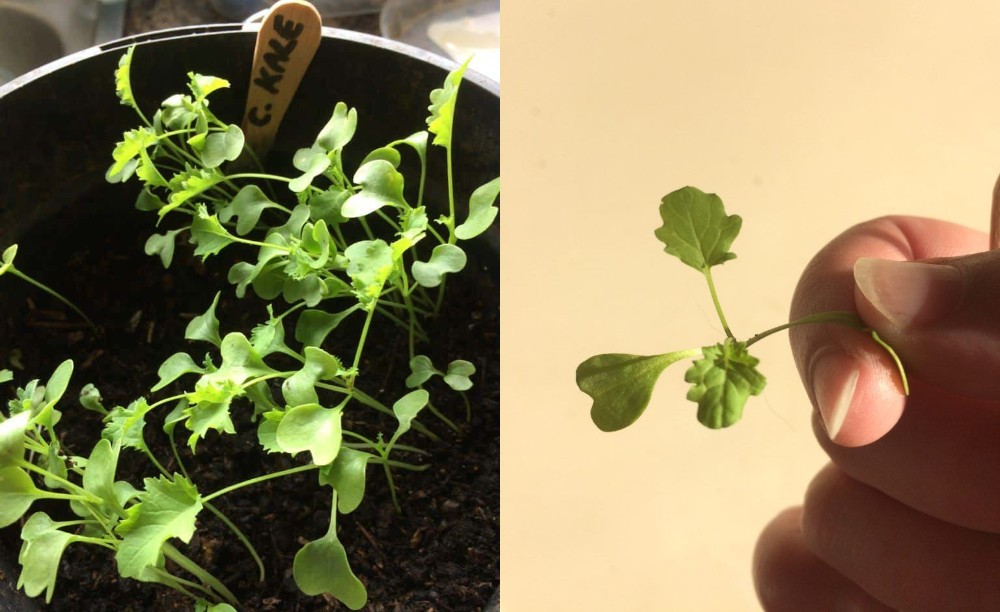
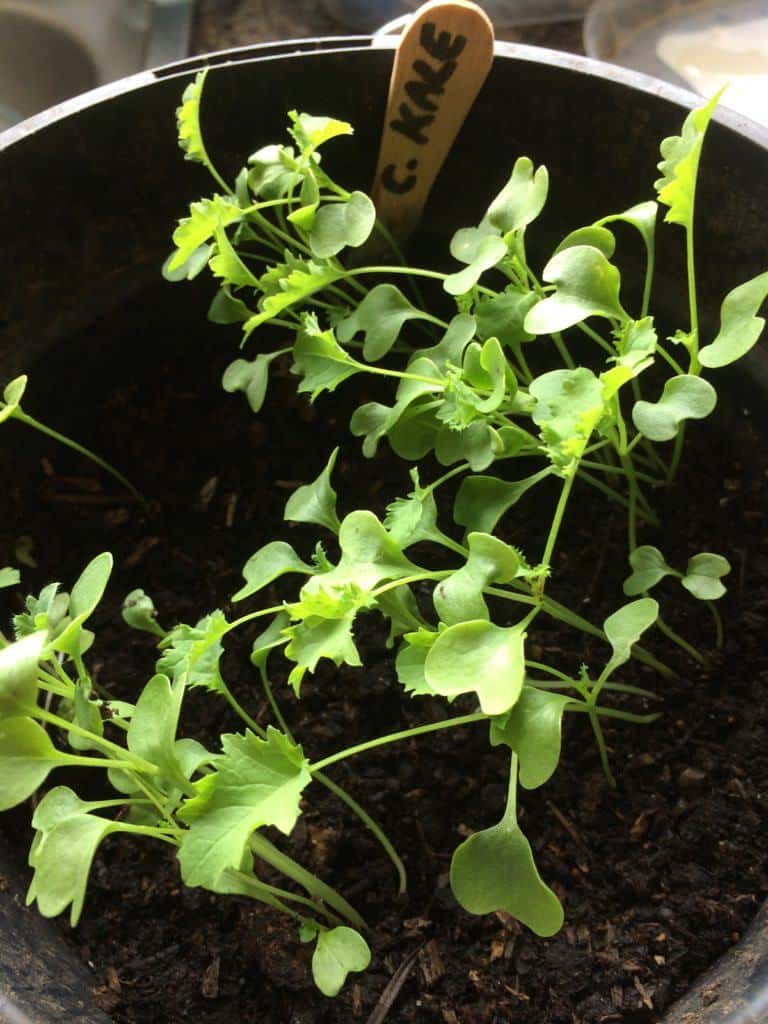
I have sown spinach, Asian greens and brassicas such as kale and these seedlings now need to be pricked out.
What Tools Do You Need to Prick Out Seedlings?
Before you begin pricking out your seedlings, it is important to make sure that you have everything that you need to hand.
Once you begin the process, and have dirty hands, it would be annoying to have to drop everything and find extra containers or other items that you need.

To prick out seedlings you will require:
- A delicate utensil with which to prick out the seedlings. (I use a wooden stick, though an old spoon or another small utensil would also do the job.)
- Plugs or containers in which to place the seedlings you prick out.
- Growing medium for those seedlings.
- Labels (so you can keep track of your seedlings).
We will discuss your options for each of the above in the next part of this article.
While pricking out seedlings, it will also be handy to have access to water, for washing your hands, and to a permanent marker or other writing implement to write your labels as you go along.
Choosing Containers for the Seedlings You Prick Out
In an eco friendly home and garden, it is always better to reuse old containers whenever possible rather than buying new. It is also best to avoid plastic items as much as possible.
There are several great green solutions for seedling containers that I would recommend.
You could consider:
- Reusing old plant pots (for as long as possible), or using plastic food packaging to keep it out of landfill.
- Choosing biodegradable plant pots – such as these peat pots. (These are kind to the planet and also make transplantation easier.)
- Making your own biodegradable plant pots.
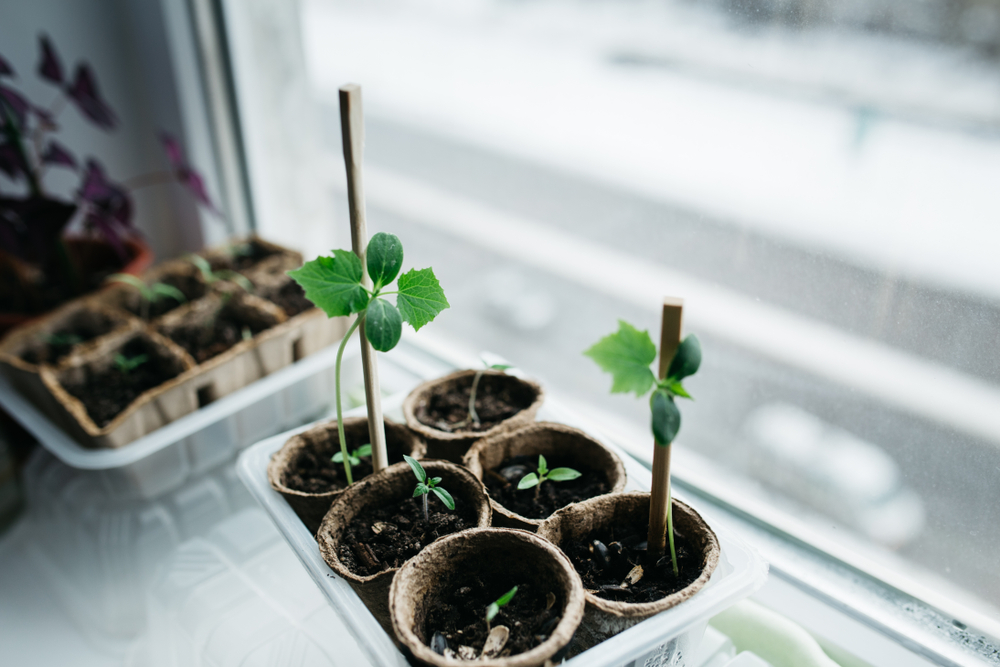
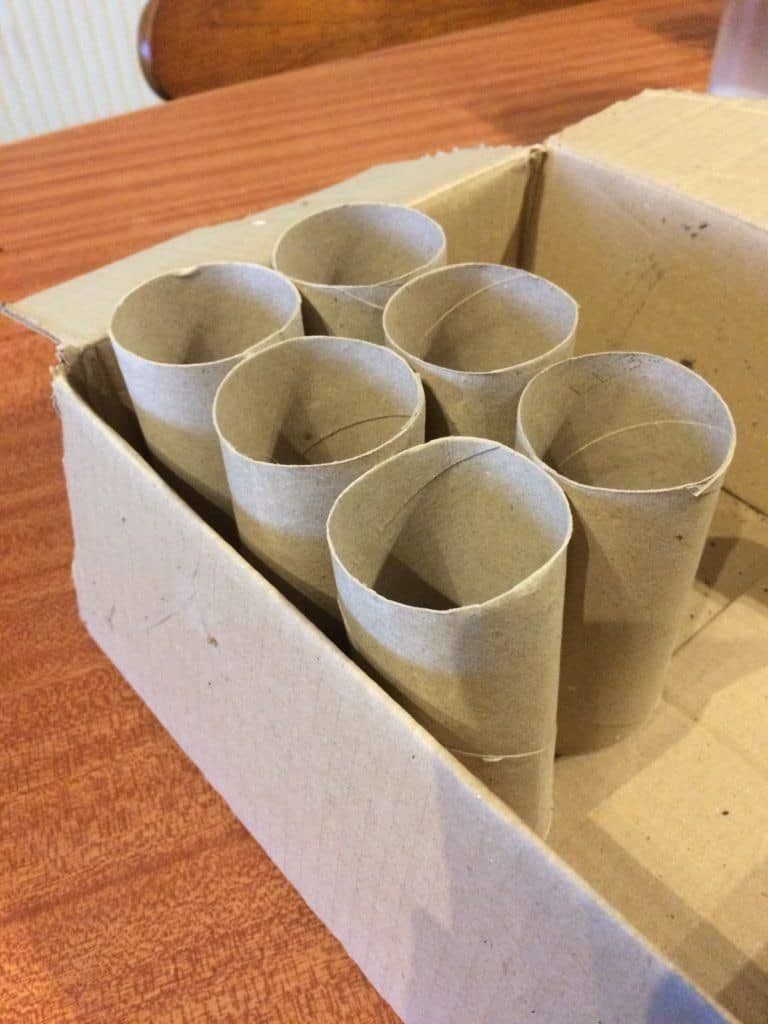
There are several different ways to do so. You can make newspaper pots, use egg shells or other organic materials, or, as I have chosen to do in this instance, use toilet roll tubes.
Another option is to avoid using containers altogether, and instead opting to place your seedlings in soil blocks, or plugs. You can form your own, or use a special soil block tool.
Of course, you could also simply transplant your seedlings directly into a well-prepared seed bed.
I tend to do this earlier in the year, but this time, I am sowing in toilet roll tubes since I will be placing these plants in the polytunnel only after the summer crops have been removed to make way for the new season’s planting.
Choosing and Preparing Your Growing Medium
Once you have decided upon your containers or plugs, it is important to consider which growing medium you will use for your seedlings.
Usually, of course, you will use some form of compost – and of course home-made compost is ideal. Depending on what you are growing, you may also wish to include some soil, horticultural sand, grit or other medium.
One thing to consider is the sustainability of the choice that you make.
Making your own compost is one of the best things that you can do to increase the sustainability of your growing efforts. But if you have not yet managed to get your own composting system up and running then you may have to buy in some compost.
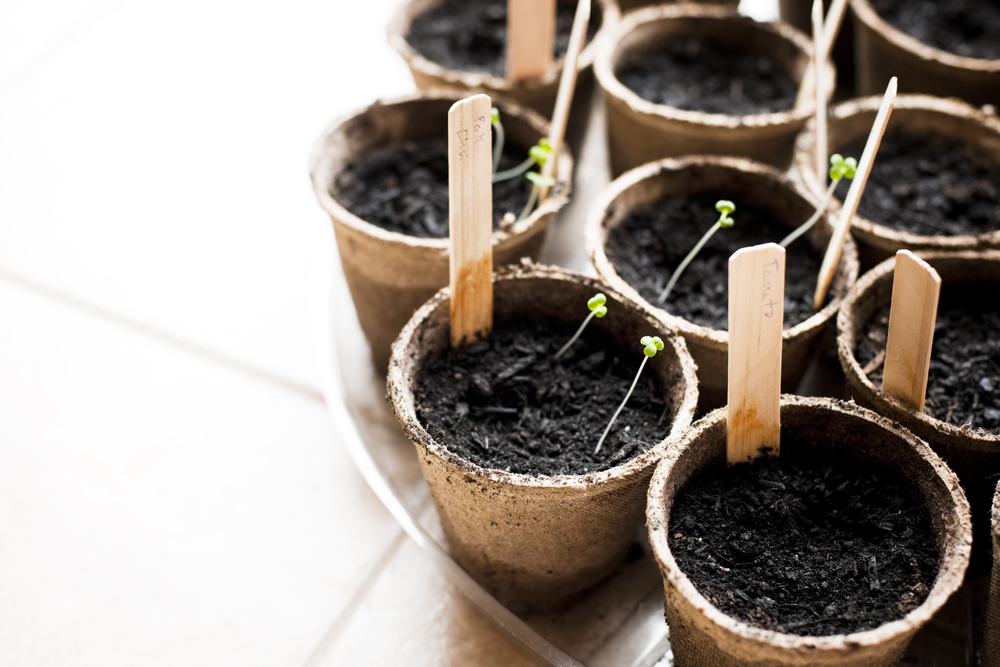
If you do, it is greenest to choose a peat free option. Fortunately, there are more eco-friendly composts on the market – some,for example, made using coconut coir, bracken, agricultural waste and even sheep’s wool.
Whichever compost you choose, for use with small seedlings it should generally be a fine and well-balanced mix. Sift out any large particles and pieces of wood before you prick out your seeds and place them into their new containers, as large, sharp pieces could damage the delicate stems.
It is also, of course, important to choose a compost mix that is suited to the plants that you are trying to grow. You will need to consider fertility level, drainage, pH etc.. If you made a mistake with the growing medium that you previously used when sowing the seeds, however, you should think twice before making a major change at this stage.
Generally speaking, when pricking out seedlings and placing them somewhere they can grow on, you should aim to change the conditions of the growing medium, and the surroundings, as little as possible. This will reduce the shock that they experience and lessen any check on growth than can occur from the ‘upset’.
Making Labels For Seedlings in Containers
It can also be helpful, before you begin to prick out seedlings, to prepare labels for them. It can be a pain to have to find and write labels as you go along, so readying these ahead of time is definitely a good idea.
Fortunately, you do not have to shell out on labels for your plants. There are a number of different ways that you can make labels from natural or reclaimed materials.
For example, you can make your own labels for seedlings and plants with sticks from your garden. By shaving off a section of your sticks with a sharp knife you can quickly create a surface that you can write on. If you have a saw, you could also create round slices of log to mark the positions of plants in your garden.
You can also use reclaimed materials from your kitchen. In this instance, I have used some wooden popsickle sticks. You might also make some plastic, waterproof labels by cutting up some old plastic food containers to give this plastic a second life and keep it from landfill.
On this occasion, I simply use a pencil to mark the names of each plant on the wooden sticks – as these are just for my reference before these go into the polytunnel in fall.
But if you want something more elegant and longer lasting you could also consider writing the labels in permanent marker or, for a more eco-friendly solution, even opting for an elegant effect using pyrography – the technique of burning designs into wood.
This is the technique that I use to create more long-lasting garden markers (and also Christmas decorations).
How to Prick Out Seedlings: The Process
- First, it is best to water your seedlings an hour or so before you begin the process, as this will make it easier to tease out the roots, and lessen the shock of the moves.
- Assemble everything that you will need to prick out the seedings – the pricking tool, new containers or soil plugs of growing medium and your new plant labels.
- Make holes in each of the new containers or soil plugs to plant your pricked out seedlings.
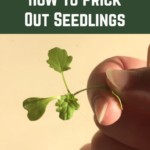
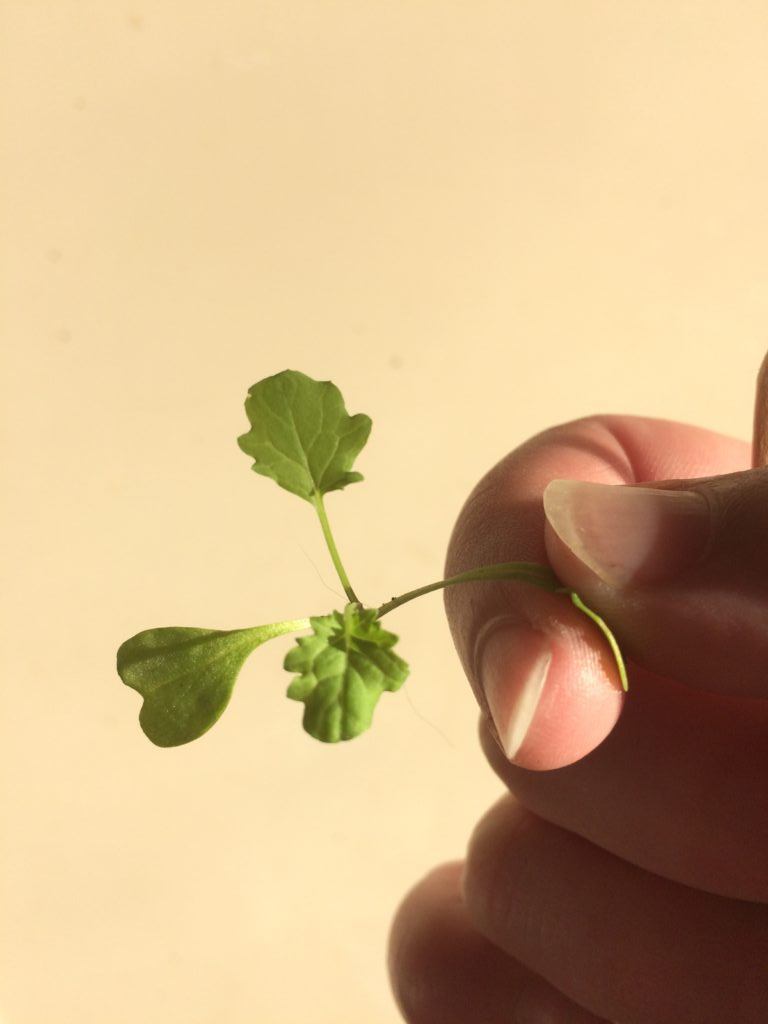
- Gently grasp a seedling by a leaf. (you should always handle young seedlings by a leaf and not by the stem. Breaking a leaf will not kill the plant, but damaging the stem may do so).
- Ease the seedling out the growing medium using your pricking tool to ease out the roots – taking care to keep the roots as in tact as possible.
- Gently lower the seedling into the hole you have prepared for it and gently firm in the growing medium around the roots.
- Water the seedlings in gently with a sprayer with a fine nozzle spray.
Caring For Your Seedlings
As mentioned above, the more you can maintain the same growing and environmental conditions for the seedlings you prick out, the more quickly they can become established and the more likely they are to thrive. The key is to try to prevent any checks to growth.
You should try to avoid:
- Sudden temperature changes.
- Sudden changes to light levels.
- Letting the seedlings get too dry (or making them too wet).
Remember that before placing your seedlings sown inside to an outdoors location, or a location in an unheated greenhouse or polytunnel, you will need to harden them off. This is the process of acclimatising seedlings or young plants grown inside to their final growing positions.
Learning how to prick out seedlings is a key skill in organic gardening. It can help to reduce waste and make sure that you make the most of each and every seed that you sow.

Get the famous Rural Sprout newsletter delivered to your inbox.
Join the 50,000+ gardeners who get timely gardening tutorials, tips and tasks delivered direct to their inbox.