


Soil health is a topic that’s coming up more and more over the years. It seems we’ve finally come around to the idea that what’s going on beneath the soil is usually the most important aspect that influences what comes up out of the soil.
And when it comes to improving your soil health, a lot of blood, sweat and tears go into that dirt as well. Between soil testing, shoveling loads of compost, mixing in amendments or adding layers of mulch — it can be exhausting.
Save yourself the blisters and the aching back.
I’ve found an inexpensive way to improve the overall condition of your garden soil that only takes a few minutes to implement. I promise you won’t even break a sweat. Keep reading, and I’ll tell you all about it.
Our Accidental Discovery
This past spring, my sweetie and I decided to give no-dig gardening a try. After reading all of Cheryl’s articles concerning the topic, she convinced us it was the way to go.
You can read Cheryl’s fantastic articles below:
6 Reasons To Start A No Dig Garden + How To Get Started
12 Common Mistakes That No-Dig Gardeners Make
Because we started in the spring, we were a little behind. Most new no-dig gardens should be started in the winter to give your compost, straw, leaves, etc., a chance to break down.

We already knew we didn’t have the greatest soil from previous attempts at gardens in that location. But we figured we had to start somewhere, and I had already made up my mind that the rototiller wasn’t going to touch the soil again.
We were trying to think of things we could do to improve the soil while the garden was growing.
I knew we didn’t want to add more organic materials to break down once we had plants growing; that would throw off the carbon-nitrogen ratios in the soil.
I had also begun setting up my rooftop container garden for the season over at my apartment. I was using large heavy-duty storage totes, and I had to pick up a few more.
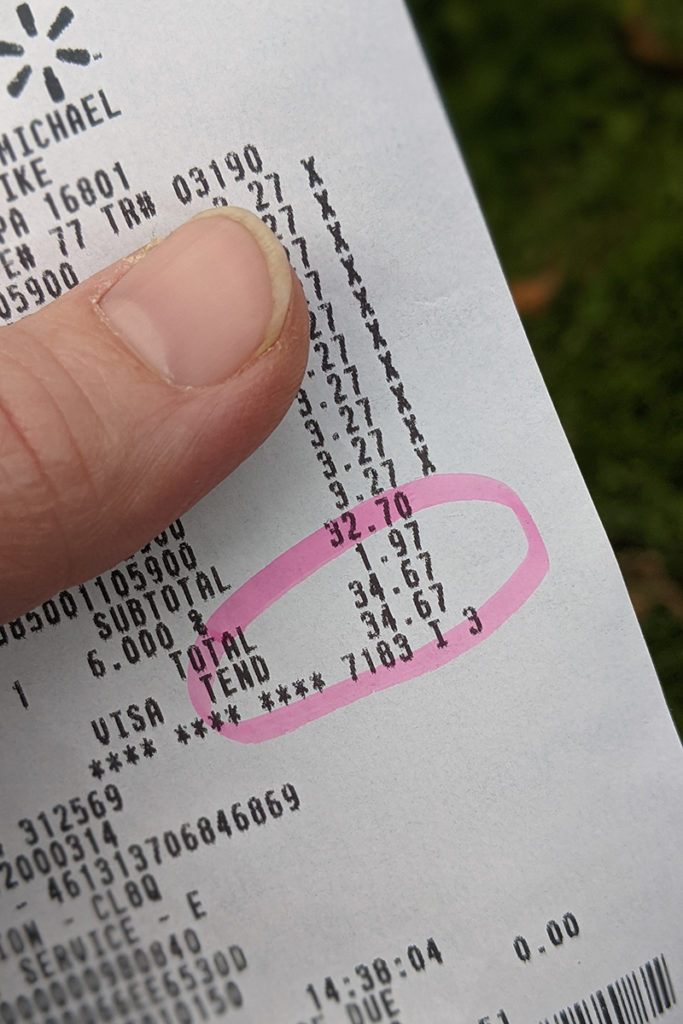
So, on a whim, I decided to hop in my car and head over to Walmart. As I walked up to the front of the store to pay for my totes, I had a sudden idea. I turned around and headed back to the Sports & Outdoors section, where I spent around $35 and got some weird looks from the young man that rang up my purchase.
Here we are now, as we put the garden to bed for the winter with the growing season behind us. I can say it’s the best $35 I’ve ever spent on my garden over the years.
What did I buy?
Worms.

Yup, that’s right, I bought live bate.
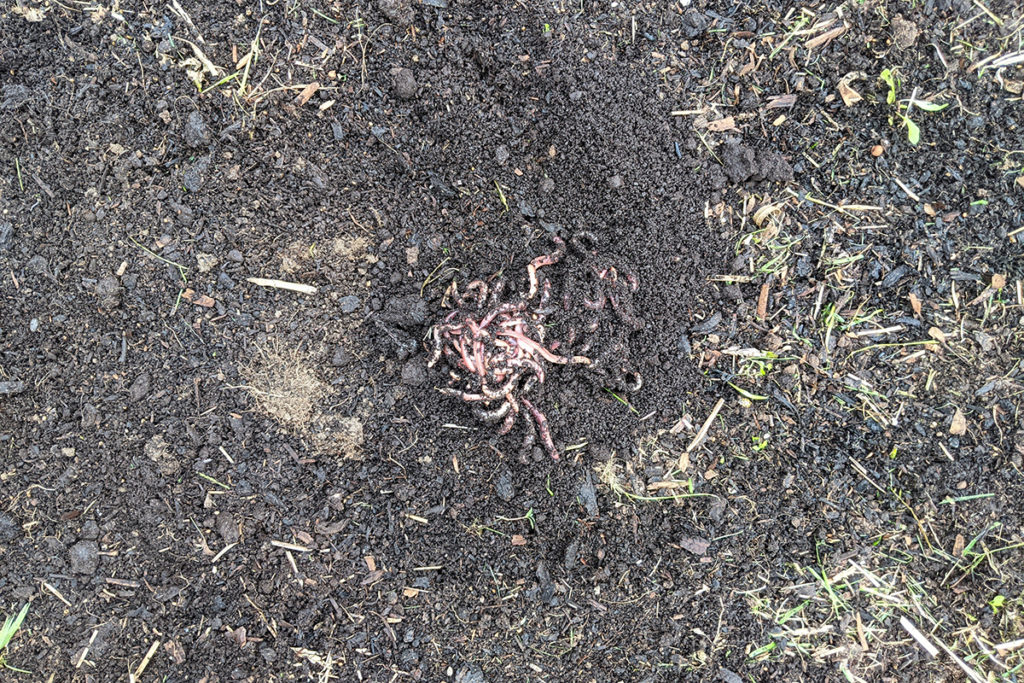
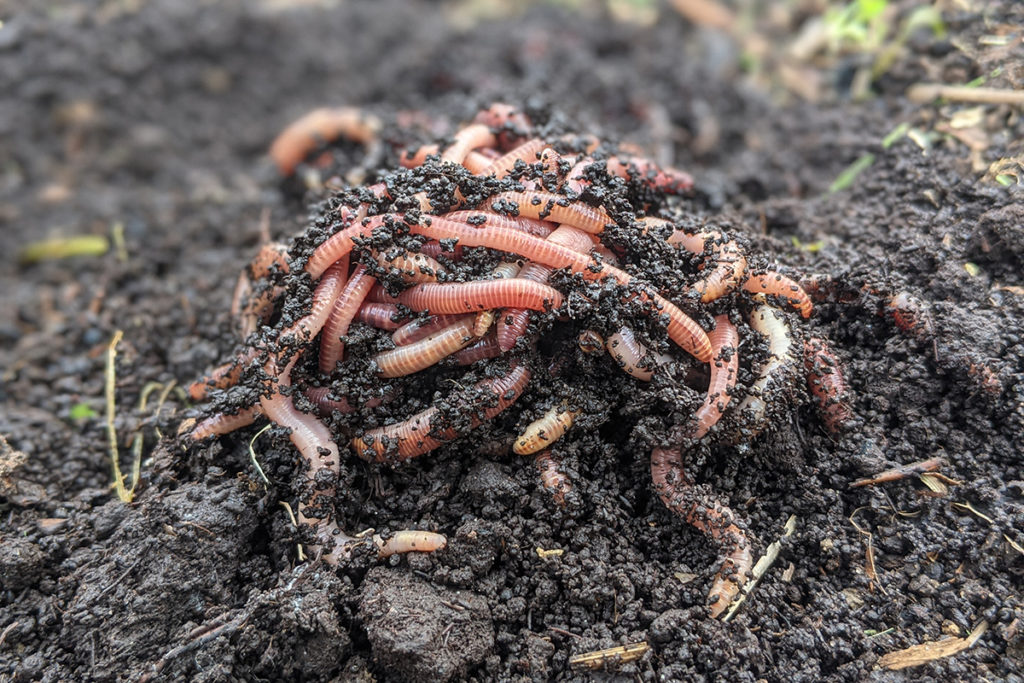
I purchased ten little cups of red wigglers. (Here’s where you can buy them, too.)
I brought them home and unceremoniously dumped them out of their cups into our garden, where I left them to do their thing. I checked later that afternoon, and sure enough, they had all burrowed down into the soil.
Out of Sight, Out of Mind
We proceeded to have a wonderful growing season and enjoyed the best garden we’ve ever had. My sweetie and I were no-dig garden converts. (Although, I still can’t convince him to put a For Sale sign on his beloved rototiller.)
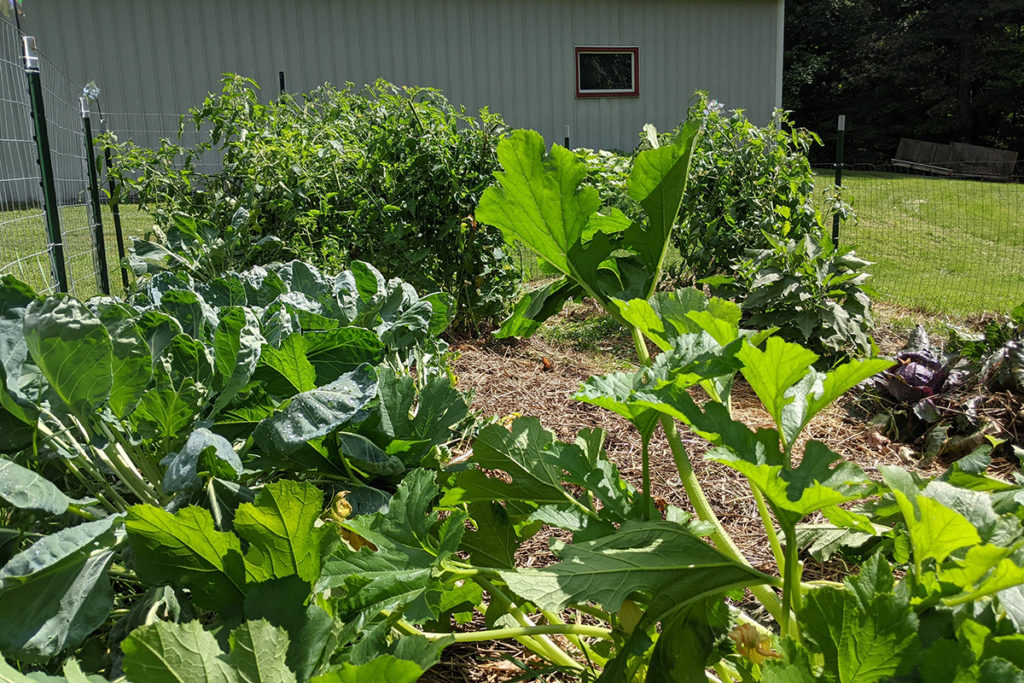
As I picked eggplants and tomatoes and lettuce, I completely forgot about the new tenants living just below the soil.
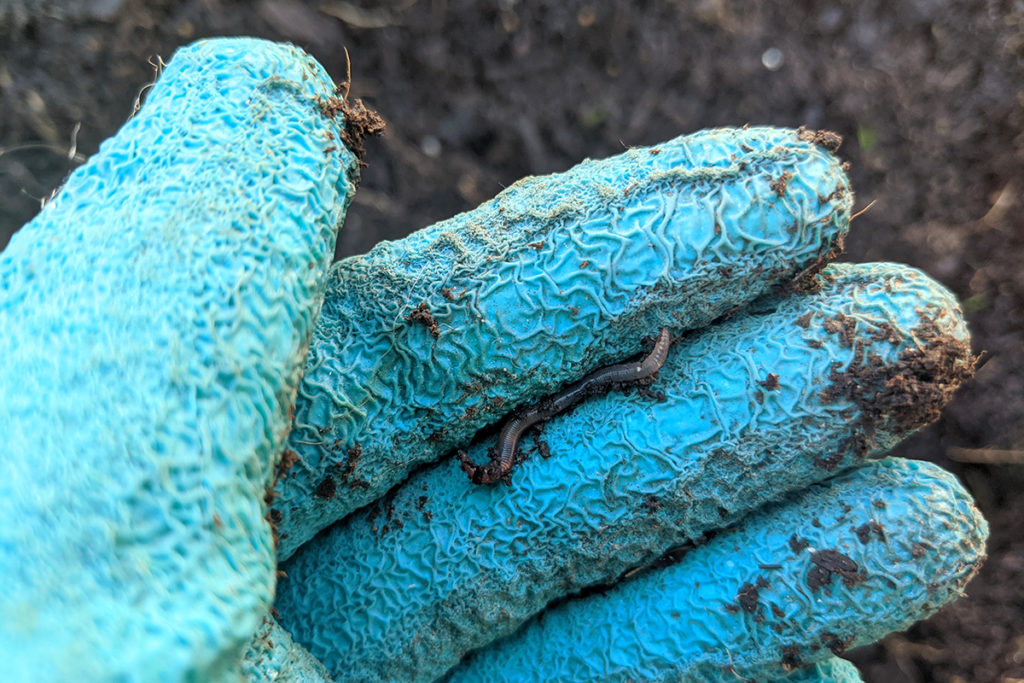
It wasn’t until I pulled up our first beets that I remembered the worms. Down in the dirt, where I had just pulled a beet, were a couple of wriggling little tails.
I was happy to see our little friends hadn’t all died or been eaten by the local robin population.
We both noticed worms whenever we pulled up root crops. This was not a common sight in years past. It was good to see.
Okay, great, Tracey. You’ve got worms in your soil.
What’s the big deal?
A good population of worms in your soil is like having a tiny army of wriggling rototillers beneath your feet. Worms are constantly eating decaying organic material in the soil and breaking it down.
Only they’re working all season long to mix and turn and move the soil and the nutrients in it without disturbing the naturally occurring soil microbiome.
The tunnels earthworms leave behind help to aerate the soil deeply and allow water to penetrate further. If water can get down deeper in the soil, roots will grow deeper, too, giving you healthier, more drought-resistant plants.
And of course, let’s not forget about amazing worm poop.
Worm castings (the non-9-year-old term for worm poo) are one of the most amazing fertilizers known to man. This stuff is like tiny football-shaped nuggets of gold!
Worm castings provide structure to the soil while keeping important nutrients from washing away with every rain. They retain water keeping your soil damp longer. They’re a great natural slow-release fertilizer. Did I mention naturally occurring compounds found in worm castings can also kill aphids and spider mites?
There is even research supporting higher yields of both fruiting and flowering plants thanks to the addition of worm castings in the soil.
Not bad for a bunch of invertebrates!
As I stood there in Walmart this past spring, it occurred to me that we needed a worm farm, and what better place to start one than directly in the soil?
Wormville – Population…Too Many to Count
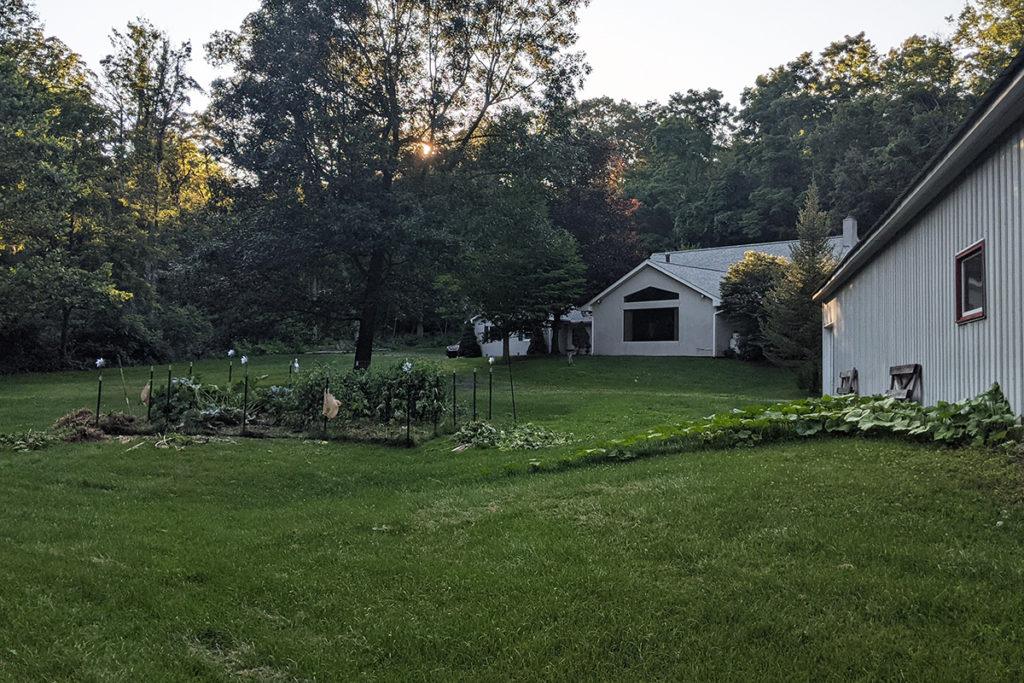
Fast forward to this fall.
It wasn’t until we decided it was time to put the garden to rest that we saw the full impact of my purchase months before.
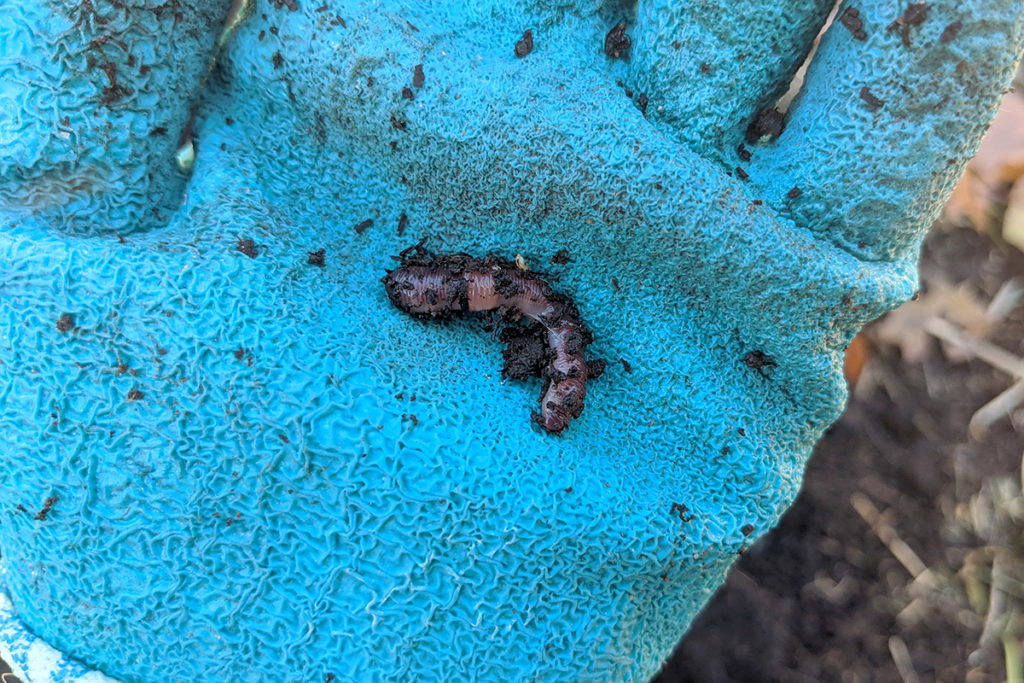
When I pulled up the first tomato plant to toss on the compost pile, I noticed worms down at the roots. And I don’t mean one or two. There were several dozen little wriggling worms of all different sizes hanging out of the roots. I shook them off to return to the soil and moved on to the next tomato plant.
Again, the roots were crawling with red wigglers.
And so it went as we pulled up the dead or dying plants for the year.
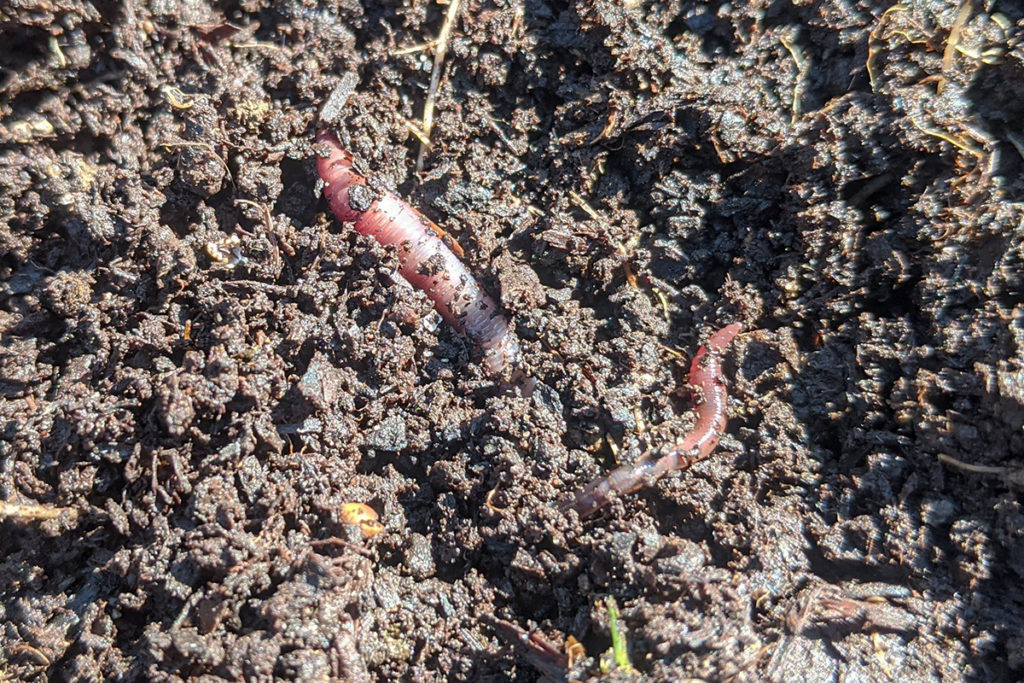
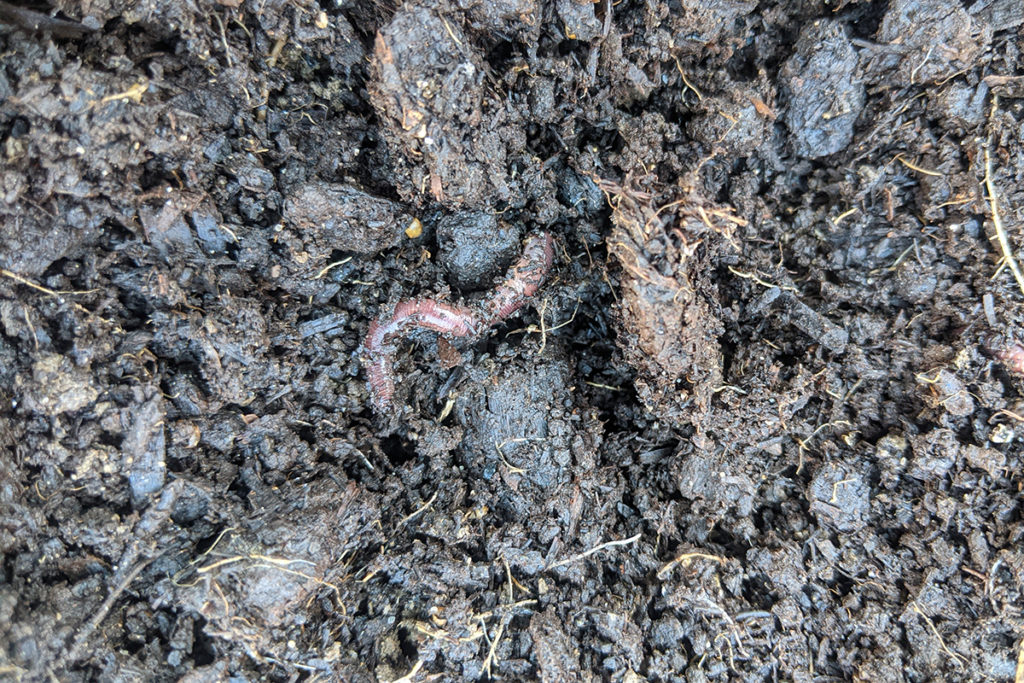
Out of curiosity, I scooped down into the dirt a few inches where we hadn’t pulled up plants and was met with worms there too. I repeated this all over the newly cleared garden, and I found worms everywhere.
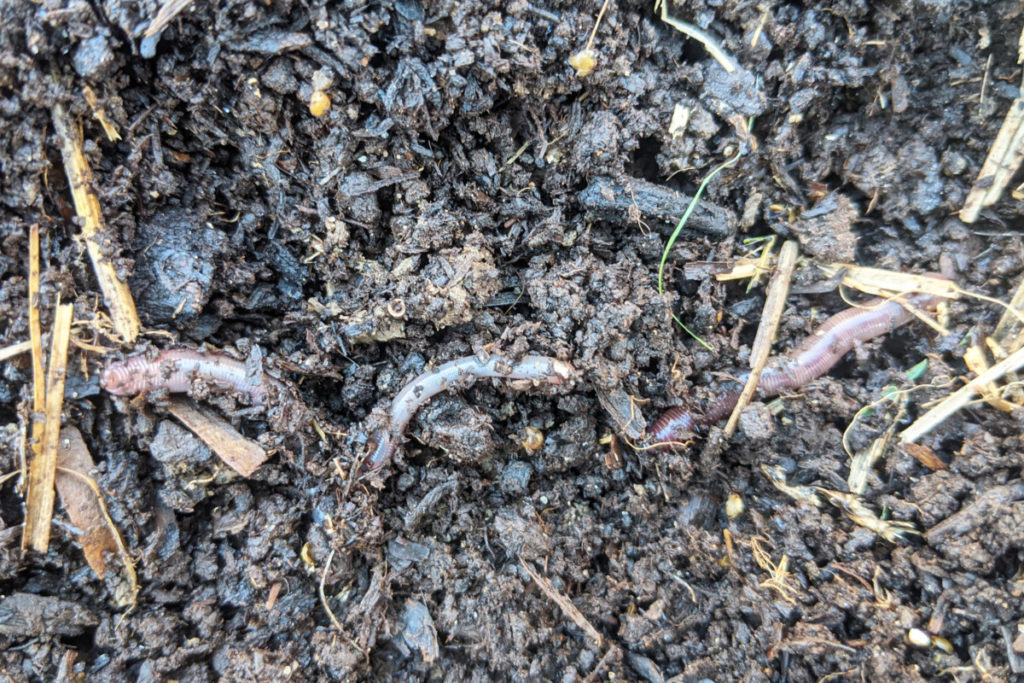
Lots of worms!
I even dug below the layer of compost and organic matter we put down in the spring, right down into our crappy soil.
Only it wasn’t so crappy anymore.
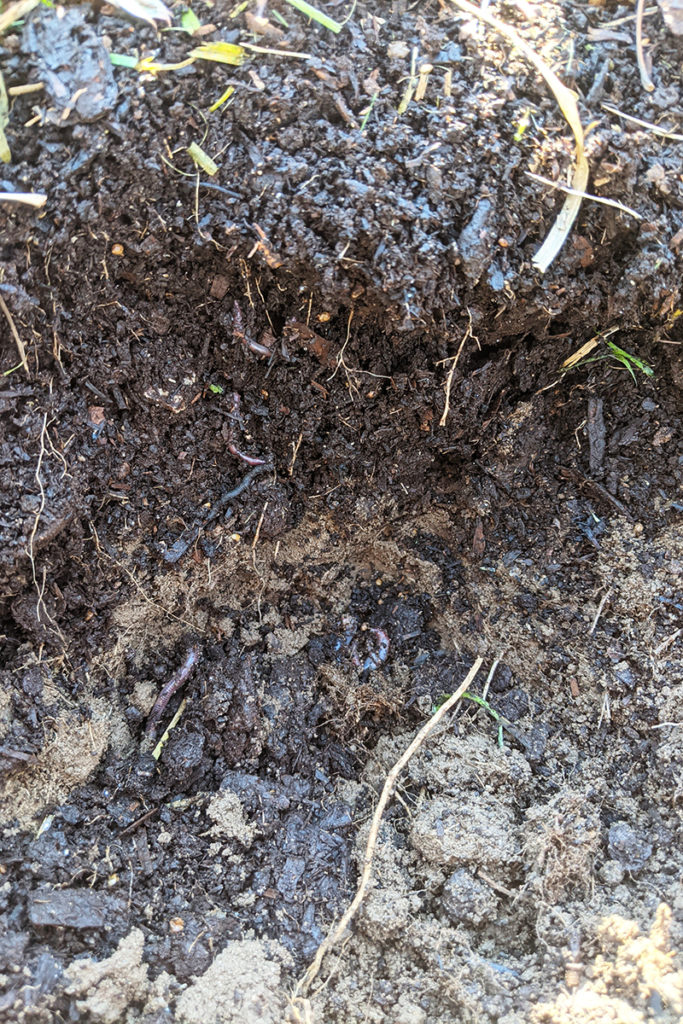
The worms were there too. And not only were there worms, but the soil had improved. With just my hand, I was able to scoop down into it. It wasn’t compacted like concrete the way it had been in previous years.
I was also finding empty worm cocoons everywhere in the soil, which is always a good sign.
Did you know?
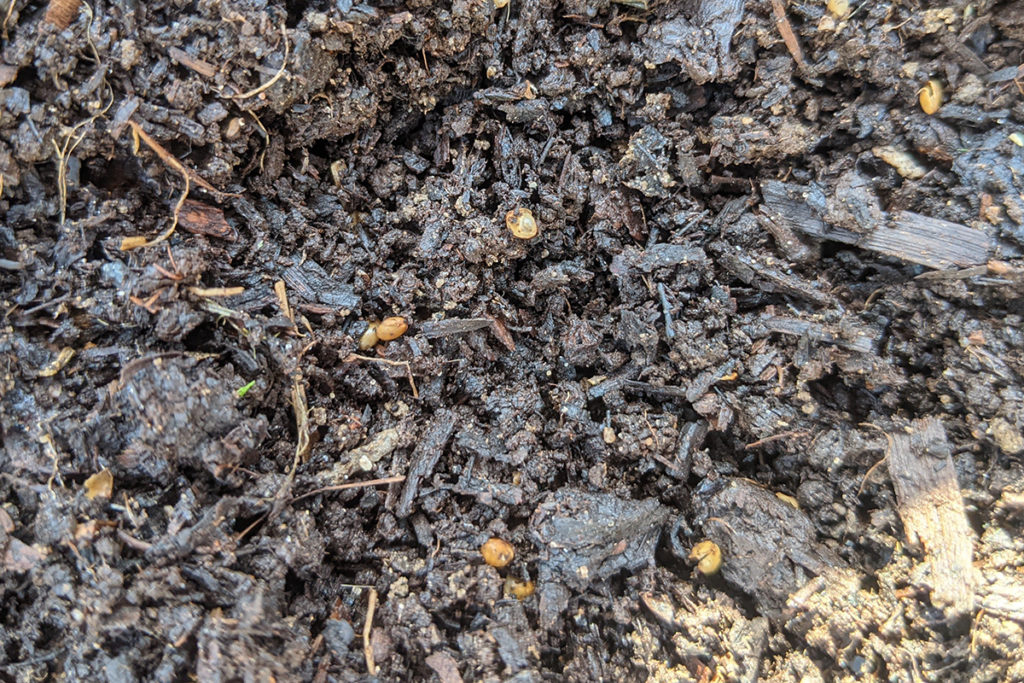
Many folks see the tiny little lemon-shaped pods in the soil and assume they’re looking at seeds. Worm farmers may even think they’re looking at worm eggs. However, these small millet seed-like pods are actually worm cocoons, and the eggs are inside the cocoon.
Finding these empty cocoons in your soil is a sign of good soil health.
Last spring, those ten tubs of worms moved into our garden and got busy. We’ve tucked the garden and the worms in for the winter, and I have no doubt that come spring, we’ll have beautiful soil to plant in. I can’t wait to see what the worms can do in a year’s time to our garden.
If you’re looking for easy ways to improve your garden without a ton of work, grab your car keys and go buy some worms. Or just do what most of us do these days and buy a box of worms on the internet. You can buy 100 red wrigglers from Uncle Jim on Amazon at this page – the reviews are fantastic.
This might be the easiest soil amendment you’ve ever added. You don’t even have to use a shovel.
What Worms Should I Add?
Stick to worms you’ll naturally find in your own soil, such as nightcrawlers or red wigglers. Choosing worms native to your area means they’ll be more suited to the soil and temperatures in your garden.
When Can I Add Worms to My Garden?
You can add worms to your garden as long as it’s warmer than 32F outside and the ground isn’t frozen. They need to be able to burrow down in the earth.
The best time to add worms to your soil is before anything is planted. You want to give them time to burrow in and start making babies and worm castings.
Early spring, as soon as the temperatures warm up is a great time. It’s when I added our worms, and we got great results.
Fall, just after you’re done gardening for the year, is also a great time to toss a few cups of worms in the garden. They will have plenty to eat with the leftover, dying root systems of the plants you grew. And they’ll have a lot longer to work before you use the soil to grow again.
You can even add them while your garden is in full swing. They only eat decaying material, so they won’t be snacking on your plants beneath the soil.
What Do the Worms Do During the Winter?
When you look out your window to see your garden covered with a blanket of snow, your population of little wriggling gardeners will all be burrowed deep in the soil, hibernating. Yes, just like bears or many other animals, worms hibernate.
When the temperatures rise, and the soil warms up, they’ll be back to work in the garden just like you.
Not too bad for $35 and a car ride, right? And with our newly adopted no-dig method of gardening, our worms will continue making new generations of worms each year.
Try it for yourself? Pick up some worms from Uncle Jim here and dump them on your soil.
Related Reading:
Why You Need More Earthworms In Your Soil & How To Get Them
Worm Castings – Nature’s Most Amazing Soil Amendment
Why You Should Add Mycorrhizae To Your Soil – Stronger Roots & Healthier Plants
How To Make an Easy DIY Worm Tower for Under $15 (or FREE!)

Get the famous Rural Sprout newsletter delivered to your inbox.
Join the 50,000+ gardeners who get timely gardening tutorials, tips and tasks delivered direct to their inbox.