

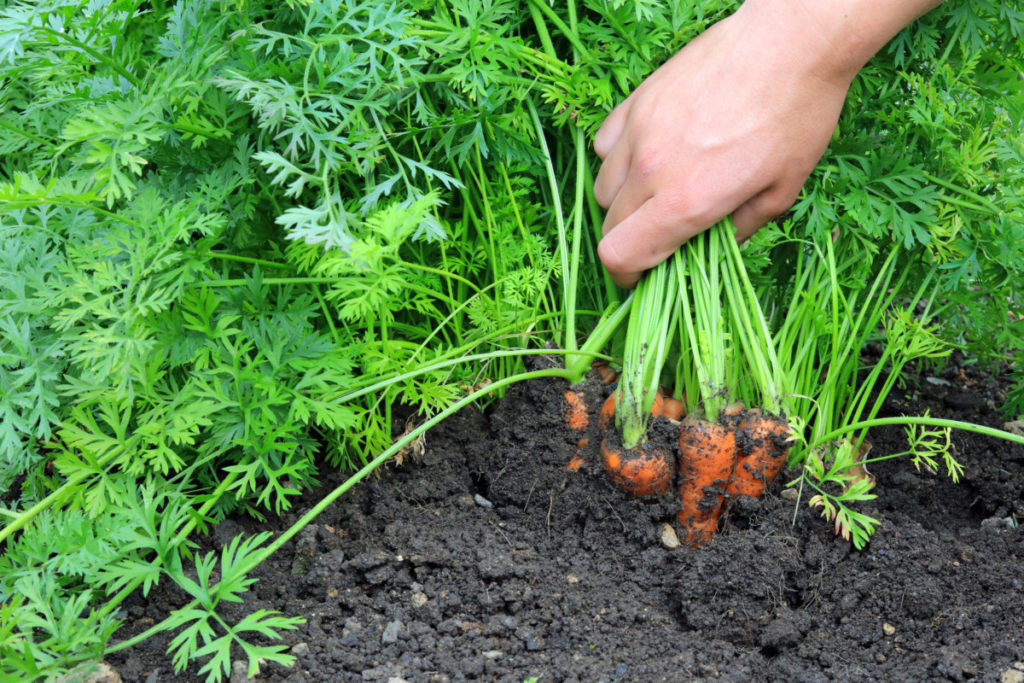
Carrots are tricky little roots to grow.
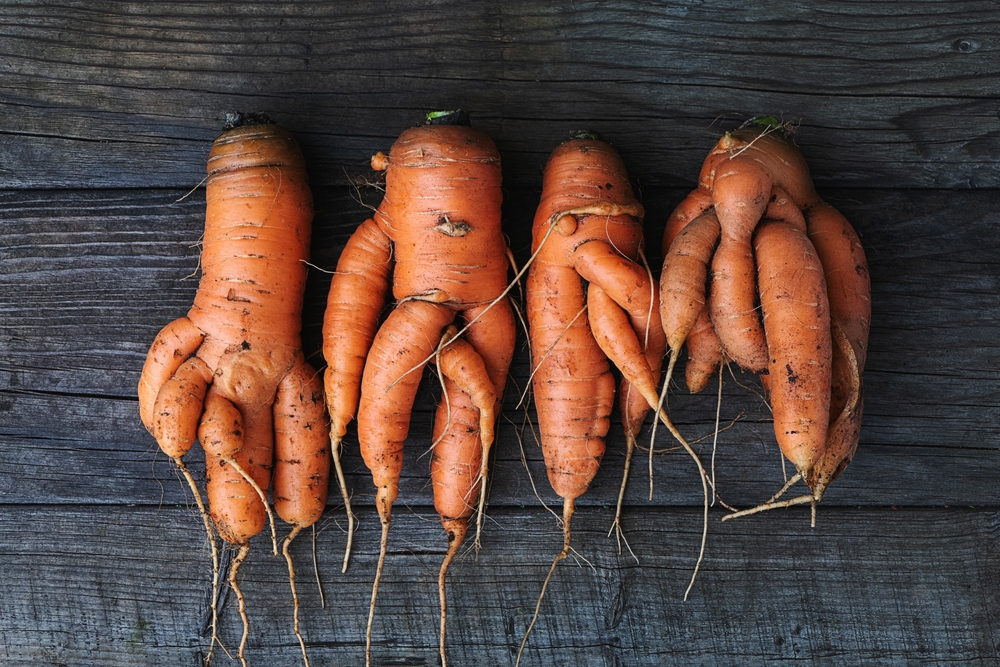
Often they come out of the ground as cute, characteristic, knobbly bite-sized chunks of carroty goodness. For many of us gardeners, somehow our carrots never look as perfect as store-bought ones. Never long enough or straight enough to stand up to their fame.
Unless we get that perfect crop which is too good not to share on Instagram.
Let’s be honest, the chances of that happening are slim. Carrots are not suited for every backyard garden with clay or rocky soil.
Growing perfectly formed crunchy carrots is all about the quality of soil.
It’s also about even watering, ideal soil temperatures, sufficient potassium, mulching and keeping them free of weeds.
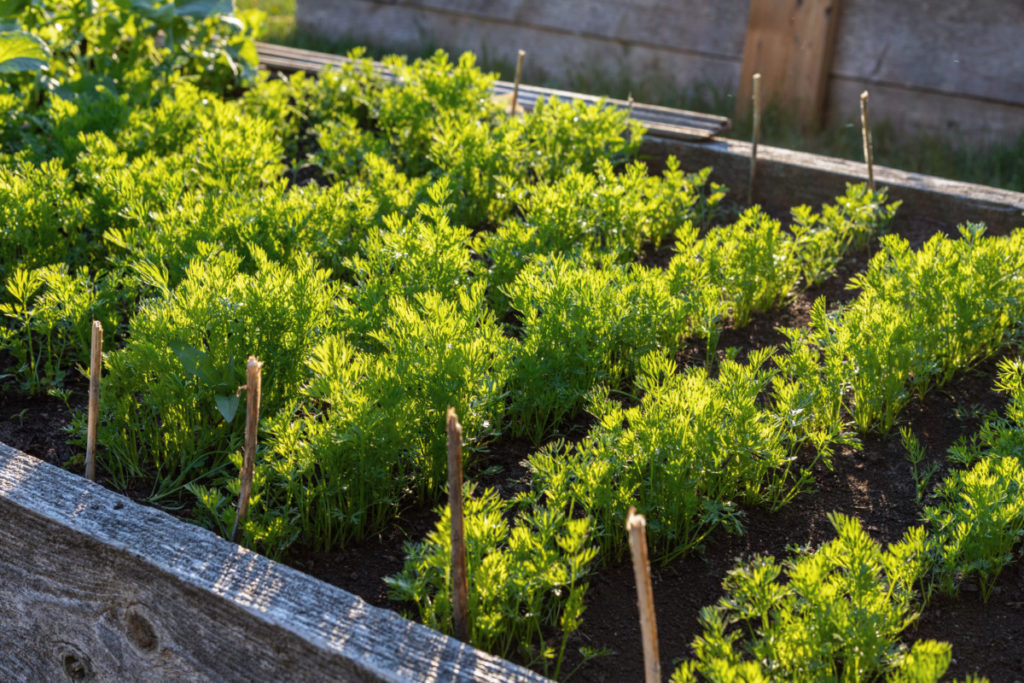
In order to be able to harvest, store and preserve your best carrots, you’d have had to grow them from seed. Planted long ago, about 3-5 weeks before the last frost date.
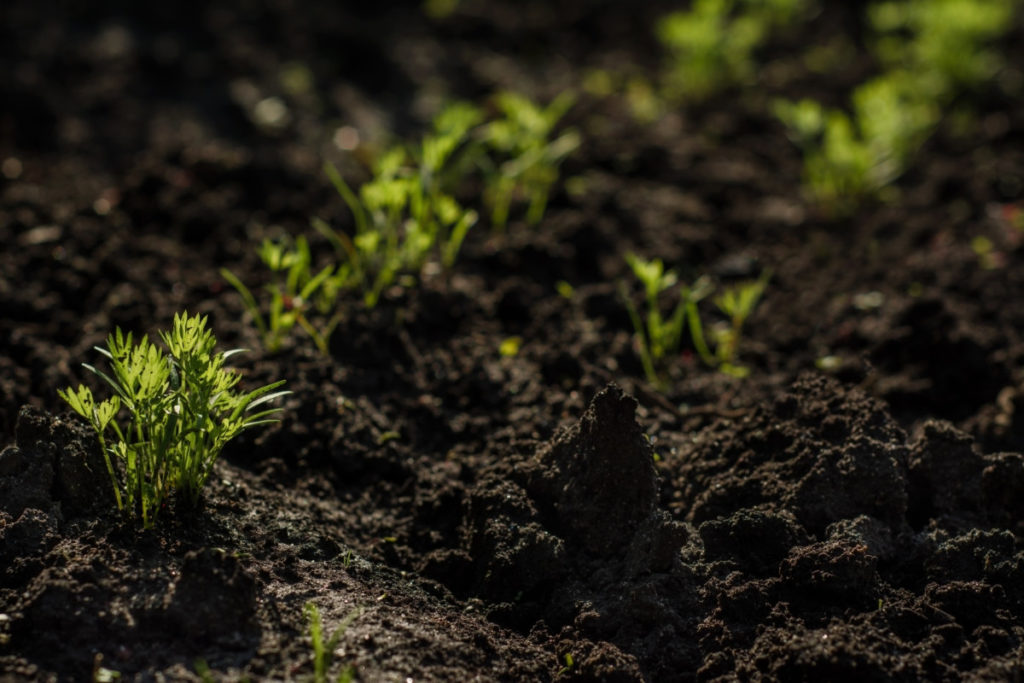
Although carrots germinate relatively fast (12-15 days on average), they do cover a fairly long growing season. Depending on the variety you plant, carrots will reach maturity anywhere from 50-80 days, or up to 3 months. Though you won’t always let them sit so long in the soil, as they are delectable when young and crisp.
But it still leaves one with time to ponder…
When Are Carrots Ready to Harvest?
Or why are they growing so slowly? How can I make them grow faster? Will they ever be ready to eat?
If they simply refuse to grow, it’s never a total loss, as the carrot tops are far superior anyway. Especially when the roots don’t take hold as you expect.
In reality, all you need to do is look back at the seed package, which hopefully you haven’t thrown away, to find out how many days they take to mature. Or go back to your garden planner to retrace the steps.
If you have yet to keep a garden planner, I highly encourage it. For it is all too easy to forget when you planted a certain crop or harvested another. Save them year after year and your kids will have some wisely gained gardening advice too.
Eating vs. Harvesting Carrots
Carrots can be pulled up and munched on as soon as they are tasty enough. For example, if you’ve planted too thickly, you can thin out the small spindly ones, give them a good wash and eat them whole. Or toss them in a stir fry.
Picking the occasional one here and there doesn’t exactly constitute harvesting them. Harvesting carrots for storage happens when you dig them all up at once.
So, really, when are they ready?
The best answer is still: it depends. It depends on so many things, that you need to trust your intuition or go by experience. If you feel an insufficient amount of either of these, then, by all means, use an average of numbers.
Baby carrots are usually harvested between 50-60 days from the date of planting.
Fully grown carrots need 3-4 weeks longer to mature in the soil. The size of the carrot will depend on the variety, as well as the looseness of your soil. In an ideal growing season, your carrots should be ready to harvest when the carrot shoulders (what stands proudly out of the ground) are 1/2-3/4 inch in diameter.
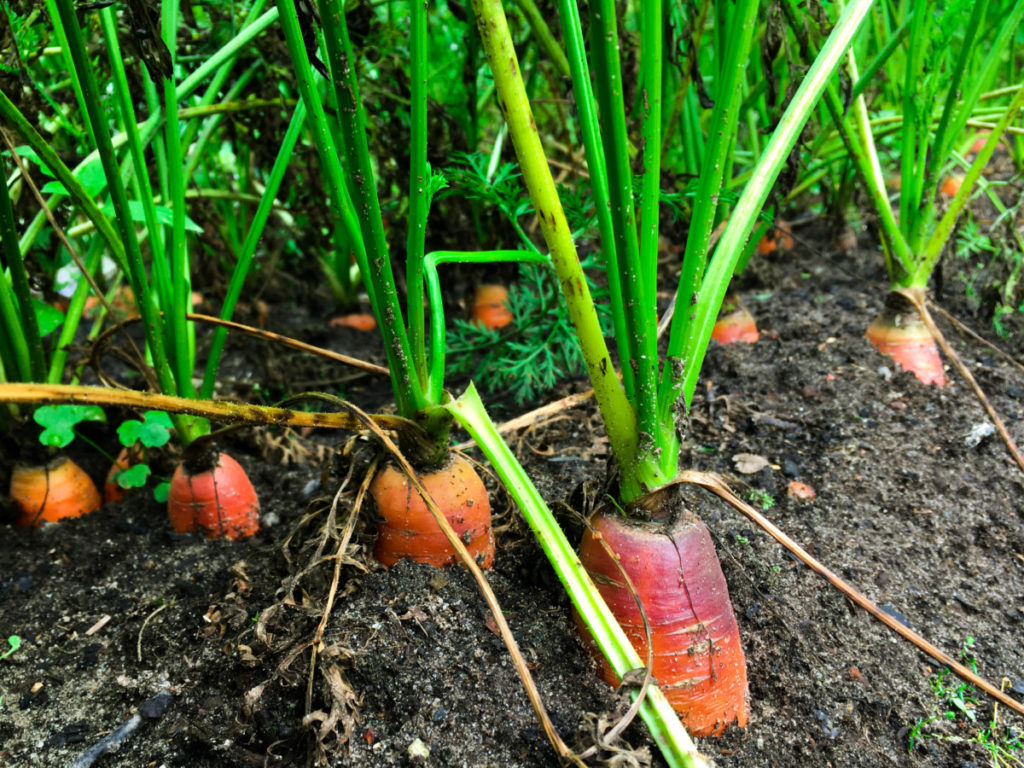
Knowing the maturity of a carrot is not an exact science.
Another method of knowing when your carrots are “ripe”, is to taste them. Simple as that.
Do they have enough crunch? Could they use another week in the soil with some more water? Use your best guess and harvest some now, leave some for later. Personal experience is always best. Gather it every chance you get.
What Happens If You Leave Carrots In the Ground Too Long?
If you don’t get around to harvesting your carrots in time, never fear. That is, in fact, one way to store them, particularly if you don’t have a root cellar.
However, if you don’t cover them with a proper layer of mulch, you may find that the tops of the carrots are dying back. There’s also a chance that they may not be as flavorful as before. They’ll become more bitter than sweet.
Still edible, but not quite the same.
Yet, there are times when you might want to leave carrots in the ground. Maybe not a whole bed of them, but a small patch or two.
Why? Because the ability to save your own garden seeds is so important in the grand scheme of self-reliance and self-sufficiency. Saving seeds could even be a source of trade or money.
Seeing as how carrots are biennials, now you know why you should leave a short row in the ground.
How to Harvest Carrots
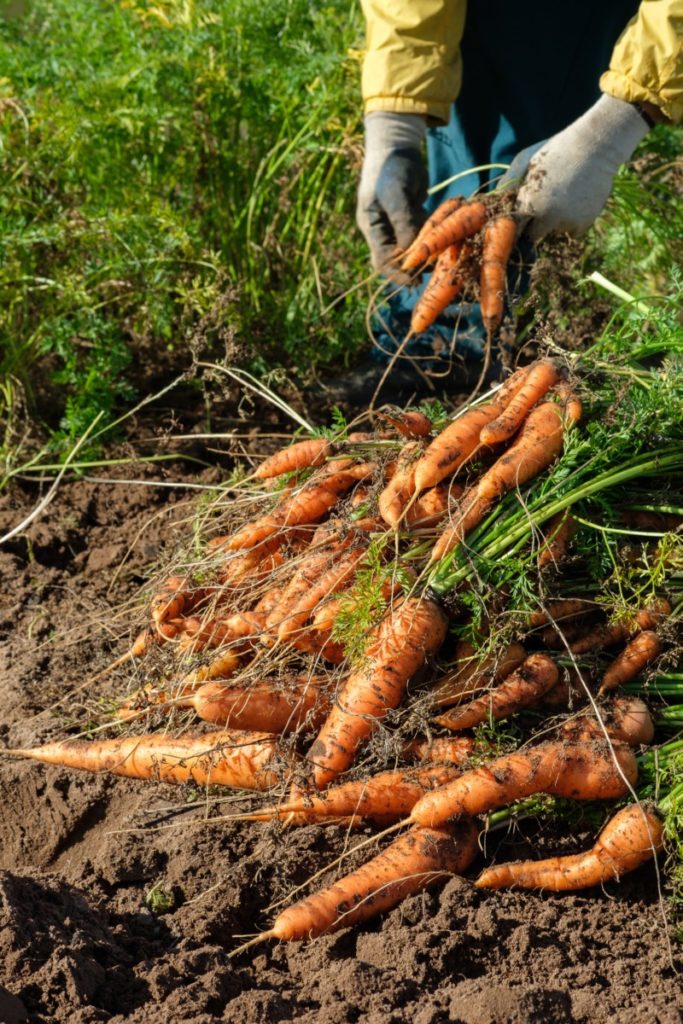
Once you’ve determined that your carrots are indeed large enough to harvest, it’s time to give them one last watering before picking.
You want your harvested roots to be well-hydrated. Ideally, you’d wait for rain, then harvest the following dry day. Or irrigate then wait.
Aim for moist, not soggy soil. You want to harvest roots, not the earth that surrounds them.
Tools For Loosening the Soil
Though it is tempting to try and pull carrots up by their greens, it rarely works.
Instead, you need to loosen the soil first, then all will be easy.
Dig into the ground carefully with a shovel, pitchfork, hand cultivator (claw) or hori hori knife.
Be sure to stay well away from the roots in order to fluff up the soil, but not break the carrot root underground. It’s easier to store wholesome carrots, so take your time when harvesting not to sever or snap any great ones.
Don’t Wash Carrots Before Storage
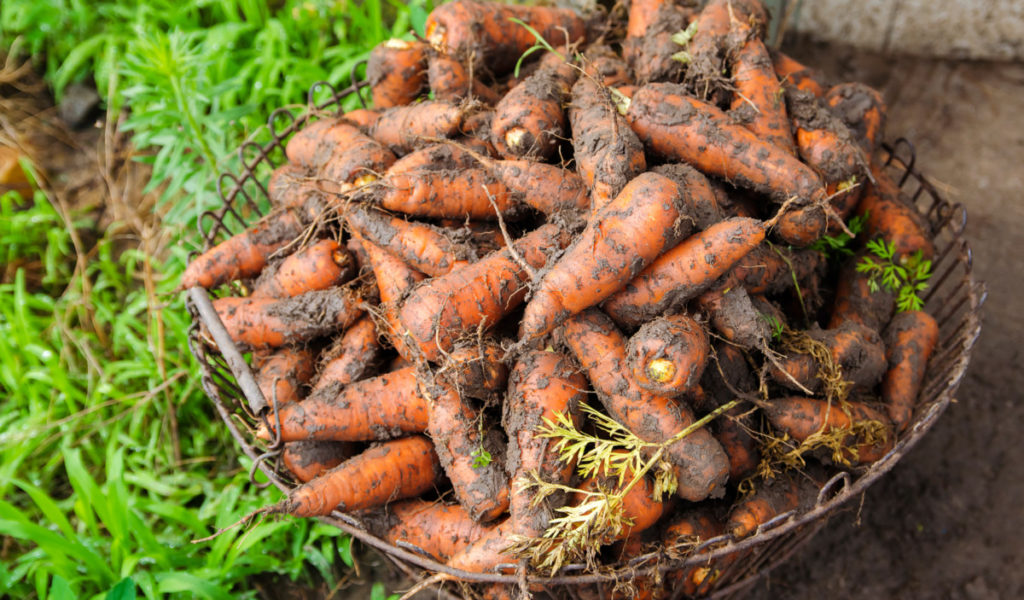
Tempting as it may be to wash your proud harvest and present them as store-bought, it’s not a good idea at all. Take it easy and don’t fuss so much about the dirt.
Although it is advisable to brush off excess soil or sand before winter storage.
Remove Carrot Tops
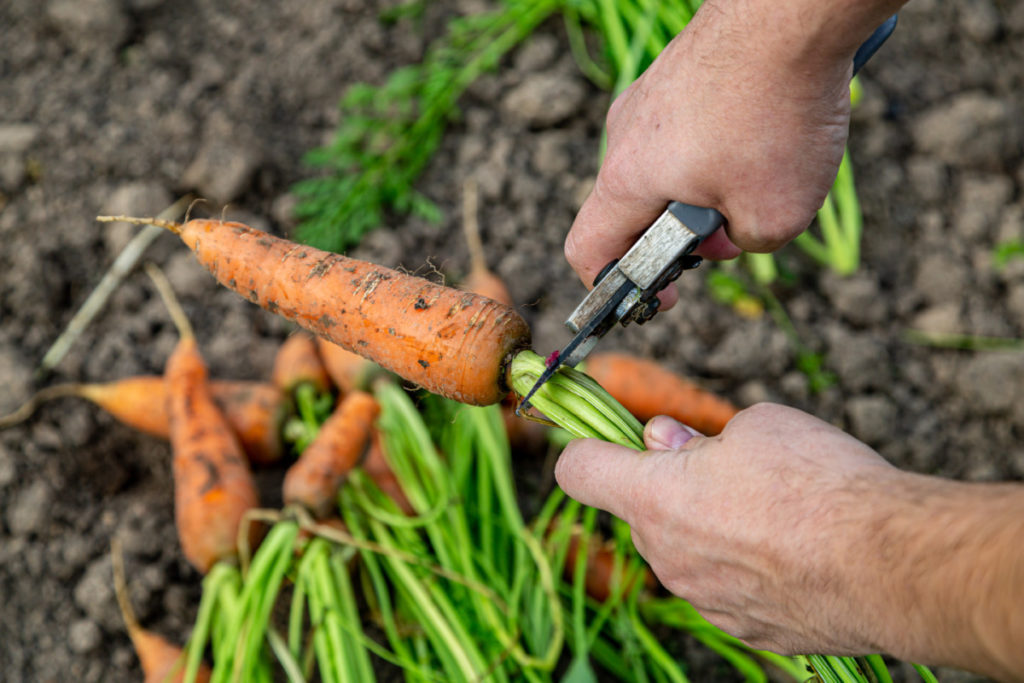
Prior to storage, you’ll want to remove the carrot tops.
If there are any good looking leaves left so late in the season, set them aside, wash them and dry them. They are fantastic when ground into a powder, even when left in small bits for soups and stews.
Trim the greens with a sharp knife, garden shears or your trusty pair of pruners. Leave about 1/2 inch attached and compost the rest. You can also toss the leaves to rest as mulch in the garden. The point of cutting off the leaves is to let as much sugar remain in the root as possible.
Another reason to remove the greens is the potential for spoilage over the winter.
Always work as clean as possible and your home-harvested goods will remain tasty and fresh for much longer.
Practical Ways to Store Carrots
When setting carrots away for later enjoyment, it’s good to know that you have options. Short-term storage and long-term storage are your primary choices.
Beyond that, you can delve into canning, refrigerating, freezing, dehydrating, fermenting and more.
If you have bruised or damaged carrots, eat them immediately. They will not withstand any kind of storage.
Storing Carrots in the Fridge
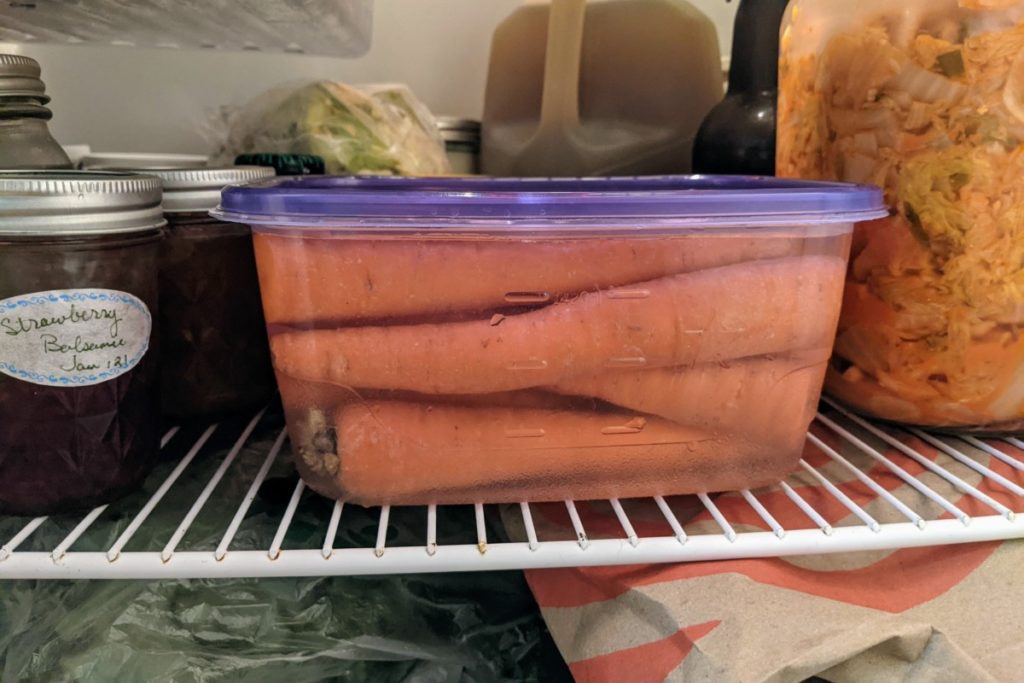
One option that is particularly practical (if you don’t have a ton of carrots), is to simply store them in the fridge.
The first thing you’re going to want to do is to remove the greens. Remember, they take moisture away from the root, which is not something you want. Wilting and dry carrots are not for snacking.
Zero-waste tip: save the carrot tops separate from the roots.
Then be sure to make a pesto from the carrot greens.

To keep your carrots remaining crisp for up to a month, or two or three, go ahead and gently wash your roots to get started. Then place them in lidded containers, covered completely with water. Don’t forget to change the water every 4-5 days.
Your carrots will benefit by not sitting next to any fruit that produces ethylene gas, such as apples or pears.
Another option is to store them in the vegetable drawer of the fridge, in a perforated plastic bag. A moist and cool environment is what they need.
Naturally, they won’t last for very long in the fridge. Just long enough for you to eat them all up. If they do start to get soft and flexible, don’t toss them out. Rather add them to a soup or a stew where they will be cooked anyway.
If you are looking for longer-term storage, or have way more carrots than could ever fit in your fridge, there has to be another way. So, off to the cellar, basement or shed it is.
In the Cellar
I know, not every home has a cellar. Though we all might be better off if they did. Cellars are useful for storing all sorts of foodstuffs:
- potatoes
- apples
- winter squash and pumpkins
- sauerkraut
- beets
- parsnips
- rutabagas
- and of course, carrots
Cellars are a fantastic alternative to refrigeration which relies on electricity. Plus, you can store carrots for 5-6 months, all for free and in a natural environment at that.
If you already have one, great! However, if you are thinking about the future of food security and wish for self-sufficiency, the best time to start building a root cellar was last year.
Storing Carrots in a Sandbox
To keep your carrots going strong all winter long, you’ll want to protect them from both light and heat.
At the same time, you need to do your best to minimize their moisture loss.
If you don’t have access to a cellar but have a basement, garage, dark shed or other cool space instead, what you can do is make a sandbox for your carrots.
Next, you’ll need to find boxes, wooden crates or dare I say, plastic tubs with lids. The latter are mostly rodent-proof and last so long as they do not break.
You’ll also need to procure some “packaging” material. A fine bucket of sand, soil or peat-free compost, goes a long way in keeping the roots separate and preventing moisture loss.

Into the box they go: first with a layer of sand, then a layer of carrots. Close together, but not touching. Keep going until all carrots are covered.
So long as freezing temperatures stay away, you can dine on your stored carrots for several months.
Store Carrots in the Ground Over Winter
The absolute simplest method, one that has always worked well for us, is to leave the carrots in the ground, right where they were planted.
Sounds lazy or too good to be true? We are no-dig gardeners, so we’re used to the notion of working less and producing more. We prefer to think about it as being in tune with nature – or working with, not against, Mother Earth.
But, and there is always a but. The success of this method is going to depend on your soil.
It can happen that carrots sit a little too long underground and become woody, as if ready to approach their second stage of biennial life. That is to rise up as a flower stem and go into seed.
To make digging up orange carrots from the garden, in the blustery snow, easy, all you have to do is mulch, mulch, mulch.
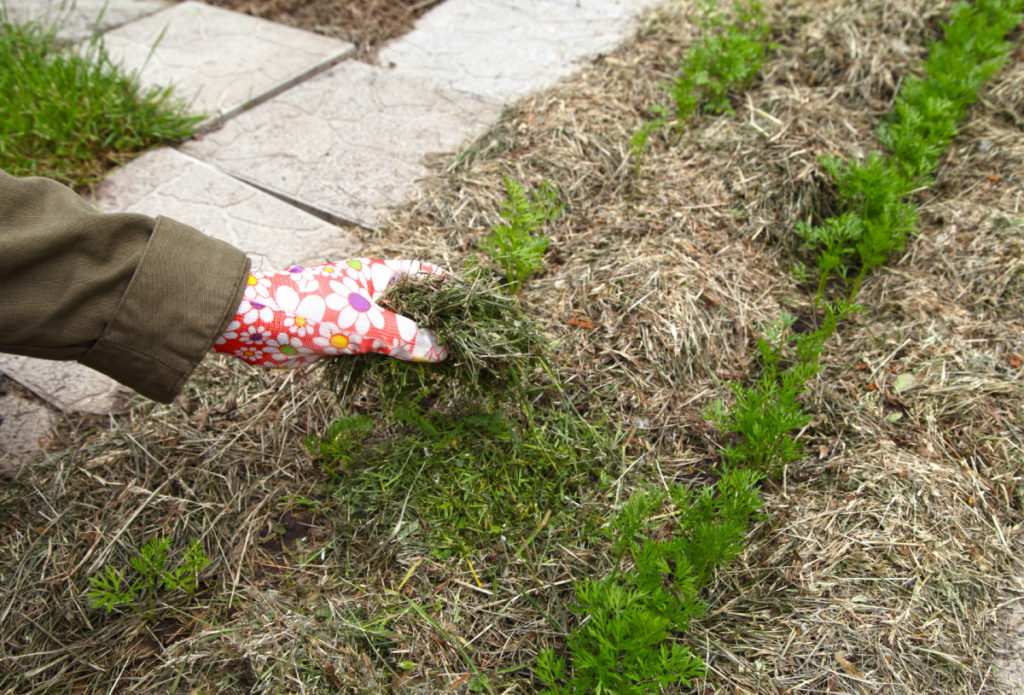
The mulch over your carrots should be at least 6″ deep. Go up to 12″ and you can pretty much assure that your roots won’t freeze. But, can you find them?
Don’t forget to mark your line of carrots with some sort of symbol.
Store your carrots in the ground all winter this way.
Preserving Carrots
While the above methods are nice, it all assumes you have plenty of space to carry out your plans. And it all relies on the carrots staying fresh.
What if they were pre-cooked and pre-chopped, with meals pre-planned?
Canning, freezing, dehydrating and pickling allow you to do all of that.
Enter the next stage of carrot preservation and get ready to try out some new-to-you recipes.
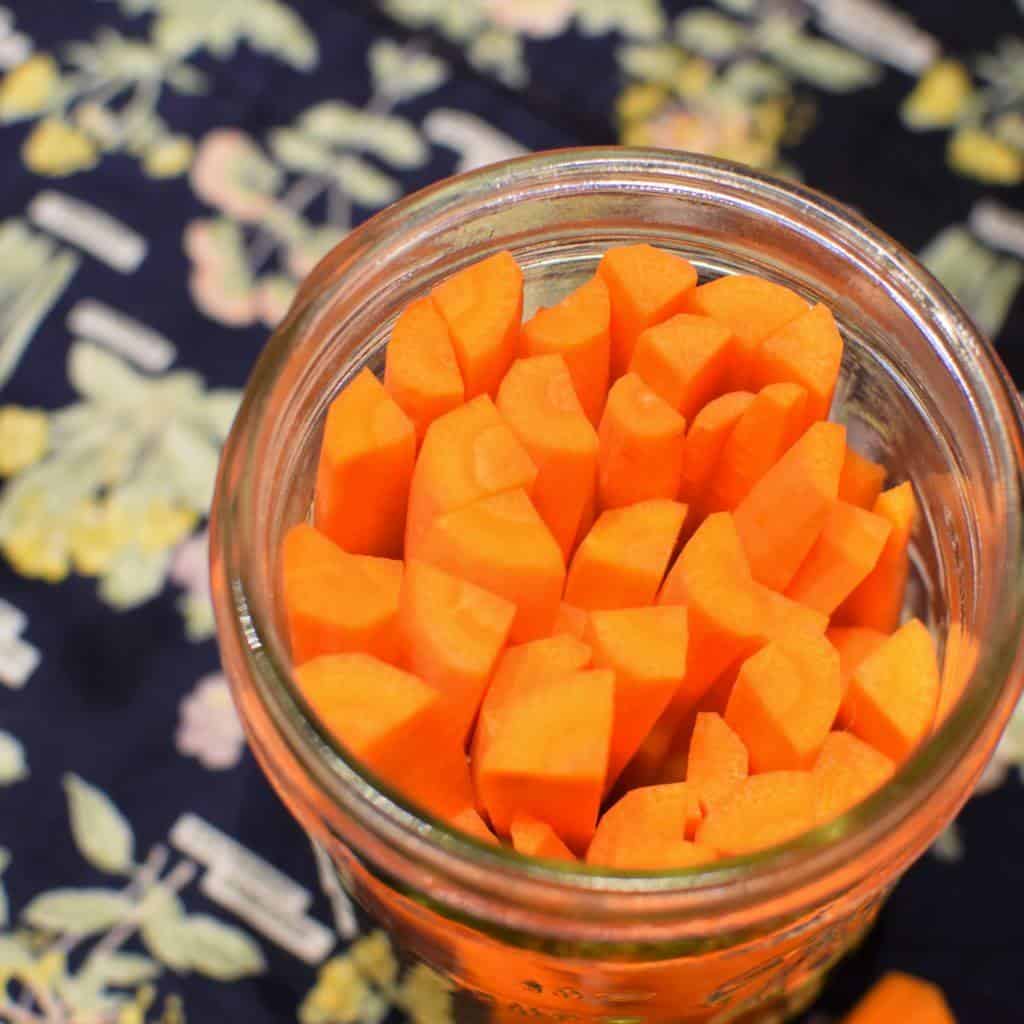
Canning Carrots
For those of you who have been canning for years, it may come as no surprise that carrots must be pressure-canned.
Carrots are a low-acid food and must be treated accordingly. If you don’t have all the equipment needed for canning chunks of raw or hot pack carrots, skip ahead to the pickling section.
Without getting into more dedicated details about canning carrots, I’ll now hand it over to Practical Self Reliance.
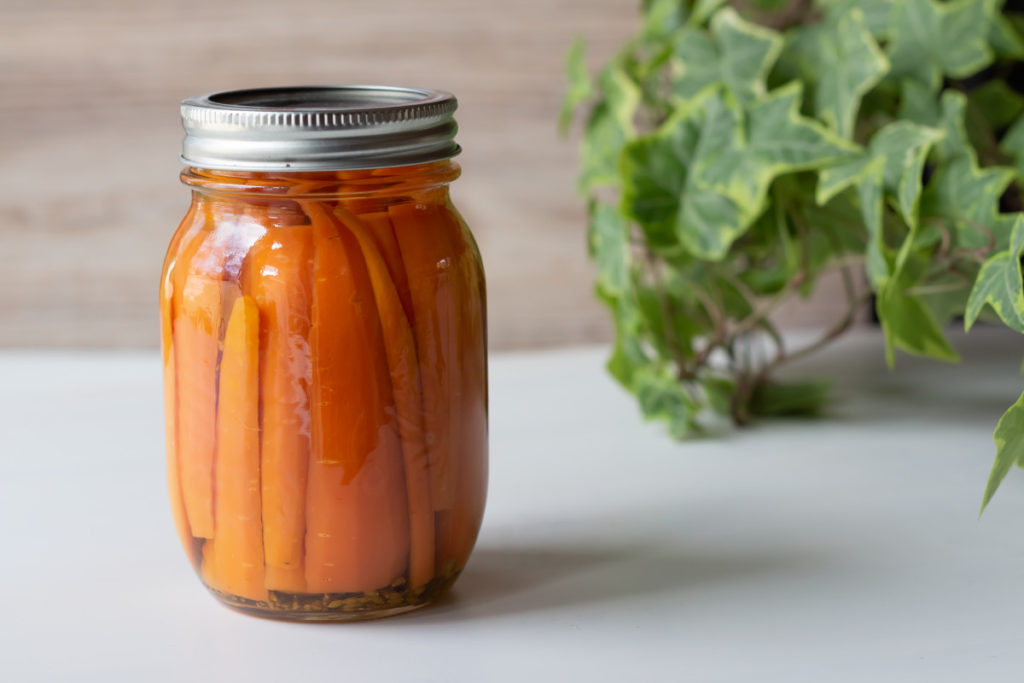
Pickling Carrots
Ah, water bath canning and a dozen jars of pickles. That’s the simpler way to go. That is if you happen to like vinegary goods filling your pantry and kitchen cupboards.
It’s one thing to magic up a batch of quick pickled carrots. Which lasts a couple of weeks in the fridge, just so you know.
It’s quite another spectacle to observe rows of pickled carrots with garlic, or carrot relish on the shelf.
When carrots are in season, a homesteader/prepper/gardener has to do good by all the carrots they pull up. So, pull out your water bath canner (or a large stock pot), round up all your other canning tools and get ready to make some sunshiney jars of carrots for wintertime snacking.
- Pickled Carrots with Dill and Garlic
- Canned Sweet Pickled Carrots
- Mexican Pickled Carrots
- Ginger Pickled Carrots
Freezing Carrots
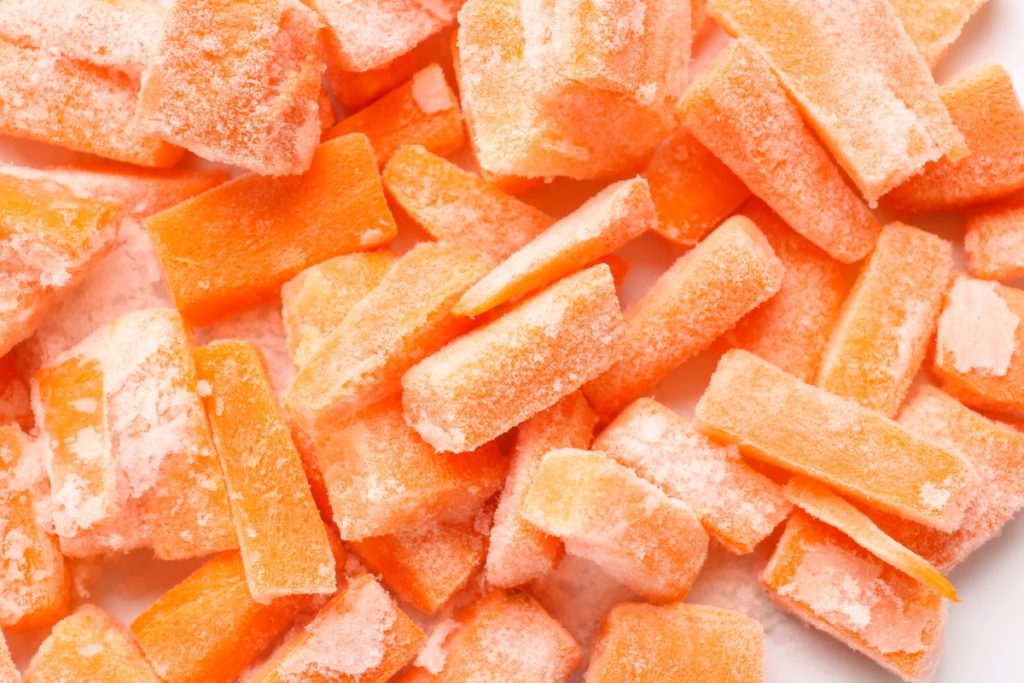
Again, if you are looking for all the kitchen hacks you can get your hard-working hands-on, you are going to appreciate frozen carrots. With a little bit of energy investment now, you can save hours on meal prep later.
You can freeze carrots: shredded, cubed, chunked, julienned or whole. Isn’t that wonderful news?
Let’s describe in a few easy steps how you can do it.
- Gather your carrots, give them a good wash and bring them to the cutting board. (It’s your choice to peel – or not – as you will lose some nutrients by removing the outer layers).
- Cut into the right size pieces for later use.
- With a pot of boiling water already on the stove, gently slip the carrot pieces in, blanching them for a few minutes. Remove with a slotted spoon and transfer to a bowl of ice water.
- Drain the carrots and set them in a loose layer on a lined baking sheet.
- Freeze for 1-2 hours, then transfer to a freezer bag or glass jar. Seal and store your frozen carrots for up to a year.
When you get around to making soups and stews with your frozen carrots, there is no need to thaw them first. Simply toss them in and your work is done.
Glean the carrot freezing know-how from Sustainable Cooks.
Dehydrating Carrots

If you identify as a prepper who is ready for anything, even power outages, or you simply love your dehydrator, then dehydrating may be the best carrot preservation method for you.
Naturally, it takes a lot more time than freezing, but the end result is like nothing you can purchase from the store. And that’s the exact reason why many of us do what we do. Because oftentimes we can’t buy what we like, in the quality or quantity that we desire.
Wouldn’t you like to try dried carrot powder sprinkled on your homegrown popcorn?
Carrots chips, carrot powder, carrot spice blends, mirepoix. They can all be yours with the use of a dehydrator.
Find out how you can dehydrate carrots at home from Drying All Foods.
That’s it for all things preserving carrots, but your work may not be over yet.
Shortly after carrots, don’t forget about making room to preserve and store your cabbages.
Save those green tomatoes from the frost too: 21 Green Tomato Recipes For Using Unripe Tomatoes.

Get the famous Rural Sprout newsletter delivered to your inbox.
Join the 50,000+ gardeners who get timely gardening tutorials, tips and tasks delivered direct to their inbox.