

Learning how to grow carrots can be a challenge for any gardener. Growing this classic root vegetable seems simple, but without careful cultivation, you’ll end up with little harvest to show for your efforts.
I’ve had my own carrot challenges. When I homesteaded in West Virginia, the thick clay garden soil prevented plant roots from penetrating as deeply as they needed to. I only managed to grow squat, stunted carrots, though they still packed in flavor.
My growing conditions reversed when I moved to Michigan. This time, the sandy soil led to drainage issues that made garden irrigation challenging to master. Early in the season, I slacked on watering my burgeoning carrot crop over a span of sweltering days. That one misstep was enough to shrivel the final harvest down to tough, tasteless roots.
By growing on both ends of the spectrum, I’ve finally learned what really works for a homegrown carrot crop.
Here’s what you need to know to bypass my failures and bring in beautiful carrots the first time around.
12 Popular Carrot Varieties to Grow

My first tip for growing carrots is to choose a variety that makes sense for your garden conditions. Contrary to what the grocery store shows, carrots come in a range of shapes and colors.
Here are some popular varieties to consider with different attributes.
Bolero: Sweet and crunchy, bolero carrots are bright orange and grow to a slightly tapered 7 to 8 inches. Market gardeners love them because they keep well and are resistant to most pests and blight.
Danvers: This classic heirloom is considered mid-sized, and it produces rich flavor and dark orange flesh. It’s more tolerant of poor soil than other carrot varieties and does well in heavy clay.
Lunar White: This vigorous producer offers a mild taste and bright white flesh.
Little Finger: Peaking at around four inches long, this tiny heirloom is perfect for container gardening.
Oxheart: Though each stubby carrot reaches up to a pound each, this variety is sweet, mild, and excellent for winter storage.
Nantes: These small carrots are known for their blunt ends and crunchy, sugar-sweet taste. They reach maturity fast, making them ideal for shorter growing seasons.
Paris Market Carrot: You’re forgiven for confusing this carrot variety for a radish. Short and squat in stature, it has a high tolerance for rocky, shallow soil.
Solar Yellow: This pale yellow heirloom reaches about eight inches and has a light, sweet taste.
Purple Dragon: This jewel-toned carrot is sure to attract attention in a summer salad. It boasts a bright yellow center covered by a deep purple skin.

Imperator: Popular with commercial growers, this is the carrot variety you’re most likely to see at the grocery store. It’s known for fast growth and a high sugar content.
Manpukuji: This super-long Japanese variety tastes sweetest when harvested after the fall frost. In the right soil, it reaches over two feet!
Black Nebula: Dark purple and full of antioxidants, this carrot retains its color after cooking and makes for a beautiful juice.
Seed Tape, Pellets or Regular Carrot Seeds?
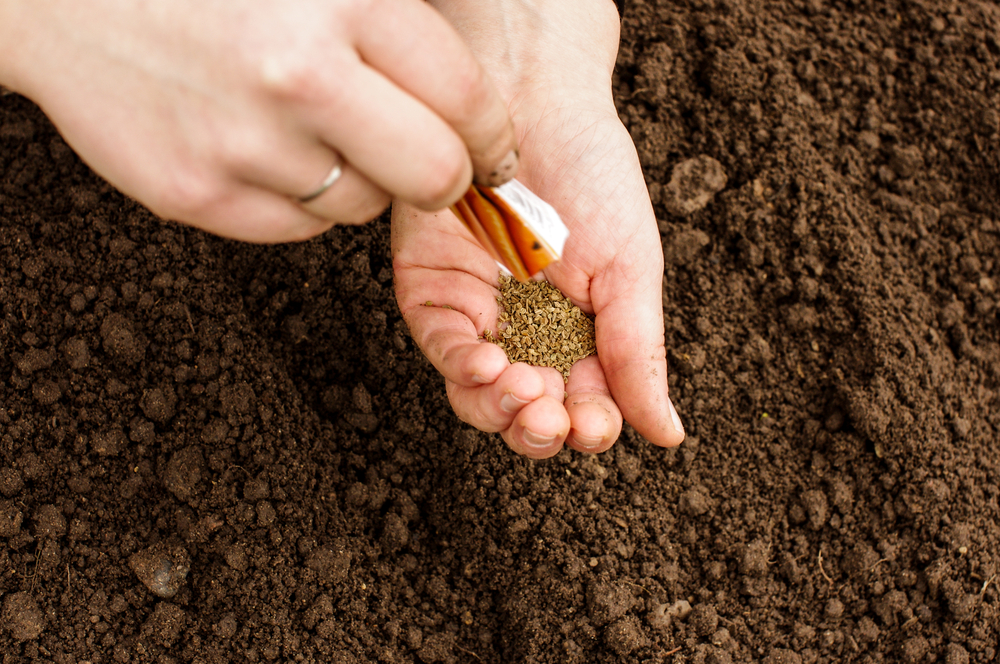
Carrot seeds are notorious for being tiny and tricky to plant. If you’d rather not painstakingly place each seed in your garden bed (only to thin half of them out later), then it’s worth considering planting seed tape or pelleted seeds instead.
Seed tape comes as a strip of biodegradable paper with pre-spaced seeds embedded on top. Cover it with soil, and you’ve planted your carrot crop.
Pelleted seeds, in contrast, are covered in an organic material that makes them easier to handle, so you can space them evenly. They are a popular choice with market gardeners who need to grow at scale.
Both methods make planting and weeding easier. The biggest downsides are that you will tend to pay more per plant than if you purchased straight seeds, and you’ll have a more limited choice in varieties.
How to Grow Carrots in the Garden
Seeds selected, it’s time to start planting. I’ll go through the specifics below.
When to Plant Carrots
In most growing regions, it’s possible to plant carrots in both the spring and late summer for two separate harvests.
One common carrot mistake is sowing the seeds too early. They are notoriously slow to germinate and won’t sprout at all if soil temperatures are too low. Wait at least three to five weeks before the last frost date, and consider warming the soil ahead of time with large dark tarps that concentrate the sun’s heat.
Most carrot varieties take two to four months to mature. You can ensure a long harvest season by staggering plantings every two weeks until early summer.
Plan to plant your fall crop around ten weeks before the first frost date in the fall.
How to Prep Garden Soil for Carrots
Like all root vegetables, carrots thrive in sandy loam soil with good drainage that gets at least eight hours of direct sunlight daily.
Any compaction or obstruction, such as rocks or roots, makes it hard for the carrot roots to push through and will stunt their growth or lead to deformities. You can amend your growing space with compost to improve its texture beforehand.
Carrots love potassium, so consider adding some wood ash to your garden bed in your growing space is lacking. Refrain from adding too much nitrogen-heavy fertilizer, as it may cause the carrots to fork and grow side roots.
You can prep your carrot bed by tilling down at least twelve inches and removing any stones or clumps that could impact root growth. If compaction is going to be a problem, consider planting in raised beds so you can fully control the soil quality.
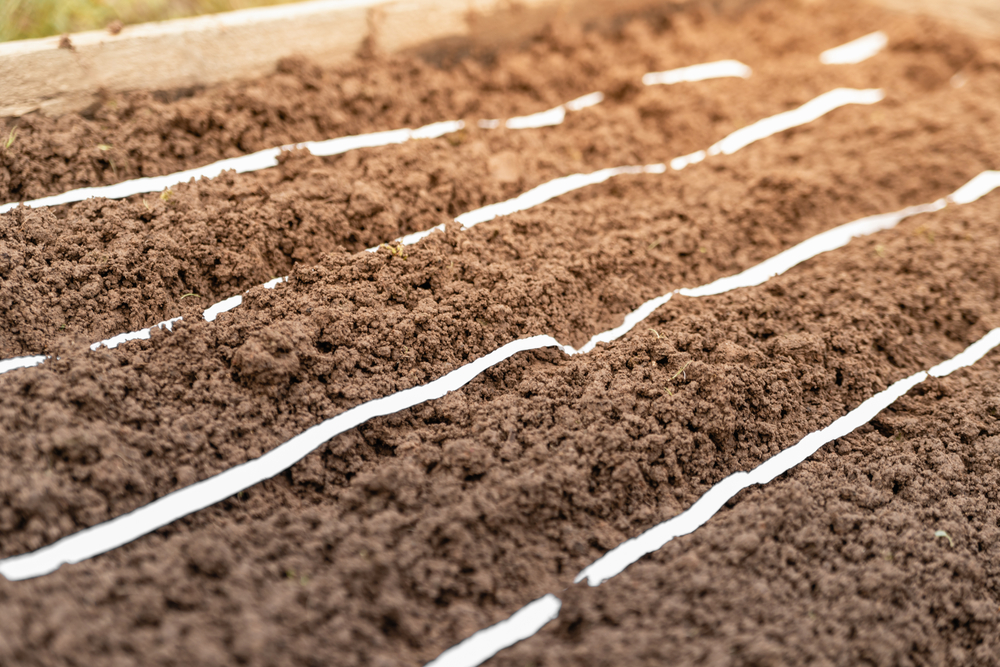
How to Sow Carrot Seeds
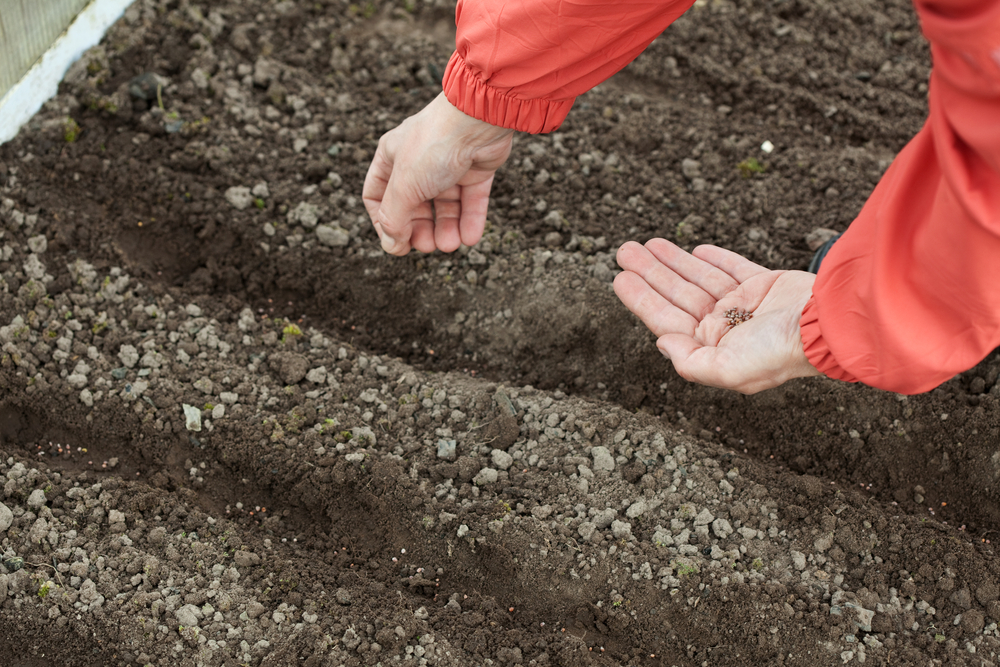
Carrots don’t like transplanting, so you should always plan to direct seed them.
Plant the seeds 1/8 inch deep, approximately one inch apart, in rows spaced fifteen inches from each other. Don’t worry if the seeds clump together—you will thin them later. Lightly rake over the seeds to cover them and pat down gently so the seeds make contact with the soil.
If you use pelleted seeds or seed tape, make sure you follow any specific planting instructions from the seller.
Here’s the tricky part – carrots need continuous moisture until they germinate so that their hard seed coating will soften for the emerging sprout. You’ll need to keep the upper inch of soil moist for up to three weeks, or until you see the sprouts.
Watch out for the soil forming a hard crust, which creates a barrier for the emerging seeds. Consider covering the bed with a row cover to help it retain moisture or invest in a soaker hose or drip irrigation for consistent watering.
Some gardeners like to sow radish seeds between their carrot rows as a “nurse crop” to help keep track of where the carrots are before they sprout. Radishes grow quickly and will be harvested and eaten long before your carrots are ready.
Caring for Carrot Plants
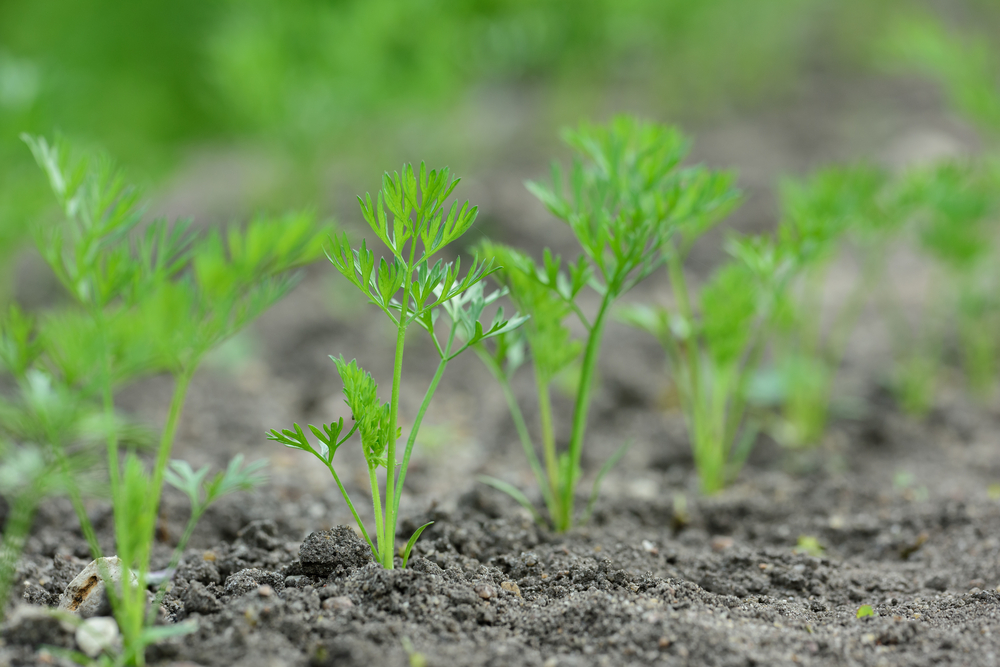
You can remove any row cover once you see the first carrot sprouts coming up. Weeds can quickly overcome these delicate plants, so you will need to be diligent in keeping the carrot rows clear without disturbing their fragile root systems.
I’ve found stirrup hoes work well for my garden plots, though organic farms often use flame weeders to scorch weeds between rows before they get established.
Once the seedlings are an inch tall, thin them to 2-3 inch spacing. You can top-dress them with a low-nitrogen, high potassium and phosphate fertilizer six weeks after sowing. A 5-10-10 formula will promote root growth rather than foliage.
Carrots don’t like hot soil, so consider mulching the bed once the days heat up. This also helps maintain better soil moisture. I’ve had success adding a light sprinkling of dried grass clippings to freshly weeded rows.
Sadly, your watering woes won’t go away once the carrots sprout. You’ll still need to keep the soil moist but not soggy throughout the growing season. Otherwise, you risk harvesting short carrots with thin, woody roots.
Plan to water at least one inch of water per week early in the growing season, then increasing that to two inches as the season progresses.
Common Carrot Pest and Disease Problems
Carrots rarely experience disease problems, but once they do, they are challenging to eradicate. Stave off problems by keeping the soil moist but not soggy, removing any dead plant material, and planting carrots in a new location each year.
Insects also tend to leave carrots alone, though you may have problems with rust flies or weevils. Use row covers to protect young plants if an infestation becomes concerning.
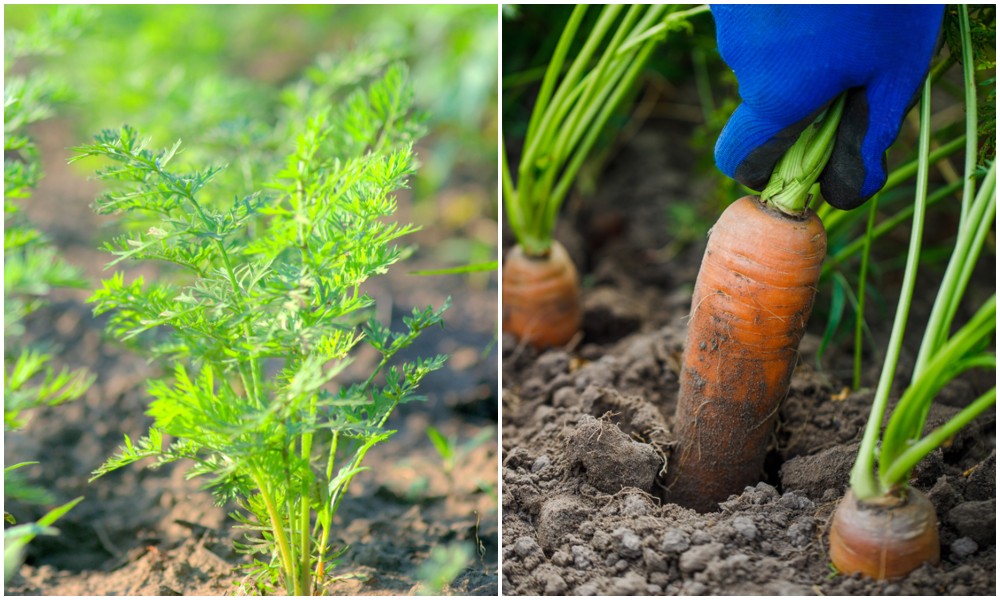
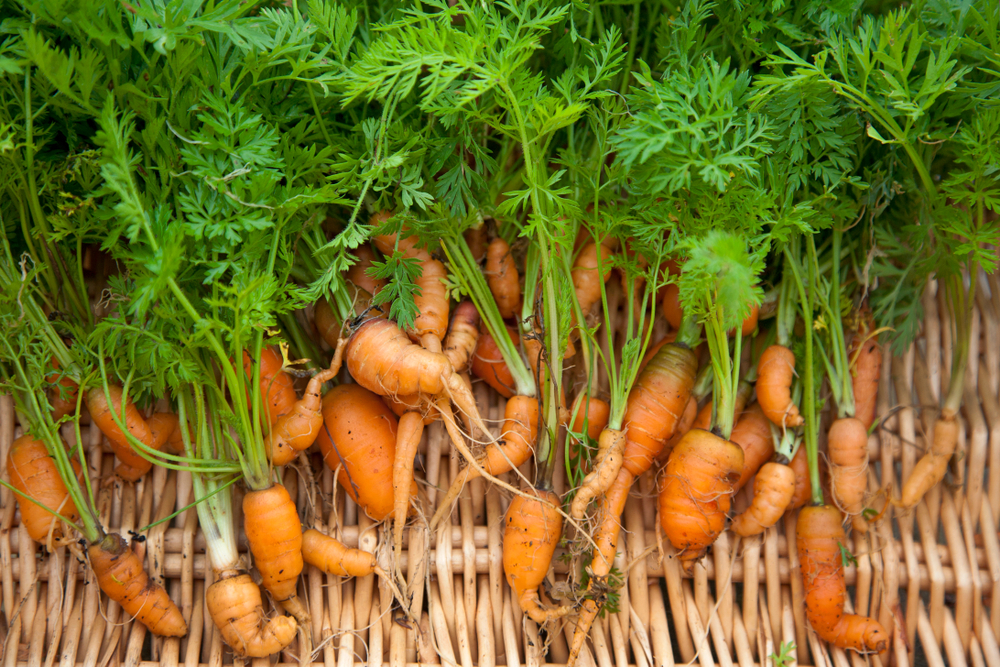
How to Harvest Carrots
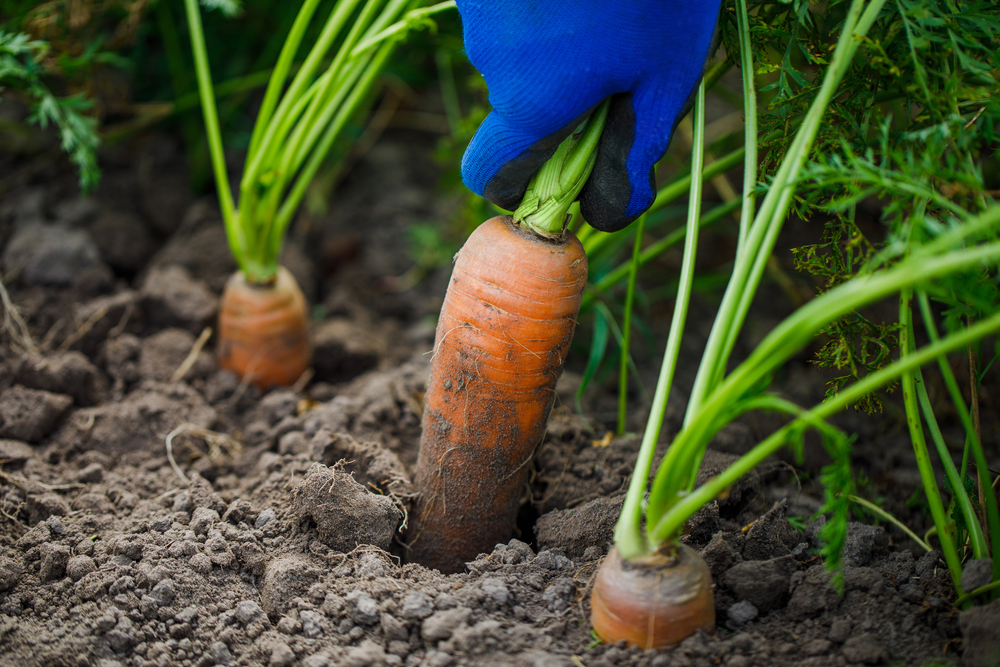
You can harvest carrots at any point in their growing cycle, though it’s generally best to wait until they are at least as thick as a finger. Dig them up small if you want them tender in the summer, or wait until the first frost for extra sweetness for your fall crop.
For easier harvesting, use a digging fork to loosen the soil before pulling them up by the foliage. You can stagger the harvest by leaving some carrots in the ground until you want to eat them. After the first fall frost, cover your remaining carrot tops with an 18-inch layer of leaves to preserve them for future harvest.
As carrots are biennial, any that you leave in the ground will flower and produce seeds the following year. Collect these seed clusters once they turn brown and allow them to dry for a week indoors. You can crush the clusters to extract the seeds, saving the largest in a cool, dark place for planting next season.
Note: If you have cold winters, it’s best to dig up your seed carrots, store them as you would for eating, and replant them in the early spring.
Storing Carrots for Future Use
Carrots are a hardy crop that will store for months in the right conditions. Upon harvesting, twist off all up ½ inch of the greenery and wash them thoroughly. Let them air-dry before sealing them in airtight bags in your fridge. Skip this step, and they’ll go limp within hours.
You can also store carrots packed in bins of moist sand or dry sawdust. Keep them around 32-40 degrees Fahrenheit and away from fruits like apples and pears, as they produce ethylene gas that can turn the carrots brown.
How to Grow Carrots in Containers
With a little planning, it’s possible to grow great carrots in containers. It’s an excellent option for anyone with limited space or challenging soil conditions.
Make sure you choose a deep pot (at least 12-inches) and fill it with quality potting soil. Sprinkle a light layer of a shallow variety of seeds on top, such as Little Finger or Paris Market. Make sure you stay on top of watering, and your carrots will be ready to harvest within a few months.
You can pull them out individually or tip out the pot to get them all at once.
Make This the Year of Growing Carrots Successfully
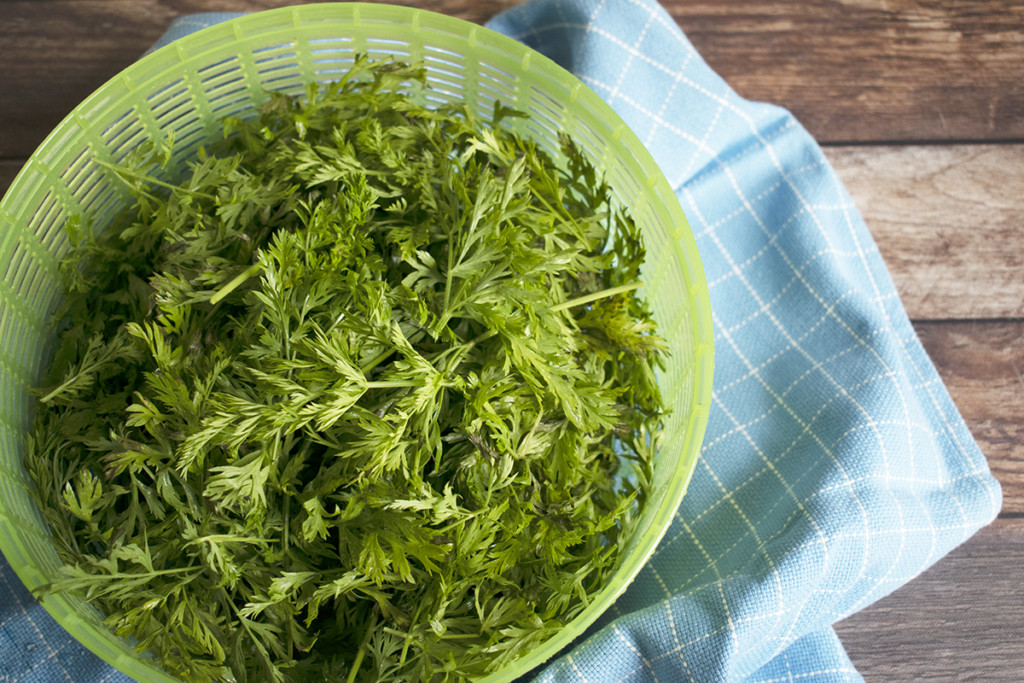
Learning how to grow carrots at home is well worth your time and effort. Learn from my mistakes and follow these tips, and you’ll likely succeed in bringing in a beautiful carrot crop from the garden this summer. And whatever you do, make sure you eat those carrot tops!

Get the famous Rural Sprout newsletter delivered to your inbox.
Join the 50,000+ gardeners who get timely gardening tutorials, tips and tasks delivered direct to their inbox.