

Green beans can climb to great heights (8-12 feet tall!), or remain close to the ground in an easy-to-pick bush form. This makes them quite versatile in the garden, allowing you to choose a variety of bean that works best for your space: trellis, or no trellis.
Either way, you can expect an abundant harvest when you give them all the attention they need.
In reality, they don’t expect too much from you. Nothing like a tomato or a pepper.
Pole beans, however, will need a little extra support. We’ll get to that in a moment.
Are green beans easy to grow?
Green beans are among the easiest plants to grow in your garden, even if you’ve never planted a seed in the soil before.
If you’re new to gardening, you’ll definitely gather some courage by planting beans and watching them grow.
Planting is ultra-simple and harvest time arrives relatively quick. As close to instant gratification as you can get in the garden – outside of growing radishes and eating garden weeds.
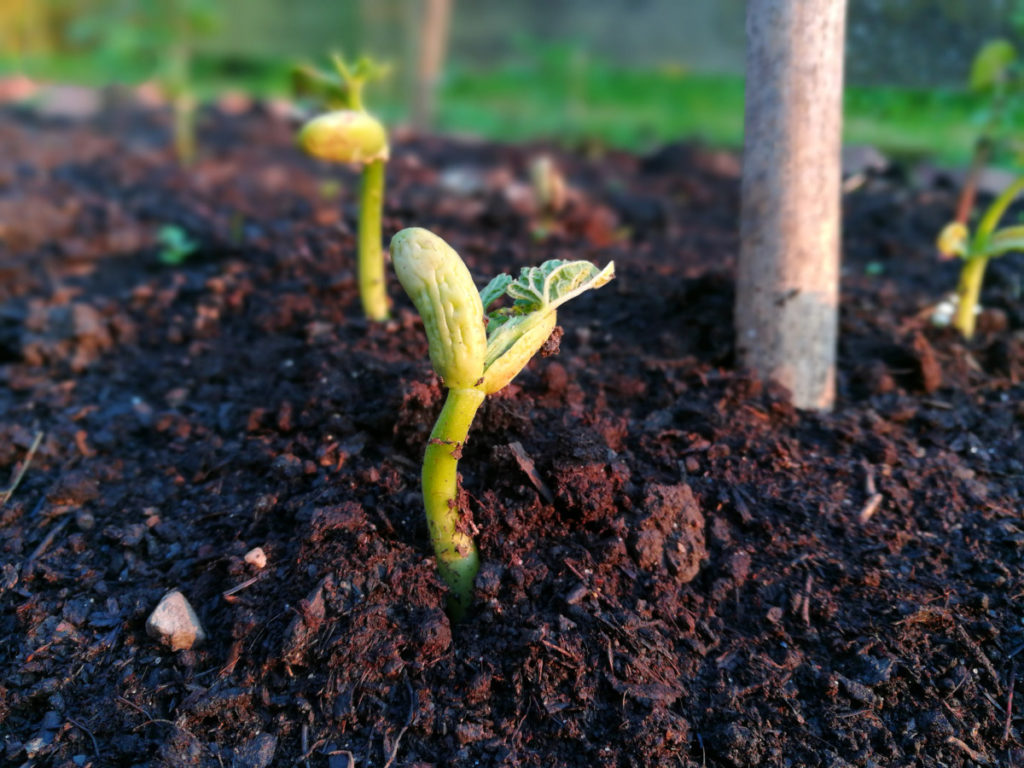
Children like to get involved in planting beans too, as the seeds are quite large and the germination is visible as the beans forcibly push up the soil. It’s quite a thing to see. And when those first true leaves unfurl? Pure beauty.
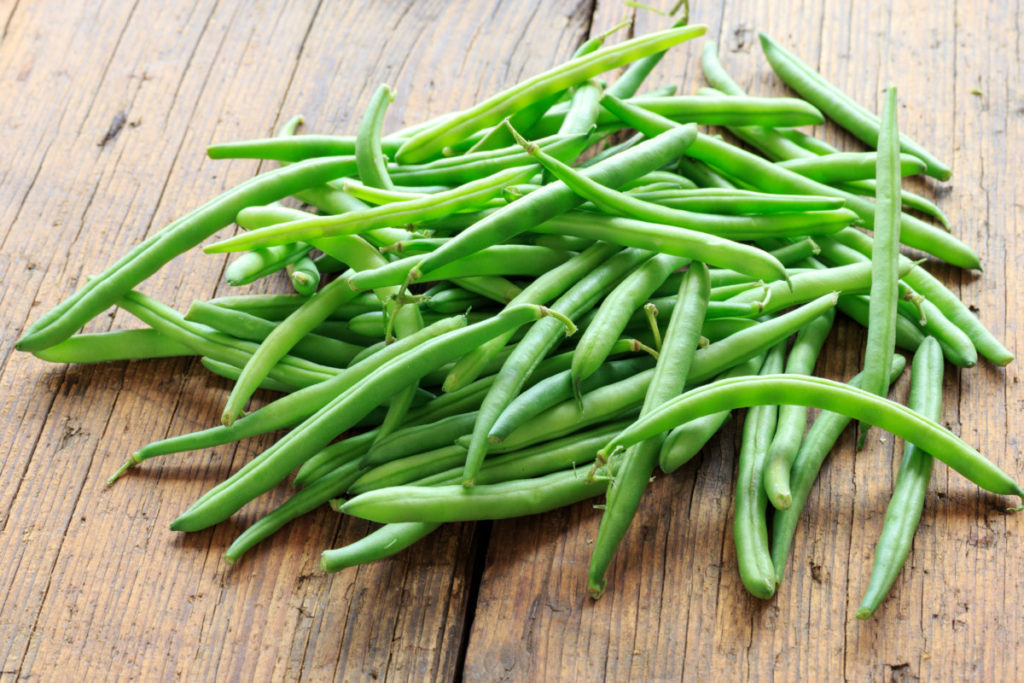
Plus, eating and preserving them is fun. That is, if you like the texture and flavor of green beans. If you’ve read this far, chances are great that you do enjoy them fresh, baked or pickled – depending on the variety, of course.
Two Types of Beans
For simplicity’s sake, there are two standard types of annual beans: bush and pole varieties. The scientific name of the common bean is Phaseolus vulgaris.
Taking a look at the larger worldwide picture, there are more than 40,000 known varieties of beans. You should be lucky enough to have eaten more than ten kinds in your life. Once you start thinking about growing green beans in your own garden, the opportunities to try out more varieties expand as you search through seed catalogs and extend your queries online.
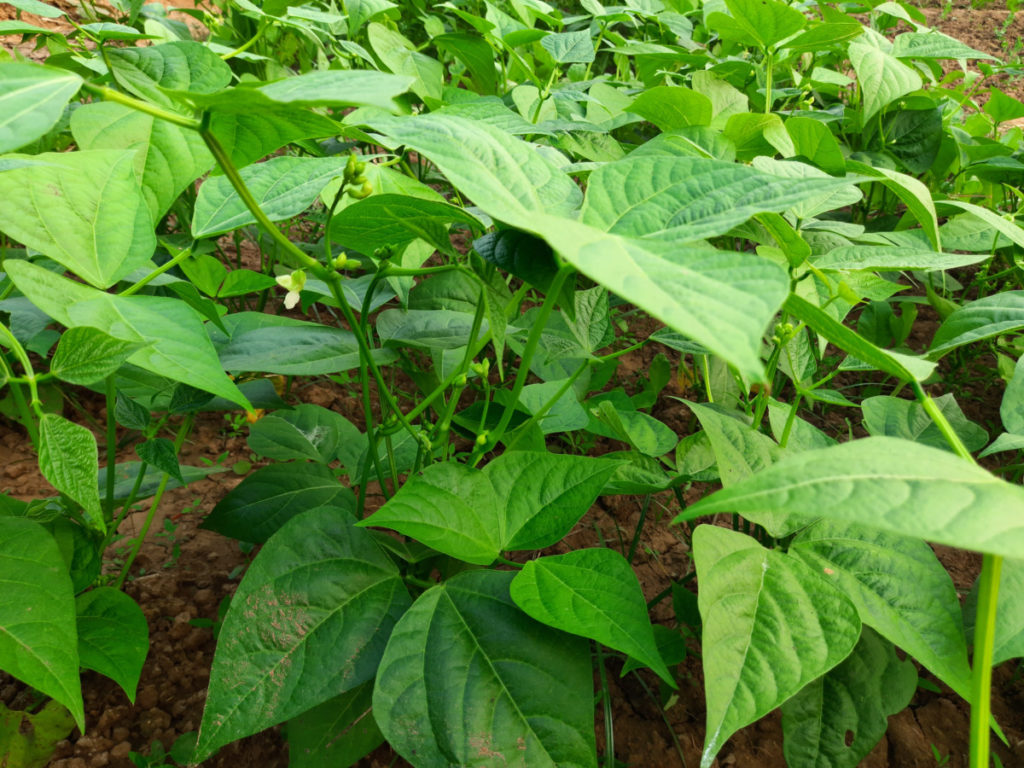
Bush Beans
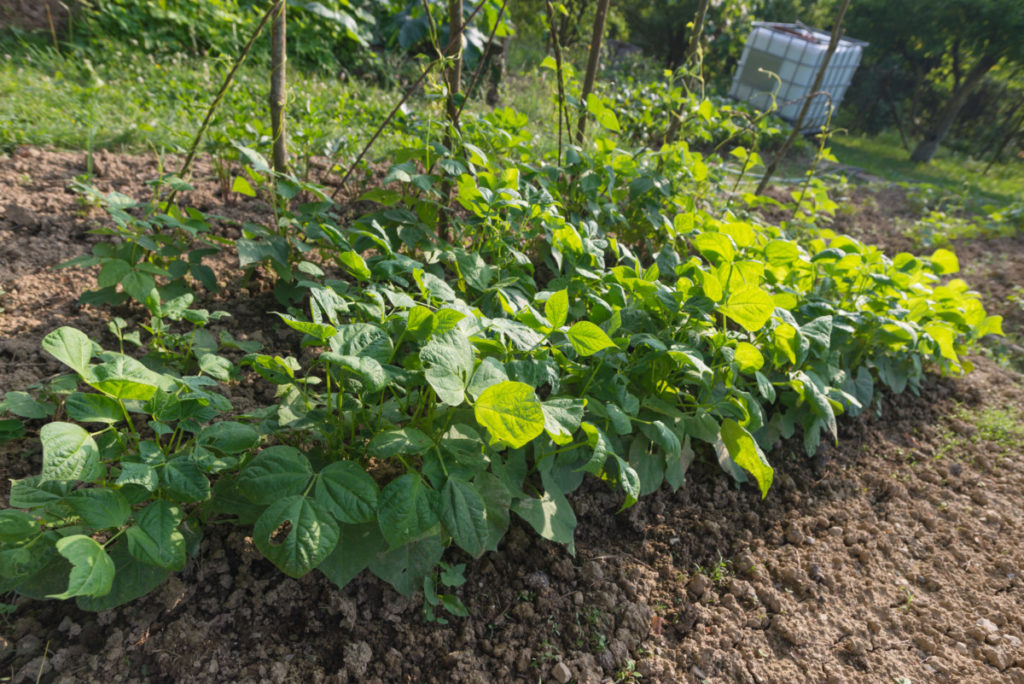
If low-growing bushes are what your garden needs, not to cast too much shade onto other plants, bush beans are the plants you’re looking for.
Bush beans grow up to 24″ in height and they don’t need any support or trellis to keep them upright.
Within the category of bush beans there are:
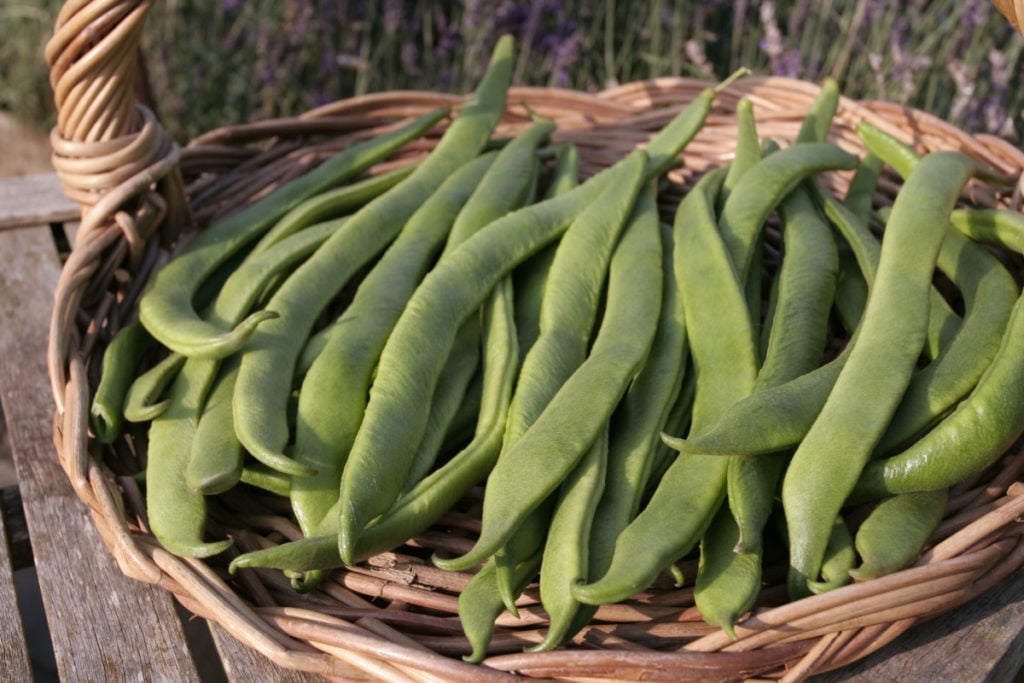
- snap beans – where you eat the entire pod
- green shelling beans – where you consume the shelled green beans
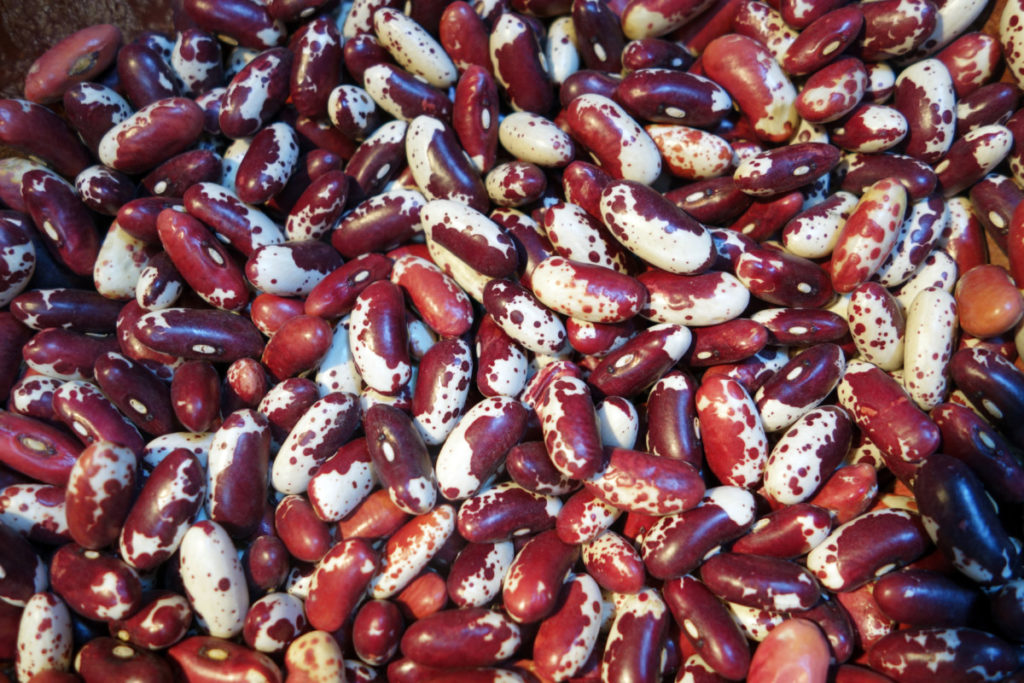
- dry beans – where you first dry the beans, then rehydrate and cook before eating
In general, bush beans are harvested before pole beans and they take up little space for how prolifically they produce. Though if you have sufficient space in the garden, why not plant both bush and pole beans to mix things up a bit? Not only will it help you to extend your harvest, it will provide you with diversity too.
Bush beans are ready to harvest about 7-8 weeks after planting, while harvesting lasts around 3 weeks.
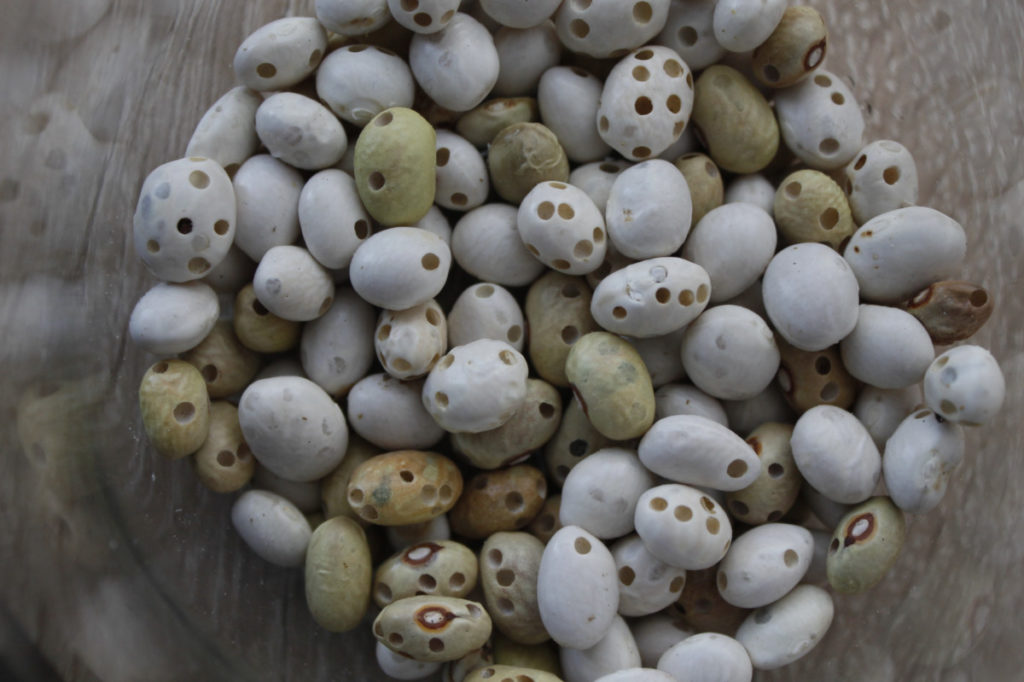
Did I mention that bean seeds are easy to save?
Just watch out for those pesky bean weevils!
Pole Beans
If you’re looking to increase crop yields in your garden by growing vertically, pole beans can be added to your list of loofah, squash, cucumbers and nasturtiums.
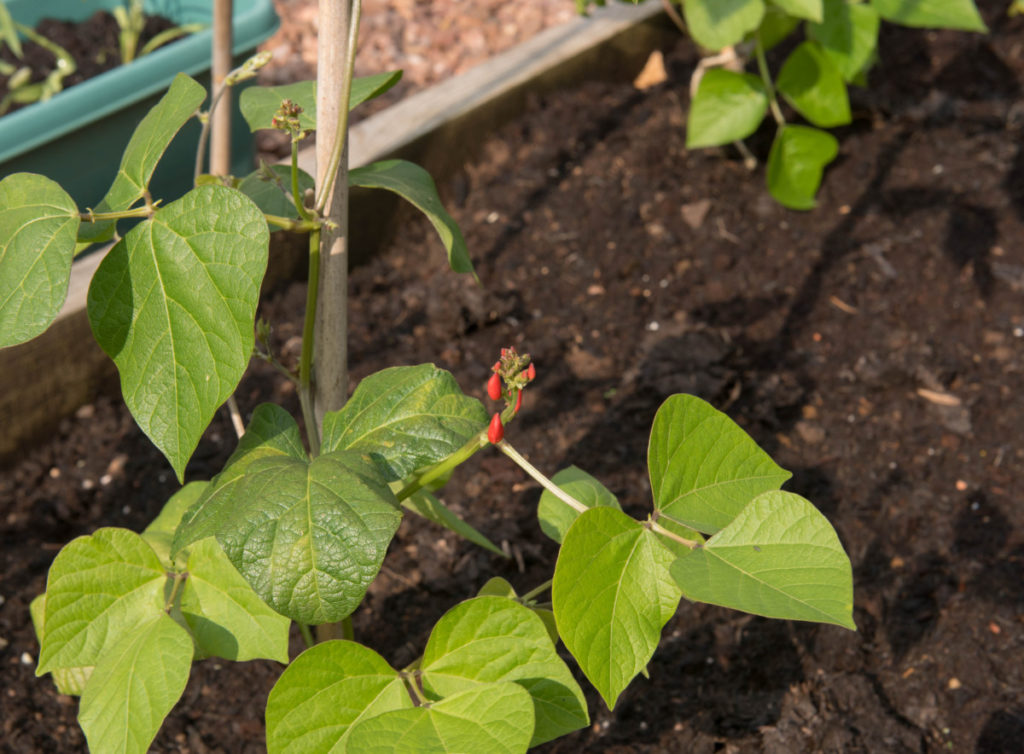
Seeing as how they can grow taller than your arms can reach, a trellis is necessary for growing pole beans. This can be as unpretentious as three hazel stakes tied together at the top, or a heavier metal support from a gardening store. They could even climb on netting.
Give your pole beans something to climb and they will – to heights of 10′ or more.
For that reason, be sure to plant your pole beans intentionally, not to shade out your sun-loving plants.
Pole beans are generally ready to harvest about 11-12 weeks after planting. The harvest time is also longer than that of bush beans; ranging from 6 to 8 weeks.
See why it’s good to grow both types of beans in your garden?
But, what about cross-pollination between beans?
If you’re dreaming of saving seeds, it’s useful to know that beans are self-pollinating.
Nope, beans don’t even need bees or beneficial insects to do the pollinating work for them. Let’s just say that beans are individualistic and leave it at that.
However, for the sake of saving seed that is true-to-type, it’s always a good idea to plant rows of beans about 10′ apart. For starters, this prevents creating a monoculture in your garden. It also helps you in companion planting.
In the end, you’ll be left with seeds that are truly worth saving and planting again, year after year.
Quick Guide to Companion Plants for Beans
In short, you can plant beans next to:
- broccoli
- cabbage
- carrots
- cauliflower
- celery
- chard
- corn
- eggplant
- kale
- radishes
- strawberries
- squash
Do not plant your beans with:
- beets
- chives
- garlic
- onions
At the same time, it’s best to keep distance between beans, tomatoes and peppers too. If you can’t manage this space separation, just be sure to keep a watchful eye on your garden crops.
If you’re looking at beans from a crop rotation perspective, then Brassicas follow legumes. So, next year you will want to follow your bean patch with cabbage, cauliflower, kale and so on.
Don’t forget that beans are part of the Three Sisters trio. If you’ve never tried companion planting in your garden before, this is definitely the tried, tested and true one to start out with.
How to Plant Green Beans
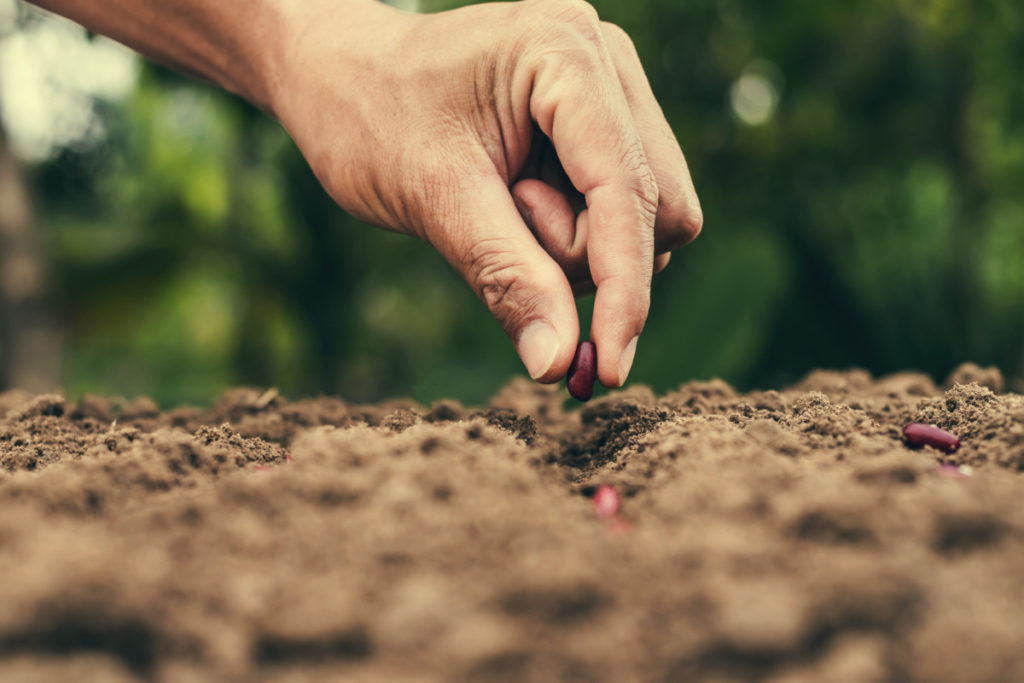
Green beans are direct sown in the soil, rather than being grown in seed-starter trays. The reason being: beans do not like to be transplanted.
Due to their high germination rate, it is best to push them in moist soil once the ground has warmed up in spring. Aim for planting your beans about 1″ in the soil. Keep in mind that the planting depth can vary from just 1/2″ to 2 inches depending on soil conditions.
Optimal temperature for germinating green bean seeds
After all danger of frost has passed, now it’s safe to plant your green beans. Green beans are a warm-season crop and prefer to spread their wings, or germinate when average soil temperatures are higher than 60°F.
Anything lower than this and germination will be slow at best. Or non-existent at worst. So wait for the weather to show signs of consistent warmth on the way. Planting too soon is one of the most common mistakes that gardeners make.
But don’t plant all your bean seeds at once!
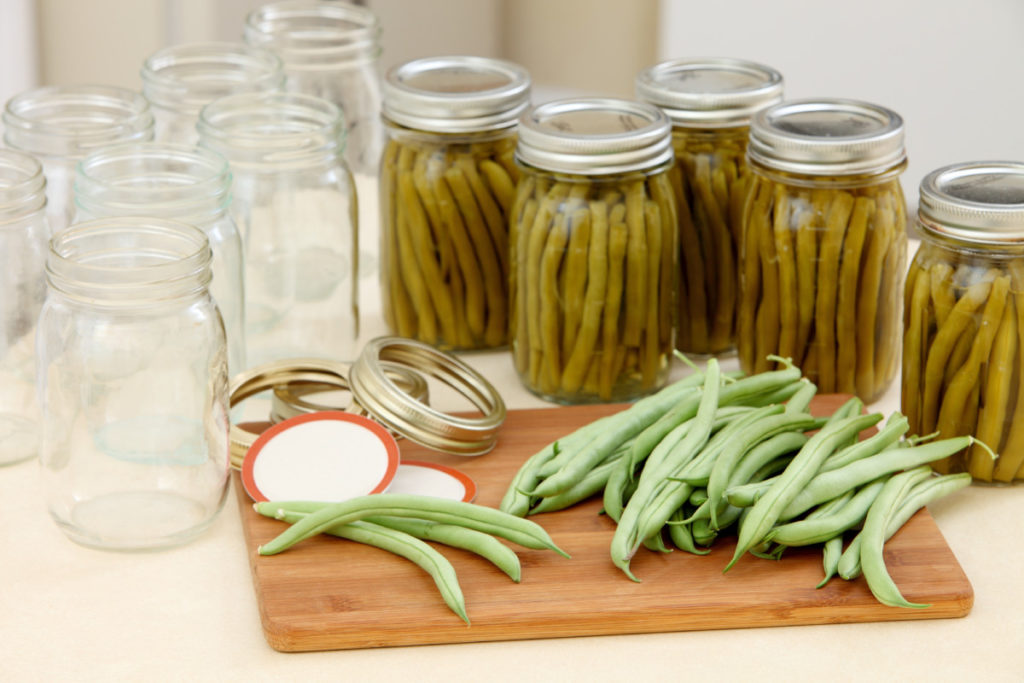
Unless you intend to harvest them in mass for canning or for drying the seeds for winter.
If you really feel the urge to get a head start on the planting season, bean seeds can be planted in biodegradable pots, then transplanted with the entire container out in the garden. This disturbs the roots as little as possible.
As you plant a row of beans now and the next row a week or two later, you will extend your harvest time. This can even help you cut down on your grocery bill, since you can harvest fresh green beans from your backyard.
All you have left to do, is get creative with numerous ways to eat and preserve your green beans.
Should green beans be soaked before planting?
For some crops, it makes perfect sense to soak your seeds before planting.
You’ll want to try this with:
- beets
- chard
- corn
- peas
- pumpkins
With the soaking of beans before planting, the answer is maybe, but leaning towards no.
Or it all depends on how long you soak the seeds. Never soak bean seeds for more than 2-4 hours, lest the seeds may rot. There are so many variables that affect the answer.
For example, whether or not you should soak your seeds at all, also depends on the thickness of the outer shell. The shell of beans is actually quite thin despite all appearances.
To sum up the preferred growing conditions of beans
All that beans need to grow are well-draining soil, a location under the full sun and sufficient water.
Beans also like warmth and an air temperature that hovers between 65-85°F.
Even if your soil is a little less than ideal, it’s worth planting broad beans, lima beans and pole beans. They can grow well enough in areas that are too poor for other garden crops. If you can, give them some aged compost and natural fertilizers to increase their yields.
When weeding around the base of the beans, take care not to damage the shallow roots.
As for water requirements, beans need plenty of moisture. The best way to lock that in the soil is through mulching around the base of the plants. If the rain is not cooperating, water your beans deeply, and infrequently for the best results.
Beans appreciate about 1″ of water per week. Give them that and a little space. We could all use a little space…
Spacing of green beans
The knowledge of spacing your seeds seems to come naturally over time.
But, for beginners, it can be one of the more complicated aspects of gardening to follow.
However, once you experience how big plants can grow, it makes perfect sense to plant your seeds further away from the start, rather than prick the seedlings out. After all, not everything in the garden can handle transplanting, such is the fate of beans.
To get more specific, both pole and bush bean seeds should be planted about 3-4″ apart.
The distance between rows can vary, depending on whether you are maintaining your garden solely by hand, or using other implements such as a tiller to manage it. 16-24″ apart is a good measurement to aim for.
In the case of planting pole/runner beans, how many seeds you plant will be determined by the kind of trellis or frame that you choose.
If you’re using a bean teepee, you can plant 4-6 beans at the base of each support. However, if the beans are growing and climbing along a fence, be sure to keep a distance between planting nests of beans. This will ensure that they all have the growing space (above and below ground) that they need.
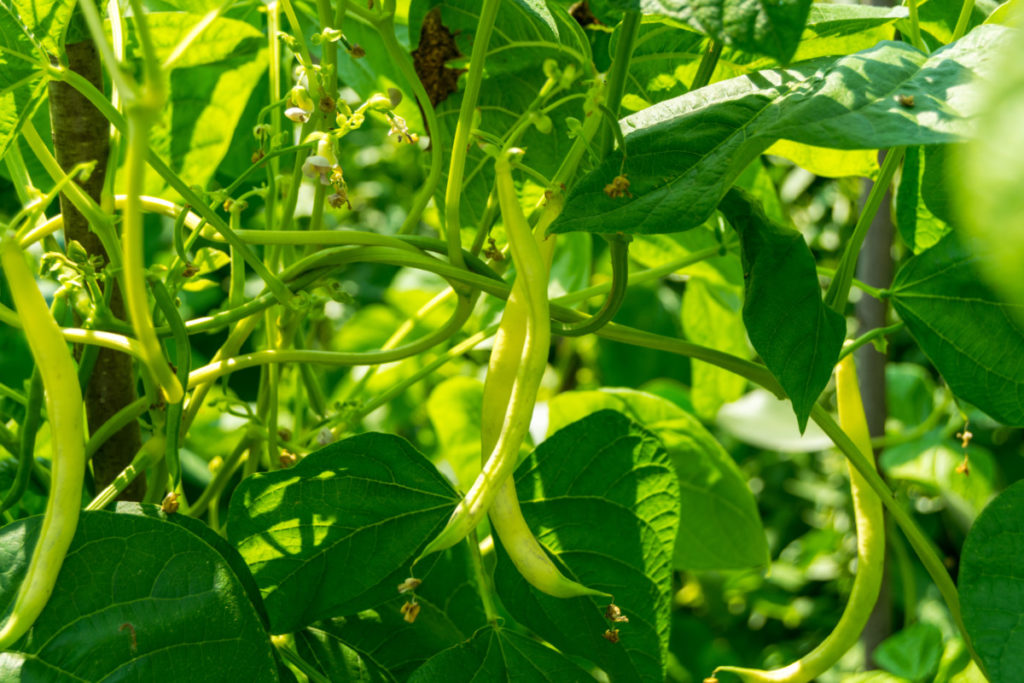
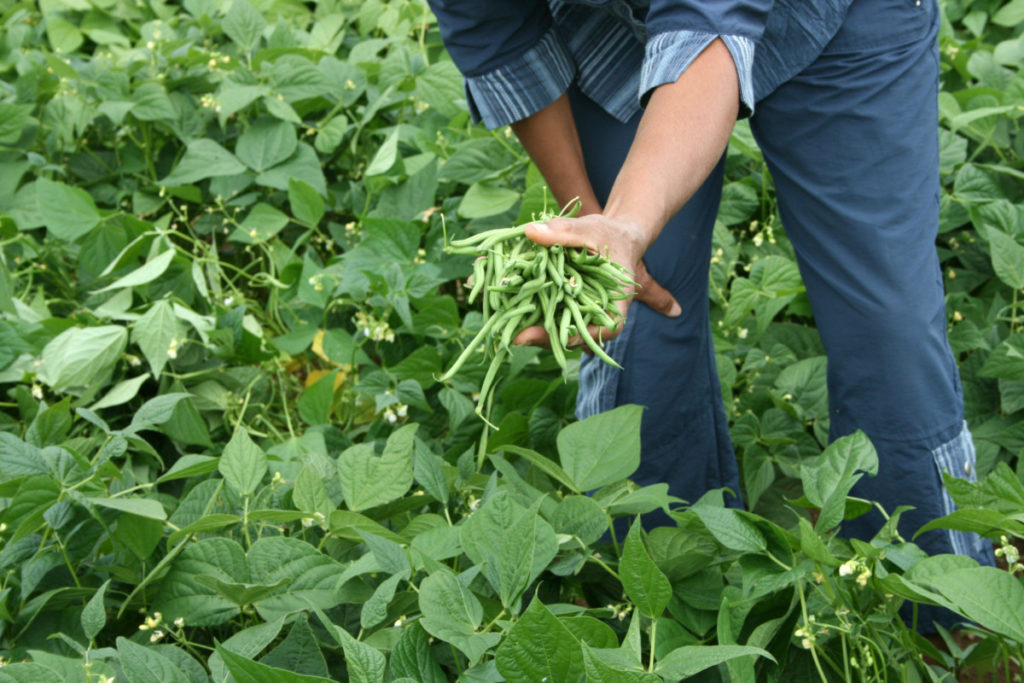
Harvesting Your Green Beans
Like with any delicious tomato harvest, the picking of beans is an ongoing garden chore. And a fruitful one at that.
Beans can be harvested from the time they’re young and tender (think gently sautéed in butter), to the time they are dry with wrinkly-rattly pods.
Again, the time to harvest depends on what kind of beans you have grown: bush or pole.
Time of harvest also varies on the varietal level.
In general, bush beans are ready to harvest 50-55 days after planting.
Pole beans are often ready after 55-65 days, or more, depending on the variety planted.
Bush beans are ready to harvest all at once, whereas pole beans can be harvested throughout the season.
One way to know when to harvest your beans is to look back at the seed package they came in. That provides all the planting info you need.
If you have saved your own seeds, be sure to keep a garden journal so that you can remember your own observations year after year. Forgetting is easier than assuming you will retain all that important information.
And the important thing to recognize about harvesting your beans, is perhaps trial and error. If you have left the beans too long on the vine or bush, they will become stringy – your teeth and tongue will feel it. At that point, it’s best to leave them to mature on the plant and save seeds from them instead.
Pests and Diseases of Beans
You might be surprised to find out that although beans often appear robust, they too can suffer from more than one disease.
Combine that weakened immune system with certain pests and you can toss that idea of pickled green beans straight in the compost pile.
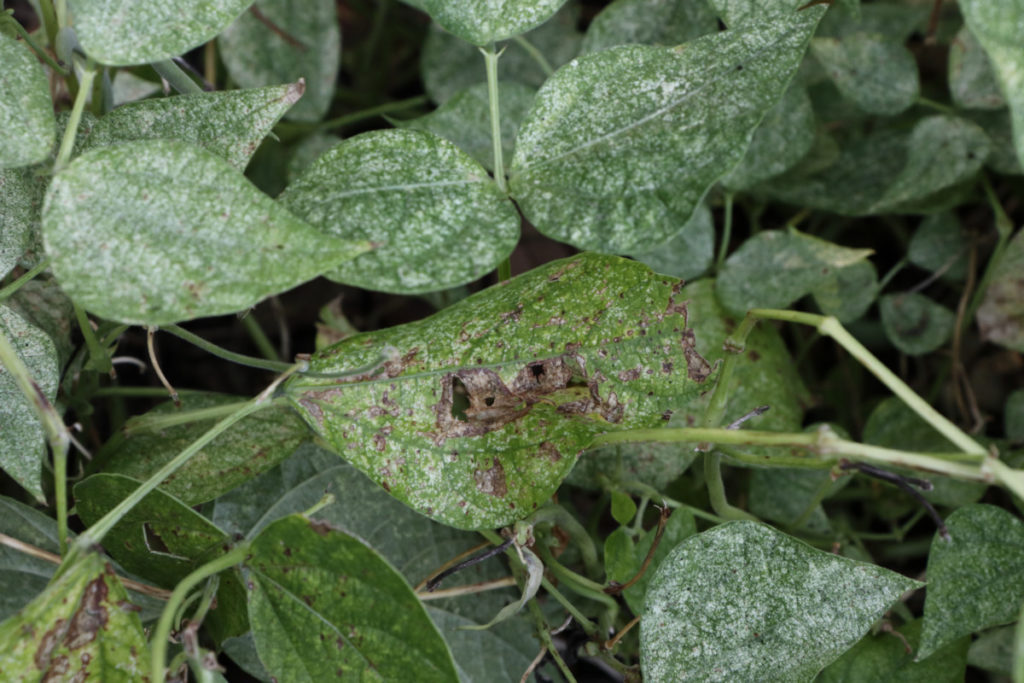
The condition that beans are most often challenged by is a bacterial disease, which can affect roots, flowers, leaves, stems or pods.
Beans can also be eaten by Mexican bean beetles, spider mites, aphids, bean leaf beetles and deer (who care to devour the entire plant).
To prevent many of these conditions, be sure to give your plants plenty of space (for air circulation) and keep the leaves dry by watering at the base of the stem.
You can also choose bean varieties that are disease-resistant.
Best Varieties of Beans to Grow
With so many beans out there, how do you know which ones are best to grow?
Trial and error.
Sometimes that is the only way to find the beans you enjoy most. Notice, the “s” there. As previously mentioned, there is nothing stopping you from planting more than one favorite variety in your garden.
Let’s point out a few notable varieties of beans, then see what you can come up with. Maybe you can even discover some local varieties that few gardeners have. In that case, definitely learn how to save seeds, so that future gardeners can keep the tradition alive.
In case you were wondering…
Bean seeds remain viable for approximately 4 years after harvest.
The longer you keep seeds, you’ll find that the chance of germination is greatly reduced. A select few will still remain viable.
That should give you even more incentive to keep a private seed stock going. Plus, you don’t need to stress about planting all your seeds every year, just often enough to keep the seeds fresh. Skipping a year or two allows you time to introduce new varieties to your garden – and to your diet.
One way to know how old your homegrown seeds are: is to write the date of harvest on each label tucked in with the seeds. It’s a simple practice to overlook, yet it makes perfect sense to make a habit of correctly labeling your saved seeds.
Bush bean varieties to try
- Blue Lake – productive plants with round stringless beans that are wonderful for fresh eating, canning and freezing.
- Contender – early to harvest with medium-green pods; 12-20″ tall plants, very productive.
- Derby – long pods, straight and stringless variety.
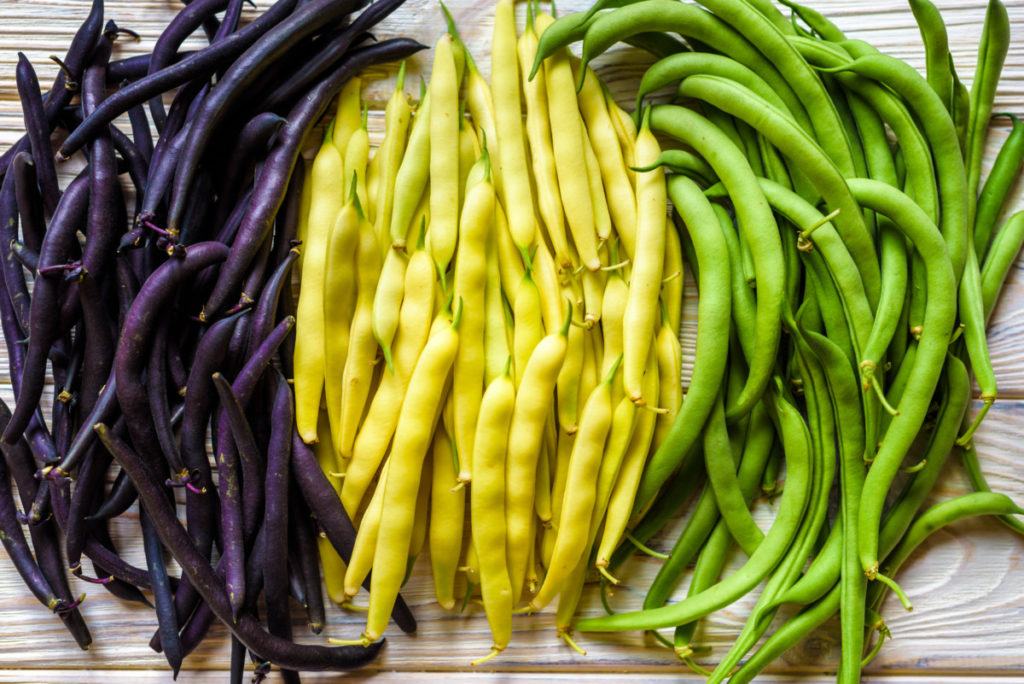
- Gold Mine – 5-6″ ultra sweet wax beans with a beautiful yellow color.
- Provider – dependable variety for cooler climates, sow early or late, an excellent bean for fresh eating and pickling.
- Royal Burgundy – stunning dark purple pods which turn green after cooking; resistant to bean beetles.
- Tenderette – a tender variety of bush bean that produces all summer long; canning and freezing variety.
Pole bean varieties
If you have more vertical space in your garden, pole beans will be your best bet.
Try one or more of these varieties to see what visually appeals to you – and discover which one(s) taste best.
- Fortex – exceptionally long and slender pods which grow up to 10″ long, perfect high-value crops for the specialty market.
- Kentucky Wonder – an heirloom pole bean with heavy yields, good for fresh eating, canning and freezing.
- Northeaster – heirloom Roma-style pole bean with excellent flavor, consume fresh or cooked.
- Romano – flat, stringless pods (9″) are produced from early summer all the way to frost; one of the earliest producers.
- Scarlett Runner – an ornamental edible that grows to 10′, with 8″ slender pods to be used as snap beans, or harvested late and dried for winter use.
While you have beans on your mind, don’t forget to add some dry bean varieties to your ever-growing list of seeds to plant.

Get the famous Rural Sprout newsletter delivered to your inbox.
Join the 50,000+ gardeners who get timely gardening tutorials, tips and tasks delivered direct to their inbox.