

You want to provide your family with the best non-toxic cleaning products. Why not grow your own? We’re not talking herbal remedies here, but rather a natural sponge that makes for an exceptional exfoliant.
Loofahs are the original bath accessory, and they absorb just enough soap and water to produce a perfect lather. They are tough on dirt without being abrasive, making them ideal for cleaning surfaces ranging from your face to your car.
And unlike their synthetic counterparts, natural loofahs will completely biodegrade when you’re done with them.
Learn here what it takes to grow loofah for sponges for all your natural home projects.
About Loofah Gourds
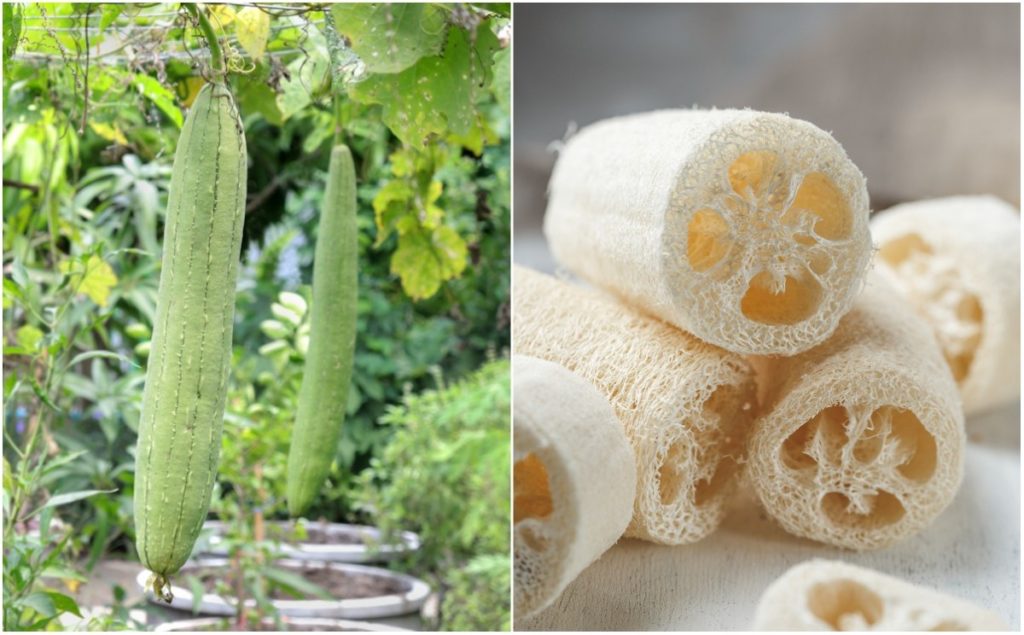
Spelled loofah, luffah, loufa, and luffa, this beautiful bath accessory has a starchy texture that might seem reminiscent of a sea creature. It doesn’t come from the ocean, though, but rather is the dried interior of a giant green gourd.
The loofah gourd has been cultivated across North America for almost ten thousand years. It’s a member of the Cucurbitaceae family and thrives in hot weather and when it’s given plenty of trellising to climb (small plants grow over 30 feet long).
The fruit is edible and tastes like zucchini when picked young, but most people grow it to maturity so they can harvest the spongy insides.
How to Grow Loofah for Sponges
If you live in gardening zones six or warmer, there’s a good chance you can grow loofah squash at home. These plants require at least 120 days to fully ripen but don’t let that dissuade you from trying, as you can harvest them early if your first frost date comes faster.
Here are seven steps for getting started.
1. Get Quality Loofah Squash Seeds
These plants are notoriously finicky about their germinating conditions, so you’ll minimize your chance of frustration by purchasing your seeds from a reputable seller. They can be tricky to track down in stores, but these online sellers supply them.
- Burpee: $4.95/25 seeds
- Baker Creek Heirloom Seeds: $3/20 seeds
- Park Seed: $2.95/20
- Sustainable Seed Company: $3.41/33 seeds
You won’t need to repurchase seeds once you have a successful harvest, as you can easily save them for the following growing season.
2. Start the Loofah Squash Seeds Indoors
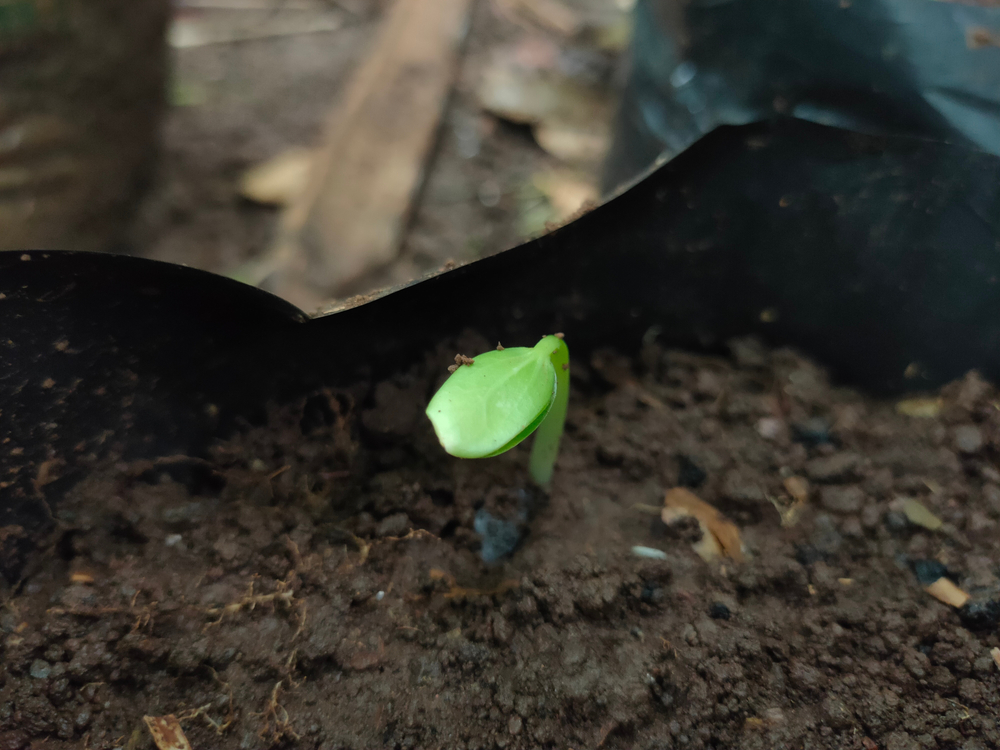
Since loofah squash plants require almost four months to grow, it’s best to start the seeds indoors 6-8 weeks before your last frost date.
Soak the seeds for 24 hours prior to planting them in a seed starting tray, and consider placing them on a seed heating pad to improve germination. Many growers find this tool can double their success rates.
After planting, keep your squash under grow lights or in a space where they will get plenty of direct sunlight (like a south-facing window). Water whenever the soil feels dry to the touch.
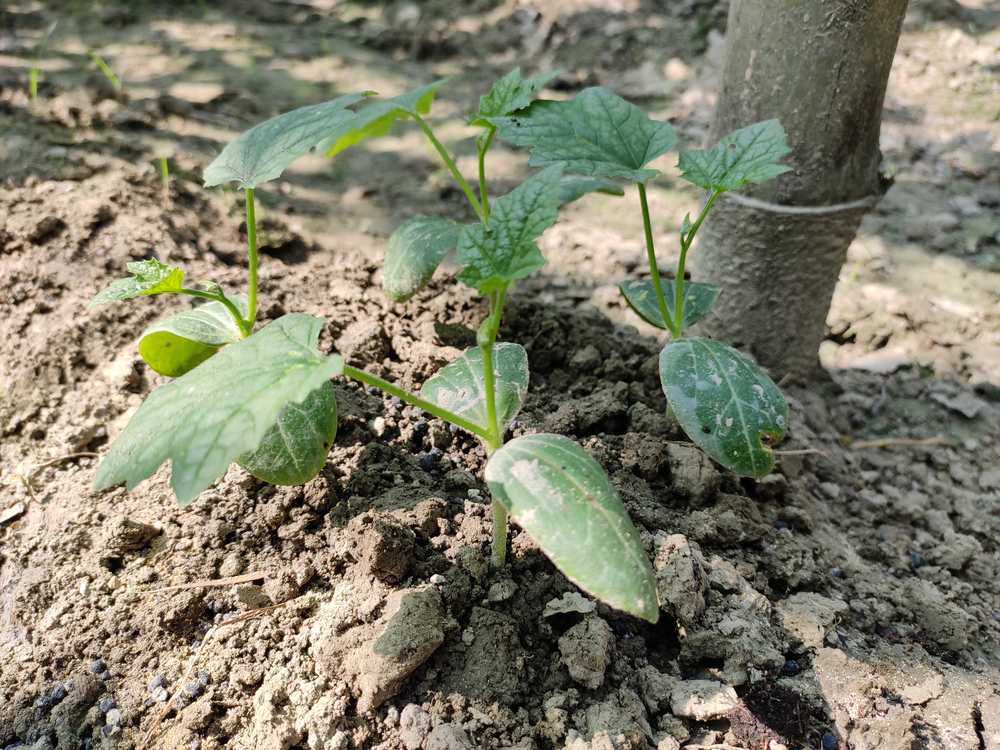
3. Transplant to Larger Pots
Squash get rootbound quickly, so you need to ensure the young seedlings have enough space to grow. Once they have developed their first pair of “true” leaves, consider transplanting them to larger biodegradable pots. Be as careful as possible during this step, as the plants are susceptible to root damage.
You can skip it altogether by planting the seeds in soil blocks or larger pots to begin with, but note you may waste valuable indoor growing space if many of the seeds don’t sprout.
4. Harden Seedlings and Transplant Outdoors
As the weather warms, you need to prepare your loofah seedlings for life outdoors.
These delicate plants are prone to transplant shock, so limit their time outside to an hour to two for the first week before gradually extending it. Make sure they stay protected from strong winds and harsh sunlight at first.
After a few weeks of hardening off, plant the seedlings in full sun, one foot apart, in well-fertilized soil. Position them at the base of a trellis structure that offers plenty of vertical support. Chain link fences work well, as the gourds get heavy.
5. Tend and Trellis
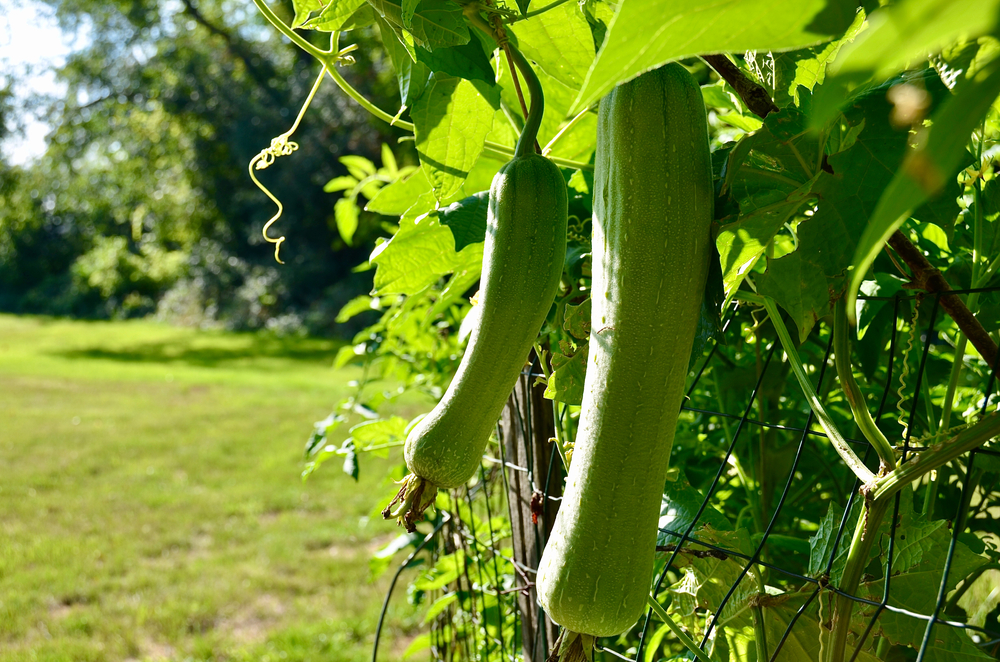
Lots of water and hot, direct sunlight are what’s needed to grow healthy loofah squash. These plants will also benefit from a dusting of diatomaceous earth in the late summer to protect them from squash bugs that love to prey on the leaves.
You can eat the squash vine’s flowers and young fruit as you would any variety of summer squash, but most people prefer to let them grow larger for loofah harvesting. As the plant sets fruit, make sure it doesn’t get trapped in the trellising or otherwise strangled, as you’ll be left with mishappen gourds that are challenging to harvest.
Two months before the first fall frost date, pinch off any remaining blooms, so the plant directs all its energy towards producing large squash. You should also protect your plants with row cover if the temperature dips close to freezing, as cold weather can stunt the plant for a month or longer and severely impact your final harvest.
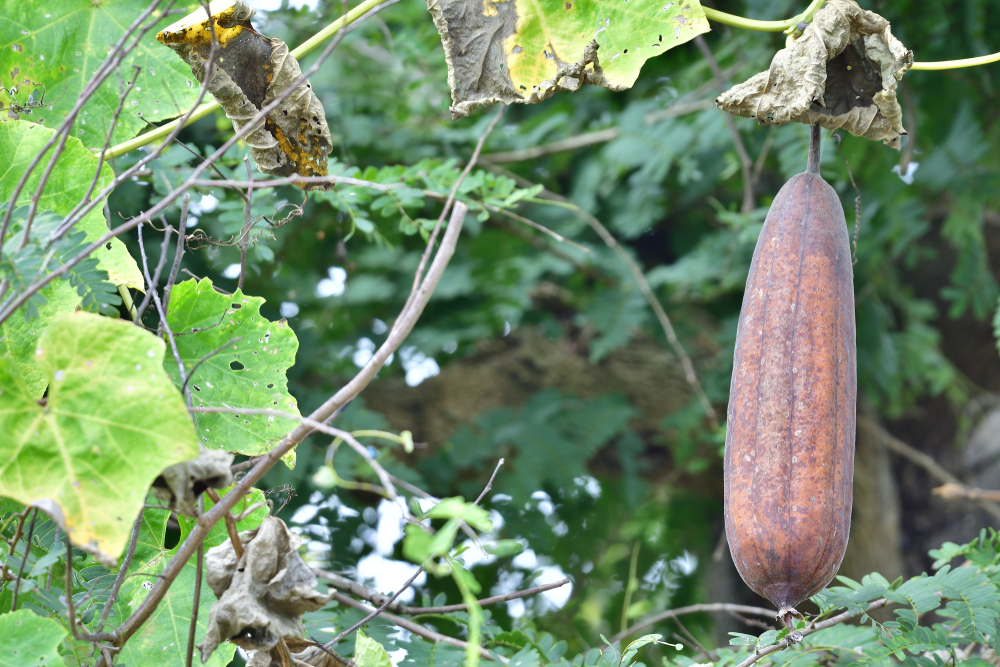
6. Harvest Before the First Frost
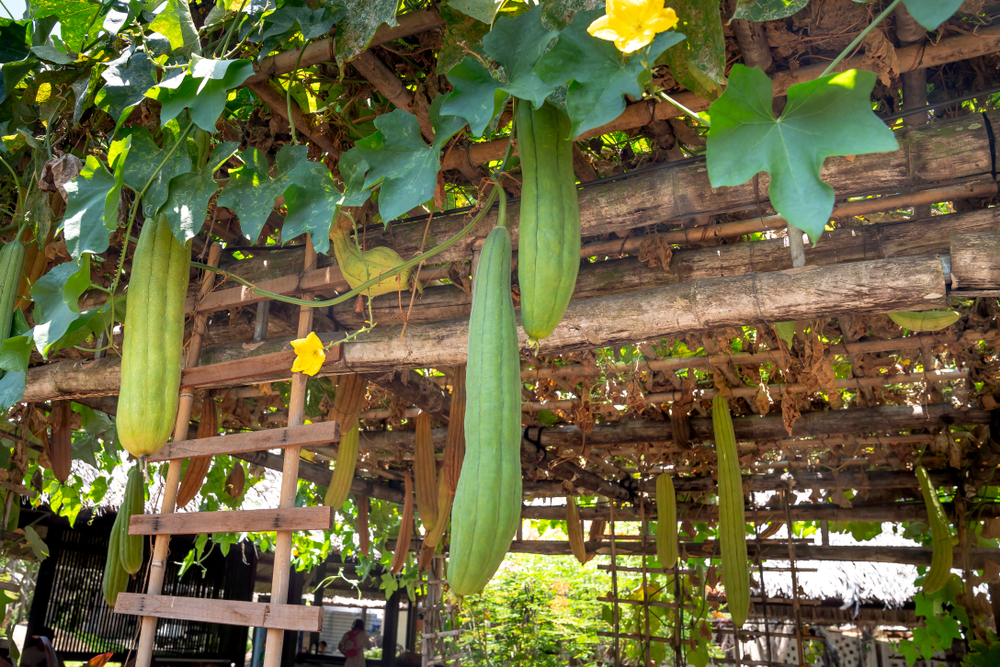
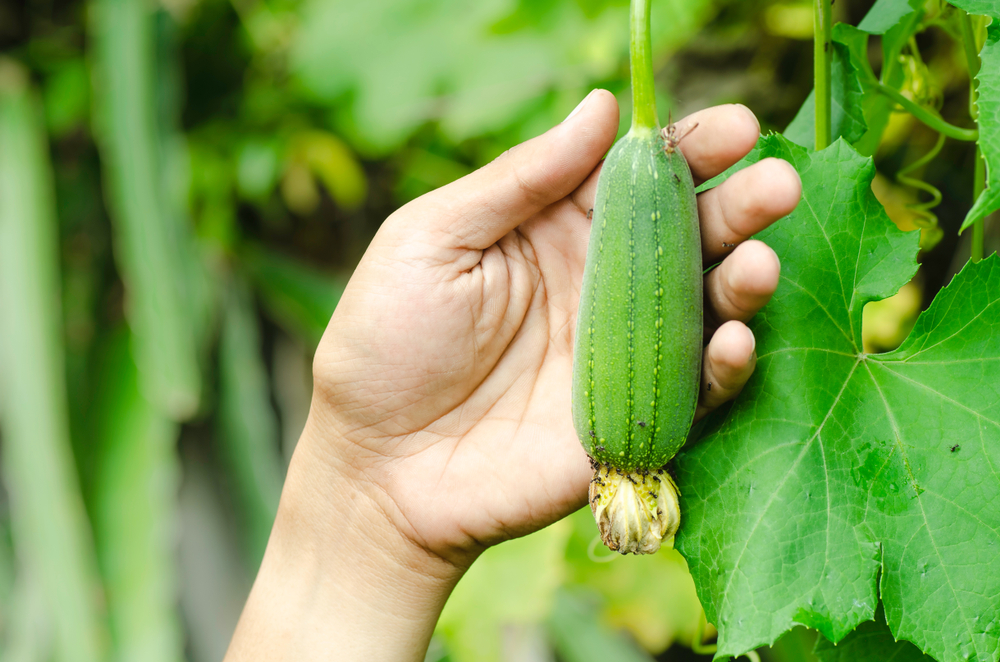
In perfect conditions, loofah squash will grow up to two feet long. The ideal time to harvest loofah squash is when they’ve turned brown and dried on the vine.
However, you may need to harvest them while still green if frost threatens your forecast. Never let the squash encounter freezing temperatures, as they will destroy the inner sponge.
Green squash will still produce excellent loofahs, though they tend to be smaller and harder to peel.
7. Peel Away the Squash Skin
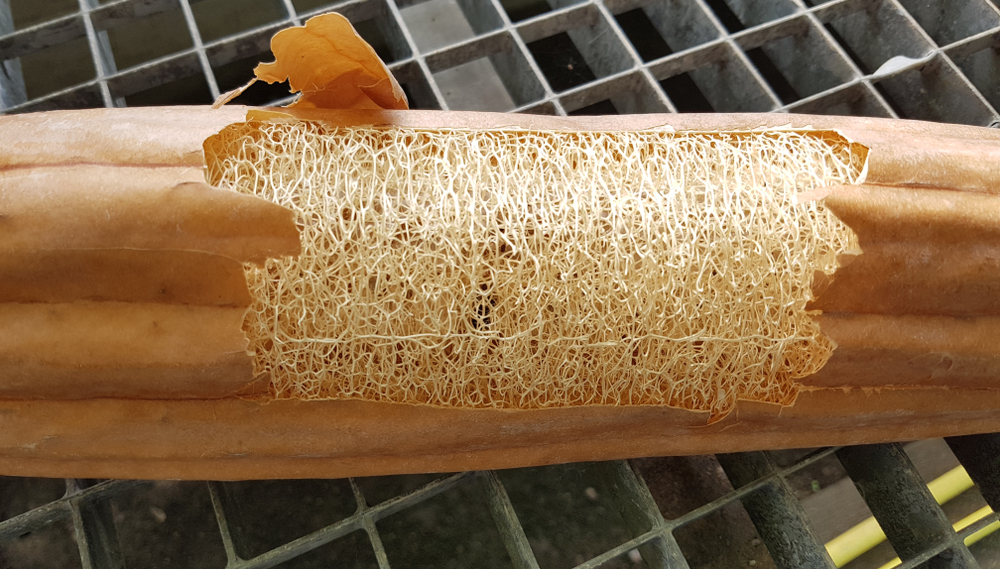
Once harvested, it’s time to peel off your loofah’s outer skin. Fully mature squash have cracked skin that comes off easily, but you may need to squeeze or cut younger fruits until you can get a good grip on it with your thumb. Sometimes it’s best to soak the fruit for a few minutes beforehand to loosen it. You can also make cuts at the end and attempt to peel the skin off like a banana.
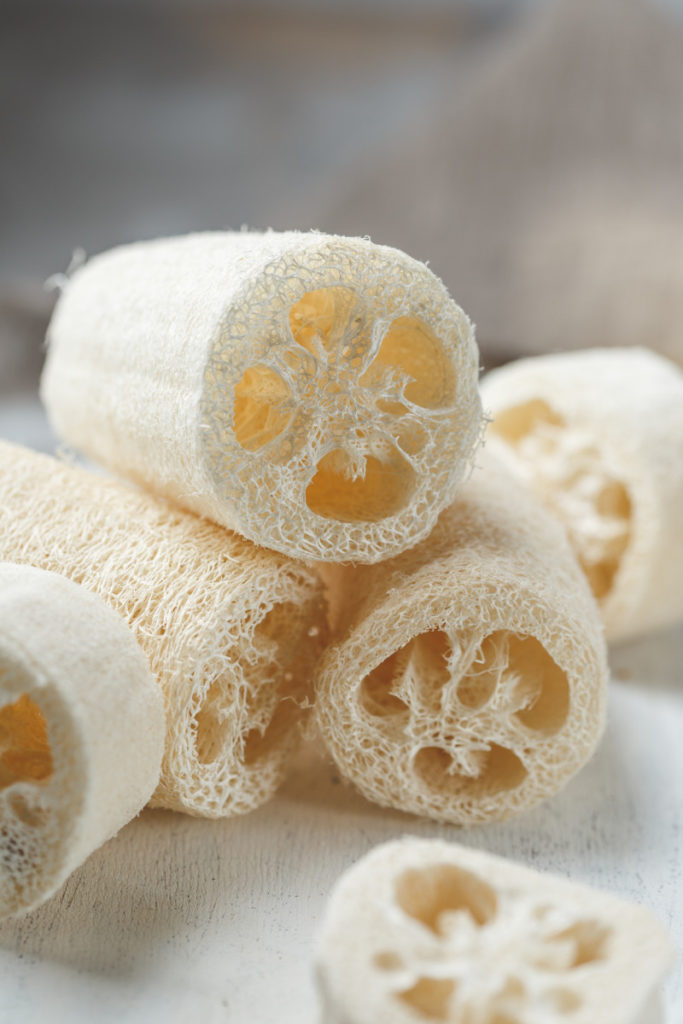
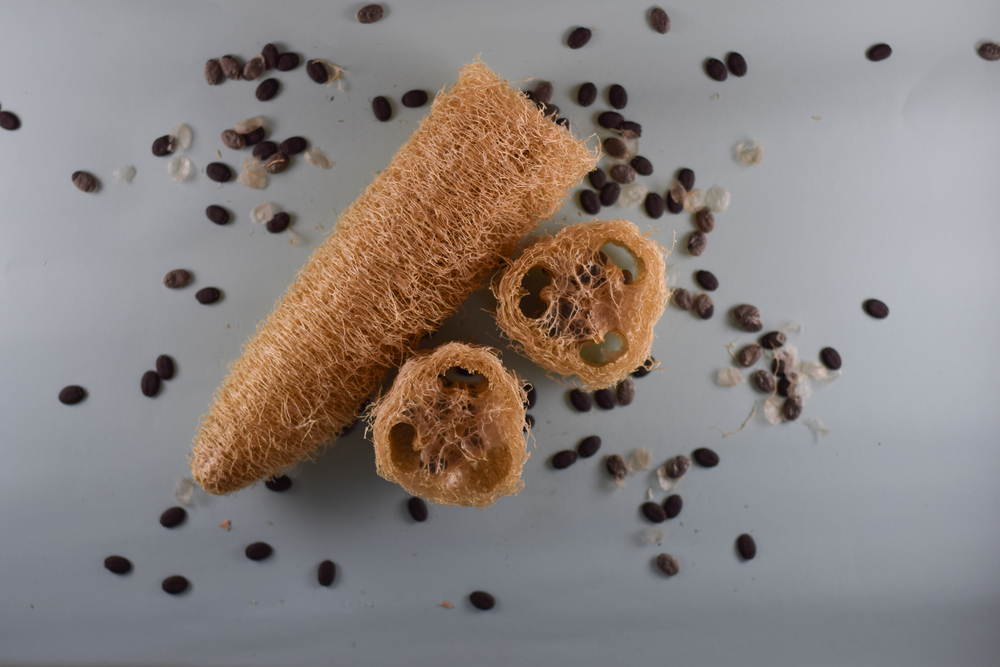
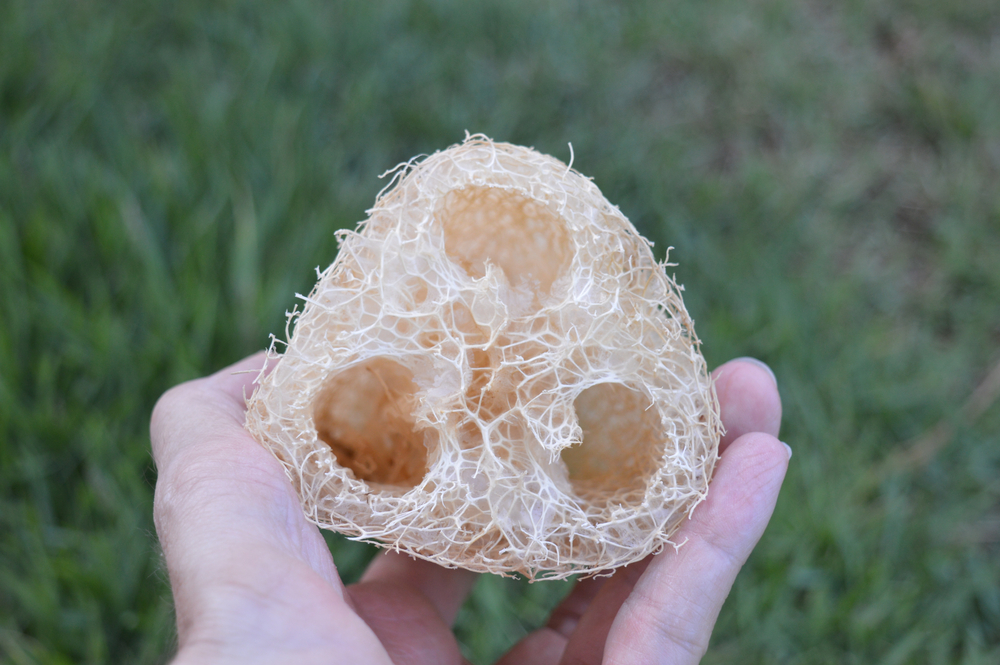
Peeling away the skin will reveal the fibrous inside. Shake out any seeds (saving the dark, plump one for replanting) and wash the sap from the sponge by submerging it in water mixed with dishwashing soap. If the sponge looks dirty or has dark staining, you can treat it with non-chlorine laundry bleach to even out the coloring.
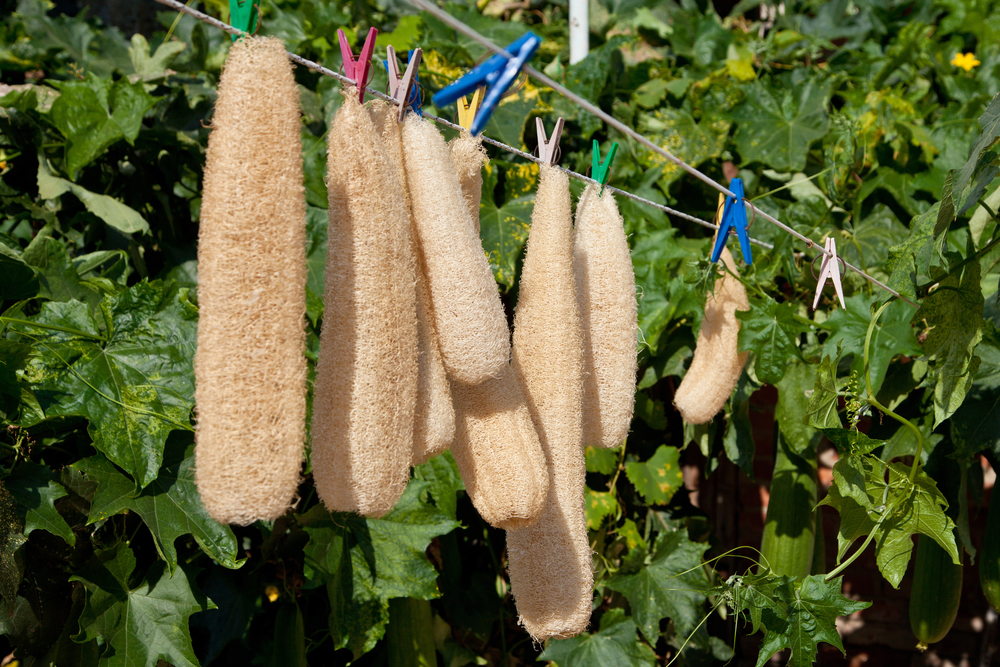
After cleaning, dry the sponges in direct sunlight before storing them in a cloth bag or other breathable container. Keep them dry, and they will last for years.
Note: don’t be tempted to leave green squash unpeeled in an effort to make them fully ripen, as this will more likely lead to rotting or stained sponges.
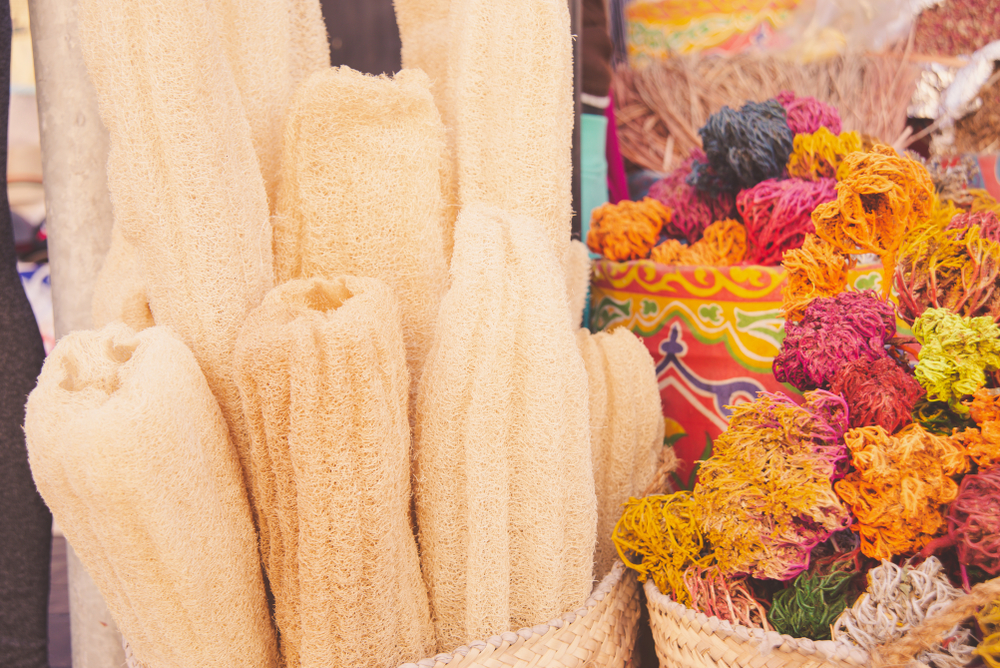
9 Uses for Your Loofah Sponge
Once harvested and dried, loofah sponges are ready to use. You can keep them whole or slice them crosswise into flat discs for easier scrubbing. There are endless ways to put this natural sponge to use, so let these ideas serve as inspiration.
- Use small sections of loofah as dishwashing scrubbers. They are especially useful for cleaning out cast iron without harming the seasoning layer.
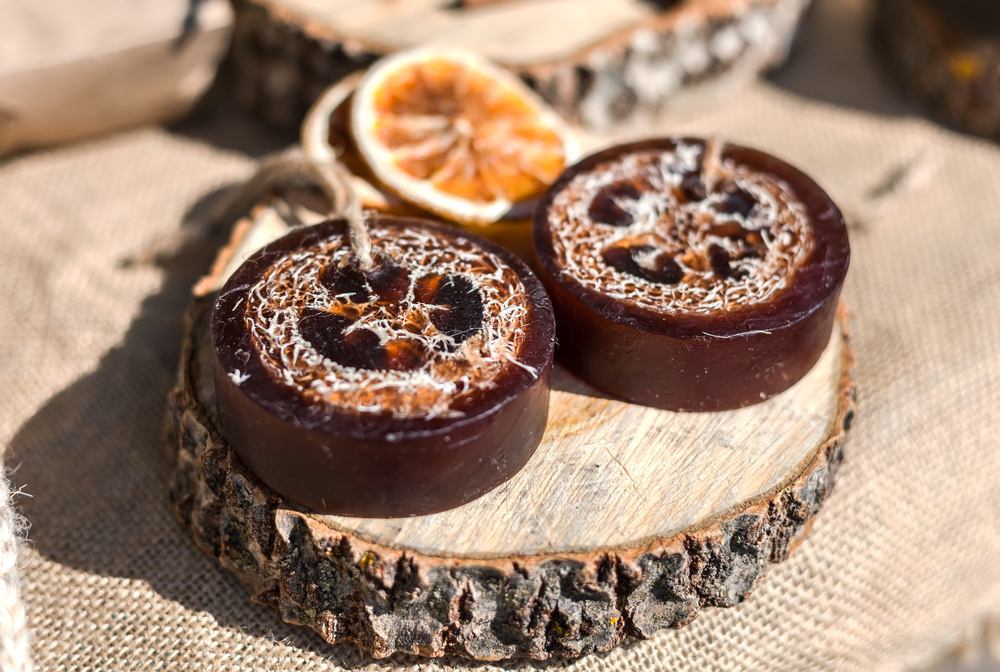
- Cast a loofah into your homemade soap for a gorgeous texture and some extra abrasion.
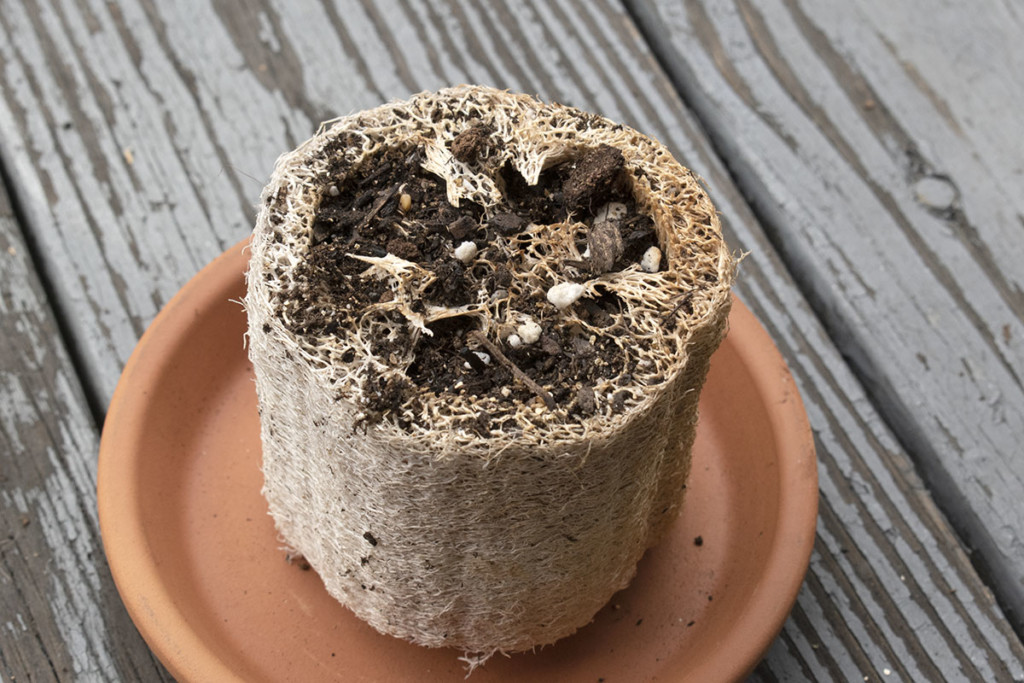
- Utilize their hollow nature to turn loofah into biodegradable seed starting pots. Although, as Rural Sprout editor Tracey found, maybe it doesn’t work like the internet suggests.
- Make a sponge-on-a-rope by threading a shoelace through your loofah and hanging it over the showerhead for easy access during bath time.
- Keep one in your cleaning closet for use to remove grubby stickers off plastic or glass. It works best if you put some oil on it first.
- Use sponge sections to clean up the grout and as a scratch-free way to clean delicate surfaces like glass or porcelain.
- Let kids dab loofahs in paint and press them onto paper to experiment with texture for fun art experimentation.
- If you’re feeling extra creative, loofah fibers can be pulled apart and used for projects ranging from sandals, table mats, coasters, and more.
- Too many loofahs? Consider selling the excess on Etsy or eBay for a passive income from your homestead! Crafters are always eager for a new source.
No matter how you use loofah sponges, make sure they completely dry between uses and toss them into the compost after a few months of use. You can keep loofahs clean and extend their lifespan by briefly soaking them in a solution of 10% bleach, 90% water once a week.
Two or three loofah plants can provide your home with enough sponges for a year. So give some garden space to this impressive gourd this year, and you’ll be taking an essential step towards improving your personal sustainability.

Get the famous Rural Sprout newsletter delivered to your inbox.
Join the 50,000+ gardeners who get timely gardening tutorials, tips and tasks delivered direct to their inbox.