

Some of my favorite vegetables are the ones that you can munch on straight out of the garden; no cooking required.
You know the ones – a warm, sun-ripened tomato, the refreshing delicate flavor of sliced cucumber, a sweet, crisp carrot, and of course, the peppery crunch of a zesty radish.
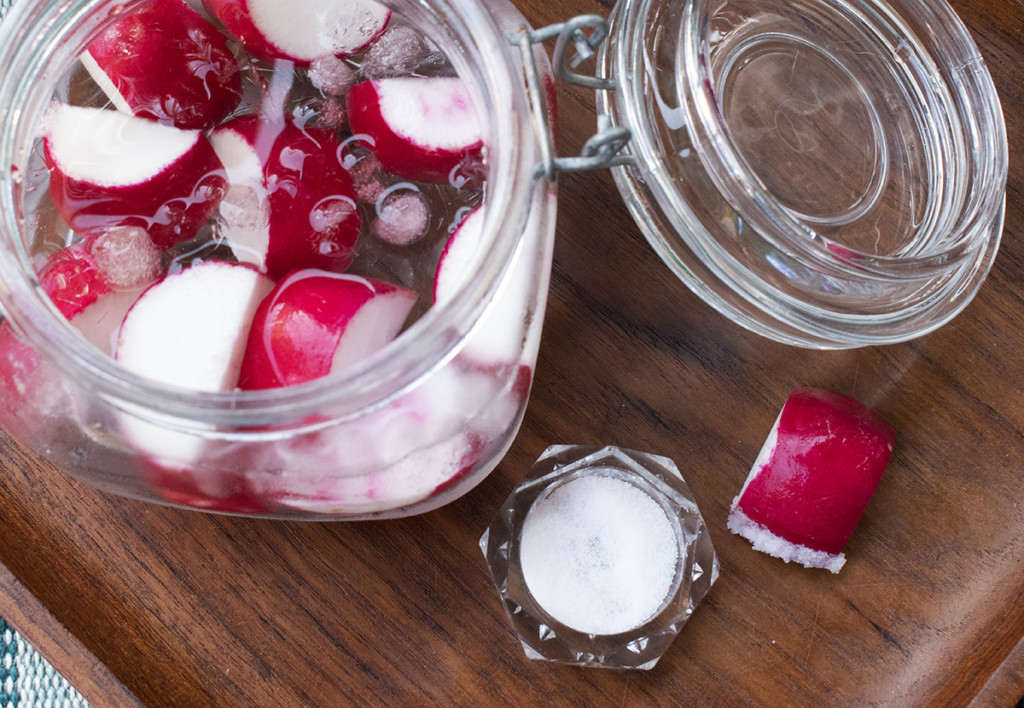
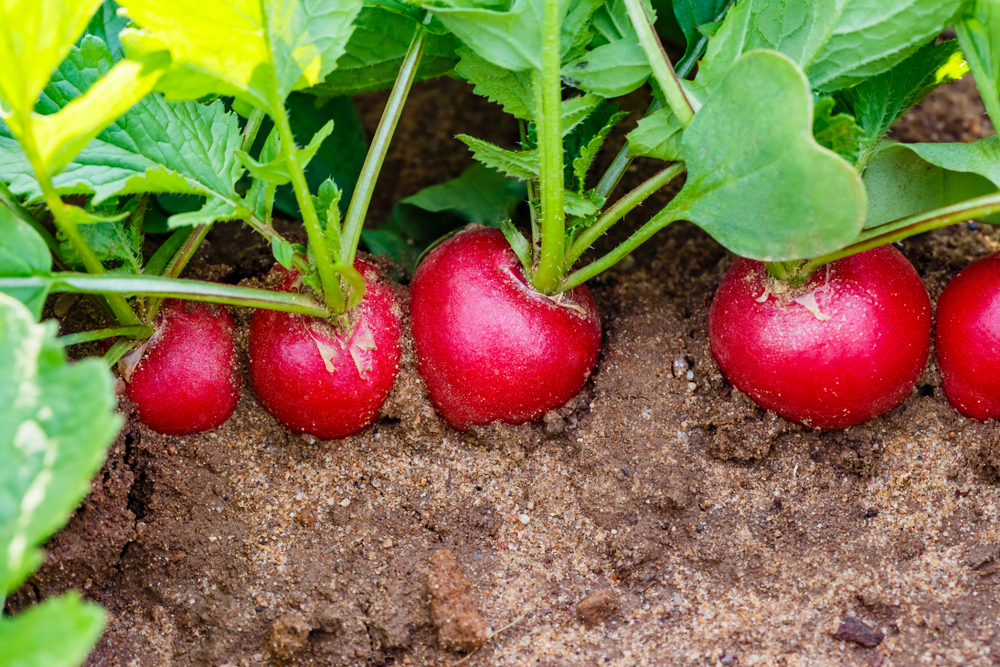
As a child, there was rarely a summertime meal at my grandmother’s that didn’t include a bowl of radishes fresh from the garden. The little red globes would be floating in water and ice. And each of us had a tiny little salt dish next to our plate to dip the wet radishes in. Mmmm! This is still my favorite way to eat them.
Once you get a few basics down, radishes are one of the easiest to grow vegetables.
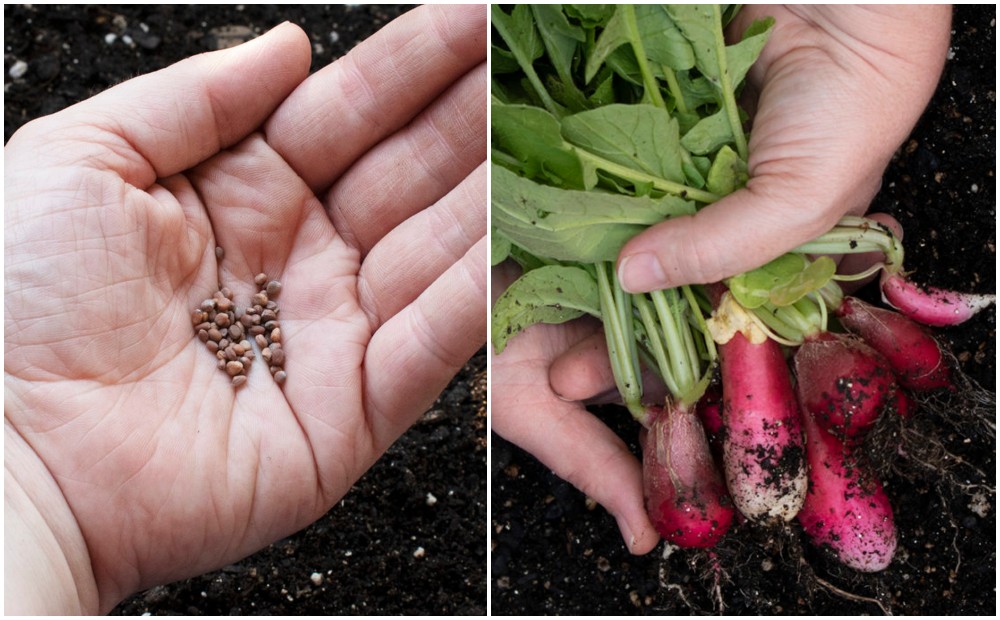
They have a short maturation period, which makes them an excellent veggie for kids or new gardeners. Most radishes are ready to harvest within 25 days of germination, making them the perfect instant gratification vegetable.
Radishes are one of the first vegetables that can be planted in the ground each spring. Basically, as soon as you’re able to work the soil, you can plant radishes.
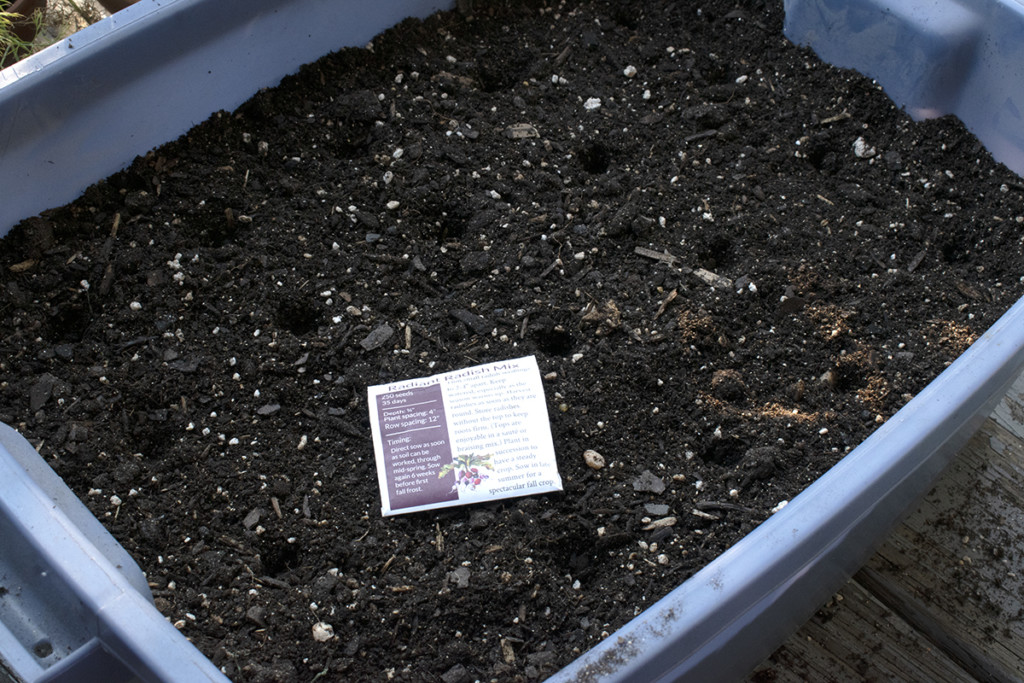
Radishes are an excellent crop to grow in containers.
You have greater control over the soil and watering. And you can save precious garden space for plants that require a larger footprint or deeper soil for growing.
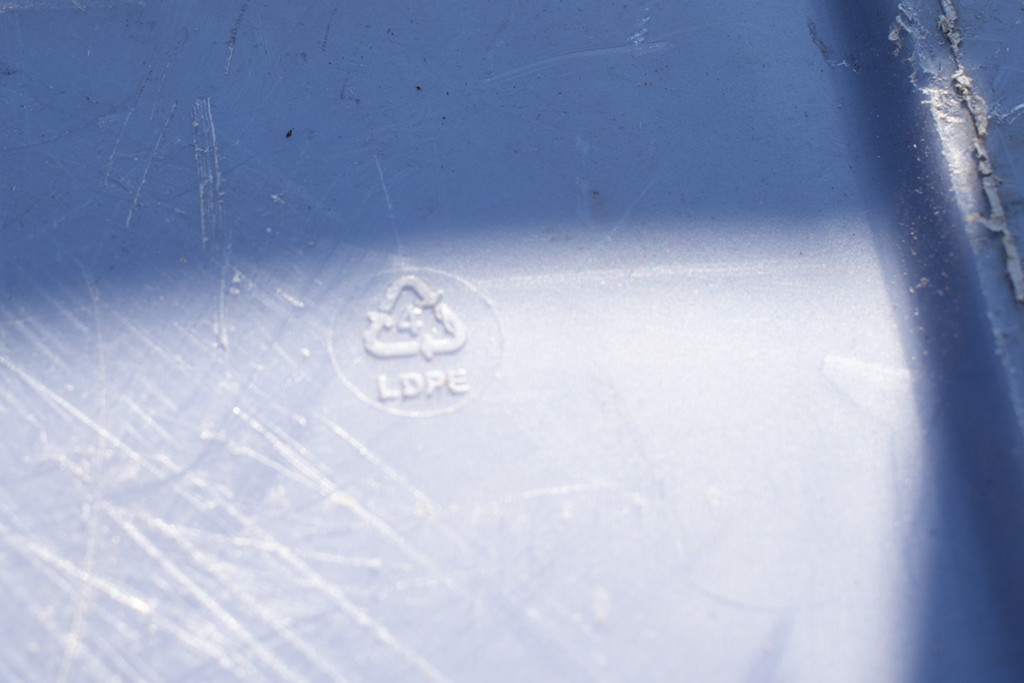
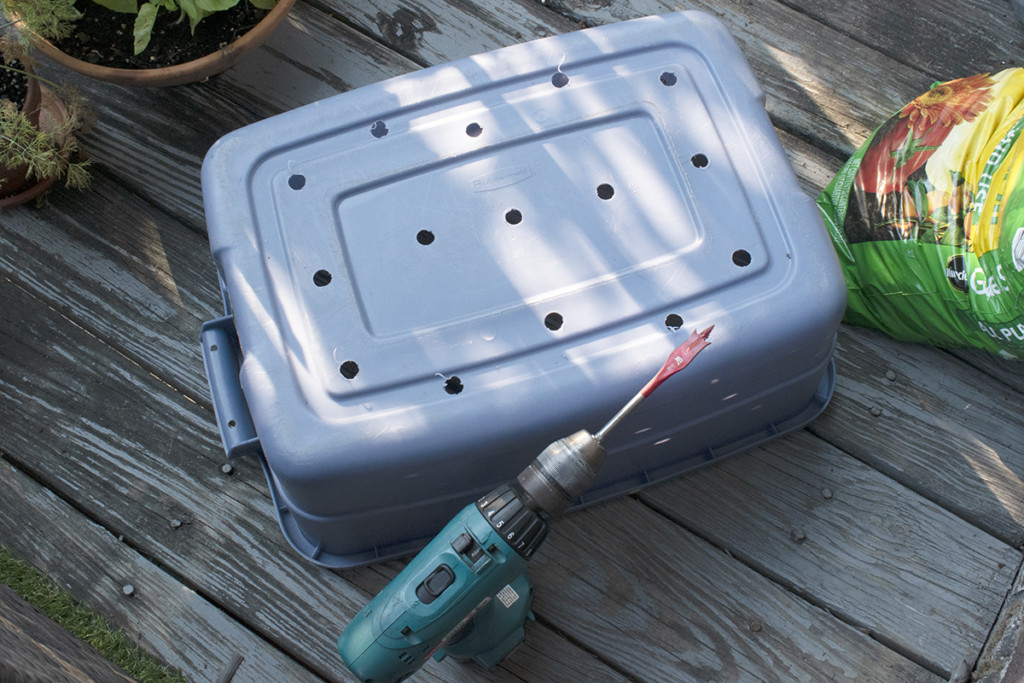
Shallow storage totes are the perfect radish container; you can even use window boxes. Just make sure the container you choose is around 6” tall. You’ll need to make sure it’s safe to grow food. Look for the recycling triangle on the bottom of your container. Numbers 1, 2, 4, and 5 are all safe to use for growing food.
Drill several holes in the bottom of your container to provide good drainage. As radishes are a root crop, you don’t want them sitting in soggy soil. A good rule of thumb is to have about four holes per square foot across the bottom of the container, ½” in diameter.
Let’s grow some big, beautiful radishes.
When to Plant
As I mentioned above, you can plant radishes as soon as you’re able to work the soil. They don’t tolerate hot temperatures well and will bolt in the late summer heat. So, plant plenty of them in early spring. You can begin planting them again later in the summer to enjoy again in the fall.
Sun Requirements
Radishes need around 6 hours of direct sunlight each day to develop fully. While they will tolerate a little shade, you’ll have the best results if other vegetables don’t overshadow them. This, again, makes radishes an excellent container crop.
Don’t Fertilize
Whether you’re growing them in the ground or a container, don’t amend the soil too much.
Radishes don’t like a lot of nitrogen. If there’s too much nitrogen in the soil, you’ll get the most beautiful radish tops with a spindly little pink root. And while radish leaves are edible (and quite tasty), I think we can agree the point is to grow the root, not the top.
So for once, you don’t want to fertilize the soil before you sow your seeds. This also makes radishes a good candidate for ground that’s a little nutrient-depleted, they’ll do just fine.
Keep it Loose
Radishes are a root crop; you want to make it easy for the part that grows beneath the soil to do just that – grow and expand. To that end, it’s essential to work the soil well so that it’s loose and not compacted. The heavier the soil, the more it will compress the root, and the radish won’t develop. Whether in a container or the ground, the soil should be loose to about 4”-6”.
And when you water, make sure you’re using a light setting on your garden hose, like a soft shower. A watering can with a sprinkler head works great too. Or better yet, to conserve water and keep the soil moist and loose, use a small cup and bucket, and water directly at the base of the plant once it’s germinated.
For container gardening, I like to use a mix of potting soil and peat moss, a ratio of about 3:1 works well. The peat moss helps retain moisture in the ground.
Spacing
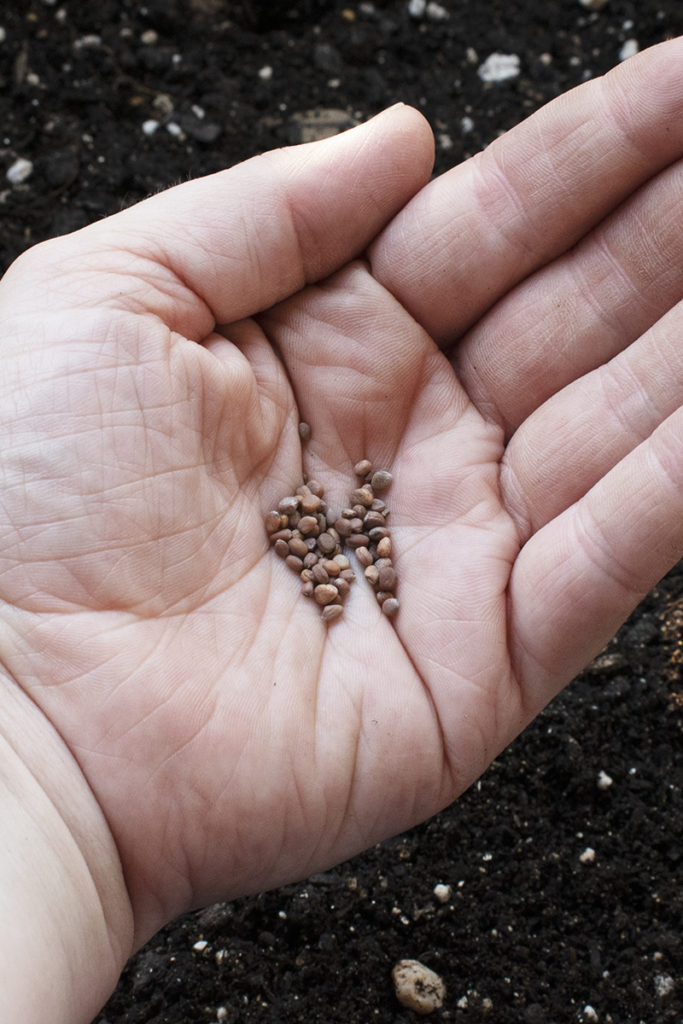
Radishes are pretty good at knowing when they’re being crowded out. If planted too close to one another, the radishes simply won’t grow well. And while most advice says to sow and then thin to 2” apart, I’ve had the best luck planting a single seed, every 3”. This gives the radishes plenty of room and doesn’t waste seeds.
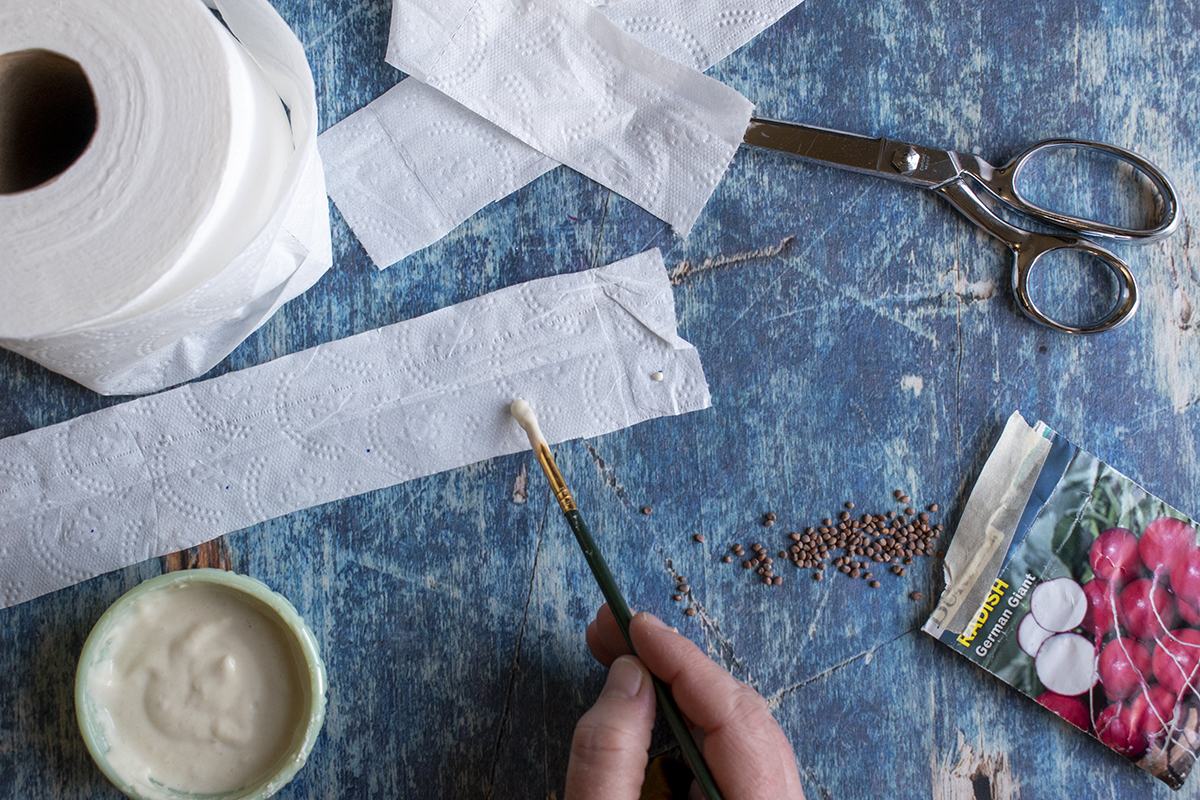
To make sowing radishes even easier, consider making your own seed tape with your favorite radish varieties. It’s cheap, quick and keeps seed waste to a minimum.
Radishes are pretty good germinators, so you’ll usually end up with every seed that you plant popping up. Occasionally, you’ll get one or two that won’t germinate, and you can always poke another seed in that hole.
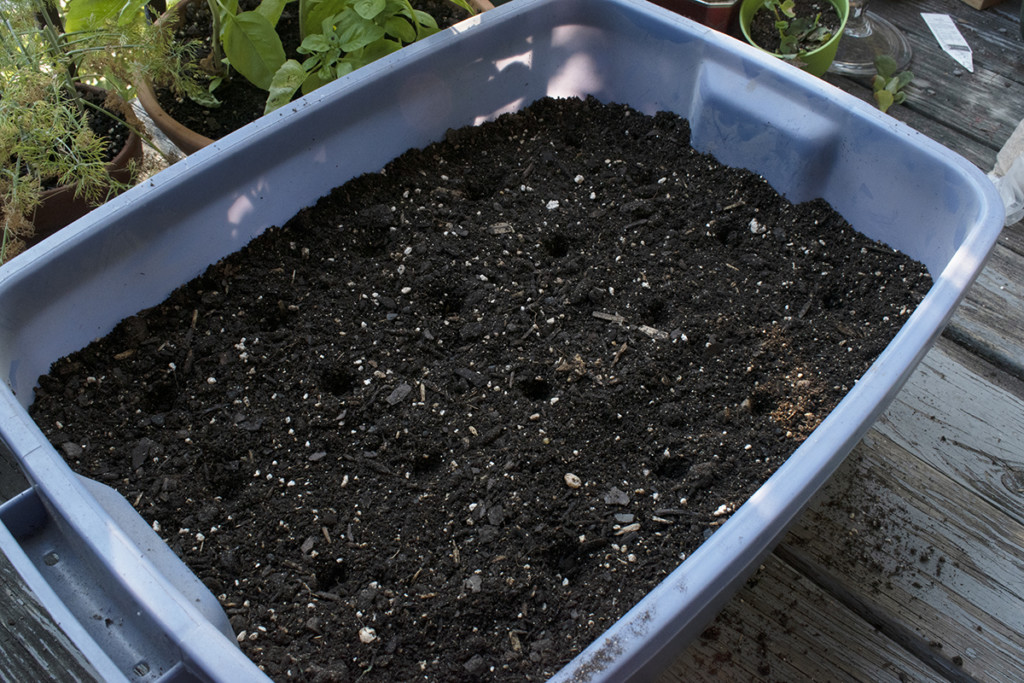
As far as depth goes, sow your seeds between ¼” to ½” deep. Again, if the seed is planted too far below the dirt, the weight of the soil will keep the radish from growing properly. You want most of the growth to be happening in those first few inches of soil, and a little above.
Once you’ve sown your seeds, gently run your hand over the top of the soil to cover them. Water the seeds in with a thorough, but gentle soaking.
Keep the Soil Moist
It’s important to keep the soil consistently moist, especially during germination. You’ll probably need to water daily while you wait for the radishes to pop up.
Once the leaves have set, you can water less frequently. However, you don’t want them to dry out completely. Radishes do best when the soil is slightly damp. Don’t just eyeball it, stick your finger in the ground, and water them once the first 1”-2” inches are dry.
Sow Seeds Over Several Weeks
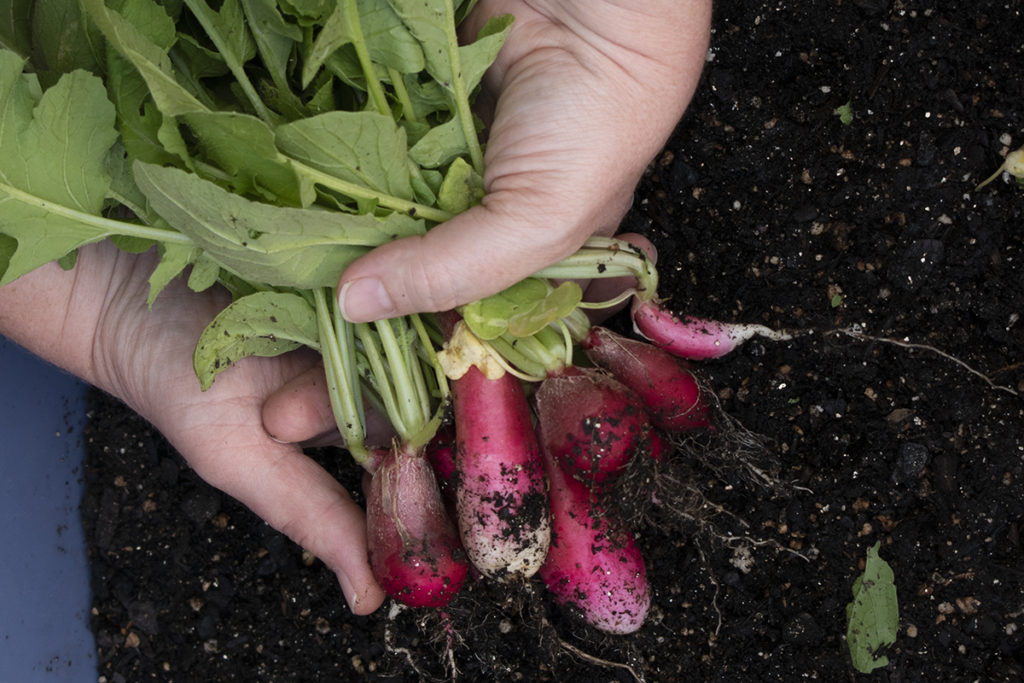
Once they’re ready, you need to harvest your radishes pretty quickly. If you plant all of your seeds at once, you’re going to end up with quite a bumper crop of radishes.
It’s best to sow several plantings over a few weeks. This way, you have a more manageable weekly harvest over a longer period of time.
Troubleshooting
Cracking
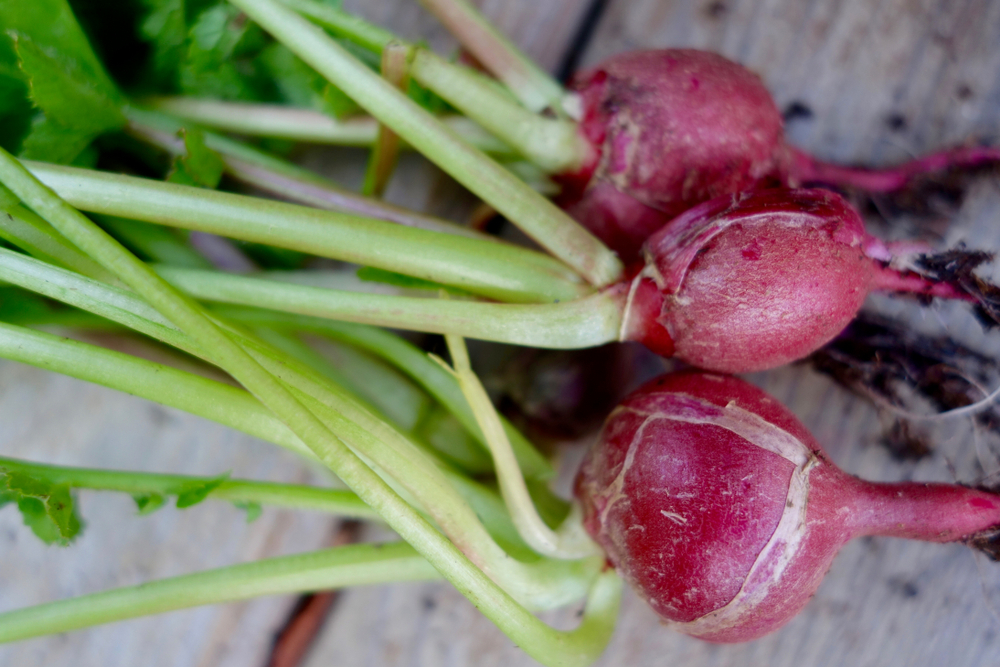
Cracked radishes come from uneven watering. Check your radishes daily and water as needed to keep the soil moist. And yes, you can still eat the cracked ones. They might look a little funny, but they taste just fine.
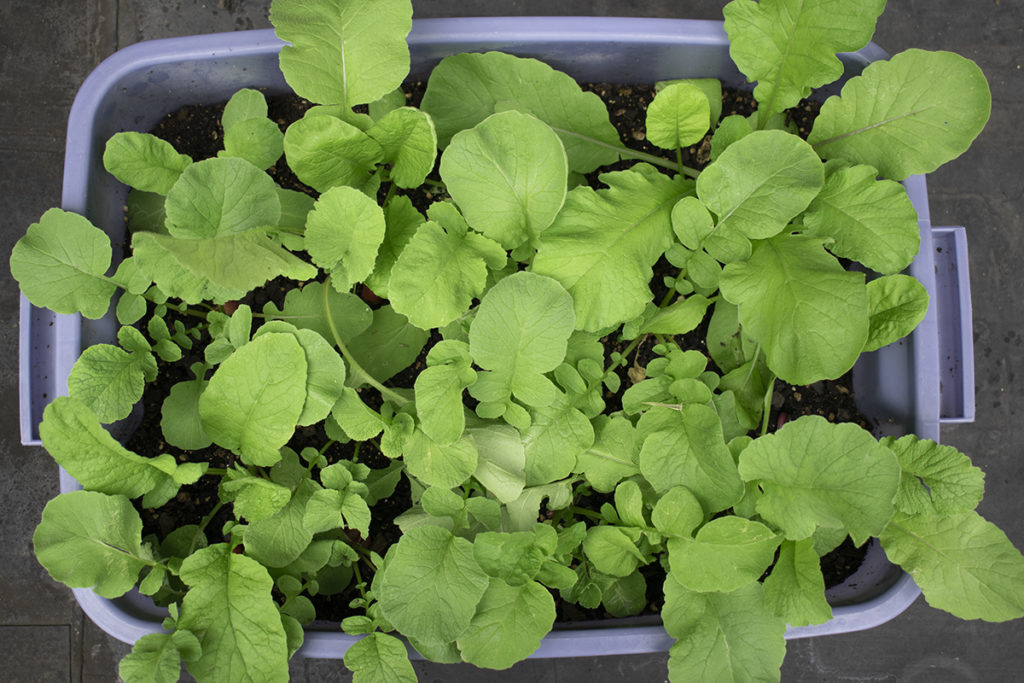
All Leaves and No Radish
Generally, there are two causes for leafy tops with no root. One reason is too much nitrogen in the soil. Don’t use a fertilizer for radishes; they don’t need it. If you’re using a store-bought soil, be sure to choose something that doesn’t have extra nutrients in it.
The other reason radishes usually get very leafy is if it’s too hot out. When the temperatures start to climb, radishes will bolt rather than developing below the soil. Wait and try again with a fall planting.
Too Spicy
Radishes are known for their bite, but sometimes they can bite back. If your radishes are too spicy, it’s most likely because they weren’t picked soon enough. The longer they stay in the ground, the hotter they will get.
Hot weather and inconsistent watering can also lead to extra spicy radishes. Water them consistently and harvest them as soon as they’re mature.
Storing Radishes Once They’ve Been Picked
There are a few ways to store radishes after you’ve picked them.
1. If you’re going to eat them within a week, do this –
Store the radishes in a shallow dish of water, tops and all, on your counter. Just be sure the tops and stems are not in the water. If the radish tops start to droop, eat them up quickly!
2. If you’re going to eat them within a couple of weeks, do this –
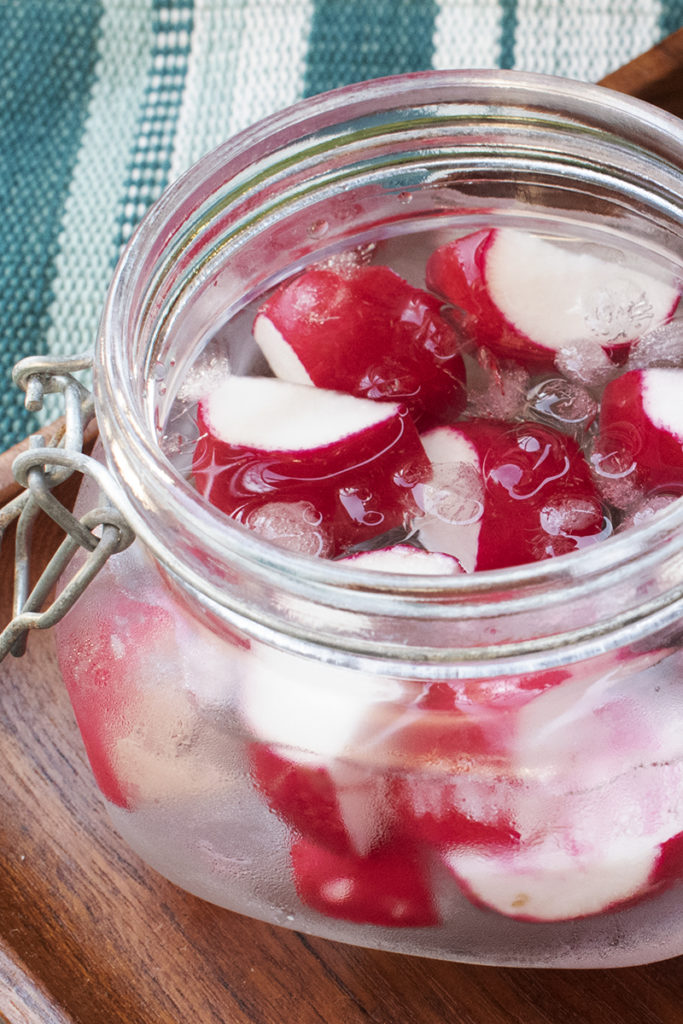
Another way to store radishes that will keep them nice and crunchy is to trim the root and stems off of them and store them in a sealed container submerged in water. Mason jars work great for this.
Keep the container in your fridge, and this should keep your radishes crisp for about two to three weeks.
3. If you aren’t going to eat them for a month or so do this –
If you want to keep your radishes even longer (around three months!), put your basement or root cellar to work. Being a root crop, radishes like the dark and damp.
Fill a small plastic tote or an old shoebox with some damp earth. It should be slightly moist, not overly wet. ‘Plant’ your radishes in the dirt, making sure they and their tops don’t touch each other. Kept in a cool, dark basement, your radishes will stay crisp like this for several months.
So go ahead, grab a pack of seeds and get planting!

Get the famous Rural Sprout newsletter delivered to your inbox.
Join the 50,000+ gardeners who get timely gardening tutorials, tips and tasks delivered direct to their inbox.