

It happens every year. You’re happily pruning your basil, making pesto, and throwing together caprese salads. You’ll throw a few basil leaves in here and there when you’re cooking.
And then it rains for a few days, or you get busy, or you just ignore your basil plants for two seconds. Suddenly you have an explosion of basil on your hands. You look at your herb garden to find the other plants are waving their leaves up through all that basil yelling, “Help us!”
If this scenario isn’t ringing any bells, then perhaps you need to read Meredith’s tutorial on how to prune basil so you get massive yields.
It’s time to get out there and reclaim your garden. Trim that basil into submission. But then what do you do with all of it?
Naturally, you can dry your basil and save it to cook with year-round.
But nothing beats the spicy flavor of fresh basil. When your basil plants are going crazy, that’s the time to preserve it to use during those cold winter months.
And the closest thing to fresh basil is frozen basil.
I’ll walk you through the three most popular methods. You’ll also get my frank opinion on which one I loathed, as well as what I like about the others. Plus, I’ll share a bonus – my absolute favorite way to freeze basil – hint, it’s the easiest.
When to Harvest Basil?
If you’re planning to harvest herbs to be frozen or dried, it’s best to pick them in the morning. You want to wait until most of the dew has evaporated, but before you reach that intense midday heat.
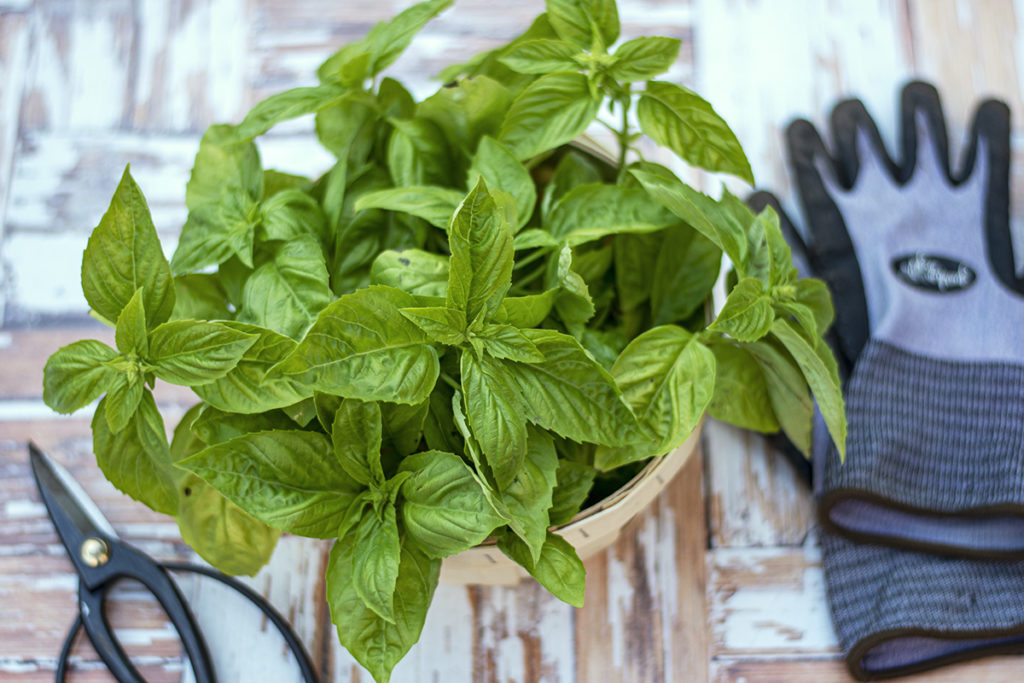
It’s a good idea to give your basil plants a drink the day before you plan on picking them too. That way, the leaves will be well hydrated and plump.
De-stem and Discard Blemished Leaves
Trim the leaves from the stems before you freeze your basil. Discard any leaves that have brown spots or blemishes. A tiny spot or a brown edge is fine, but you want the leaves you’ll be freezing to be nearly perfect.
Wash What You Pick
You should always give your herbs a bath in cold water to remove dirt and any tenants that have made their home on the leaves. That nice cold water will help to perk up leaves as well.
Let the herbs air dry or pat them gently with a clean kitchen towel or paper towels. It doesn’t matter if you’re drying herbs or freezing them; they need to be as dry as possible in both scenarios. For drying, to discourage mold growth and freezing to prevent water crystals and freezer burn.
Prep Your Storage Bags
It’s a good idea to have your plastic bags set up and ready to go. I find that folding the tops down helps to keep them open. I have even used zipper-top freezer bags that have flat bottoms, which will keep the bag upright, making them easier to fill.
If you own a vacuum sealer, you can get a great seal and remove all of the air, locking in the basil’s flavor. Of course, you can still do a fair job by removing the air from your freezer bag with a straw.
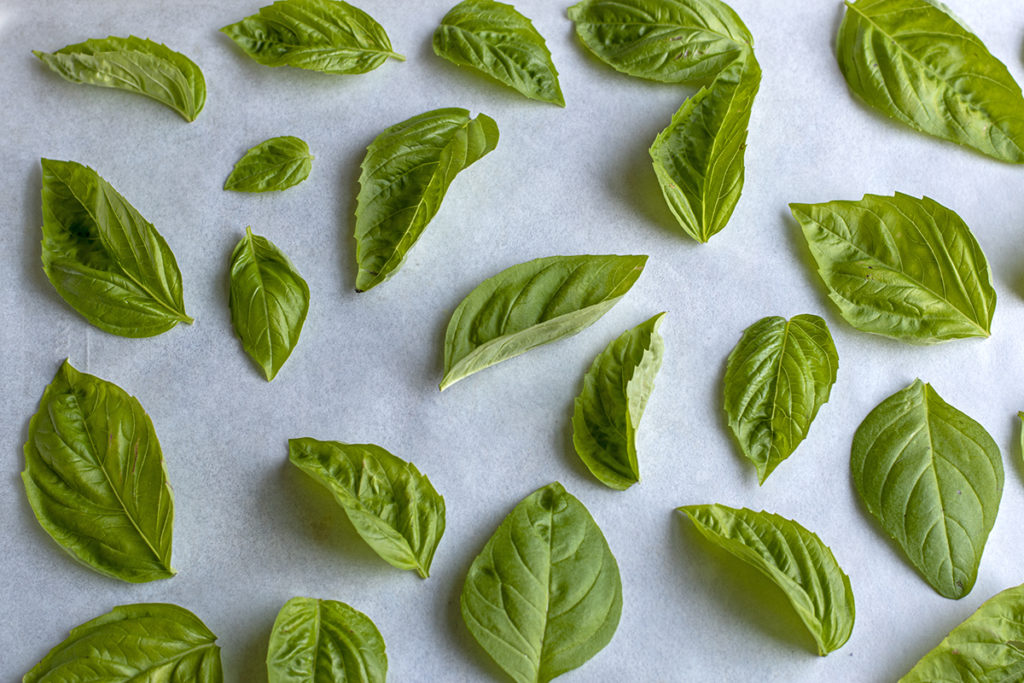
1. Flash Freeze Fresh Whole Leaves
The first option we’ll look at is the simplest method for freezing whole basil leaves. Line a baking sheet with wax paper or parchment and place individual cleaned and dried leaves on the sheet.
As long as they’re completely dry, it’s okay if the leaves overlap a bit. They shouldn’t stick together. Once you’ve got a full baking sheet, pop it in the freezer.
After the leaves are completely frozen through, transfer them from the baking sheet to a freezer bag, working quickly.
Because they’re so thin, the leaves begin to thaw out almost immediately. Rather than picking them up one at a time and putting them in the freezer bag, it’s best to pick up the wax paper/parchment and use it to funnel them into the bag all at once. Easy-peasy.
2. Blanch and Freeze Whole Leaves
For this option, you’ll blanch the leaves before putting them in the freezer to kill the enzymes that lead to spoilage.
Because the leaves are so small and thin, you’ll only be blanching them for a total of 15 seconds. That’s it – in and out.
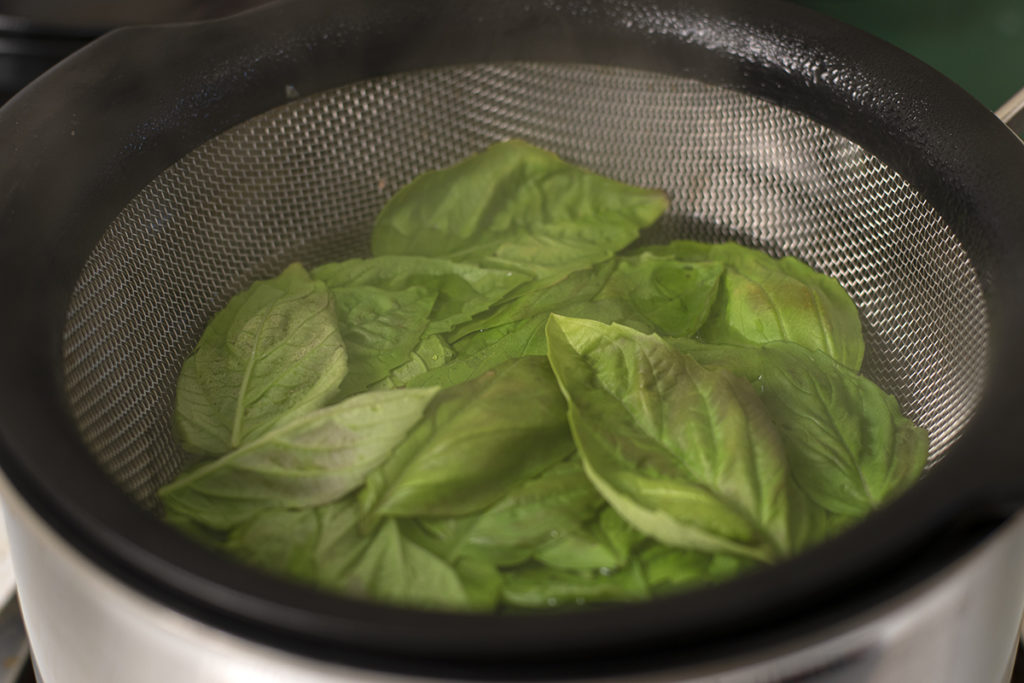
For this reason, place your leaves in a mesh strainer or colander, which can be submerged in boiling water. That way, you aren’t trying to fish the leaves out bit by bit, thus overcooking them.
Once you’ve blanched the basil leaves, immediately transfer them to an ice water bath. After the leaves have cooled sufficiently, you have to dry them off before putting them in the freezer.
I was well and good with this method right up until this point. And this is where I lost my cool.
Trying to unfurl each leaf from itself so I could place it on a paper towel to pat dry was enough to unleash some colorful language in the kitchen. Sweet baby gherkins, this was so fussy. Who has time to do this?
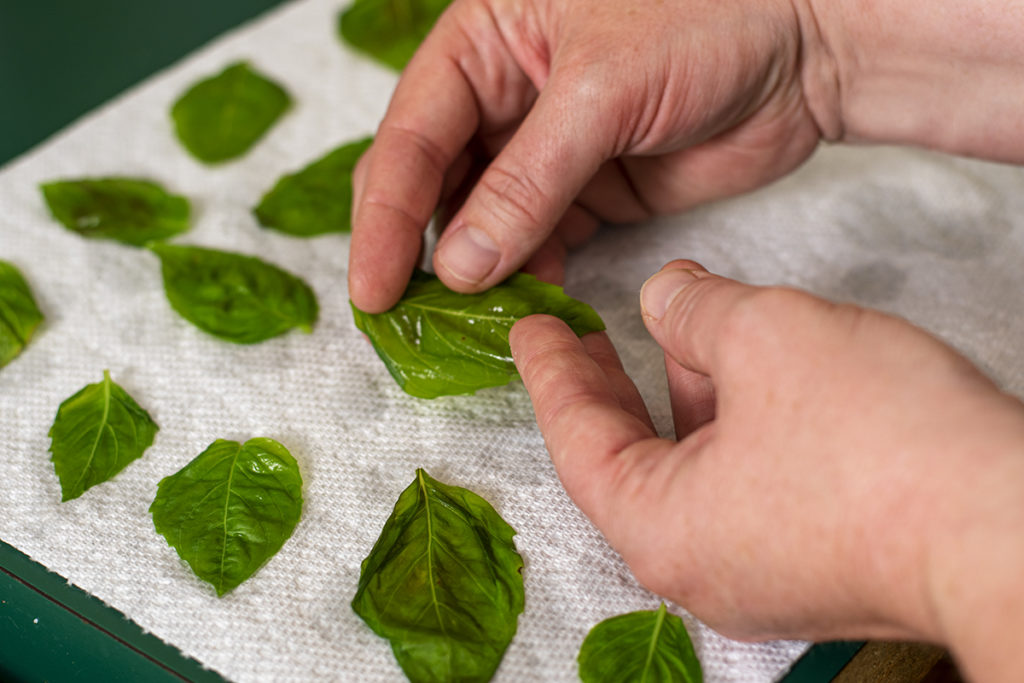
After a good fifteen minutes of swearing at soggy basil leaves, I finally got them all laid out on the paper towel so I could pat them dry.
Of course, then they stuck to the paper towels and had to be carefully peeled off of those so they could go on the baking sheet. Needless to say, more colorful language was used in this process as well.
Sigh. These are things I do for you, dear reader.
Finally, the blanched leaves were all laid out on the parchment-lined baking sheet and ready to go into the freezer.

Again, once the leaves are frozen solid, transfer them quickly into your waiting freezer bag. (Swearing is optional at this point.)
Both of these first two methods involve freezing whole leaves. I wanted you to see the finished products side by side.
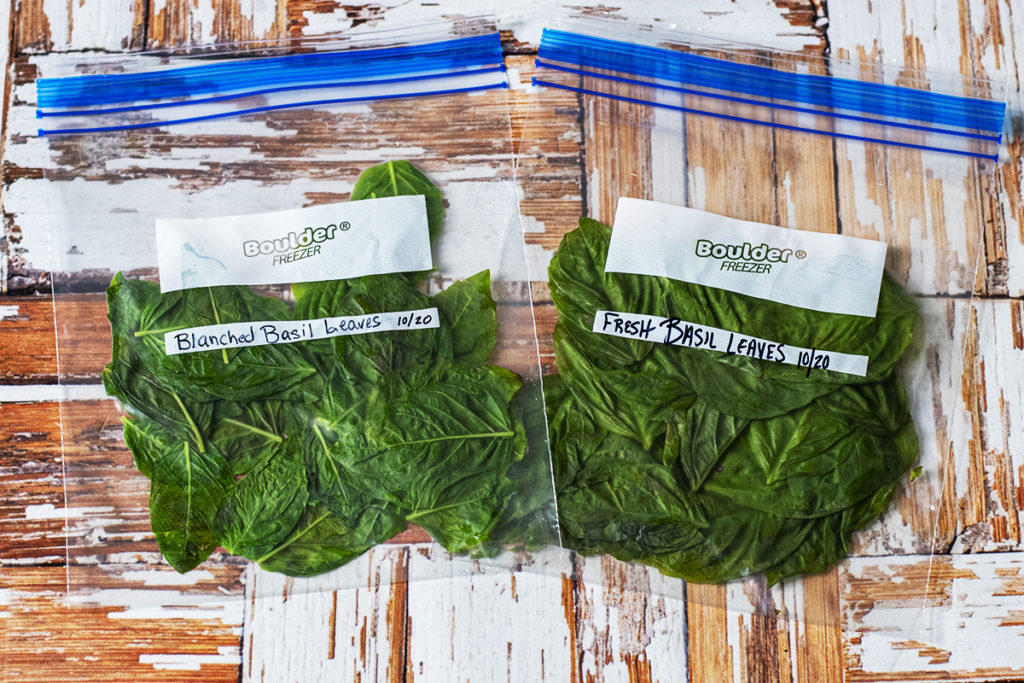
Can you tell the difference because I sure can’t. I will leave you to decide which method is the better one. (It’s the first one unless you enjoy thankless tasks that make you curse.)
3. Basil and Oil Cubes
Another popular method for freezing fresh basil is to chop the basil and mix it with enough olive oil to moisten the leaves.
Using a food processor, pulse your basil leaves until they’re well minced. Mix in enough olive oil so that you can pack the minced basil together, and it will hold its shape.

Now transfer this basil ‘mash’ to ice cube trays. Pack the mixture in well. If you wish, drizzle a little more olive oil over each cube.
Place the trays in the freezer for 4-6 hours, until the cubes are solid and pop out easily from the tray. Place the cubes in a freezer bag, seal, and toss back in the freezer.
Most regular-sized ice cube trays will hold either one or two tablespoons per cube, which is nice to know when you’re grabbing these frozen cubes for cooking. You may want to measure yours, so you know which you’ve got.
Alright, I’ve walked you through three of the most popular ways to freeze basil.
The first is pretty easy and leaves you with lovely whole frozen basil leaves. Unfortunately, though, the leaves are going to turn brown as soon as they thaw or you cook them. Not to mention, there aren’t that many recipes that call for whole leaves.
The second method is just ridiculous. That was way too much effort to freeze basil leaves. And the result wasn’t all that different than if you hadn’t blanched the leaves at all. Many of the leaves began to brown while they were being blanched.
Our third option was the easiest yet and left you with nicely portioned cubes of basil. That being said, even smashing the basil and oil mixture into each ice cube section is a bit of a chore.
If you’ve read any of my cooking articles here on Rural Sprout, you know I’m all about doing things the easy way in the kitchen. And that’s why, when it comes to freezing basil, I only do it one way.
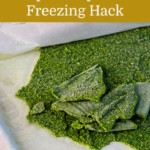
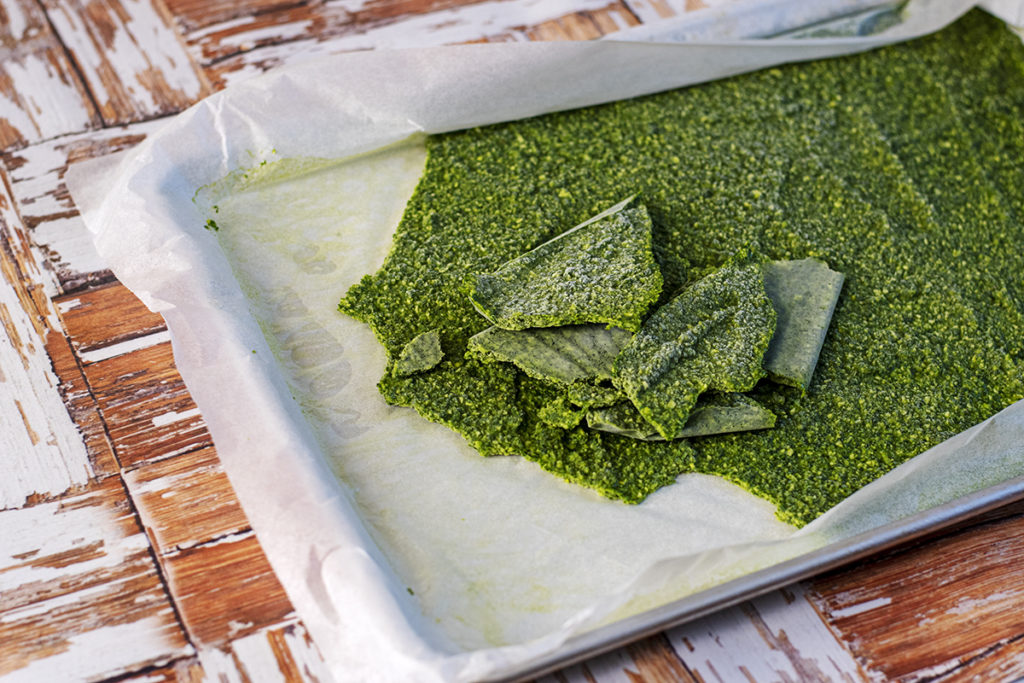
4. My Super Easy, Lazy Hack For Freezing Basil: The Pesto Sheet
Yup, you read that right. So, when I’ve got a glut of basil on my hands, I make pesto and freeze it…
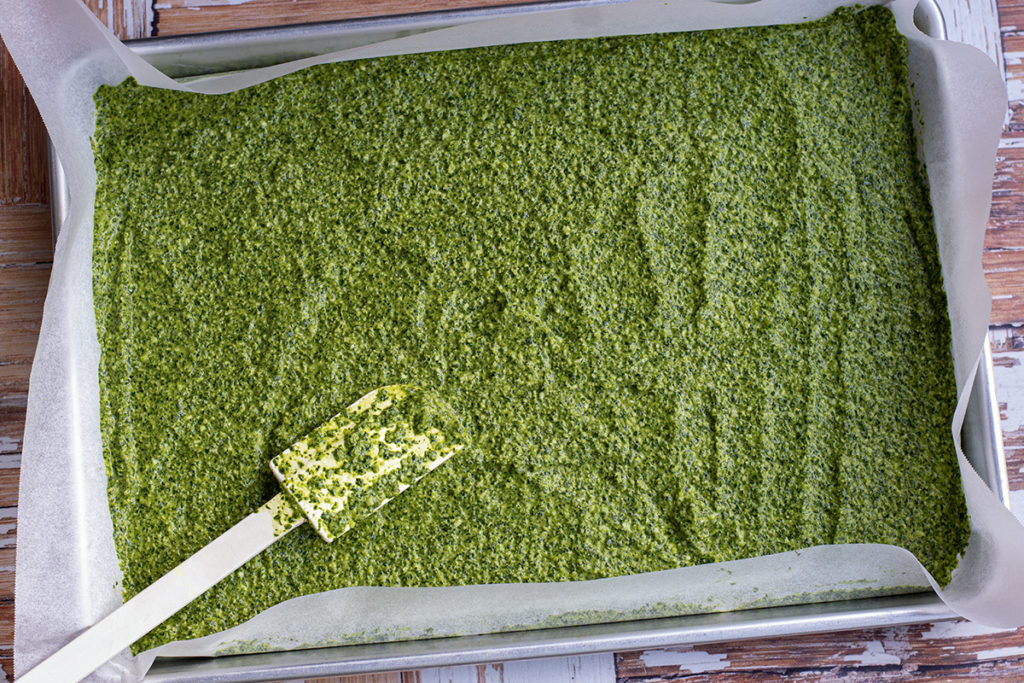
…spread in a thin layer, on a baking sheet. It’s perfect. I break it apart into slabs and keep it in a zip-top freezer bag.
When I want pesto, I grab as much or as little as I need. When I want fresh basil, I reach for my pesto bag because, let’s face it, if you’re cooking with basil, chances are whatever you’re making could also use a little garlic and olive oil too.
No messing around with placing individual leaves on a baking sheet. No filling and packing ice cube trays.
Just toss everything into the food processor, pulse, dump it back out onto a parchment-lined baking sheet.
You’ll need to keep it level in the freezer. And it only takes about two hours to freeze solid because it’s so thin. Then break it apart and toss it in a freezer bag, seal and freeze until you need it.
And there you have it, three popular ways to freeze a whole lot of basil. Plus, my super, easy, lazy cook’s way of freezing basil. Which option will you use?
If you want to try making something unusual (and unusually delicious) with your fresh basil, give my Blueberry Basil Mead a go. This easy mead recipe blends the best of summertime flavors into a delicious honey wine.

Get the famous Rural Sprout newsletter delivered to your inbox.
Join the 50,000+ gardeners who get timely gardening tutorials, tips and tasks delivered direct to their inbox.