

Drying fresh herbs at home has many benefits, and it’s so easy there’s really no reason not to!
Drying your own herbs is certainly more cost effective than buying them at the grocery store, but there are other benefits too.
Drying your herbs is a great way to use the plant most effectively, as most herbs produce more than we can eat in a single season.
It’s also comforting to know that the herbs you’re cooking with were grown with love and in excellent conditions.
Drying your herbs means that you’ll get to benefit from their uses all year long, not just when they’re growing in the height of summer.
Dried herbs are wonderful for cooking, baking, making tea, DIY beauty products, and crafting things for the home, like herb sachets!
There are two main methods to drying fresh herbs, air drying and using a machine such as a dehydrator.
We’ll go over the steps for both methods, as well as how to prepare your herbs to be dried.
How to prepare your herbs for drying
Step 1: Harvest the herbs
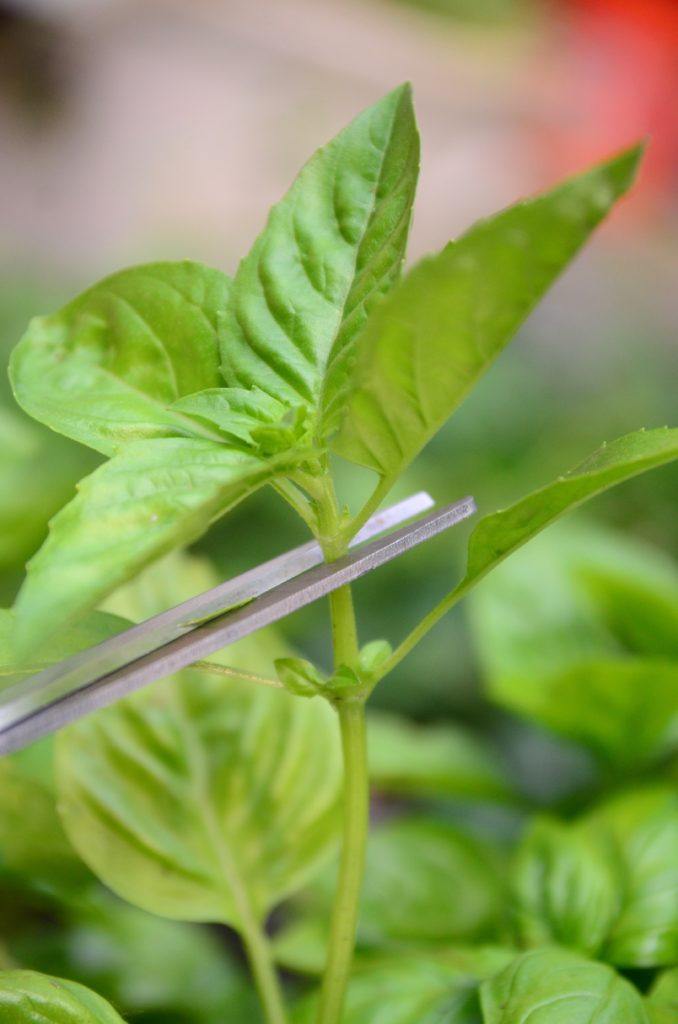
The first thing to do is cut the herbs from the plant.
Be sure to do some research before this step and find out how to prune/harvest from that specific plant.
Most herbs benefit from cutting the stem right above a set of growing leaves, like basil and mint, so new branches can form where you make the cut.
Related Reading: How To Prune Basil For Big, Bushy Basil Plants
Other herbs benefit from removing individual leaves and leaving the stems in tact. It will help you and the plants in the long run if you do a little reading up before this step.
The ideal harvesting time and method of different herbs vary.
If you are harvesting mid season, be sure to remove no more than 1/3 of the plant so it can keep growing.
If you’re harvesting at the end of the season, it’s perfectly fine to cut the whole plant down.
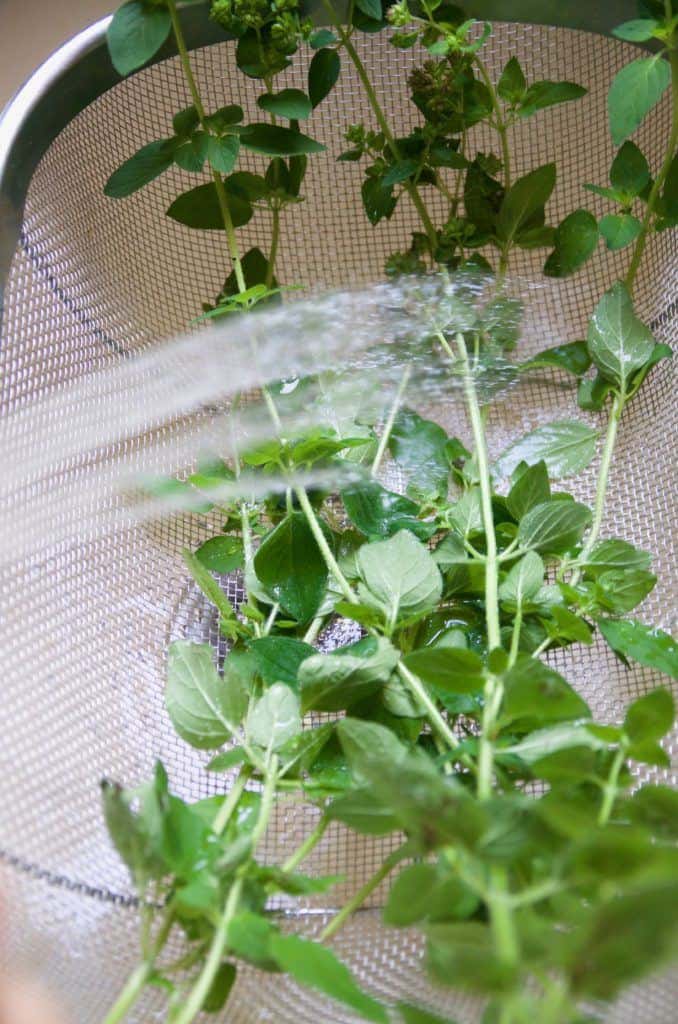
Step 2: Wash and dry the herbs
Wash the herbs thoroughly under cool running water. This will remove any insects, dirt, and pollen from the herbs. Make sure to be very gentle when washing herbs like basil, which are easily bruised and torn.
Shake the herbs or send them through a salad spinner to remove most of the water, then blot dry with a towel.
Set them on a clean towel to air dry for a few hours, making sure to spread the herbs so they’re not overlapping. Setting out a fan on the herbs will help them to dry quicker.
The goal is to remove as much of the moisture from the herbs as possible, so they’re not likely to acquire mold or mildew while they dry.
This step is especially important if you are air drying your herbs, as you don’t want to bundle them together to dry while they’re still covered in water.
How to air dry herbs
Air drying herbs certainly looks beautiful and homey as they gently sway and spin in the breeze of an open window, but air drying during the summer will only work in certain regions.
If you live in a region that gets extremely humid in the summer, air drying will be very difficult if not impossible without introducing mold and mildew.
The big benefit to air drying is almost anyone can do it, all you need is a little string and a well ventilated space. There’s no need for fancy equipment or complicated tasks.
The big downside is it takes quite a long time for the plants to air dry, and as mentioned before, if you live in an area with high humidity, you need to keep an eye out for mold.
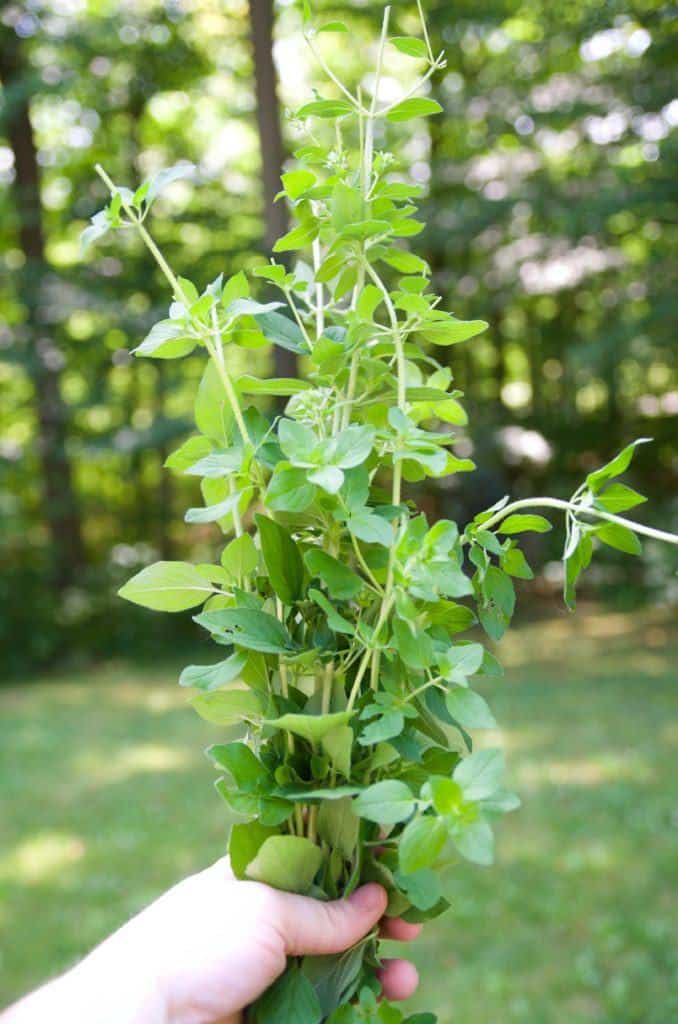
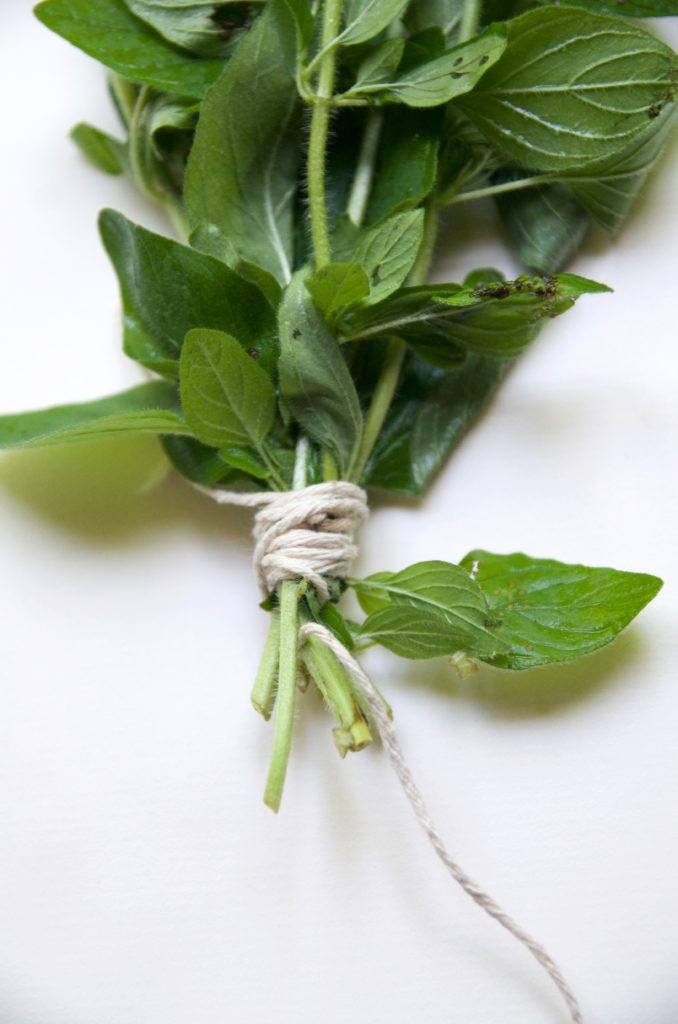
Step 1: Bundle and tie the herbs
After you’ve washed and dried the herbs, gather them together in a bunch. The bunch should have no more than 12 branches or stems. Make sure you’re gathering the same type of herbs in this bunch, you don’t want to mix together different kinds of herbs, as they’ll all have different drying times.
Leaving a little tail of string, wind the string around and around the base of the stems until the herbs are tightly bound together, then tie your wrapping string to the tail you left.
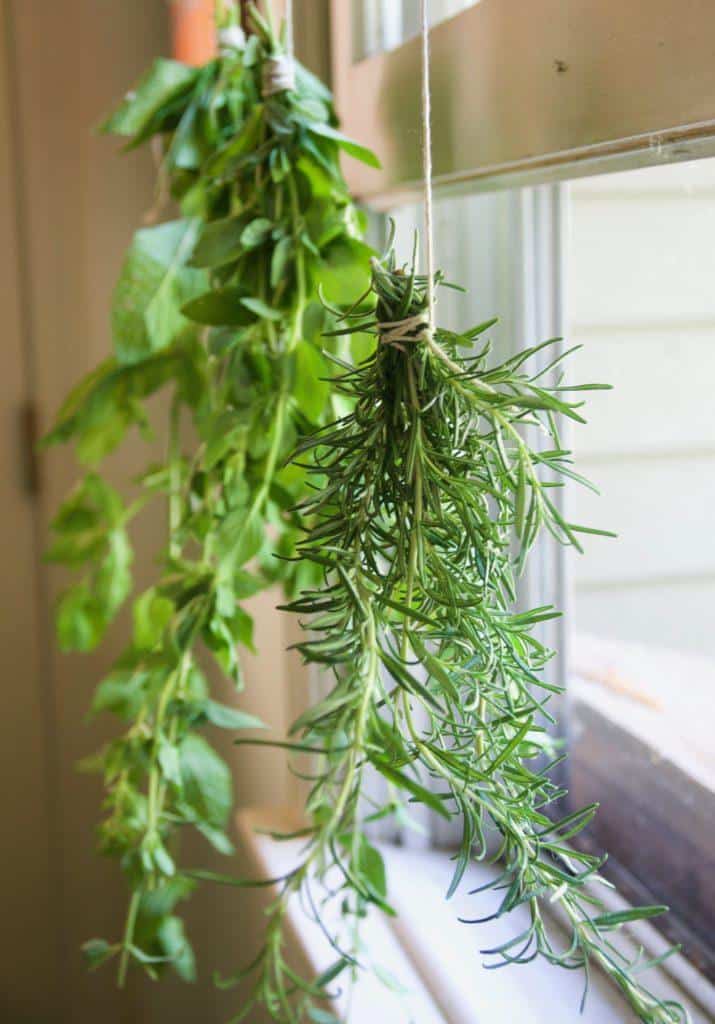
Step 2: Hang them to dry
Use the remaining string to hang the herbs to dry.
Be sure to hang the herbs in a space that is well ventilated and has constantly moving air. We like to hang our herbs in the breezeway of our home. We hang them near the always open windows so they get a constant flow of air.
Hang the herbs leaf side down.
How to dry herbs with a dehydrator
Drying herbs with a dehydrator is ideal because it’s quick, easy, and has very little risk of mold or mildew on the finished product.
Dehydrators can be simple or complicated, cheap or expensive, but for drying herbs it truly doesn’t matter what kind you have. Any dehydrator can handle this task easily.
This is one of the cheapest dehydrators available on Amazon and is more than capable of drying herbs.
And if you’d like to learn more about dehydrating, then here’s an article explaining how to dehydrate all types of fruit at home.
Step 1: Preheat the dehydrator
If your dehydrator has the option to preheat it, do so now. Every dehydrator is different, however, if yours only has an on/off button, skip this step.
If the machine has a temperature setting, set the dehydrator between 95 to 115 degrees. If it only has high and low settings, set it to low.
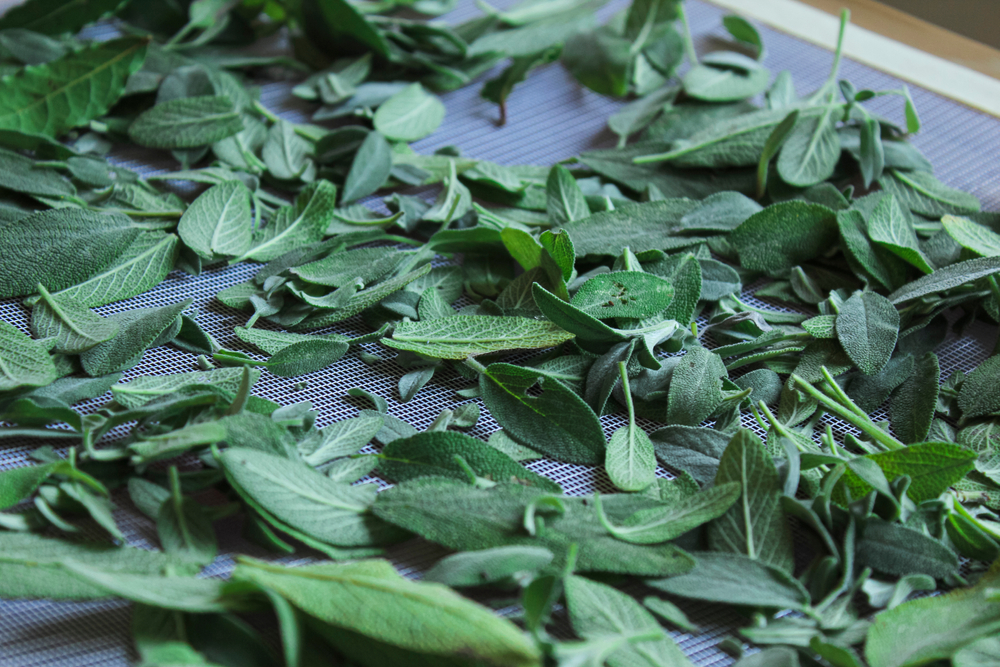
Step 2: Place the herbs inside the dehydrator
This step can differ depending on the type of herbs being dried.
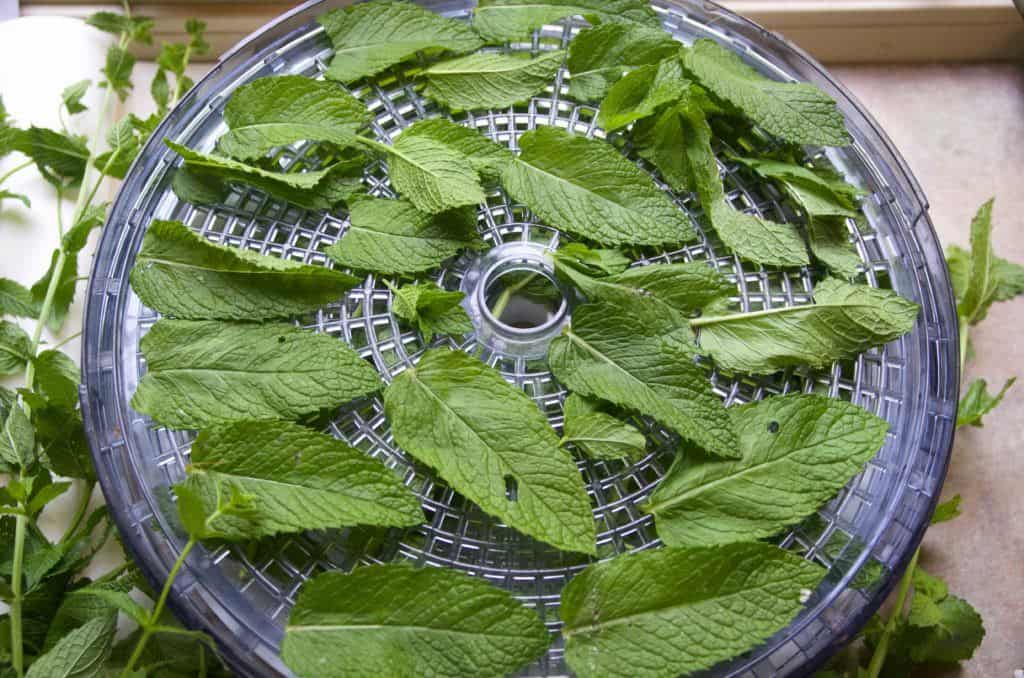
Some herbs, like basil and mint, have large leaves that are easy to remove from the stem. For these herbs, you’ll want to remove the leaves and place them in a single layer inside the dehydrator shelves. Of course you can place the whole branch inside of the dehydrator, but removing the stem saves space on the shelves, and makes for better drying as there’s no overlap of leaves.
If you’re drying herbs that have small leaves or flowers, like rosemary, lavender, or thyme, it’s more beneficial to place the entire branch or stem inside the dehydrator with the leaves or flowers intact.
This will keep those tiny leaves from falling down inside of the dehydrator, and it will be much easier to remove the leaves from the stem once they’re dried.
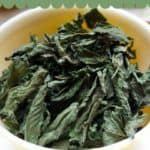
How to know when the herbs are done
Both of these methods have the same final step.
Check the herbs frequently to see if they’re sufficiently dry. Herbs in the dehydrator will be dry within a few hours, while air dried herbs will likely take a week or more.
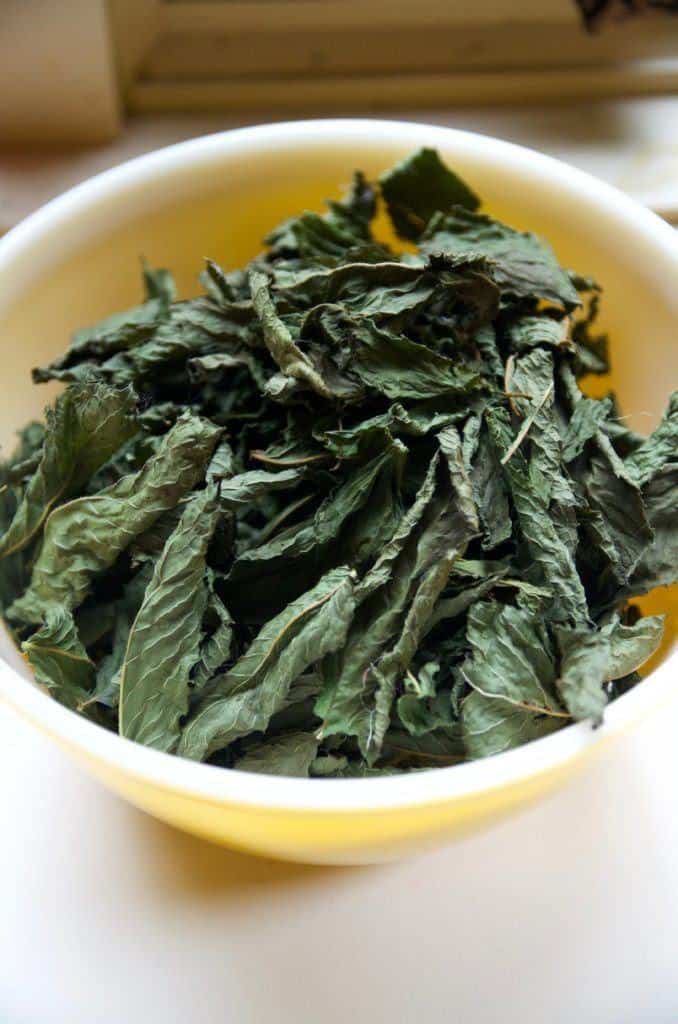
Check for dryness by pinching the herbs, when they’re done the leaves will crumble easily and the stems will break when bent. If there’s still flexibility in the leaves or stem, leave them to dry for longer.

If using a dehydrator, make sure to leave the herbs out to cool after removing them. Once they’ve cooled completely, they can be crumbled or left whole and stored in air tight glass containers.
Don’t forget to label the container with the type of herb and date, dry herbs can all look alike!
Dried herbs are wonderful to cook with year round, and they taste even better when you know you made them yourself!
Pin This To Save For Later


Get the famous Rural Sprout newsletter delivered to your inbox.
Join the 50,000+ gardeners who get timely gardening tutorials, tips and tasks delivered direct to their inbox.