


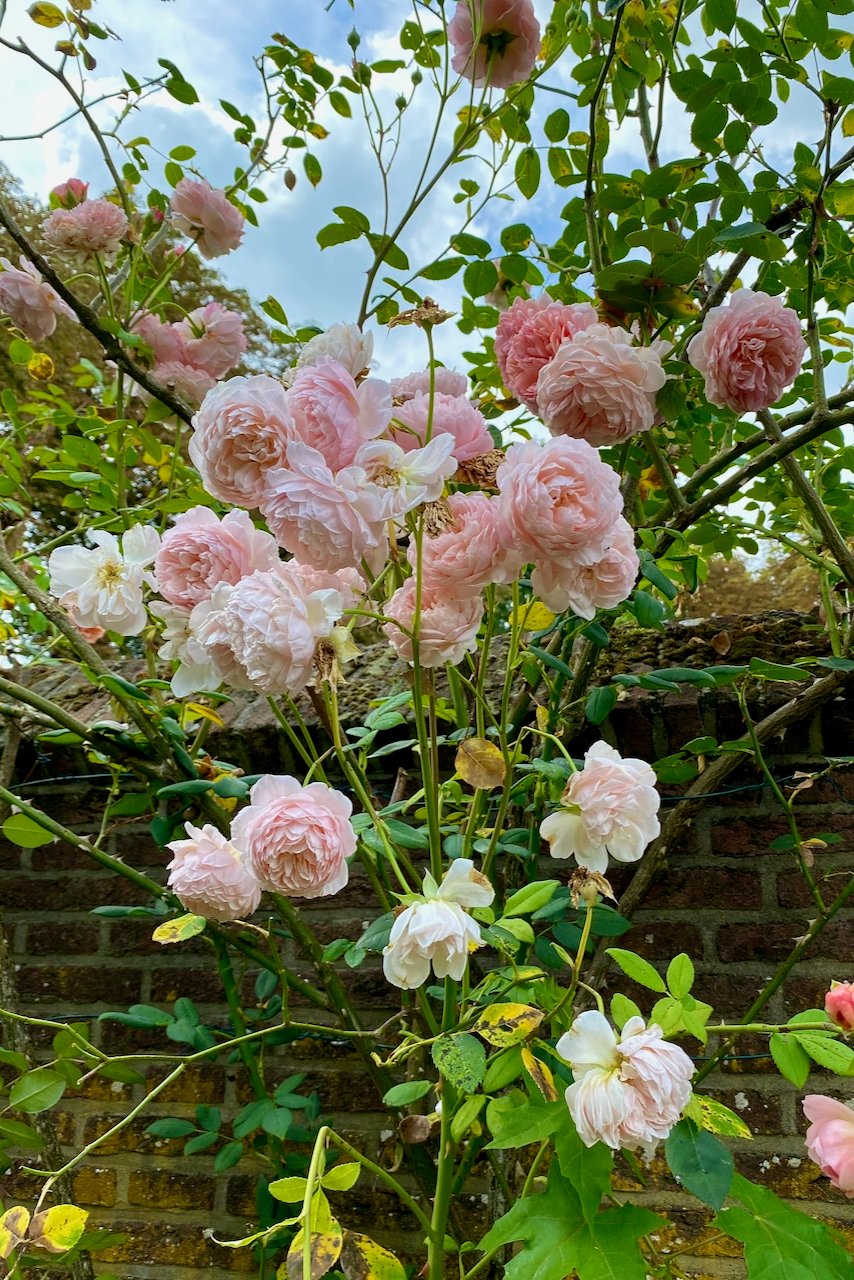
Roses are the one garden ornamental that has never gone out of style or fallen out of grace. They’re no longer confined to formal gardens, and seeing them tumble out of a cottage garden or a wildlife-friendly space is always a feast for the eyes.
There are thousands of cultivars, so it’s very easy to fall in love with a rose and bring it into our gardens. But when the seasons change, we panic because we don’t know what we should do. For instance, now, in the fall, do we prune our roses or not? Do we winterize our roses or not? Do we fertilize them or not?
I want to demystify fall rose care in this article, and I think the best way is to think of it in terms of two themes:
First, we need to allow the rose to enter dormancy. Sure, nature will take its course anyway, but our part is to make the transition as smooth as possible. Points 1 and 2 below cover this.
Secondly, now’s the time to focus on winter preparation and protection. This is especially important for younger roses and those that are not well-suited to our climate (I’ll discuss this further in my next point)—points 3-5 below cover this.
Here’s what these themes mean, in more detail:
1. Allow your roses to enter dormancy.
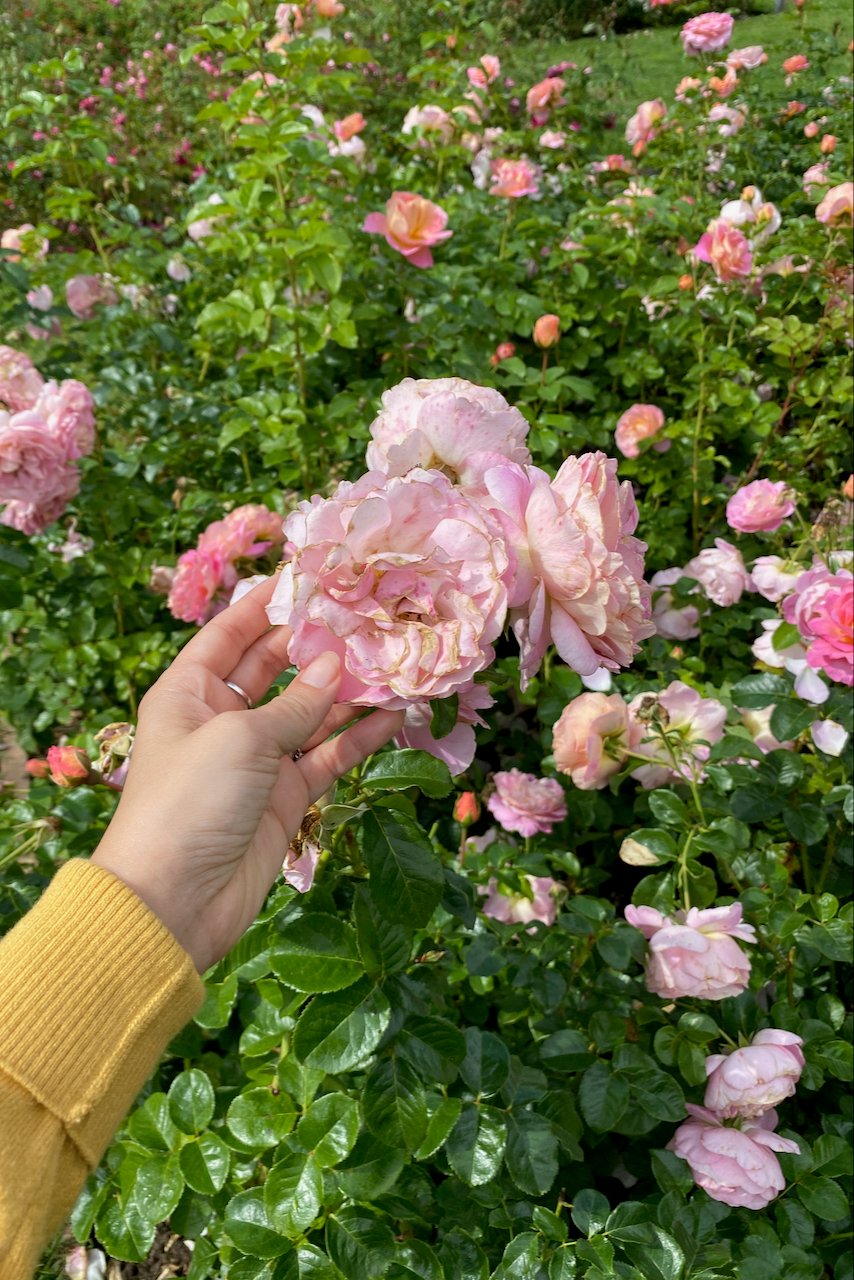
If you’re like me, you’ve probably been spending the summer deadheading roses in order to encourage them to bloom more. However, in the fall, we must do the exact opposite, as we don’t want to encourage new growth that is too tender to survive the cold temperatures. So if you’ve been deadheading roses, now’s the time to stop.
Another factor that encourages new growth is fertilizing roses past August.
If you’ve been feeding your roses, hopefully you’ve tapered that down by fall. If you haven’t stopped, now’s the time to do it.
Imagine trying to fall asleep, but someone keeps giving you caffeine to boost your energy levels. That’s pretty much what we’re doing to roses when we fertilize them in the fall. A good rule is to stop feeding them at least eight weeks before the first expected frost in your area.
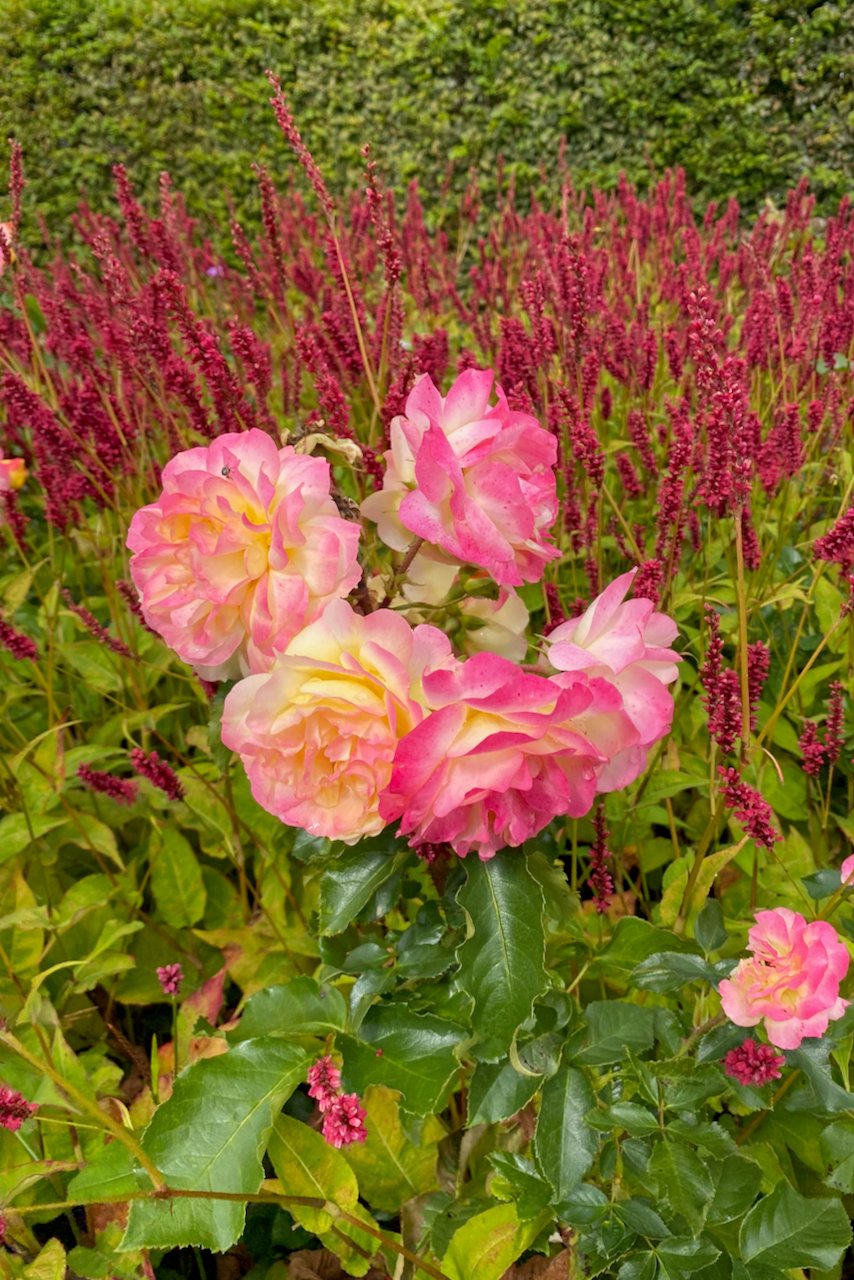
2. Allow your roses to set rose hips.
Rose hips – those little red berries that are left behind once the flower petals fall off – are the fruit of the rose. Roses are closely related to apples, so think of these little gemstones as compact apples. All roses grow hips, but some are larger and more useful than others.
Wild roses (choose some native to your area), heirloom roses, or so-called “apothecary roses” are usually a reliable source of rose hips.
We aim to stop deadheading in late summer or early fall (at the latest) and allow the last batch of flowers to develop into hips.

In my garden, rose hips play three roles:
- bird food
- winter decor
- nutritional supplement
I leave at least half of the rose hips on the plants because I want the birds to have something to eat throughout the winter. Between this and all the other seedheads I’m not pruning this fall, I’m hoping to still offer a welcoming place for wildlife even in the off-season.
Their decorative role is obvious in the garden. When everything else is dry and dormant, rose hips (especially the larger ones from heirloom roses) add a pop of color to the garden. They resemble Christmas baubles in an otherwise desolate landscape.

If I’m feeling crafty, I also use some rose branches with hips still attached (but thorns removed) in indoor decor, such as wreaths and festive centerpieces.
As for human consumption, rose hips are ready to harvest once they turn bright red or orange, depending on the type of rose.
They are rich in Vitamin C, antioxidants and linoleic acid. (Have a look around your local health food store and you’ll surely find some supplements with rose hips.) Luckily, they grow for free in our own gardens. I dry the rose hips to store over the winter when I use them in teas and tisanes.
Related reading: 25 Brilliant Reasons To Collect Rosehips
(And if you are harvesting them for consumption, I really hope you haven’t been using any pesticides on your roses this summer, have you?)
3. Tidy up your roses (but not too much)
Notice how I didn’t say “prune your roses”?
Fall is not the best time to prune roses – we’ll do that in late winter and early spring before roses start to grow again. If we prune now, depending on how early in the fall we do it, we will very likely encourage new growth. Just like with deadheading above, there is no point in our roses expending energy right before temperatures drop.
But we will do some tidying up, which may or may not involve cutting branches. That is technically pruning, yes, but not the kind that we do for rejuvenation and reshaping. Think of it more as pruning for … hygiene.
Here’s why I said we may or may not cut into the rose plant. We’ll only cut dead, diseased and damaged branches. In some good years, there may be none of these on the plant.
Rose canes generally die back because they’ve snapped in the wind at some point throughout the summer. We’ll just remove the dead stems.
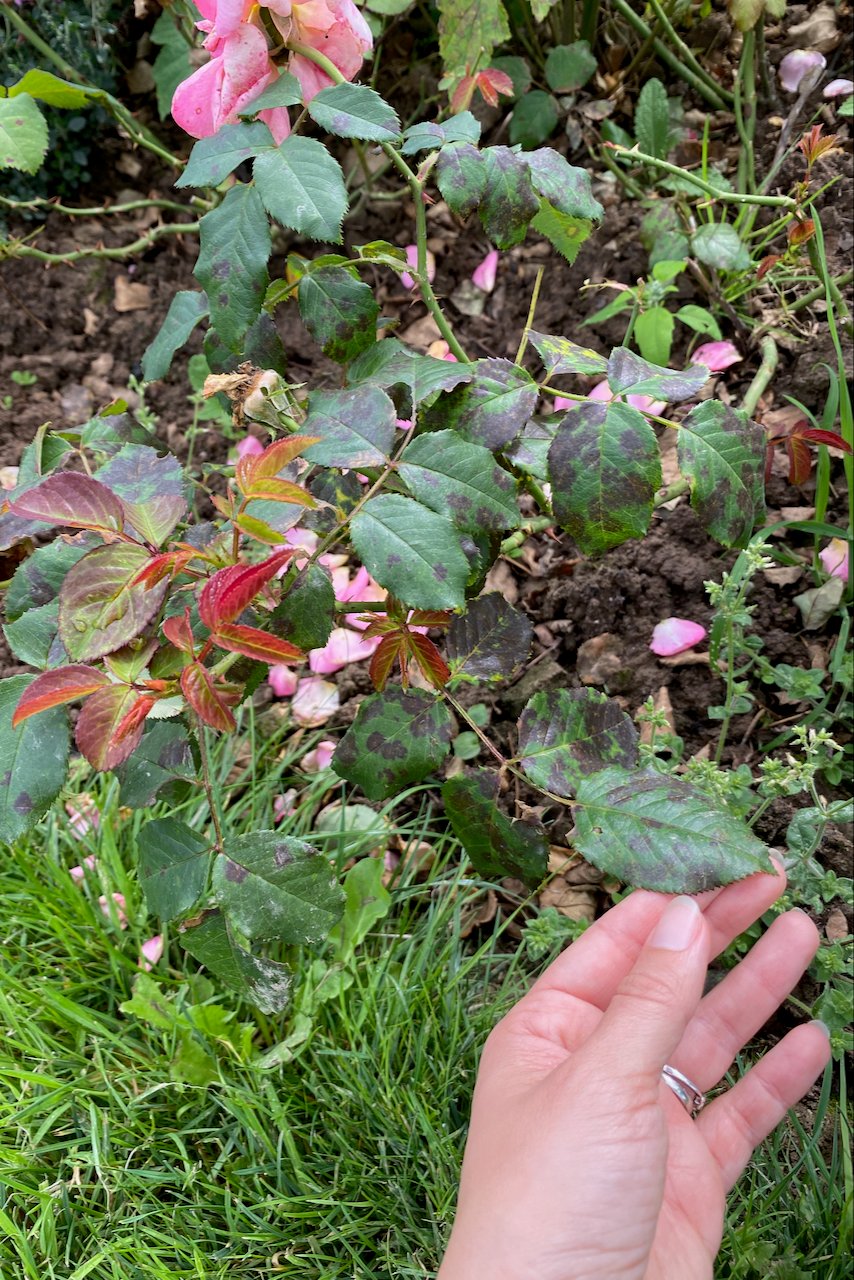
The most common disease that may affect rose canes is black spot (a fungus called Diplocarpon rosae.) Although it most often affects the foliage, rather than the canes.
Collect the affected leaves (including those that have fallen) and dispose of them with household waste. Don’t compost them. In damp climates, black spot is common and mostly harmless, although it can be quite unsightly. I knew it wasn’t just a “me” problem when I’ve even seen it in show rose gardens tended by professional gardeners.

Remove the damaged canes.
Damaged branches are a bit tricky because we want to remove the damage without causing more in the process. If it’s just light damage, just some scratches on the branch, it’s best to leave it in place until it naturally scabs over.
If it’s deeper-level damage, it’s best to remove the entire branch to prevent the wound from letting in other fungi and disease.

The most common way for rose canes to get damaged, in my experience, is when we allow them to get tangled.
Generally, if two branches cross, it’s a good idea to remove one of them (usually the weaker or thinner one).
Yes, more branches may look nicer and fuller, especially when they’re in bloom. But as they sway in the wind, they’ll rub against each other and damage each other in the process.
Remember that when pruning roses, our goal is to make clean, 45-degree diagonal cuts right above a bud. The cleaner the cut, the better.
4. Prevent windrock (only for tall and exposed roses)
I’m adding this as a separate point because it only applies in a very specific scenario:
- If your roses are really tall AND
- They are not anchored against a wall, trellis or pergola AND
- They’re growing in a really exposed location.
Naturally, it won’t apply to most roses, but I have personally seen gardens where this occurs. One family member was growing beautiful, mature roses in the middle of a courtyard. But due to their location, that courtyard would basically become a wind cauldron in the winter.
The top third of the roses would sway in the wind all winter long if we didn’t shorten them. Luckily, these were mature roses (35+ years old by our estimate), so they could withstand it. But over time, this rocking motion would eventually weaken the roots. In case of really strong gales, it may even uproot the entire rose shrub.
In this scenario, it’s better to prune the top third of the roses to prevent windrock. Again, we’re not doing hard pruning here, but protective pruning. We can cut the canes at an angle above an outward-facing bud.
5. Protect your roses from temperature fluctuations over winter.
Did you notice that we were moving from top to base with this fall care routine for roses? Now that we’re at the base, we need to protect it during the winter.
Most modern roses have been bred to withstand cold temperatures (it will say so on their labels when you buy them), so that’s not necessarily our main concern.
The biggest damage in the winter months is not caused by low temperatures, but by the wide range of temperature fluctuations between above freezing and below freezing. The best way to mitigate this risk is by protecting the roots from these fluctuations using mulch.

In the fall, start by spreading a thick layer of fresh compost at the base of the rose. Unlike synthetic fertilizers (which give an energy shot to the shrub), the compost will feed and enrich the soil and all the microorganisms living underground. This enriched soil will feed next year’s growth.
When we take care of our soil, the soil will take care of our plants.
You can then add a layer of mulch on top of the compost. I like to add either leaf mold or dry leaves (which we have plenty of this time of year). This layer will help retain moisture and keep an even temperature around the root structure below ground. It will also help prevent fungal spores, such as those causing black spot, from being stirred back up.
Should I winterize my roses?
For a lot of roses, what I’ve advised above is enough to keep them safe over the winter.
If you want to go a step further with winterizing, you can. But make sure your rose really needs it because it could do more harm than good.

In general, tender roses (such as Hybrid Tea, Floribundas and Grandiflora) will need another layer of winter protection in gardening zones with harsh winters (USDA zones 2-4).
Wait until the ground is frozen, then place a collar around each rose shrub. You can fill in the collar either with soil, straw, shredded leaves or wood chips.
You can also do it without the collar, by simply mounding up some extra soil and compost around the base of the shrub (this is called hilling). Around 8-10 inches high (20-25cm) should be enough.

We’re not doing this to keep the rose “warm”, but to keep it uniformly cold and protect it against the damage caused by cycles of freezing and thawing.
But remember that whatever you use to winterize now, you will need to remove it in early spring before the rose starts growing again.
Keep in mind that it’s ok for rose canes to experience below freezing temperatures (they’re dormant anyway) and that most roses do not need winter protection unless they are in open areas exposed to cold, drying wind that can dessicate the rose stems.
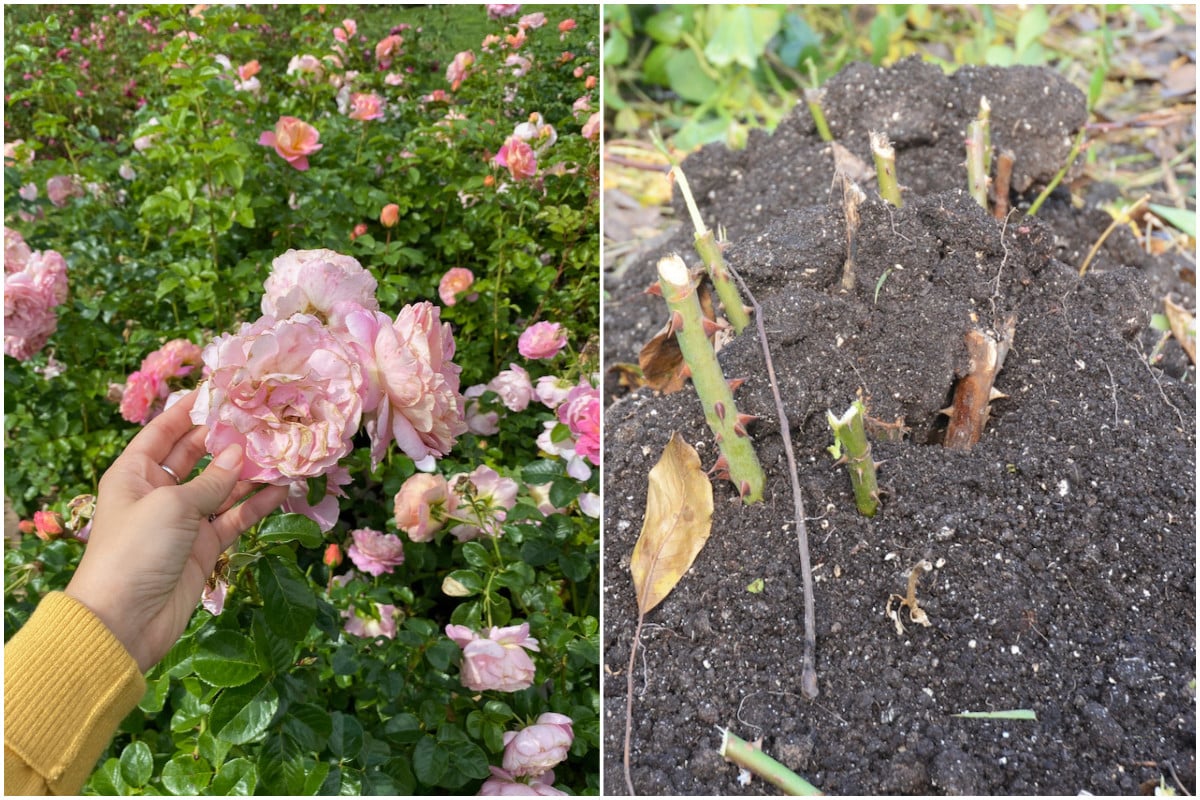
Bonus: Grow more roses by planting bare-root roses in fall.
I know that this point won’t necessarily fall under the “care for roses” category, but I think it’s a given that once we grow roses in our garden, we’ll always be looking for more roses.
Fall is the best time to plant new roses, mostly because it’s when we can buy them bare-root. Planting bare roots means just that – we are putting dormant roots into the ground to acclimatize over the winter. In spring, these roots will come out of dormancy and start putting out stems. By mid-summer, we’ll also start getting flowers.

We can plant bare roots at any time in the fall, as long as the ground isn’t waterlogged or frozen. I talk more about the benefits of planting bare roots in this article.
I won’t go into detail on how to do that now, but I plan to in a future article (and if you join our newsletter list, I’ll let you know when we publish it).
Let me give you two tips to help get these bare-root roses on their way to healthy blooms:

- Adding fresh compost and a spoonful of mycorrhizal fungi will help to establish healthy roots, which are the foundation of a healthy rose overall.
- When planting a grafted rose, ensure that you bury the graft union just below the soil surface. This will help protect it from temperature and humidity fluctuations.
There are thousands of rose varieties available at retailers, making it overwhelming even for a knowledgeable rosarian to pick one.
You can visit the American Rose Trials for Sustainability to see which cultivars have performed well in your gardening zone. They collaborate with gardens (including botanical gardens) all over the country to grow roses on location without any pesticides or fertilizers. The winners are the most disease-resistant, pest-resistant and hardy roses for each area.

Get the famous Rural Sprout newsletter delivered to your inbox.
Join the 50,000+ gardeners who get timely gardening tutorials, tips and tasks delivered direct to their inbox.