

Cardboard is certainly a welcome sight in the eye of the gardener.
Often free and fairly ubiquitous, cardboard is a biodegradable and earth-friendly material that enriches as it breaks down.
Cardboard is a valuable source of carbon, one of the building blocks of life. As it decomposes, it supplies vital energy to the microbes that improve soil quality and structure.
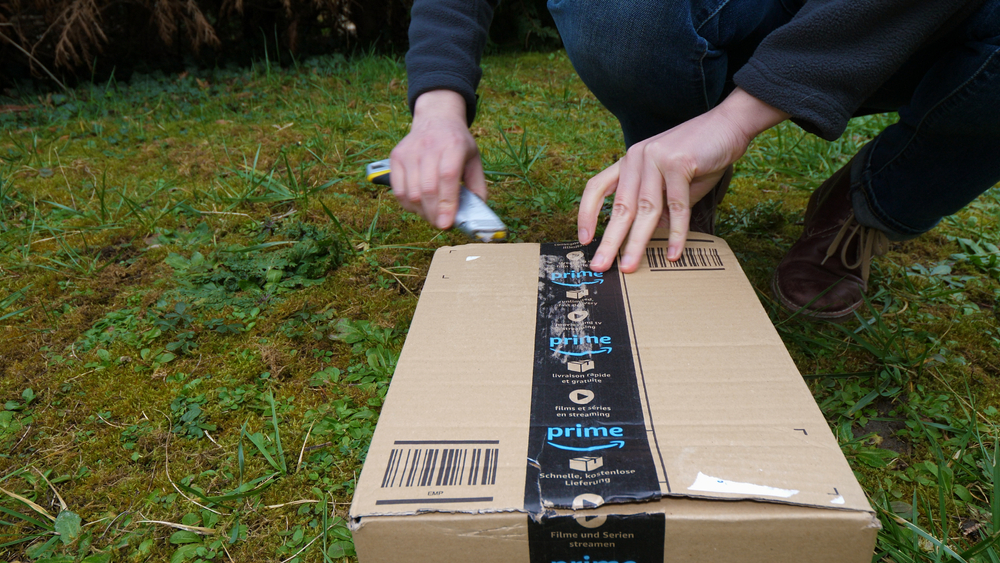
Be selective when using cardboard for outdoor purposes. You’ll want “clean” stuff – plain brown corrugated cardboard with minimal printing on the surface. It should be unwaxed and non-glossy with any tape and stickers removed. Although, you’ll find that Amazon Prime shipped boxes include compostable tape.
With the rise of online shopping, it seems there’s always a constant stream of cardboard coming through the home. Don’t send it for recycling, instead put it to good use in the garden!
1. Sheet Mulching
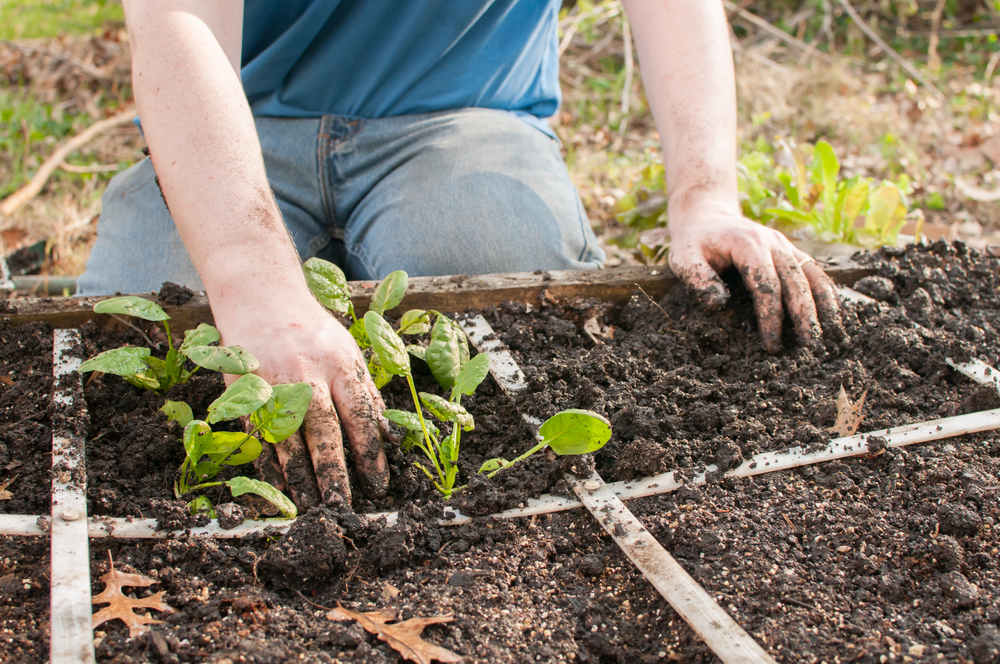
Starting a garden from scratch typically involves a lot of back breaking work: weeding the area and removing sod, tilling the soil and amending it with compost or other fertilizers, and then finally adding plants or sowing seeds.
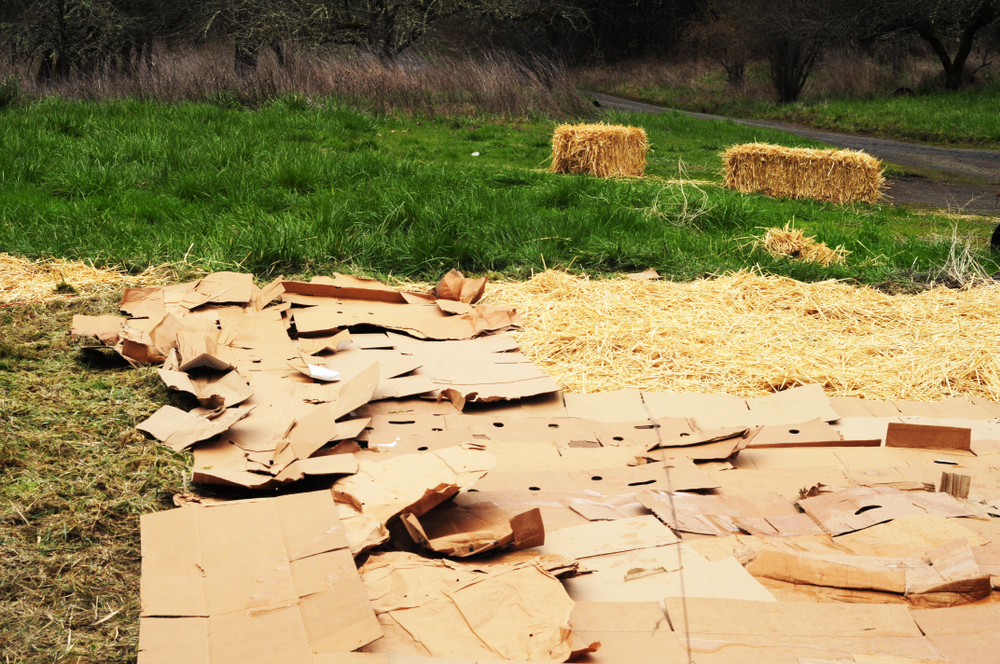
Sheet mulching takes much of the labor out of prepping the garden bed, all while improving soil quality. It is a no-dig permaculture technique that mimics the soil building process that occurs naturally along the forest floor.
Once the garden site is selected, give the grass a trim with the mower on its shortest blade setting. Leave the remaining grass and weeds in the ground and give the plot a thorough watering.
Lay single sheets of cardboard over the entire garden plot. Spread a 4-inch layer of nutrient-rich compost over the cardboard layer. Then add a final layer of wood chips, leaf mold, or other mulching material to a depth of 2 to 3 inches. Water the site thoroughly once again.
Cardboard is a perfect material for sheet mulching since it is slow to decompose and acts as a weed barrier.
Sheet mulching is also known as “composting in place” because cardboard is made up of carbon while grass and weeds add nitrogen. As it degrades, it will nourish the soil.
Sheet mulched garden beds are ready for planting straight away. Pull back some of the mulch to direct sow or transplant seedlings in the compost layer.
You can also get a head start on next year’s plans by sheet mulching new garden beds in autumn.
2. Suppress Weeds
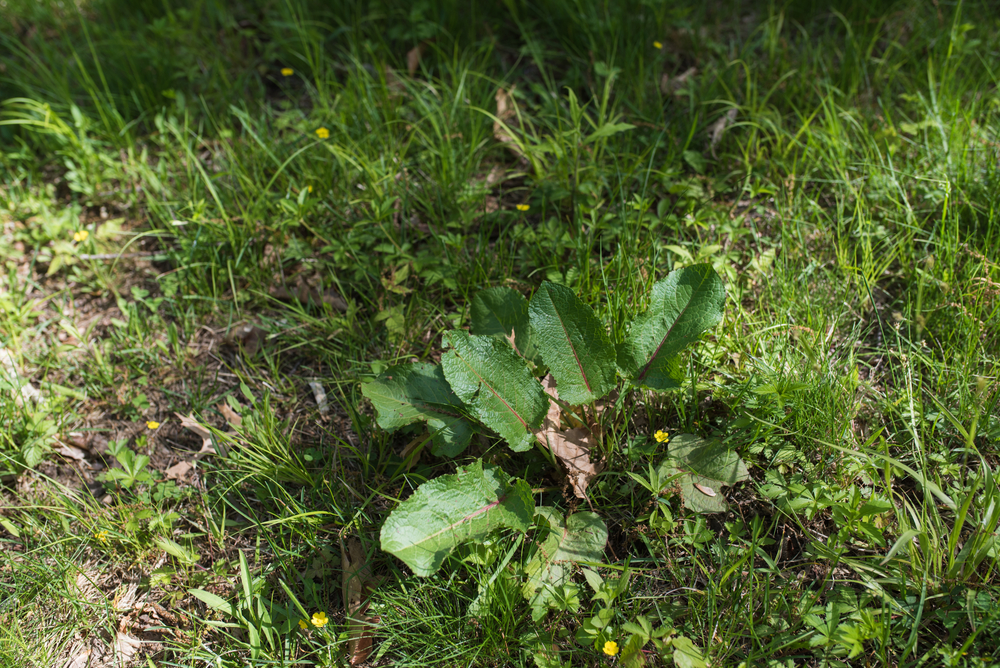
Beyond its use in sheet mulching, cardboard also makes for an excellent all-purpose weed barrier.
Instead of pulling weeds up or using herbicides, cardboard simply smothers them and prevents them from receiving sunlight.
Lay flattened cardboard down in flower beds, around shrubs and trees, and anywhere else weeds are a recurring problem.
Cut holes or notches in the cardboard so there is an opening around plant stalks and trunks. The cuts should be about 3 inches wider in circumference than the girth of the stem. This will allow oxygen and water to reach the plants’ roots.
Wet the cardboard down with a hose and then cover with a 3-inch layer of mulch.
Cardboard as a weed barrier should last a season or two before needing to be replaced. And unlike landscaping fabric made of plastic, cardboard won’t prevent nutrients or beneficial organisms from working their magic within the soil.
You can also use cardboard to line the bottom of raised beds before filling them with soil.
3. Garden Cloches
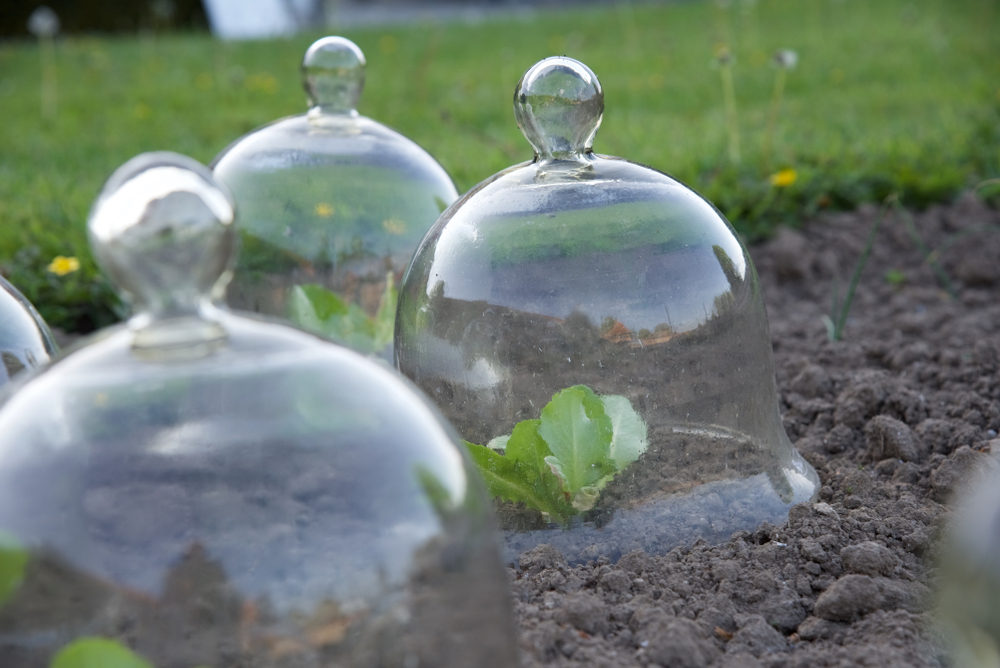
Sometimes gardeners have to get creative when caught off guard and unprepared for a sudden frost.
Garden cloches are great for protecting individual plants from cold weather. While these are typically made from glass or plastic, almost any open-topped container can become a garden cloche – including cardboard boxes!
Corrugated cardboard boxes offer the most protection against chilly conditions. These have pleated sheets sandwiched between two flat pieces of linerboard, which helps trap cold air for better insulation.
Place cardboard boxes, upside down, over each plant. Use boxes that are a few inches taller and wider than the plant.
Cover up plants in the evening before a frost and remove them first thing in the morning the next day.
Cardboard boxes aren’t a long-term solution for protecting plants from frost, but sure do come in handy in a pinch.
4. Compost
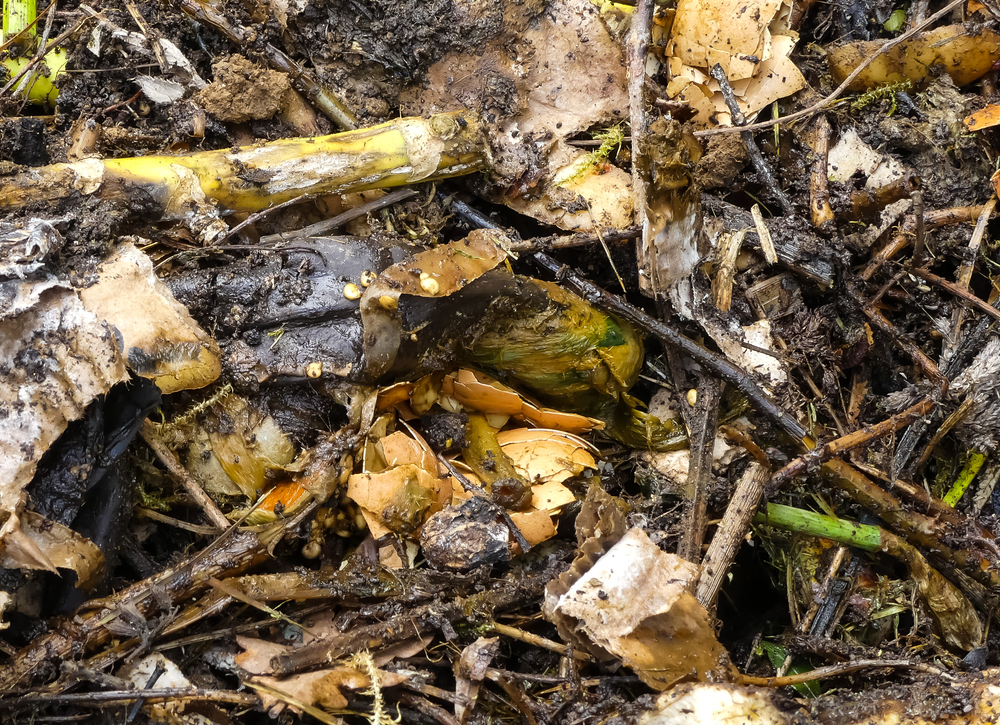
Efficient backyard composting requires striking the proper balance between carbon (C) and nitrogen (N) materials in the pile.
The decomposers hard at work to break down the compost are fueled by carbon for energy and nitrogen for protein.
The fastest way to produce earthy, fertile compost is to aim for C:N ratio of roughly 30 parts carbon to 1 part nitrogen.
Since home composting isn’t an exact science, the easiest way to achieve a 30:1 ratio is to mix 3 parts carbon with 1 part nitrogen. For example, three 5-gallon buckets of carbon materials per one 5-gallon bucket of nitrogen materials.
Like dried leaves, straw, and wood chips, cardboard is a bulky material that is high in carbon. And you’ll need quite a lot of it to keep the microbes fat and happy. Shred or tear it up into 1-inch squares to help speed decomposition along.
Part of the fun of composting is experimenting with different materials that degrade at different rates. Don’t get too caught up in the perfect ratio and let your compost tell you what it needs. A stinky pile needs more carbon while slow or inactive piles require more nitrogen.
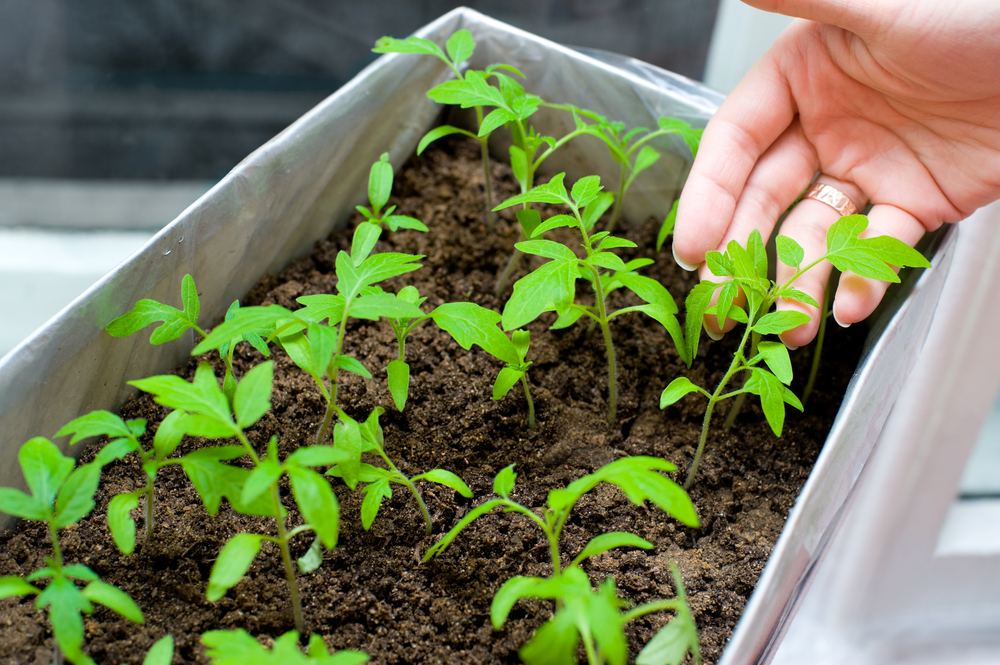
5. Seed Starter Pots

Cardboard toilet paper tubes are the perfect size and shape for making little seed starter pots. Just make a few small cuts at one end and fold the flaps in to make a bottom. Add soil and plant your seeds.
Once the seedlings are big and strong, plant them directly in the garden – cardboard tube and all.
If you’re short on toilet paper tubes or paper towel rolls, really any cardboard material can be used as a seed starting container.
A long strip of cardboard, 4 inches wide, can be rolled up into a tubular shape. Hold it together by mixing up a natural glue made from ingredients that can be found in the kitchen.
6. Container Gardening
First-time gardeners may be surprised by the start-up costs of tending plant life. Between tools, fertilizers, support structures, soil amendments, and pest control, gardening can quickly become a pricey hobby.
That said, there are numerous ways to keep gardening as low cost as possible. And using cardboard boxes as plant containers or as raised beds is yet another cheap trick.
Lasting just one season, cardboard planters can tide you over until you can build the garden of your dreams. They also lend themselves well to a child’s garden space. And when the season is finished, shred them up and toss in the compost.
The cardboard box should be thick and sturdy, and match the size and soil depth of the plant. Reinforce the bottom flaps of the box with packing tape. Punch several holes along the bottom for drainage.
Fill the box with soil, add your plants or seeds, and choose a sunny spot. To prevent the cardboard base from becoming soggy, elevate it an inch or two off the ground by setting it on a few bricks or by adding a layer of gravel beneath it.
Cardboard box planters can be moved around early in the season but the sides and bottom will soften over time. So once you’ve picked a spot, it’s best to keep it in the same place until harvest time.
7. Potato Box
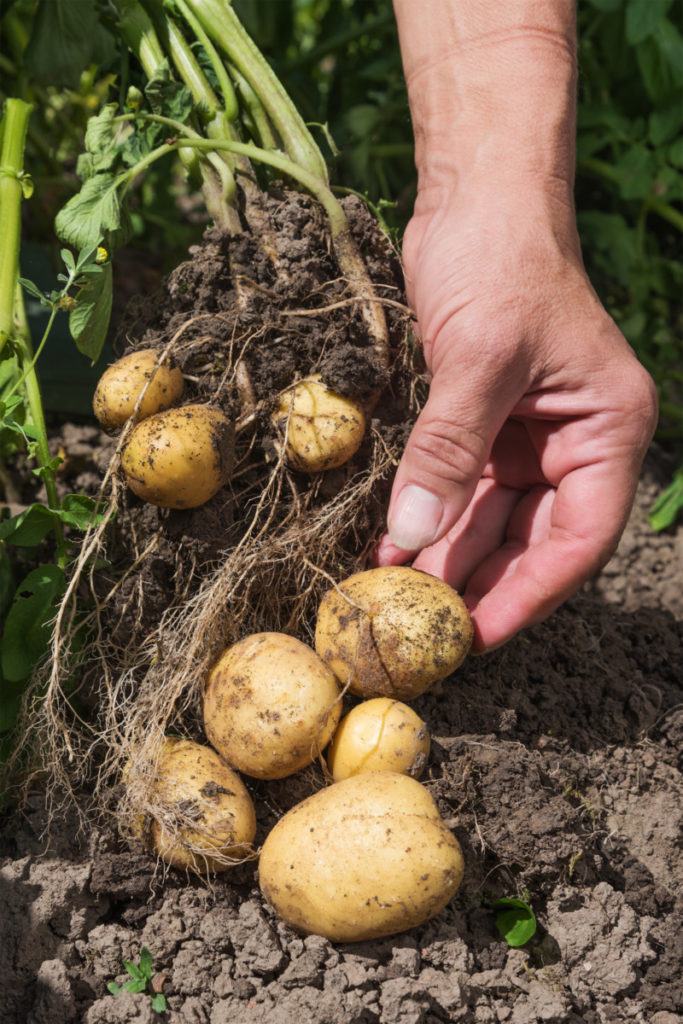
Hilling up your potato crop twice or thrice per season is important for ensuring your potatoes aren’t green (and therefore toxic) at harvest time.
Growing potatoes “up” instead of “down” will also maximize your tuber yields in a much smaller space.
All sorts of materials can be repurposed into a potato growing container – including cardboard boxes.
Keep the bottom of the box intact or open up the bottom flaps for potatoes planted directly in the soil. Add drainage holes if needed.
As you hill more soil and mulch around the plants throughout the growing season, you can slip another box over the original to create a growing tower.
8. Square Foot Gardening
Square foot gardening is another great technique for maximizing crop yields in a small space.
While you can use wooden dowels or twine to help visualize the 1×1 foot grid, cardboard boxes also provide a way to section off specific planting areas.
Cardboard boxes can be clustered together in any open space in the yard. Be sure to elevate them and add drainage holes.
They can also be arranged within a raised bed before adding soil. Remove any tape before nestling the boxes snugly against each other. Add soil individually to each one and plant the seeds. Leave the top edges of the boxes exposed or hide them by topdressing with more soil and mulch.
Even if your boxes don’t measure exactly one foot square, using boxes that are a little larger or smaller is totally fine too.
9. Tree Protectors
Young trees, between 1 to 4 years, often need a little extra TLC to survive from one season to the next.
Protecting trees with tree wrap or guards can help prevent frost injury and sun scald, as well as deter hungry critters that strip bark from the trunks.
Tree guards can be made of plastic, metal, burlap, or paper – depending on the type of protection you need.
Paper tree protectors are ideal for insulating against hot and cold weather and will thwart attempts to girdle your baby tree by rabbits and deer.
Make a spiral tree wrap from cardboard by cutting it in long lengths, 4 inches wide. Starting at the base of the tree, wrap it around the trunk by overlapping each layer by 2 inches. Continue wrapping upwards until you reach the lower branches of the tree. Hold it in place with twine.
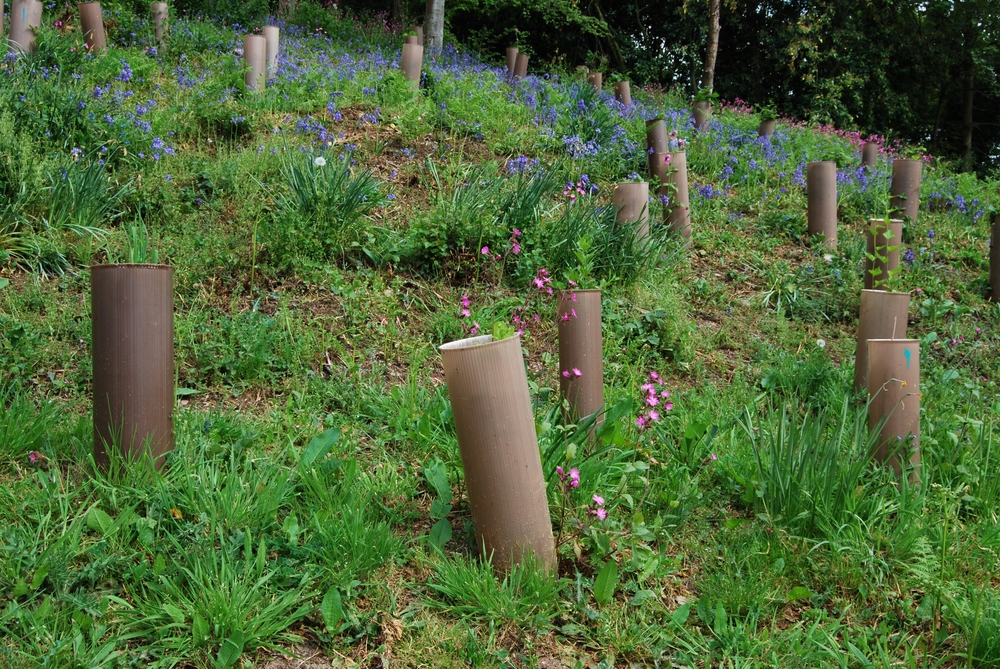
Another option is to fashion a freestanding tree guard by taking a large piece of cardboard and bending it into a wide tube around the tree trunk. There should be a few inches of space between the cardboard and the tree trunk.
Hold the ends of the tube together with some waterproof tape. Driving a stake into the ground between the trunk and the tube can help keep the cardboard guard in place.
Like paper tree protectors, cardboard wraps and guards will only last a season. Toss them in the compost when they need to be replaced.

Get the famous Rural Sprout newsletter delivered to your inbox.
Join the 50,000+ gardeners who get timely gardening tutorials, tips and tasks delivered direct to their inbox.