

Mason jars are among the most useful containers available. They can be used for crafts, decorations, storing non-food items, and, of course, their intended purpose – canning food. It’s funny, then, how few people think to use them for storing and preserving food in their freezer.
Mason jars are just as well-suited for preserving food in the freezer as they are in a pressure cooker, but there is a bit of a learning curve to using them in freezing temperatures. Let’s take a look at everything you need to know about freezing food in canning jars.
Wait? You Can Use Mason Jars in the Freezer?
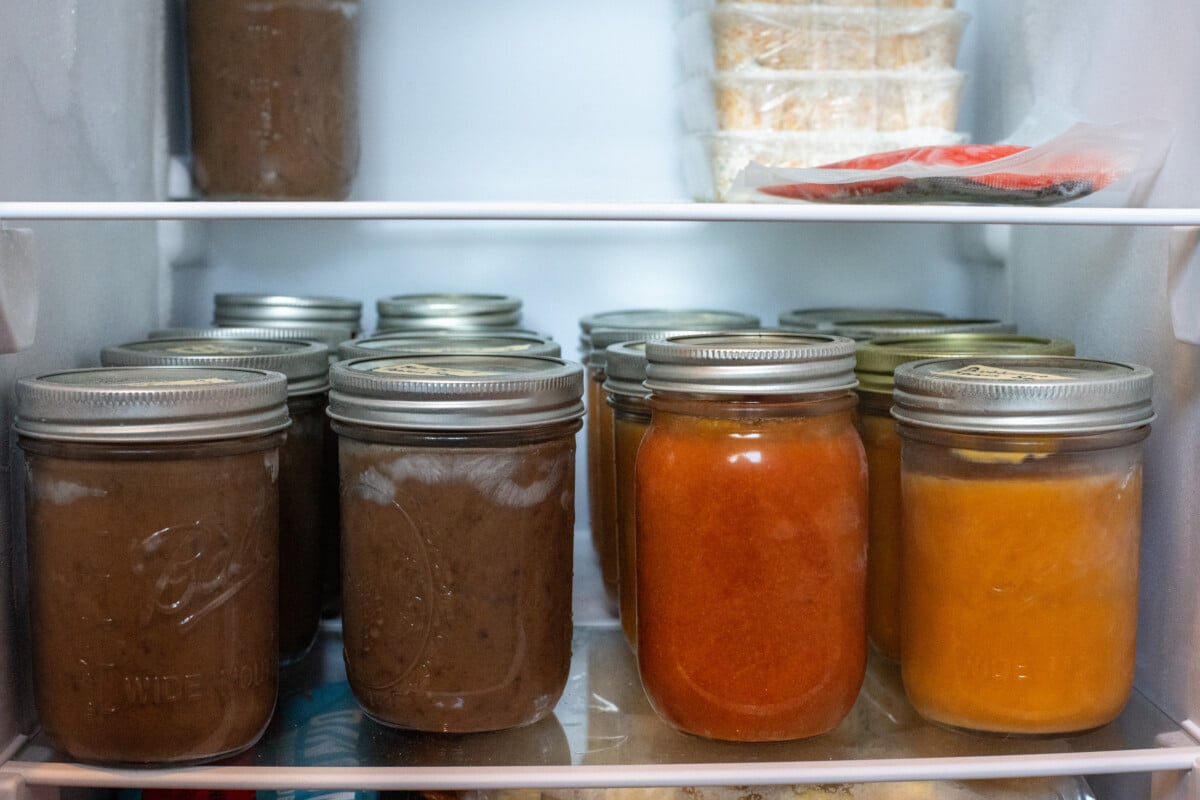
I mentioned in our newsletter recently that I had been making soup all week and put about three dozen pint jars of soup in the freezer. (You are signed up for our newsletter, right? Trust me, it’s pretty great, you don’t want to miss it. You can sign up here.) Immediately, I had readers emailing me to tell me they had no idea you could use canning jars in the freezer, and asking how to do it.
Yes, you absolutely can and should put these workhorses of the kitchen to use in the freezer.
Now, I know there are special containers made for freezing food, but let’s be honest. Most of them suck. There are numerous benefits to using mason jars for freezing and preserving food.
Plastic-free
Whether you do it for the planet, your health, or to save money, ditching the plastic in your kitchen is worth it. I’ve been gradually phasing out single-use plastics in my kitchen over the last five years. I love how easy and convenient mason jars have been in that journey.
Better Insulation
For years, we’ve been using thin, freezer bags to store things in the freezer. While these are convenient, glass jars provide much better insulation, protecting from freezer burn. Because glass is non-permeable, it also protects your food from developing weird smells or flavors.
Easy to Find
Most of us can easily get our hands on canning jars. You can find them at Walmart, most grocery stores, and local hardware stores. They are always on Facebook Marketplace. If you’re a gardener who cans, chances are you already have quite a few. (Click here for more great places to find mason jars.)
Inexpensive
Compared to many of the fancy glass containers available for storing food, Mason jars are extremely affordable. You can get a dozen for around $12. Unlike the containers that are so popular, there are no plastic lids with hinges to break or wear out. Don’t get me wrong, they’re great. I have quite a few of these, but they rarely make it to the freezer.
Sure, zip-top freezer bags are inexpensive, but bag after bag, they add up over time. Whereas canning jars practically last forever. How many of us are using the same jars our grandmothers used?
Perfectly Portable Lunches
Finally, I love that the average pint jar is the perfect size for a single serving of soup or stew. Lunch is as easy as grabbing a jar from the freezer.
Preserve Anything – no botulism worries
This is my favorite reason to use jars in the freezer. You know that spaghetti sauce with olive oil in it that you can’t safely can? Or how about that cream-based leek and potato soup you made? That definitely can’t be canned, even in a pressure canner. However, they can be stored in jars and kept in the freezer.
Using jars to preserve food opens up numerous possibilities.
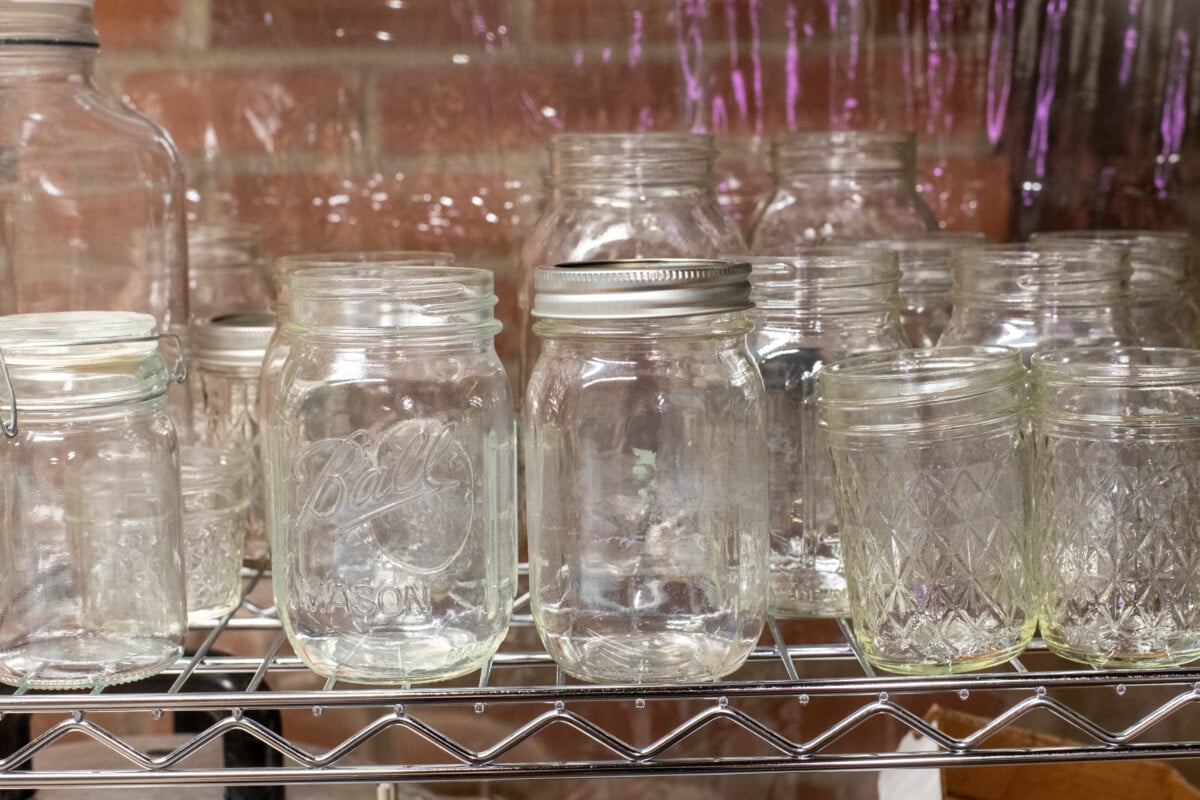
Which Jars Work Best
I’ve found that wide-mouth jars are much easier to work with. Wide-mouth jars are much less likely to crack. Not to mention, it’s much easier to get semi-thawed food out of a wide-mouth jar than it is a standard jar with shoulders.
Wide-mouth jars are much less prone to cracking in the freezer, which is the one thing that keeps people from using glass in the freezer.
In my experience, wide-mouth jars are far less likely to crack. Over the years, I’ve only had standard jars with shoulders crack on me, never a wide-mouth jar. That being said, the reason those shouldered jars cracked was always something I had done to cause it. More on that in a moment. So you aren’t pitching cracked jars of food in the trash, I would stick to using wide-mouth jars as the learning curve is much less steep.
Filling Jars Safely

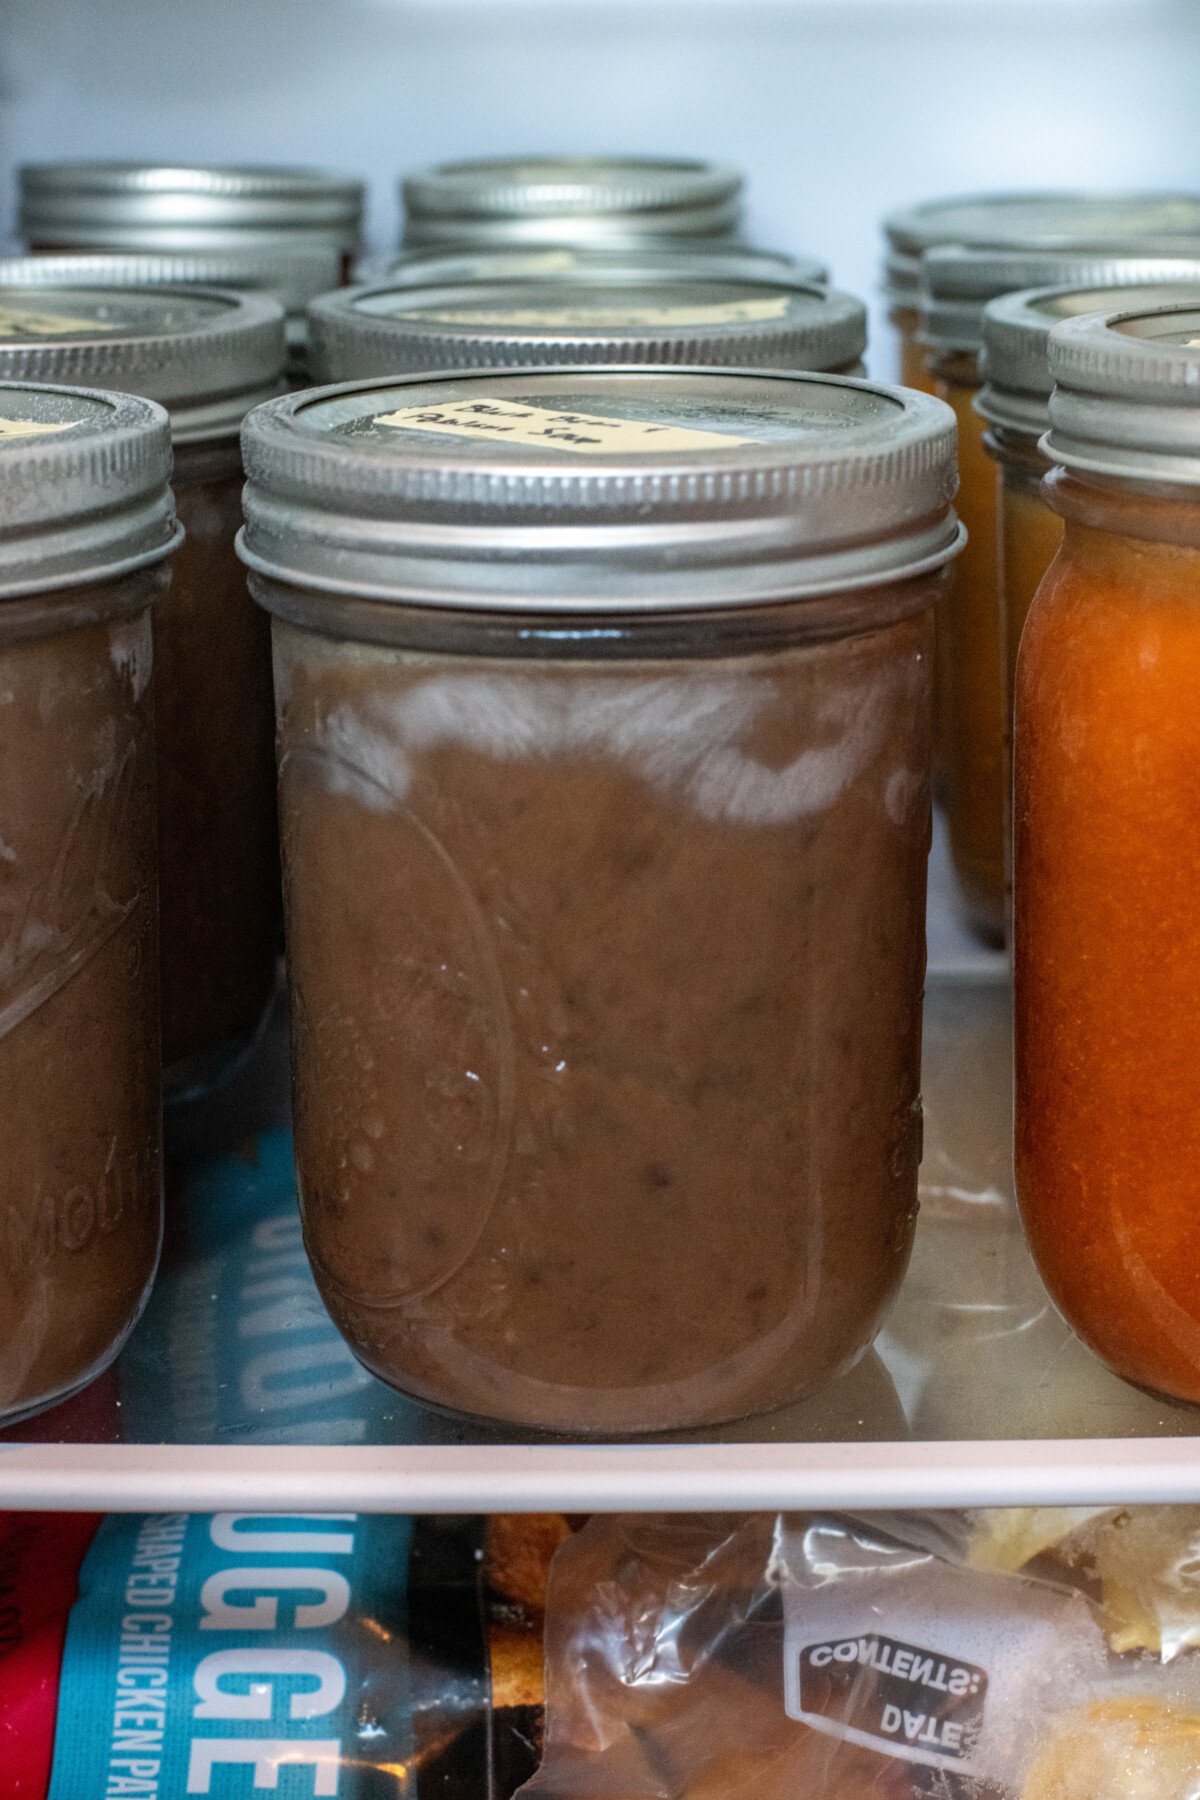
Water expands when it freezes; this is what causes jars to crack when food freezes. When using wide-mouth jars, the contents expand upward as they freeze, since the sides are straight and the food meets no resistance.
When using standard jars with shoulders, if you don’t leave enough headspace, pressure builds around the shoulders or the neck of the jar as food freezes and expands and – crack! You’ve got a broken jar and everything is wasted. Wide-mouth jars are easiest.
I have also found that the larger the jar is, the more prone it is to cracking. Likely because I’m not leaving enough space for expansion for the larger capacity. This is why I never freeze anything in standard quart jars. Those are the only jars I’ve ever had break on me in the freezer – quart-size standard jars.
Since we need to leave room for expansion, it’s important to leave extra headspace, even more than you normally would for water bath or pressure canning. I’ve found that 2” of headspace seems to be just right.
Wipe the rims as you normally would, and allow the food to cool to room temperature before placing the jars in the freezer. It doesn’t have to be stone cold, just around room temperature.
If your food is still hot, it can cause thermal shock, and the glass will crack.
A note about freezing broth and stock: If you’re tempted to skim off the fat before you freeze it, don’t! The fat will rise to the top of the jar and form a little cap on top of the broth in the freezer, adding an extra layer of protection from cold and air. You can easily remove that hardened layer of fat when you defrost the broth to use it.
Another thing that can cause jars to crack (only shouldered jars in my experience) is putting lids and bands on everything when you put it in the freezer. It’s for this reason that I always put my lids and bands on the next day. Once everything is frozen and expansion has stopped, then I put the lids on the jars and screw them down to fingertip tight.
Once the food has expanded and frozen, then you can go ahead and put the lids on.
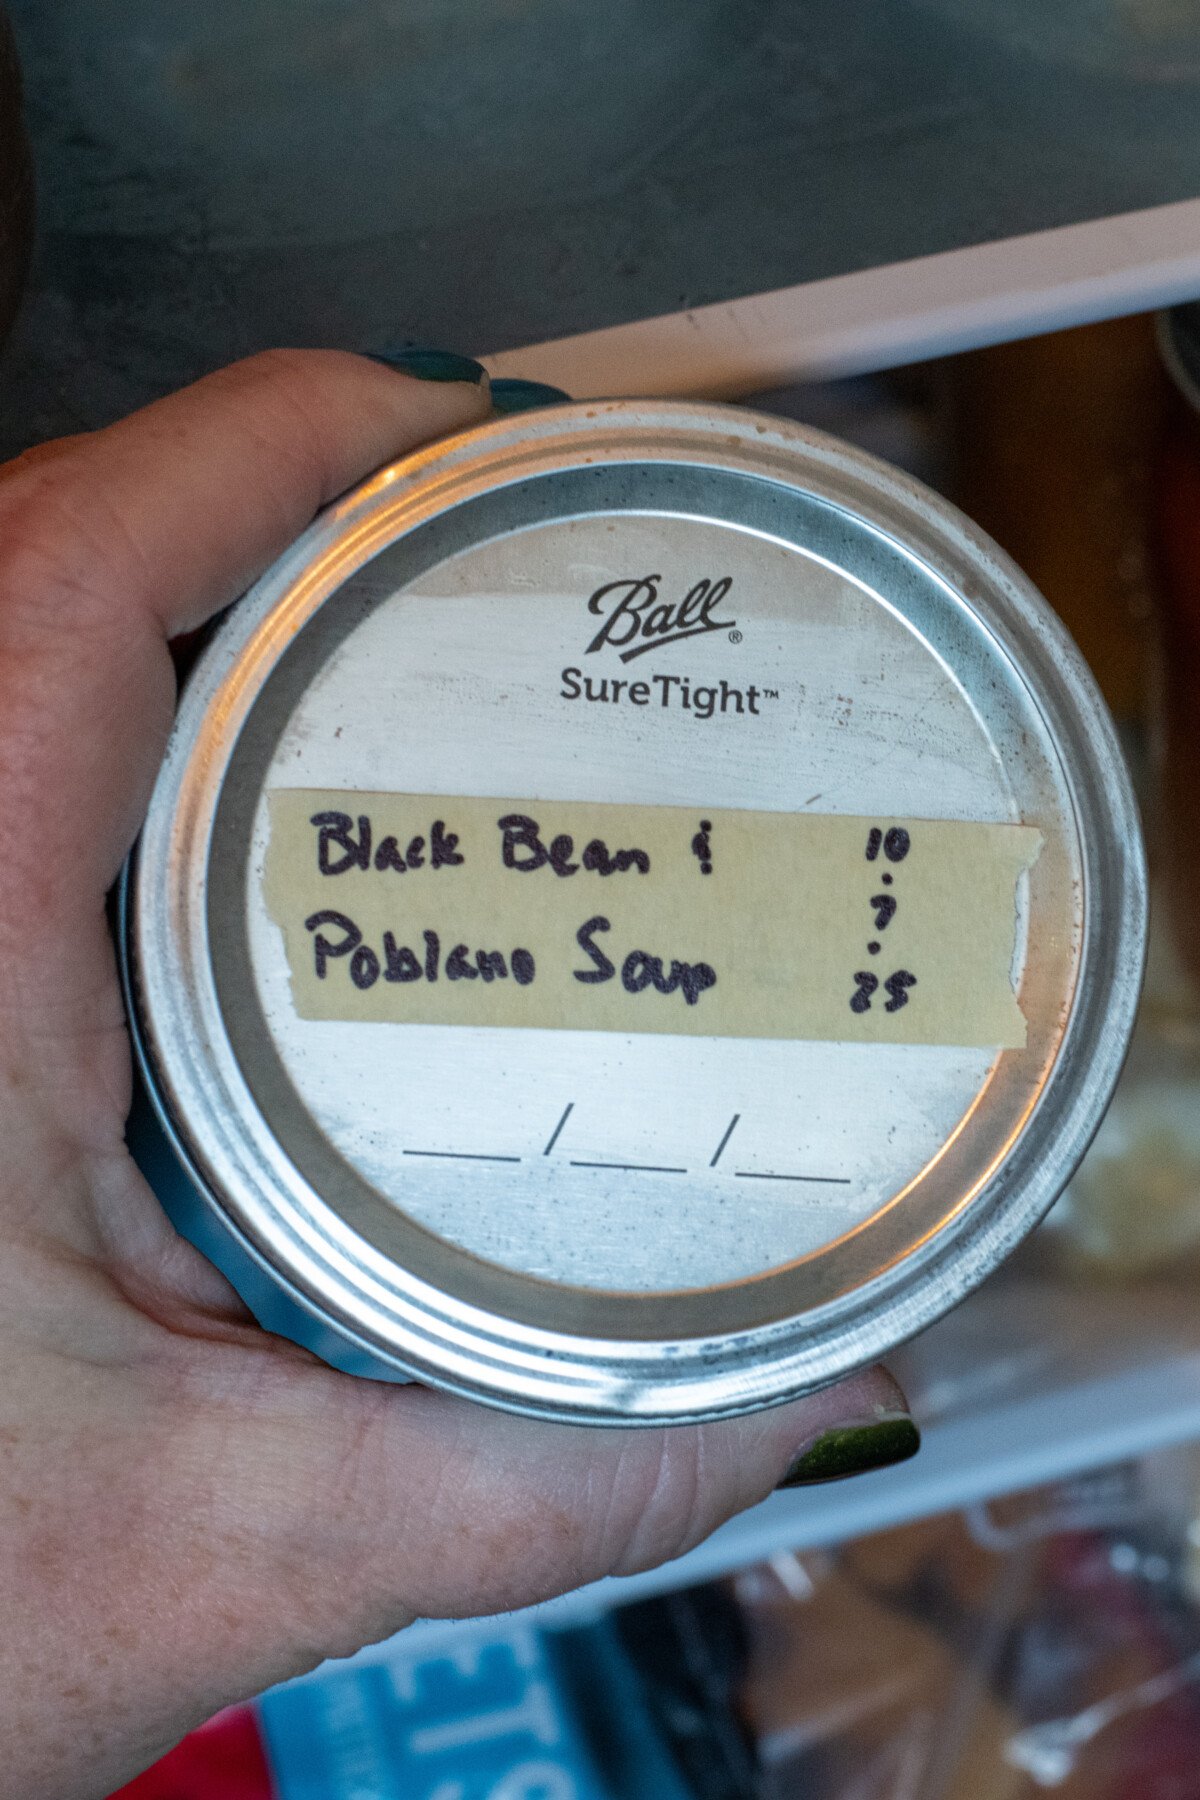
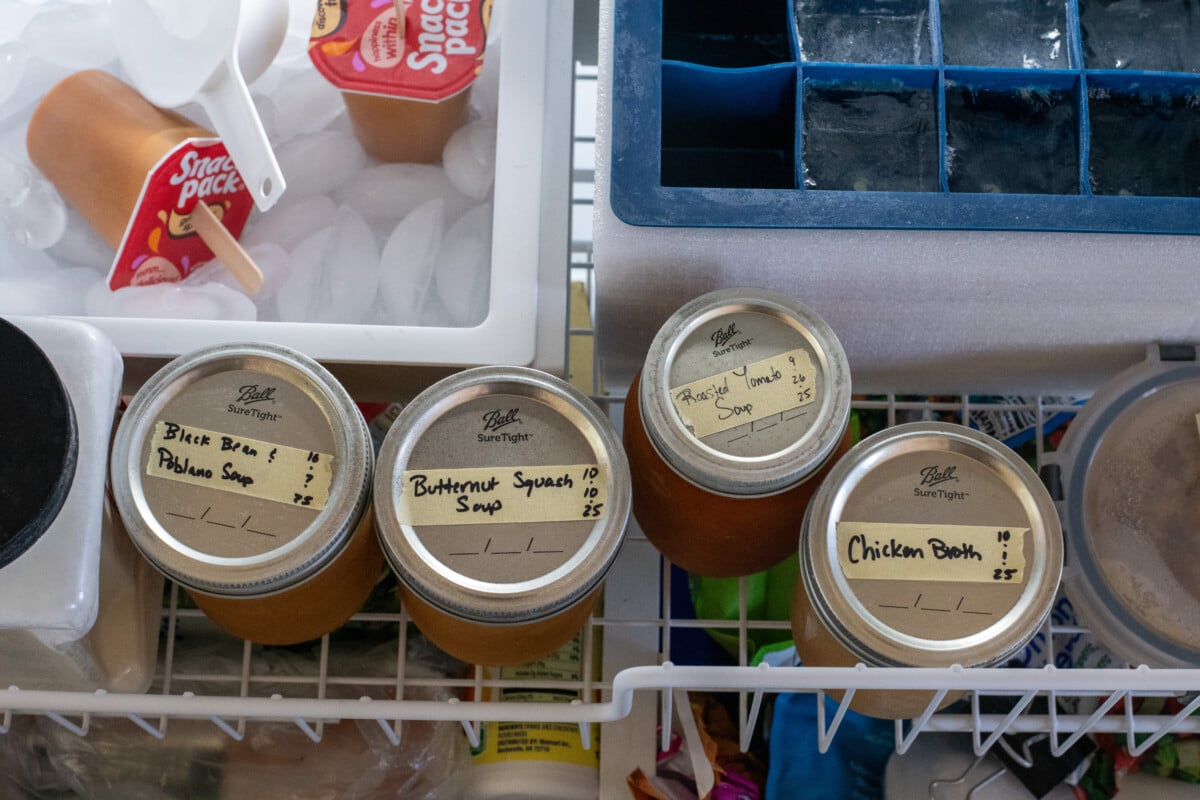
Like with all canning, don’t forget to label and date your food. Food often looks quite different once it’s solid and the jar is frosty. I can’t count the number of “mystery” soups I have had for lunch because I forgot to label what kind of soup it was.
If you still want to freeze jars in standard jars with shoulders, here are my pointers based on my experience using them. (I use standard jars to freeze food all the time, I just stick to these “rules.”)
- Never use quart-size standard jars or larger. Pint-size is best.
- Never fill food past the shoulders.
- The higher the water content, the more room for expansion you need. Broth and stocks are more likely to crack standard jars than, say, a thick soup or stew. Stick to wide-mouth jars for these foods.
Defrosting Your Food
Well, now that you’ve successfully frozen food in canning jars, it’s time to eat it.
I’ve found that the easiest way to defrost your jarred items is to move them from the freezer to the fridge a day or two before they’re needed. I’ve noticed that soup, in particular, always looks a bit odd once it has thawed. It has a habit of retaining the shape of the ice patterns until it has been heated and stirred. But not to worry, it still tastes wonderful.
This method of defrosting isn’t always practical.
I’ve lost track of the number of times I have needed broth or stock for cooking and had to grab it from the freezer. Again, though, here’s where wide-neck jars come in handy. I run the jar under cold water (always cold!) just until I can see the contents separate from the inside of the jar. Then all I have to do is plop the frozen contents into my pot on the stove or in a bowl for the microwave.
Related Reading: 21 Brilliant Ways To Reuse Glass Jars
Reusing Your Jars
The great part about freezing food in jars is that you can still use the same jars to can with.
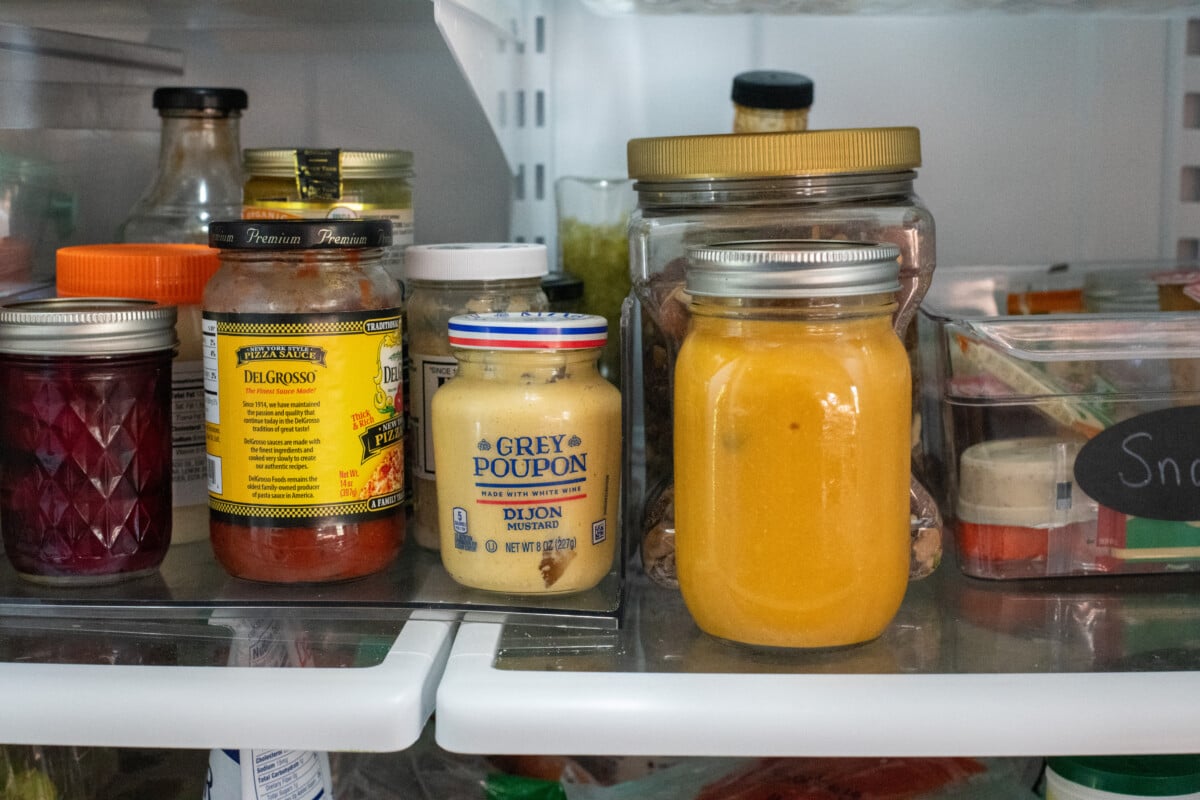
Freezing foods in mason jars is a fantastic way to preserve soups, stews, broths and leftovers in the freezer. It makes lunches and meal prepping even easier. Give it a try!

Get the famous Rural Sprout newsletter delivered to your inbox.
Join the 50,000+ gardeners who get timely gardening tutorials, tips and tasks delivered direct to their inbox.