

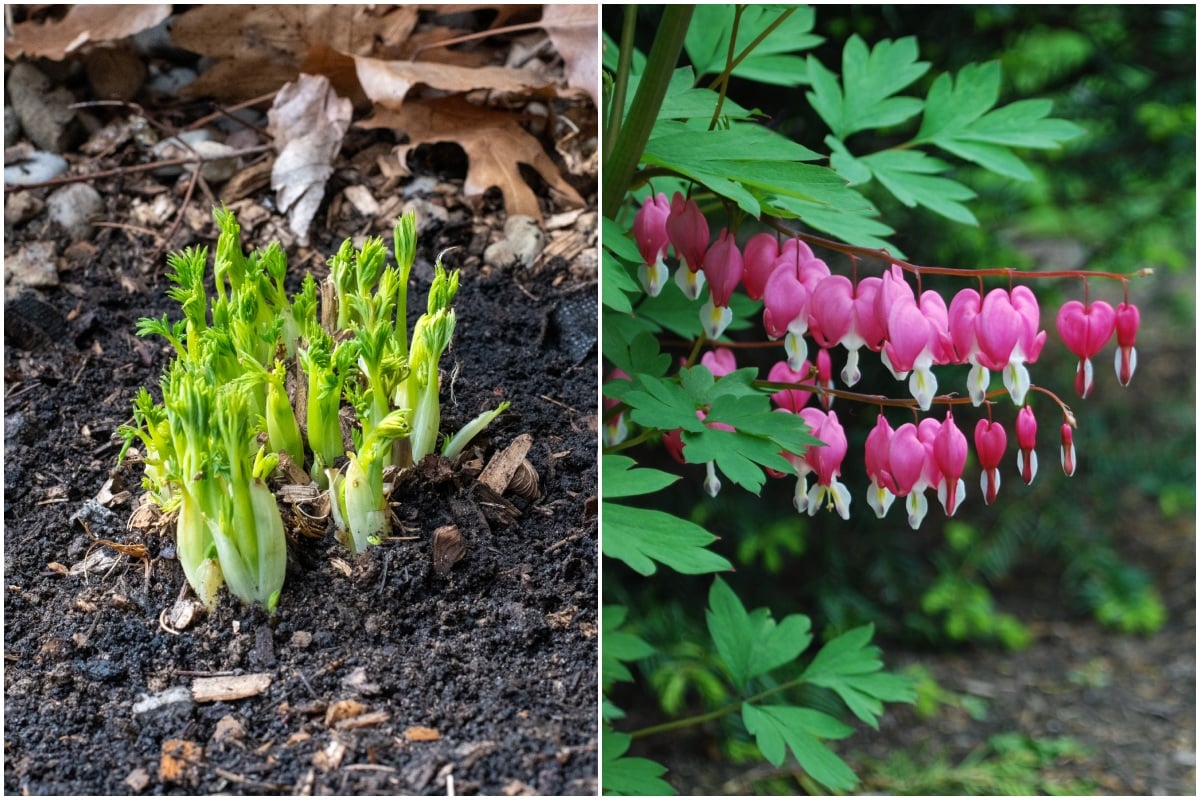
Bleeding hearts (Lamprocapnos spectabilis) are some of the most magical springtime perennials in the garden. With their large, feathery leaves that dance on the spring breeze and their dramatic arches of perfectly aligned hearts in a row, it’s hard to top their show-stopping beauty. As the snow melts and the air warms, you’ll want to give your bleeding hearts a little spring spruce-up to ensure you have plenty of flowers this spring.
A Perennial Straight from a Fairy Tale
Bleeding hearts love rich, moist but well-draining soil. They are happiest with slightly acidic soil (around 6.0-7.0), with plenty of organic matter such as leaf mold, compost or well-rotted manure. In their native environments, they are woodland understory plants, so it should come as no surprise that they love dappled sunlight to partial shade and need consistently moist soil. Now, we’re not talking waterlogged, just damp most of the time.
They bloom profusely in the spring, and the heat of summer causes them to die back and enter dormancy.
I remember my grandmother and my mother growing bleeding hearts. I always thought they looked like something out of a fairy tale. Surely, if fairies were real and lived anywhere, it was amidst these ethereal spring perennials. Naturally, as an adult, I had to grow bleeding hearts of my own.
Like most perennials, they are mostly hands-off and only have a few needs that must be met to thrive. Grab your gardening gloves and come along with me as I take us through a quick bleeding heart spring checklist.
5 Important Springtime Tasks for Bleeding Hearts
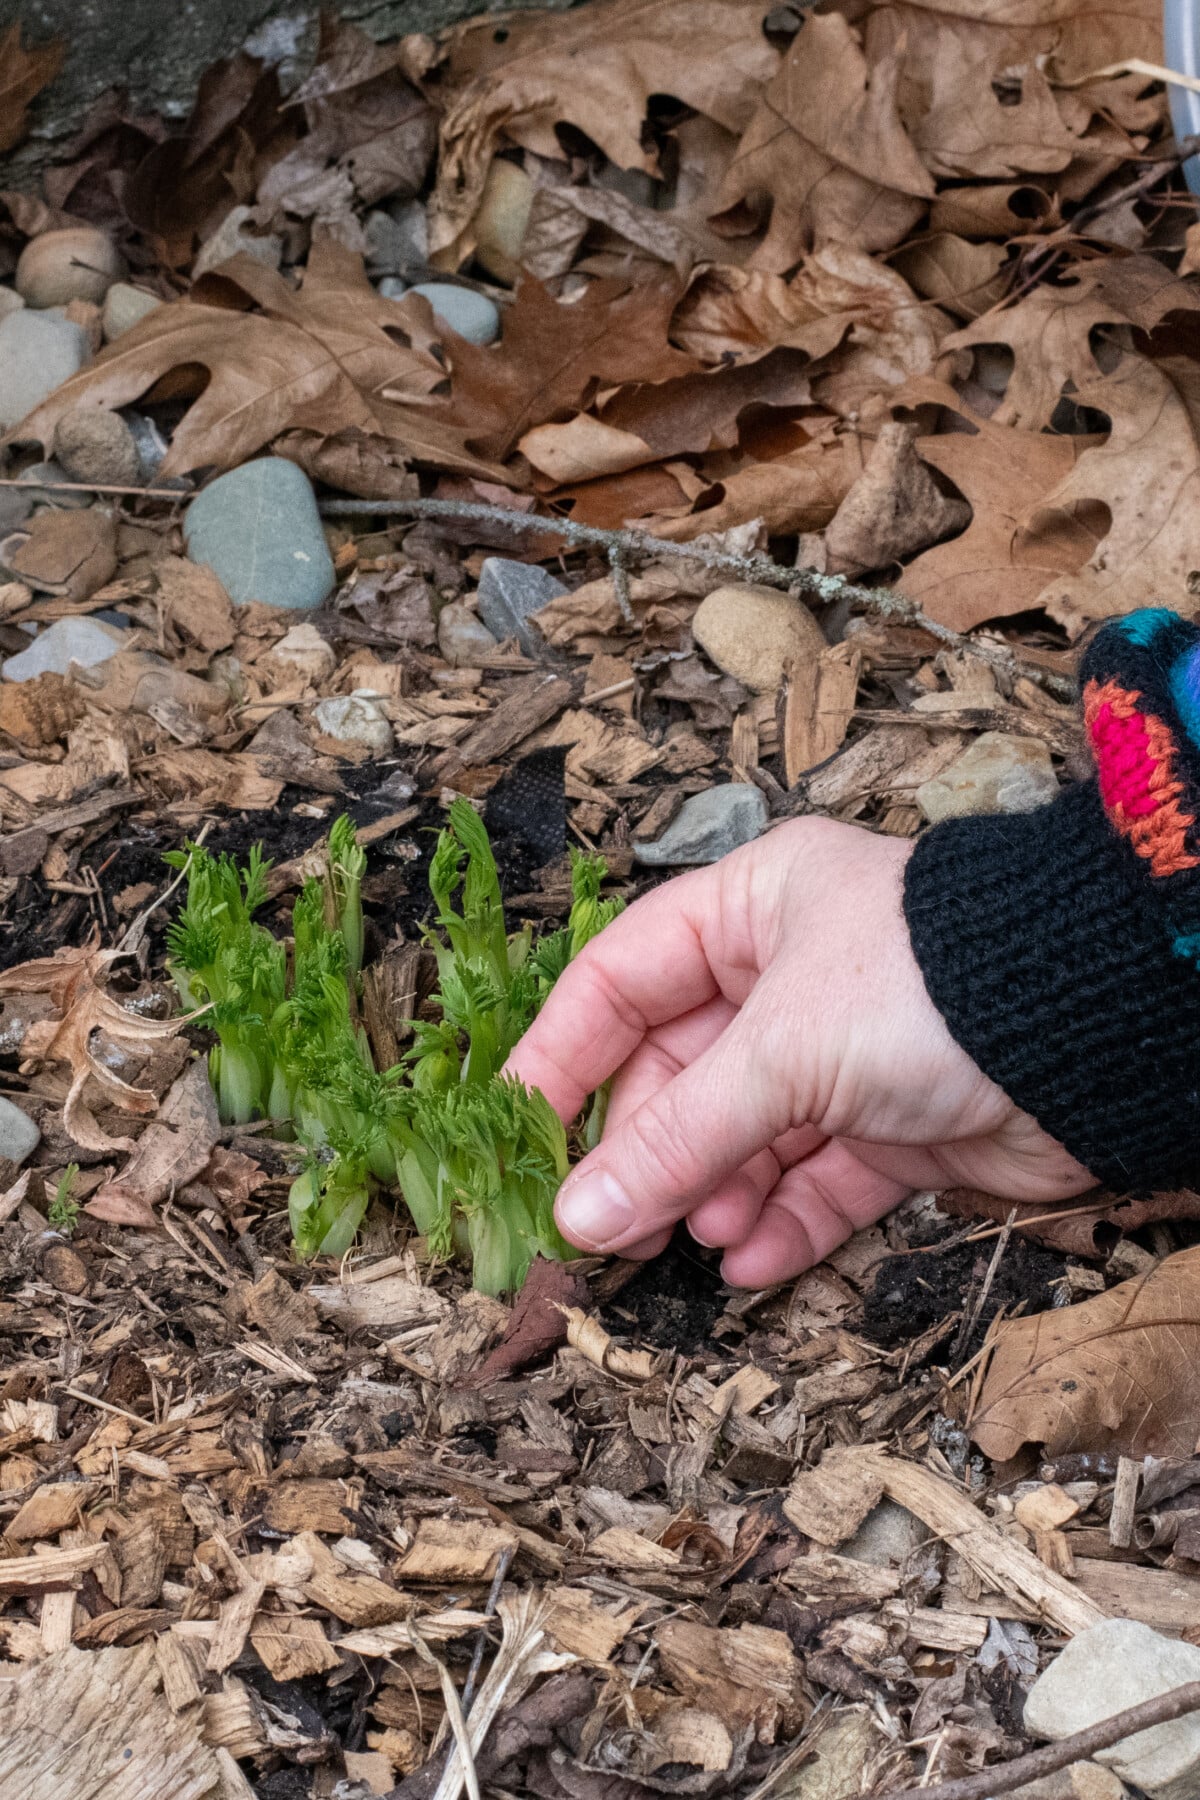
1. A Quick Cleanup
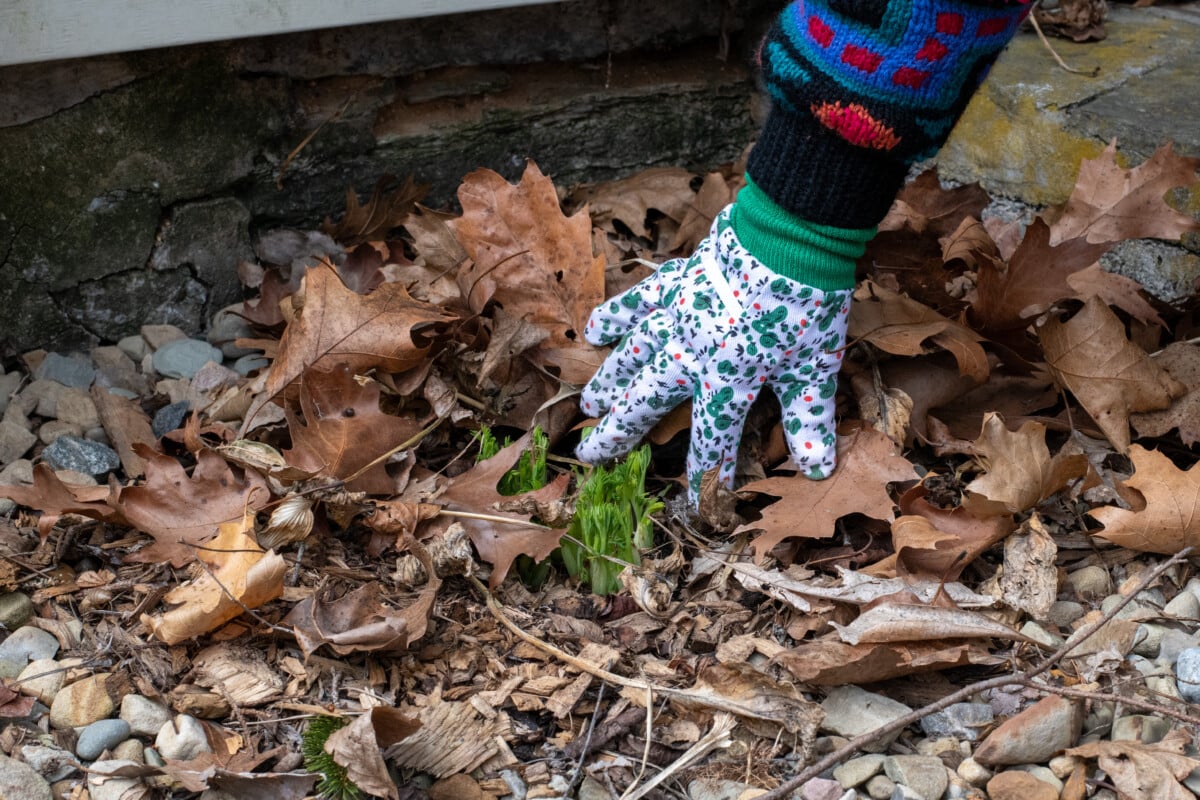
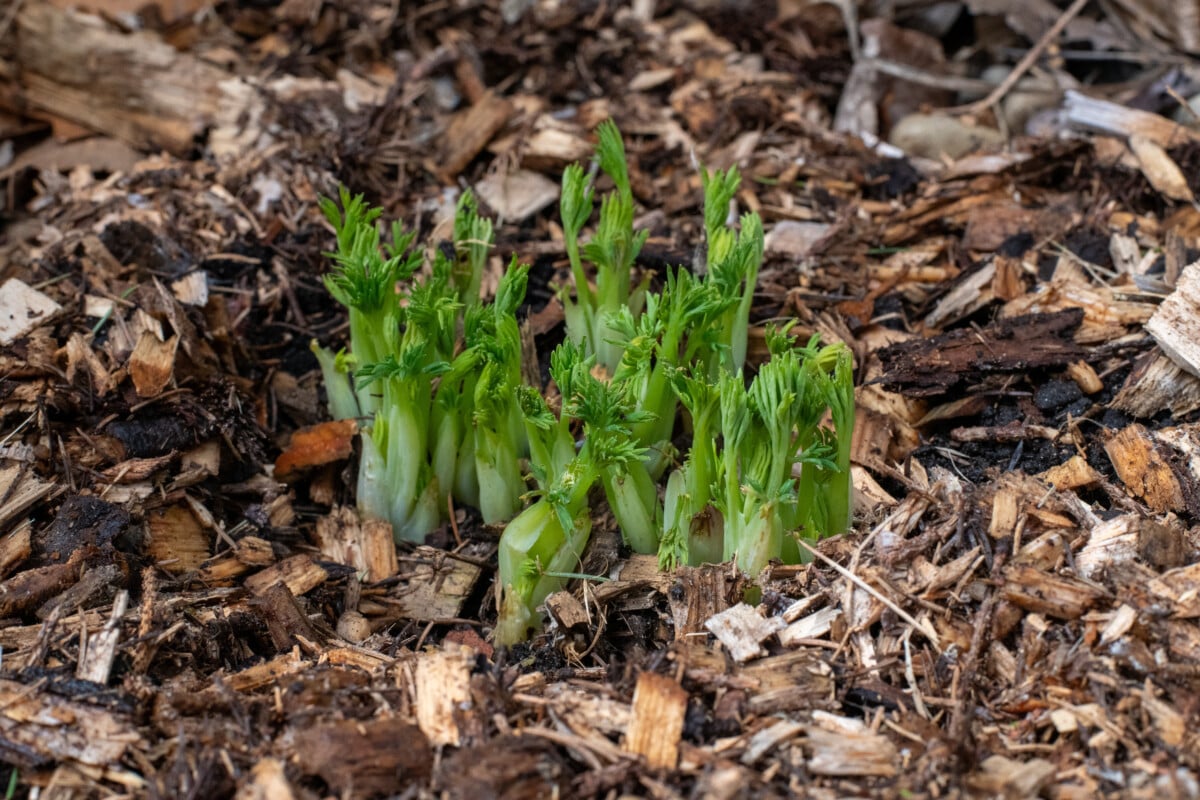
First things first, gently remove the dead foliage (if you didn’t cut them back last year) and any debris that’s accumulated through the winter. I would advise against using a rake to do this, as you don’t want to damage the tender tips of the new shoots. These are actually leaves, which will unfurl.
If you are trying to maintain a firefly and pollinator-friendly garden, don’t chip or bag up this mess; you can move it to the side until later in the spring and clean it up after the insects have emerged, or move it to another part of your yard.
If you need to remove last year’s mulch, now is the time to do that as well.
2. Do You Need to Divide Your Plants?

If your bleeding hearts are over five years old and are a little cramped or not blooming as often as they used to, you can divide your plants in early spring. However, you have to catch them as soon as they come up, before the plant begins growing and unfurling. Split them, making sure each section has plenty of roots to establish a new plant.
Bleeding hearts are actually on my list of perennials not to divide in the spring. There is a relatively short window in the spring with which to divide bleeding hearts before you run the risk of a spring with no flowers. It’s also easier to divide them later in the summer, as the plant will go dormant for the year, and you can split it while you still have an idea of how big it is when it’s mature. I find this makes it easier to judge how much of the plant to leave in place and how much I can move to a new location.
3. Feed Your Bleeding Hearts, Just a Snack
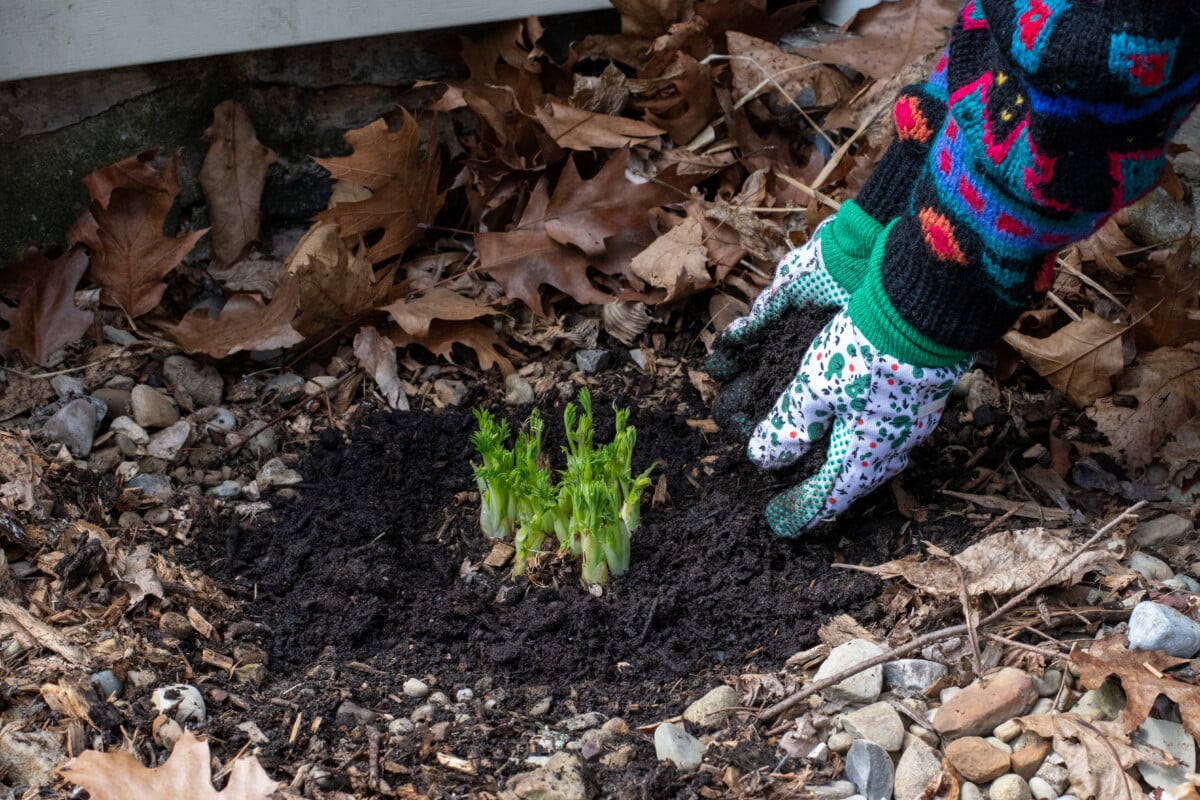
Bleeding hearts are very low-maintenance when it comes to fertilizer needs. Other than an annual springtime top-dressing with compost or leaf mold, they don’t need fertilizer.
The only time I would recommend feeding them more is if your soil is very poor and is quite depleted of nutrients. (It’s always best to confirm with a soil test, that way you know what nutrients are needed.) A balanced fertilizer, such as Espoma Garden-tone is what I would recommend in that case.

4. Mulch Well
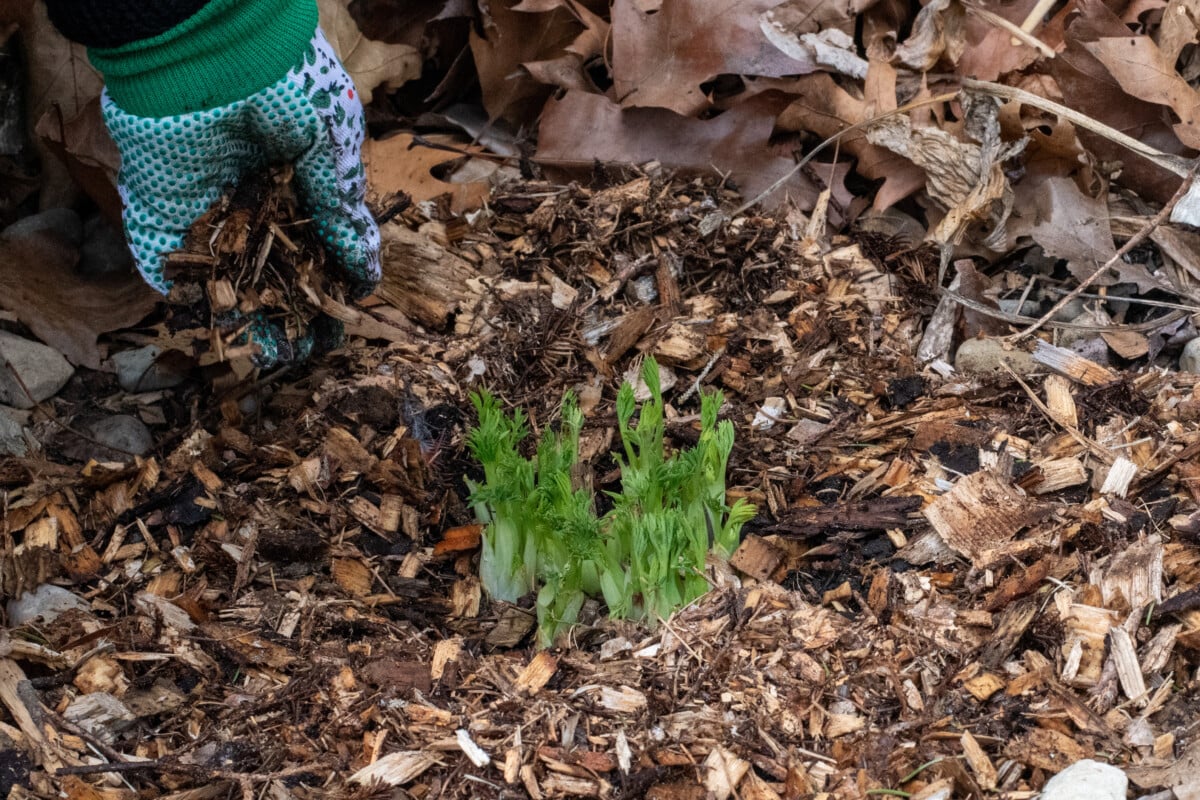
Bleeding hearts are happiest when the soil is consistently moist. Mulching your plants is an excellent way to prevent moisture loss as well as keep weeds at bay.
5. Pay Attention to Water
As we’ve already discussed, bleeding hearts need consistently moist soil. For most of us, springtime means plenty of rain, but it’s best to keep an eye on them if you have an especially dry spring or live somewhere experiencing drought conditions.
These next two items are more like bonuses. You don’t need to do them, but they can help out in the long run.
Give Them a Little Support
Depending on the variety and the size of your plant, you may wish to install a support so they don’t flop over as they grow or after a heavy spring rain. It’s always best to get this taken care of before the plant gets too big, as this allows the Bleeding heart to fill in around the support. Likewise, you don’t run the risk of making a hot mess, snapping leaves and flower stalks, trying to put something together after the plant has grown too large.
I really like this style of two-piece support as it’s easy to install (even if you forget to do it early in the season), and it’s easy to adjust it if your plant happens to be larger than you expected.
A Little Beer Never Hurts
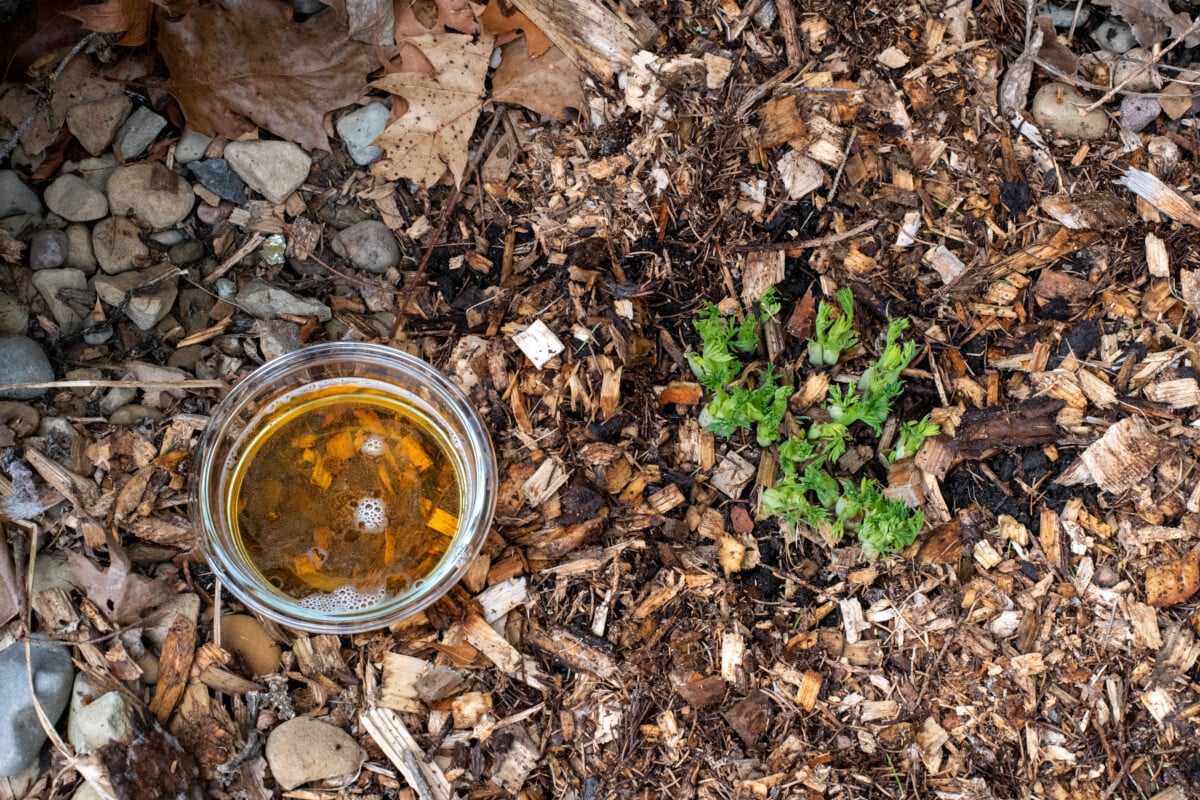
Finally, this isn’t absolutely necessary, but I can tell you from experience that there’s nothing more disheartening (or infuriating) than coming out to check on your growing bleeding hearts, only to find them gnawed down to mushy nubs by slugs.
Beer traps are deceptively simple yet incredibly effective. You can learn how to set one up here. Just be sure to use fresh beer after a rain and to empty the traps often. I think my favorite part about using beer traps is that after I set one up, I always end up standing in my garden holding half a bottle of beer in my hand. Don’t mind if I do!
And that’s that. It’s a simple and short list, and taking care of it as soon as your bleeding hearts emerge will set you up for a glorious spring full of flowers.

Get the famous Rural Sprout newsletter delivered to your inbox.
Join the 50,000+ gardeners who get timely gardening tutorials, tips and tasks delivered direct to their inbox.