


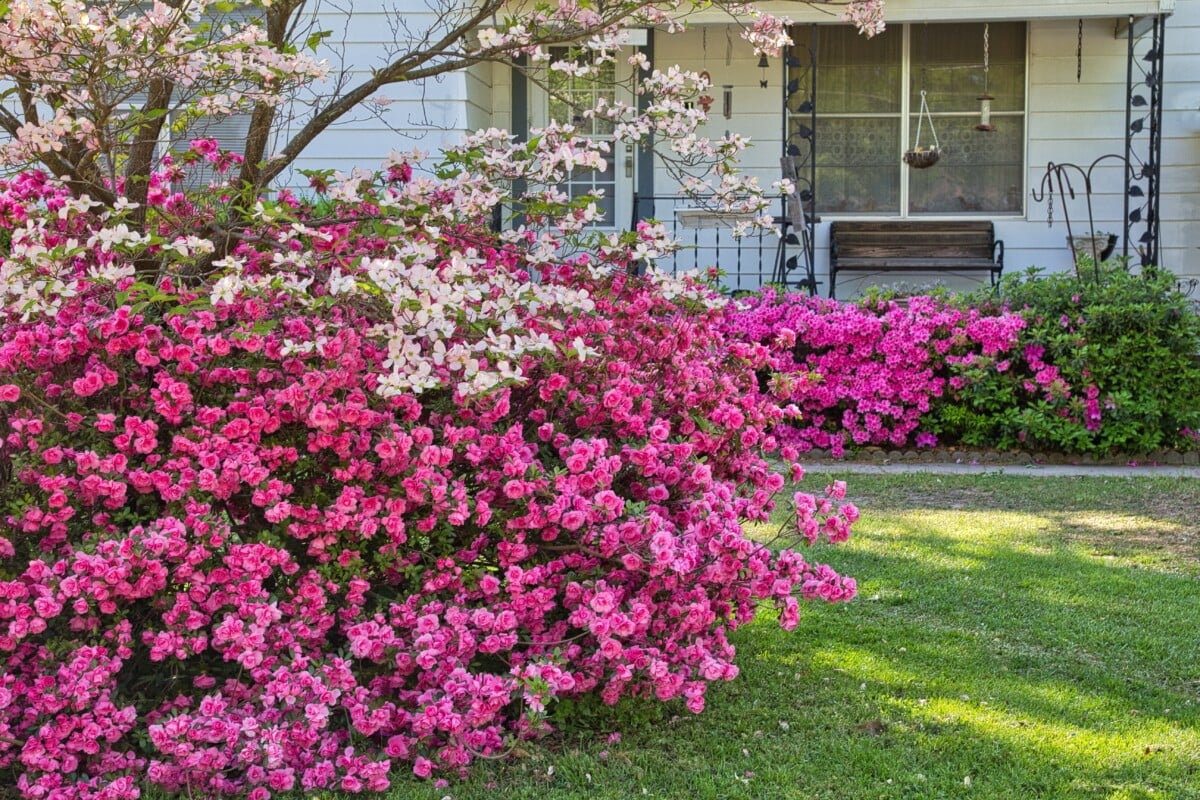
Spring is always the busiest time of the year in my yard. If you garden, it’s probably the same for you. There’s so much to do to get flowers and vegetables, and fruit and shrubs going. It’s easy to overlook a plant or two.
When it comes to spring azalea care, three things hold true:
- It’s the most important time of the year for taking care of these plants.
- You have a specific window of opportunity to meet their needs.
- Finally, those needs are pretty easy to take care of.
So don’t sweat it. We’ll get your azaleas squared away and your spring off to a great start.
Azaleas vs. Rhododendrons
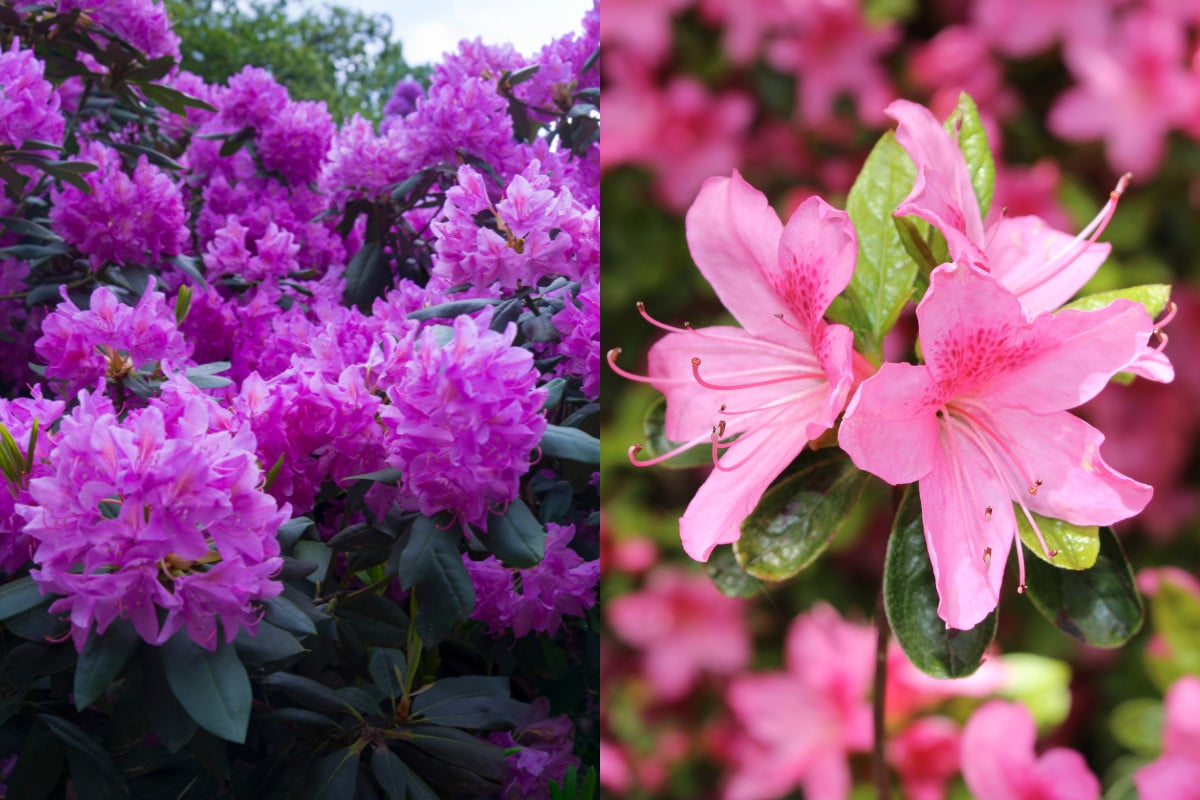
I remember moving into a house with an azalea-rhododendron type plant in the yard and thinking, “Wait, is this an azalea or a rhododendron? Shouldn’t I know this?” I wasn’t alone; this is a plant that trips up a lot of people.
Azaleas are actually part of the rhododendron family. So, if you want to get technical, all azaleas are rhododendrons, but not all rhododendrons are azaleas.
Once you know what to look for, it’s easy to differentiate between the two. Rhododendrons are large, sturdy shrubs with broad, leathery leaves that are evergreen. They have clusters of bell-shaped flowers. Azaleas tend to be more compact, and their blossoms are more funnel-shaped. They are the diminutive member of the rhododendron family. They have thinner leaves and can be either deciduous or evergreen.
And if you want to really get up close and personal, to be sure: azalea blossoms usually have five stamens, whereas rhododendrons usually have ten.
But when in doubt, check the leaves first. Large and leathery = rhododendron. Small and narrow = azalea.
The Three Essentials of Azalea Spring Care

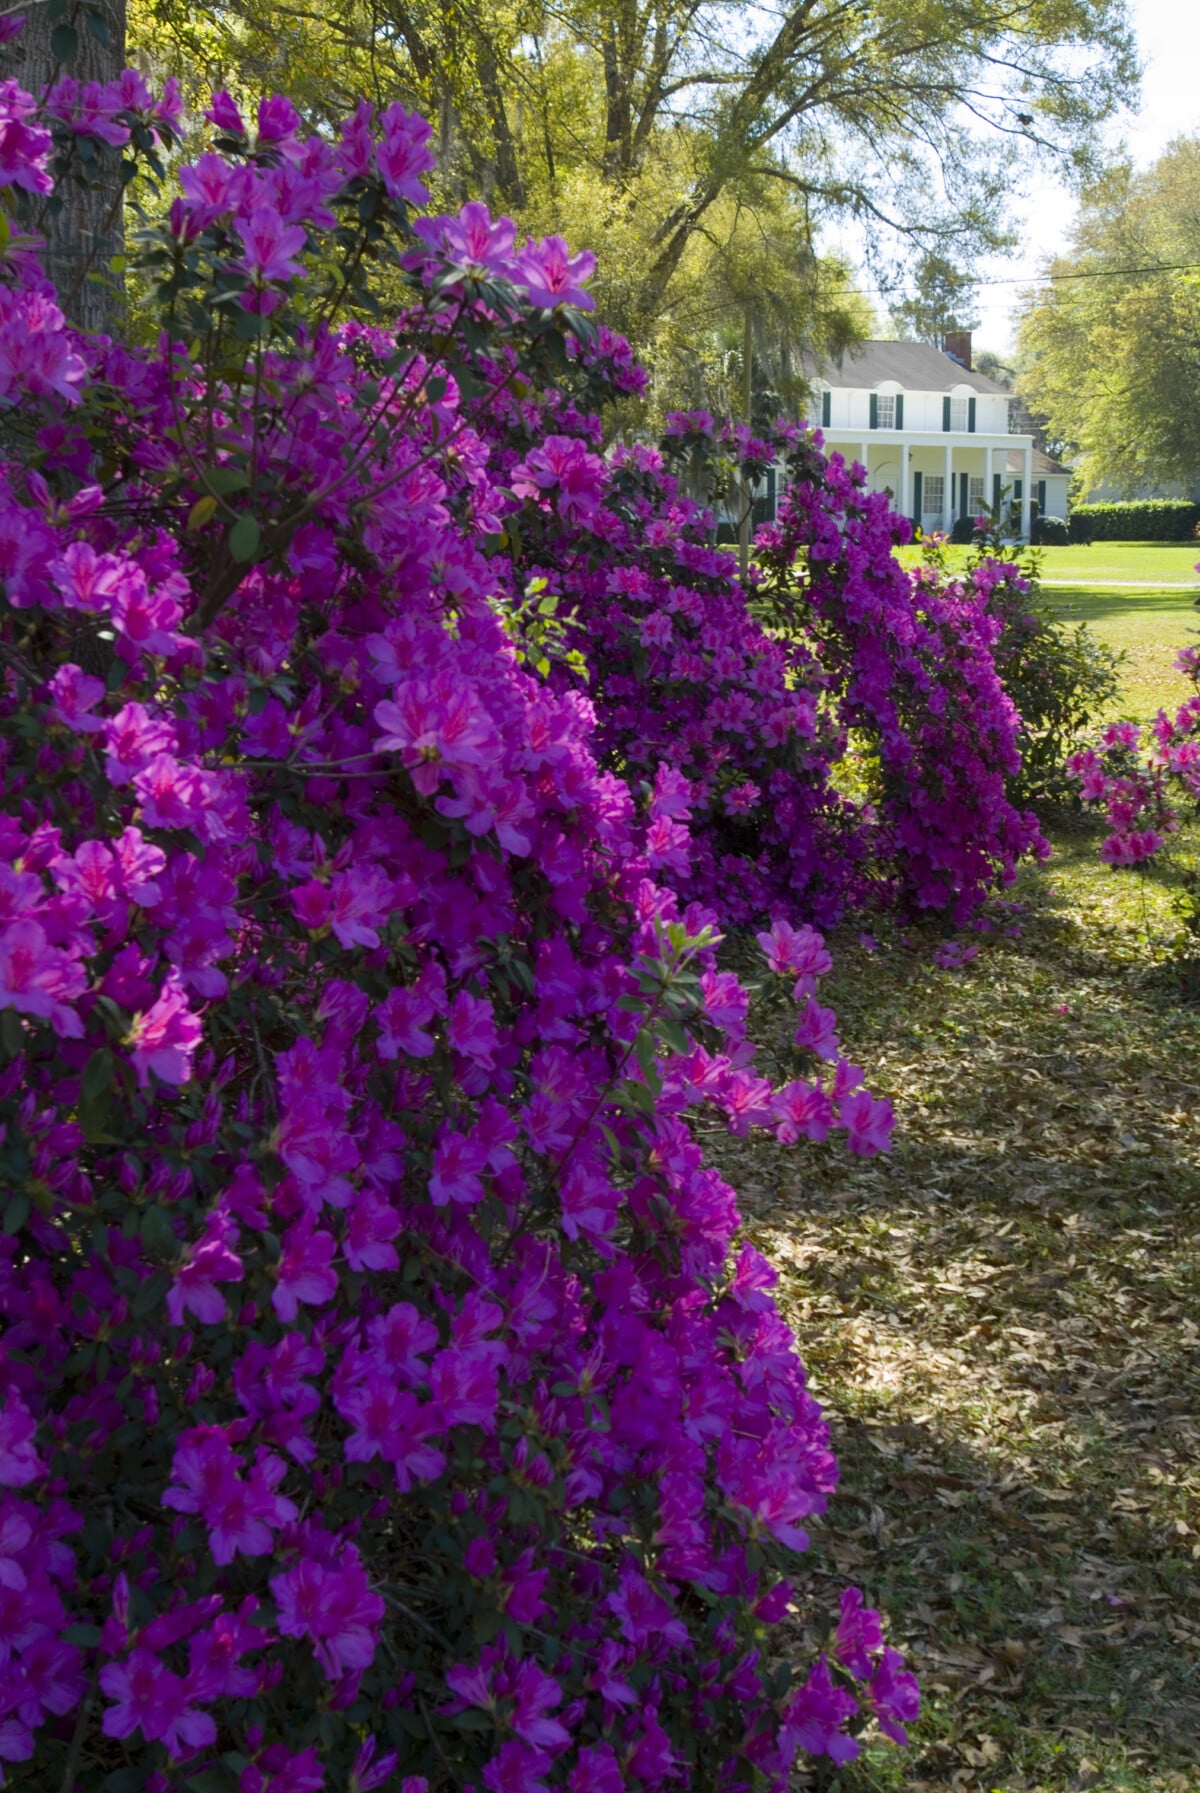
As winter draws to a close, these blooming plants break their dormant period and start growing again. These guys are old wood bloomers, which means that the flowers you’ll soon be enjoying grew last year and have been chilling on the plant through the fall and winter.
Depending on what part of the States you live in, you can expect azalea blossoms as early as March. As we continue northward up the country, those blooms show up around April and into May.
If you want healthy and robust azaleas that are covered in blooms every spring, then it’s important to get these three tasks taken care of every year.
1. Mulching Azaleas

Mulching your azaleas is the first thing you should do for them each spring. I like to grab my wheelbarrow and my shovel and just hit up all the plants that need a little mulch touch-up, all in one go. It usually only takes me an hour to hit up all of my shrubs.
Azaleas prefer the soil to be consistently moist without being soggy, and the best way to maintain that moisture is by mulching. They have shallow, fibrous root systems that grow quite close to the surface of the soil. (Only about 2-3” below ground.) This means if you don’t mulch them, the soil and roots dry out quickly. They’re also more susceptible to the wild temperature swings that come with spring weather, so you can see why mulching is so important. It acts as an insulator and a moisture barrier.
To get the most bang for your buck, mulch around azaleas in early spring with about 2 to 3 inches of your favorite organic material.
(We’re big fans of wood chips here at my house. With all the crazy spring storms, I can almost guarantee a free load every year.)
Be sure to spread the mulch evenly all the way out to the drip line (exactly what it sounds like, the line beneath the perimeter of your shrub where water would drip off of the leaves) of your azalea. Doing this protects the majority of the root system just below the soil. But leave a little space around the base of the bush, as having moisture locked in right around the neck of the shrub is just inviting fungal diseases or worse, root rot.
If last year’s mulch looks pretty good, then save yourself some time and effort and gently fluff it up with a rake and a light top dressing of new mulch.
2. Feeding – The Golden Rule
There are two common fertilizing mistakes when it comes to feeding azaleas. Let’s make sure you aren’t making either one of them.
The first is timing. Too often, folks fertilize their azaleas in early spring, mistakenly thinking it will lead to lots of flowers. I mean, yeah, it could, but you won’t see them until next spring. Remember, azaleas are old wood bloomers. They already have all their flowers for this year ready to go. They grew them last summer with the nutrients available in the soil then.
The second issue is over-fertilizing. Azaleas are not heavy feeders.
They really don’t need a ton of nutrients to do well. If you go nuts with the fertilizer, you run the risk of burning the roots.
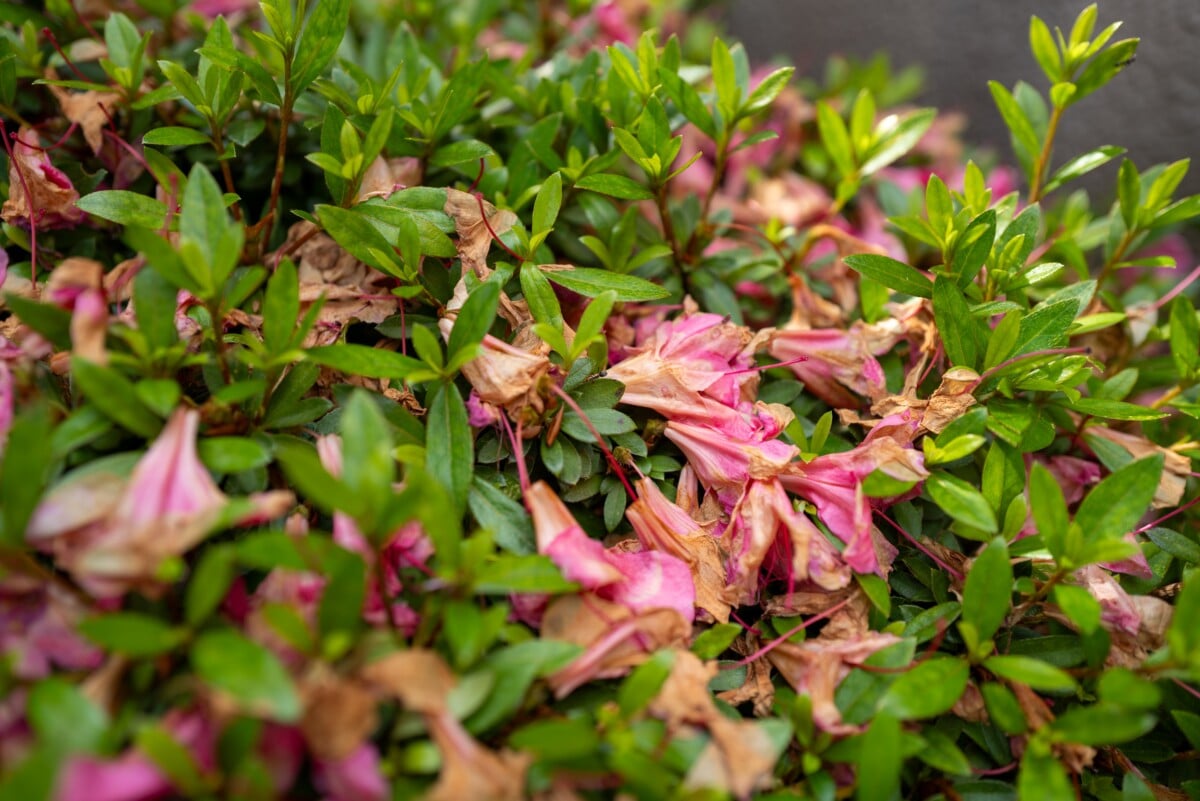
So, when it comes to fertilizing your azaleas this spring, we’re going to use the golden rule – wait until the blooms start to fade. Once the plant is done blooming, it will need those nutrients to grow and produce blooms for next year. If you wait and do it later in the season, you can encourage tender new growth right before winter, and the plant will suffer cold damage.
Feeding as the blooms fade ensures your azaleas get the nutrients they need right when they’re producing next year’s blooms.

Because these plants have specific soil needs and are not heavy feeders, it’s not a bad idea to choose a plant-specific fertilizer. Espoma’s Azalea-Tone is a great option with an NPK of 4-3-4 and 5% sulfur. No matter what fertilizer you choose, follow the instructions on the bag. Resist the “and a little more, just in case” urge.
This is also a great time to get your soil tested if your plant isn’t thriving. Knowing your soil pH and the nutrient makeup is the fastest way to get your plant back on track.
3. Pruning is Important, But Timing is Everything
Pruning in general seems to intimidate a lot of gardeners, especially where old wood blooming plants are concerned. But, I promise, it’s not difficult and won’t take much time at all. And look, at the end of the day, if you mess it up, the cost is next year’s blooms, not your whole plant. It’s a bummer, but not the end of the world. But you won’t mess it up. You’ll be fine.
Pay attention to when your azalea begins to bloom. Set a daily reminder on your phone if you need to, to check it. (I, too, am a forgetful gardener.) As soon as the buds fade, you need to prune. You’ve got a window of a few weeks to get the job done before the plant starts growing next year’s flower buds. Azaleas typically begin growing new flower buds four to eight weeks after the plant has finished blooming.
Once those last blossoms drop, grab your trusty Felcos and let’s get started.
You’re only making two cuts here: maintenance cuts and shaping cuts. Go in and prune away dead or damaged branches. If there are branches that are crisscrossed and rubbing on each other, choose one and prune away the other. You can also cut off any remaining spent flower heads.
Finally, take a step back and look at the plant from all sides. Remove any growth that looks wonky or gives the plant an odd shape.
Alternatively, if you’ve let this chore get away from you, and it’s been a few years, it’s time to get serious. If your azalea is overstepping its boundaries or just really looking out of shape, go in with your pruners and be more aggressive. You can remove a third to half of the plant to reset it, although if your plant has reached this point, you’ll generally be sacrificing next year’s flowers. But the new growth the following year will blow you away, and you’ll be more likely to keep on top of annual pruning in the future.
All in all, your azaleas don’t need a whole lot to look amazing and show off tons of blooms every year. A little mulch, a little food and a light trim, but the care they do need is timely. For most of us, knowing is half the battle, and now that you know, your plants will flourish.

Get the famous Rural Sprout newsletter delivered to your inbox.
Join the 50,000+ gardeners who get timely gardening tutorials, tips and tasks delivered direct to their inbox.