


One of the constant limitations of my gardening plans is a lack of space. I’m confident enough by this point in my gardening experience that I can prune, propagate and start plants from seed like a pro. But I can’t exactly extend into my neighbor’s yard for more gardening space.
So whenever I find a solution to overcome this limitation, I fully embrace it.
If you’re also looking for a way to pack more plants in a small space, allow me to introduce you to the herb spiral.
What’s an herb spiral?
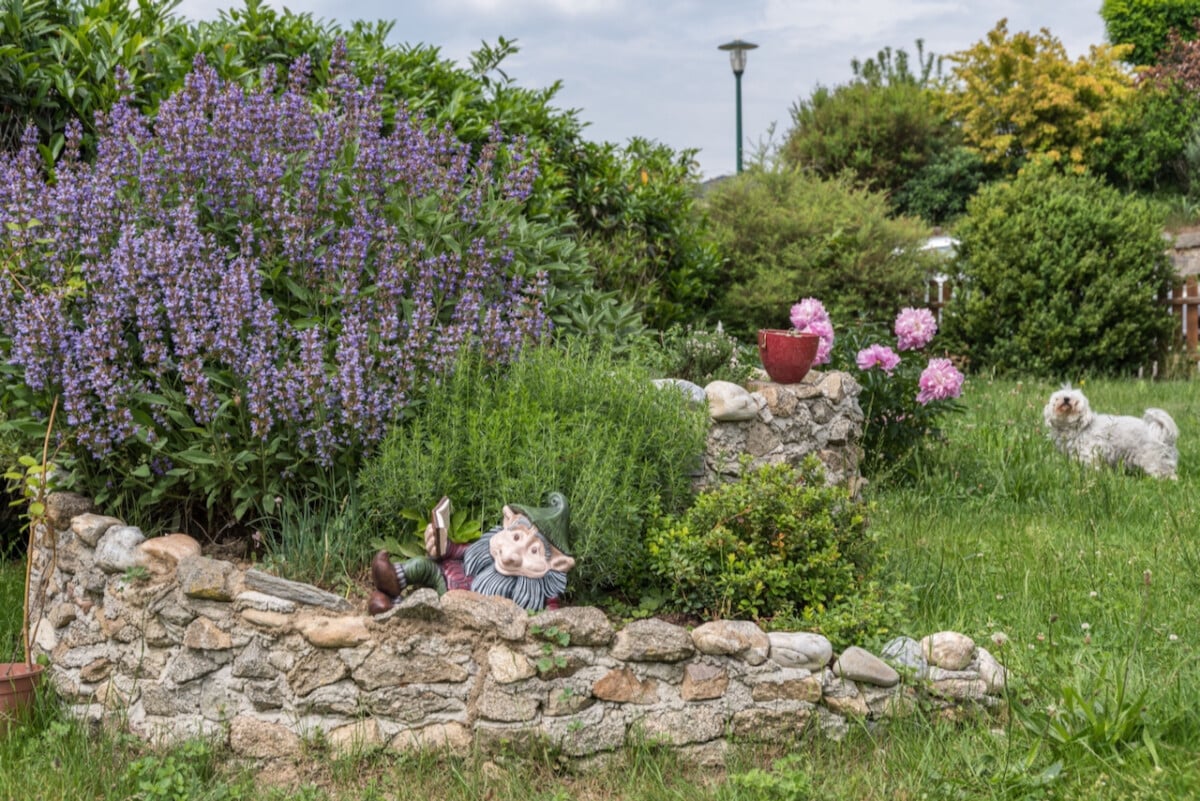
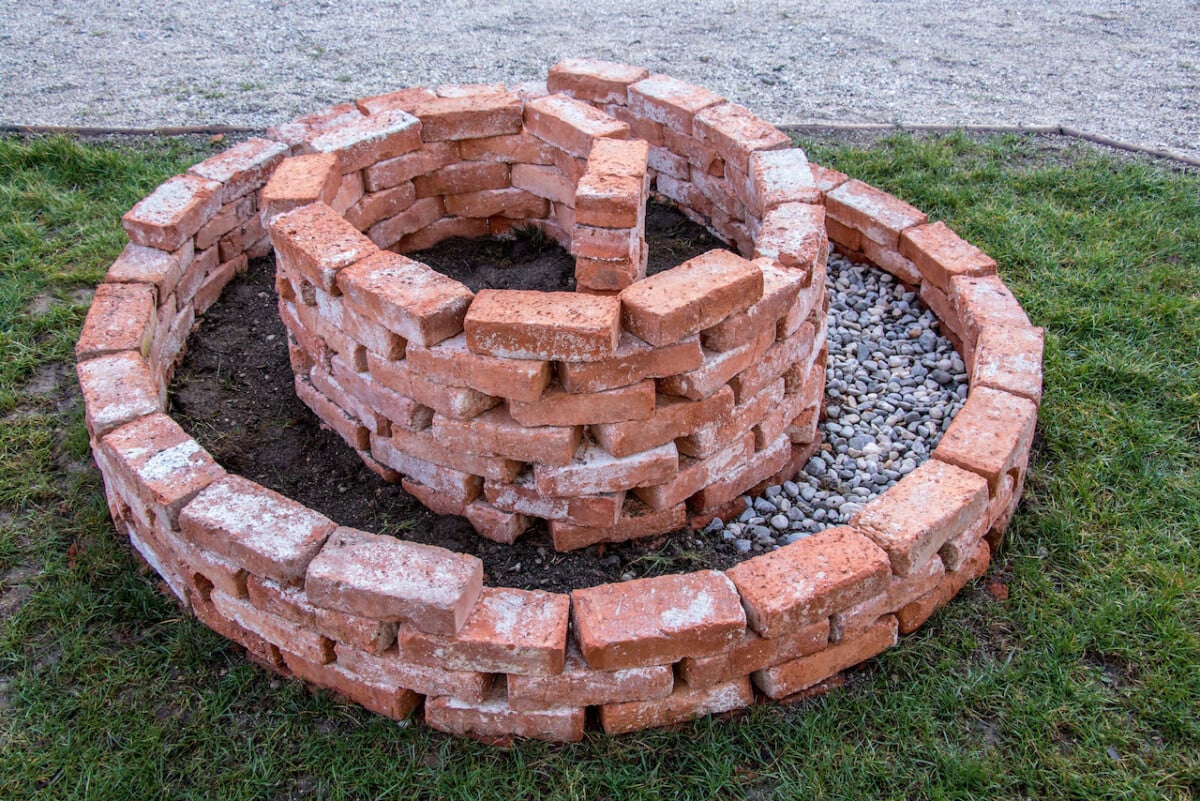
This is what I’m talking about.
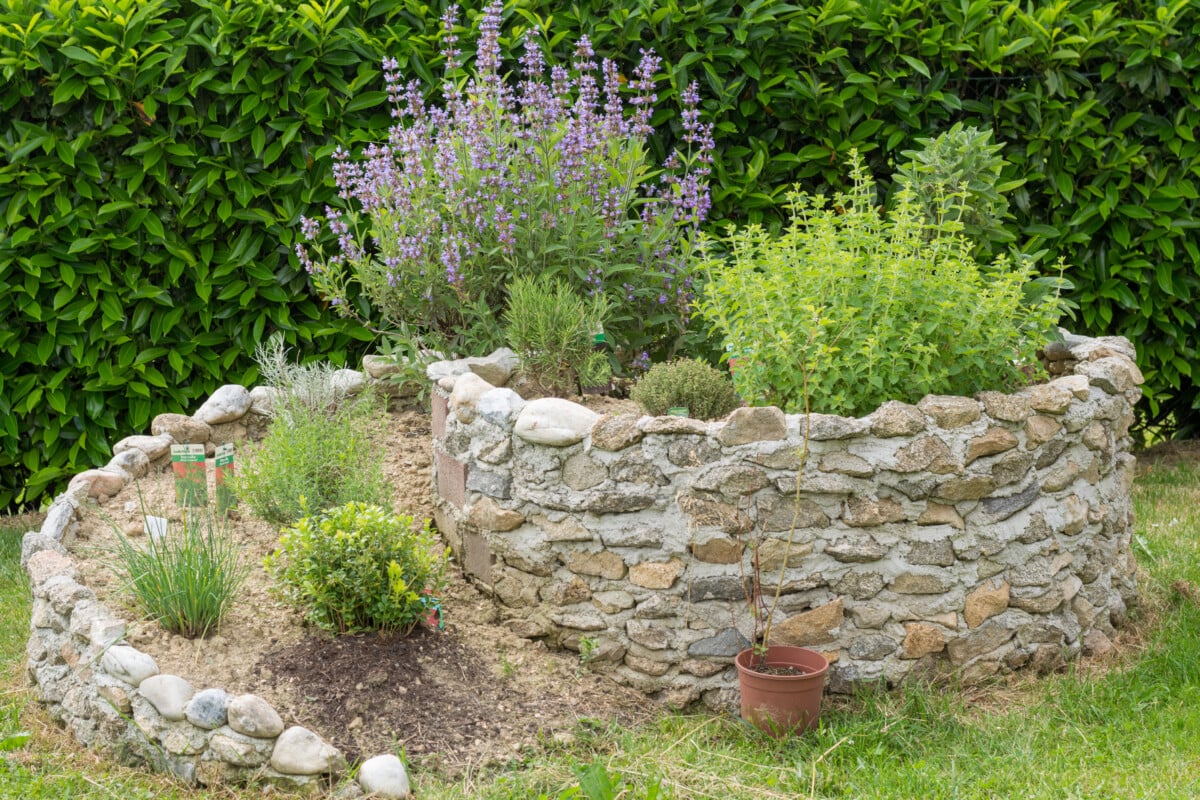
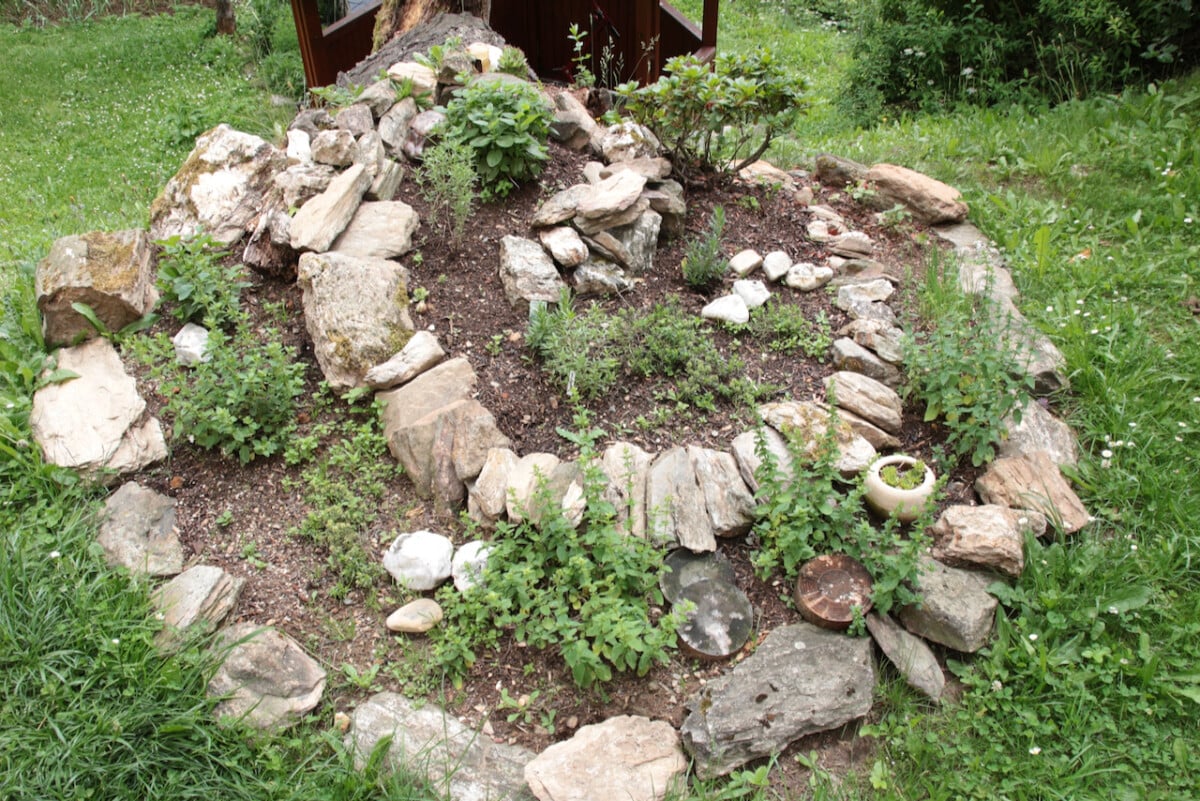
It’s a raised bed built in the shape of a spiral. The coils of the spiral form mini-beds in which we can grow herbs and other such flavorful goodies.
The herb spiral is an excellent solution for small spaces.
One of the main advantages of planting this way is maximizing the number of plants we can fit in a space.
True, an herb spiral is a bit more intensive to build at first, compared to just putting the herbs in the ground. But right away, you’ll notice that you can fit double the number of plants in the same footprint. By eliminating some of the footpath along the outer edges of a regular raised bed, we can add more plants in the spiral itself.
Think of it as the gardening equivalent of building three-storey apartment buildings rather than single-family homes.
Plus, having everything grow closer together means that we can water only one structure when needed; gravity works in our favor, and the excess water will drain down through the spiral, hydrating the lower layers.
Another advantage is that, if built right, the spiral shape makes the herbs very easy to pick on all sides. Since the middle of the spiral is taller than the edges, we can simply reach to pick the middle herbs and walk along the edges to pick the others.
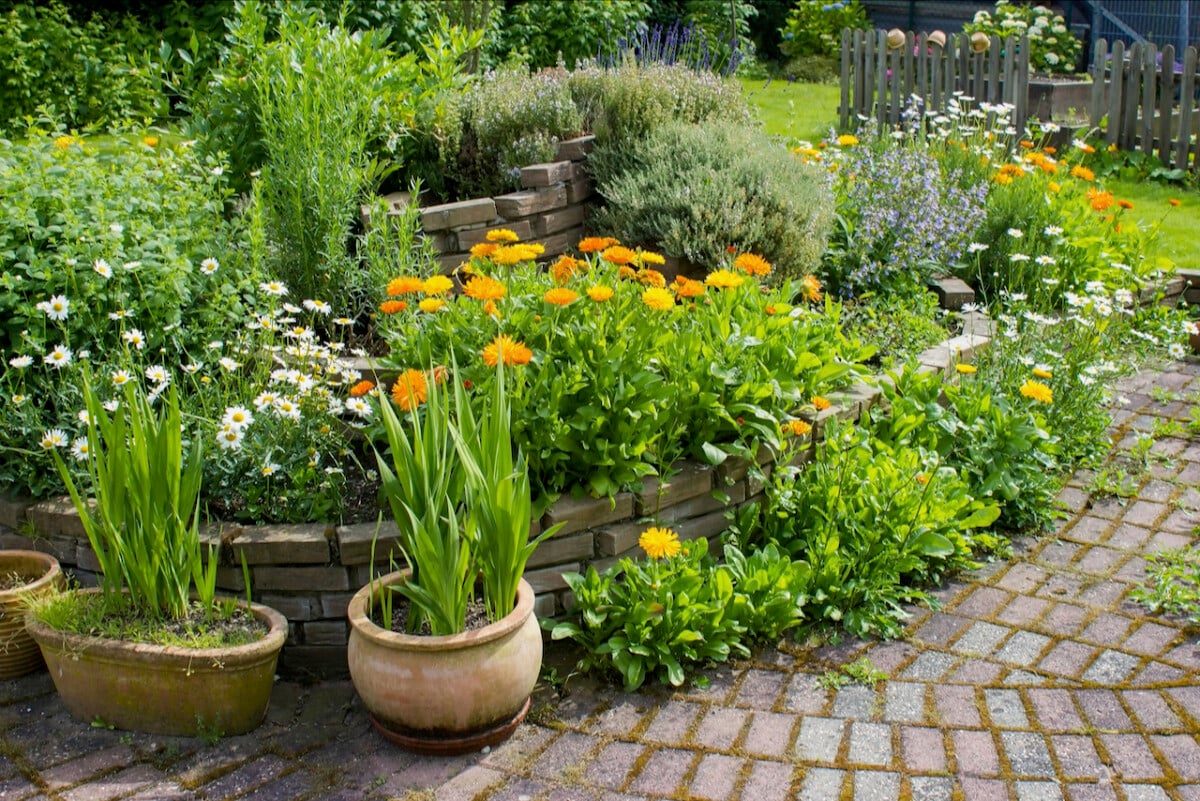
And let’s not forget the woah! factor. An herb spiral in the garden looks aesthetically appealing. By that I mean very, very cool!
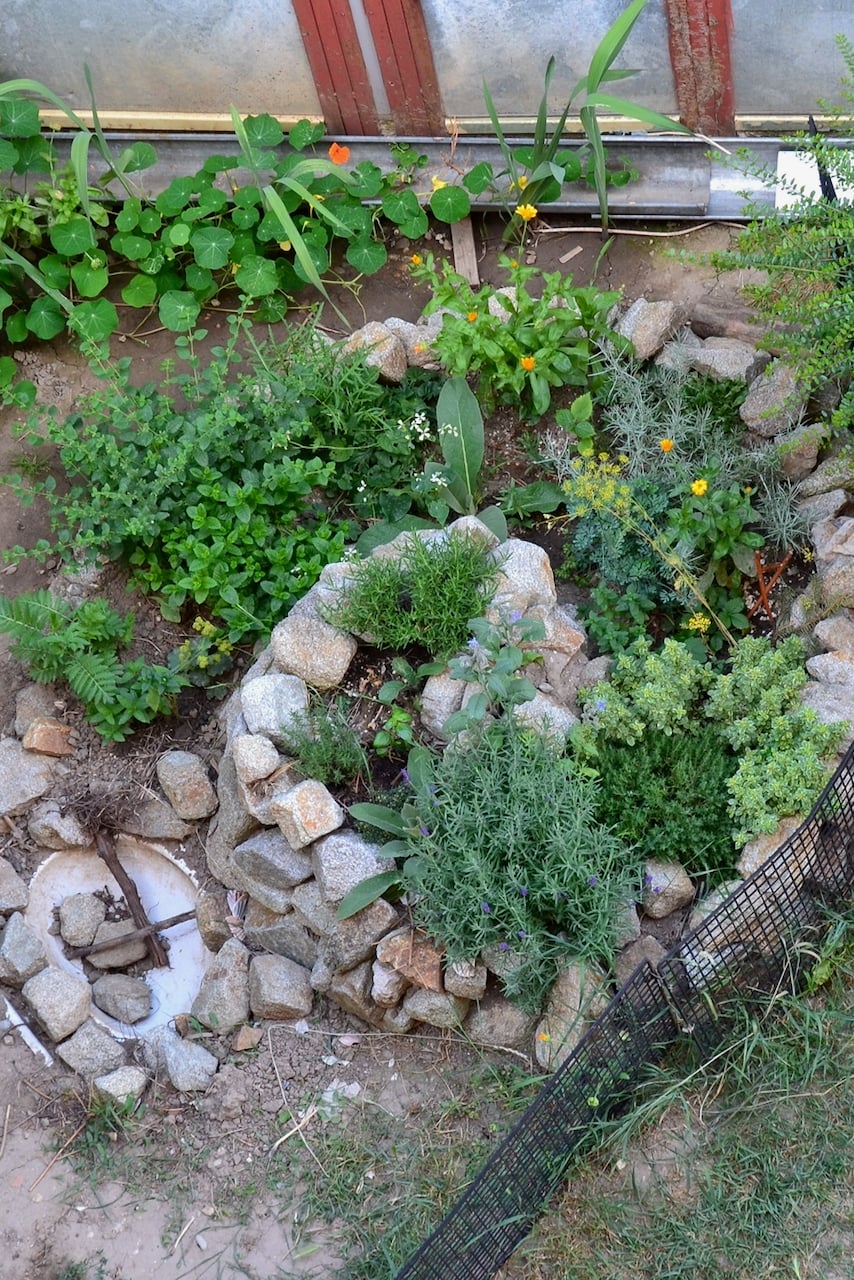
Microclimates in an herb spiral.
Another major advantage of growing in an herb spiral pattern is the creation of microclimates. Maybe using that term is a bit of a stretch, so I think of them more like micro-microclimates.
Here’s how it works:
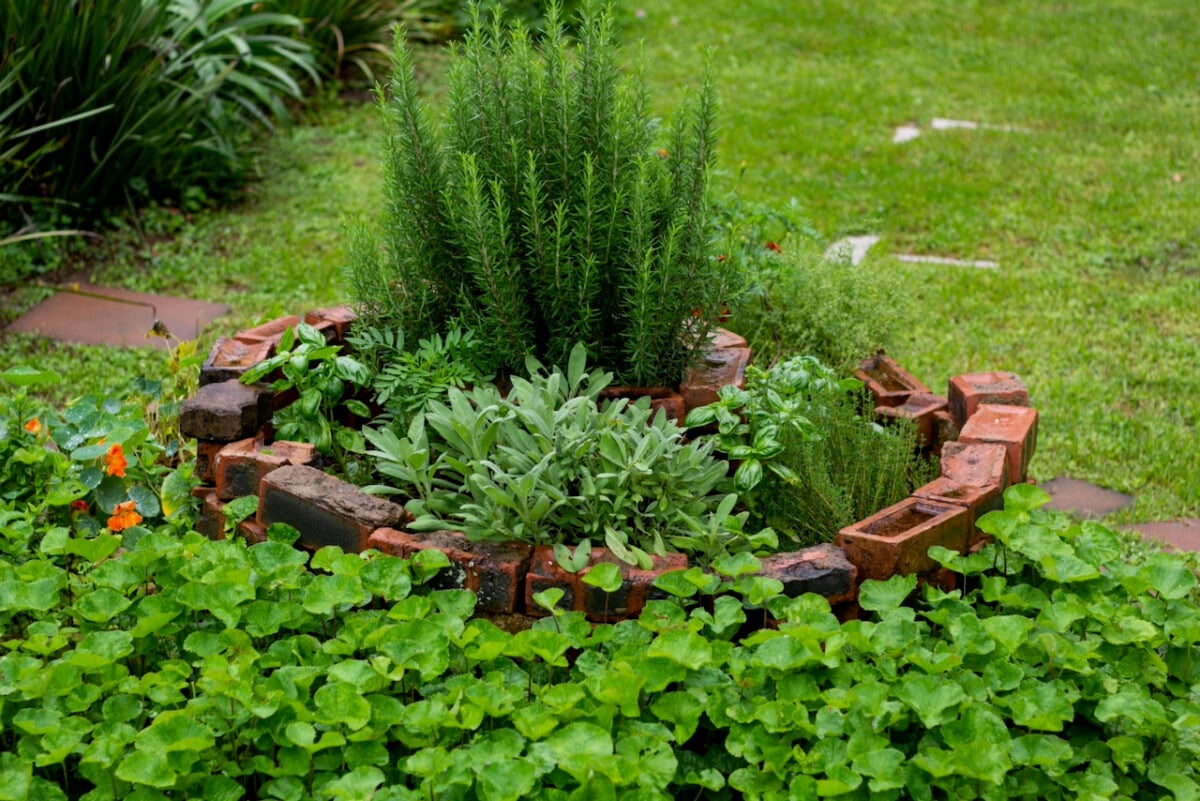
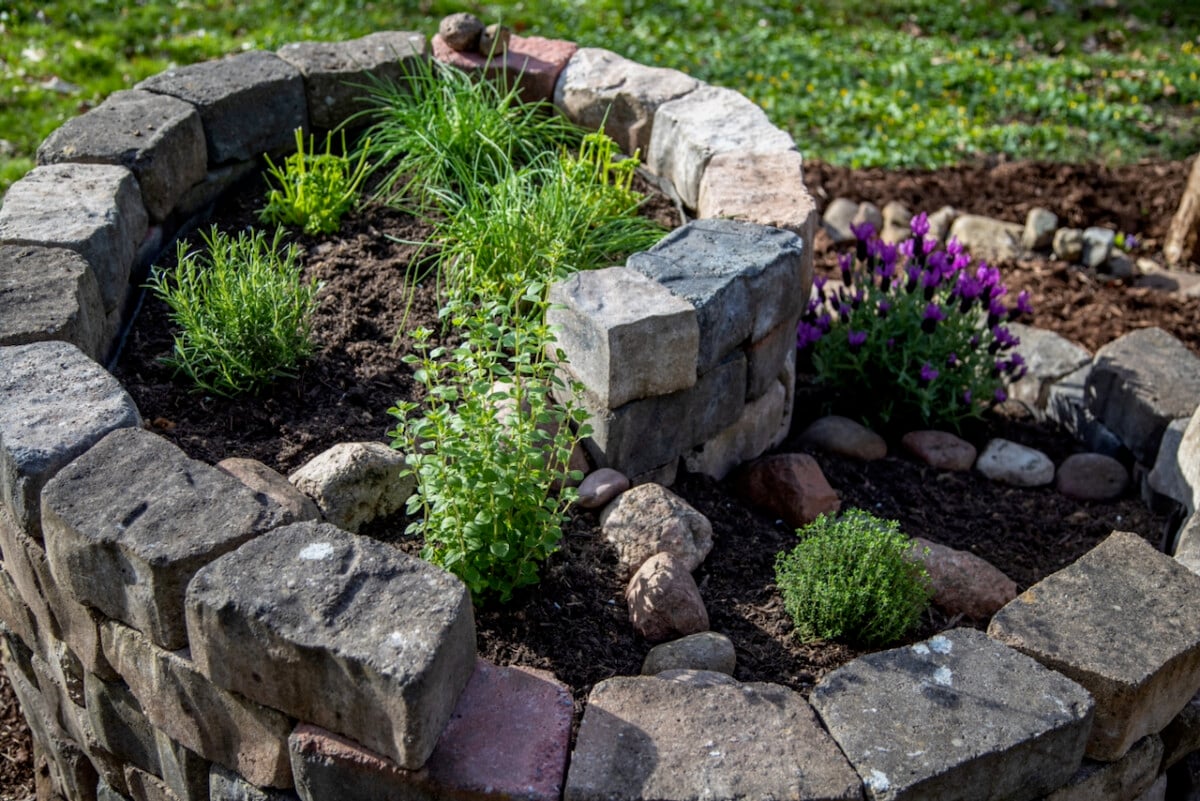
The space at the top gets the most sun, while also getting really good drainage. So when you choose herbs to go at the top, make sure they can handle these two factors. Think rosemary, lavender, sage, chives, savory – generally the tough stuff.
On the other hand, the lower we go on the spiral, the damper the soil will stay.
Also, keep in mind that the top of the spiral will cast a shadow over the lower parts of the spiral. At different times of day, you’ll have different plants in the shade. So plants that need more moisture and can’t handle full sun – your parsley, basil, cilantro, dill – will do well towards the bottom of the spiral.
The height of the plant at maturity also plays a factor when we position it in the spiral. So the plants that like more shade and grow taller (say, fennel or dill) can stay along the lower edges, in the middle or on the north side of the spiral.
The herb spiral could extend the growing season.
These microclimates could make all the difference in the transitional months too, extending the growing season at a time when the evenings and mornings get much colder. The bricks and stones we use to build up the spiral structure will act as heat sinks that store heat during the day and release it at night, keeping the roots of the plants warmer.
In what other setup can we get so many growing conditions in such a small space?
What materials can we build the herb spiral from?
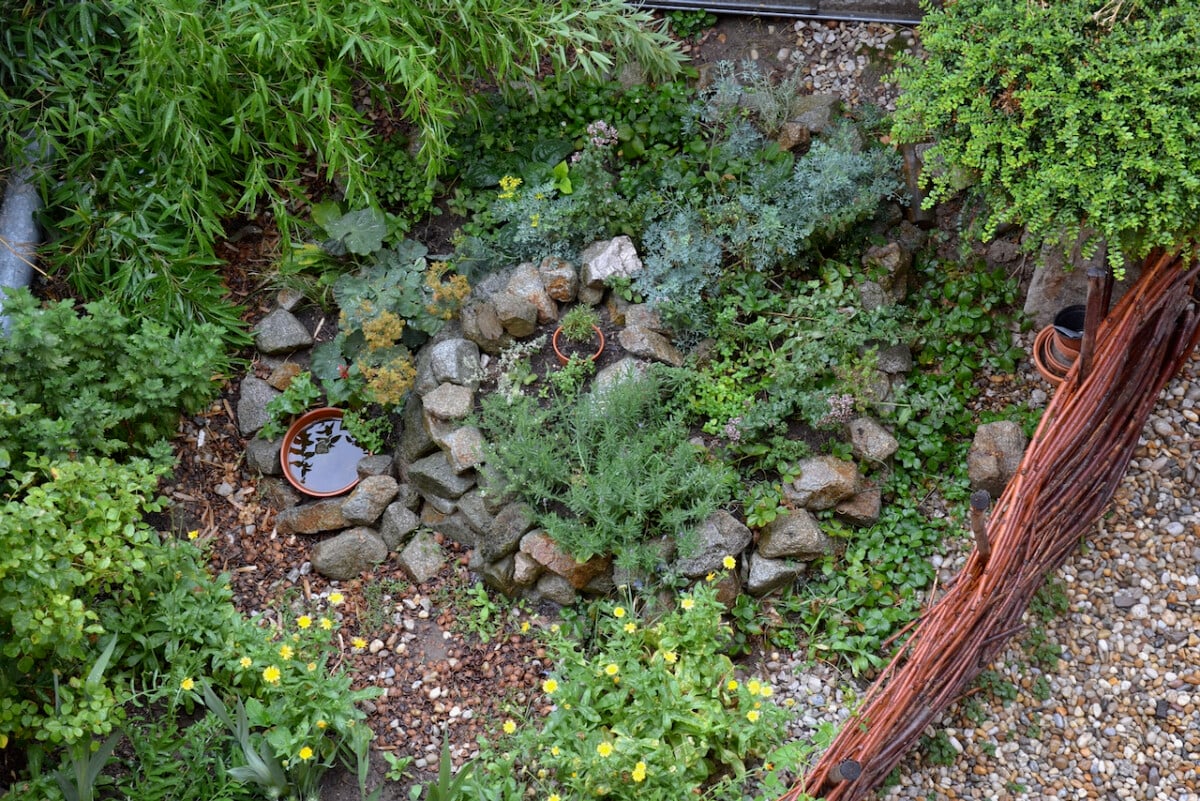
I’d say you can use anything you have on hand or can easily get your hands on. We can build it out of bricks, flat slabs or stones. Whatever you use, make sure that it’s easily stackable and that it will stay in place safely.
3 things to keep in mind when you’re building an herb spiral
Allow enough drainage at the base.
Remember that this is a permanent structure in which you’ll be adding a large amount of soil (by volume) on a small footprint. This means the spiral needs to drain well, all the way down into the ground.
This won’t be a problem on a dry summer, of course. But since we’re building a permanent structure, consider how it will fare in the winter, with extra precipitation.
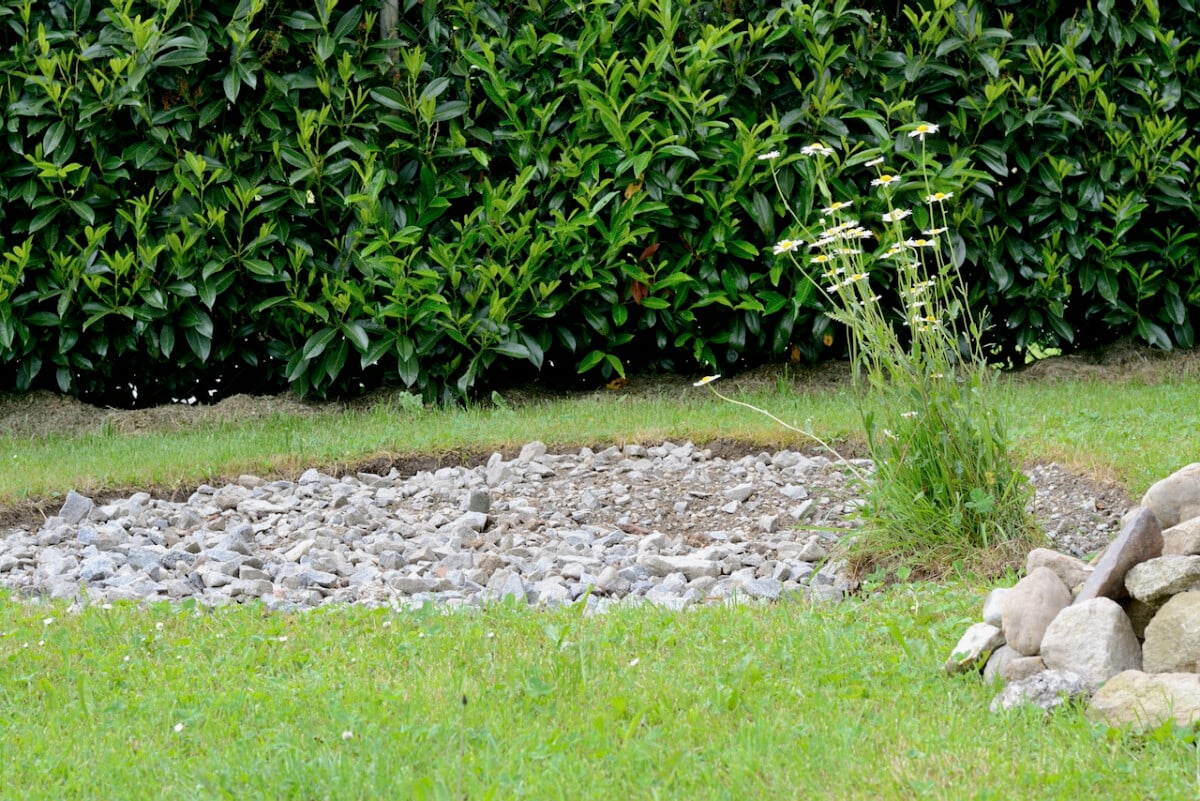
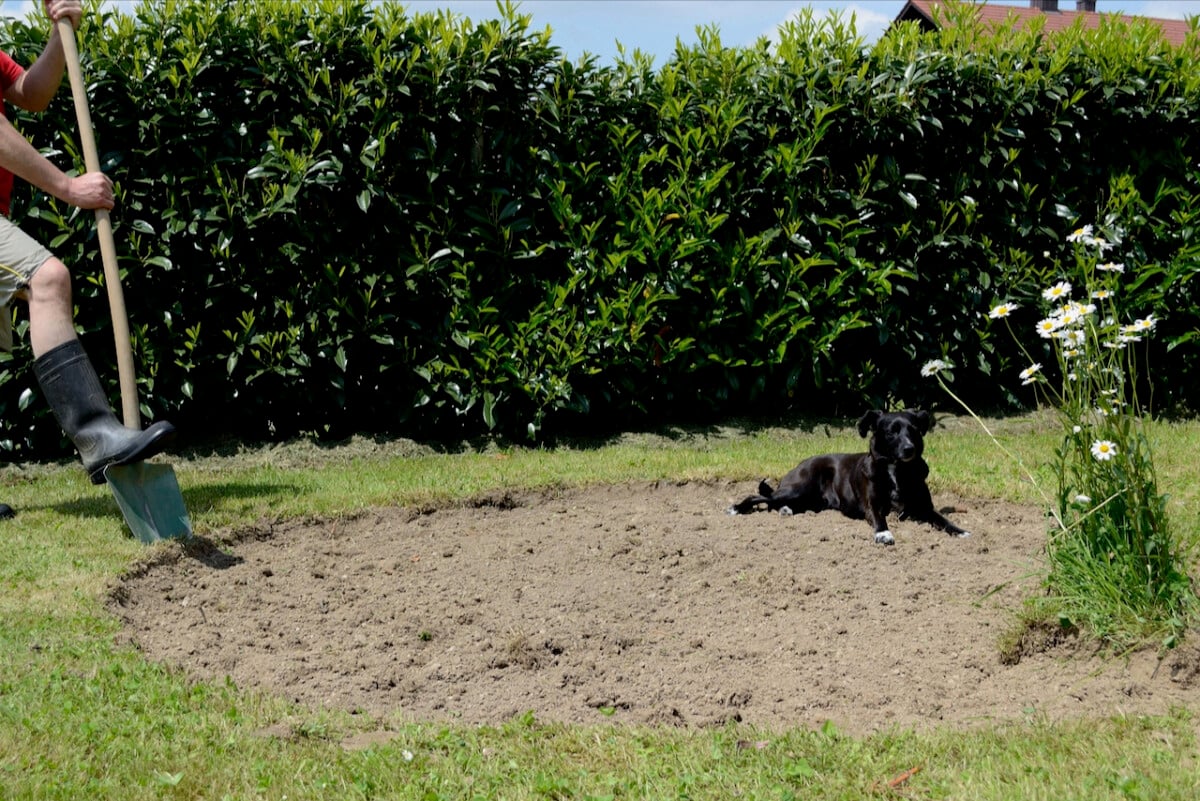
We can build the herb spiral straight on soil, or lawn or, if needed, a layer of gravel. Whatever you choose, don’t add an impermeable membrane at the base, like plastic or weed barrier. If you’re building directly on the ground, put down a layer of cardboard, which will kill weeds and grass while decomposing in place.

Build from the inside out, in a single layer first.
Obviously we’ll be building the spiral gradually, from the inside out. But let’s start by doing a single layer layout first, before we start stacking all the bricks or stones in the middle.
We can play with the layout until we get a better idea of the size and shape of the spiral, as well as how wide we want the growing space to be.
It’s tempting to build a tighter spiral and pack more coils around it, but remember to leave enough room for the plants to spread their roots.
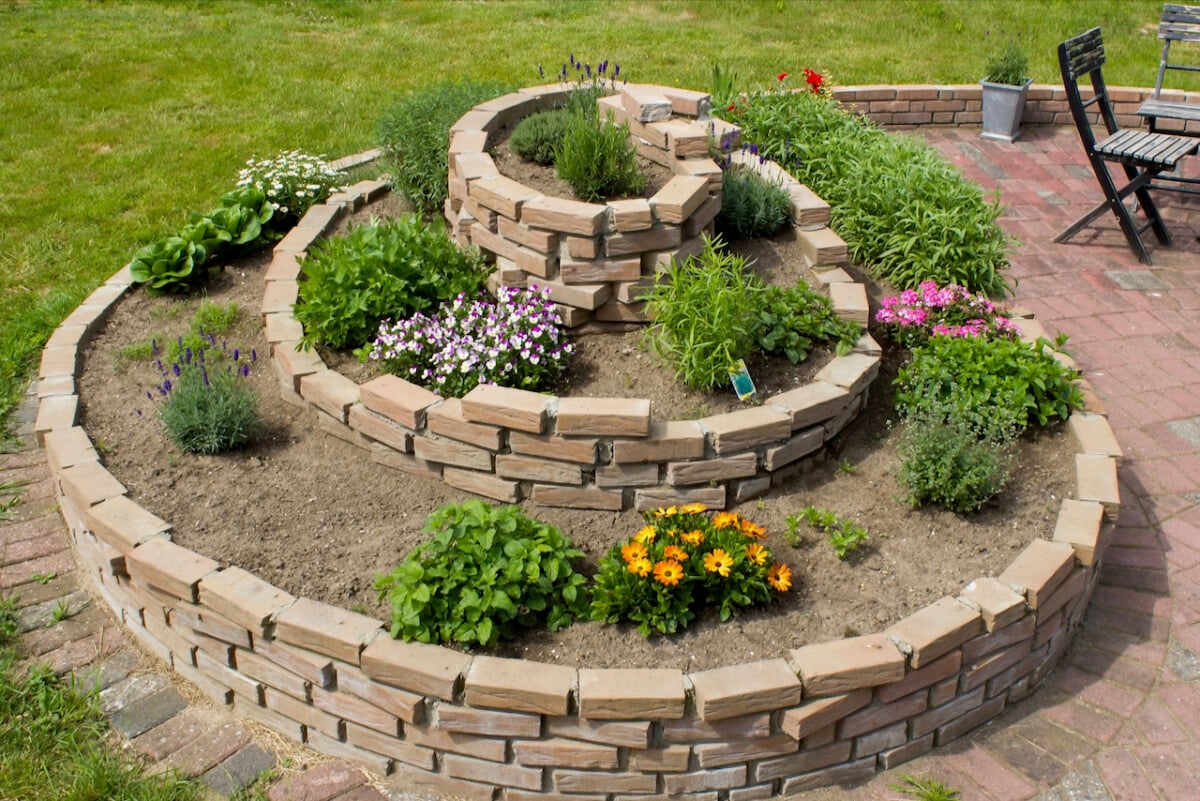
Once you have a layout you’re happy with, stack your stones or bricks on top of each other, gradually decreasing the height of the walls as you build outward.
Keep the size practical.
The size of the herb spiral is totally up to you, of course, depending on your space availability, location and planting scheme.
However, my advice is to keep it manageable, both in height and in width. Make sure that the shortest member of your (gardening) household can reach and pick every plant in the spiral by just walking around the perimeter. (It’s me. I’m the shortest member of my household.)
There’s no point in optimizing for space if you have to climb all over it to reach the plants in the middle. And if you want a larger spiral, just make sure the plants can be reached from multiple sides.
A few popular sizes that I’ve noticed vary between 6-7 feet wide at the base and 3-4 feet tall. Again, do what works best for your space and your growing goals.
What kind of plants grow well in an herb spiral?
It’s not a silly question, I swear. Because we can grow more than herbs in an herb spiral.
Here are my suggestions to get you started and jolt your imagination
Herbs, obviously, but keep in mind that some are perennial and some are annuals. So when you plant your perennial herbs, leave some room to tuck in some annuals too. I mean, you wouldn’t want an herb spiral with no sign of basil, right?

Perfect herbs for a spiral include rosemary, thyme, chives, cilantro, parsley, oregano, sage, savory, tarragon, chervil, sweet cicely, lavender, curry herb, dill, coriander, fennel (the wild variety, not the one that grows a large bulb) and anise hyssop.
Have a look at my list of herb cultivars you can grow if it’s too cold in your zone to grow citrus.
Flowers: stick to annuals that don’t spread too much, such as calendula and cosmos.
Greens: listen, we won’t judge if you sneak in lettuce, mizuna, spinach or kale in an herb spiral. Food is food!
What won’t grow well in an herb spiral?
Fruiting plants that need a lot of nutrients and take up a lot of space, such as tomatoes, cucumbers, squash and zucchini.
Plants with bulbs and tubers. Sure, you can fit some tulip bulbs to brighten up the spiral in spring, but don’t expect to be growing potatoes in the spiral. There’s simply not enough root space.
Perennials that grow tall or spread wide, such as black-eyed Susans, artichokes, rhubarb, or delphiniums.
Aggressively spreading plants, such as mint. Yes, it’s an herb, but you might end up with a mint spiral in a couple of years. If you choose to plant it, you can keep it in a container. Otherwise, you’ll have to seriously up your mojito game.
So if you have a free afternoon, a wheelbarrow of extra bricks and a few bags of compost, you’ll now know how to put all of these to good use.

Get the famous Rural Sprout newsletter delivered to your inbox.
Join the 50,000+ gardeners who get timely gardening tutorials, tips and tasks delivered direct to their inbox.