

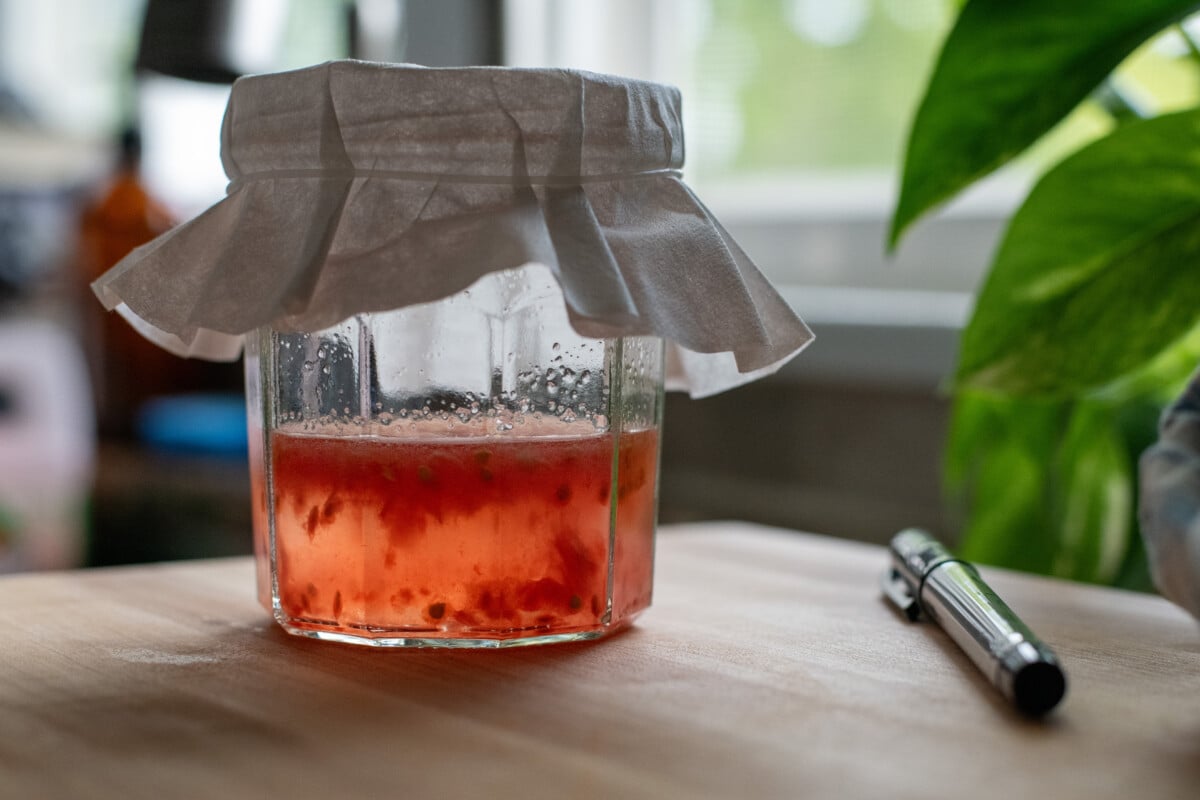
Once you begin growing tomatoes, it’s only a short time before you find yourself wondering how hard it would be to save your own tomato seeds. Oh, my friend, it’s not hard at all. Tomatoes, aside from being the most popular garden vegetable to grow, are also one of the easiest seeds to save. There are a couple of rules to keep in mind, but nothing difficult.
Grab a jar and your favorite tomato, and let’s save some seeds.
A Few Things to Keep in Mind
Saving tomato seeds is really as simple as choosing a nice, juicy tomato from a healthy plant, scooping out the seeds and letting them hang out in a jar of water until they get a little funky. Then we wash them, dry them and package them up for next year.
As we get started, though, there are a few things you’ll want to keep in mind. First, we’re going to ferment our tomato seeds first. Strictly speaking, you don’t have to ferment tomato seeds to save them, but doing so offers enough advantages that it’s silly not to.
A Cool Parlor Trick
The first reason we ferment our seeds is that they will self-sort. Viable seeds tend to be heavier and will naturally fall to the bottom of the jar as they soak. The lighter, non-viable seeds will remain floating at the top. When your seeds have finished fermenting, all your good seeds will be sitting on the bottom of the jar. Ta-da!
No Messy Jelly
I’m sure you’ve noticed that tomato seeds are coated in a sticky jelly-like substance. This seed gel contains several acids, which have important jobs—the first being flavor. The acids in this seed gel are partly responsible for that tomato-y tang we all know and love.
But aside from flavor, there are acids in the seed gel that protect the seed, preventing it from germinating too soon. If you’ve ever had volunteer tomato plants in your garden, it’s because a tomato fell and rotted the summer away before hanging out in the dirt all winter until the following spring. The seed gel coating the seed slowly broke down and wore away over the months until spring came and temperatures warmed and germination occurred.
Fermentation strips away that seed gel coating, making it easier for us to handle and store our seeds. Since our seeds will be spending the winter indoors, we don’t need to keep them from germinating too soon.
I saved seeds once without fermenting them. What a sticky mess! You’ll notice the preceding sentence said “once.” I got wise and have fermented my tomato seeds ever since.
Safe Saved Seeds
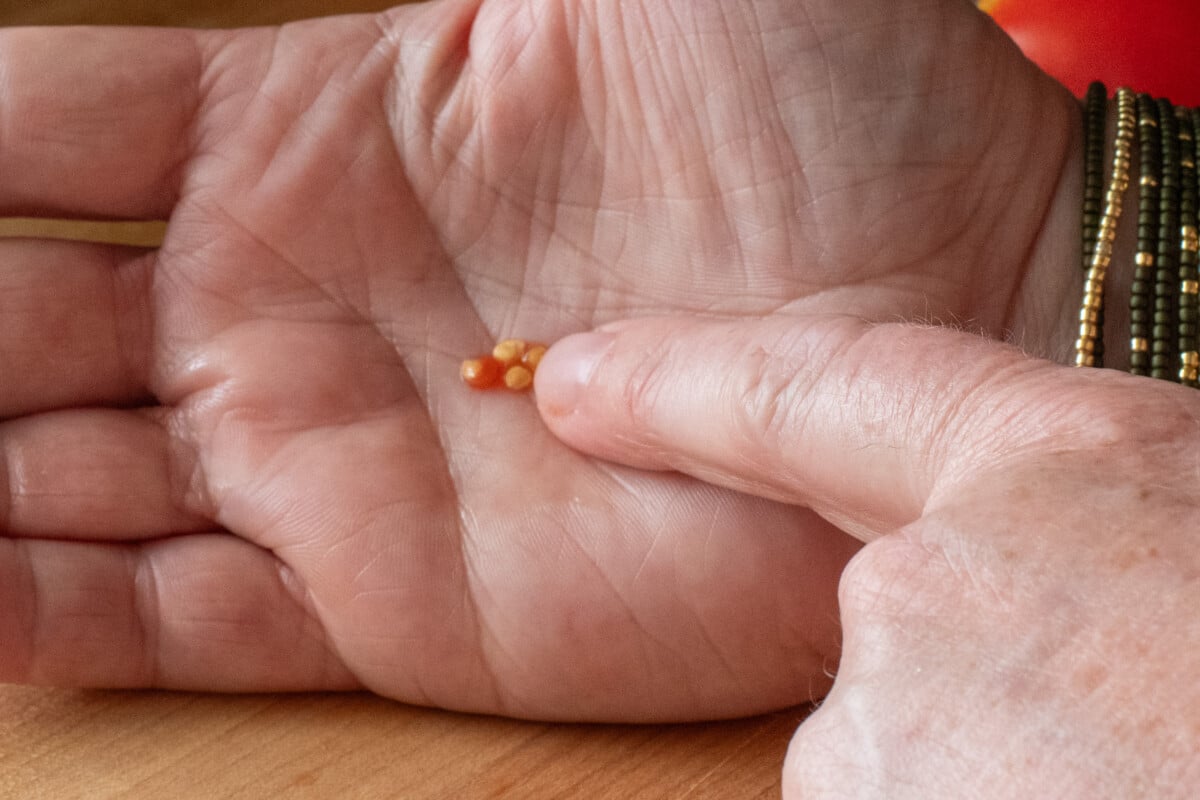
Finally, by fermenting seeds, we’re allowing the naturally occurring bacteria that cause fermentation to eat the seed gel. While it’s supposed to protect the seed, sometimes the seed gel can carry pathogens. By fermenting them, we’re killing off those pathogens, which gives us nice, healthy seeds.
From Which Tomatoes Can I Save Seeds?
Hopefully, I’ve got you firmly on board with fermenting your seeds. So, let’s take a quick look at which tomatoes you can save seeds from.
Always opt for a nice, big mature tomato from a healthy plant. I like to let my “chosen” tomato ripen fully on the vine rather than picking it at breaker stage.
You can save seeds from all open-pollinated varieties, also romantically known as heirloom tomatoes. When you save seeds from these, you will get the same tomato every year.
Hybrid varieties are not great candidates for saving seeds. These are bred so that the specific generation of seed you planted has the desired characteristics of the parent plants. We often choose hybrid tomatoes for disease resistance, less cracking, or early production.
If you save the seeds from a hybrid and grow them the following year, they will not breed true. Even if the tomato looks the same, it may not carry the same characteristics for which you initially purchased the hybrid seed.
A quick note: you absolutely can save hybrid seeds and grow them just to see what you get. It’s a fun little experiment to see how different the next generation of plants are two, three, and four generations away from the parent plants.
My Favorite Reason for Saving Tomato Seeds
Sure, you can always purchase more seeds, and yes, saving your seeds saves you money. However, my favorite reason for saving seeds is that plants adapt quickly to their surroundings. They are very good at changing to survive.
As the weather grows crazier each year, gardening is becoming harder and harder to do.
By saving tomato seeds, you are saving traits that your tomatoes have picked up growing in your garden, in your yard, in your very specialized microclimate. By growing the seeds from those tomatoes, you are growing tomatoes that are slightly more adapted to your garden than, say, seeds from a new packet.
And if you keep growing and saving seeds from that same variety of tomatoes, in a few years, you’ll have tomatoes that are more acclimatized to your garden than what you could get from a seed catalog.
Let’s Ferment Some Tomato Seeds
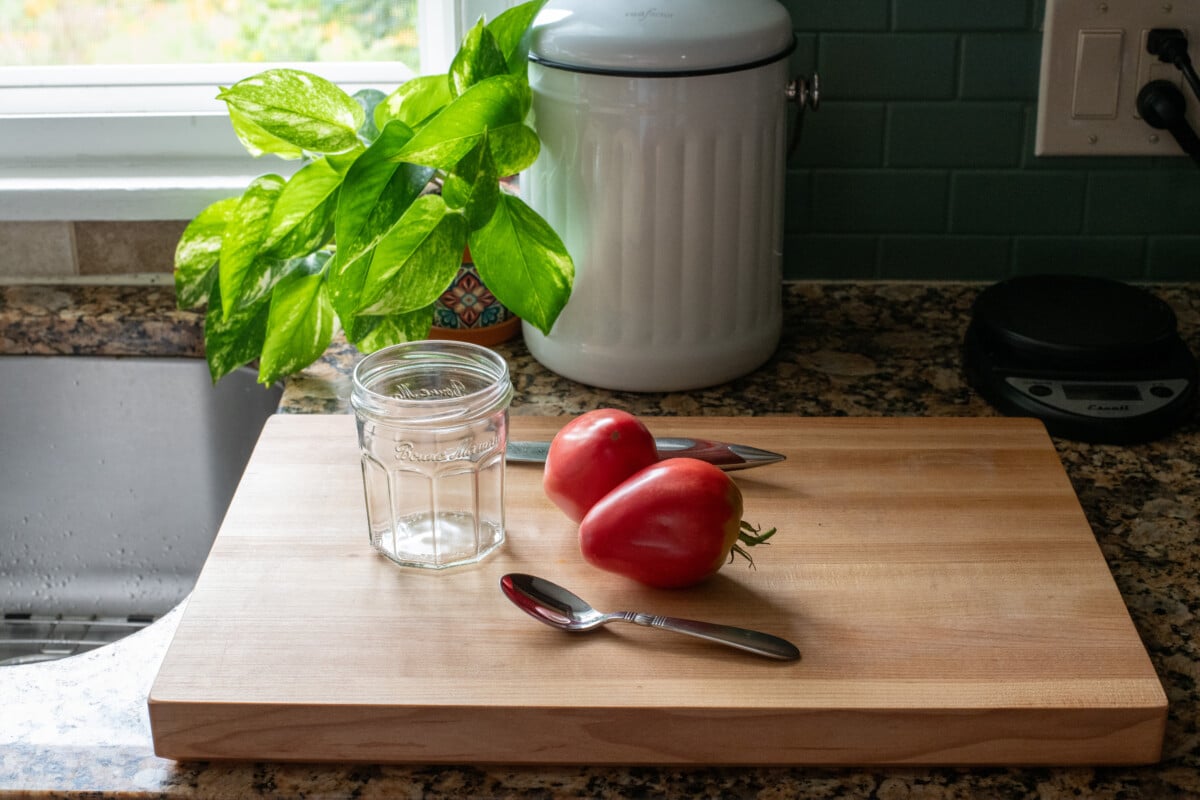
Do you have your selected tomato? Good. You’re also going to need a clean jar, a paper towel, a coffee filter or piece of cloth, a rubber band and a knife and spoon.
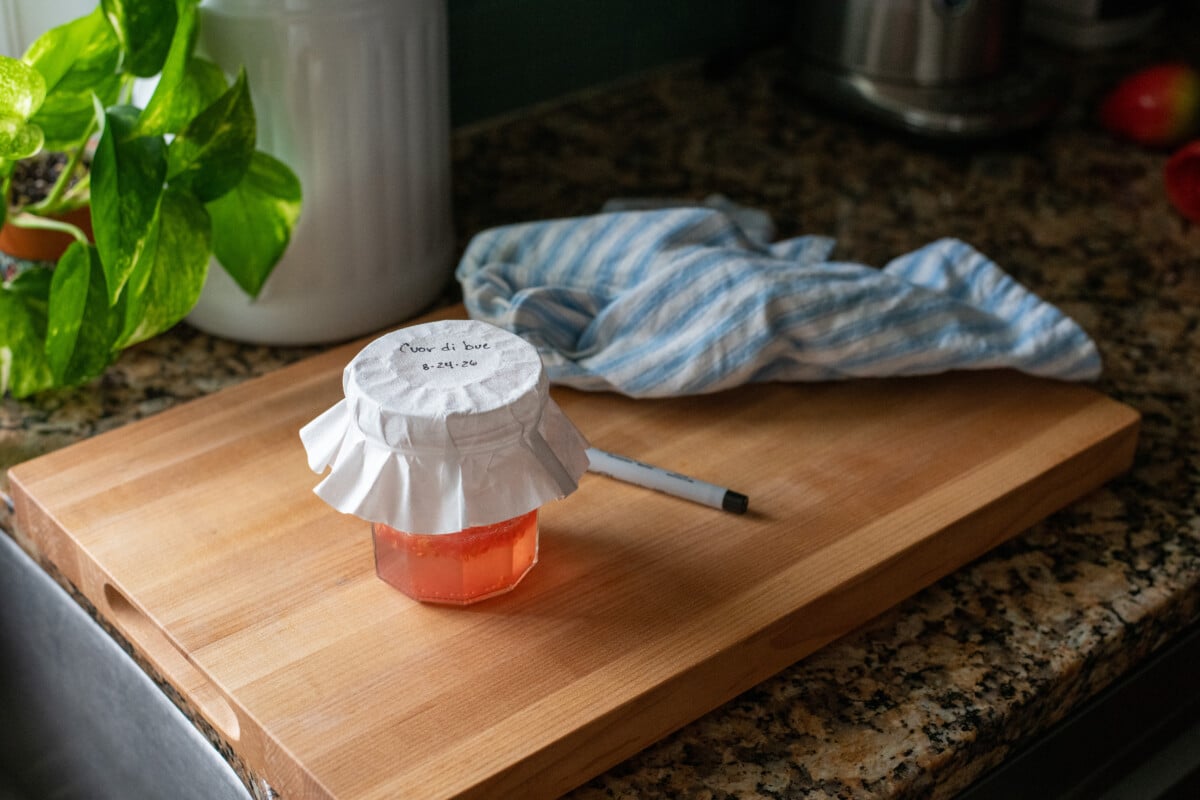
I’m saving some of my lovely Cuor di Bue tomato seeds. I love how meaty they are. They’re great slicers and sauce tomatoes.
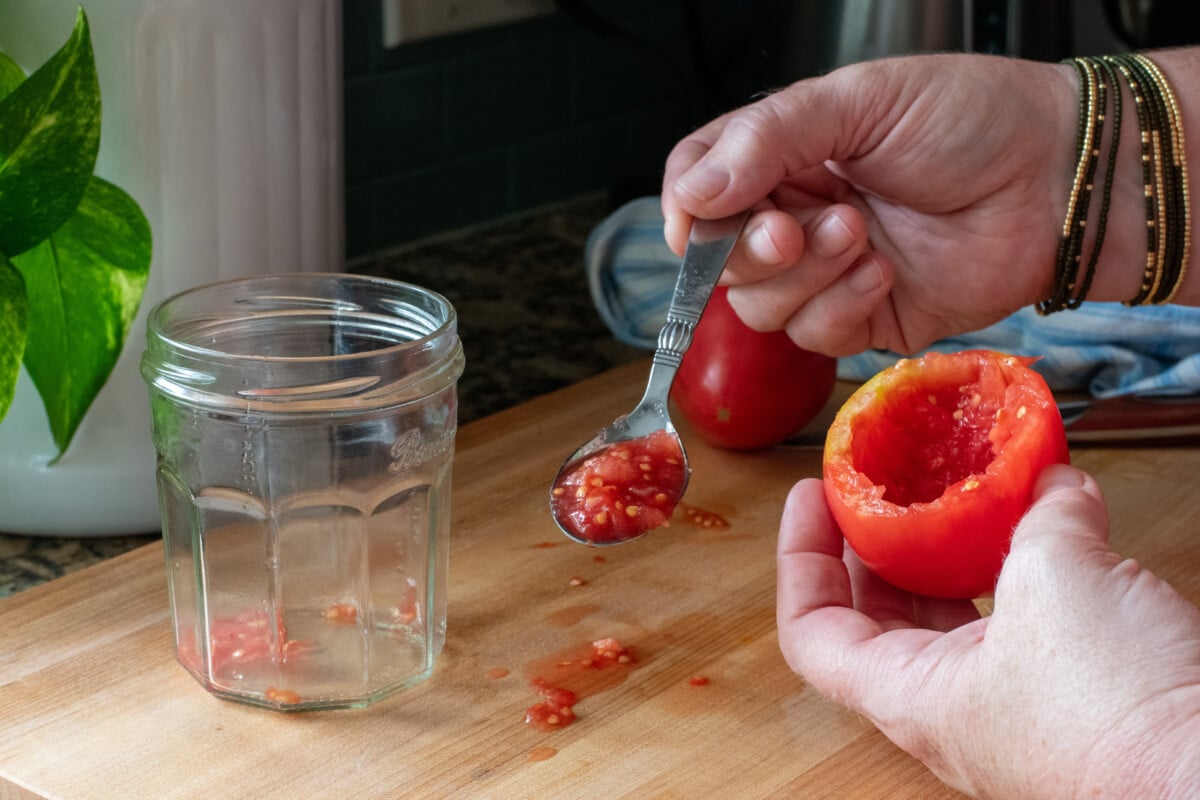
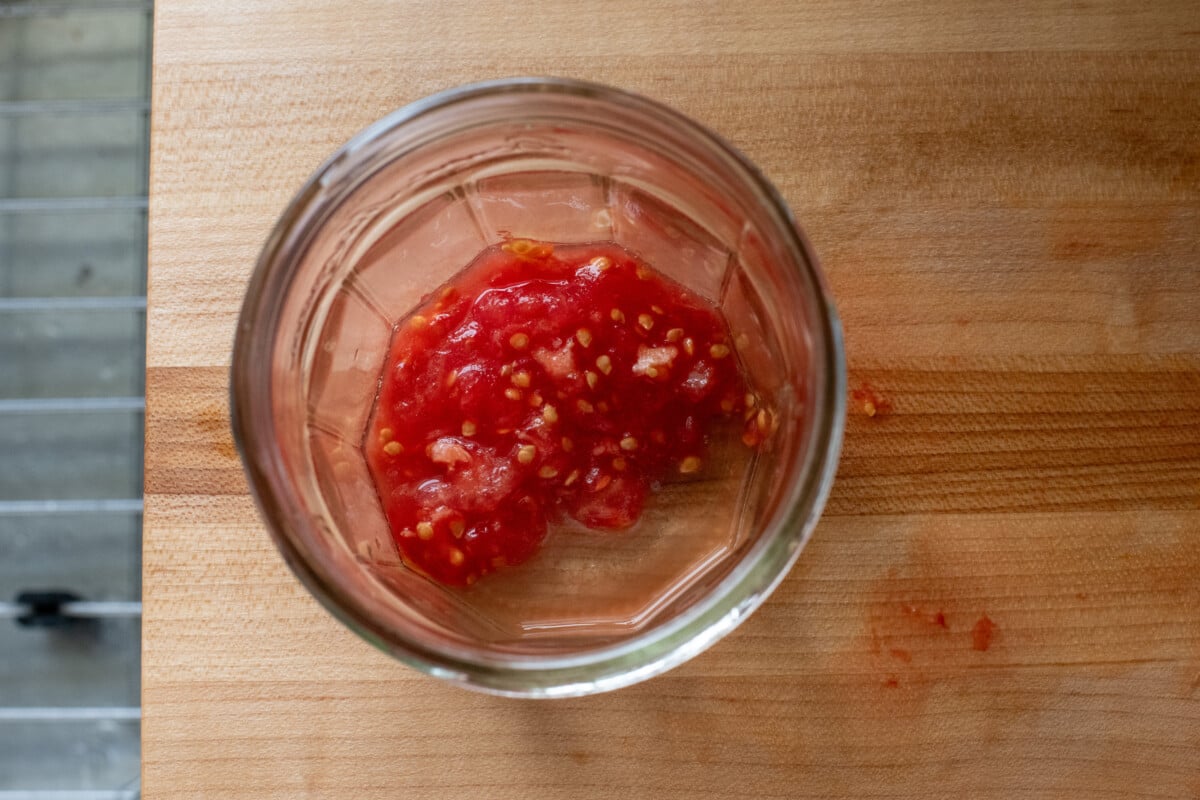
Cut your tomato in half and scoop out the gelatinous seed goop. (Yes, that’s the scientific term.) You want all of the jelly and seeds, less of the pasty tomato flesh. Put the gelatinous seed goop into your jar and top it off with water. Give it a little stir with the spoon. You want a ratio of about 4:1 water to tomato goop.
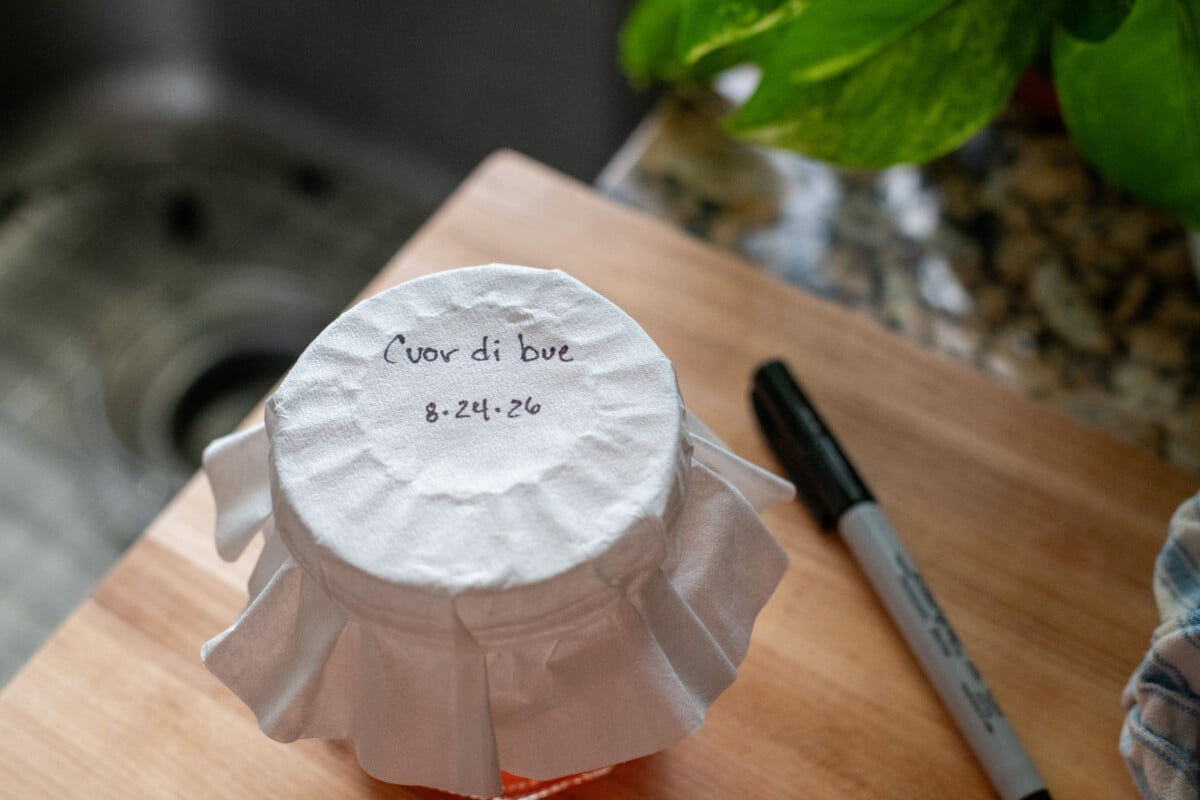
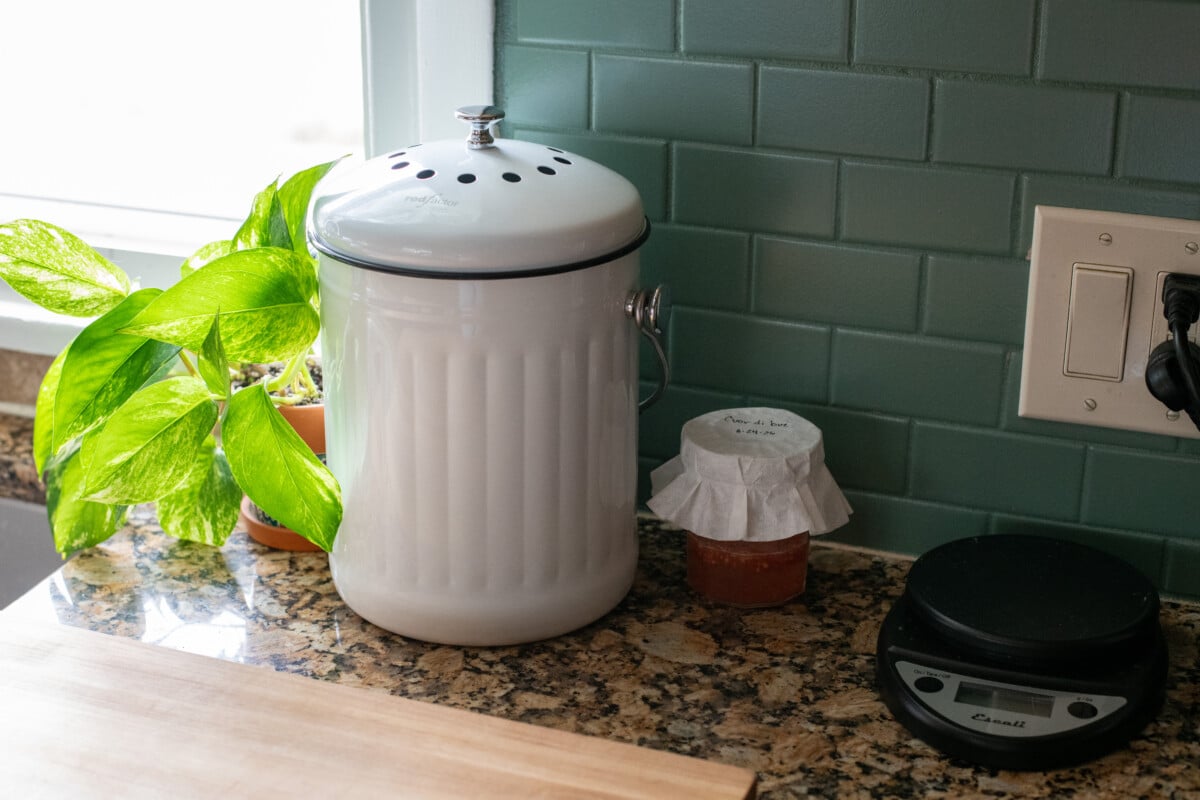
We want to let air in but keep insects and other contaminants out, so that’s where your paper towel, coffee filter or cloth comes in. Place it over the mouth of the jar and secure it with a rubber band. I’m using a coffee filter, and I always write the name of the tomato variety and the date I started fermenting the seeds because I’m forgetful.
Put your jar somewhere warm and out of direct sunlight. I keep mine on the counter.
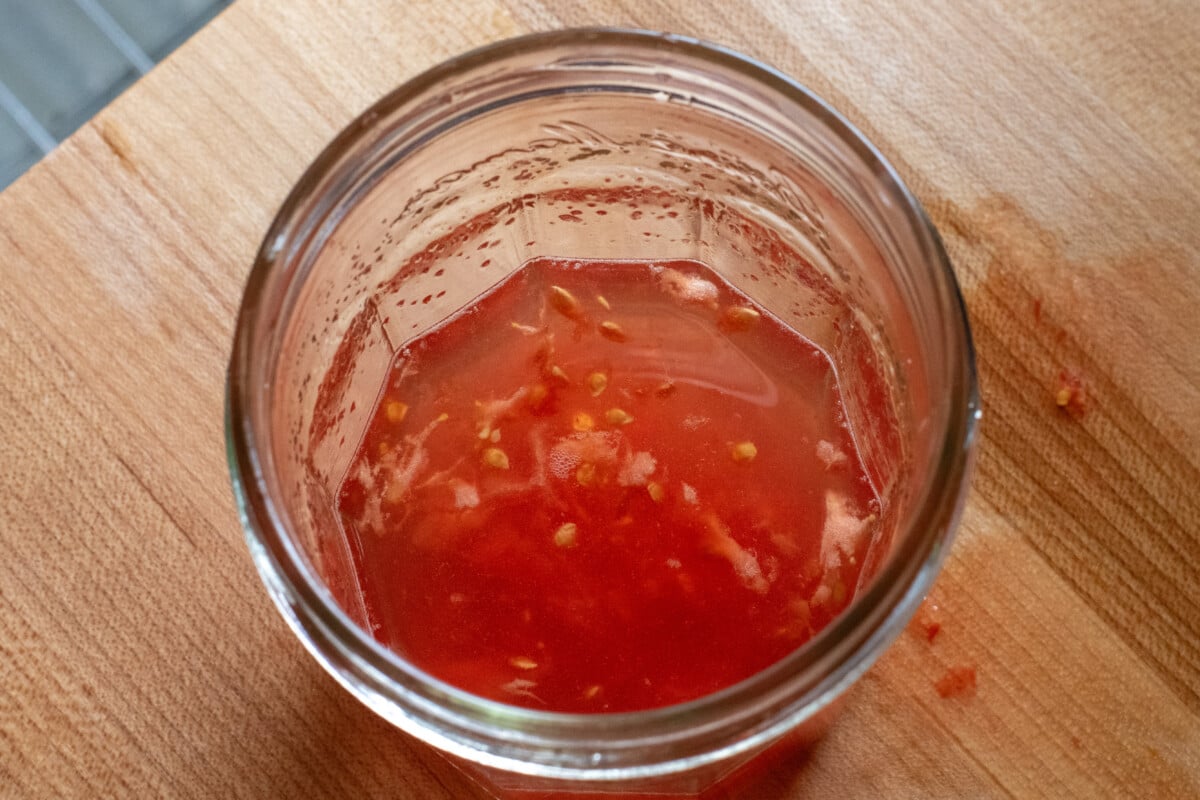
Let the magic of fermentation occur for several days (between three to five). You’ll be able to tell that fermentation is happening if you see little bubbles on the surface of the watery tomato pulp. This is a good thing! You may also notice that some of your seeds have fallen to the bottom of the jar.
Ick! What is Growing in My Jar?
If you notice some scuzzy mold growing on top of your tomatoes, don’t freak out and pitch the whole thing. That fuzzy mold is your timer going off, telling you it’s time to decant your seeds.
Washing and Drying the Seeds
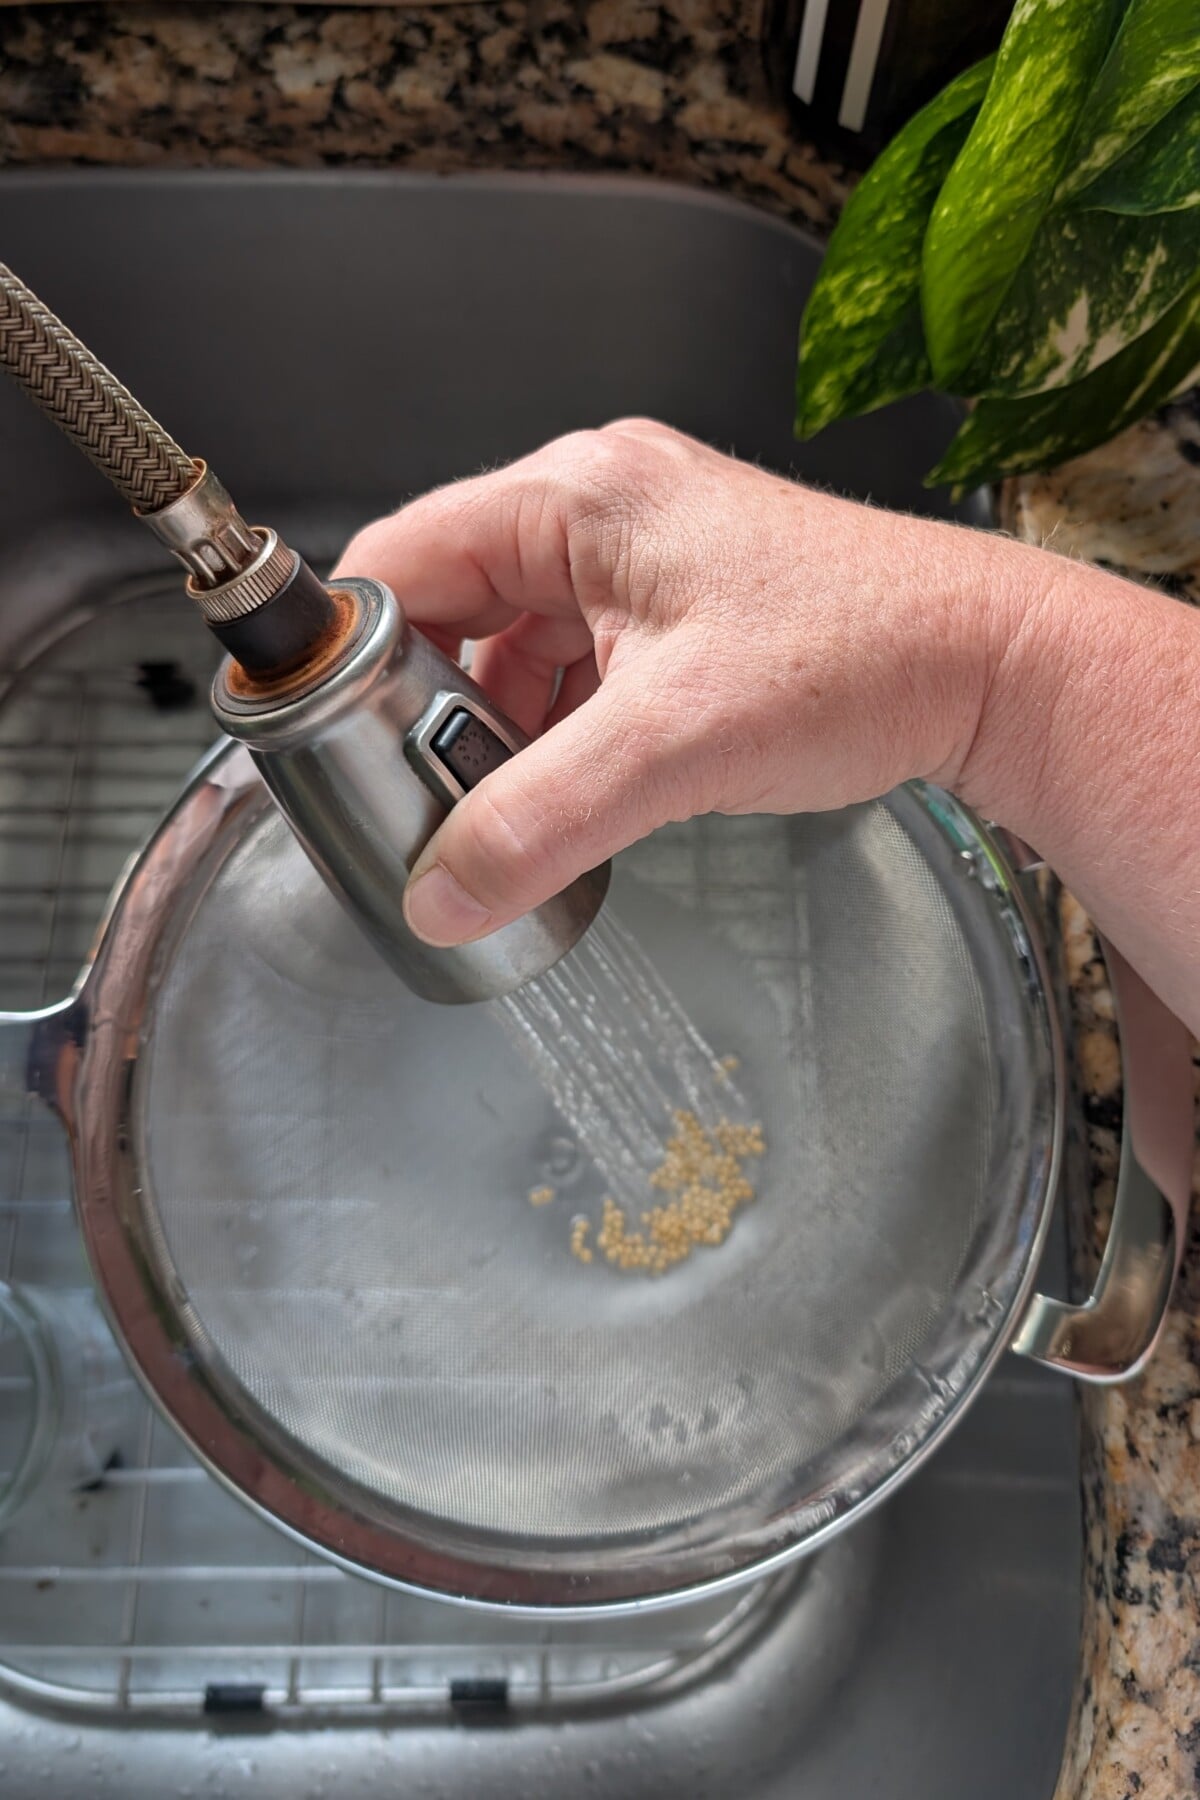
Once the majority of your seeds have settled to the bottom (or if you’ve got a lovely growth of mold on top), it’s time to rinse and dry the seeds. You don’t want to let the seeds sit longer than five days. Since we’ve removed the seed gel, they may begin to germinate.
Use a spoon to carefully skim the mold off the top layer of water and dispose of it. It’s okay if a few seeds are floating in it. Remember, the viable seeds are at the bottom of the jar.
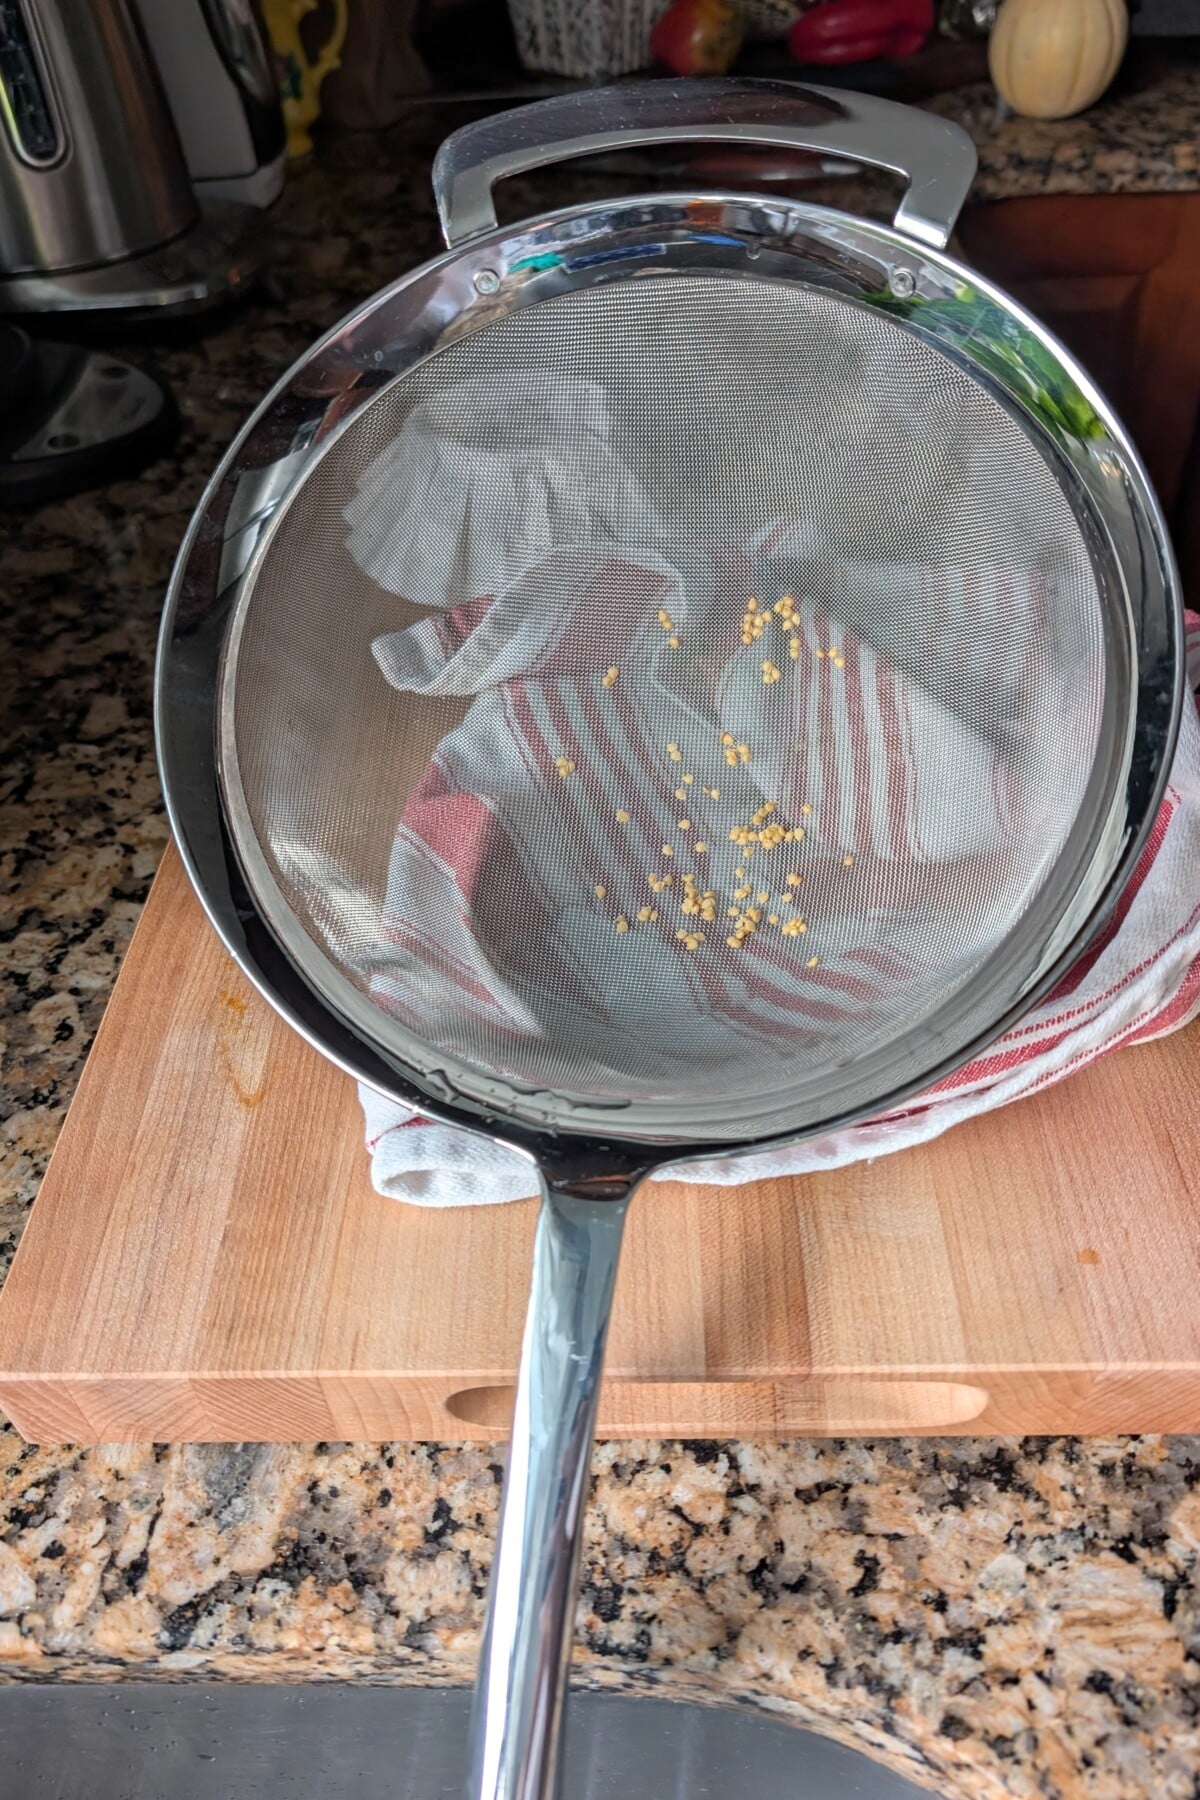
I’ve found the easiest way to clean and dry my tomato seeds is to use a fine mesh strainer. After I’ve removed the cap of mold, I dump the rest of the contents of the jar into a fine mesh strainer in my sink. I rinse the rest of the pulp away from the seeds, rubbing them a little with my fingers if needed. Then, I just set the strainer on a kitchen towel and let the seeds air dry. They’re usually completely dry the next day.
Storing Your Tomato Seeds
Now it’s time for a little fun. If you’re really handy, you can use this template to create your own printable seed packets. That’s a bit more work than I want to do, so I like to purchase blank coin envelopes that are the perfect size for saving seeds.
You can keep it simple, printing the name of the tomato variety and the year they were saved, or you can get creative and draw, color or paint a little picture. If you decide to paint, be sure the envelope is completely dry before you put your seeds in it.
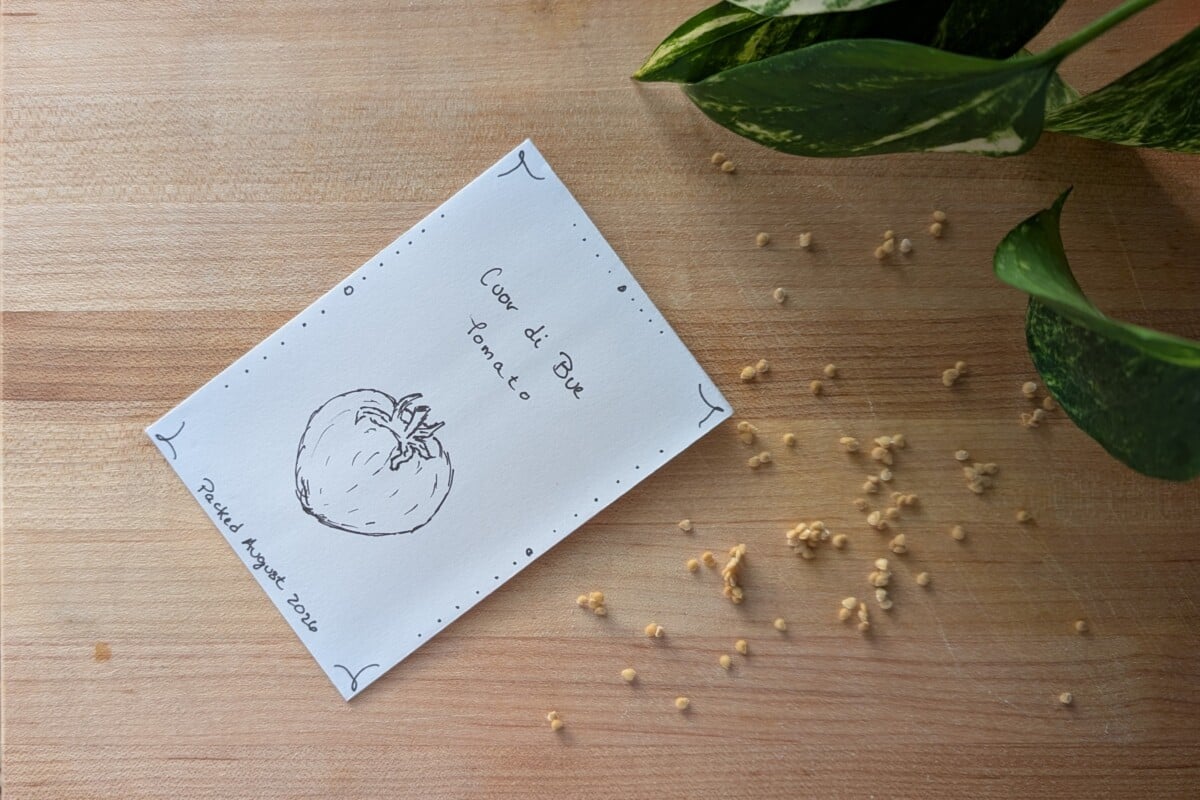
I also like to put a pinch of ash in the seed envelope to help keep them dry and from sticking together. Whether or not you decide to decorate your seed packets, don’t forget to label and date them and seal them properly. Store your seeds in a cool, dry, dark place until you’re ready to use them. Tomato seeds are viable for up to six years if you store them properly.
Get Garden Notes From Tracey, Right to Your Inbox
Pull up a chair on the front porch. Join 54,000+ gardeners who get Tracey\'s friendly notes, seasonal to-dos, and hands-on tutorials three times a week.