

It doesn’t matter how long you’ve been gardening; there’s always something new to learn. After having written my fair share of gardening articles (in the hundreds by now), I want to believe that our readers learned something from them.
But I also know that the best kind of lessons are often the result of something going wrong. That’s when we (hopefully) learn what we should have done and what we can change for a better outcome in the future.

However, some lessons need to be learned twice. Or even five times. Or an embarrassing double-digit number of times before they stick.
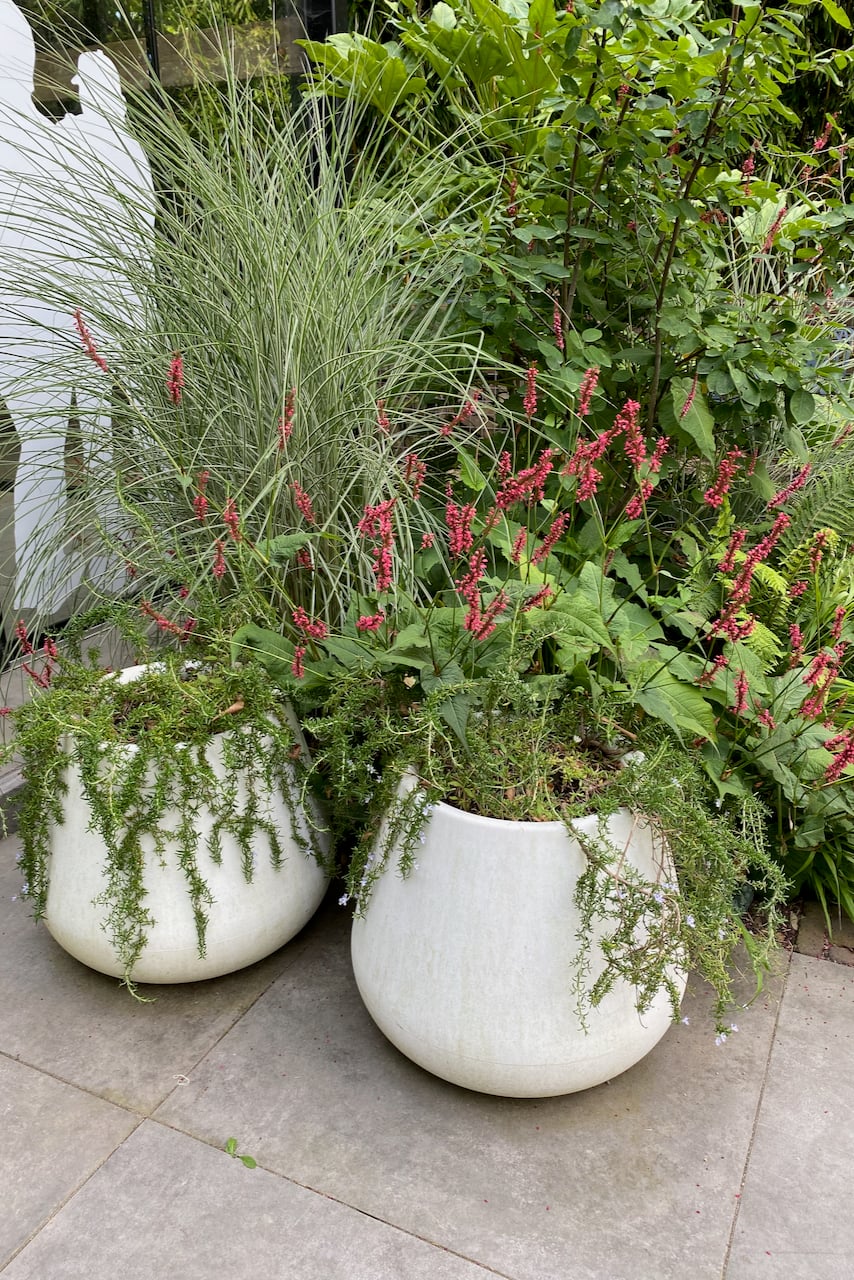
With spring timidly making its presence known, I’m slowly starting to plan and plant a few small mini-gardens in pots. So I was thinking about some of the common container planting mistakes that I’ve encountered way too often. And yes, I’ve made all of them.
1. Not checking for root mesh before you transplant.
Allow me to start with the mistake that I’ve made so many times, I’m almost too embarrassed to admit it. But I will, because I think it might save you from making it.
Even after I wrote about how bad root mesh was for my houseplants and how they were all struggling until I removed it, I still wasn’t checking all the plants I had purchased for my garden.
Here’s what I’m talking about:
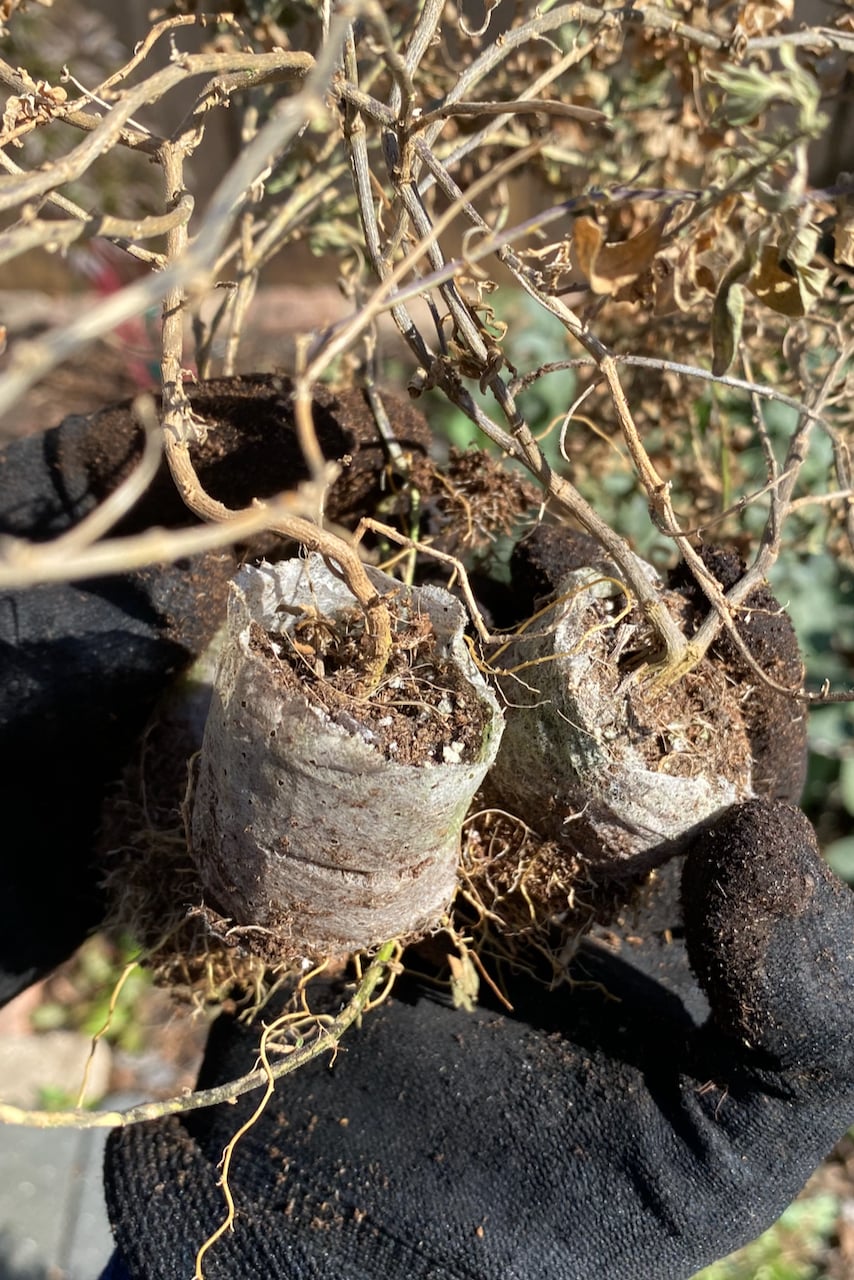
Can you see how the roots of these plants are wrapped in a tissue-like piece of plastic?
That’s called a root mesh or a propagation plug. It has its uses, especially for the growers, distributors and sellers of plants. It makes the plants easier to propagate, keep watered, transplant and transport before we buy them. (If you want to know more about why root meshes are so common, here’s my deep dive into the topic.)
But once we buy the plant and transplant it, either in a container or straight in the garden, that same root mesh that made life easy for growers will almost certainly backfire for us. As our plants start growing, the mesh constricts the roots from expanding as quickly as they need to in order to get established for the season.
I’ve noticed that the mesh also interferes with water absorption.
The roots stay confined in and around the plug, creating a cramped mass of roots and soil that becomes so tangled and compact that it ends up interfering with water absorption. No matter how much we water the container, the water just drains around the mesh, but doesn’t really percolate around the roots. It’s like the plants are getting root-bound, but in a very, very small pot.
The best way to prevent this from happening is to look for and remove the root mesh before we transplant our plants into larger containers. Sometimes, it’s easy to spot. But more often, we’ll have to dig a bit below the surface and see if we can spot any plastic, mesh or tissue rings around the stem. You probably won’t be able to pull it all off, but do your best to release the roots on multiple sides to allow them to spread unimpeded.
2. Not starting with a clean (pot) slate.
This is something I tend to get lazy about, so I’m going to take an educated guess that other gardeners shrug at it too. But if we’re going to go through the trouble of designing container mini-gardens (including expenses for new plants and fresh compost), we might as well start with a clean slate. Literally clean.
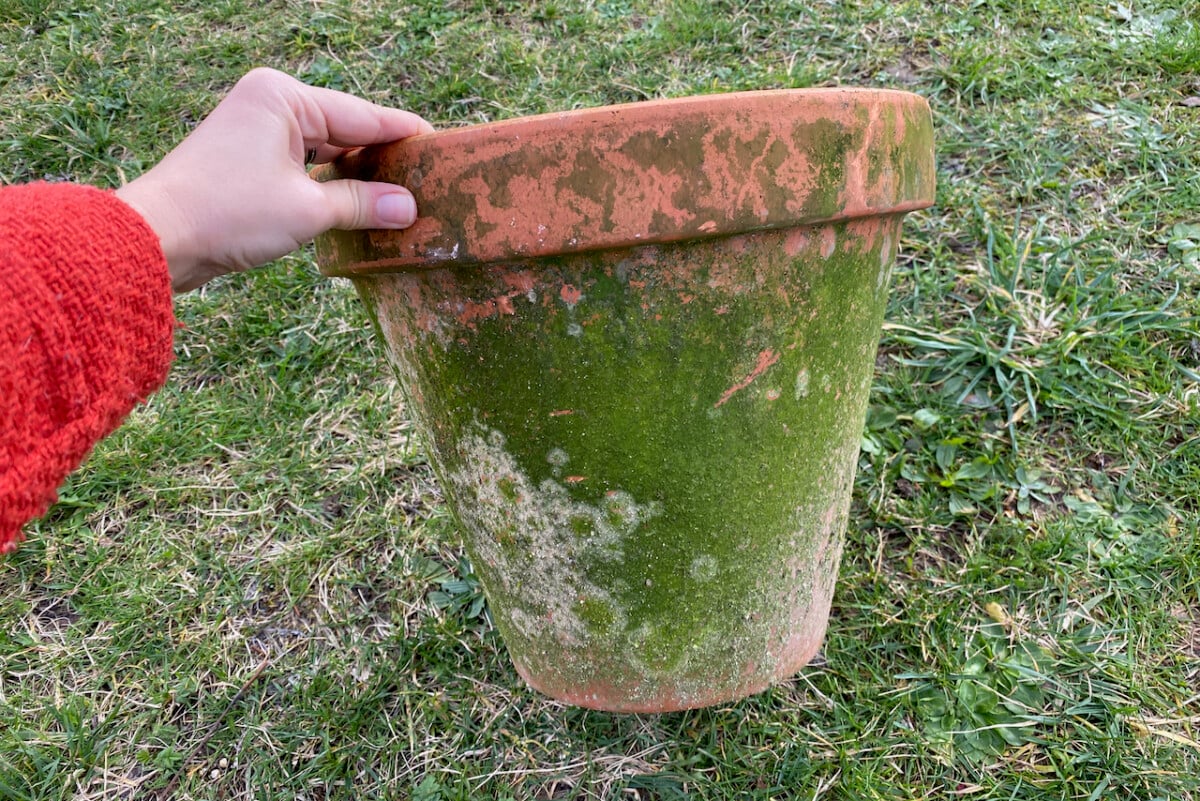
I’m not the kind of gardener who disinfects pots with surgical precision. Because I honestly don’t have the time, the energy or the personality to pour into hydrogen peroxidizing pots when there’s so much else to do in spring.
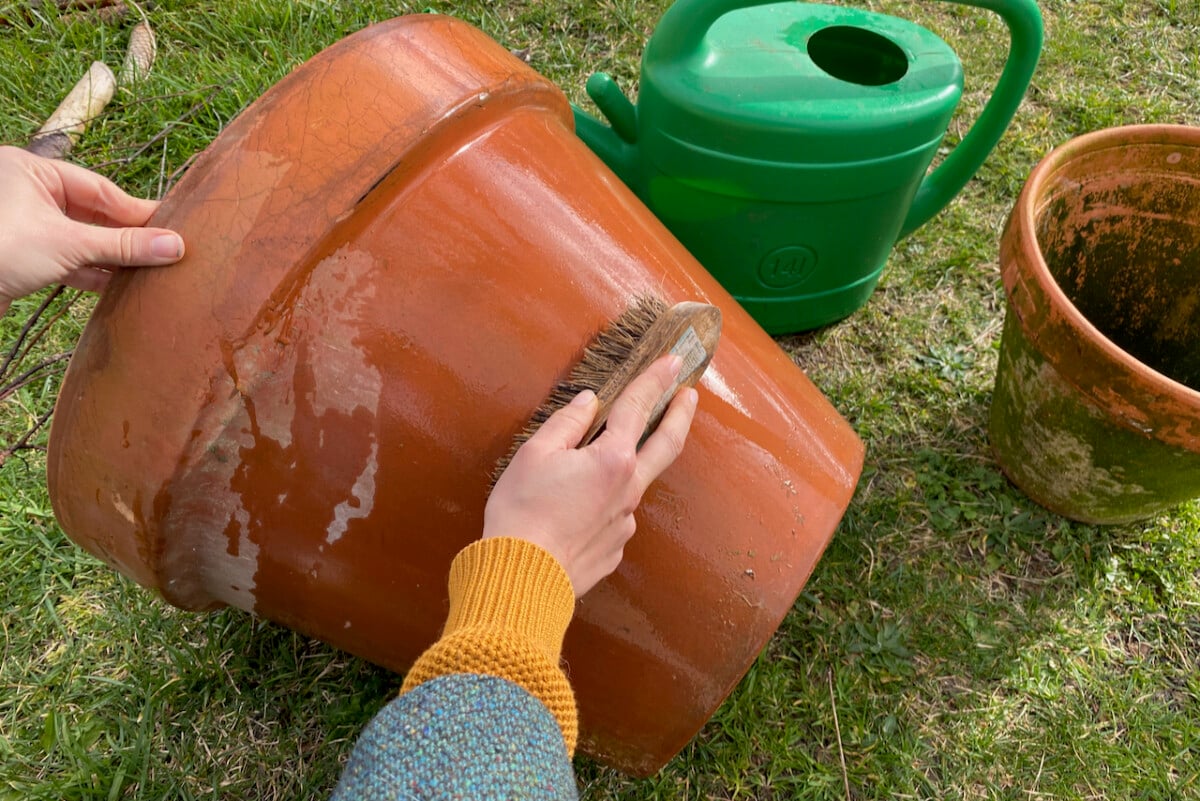
But a good scrubbing with a wire brush and a bucket of water only takes ten minutes and makes a world of difference.
3. Having one plant overwhelming the others.
I’m wondering if you can see the mistake I made when I planted the pot in the photo below. In my defense, I planted everything from seed, but the faux pas would be the same had I planted everything from nursery pots or even more mature plants.
What if I told you the plant in the middle is a very young hollyhock, just starting to leaf up? And that the plants underneath it won’t stand a chance once the hollyhocks reach maturity?
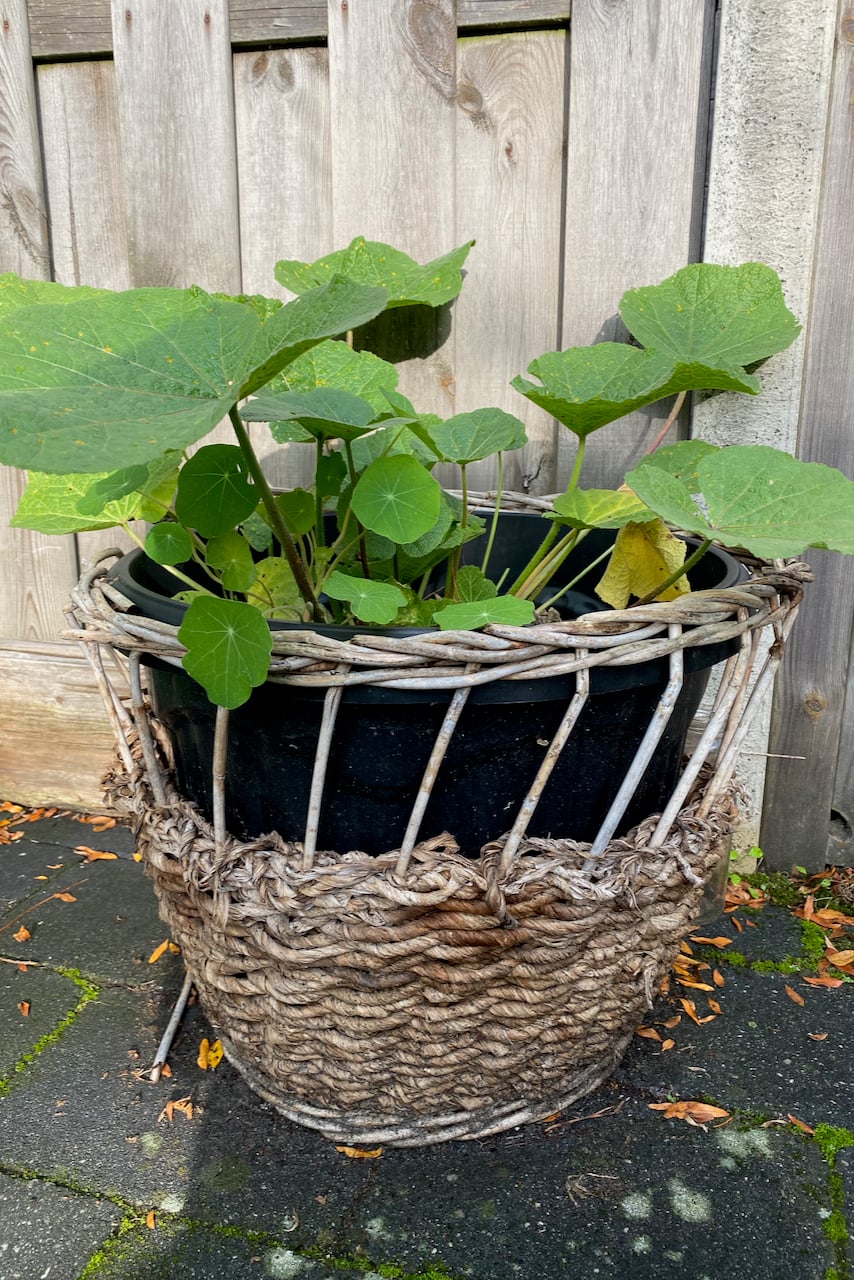
Because that’s exactly what happened.
We tend to judge plants on how they look when we’re putting them in containers, without fully grasping how everything will fit together when the plants reach full maturity.
So when you’re getting containers started, try to think ahead to how the plants will mature throughout the growing year. I know I’m tempted to try to jam as many plants as possible in a single pot. But they need room to grow and enough airflow to get proper sunlight. Yes, space constraints tell us to overcrowd them, but this will result in weaker plants later on.
Allow room for growth from the get-go, and you’re more likely to have
4. Planting in containers that don’t have drainage.
Guilty! [Raises hand].
I have planted in containers that didn’t drain because they were such a good thrift store find. Who wouldn’t repurpose kettles, barrels, troughs and umbrella stands as a planter?
You want to know what happened? We had ten days of rain, and the containers were so drenched that there was water overflowing at the top. We were scrambling around trying to move them under cover or prop umbrellas over the heavier ones. Not fun.
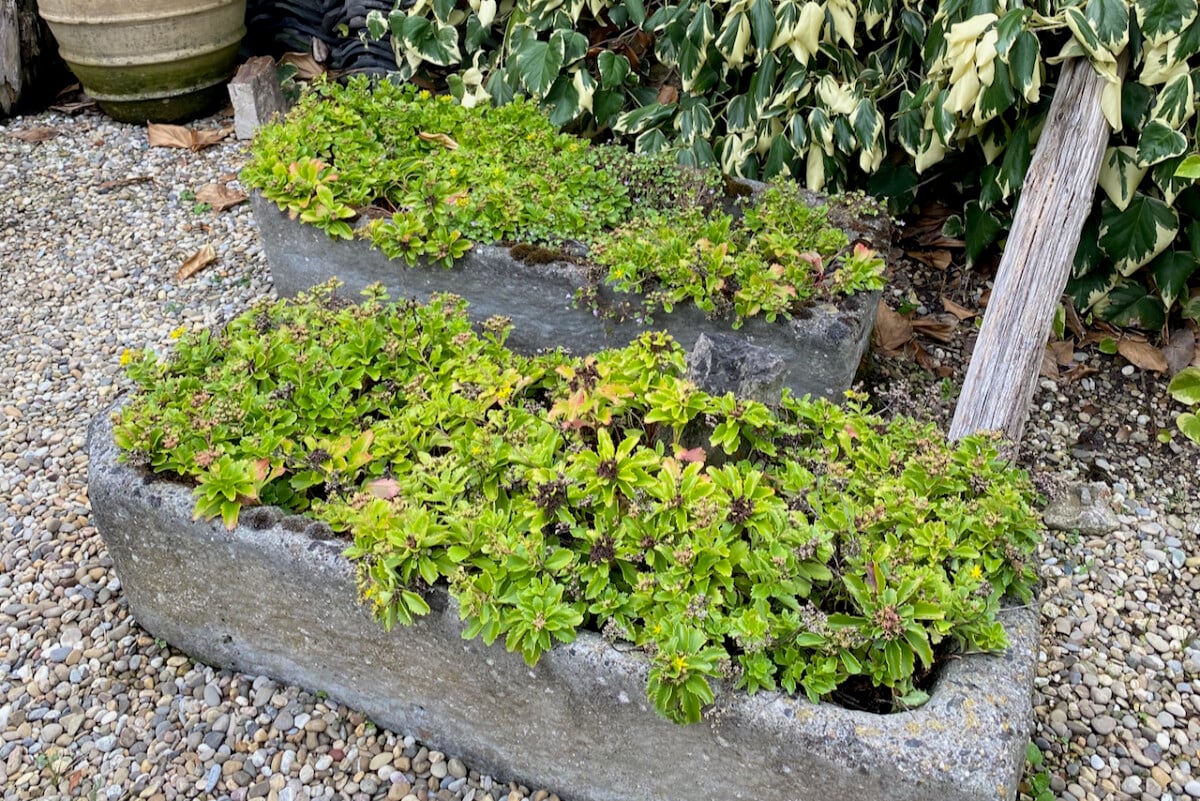
So learn from my mistakes and always make sure there’s some way for water to drain out of your containers. And if you ab-so-lute-ly must plant in something that doesn’t have this feature, you could go for water plants that don’t mind having their roots soaking long-term.
5. Underwatering containers.
When I write about houseplant care, I always add the advice that it’s better to underwater them rather than overwater them. I’ve noticed that for outdoor containers, the opposite is more likely to be true. That’s not to say that too much water can’t be detrimental.
But we tend to grow more than one thing in an outdoor container (hence needing more water), and the plants are exposed to the elements (sun and wind can easily dry up a pot). Large containers can weather the drought better, but the plants in smaller ones (such as my hanging baskets) will just flop and dry up prematurely.
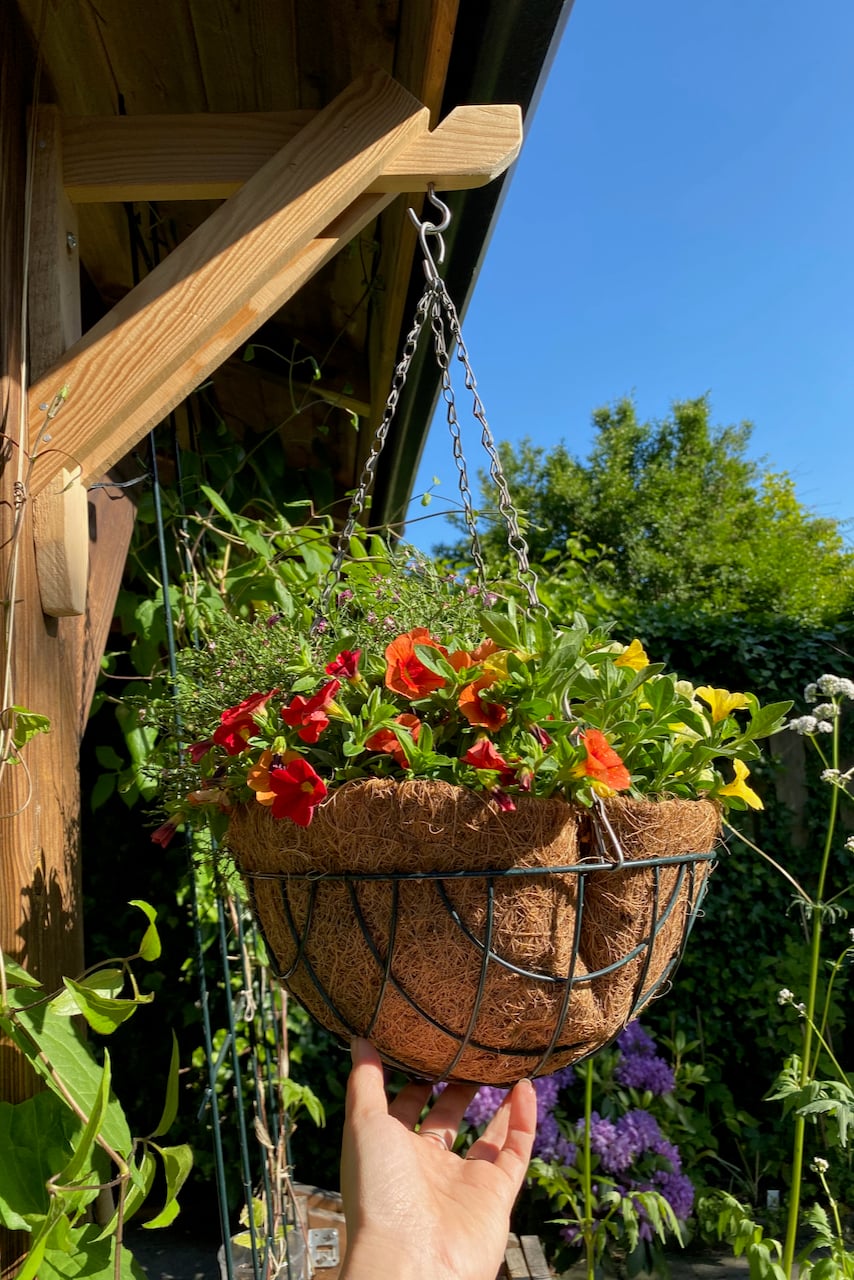
Of course, try to assess the level of moisture before you water. But do remember to do it more than once a week. Especially on hot summer days, if your containers are out in the sun all day, give them a drink of water in the morning and again in the evening for a cool refresh.
6. Filling the gaps in large containers with dubious materials.
This one makes me irrationally mad, yet it’s a tricky one to mention because what I consider dubious material may be your favorite filler.
This pet peeve of mine was triggered by a suggestion (in a sustainable gardening book, no less) to fill the bottom of large containers with styrofoam pellets. It was framed as a reuse of padding polystyrene while also saving on potting soil. Sustainable on the surface only, but not when you think about the consequences.
No! Just no! Please don’t do that. Polystyrene, bricks or other such debris don’t add anything valuable to the soil. In the case of styrofoam (unless we’re talking about the one made of corn starch), it will also release microplastics as it slowly degrades.
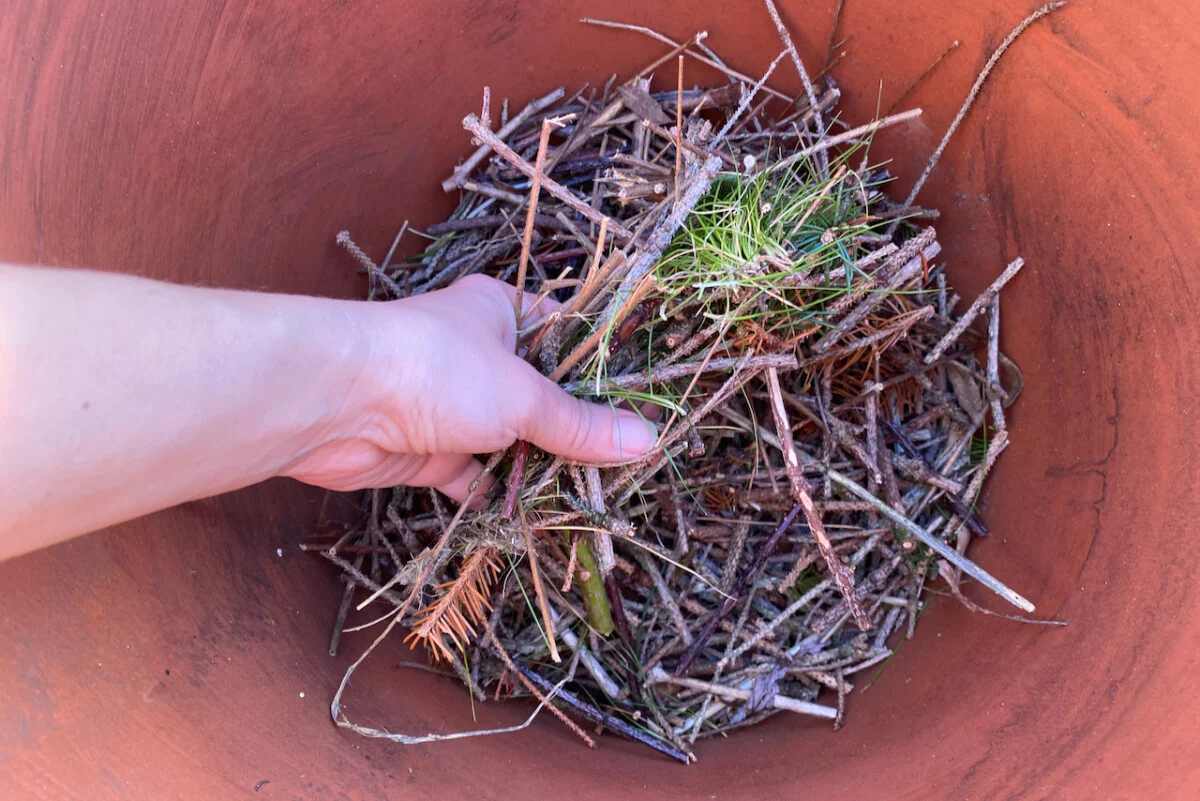
Here’s what you can do instead in order to bring the level of compost higher to the brim in a large pot (without spending all your spring garden budget on bags of soil).
Collect some fallen dry branches or twigs (dry leaves could work in a pinch), chop them down and add a layer of them to the bottom of the container. They will help fill up “dead space” while also slowly breaking down and adding nutrients to the soil. Win-win!
7. Using too much fertilizer in your containers.
This is a hard one to point out as a mistake because we fertilize our containers with the best intentions in mind. We want our plants to be nourished and grow strong. However, a heavy hand with the fertilizer is a common mistake in a contained space. Especially if you’re using synthetic fertilizer. Too much of it can burn the roots and form salt pockets in the soil.
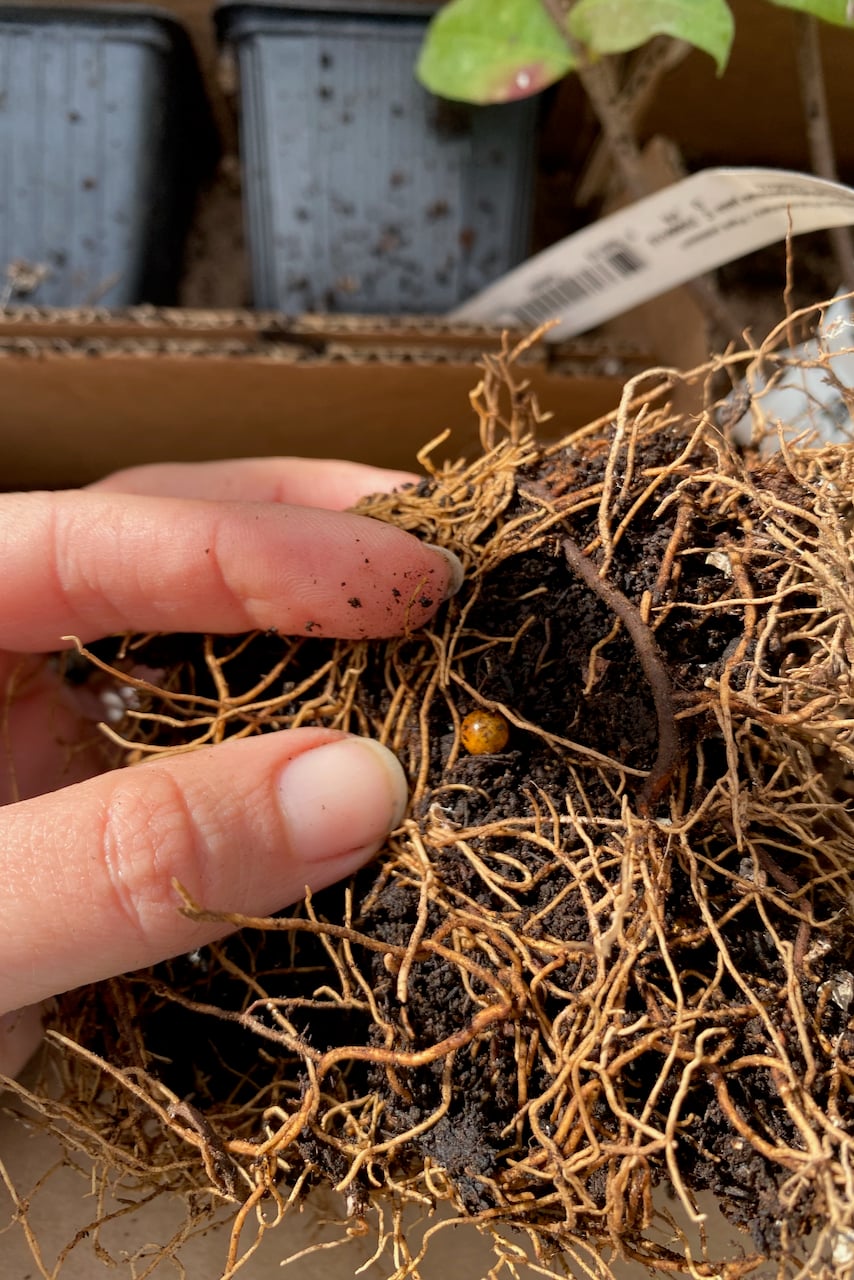
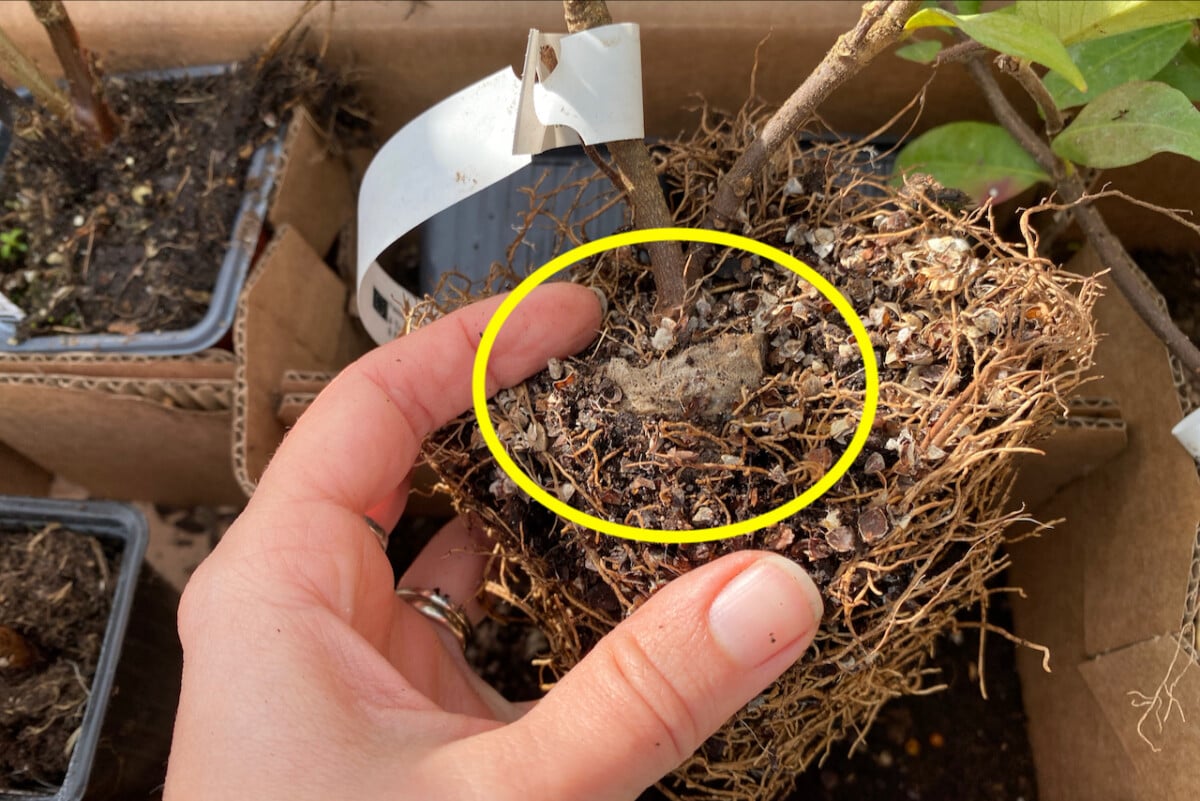
Keep in mind that if you’re just starting your container, all the plants that you’re putting in will already come pre-fertilized. It’s how they’re sold. Can you see those little beads in the soil in the photo above? Those are fertilizer pellets, and they’re meant to keep the plant fed throughout the growing season.
Of course, it all starts with good, rich soil. I start all my containers with a fresh batch of compost that feeds the plants as they mature.
Don’t worry, I found eight other uses for my old potting soil, so nothing goes to waste.
I’ll stop here with listing my container planting mistakes (because rest assured, I’ve made all of them). I could go on and double this list, but I really believe that the best way to learn what works for you and your garden is by trying and failing and troubleshooting and trying again.

Get the famous Rural Sprout newsletter delivered to your inbox.
Join the 50,000+ gardeners who get timely gardening tutorials, tips and tasks delivered direct to their inbox.