

If there’s one thing my Rural Sprout colleagues and I have in common, in addition to our obsession with composting everything that dares move, is our hatred of waste.
I know hate is a strong word, but believe me when I say we will go to ridiculous lengths to reuse things in the garden. And that includes used potting soil.
Now that the annuals in hanging baskets and containers are on their way out, you don’t have to discard the dirt. There are a few ways to reuse the potting soil real estate that has just become vacant.
Reusing is good for the garden and helps you keep your gardening budget in check (or, if you’re like me, frees up some cash for even more perennials.)
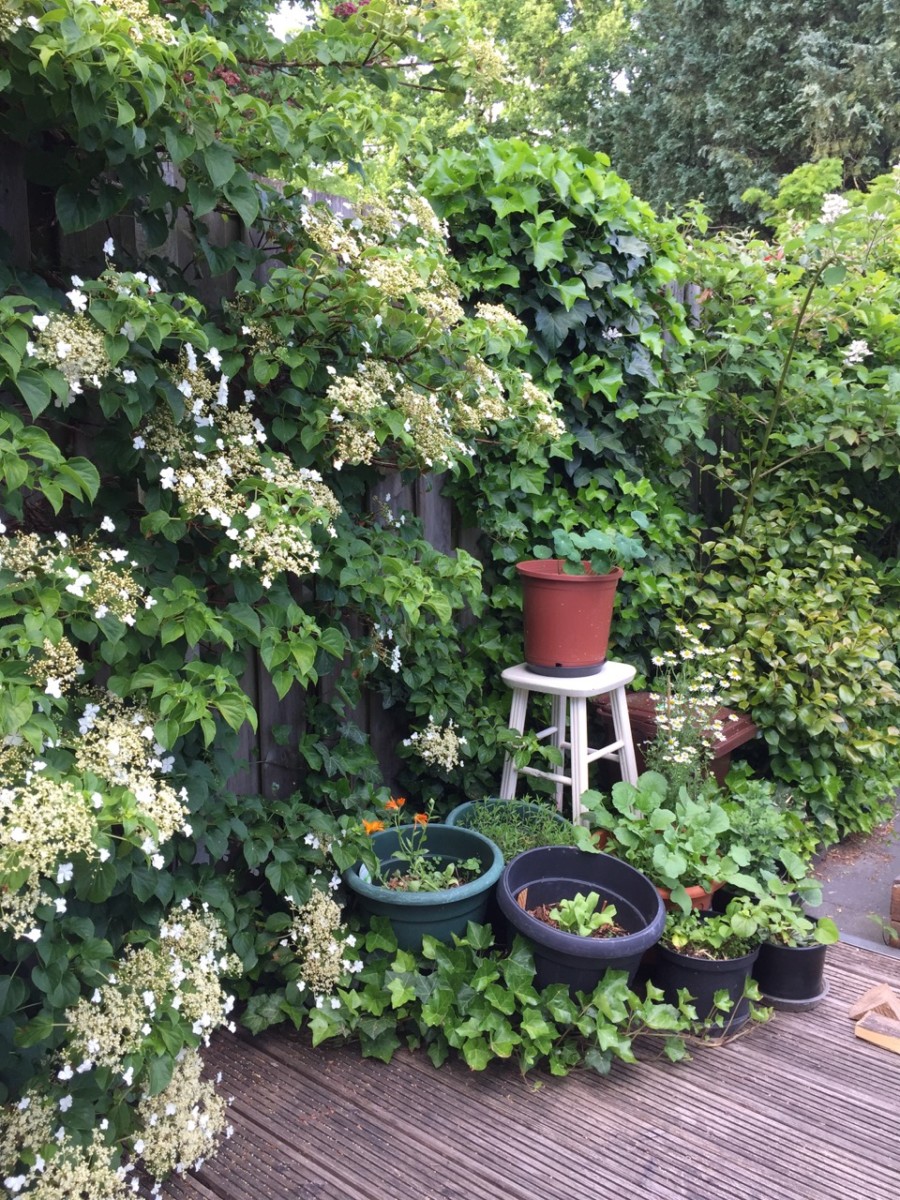
Here’s what I’m cleaning up in late October.
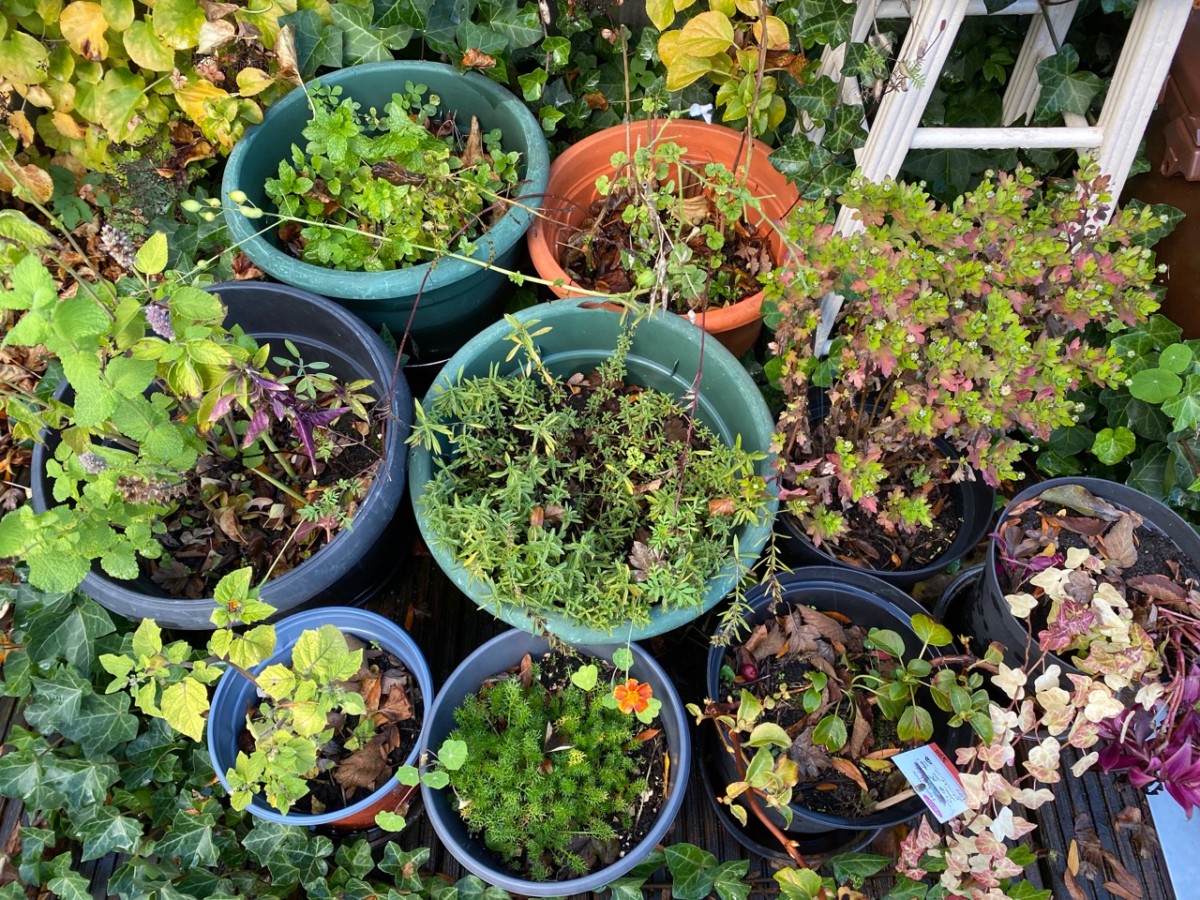
Most of these pots on my deck had annuals (marigolds, mallows, chamomile, cornflower, nasturtium), mums, husk cherries and different types of radishes (I grew them specially to harvest their seeds for winter sprouts).
Should I sterilize my potting soil before I reuse it?
Before we get started, a word of advice: If any of your potted plants have been suffering from diseases or pests that overwinter in the soil (such as vine borer), it’s better if you discard the potting soil with your household waste.
If you really want to give this diseased potting soil another lease of life, you’ll have to try to sterilize it through a process called “solarization.” It’s a fancy term that just means you’ll have to put the soil into a plastic container and leave it in full sun to heat up.

The Integrated Pest Management Program at the University of California recommends a temperature of 158F or higher for 30 minutes or 140F or higher for one hour to eliminate fungi and bacteria. According to the same source, solarization works to control soilborne fungal and bacterial pathogens, such as those that cause Verticillium wilt, Fusarium wilt, Phytophthora root rot, tomato canker and Southern blight.
I admit I’ve never gone through the trouble of solarizing potting soil for three reasons:
- It never gets hot enough in the summer where I am. Certainly not as hot as California summers, where this research took place.
- I have serious reservations about using potting soil that was basically “boiled” in plastic and I’m trying to avoid plastic as much as possible in the garden.
- I simply don’t have the time to be fiddling around with a thermometer in the middle of summer. Other gardening jobs take priority.
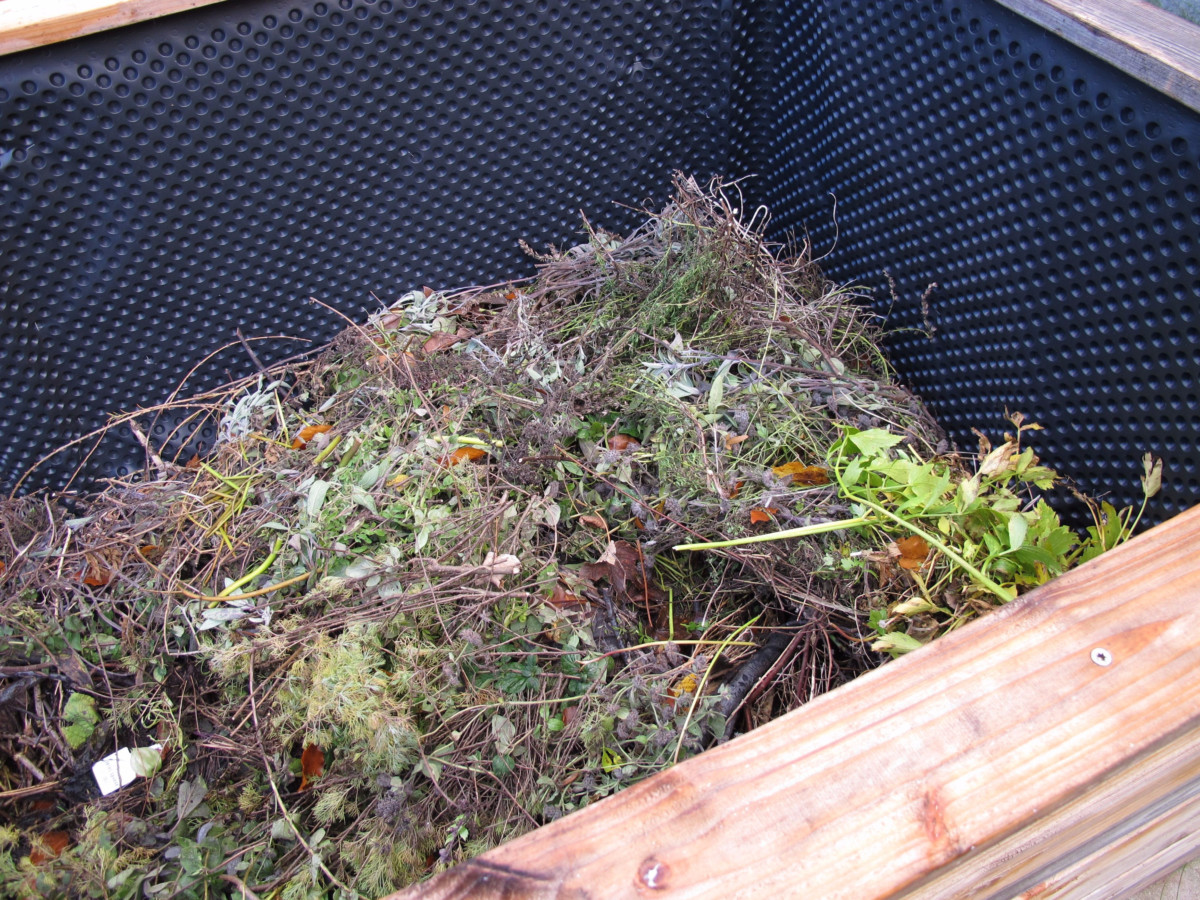
If you’re running a hot compost setup, my hat is off to you! You’re my hero. In my suburban garden, my compost pile has always been too small to get property heated, despite my efforts to get the proportions just right. But if you’re confident your compost is hot enough, you can try mixing in the infected potting soil.
5 Ways to Reuse Clean Potting Soil In The Garden
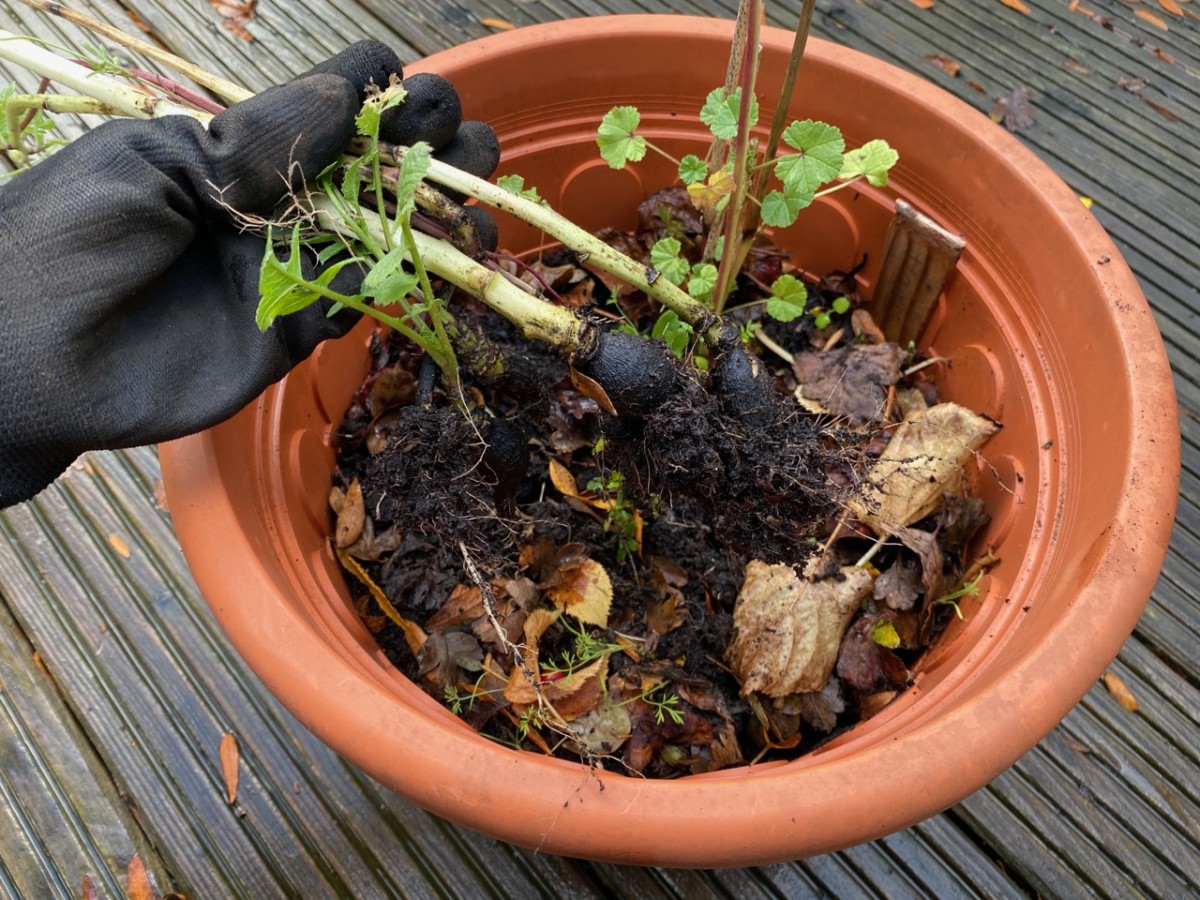
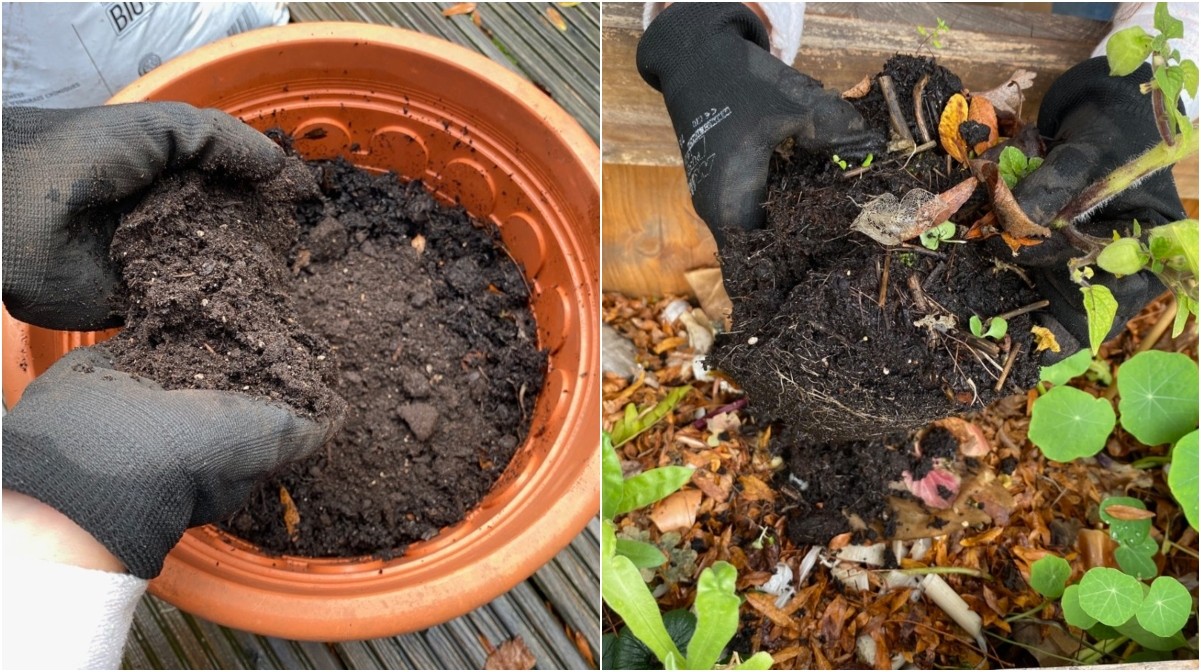
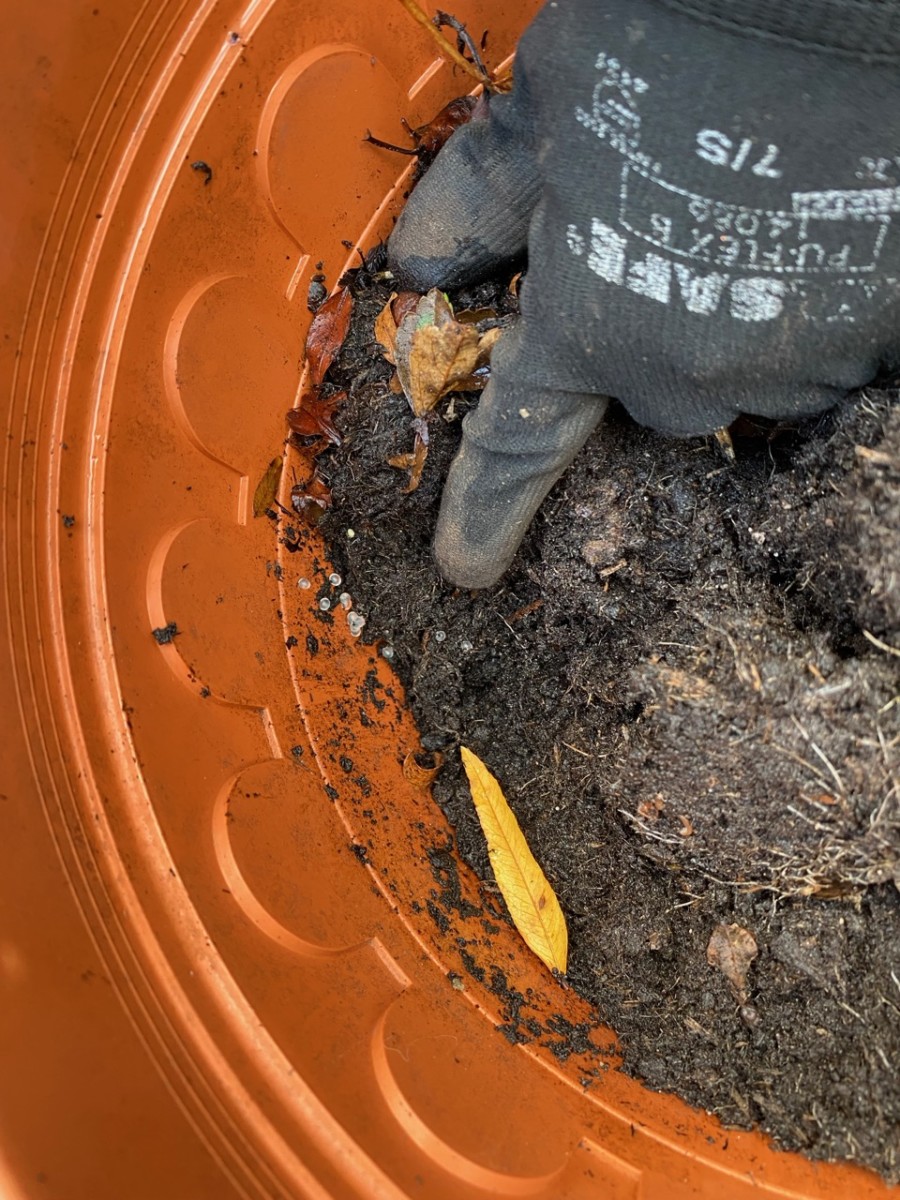
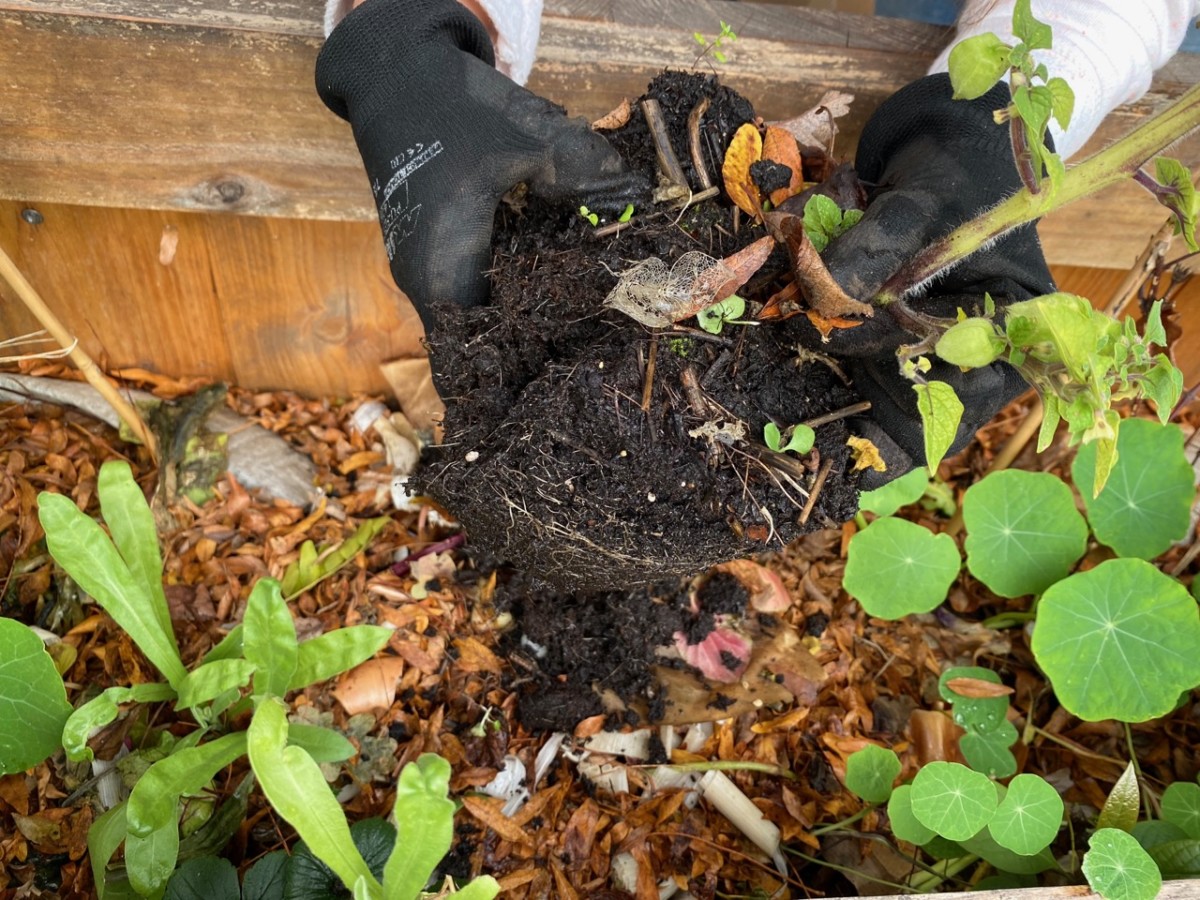
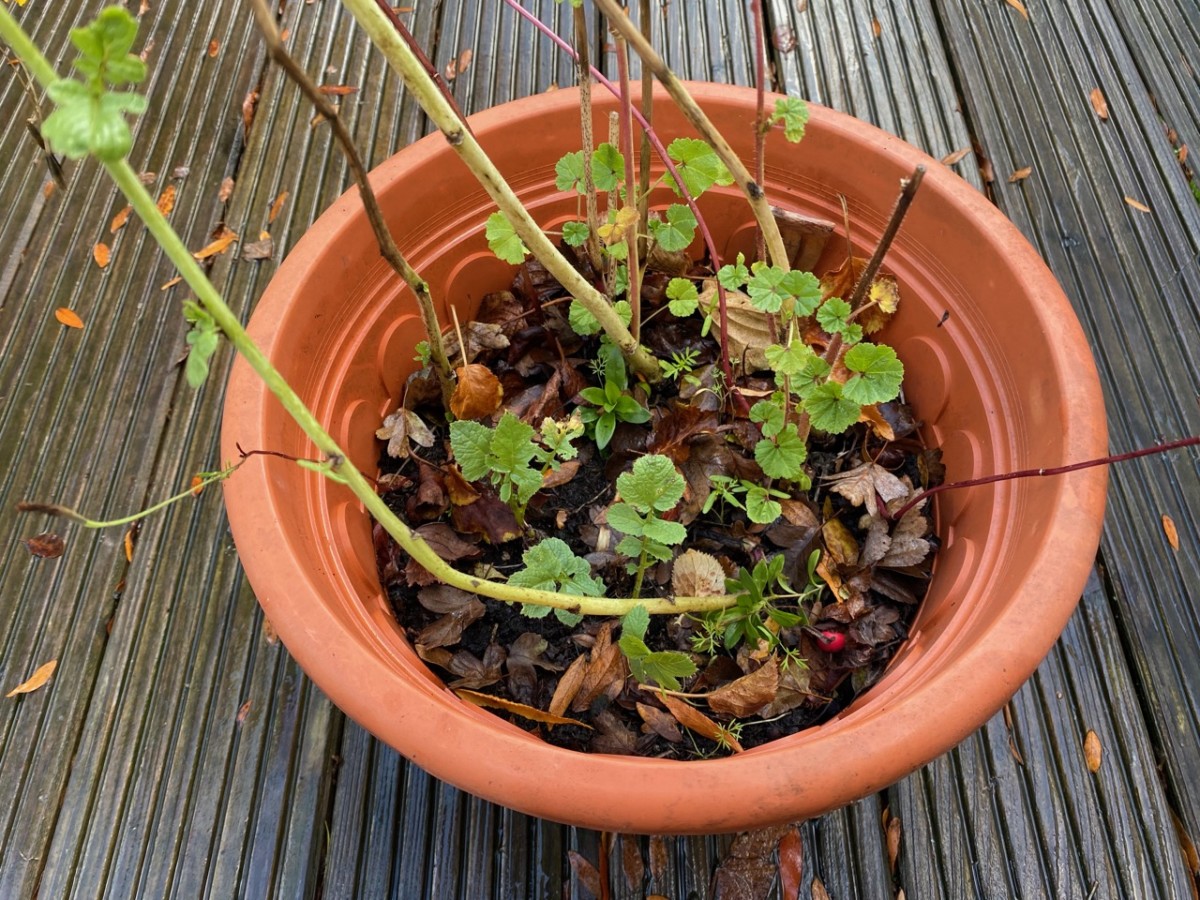
Even if your potted plants were free from diseases all summer long, you should still give the potting soil a closer inspection. I’ll be reusing this pot for bulb planting this fall, so I had to clean it up first. I removed (and composted) the old plant matter and sifted the soil with my fingers to remove any leftover roots.
In my case, this paid off big time. I found a cache of slug eggs hidden under the first layer of leaves and roots.
If the plants you’ve had growing in this potting soil didn’t show any signs of fungal or bacterial infection, and you’ve already inspected the pots and removed the eggs of pests such as slugs and snails, then here are some ways you can reuse the dirt:
1. Use it to add bulk to large containers.
A large container can quickly gobble up a lot of potting soil. Yet sometimes a large container is what gets the job done. When I run out of gardening space in my small backyard, I often use large pots to grow plants such as hollyhocks and sunflowers.
It would have taken about 150 liters (about 5 cubic feet) of compost to fill up this container, so I came to a lasagna compromise. I started with a layer of twigs at the bottom to slow down rain compaction, followed by a layer of used potting soil, one of leaf mold and one of fresh potting compost. I’ve repeated the layers (minus the twigs) until I nearly reached the top of the pot. Then I added fresh garden compost for the top ten inches.
2. Use it as a base for new garden beds.
Under the same principle of reusing it as a filler, you can add used potting soil to the mix if you’re building any new raised beds this fall.
Again, the best method is to layer it starting with a base made of cardboard, then alternating layers of old soil, leaf mold, kitchen scraps and compost. Finish it off with a layer of dry leaves or pine needle mulch.
For a more in-depth explanation, Linsday has written an excellent guide on how to fill raised beds.
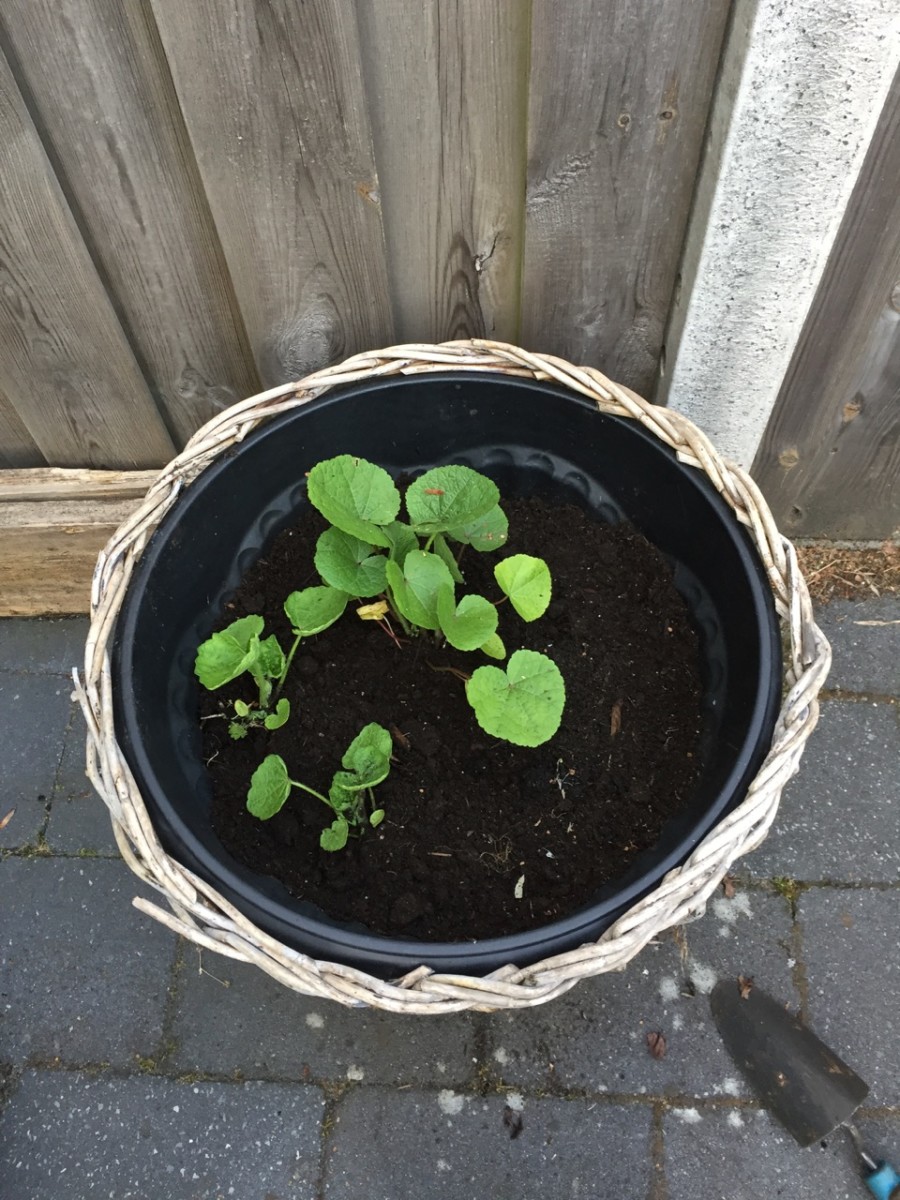
3. Mix it with compost and use it in containers.
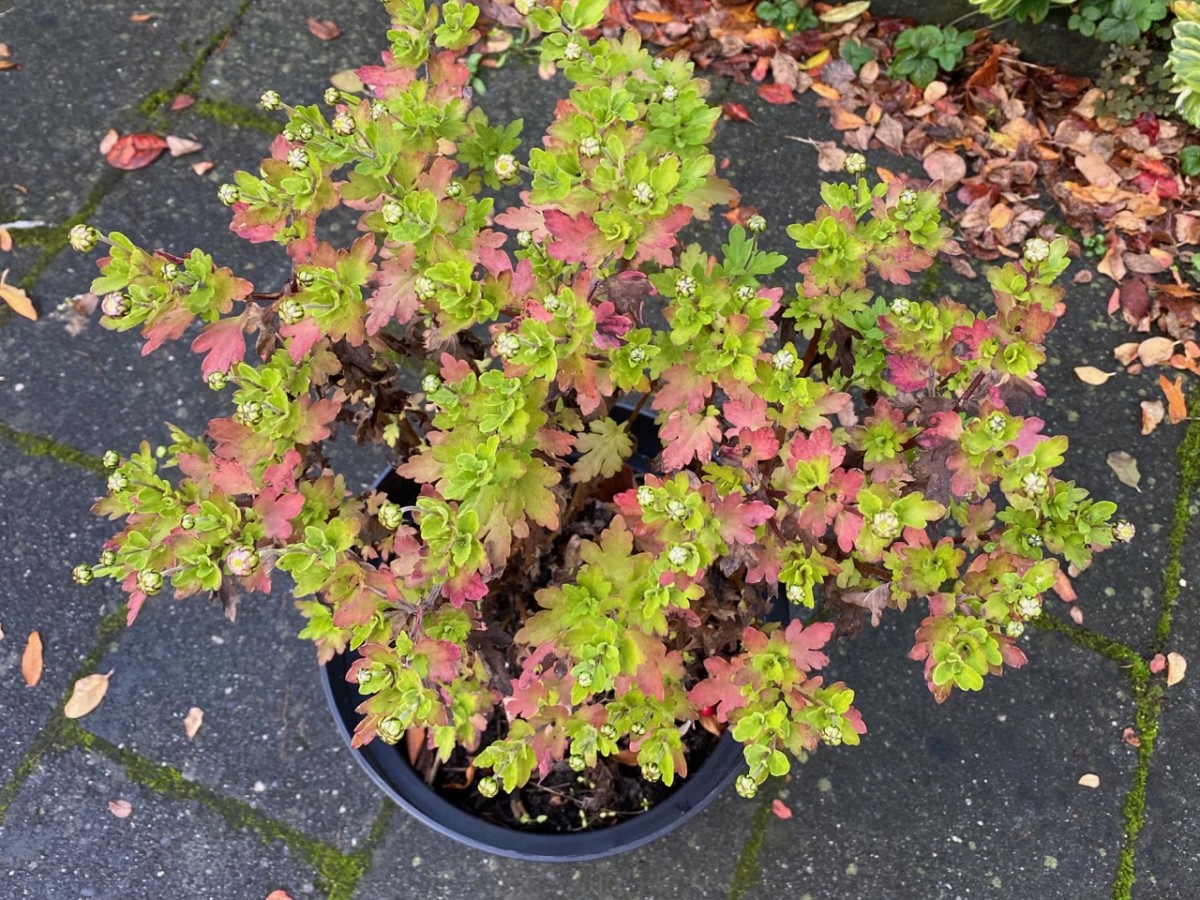
Used potting soil still has some vigor in it, especially if you’ve just been using it for a year or two, as is often the case for fall arrangements that you get ready-made from plant nurseries.
To revitalize it, you can add some compost to make it even more nutritious for the next round of plants. Before you do, sift your compost to remove any undecomposed matter, then mix the compost in with your used potting soil.
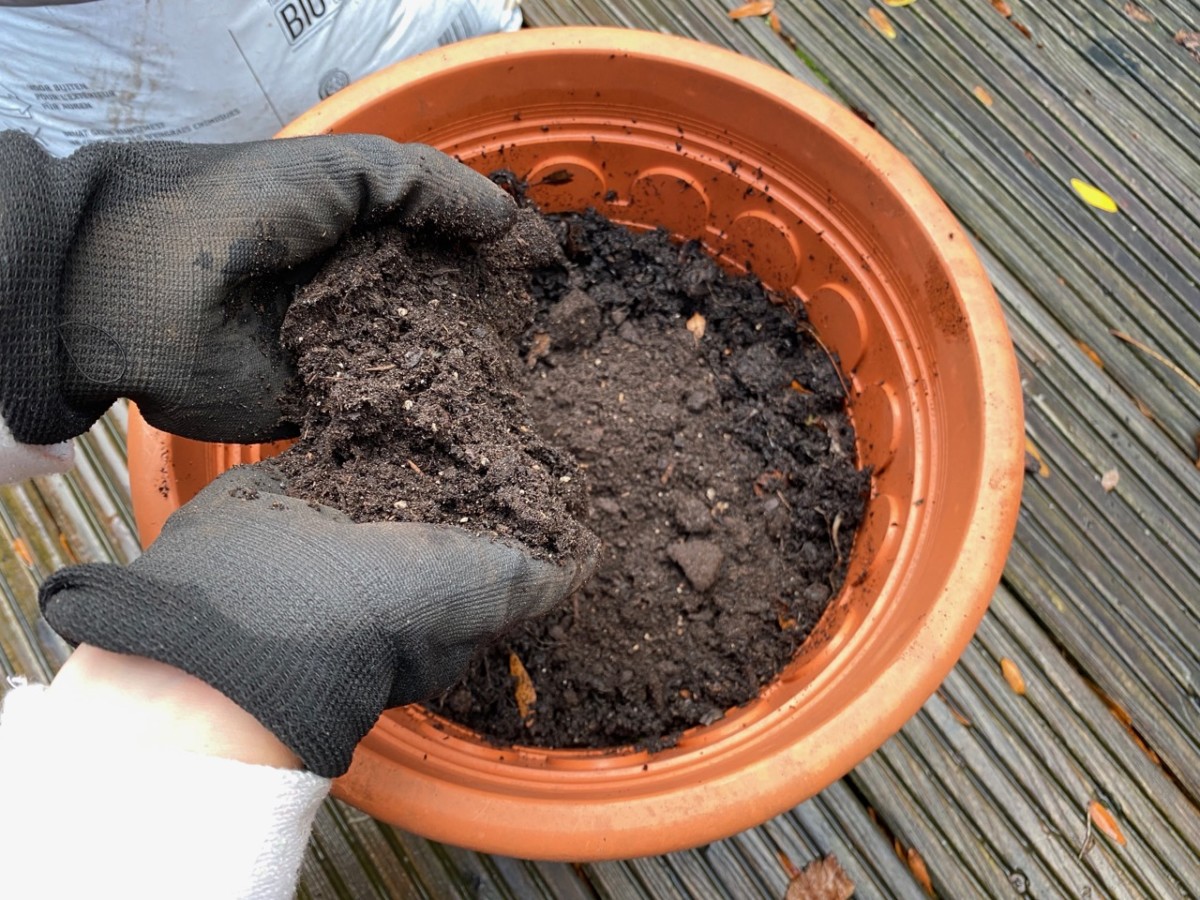
This year, I’m using my homemade compost in herb boxes around my gazebo, so I’ve had to buy garden compost to mix in with the potting soil. I usually use equal amounts of each and stir vigorously to get them mixed as well as possible.
Now I have a full pot available that I can use to plant spring bulbs or transplanted perennials. I’ll use some of my other mixes to overwinter tender perennials (such as geraniums).
If you don’t have a use for the full pot, just keep it in a sheltered place until you’re ready to plant your annuals next year.
4. Spread it on your flower beds and borders.
Let’s say that you don’t have extra compost handy for mixing in. Or that you don’t trust the source of your potting soil, and you’d rather not add non-organic potting soil to your organic vegetable garden.
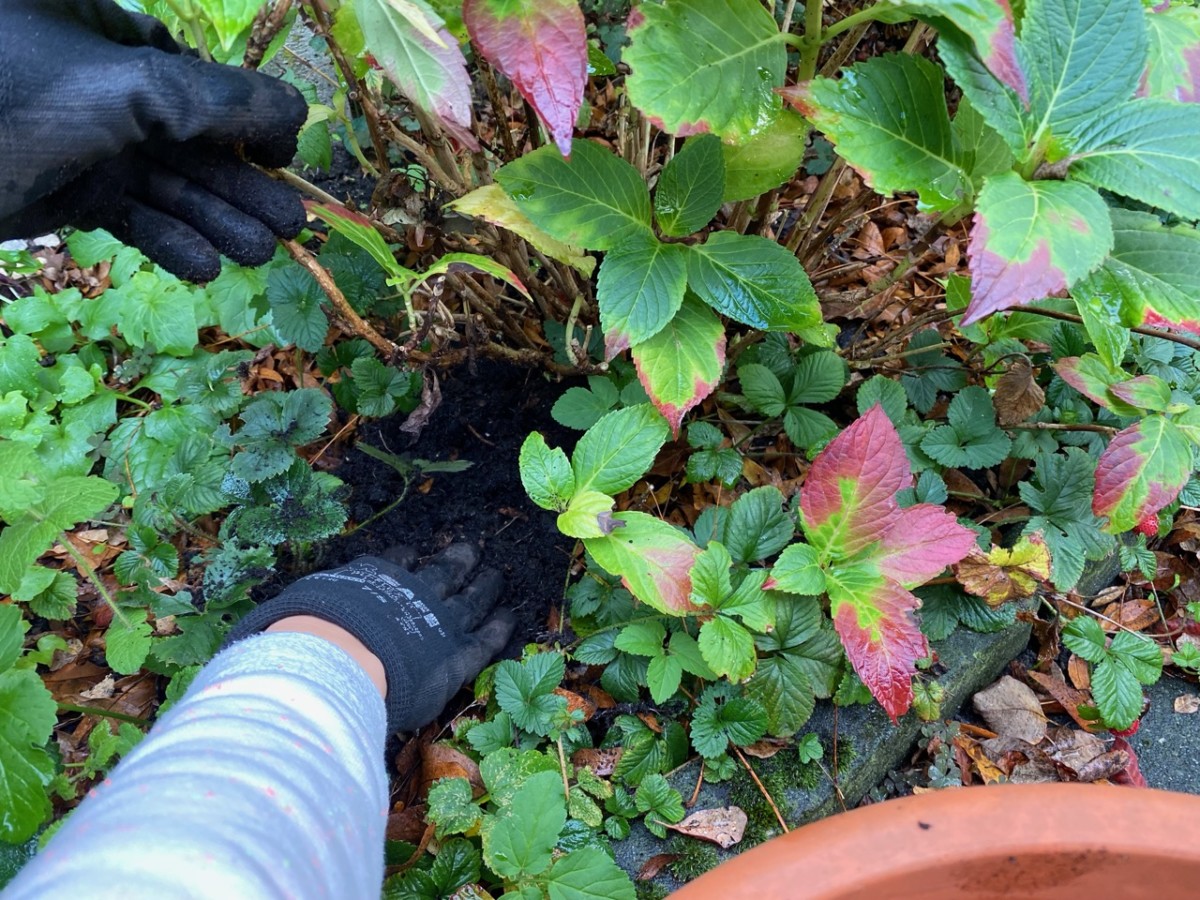
Then you can sprinkle used potting around on your flower beds, aiming to distribute it as evenly as possible. If the soil has become compacted because of previous root growth or because it’s been sitting unused for a while, you’ll probably have to add some water and manually dislodge the bigger chunks before you spread it around.
Add used soil before you mulch the beds and borders for the winter, then top it up with a generous layer of mulch.
5. Add it to your compost bin.
I left this as a last resort in case you don’t have the time or the willingness to revitalize your old potting soil. Then you can recycle it by adding it to your compost pile.
Dump it in your compost bin, break it down if it’s all in one clump, and try to spread it around evenly. If you can wait until it’s time to turn over your compost and add it then, that’s even better, especially if the soil has been sitting around for a while and has dried out.
What should I do with potting soil if I don’t have a garden?
Oh, I’ve been there my friend. I was renting for years and years, both before homeownership and in between. In some places, I was lucky enough to have a balcony that I could fill up with containers. In other places, I grew plants literally in the gutter (the old gutter that was out of use). And even when I didn’t have a balcony, I grew houseplants indoors that would get an annual repotting session to keep them healthy and keep the soil well-aerated.
So I’ve always had the need to find a use for potting soil, even when I didn’t have a garden to play around in.
If you live in an apartment, here’s what you can do with your used potting soil:
1. Add it to your municipal compost collection, if you have one.
Always check beforehand whether they accept potting soil. If they say they don’t, it’s worth clarifying whether they’ll accept it from individuals; some compost facilities will not want businesses to send over potting soil (say, a landscaping business), but have no problem accepting a few bags of soil from residents.
2. Look for a private or charity compost drop off point.
If there’s no municipal compost pickup available, see if there are any private local initiatives in your area.
Here are a few search terms you can use:
“compost drop off near me”
“compost collection near me”
“yard waste drop off near me”
“compost collection service near me”
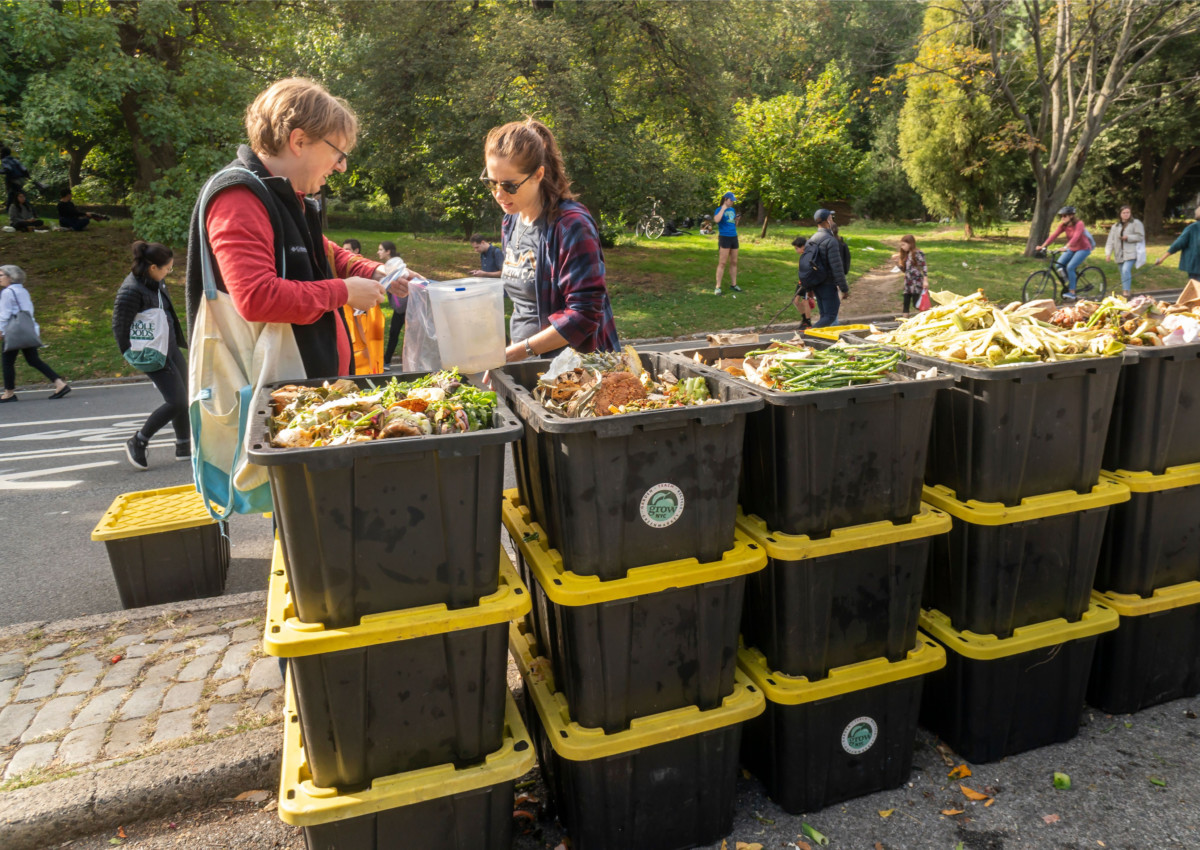
You might find either an official municipal pickup or a small local initiative. For example, my friend who lives in New York City relies on a project set up by a charity called GrowNY that has drop off points all over the city for yard and food waste. Each drop off location has a flier with what they do and don’t accept, depending on where the compost ends up.
Another friend drops off her unwanted plant waste at a local coffee shop. In turn, the coffee shop has an agreement with a mushroom grower. The grower will reuse coffee grounds to grow their oyster mushrooms and take the rest of the scraps as part of the package.
In some cities, nurseries will accept used potting soil when you make a purchase (to avoid people dumping too much on their plate) while others might accept the return of a pot full of soil that they sold to you.
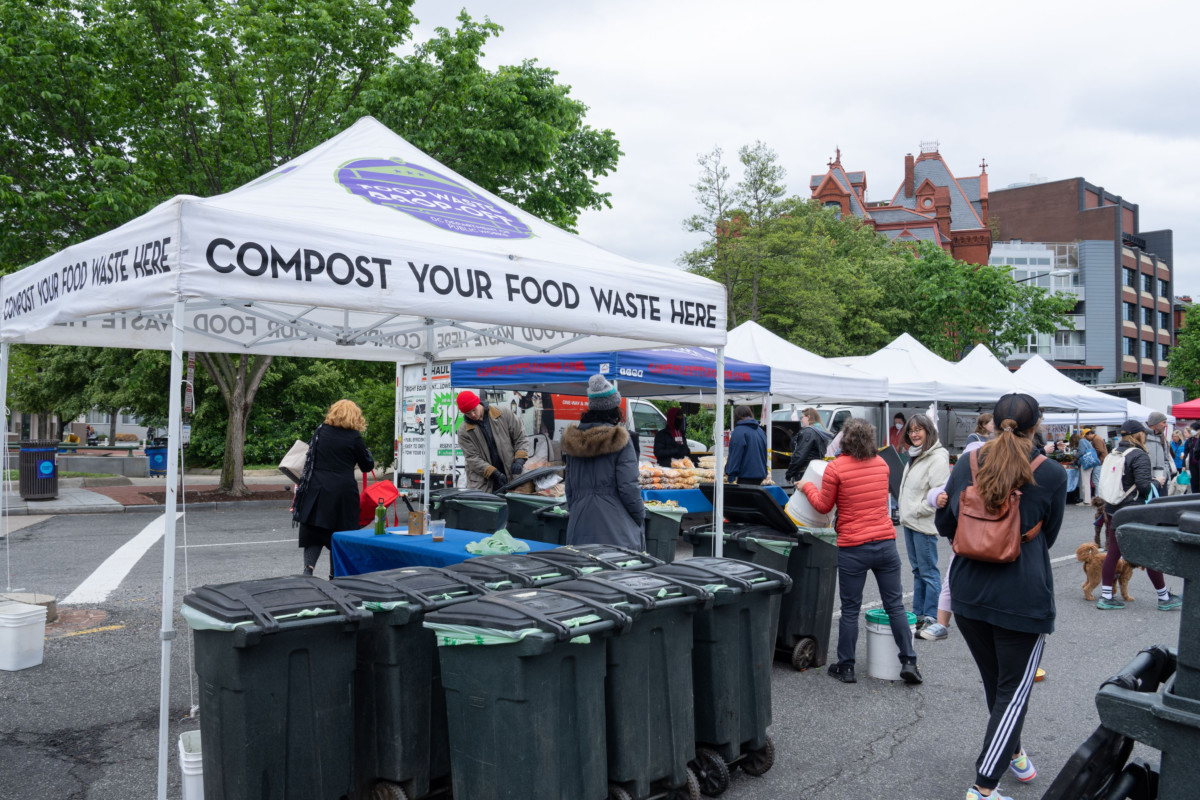
3. Ask around at your local farmers market.
If you’re lucky enough to have a farmers market in your neighborhood, see if any of the vendors accepts compost drop offs to take back to their farm. One of the markets I used to shop at had a compost bin right at the entrance for shoppers to drop off their kitchen scraps. If there are no such points, you can still ask around, especially if there are any vendors selling potted plants.
Two ways you shouldn’t reuse your potting soil:
1. Don’t use it for seed starting.
Ok, I know we all like to save a buck and soil is soil, right? No, not really. Don’t risk low seed germination by using the wrong type of soil. As much as possible, you should use seed starting compost when sowing seeds in modules and pots. The soil should have the right amount of nutrients and not retain too much water around the seed.
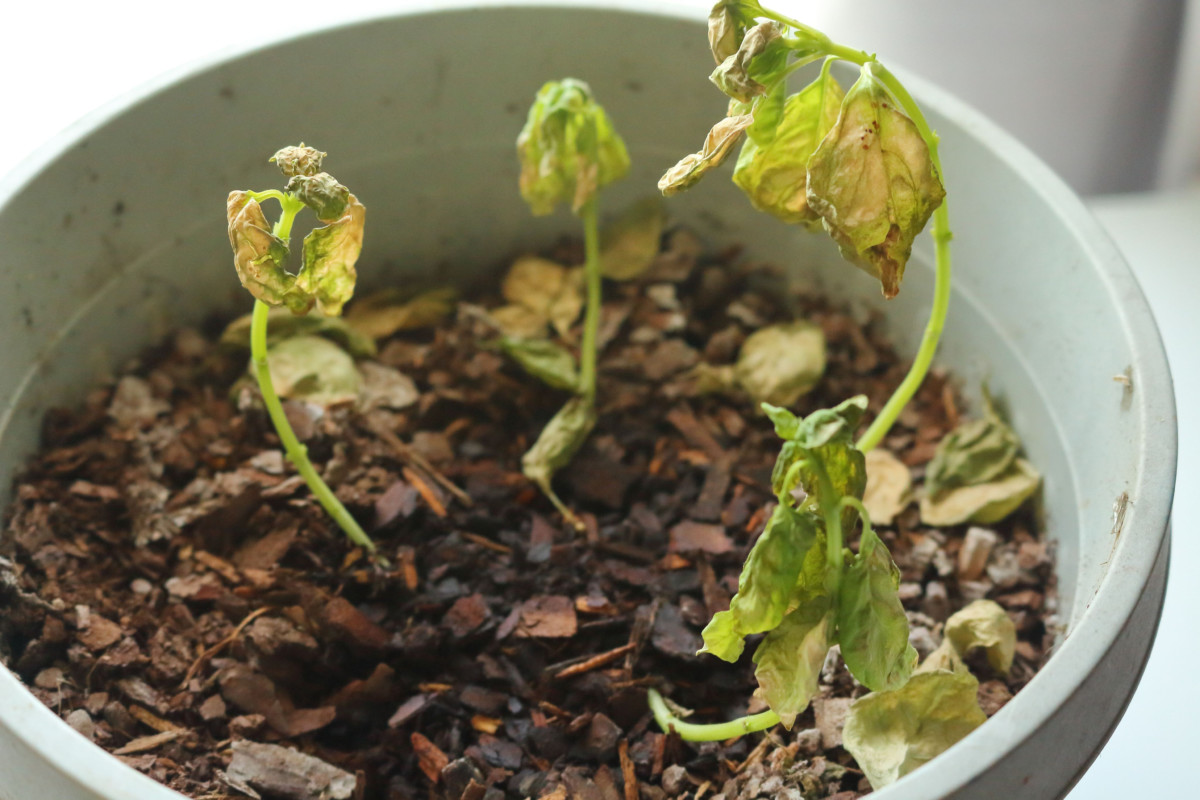
2. Don’t use it without amending it.
I’ve been guilty of this before, just plopping one baby plant in the pot of an annual I’d just discarded. It didn’t end well. It wasn’t bad, but it wasn’t spectacular either. The plant still grew some, but it was stunted compared to its siblings that I had planted in fresh potting compost.
I figured that the amount I would have had to spend on fertilizer to improve the used potting soil was leading me to a false economy scenario. So I transferred the stunted plant to fresh compost after about a month and it took off. Lesson learned.
If you have other ideas, or maybe a tried and true mixing formula to revive and revitalize used potting soil, I’d love to read about it on our Facebook page.

Get the famous Rural Sprout newsletter delivered to your inbox.
Join the 50,000+ gardeners who get timely gardening tutorials, tips and tasks delivered direct to their inbox.