

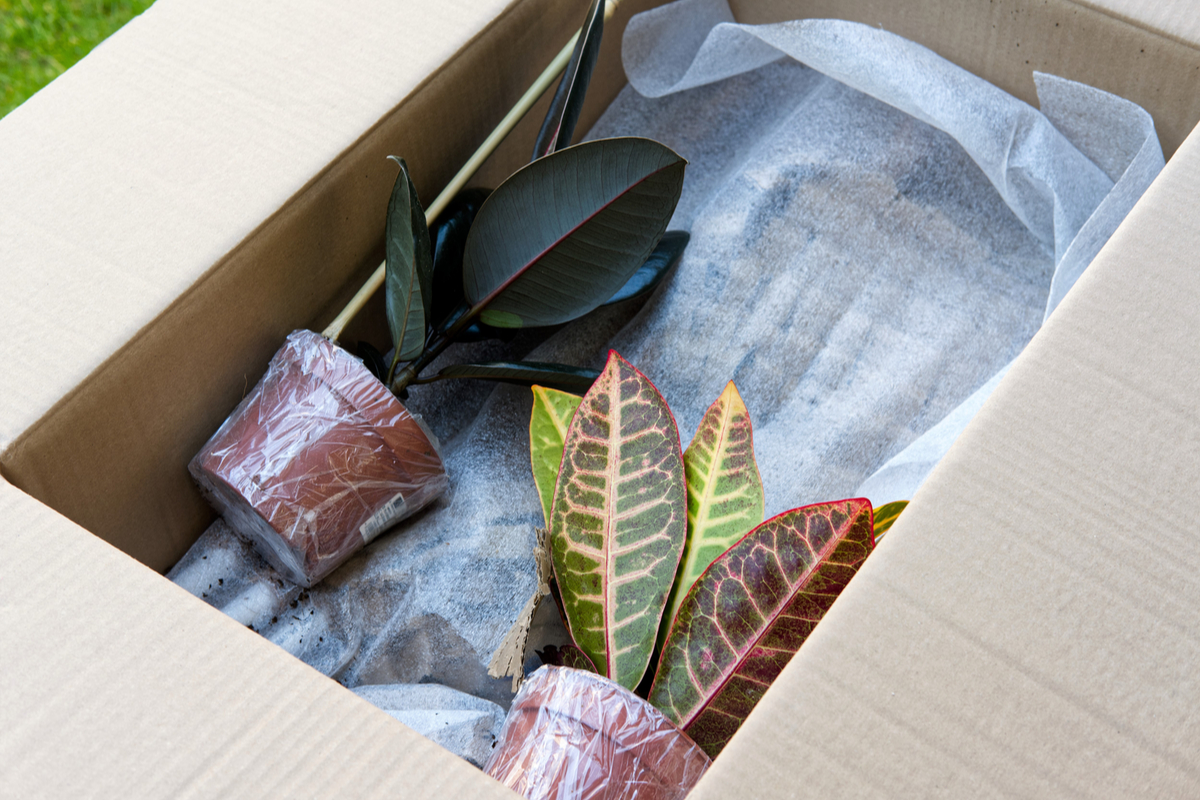
What’s the first thing you do when you bring home a new houseplant?
One of my friends tends to have a set-it-and-forget-it approach to new plant babies. While another has a clear tendency to over-pamper and fuss over their new houseplant.
I’ve been on both sides of this pendulum, and after over a decade of successfully keeping houseplants happy and (mostly) healthy, I’ve developed a rather intricate “welcome home” routine.
Here are my recommendations for the steps you should take after you bring home a new houseplant.
1. Quarantine your new plant.
I will always advocate for a strict quarantine of the new houseplants for the first 2 to 3 weeks. This means keeping it a safe distance away from your existing houseplants and making sure you thoroughly clean any tools that you have to use on your new plant (for example, hand spades or secateurs).
I even quarantine the plants I buy from other people and the ones that I get from plant swap events or via online plant exchange groups.
When you bring home a new plant, you may get more than what you paid for, and the worst-case scenario does involve unwanted hitchhikers. Remember that pests such as the thrips and mealybugs are hard to spot with the naked eye and their eggs are often hidden at or below soil level.
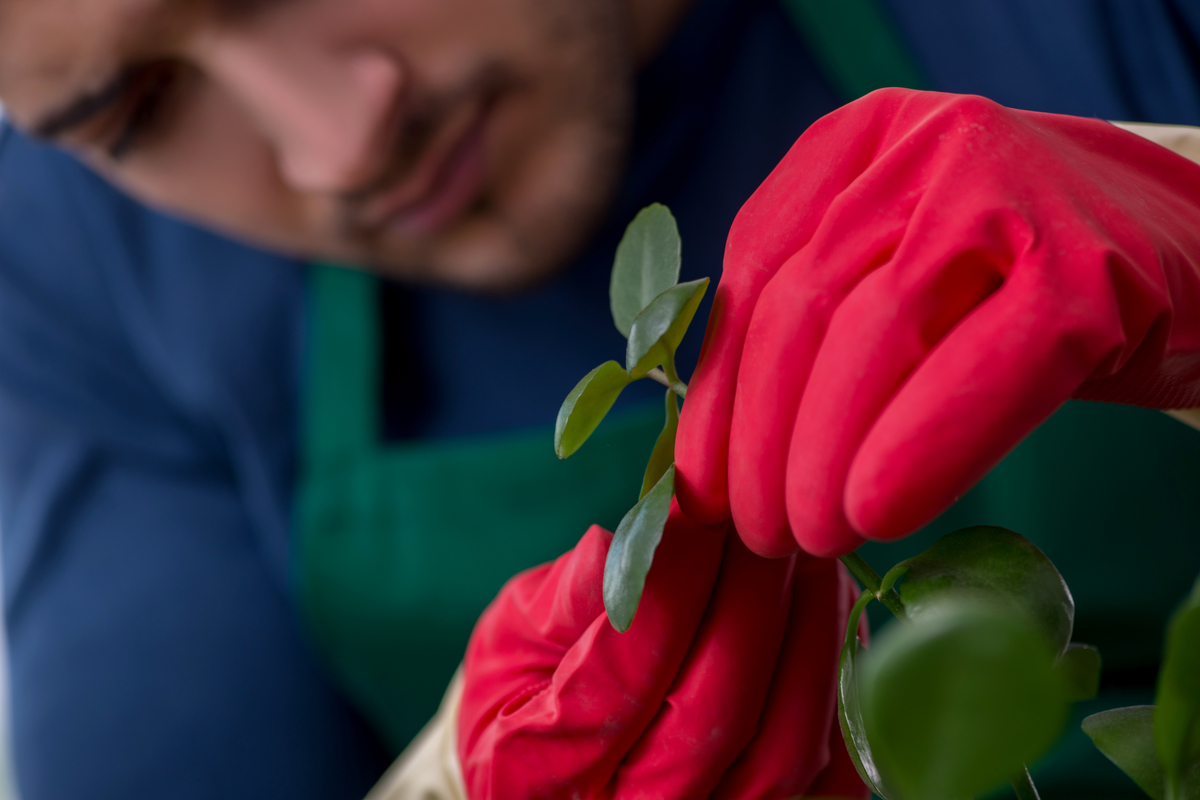
2. Do a thorough inspection of your new plant.
While the new plants are in quarantine, I always do a meticulous inspection of my new green tenant. For an extra dose of caution, I do this in daylight and use a magnifying glass, if necessary.
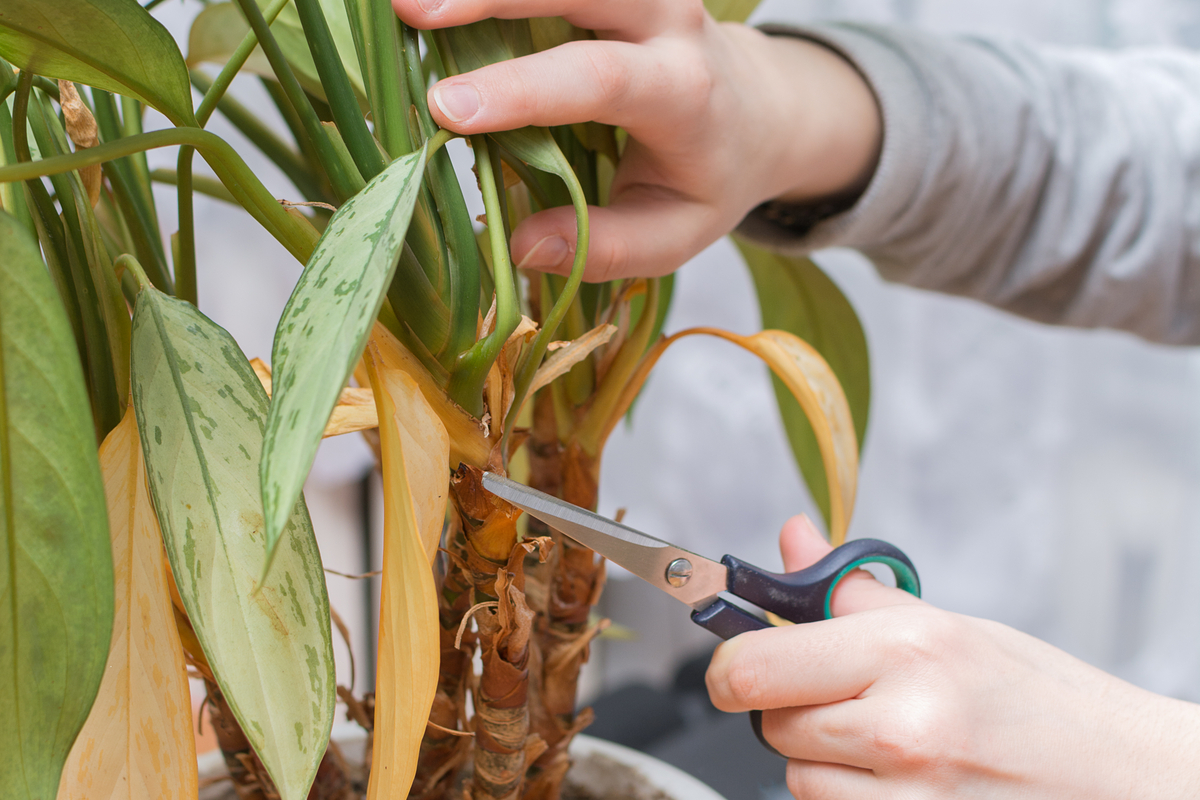
First, check the foliage. Healthy houseplants should have green leaves, but it’s normal for some plants to lose a few leaves after having gone through the shock of being transported from a greenhouse to a supermarket/nursery and then to your home. There’s no need to panic, just yet. Simply cut off the yellow or yellowing leaves with a pair of sharp secateurs.
However, even if your plant is the perfect shade of green, it’s a good idea to always check it for pests, in this order:
- start with the leaf surface;
- then check the underside of the leaves;
- inspect along the petioles (the short sticks that help attach the leaf to the stem);
- scan the stem;
- and end by inspecting the surface of the soil.
What you’re looking for is any sign of infestation. Often, we tend to think that a pest infestation has just spread overnight, but the infestation is a gradual process, so it may take weeks for plant parents to notice the damage. And once we do, it’s not a pretty sight and it may be a bit too late.
That’s why it’s important to make sure our new plant is bug-free from day one.
But what exactly am I looking for?
Here are the most common signs of pests that you may notice on a houseplant:
- Mealybugs – these are small, powdery-looking bugs;
- Spider mites – you’ll first notice a delicate web underneath the leaf and along the petiole;
- White flies – they look like tiny flying specks and resemble mealybugs;
- Aphids – they are bright-green, pear-shaped juicy bugs;
- Thrips – they’re very hard to spot because they are the color of the potting soil; a telltale sign of a thrip infestation is black dots on the surface of the leaves and along the stem.
If you find any of these signs on your new houseplant, isolate it immediately (juuuuuust in case you were tempted to skip my first piece of advice).
Then you must systematically make it hard for the infestation to thrive while also working at eliminating it.
If it’s not too bad and the infestation is localized, you can just start by washing the areas affected with a solution of dish soap and water. If possible, tilt the leaves over the kitchen sink and thoroughly wash them under running water while removing any visible bugs with your fingers. (This is definitely a balancing act that needs two people.)
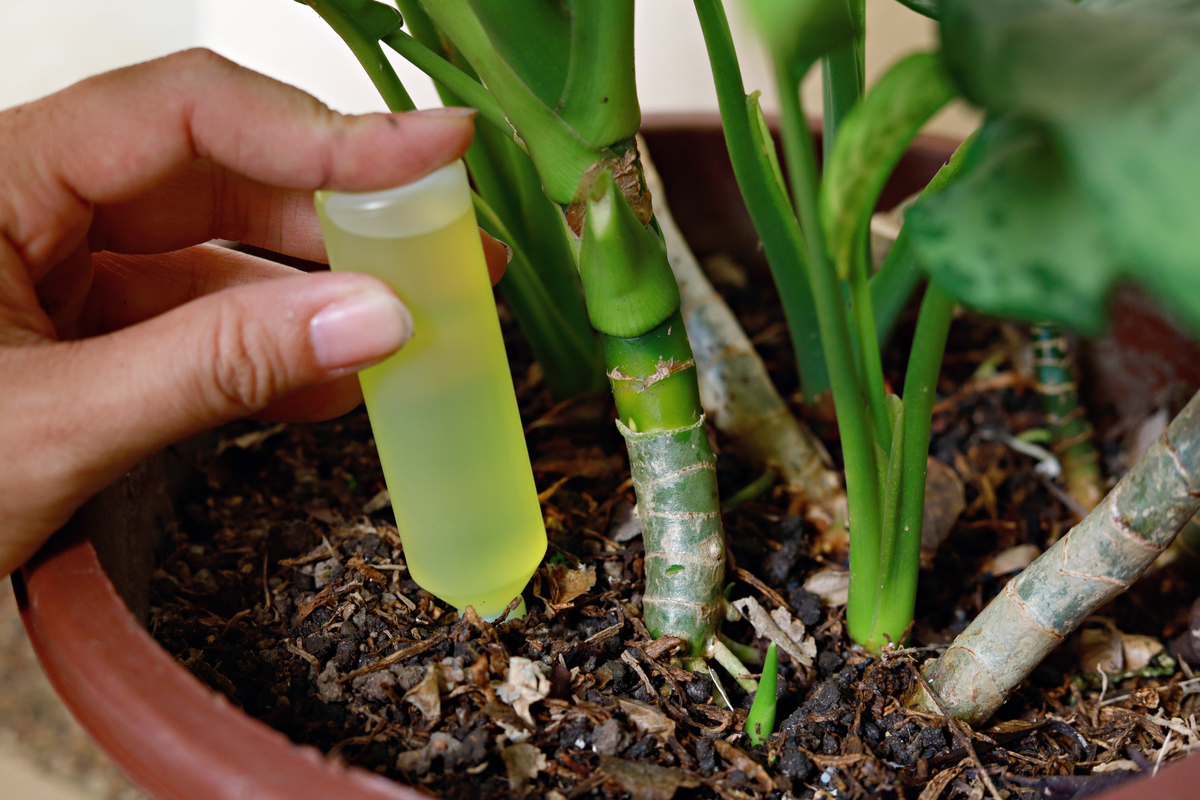
If this doesn’t get rid of the bugs, it’s time to bring out the neem oil.
I make my neem oil spray using one tablespoon of neem oil, one teaspoon of dish soap and one quart (about one liter) of water. Neem oil is usually solid, so you need to use warm water.
Add these three ingredients to a spray bottle and shake well until they’re all mixed. Then spray the leaf surface and the soil surface. I generally let it dry as is and don’t wash off the spray, but do keep in mind that it may leave behind white crystal-like residue that you’ll need to wash off eventually.
You may have to repeat this process a few times within the span of a couple of weeks to get rid of the eggs and larvae too.
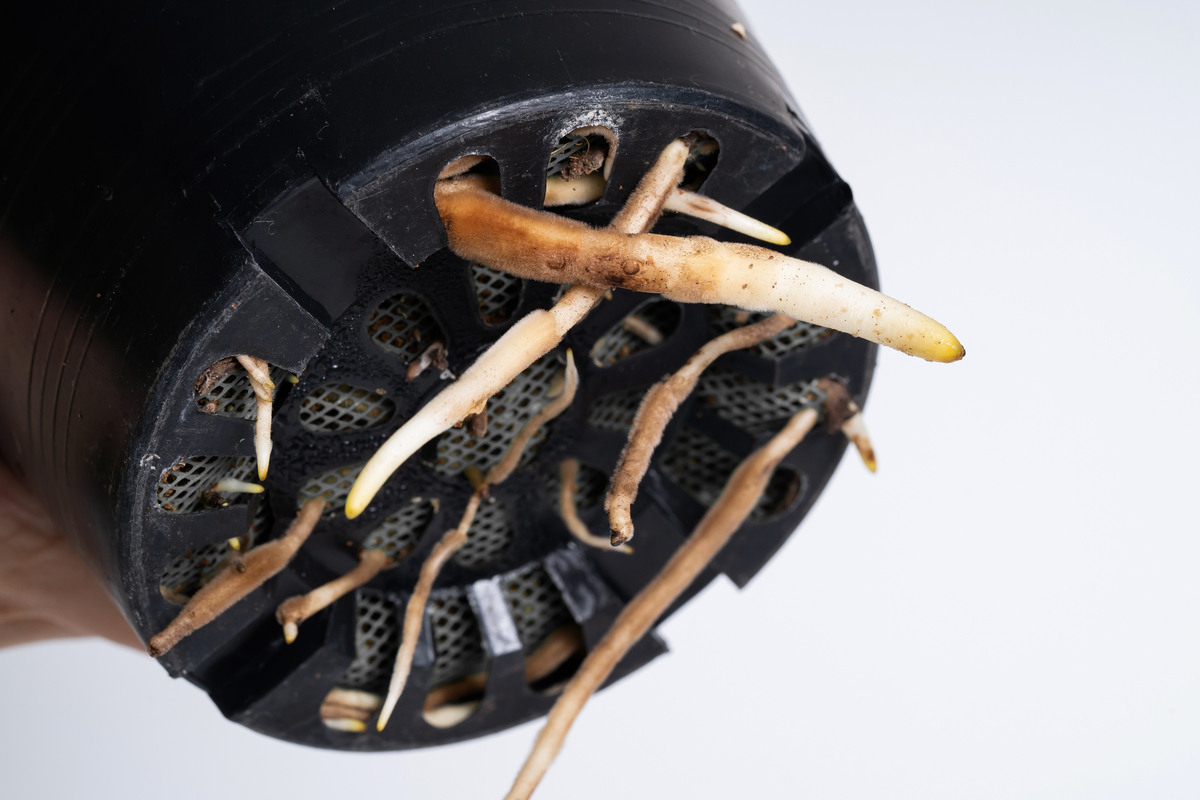
3. Inspect the roots of your new plant.
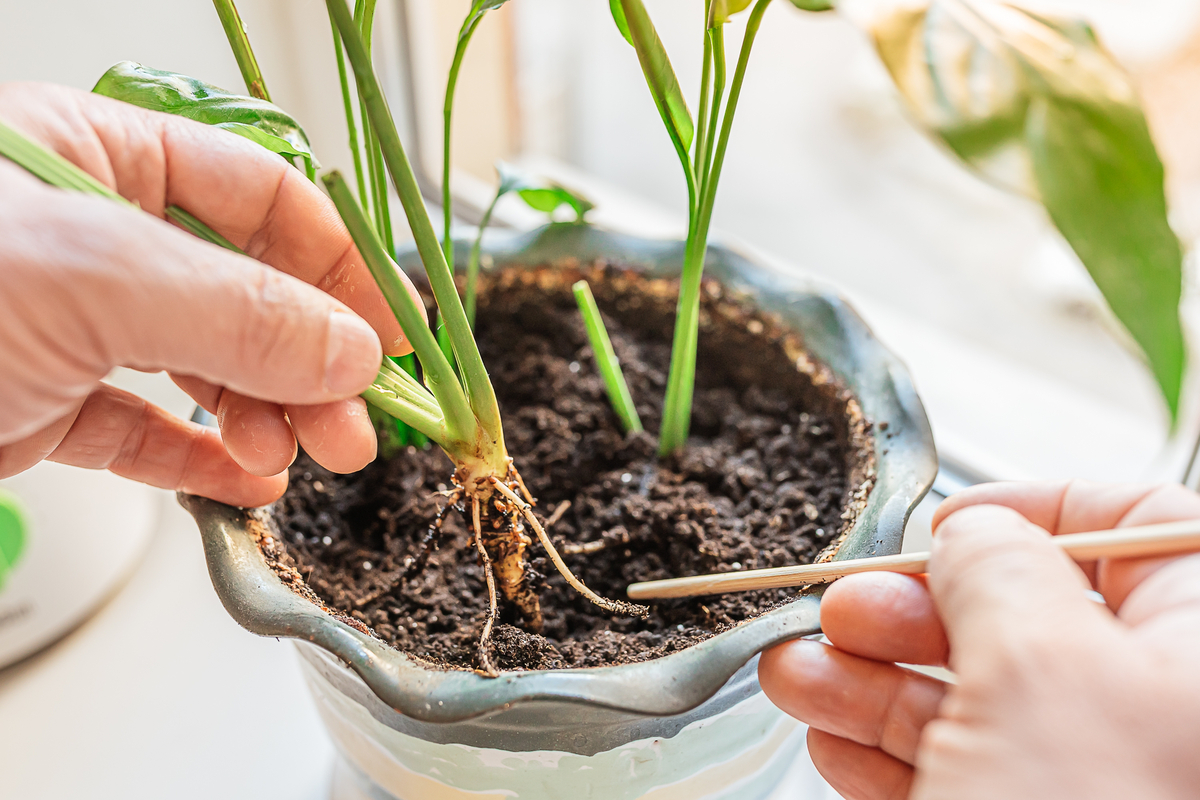
Ok, crisis averted. Your new plant’s foliage is squeaky clean and pest-free. Now that your inspection of the leaves is complete, you may need to do an inspection of the roots.
What am I looking for now?
First, you’ll be hunting for a plastic mesh wrapped around the root structure of the plant. This is called an artificial root plug.
Yes, I know this sounds weird, but unfortunately there is a common practice among large-scale growers of using plugs to keep the plants small. For plant nurseries, plugs are useful because they encourage root growth and water retention. This means the plant looks lush and healthy on the shelves and it’s just beckoning you to take it home (admit it, you’re often tempted to buy the healthiest-looking plant, right?).
So far, so good as long as the root plugs are biodegradable and allow the root ball to pierce through as it grows. However, in a world addicted to cheap plastic solutions, this would be a best-case scenario. Most plugs are often made of plastic that will never biodegrade. They will just impede the growth of the root structure as the plant matures and interfere with the roots’ ability to take up water and nutrients.
Luckily, not all plants come with root plugs. And you don’t have to pull the plant out of the ground to check. If you suspect your new plant may have come with one, you can use a chopstick to probe a few inches below the surface. Only if you uncover the edges of the mesh at this level should you repot your plant.
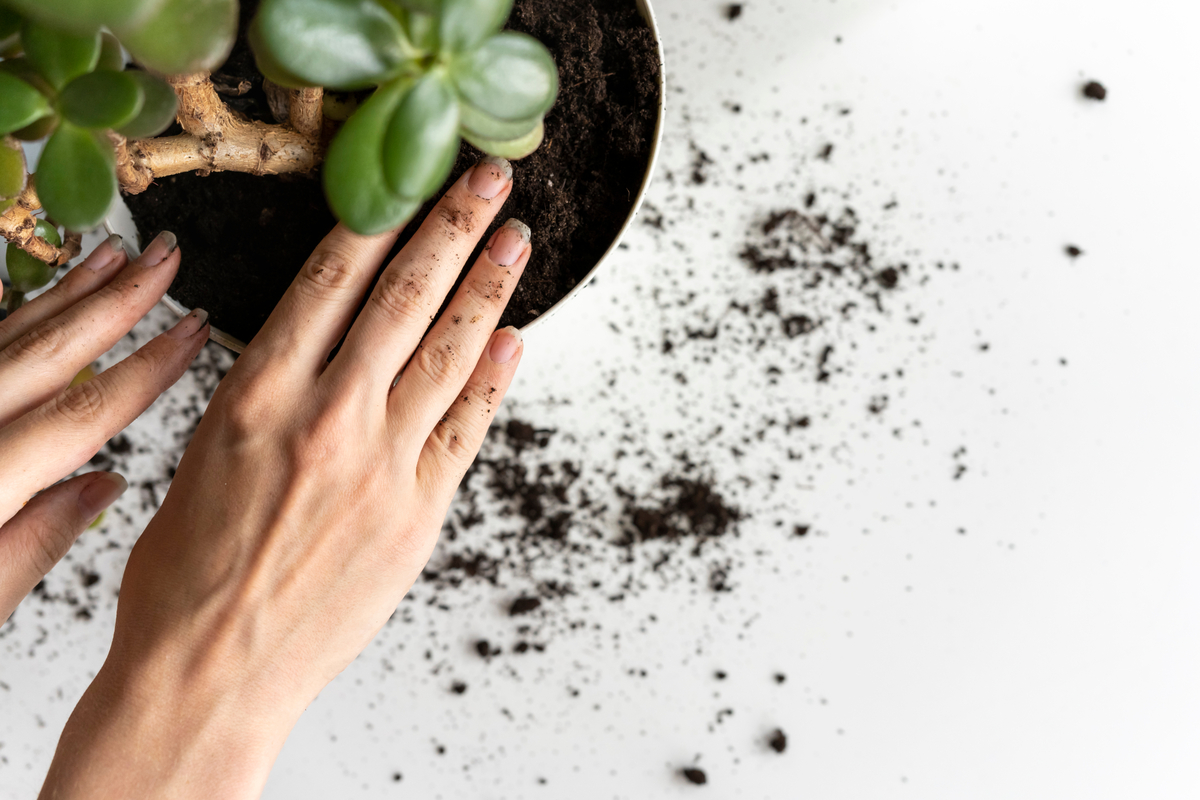
4. Don’t jump the gun on repotting.
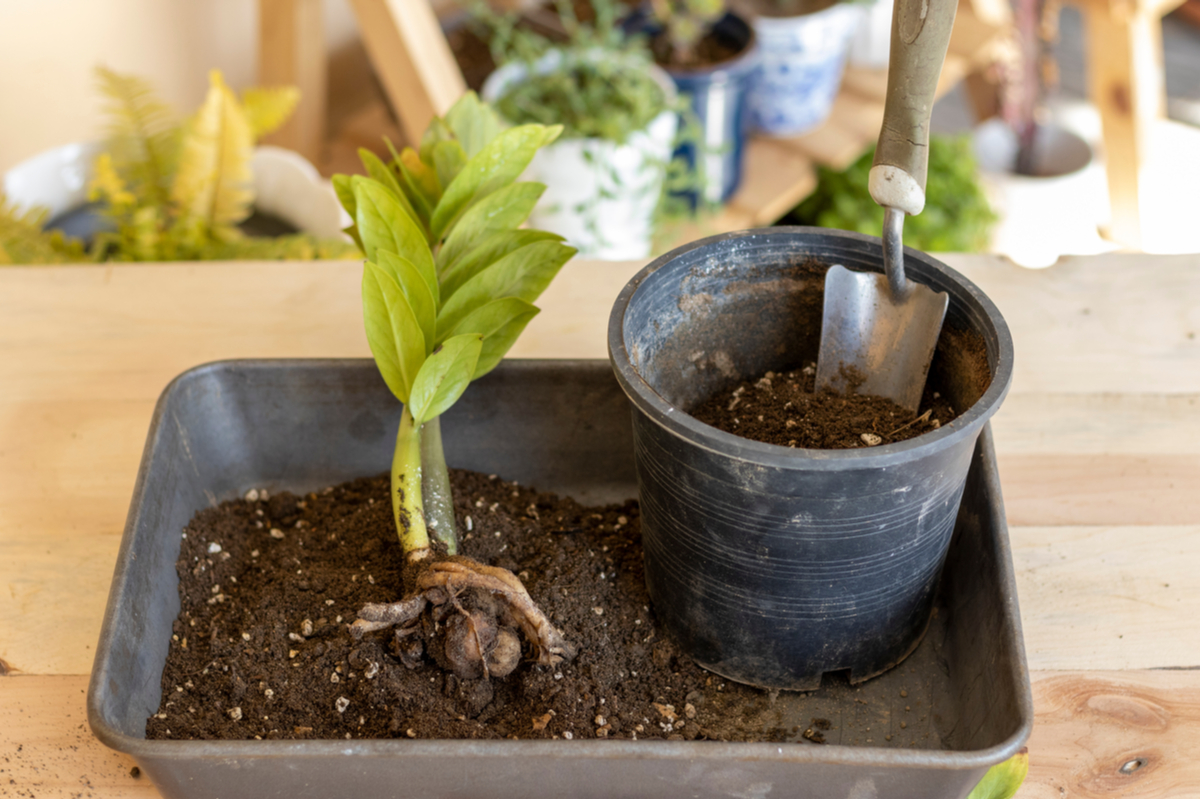
Speaking of repotting, don’t rush to do it as soon as you bring home your new plant. And in most cases, don’t rush to do it at all. At least not yet. Let your plant acclimate to its new environment first before you put it through a new round of transplant shock.
There may be scenarios when you should repot your new plant sooner rather than later. You’ll know it’s time to upsize the container if:
- there is a good amount of roots growing out of the drainage holes;
- the soil is compacted and lacks aeration (more on this later);
- the plant drains right through as soon as you water it;
- the plant is top-heavy and may topple over;
- you notice white salt spots on the surface of the soil.
If you think your new plant may have outgrown its current abode, opt for an upgrade that’s about two inches larger in diameter than its current one.
If you’re like me, and you’re tempted to skip a size when you choose the new container, you might be in for a bad surprise. You will be saving time in the short term, but in the long run, you’ll end up doing more damage.
Overpotting is a common mistake, especially for new plant parents, and it may even lead to root rot. This happens when large containers filled with a lot of potting medium stay wet for too long. Over time, your plant’s roots will be damaged by this excess moisture.
If possible, you should avoid repotting your plant in its dormant period (usually in the cold dark months) or during extreme heatwaves.
5. Check if the soil is aerated.
While most of us know that water, light and temperature are important factors to a plant’s well-being, soil aeration doesn’t get nearly as much attention. But just like we need oxygen to survive, so do our plants.
In their natural habitat, there are plenty of worms and microorganisms to take care of this process; but in an indoor environment, it’s up to us to make sure that the roots of the plants get enough oxygen.
A low supply of oxygen to the roots will slow down the growth of your plant and lead to a lower absorption of water and nutrients. A lack of airflow in the soil might also make your new green friend more susceptible to root rot as the compacted soil won’t allow the water to drain thoroughly.
Poor soil aeration may not be such a common problem with young plants or plants that have recently been repotted. But if the soil looks compacted and dense, then you may need to aerate it.
Don’t worry, it’s a really easy process that requires minimal equipment. Simply insert a stick (or a chopstick) into the soil and gently move it around to dislodge any soil clumps. Repeat the process every 1-2 inches until your soil looks less compacted.
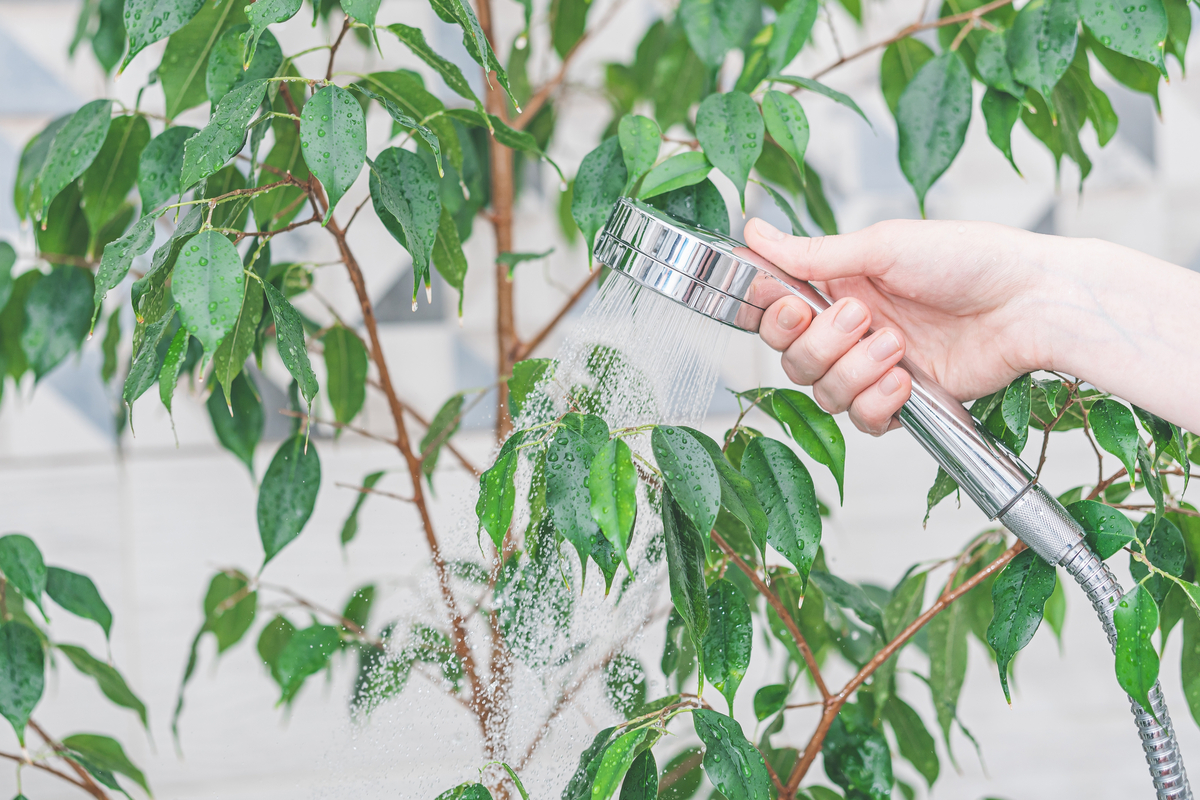
6. Clean your new houseplant.
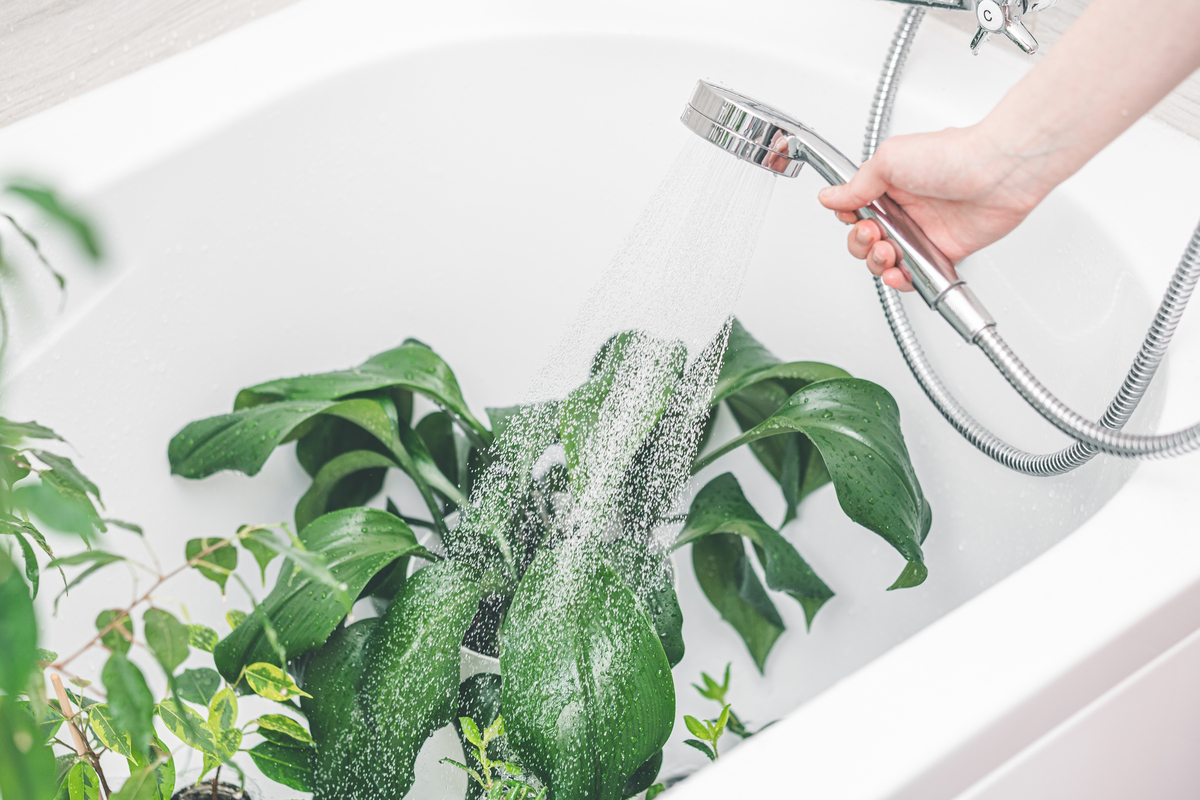
Even if your foliage is pest-free and isn’t showing any signs of a looming infestation, you should still clean the leaves. A thick layer of dust and impurities will interfere with photosynthesis and clog the plant stomata (the pores of the plant).
You can either opt for giving the plants a refreshing shower or a simple wipe-down.
If your new plant is hardy and can take a jet of water to the leaves, place it in the bathtub and turn on the shower on low. Don’t blast off water at maximum pressure, especially when your plant has delicate leaves with thin petioles. Let the water fall on the leaves and on the surface of the potting mix for about 30 seconds. Once that’s done, wait until the excess water comes out of the drainage holes before moving your plant to its permanent location.
The wipe-down method is super easy too.
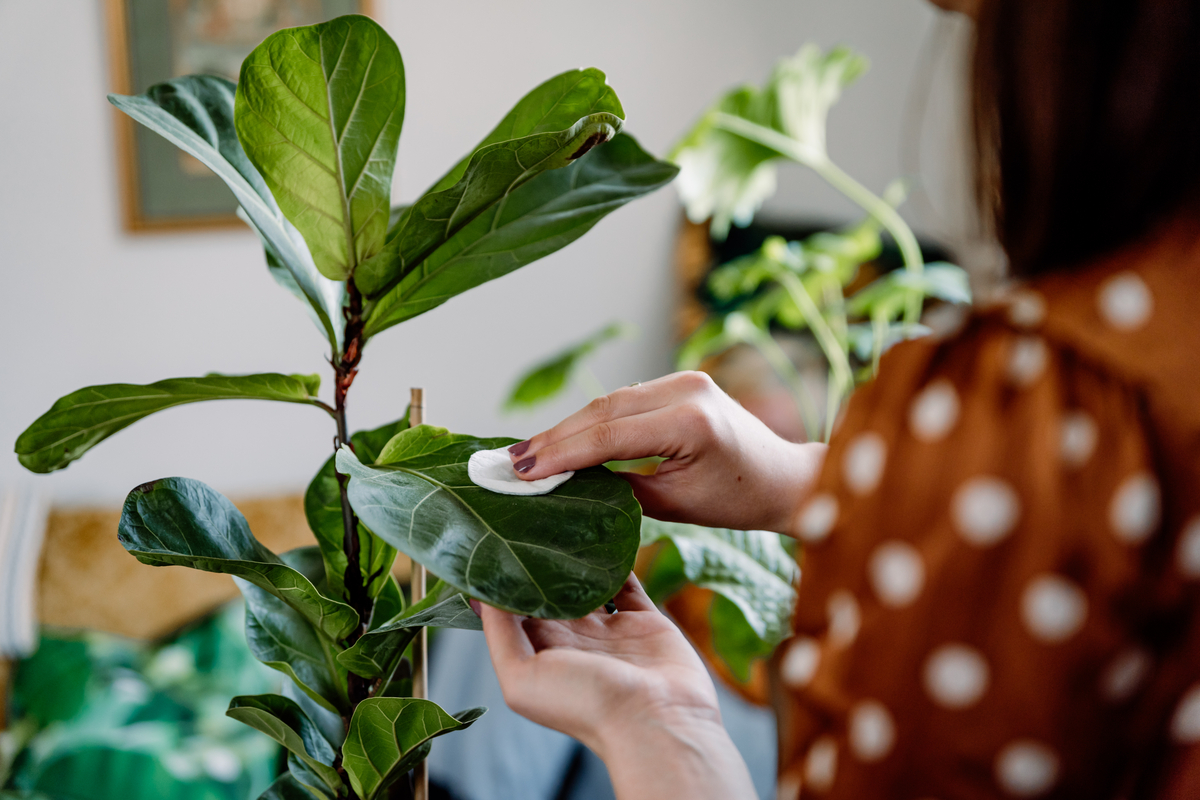
You can use a damp cloth or slide your hand inside a damp sock or a mitten. Gently wipe down the surface of the leaf while you’re clasping the leaf from below to support it. Then wipe down the underside of the leaf while you support from above.
Easy, right?
7. Do not rush to fertilize.
As a rule, too much fertilizer will cause more harm than too little fertilizer. But in our obsession for Instaperfect plants, the temptation to fertilize runs supreme. But keep in mind that growers (and sometimes plant stores) have already fed the plant before selling it to you (after all, it’s in their best interest to sell plants that look healthy and lush).
Similarly, if you’ve decided to repot your plant in fresh soil, be aware that most potting soil already contains slow-release fertilizer (usually anywhere between 2-3 months’ worth, but check the bag of potting medium for more details).
Wait at least a couple of months before you start fertilizing your new plant, and remember that when it comes to fertilizing, a less-is-more approach is better in the long run.
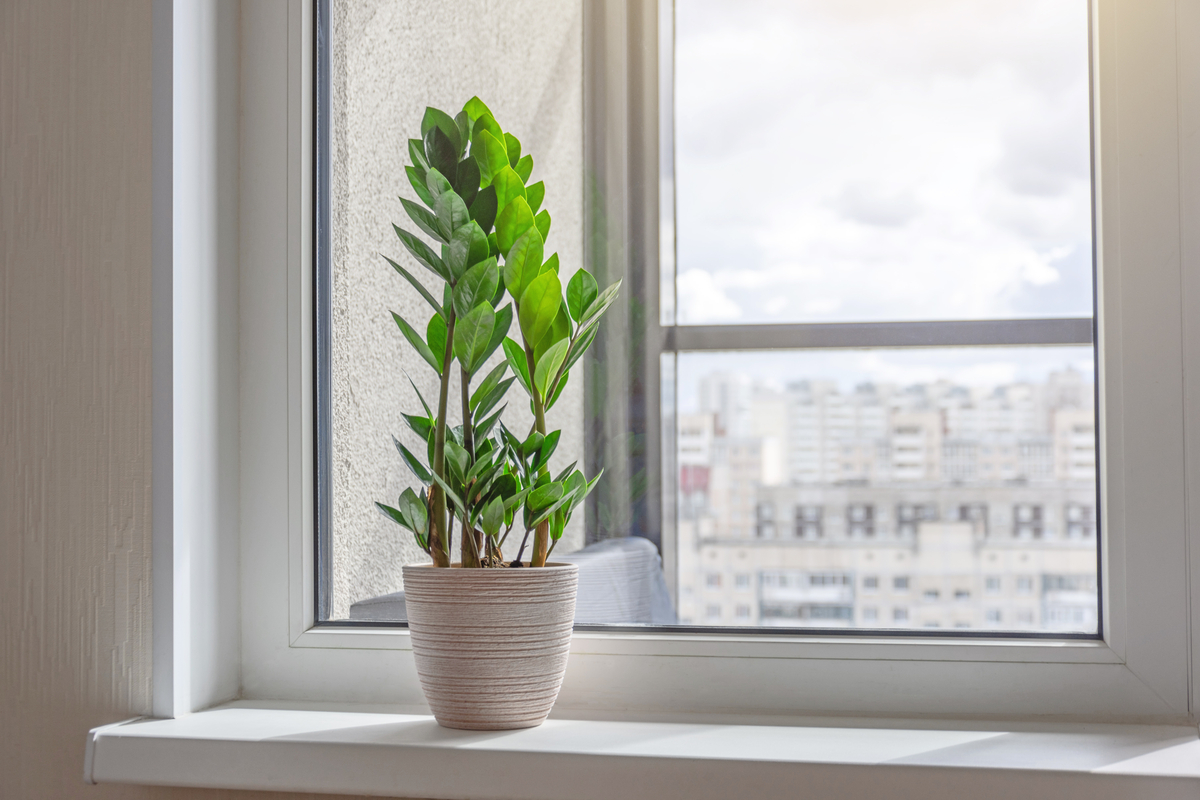
8. Choose the right spot in your home.
I admit, I too fantasized about having a prayer plant centerpiece in the middle of my dining room table. After all, this arrangement looked so cozy in that Instagram post. But my dining room is located between the kitchen and the living room, so there’s very little natural light hitting my dining table. So I had to come to terms with the fact that there would be no houseplant centerpiece for me, unless we’re talking paper plants.
Plants that we buy from the supermarkets or even from nurseries rarely come with an instruction manual. If you’re lucky, your green friend may come with a small tag with a few symbols (partial or full sun, high, medium or low water needs, desired ambient temperature, and that’s about it.).
That’s rarely enough information. While some plants are low maintenance, others are a bit fussier. That’s why it’s important to look up the specific needs of your specific plants in your specific environment before you choose a (semi-)permanent location for it in your home.
How many hours of daylight does it need?
Can it handle direct sunlight or does it prefer filtered light?
Can it handle dry air? a.k.a. Should it be placed in front of the air conditioner?
Can it cope with drafty spots? (Looking at you, Pilea!)
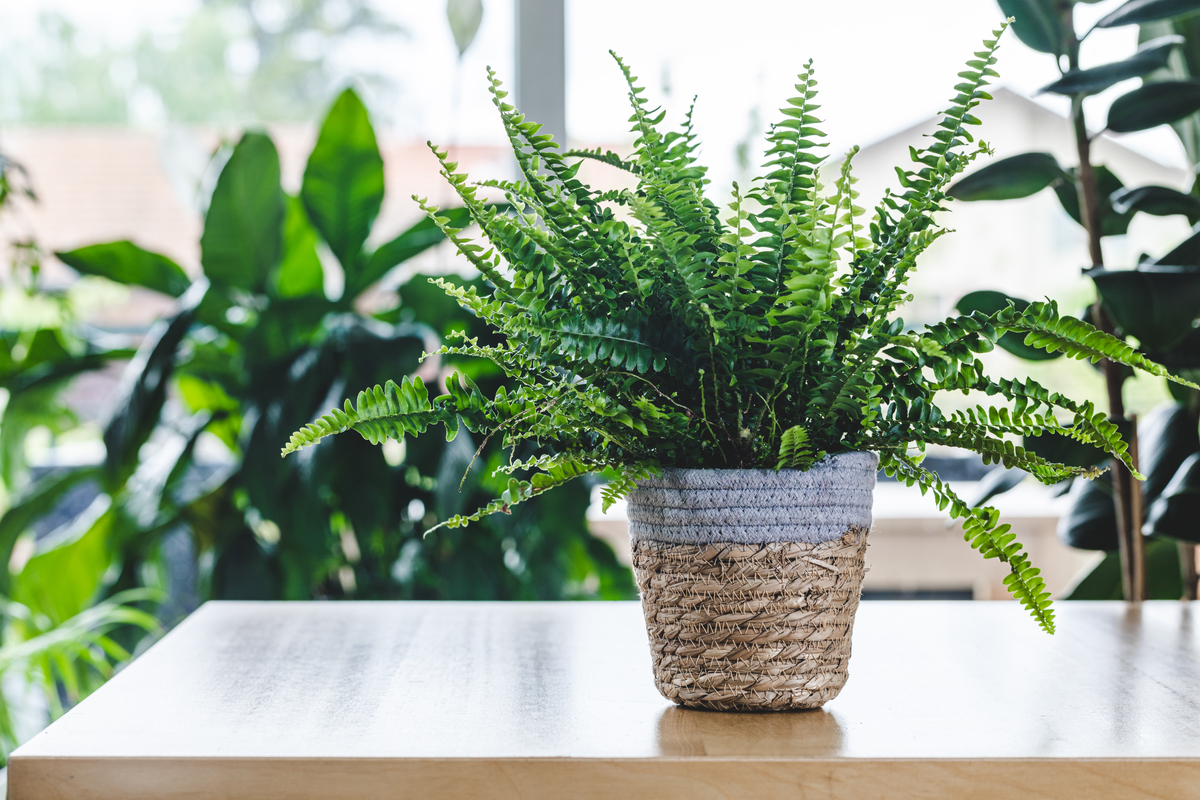
Would it prefer high air humidity? (I’ll take a breather while you relocate that Boston fern to the most humid corner of your home.)
Ok, all this advice may seem overwhelming at first. Yes, it can read like a bit too much. But it doesn’t have to be intimidating if you break it down over the course of a few days.
Day 1 – quarantine and inspection;
Day 2 – aerate the soil and clean the leaves;
Day 3 – research the needs of the plant and choose a location.
See, not so scary after all? Welcome home, new plant buddy!

Get the famous Rural Sprout newsletter delivered to your inbox.
Join the 50,000+ gardeners who get timely gardening tutorials, tips and tasks delivered direct to their inbox.