

For many people, the harbinger of spring is seeing that first robin or the tiny green shoots of crocus poking up through the snow.
But for those of us with maple trees, we know spring is just around the corner when the sap starts flowing, and the sugaring season begins.
I spent countless hours as a child trudging through the snow with my dad as we tapped all the maple trees on our property.
And I spent just as many late nights sitting out in the sugar shed, steam billowing around me, reading and listening to Prairie Home Companion on the radio. It was warm and humid and lovely in the deep cold winter.
In this post, we’re going to talk about when to tap your trees, what trees to tap, and where on the tree you should place your taps.
Then we’ll move on to the actual tapping and collection of sap. Finally, we’ll go over how to cook the sap down into delicious maple syrup.
Let’s get started.
When to tap?
Sap begins to flow when the days start to get above freezing, but the nights still fall below freezing.
This freeze, thaw, freeze, thaw cycle creates pressure within the tree, causing the sap to flow.
Depending on where you live, this is somewhere in mid to late February through March and sometimes into April. The weather temperatures are your key indicator though.
Sap flows for roughly 4 to 6 weeks, with the earliest sap having the highest sugar content. It will take more sap towards the end of the season, to make maple syrup.
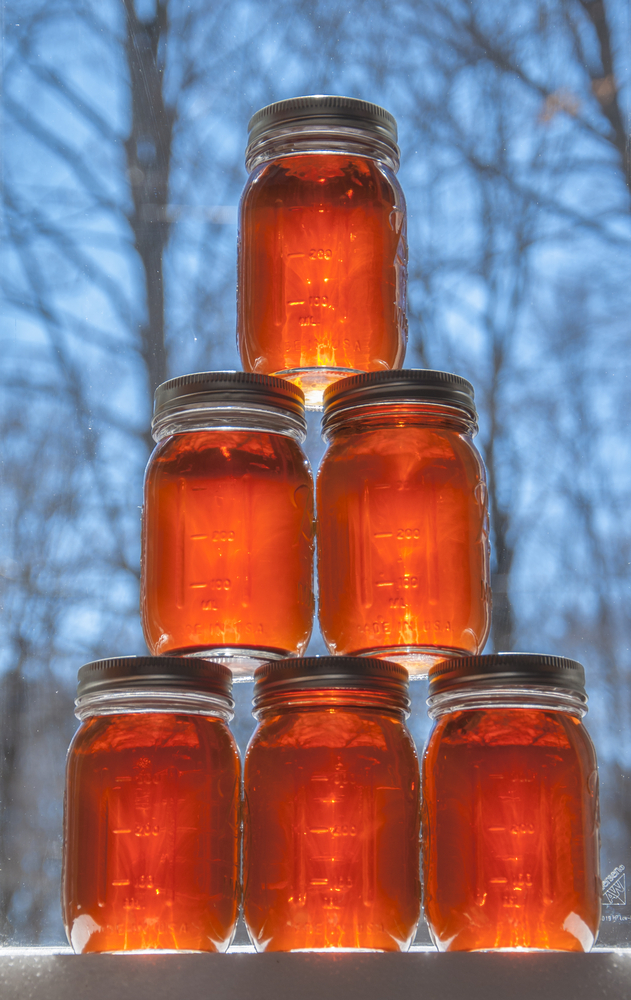
Generally speaking, though, 10 gallons of sap will produce a quart of maple syrup.
Which trees do you tap?
Naturally, to make maple syrup, you need to collect sap from maple trees.
Aptly named, the sugar maple is the best tree to get sap from for maple syrup, closely followed by red, black, and silver maples.
A tree should be around 12” in diameter (measured about 4’ above ground) to be tapped and in good health. Larger trees can have more than one tap.
Generally, a tree between 21” – 24” inches in diameter can handle two taps, and trees larger than that can handle three. You shouldn’t put more than three taps in a tree as it can weaken the tree and open it to disease.
My dad and I used to walk the property in the fall before the leaves would fall. He would mark all the maples that were big enough to tap by tying a piece of flagging tape around each tree at about chest height.
In the winter, when the leaves had fallen, this made identifying the maples easier. If you can’t do it this year, mark it on your calendar to do next year.
How to tap trees
Lucky for you, sugaring season kicks in right around when the cabin fever is at its worst. So gather your supplies and head out to the woods to tap some trees.
Here’s what you’ll need:
- Spiles
- Drill with a bit for the appropriate size of your spile
- Hammer or mallet
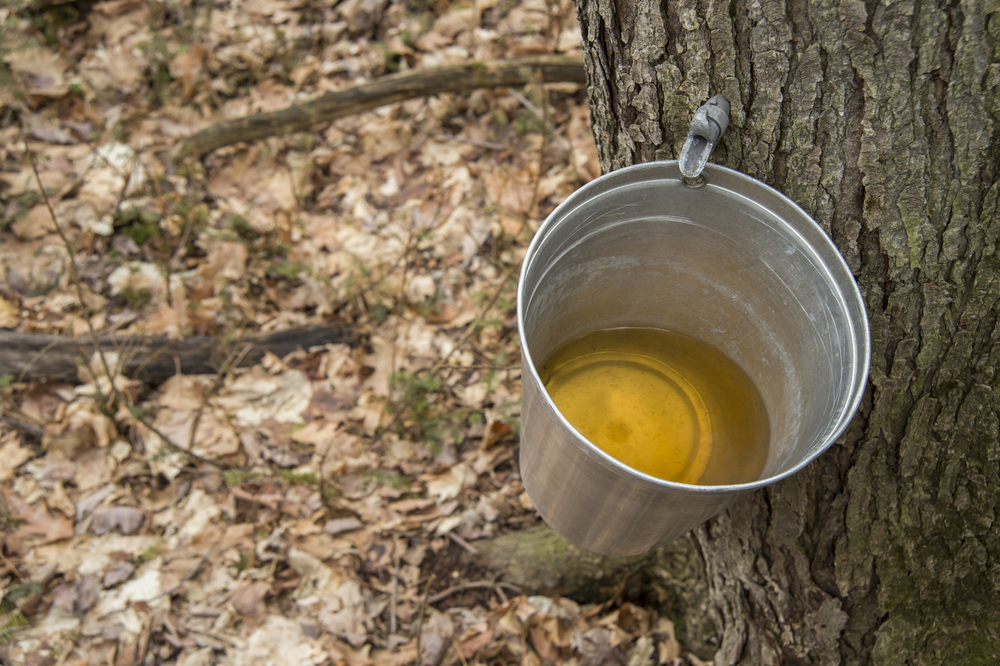
- Sap buckets with caps, or other containers to collect sap
- Nylon tubing if you plan to collect into closed containers
If you use drop tubes, you don’t need fancy buckets to collect sap. You can save one-gallon plastic milk or water jugs throughout the year and drill a hole in the cap to fit the nylon tubing.
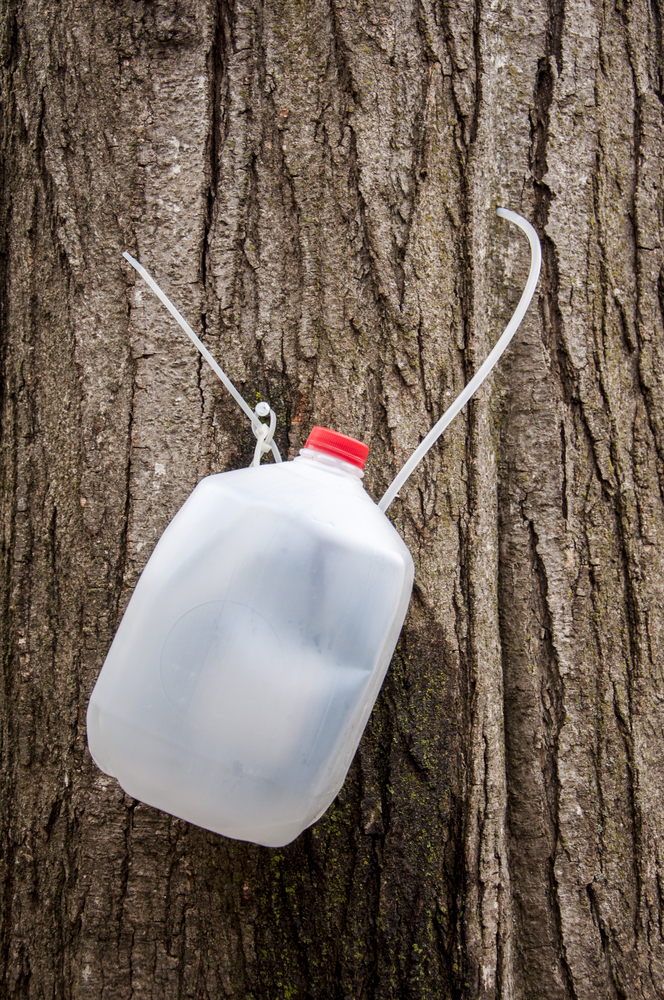
If you are saving milk jugs, rinse them out thoroughly with a solution of ¼ cup of bleach to a gallon of water and then rinse with clean water several times again.
These spiles with drop tubes work great for this kind of set up. This is a great way to try collecting sap and making syrup without spending a lot of money on stainless steel buckets.
Drill a hole into the tree about 2-3 feet above the ground, and make the hole 2 ½” to 3” deep, angled slightly up, so that the sap will drip down.
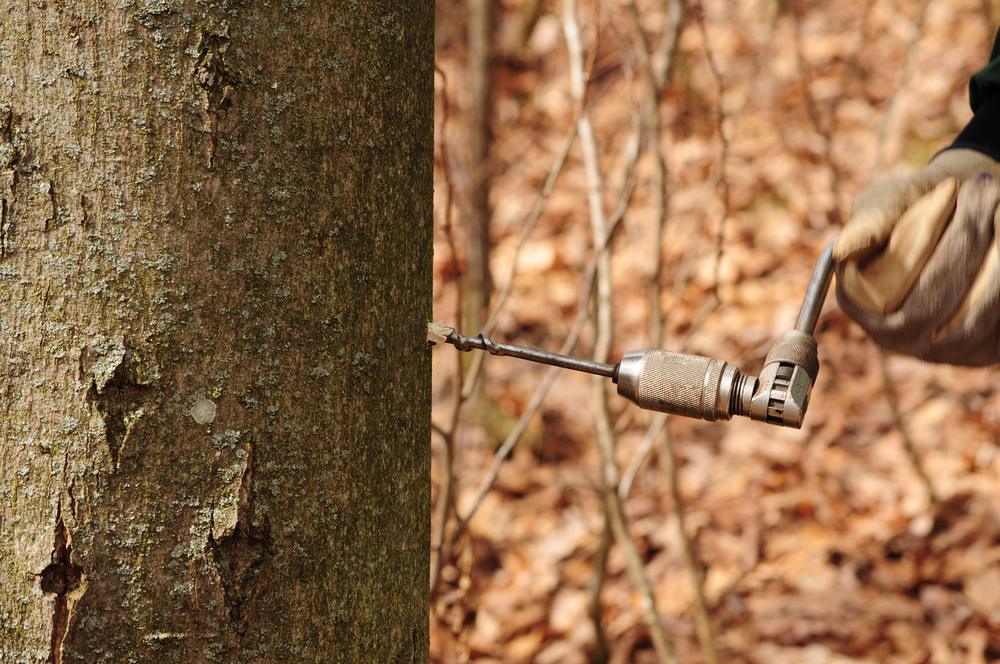
Never drill within 6” of an old tap hole. The best place to drill is on the southern side of the tree below a large limb or above a large taproot.
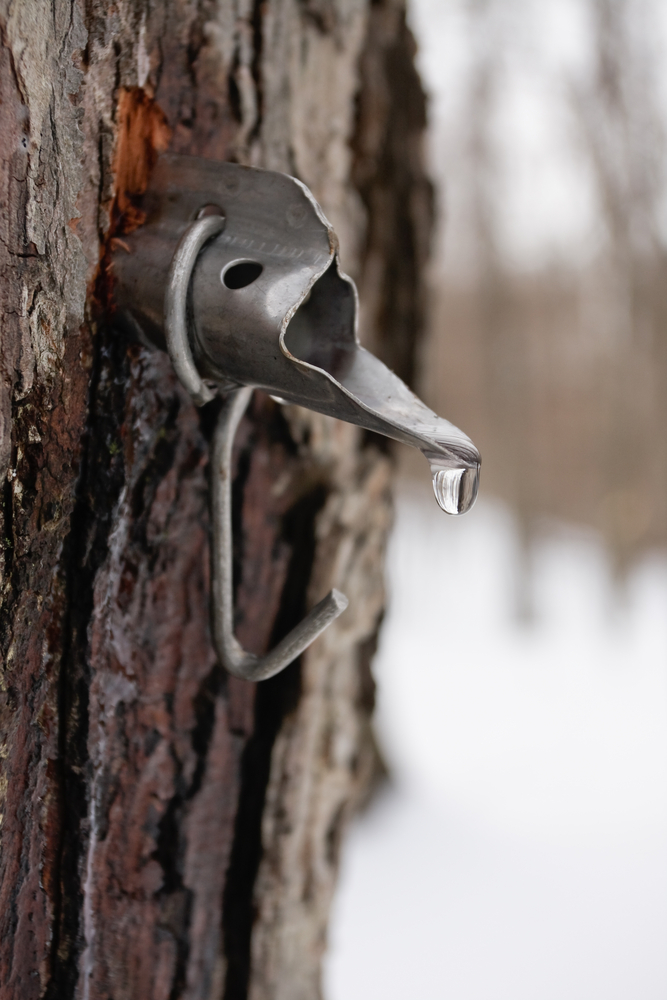
Now, gently tap a spile into the hole. Be careful not to split the tree with the spile, or the sap will run out the split rather than into the spile.
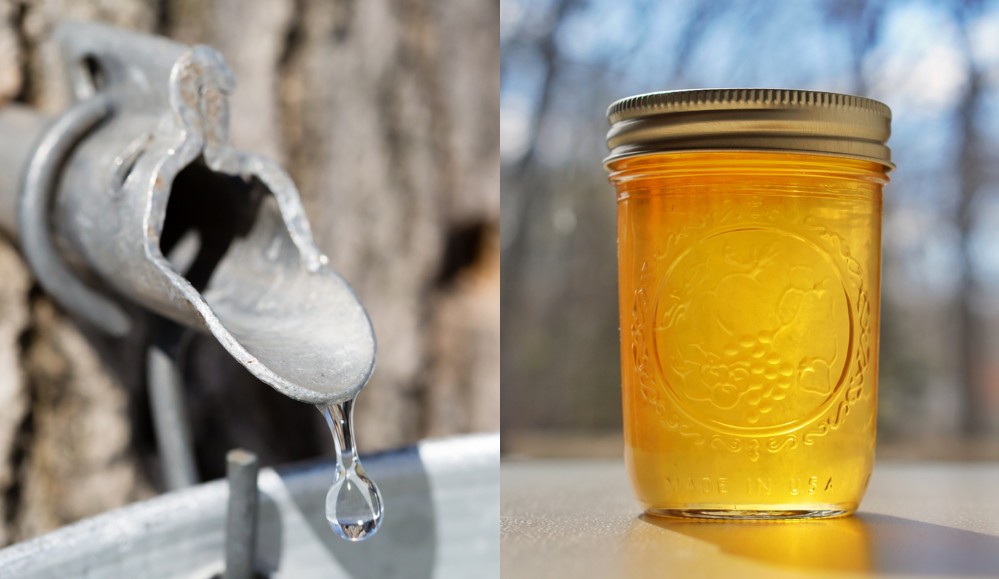
Once the spile is in place, you should begin to see a few drops of sap run almost immediately.
Hang your bucket or connect your tubing to the spile.
Collecting the sap
Ideally, you should collect the sap every day and keep it refrigerated and out of the sun until you are ready to process it.
Some days you may find your sap buckets overflowing, and some days they might only be half full.
If it’s cold out, 38 degrees or lower, you can keep the sap outside, as long as it’s out of the sun.
Sap, like any perishable, does go bad if it’s left out. Process your sap within a week of collecting it.
Now on to the maple syrup
What you will need:
- Outdoor cooking set up to process the sap
- Large, wide containers such as catering pans or an extra-large stockpot
- A candy thermometer
- Clean wool or wool felt or fine cheesecloth to filter the syrup
- Sterilized jars with lids or bottles with caps
Maple syrup is made by evaporating sap to condense the sugars.
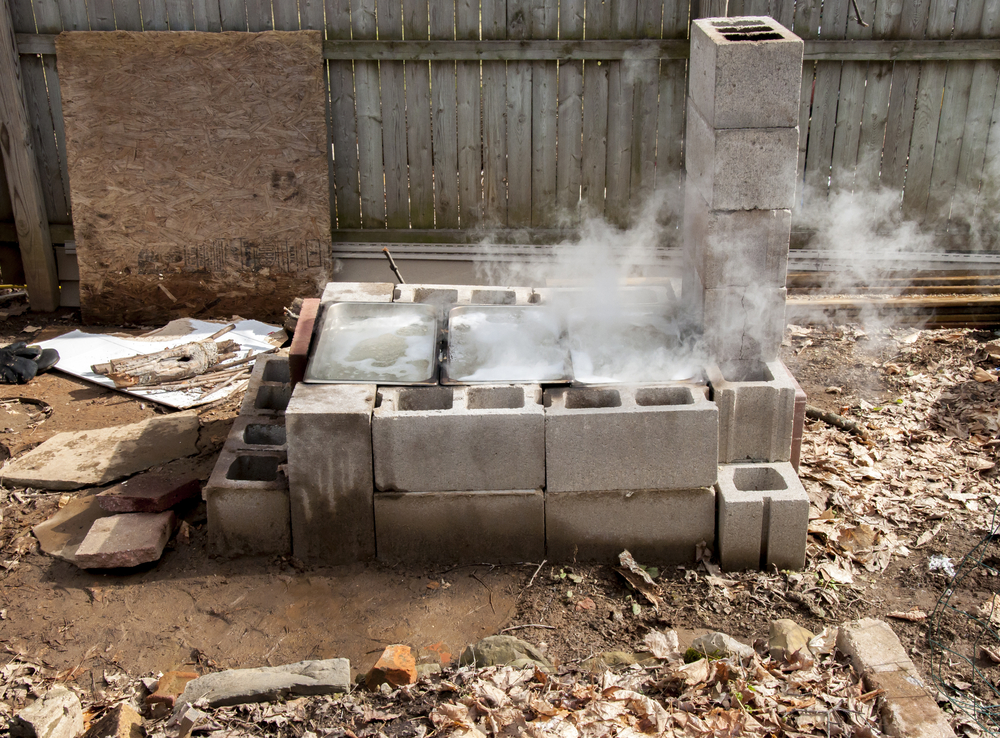
You’re going to create a lot of steam in the cooking off process, so unless you have a dedicated sugar shack with ventilation, you should always process sap outside.
When the maple syrup boils to 7 degrees above the boiling point of water, it is finished.
Do not assume the boiling point is 212 degrees Fahrenheit!
Your elevation and even the barometric pressure can change the boiling point of water. Test first by taking the temperature of the raw sap once it first reaches a steady rolling boil.
You can come up with any number of setups for the cooking off process, but basically you’ll need steady heat (wood heat is the best) and wide shallow pans. For a small set up, disposable catering dishes doubled up work well. A large, wide stockpot can be used too.
You can easily build a fire pit using cinderblocks. Use a grate or long pieces of angle steel laid across the top to set your pans on.

Of course, maple sap can be used as it is for drinking or making tea or coffee. However, if you plan to drink it, be sure to boil it first to kill off any harmful bacteria.
Bring the sap to a boil and let it boil for two minutes, then let it cool before consuming it. It’s quite refreshing on its own.
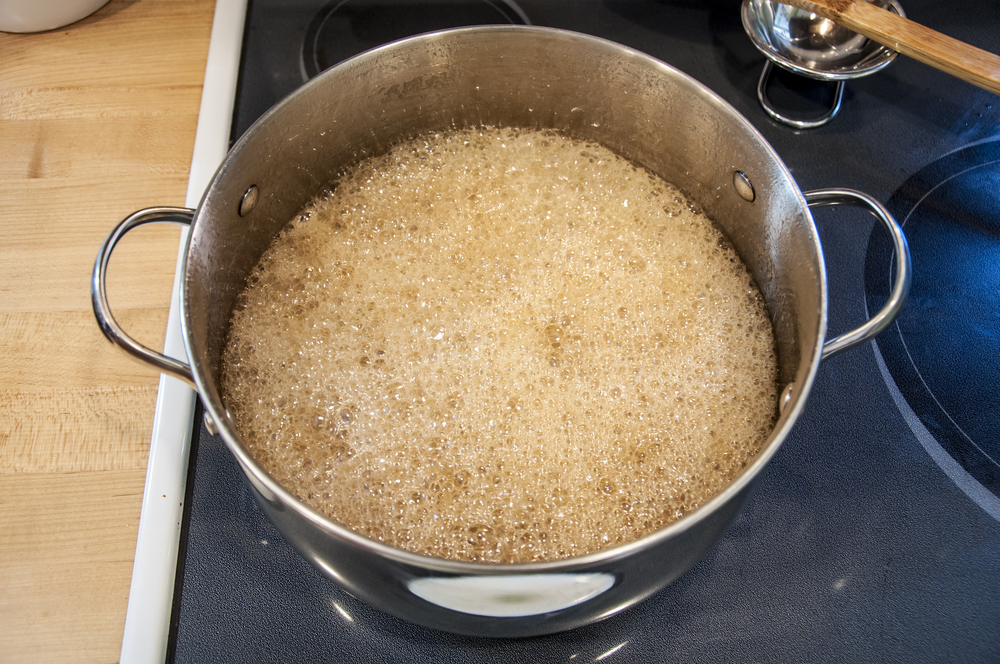
To process maple sap into maple syrup, begin by wiping a small layer of butter or vegetable oil around the lip of the pan or pot. This will keep the sap from boiling over. Pour enough sap into the container to fill it ¾ of the way full, and bring the sap to a steady, rolling boil.
There will be a lot of steam, be careful, steam can burn.
As the sap evaporates down to about 1/2 to 1/3 of the height of the pan, top up the sap to ¾ full again. You want to try to keep the boil consistent so don’t add too much at a time.
Continue in this manner until you have used all of your collected sap. If foam forms as the sap boils, skim it off the surface.
Eventually, the sap will begin to turn slightly golden. The syrup will still be very thin in consistency. At this point, you can finish off your syrup inside if you have a smaller batch.
Continue boiling the sugar until the temperature reaches 7 degrees above the boiling point of water.
Another way to check is with a spoon. Dip the spoon into the syrup and let it drip off of the spoon.
If it’s the correct consistency, the syrup will stick to the spoon, spreading across the spoon in a film. A thermometer is your best bet though.
Sugar sand is a naturally occurring sediment that occurs when you are cooking off sap.
Once you have finished processing your syrup, you will need to filter off the sugar sand.
An easy way to do this is to line a metal colander with wool, wool felt or several layers of cheesecloth and place the strainer over a clean metal pot. Pour the hot syrup into the colander.
Maple syrup should always be hot-packed in sterile containers at 180-185 degrees.
Once you open a container, be sure to store it in the refrigerator and always dispose of it if mold forms on the top. Sometimes crystals will form at the bottom of the container; these are harmless sugar crystals.
This centuries-old tradition is a great process to try on any wooded homestead, and I hope you’ll give it a go this season.
I have so many fond memories of sugaring season growing up. The very best part, of course, was eating buckwheat pancakes that were positively soaked in fresh maple syrup.
I always felt bad for those kids with their plastic bottles of storebought ‘maple’ syrup.
Once you’ve made maple syrup, be sure to save some to make homemade maple cream. It’s easy to make and is utterly decadent!
I’ll be sharing my recipe in the coming days, so make sure you subscribe below to get updated when it’s published.

Get the famous Rural Sprout newsletter delivered to your inbox.
Join the 50,000+ gardeners who get timely gardening tutorials, tips and tasks delivered direct to their inbox.