


If you’ve ever tasted homemade butter, then you know it’s far superior to anything you can get in the store.
Nothing beats the creamy, slightly salty taste of fresh, homemade butter on hot toast or steamed veggies.
Believe it or not, if you own a stand mixer, it’s ridiculously easy to make butter.
It takes about twenty minutes total from start to finish. And most of that is hands-free while your stand mixer does the work for you.
You’ll also get a delicious byproduct, which you can use in your baking and cooking – buttermilk.
I’m going to walk you through the process from start to finish. Then I’ll share three recipes for whipped butter and a bonus recipe using one of those whipped butters.
Let’s jump right in.
Butter requires only two ingredients – heavy cream and salt.
Use the best quality cream you can get your hands on, as this directly affects the taste of your finished product.
The absolute best cream to use comes from grass-fed cows. If you have access to a local dairy with grass-fed cows, I highly recommend picking up some of their milk and cream. You can see and taste the superior quality of grass-fed dairy.
You’ll need a stand mixer for this recipe. There are a number of brands of stand mixer, but the most popular is the KitchenAid.
Along with your stand mixer, you will need the following items to make butter:
Tools You Need:
- A stand mixer
- A clean dishtowel
- Cheesecloth or muslin
- A colander
- A pitcher of ice water
- A bowl
- Wax paper
Ingredients:
- 1 quart of heavy cream
- ¼ tsp of salt.
The Process
Alright, let’s get this show on the road.
You’ll be using the whisk attachment for your stand mixer. I like to put the whisk and the mixer bowl in the fridge for about ten minutes before I start.
Doing this ensures that everything stays good and cold. Definitely do this extra step if the weather is warmer or your kitchen is hot.
Go ahead and set up your stand mixer.
Pour the cream into the bowl and begin beating the heavy cream on a medium-high setting. Gently drape the kitchen towel over the stand mixer, being sure to cover the bowl too.
Beat the cream for around 10 minutes, or until it begins to form soft peaks.
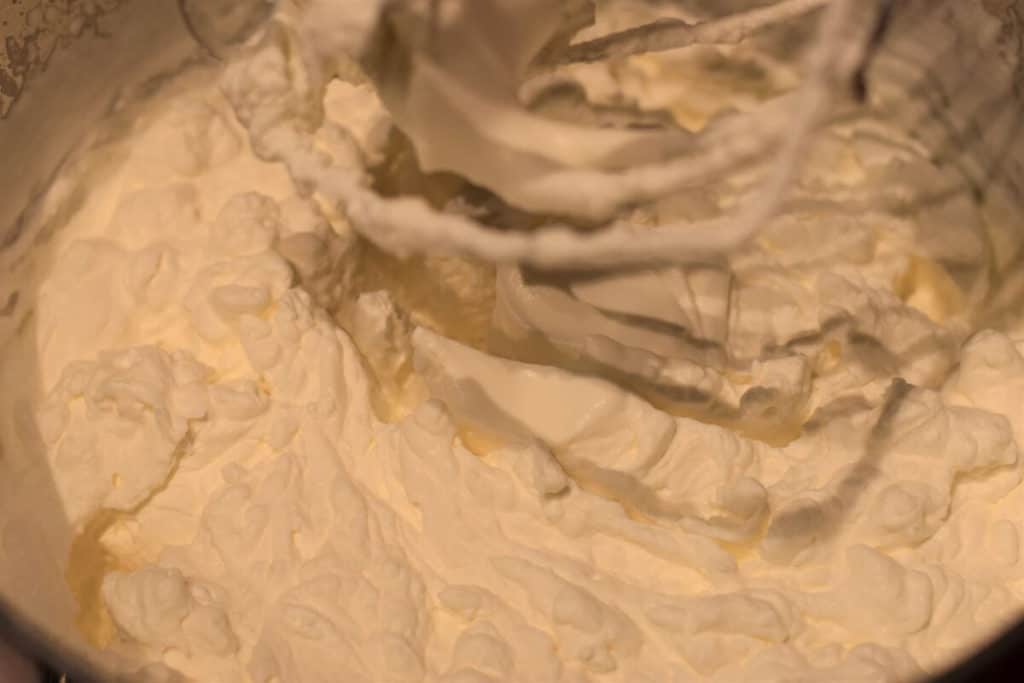
Check on the cream occasionally and use a spatula to push any from the sides back down into the bowl.
When the cream starts to set up, and you get your soft peaks, kick the speed up onto the highest setting. Don’t forget to keep everything covered with the dishtowel, or you’ll be cleaning buttermilk spatters from your walls!
Keep beating the cream for about another five minutes. You’ll be able to hear when it’s getting close, as the buttermilk will make a sloshy sound. Continue beating until you have solid globules of butter.
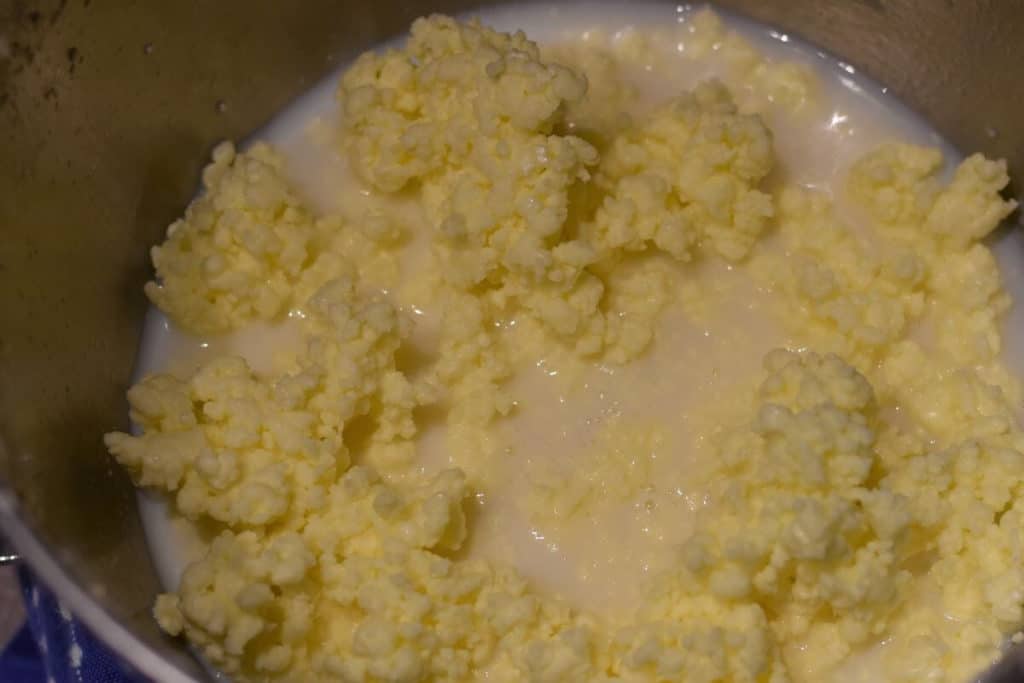
Now we have to separate the butter from the buttermilk.
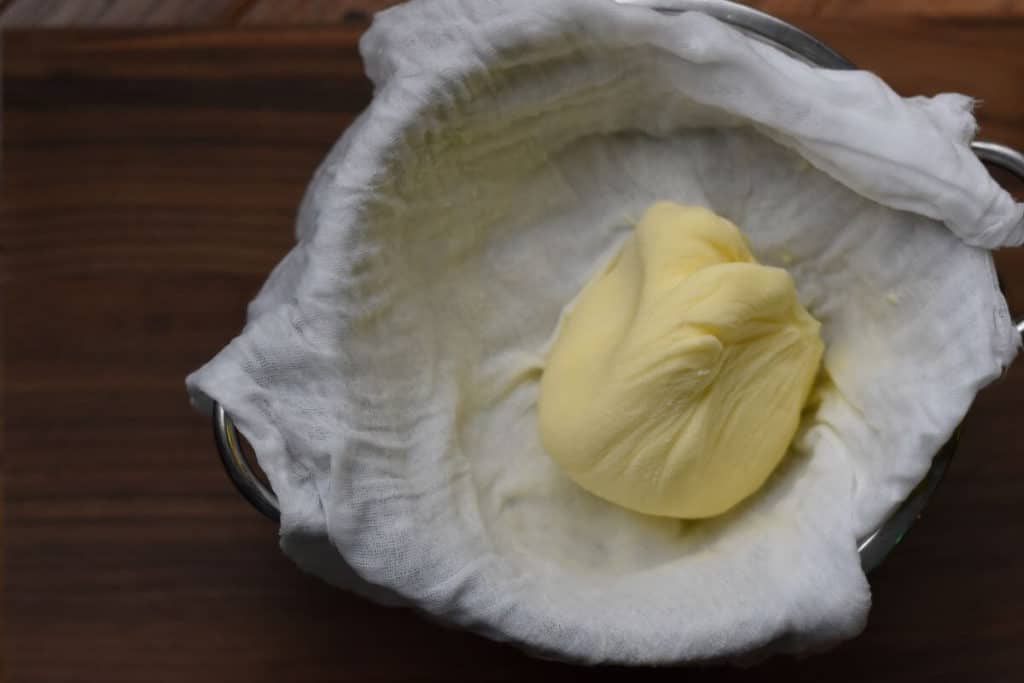
Lay your clean cheesecloth or muslin in the colander and set the colander on top of the bowl. Pour the butter and buttermilk mixture into the lined colander. Wrap the cloth around the mound of butter forming a ball and squeeze tightly. Continue squeezing to get as much of the buttermilk out of the butter as you can.
This recipe yields right around two cups of buttermilk. Put your colander on top of the mixer bowl and put your delicious buttermilk in the fridge. Be sure to use it within a week.
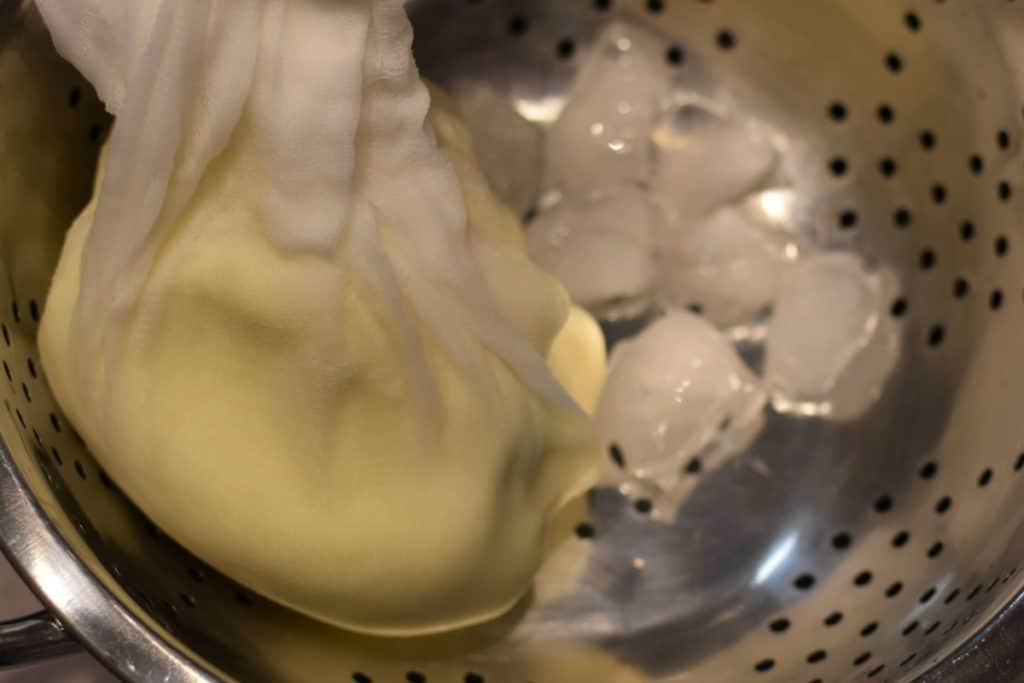
Grab your ice water and pour it over the cheesecloth wrapped butter. Squeeze the butter again, to remove any excess buttermilk. Keep rinsing and squeezing the butter like this until nothing more comes out.
When all of the buttermilk has been removed, unwrap the cloth from the butter and sprinkle the salt over the outside of it. Using your hands, work the salt into the butter.
It’s a bit like modeling clay that you can eat.
At this point, the warmth from my hands usually makes the butter a little melty on the outside.
I like to wrap the butter in the cloth and give it a splash with the ice water then squeeze it out once again. I’ll do this once or twice until the salt is mixed in well.
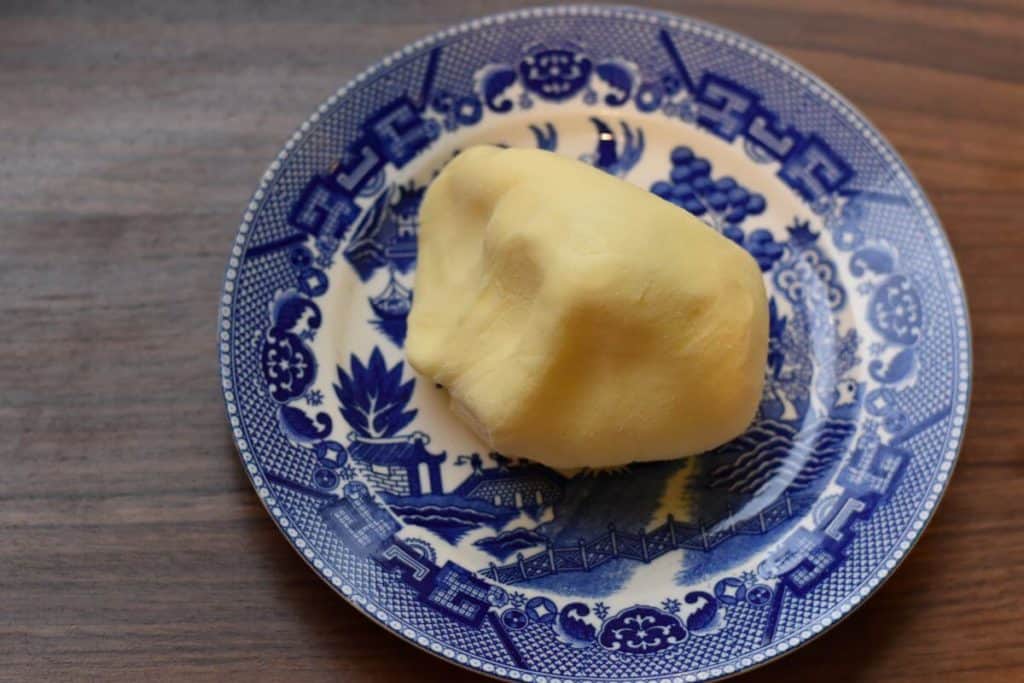
Pat dry any residual moisture from the butter and wrap it in wax paper.
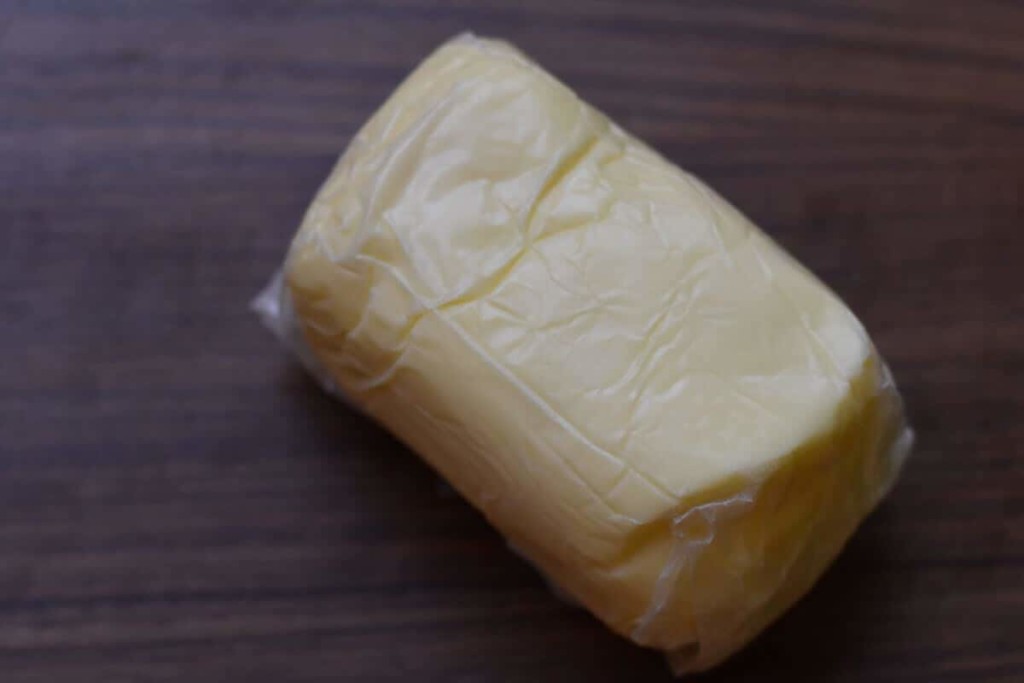
That’s it; you made butter! Try not to eat it all at once; it’s pretty amazing.
Keep that stand mixer handy, though, because we’re going to make some delicious whipped butter using our freshly made butter.
How To Make Flavored Whipped Butter
To make flavored whipped butter, add all the ingredients called for to your mixing bowl and beat on high with the whisk attachment for two to three minutes. The result is fluffy and flavorful butter.
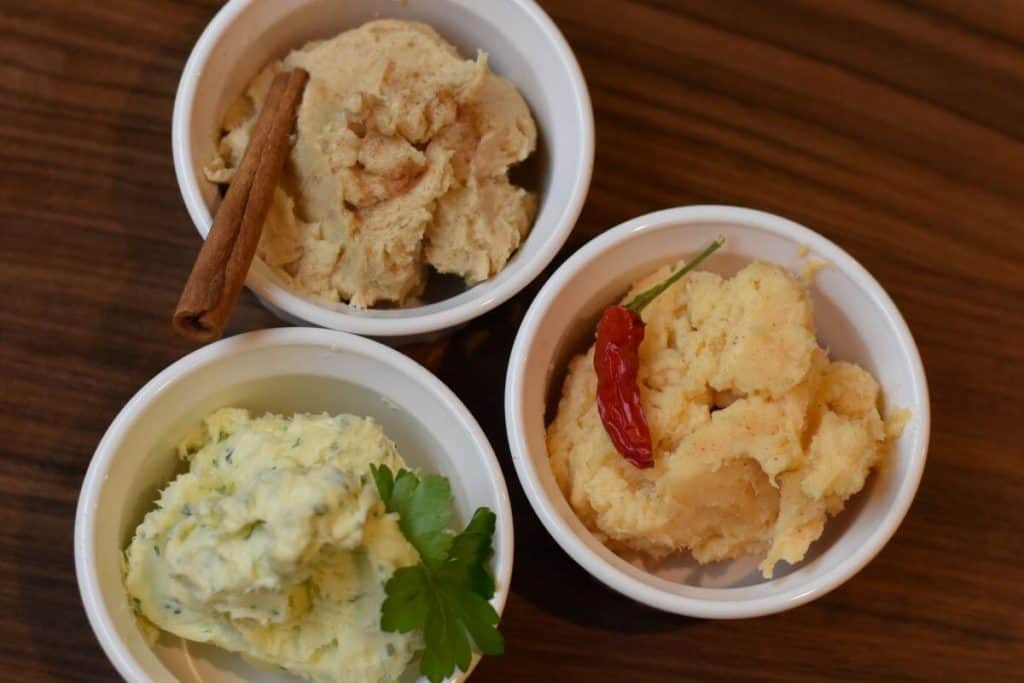
Spiced Brown Sugar Butter
- ½ cup of butter
- 3 tablespoons of brown sugar
- ½ tsp of cinnamon
- Dash of nutmeg
- Dash of ground cloves
This is simply amazing spread over hot toast and downright heavenly on waffles.
Herbed Garlic Butter
- ½ cup of butter
- ½ teaspoon of garlic powder – why not make your own?
- 3 tablespoons of chopped fresh Italian parsley
Spread this on toasted Italian bread for incredible and easy garlic bread. It’s also great for making a roux for macaroni and cheese.
Spicy Honey Butter
- ½ cup of butter
- ¼ teaspoon of cayenne pepper
- Dash of smoked paprika
- 2 tablespoons of honey
Spread this one on hot cornbread and serve it with chili.
Now for the bonus recipe I promised you.
When the temperatures drop, and the snow is blowing, my favorite winter cocktail is a hot-buttered rum. Grab the Spiced Brown Sugar Butter and your favorite rum. A dark rum works best.
Spiced Brown Sugar Buttered Rum

In a glass or mug, add one tablespoon of Spiced Brown Sugar Butter, ¼ tsp of vanilla, and 2 ounces of rum. Top up with hot water and whisk or stir until the butter has melted. Add more brown sugar to taste.
Now put your feet up and enjoy!
I love making homemade butter with my stand mixer because it’s easy, tasty, and impresses your guests. While you may not make your own butter this way every day, it’s a great addition to any special event or holiday table.
And it’s a fantastic activity to do with the kids in the kitchen.
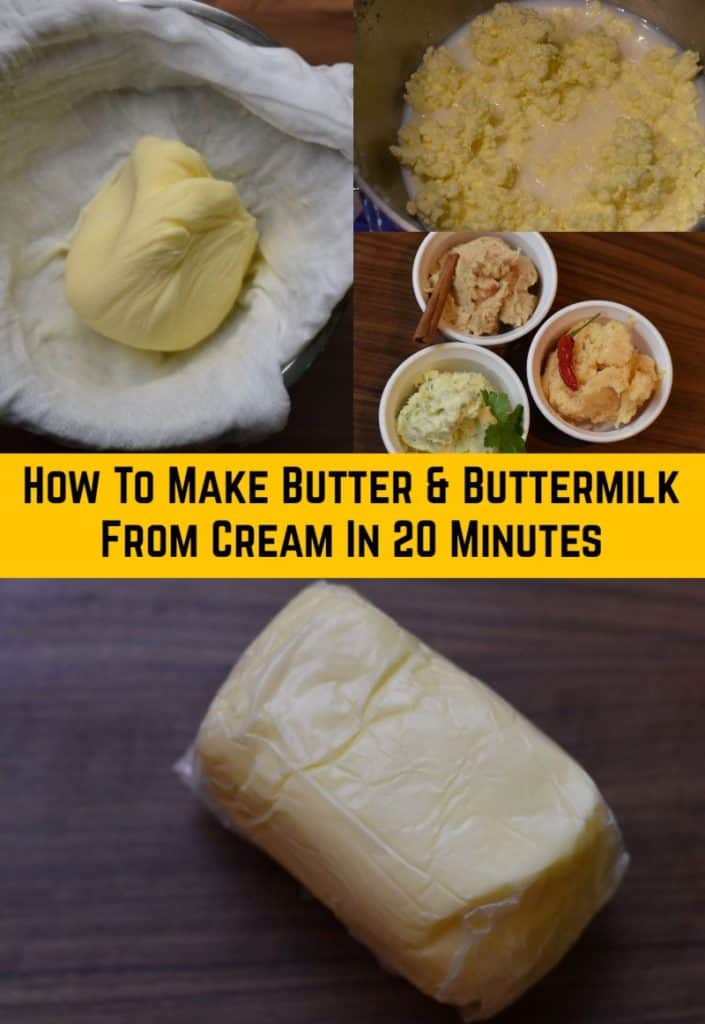
Pin This To Save For Later

Get the famous Rural Sprout newsletter delivered to your inbox.
Join the 50,000+ gardeners who get timely gardening tutorials, tips and tasks delivered direct to their inbox.