

A few years ago, I opened an article on iris care by stating that “I don’t think I’ve ever met anyone who actually bought irises to plant in their garden.” Simply because irises are so prolific that gardeners usually get them for free when other gardeners are trying to lighten their load.
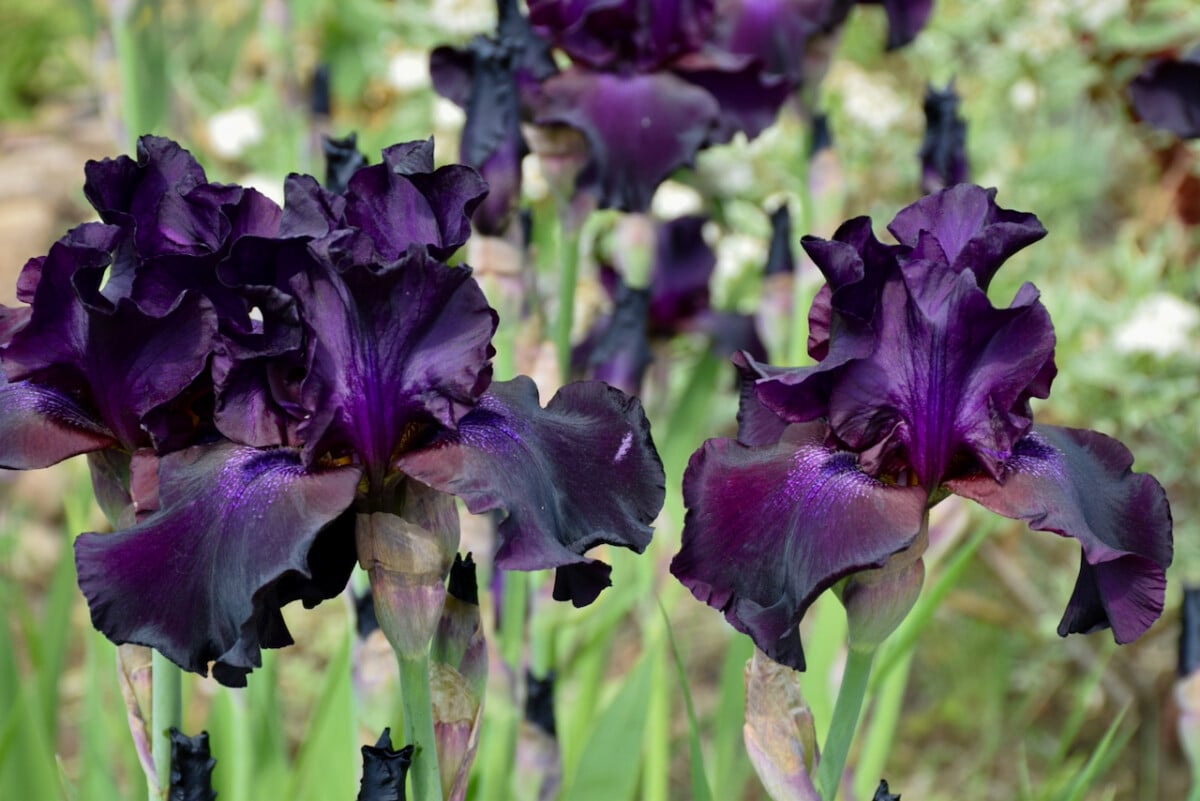
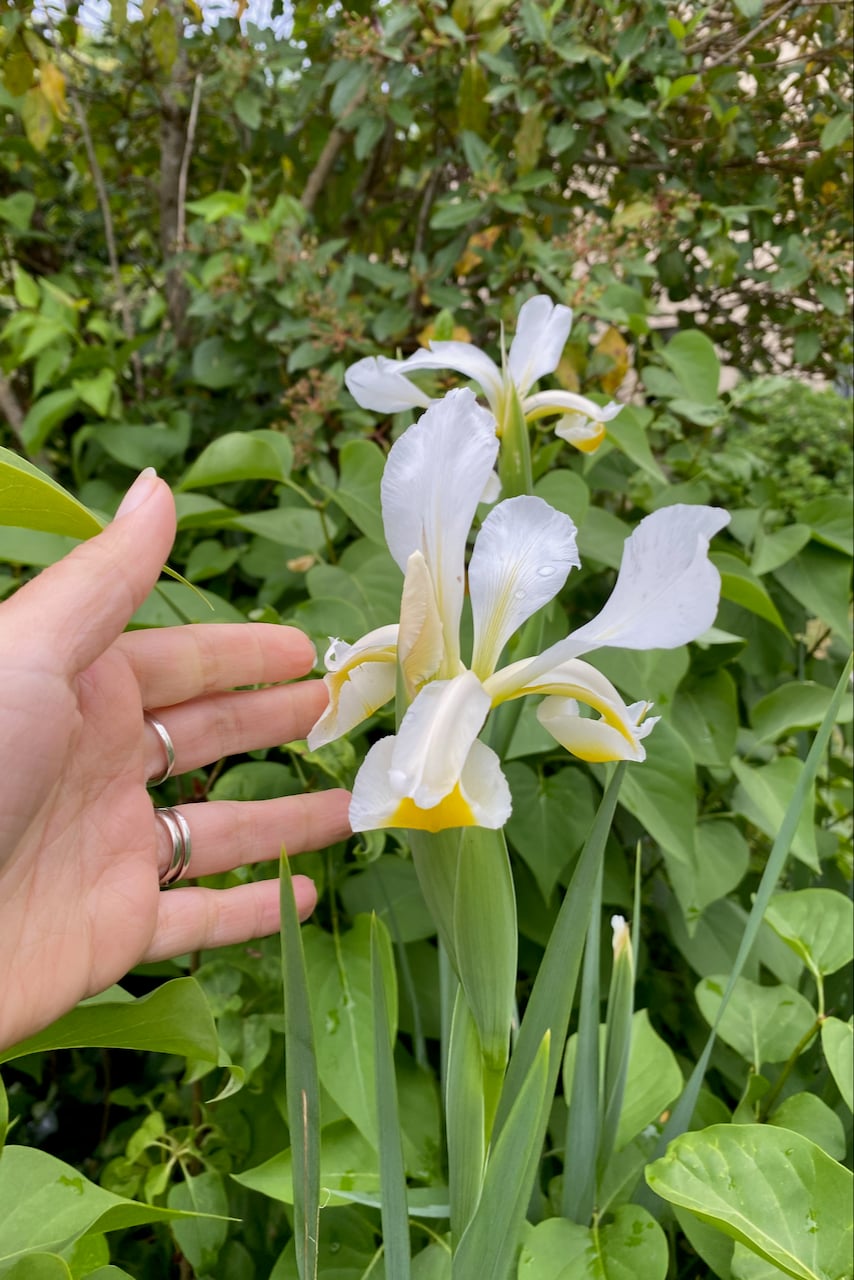
I can tell you now that I know at least one person who bought irises: me. I couldn’t pass up a midnight black bearded iris that promises to be a showstopper in a couple of years when it starts blooming. Don’t ask me how much I paid for it though. It was expensive – about four times the price of other irises.
What does this have to do with post-bloom iris care?
The attention we give to irises once the flowers have faded is the most essential factor to getting them to establish, thrive and bloom abundantly in our gardens.
So if I want to make the best out of my three black iris rhizomes that cost me a small fortune, I’d better get in the habit of post-bloom care now with my other, less glamorous, irises.
Here’s what we can do in mid-summer to set the stage right for next year’s flowers:
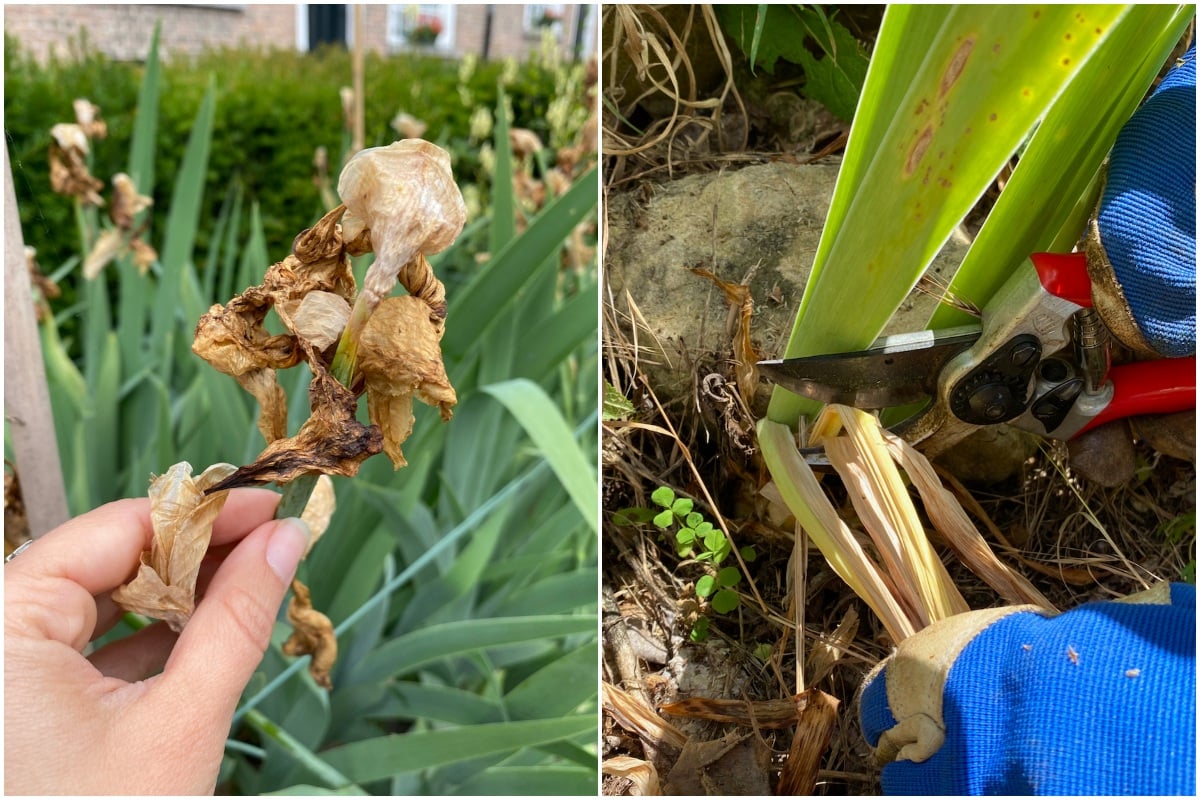
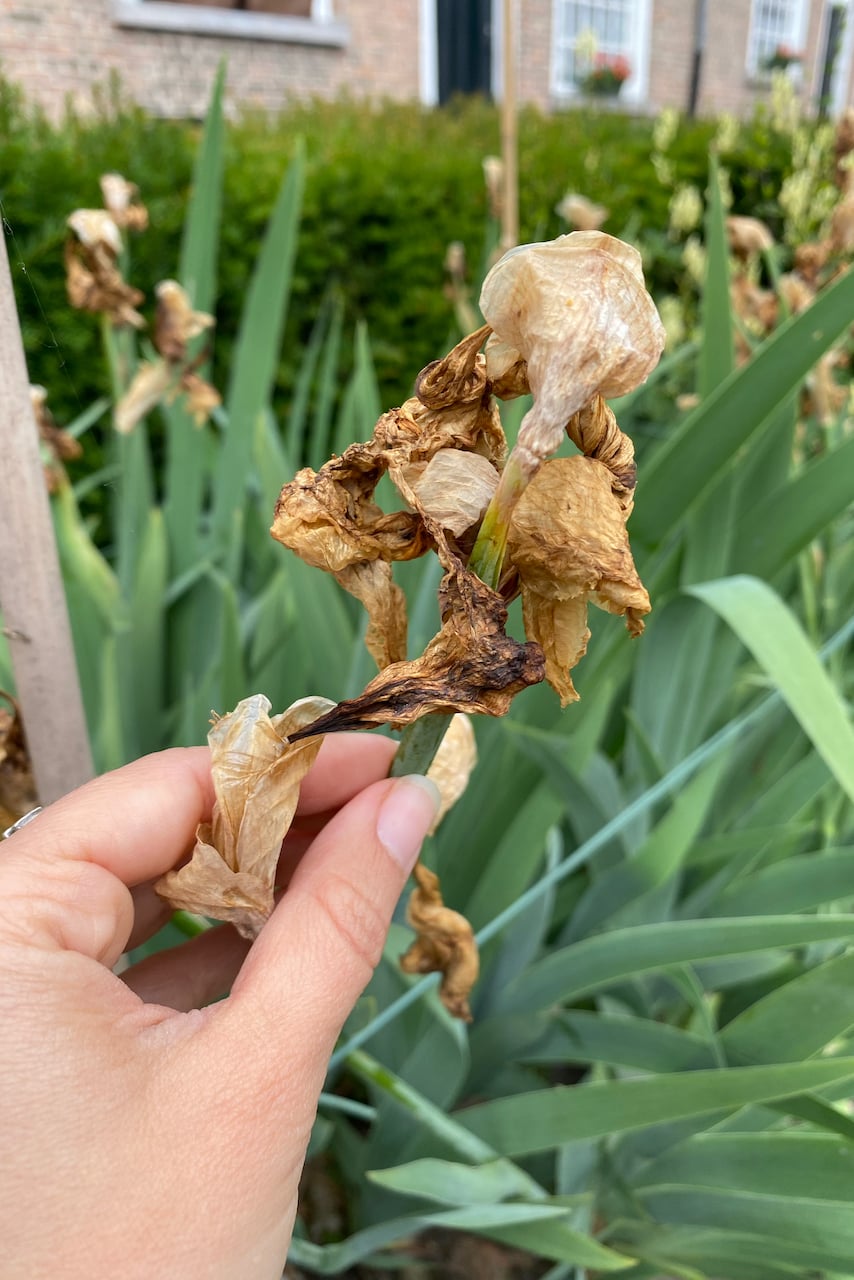
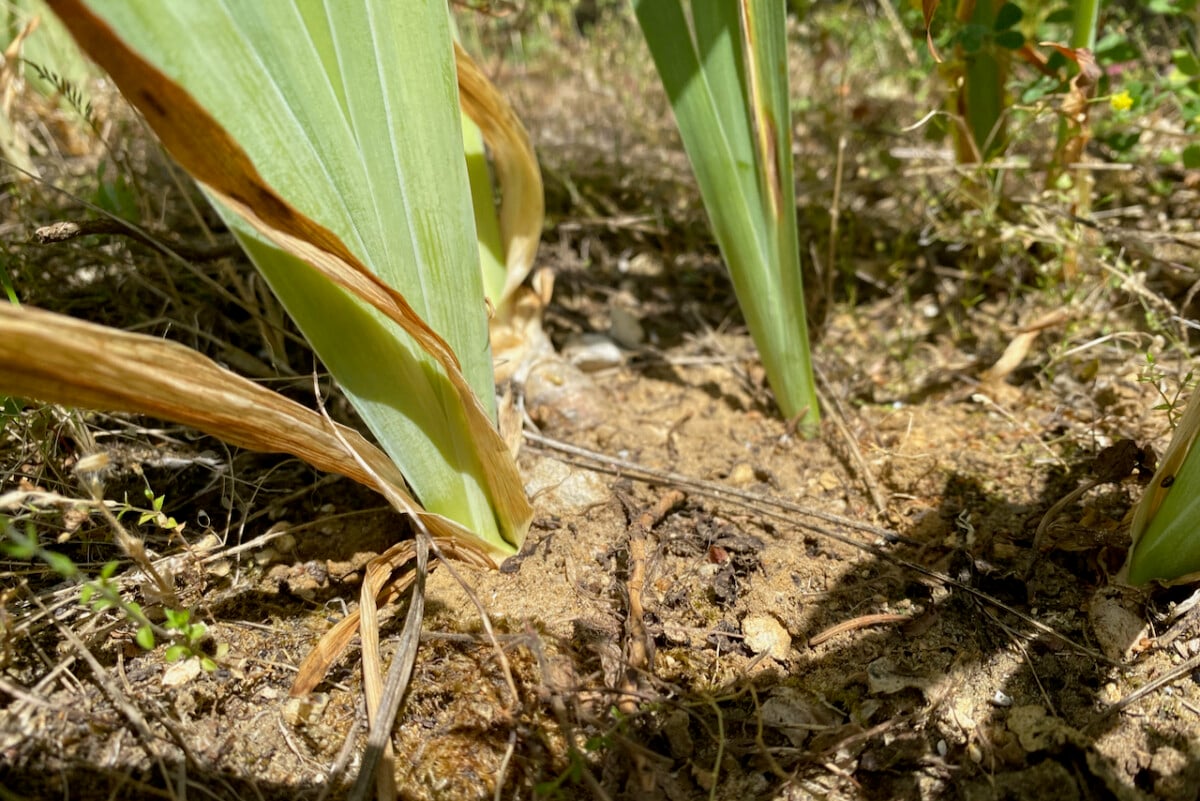
1. Cut down the iris flower stems.
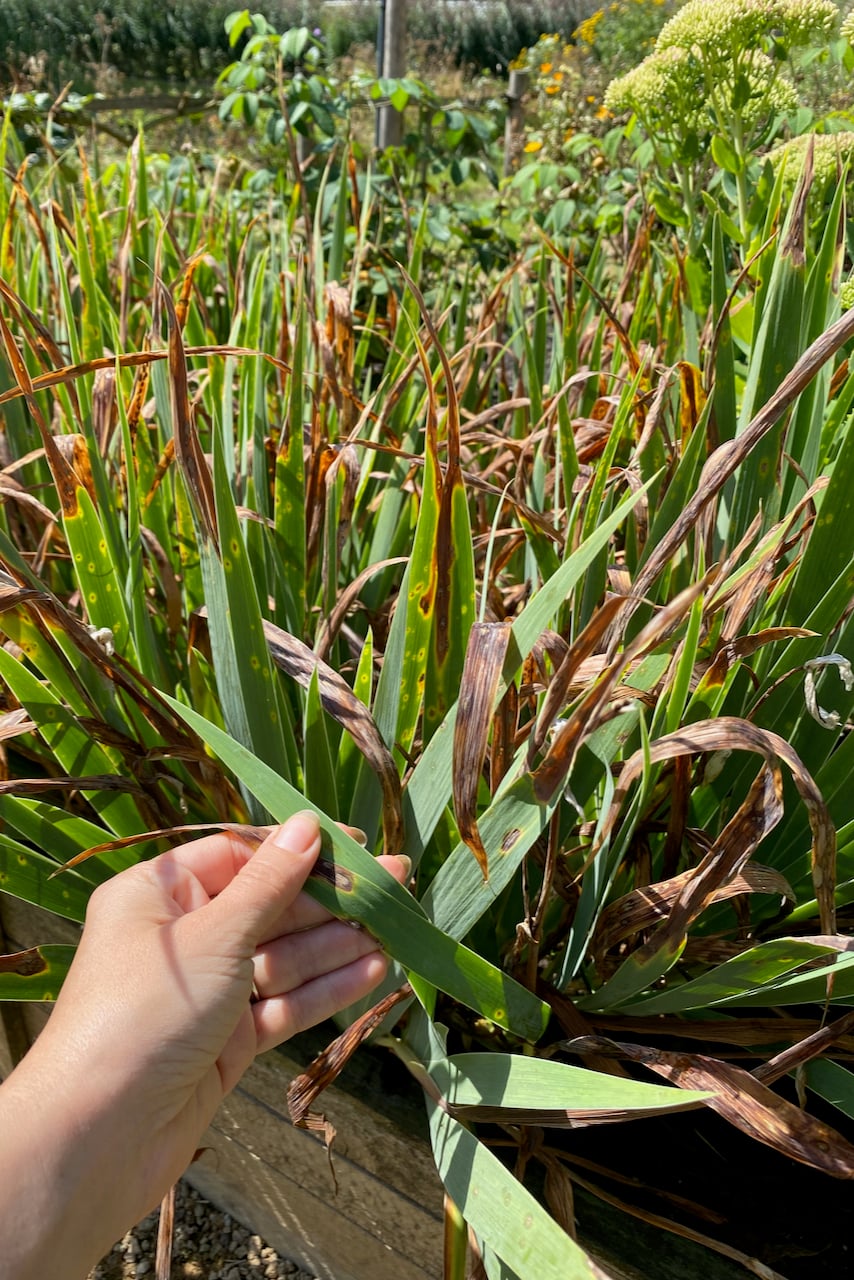
I’ve picked a few of my irises when they were in full bloom to adorn my dining table. But I left the majority of them in the garden. So now they look a bit like this.
With irises, the best way to propagate them is by division (more on that below), not by starting them from seed. So there’s no point in allowing the flowers to go to seed. It would be wasted energy for the plant, that it could put elsewhere.
That’s why we have to remove the spent flowers before they go to seed.
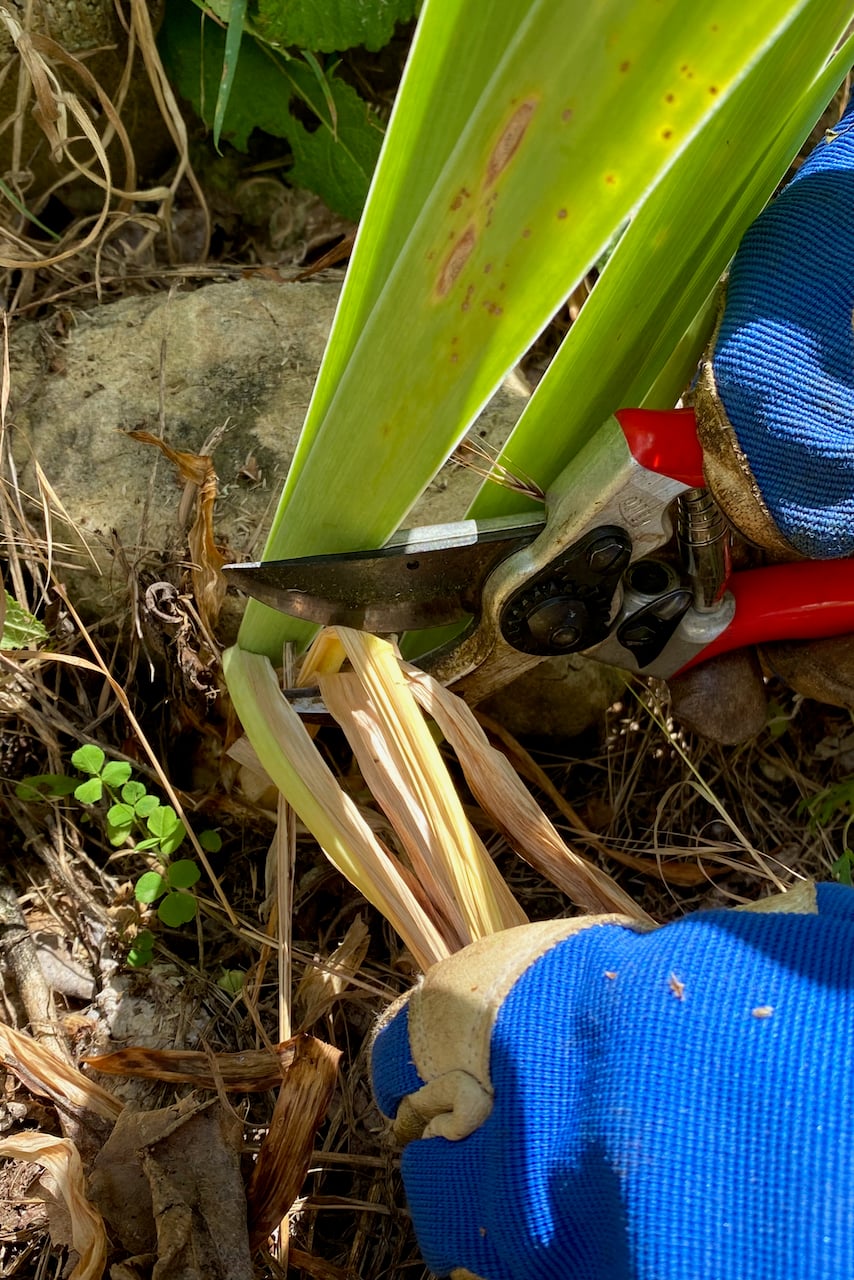
Rather than a simple deadheading, I prefer to prune off the entire stem. Otherwise it just sits there looking silly, like an umbrella stick without the canvas part. I follow the stem all the way down and cut as close to the base as possible, without damaging the foliage around it. And I try to prune at a slight angle so that water doesn’t pool on top of the fresh cut.
2. Let the healthy iris foliage stand.
This one’s more about what I don’t do. I will not prune the foliage at this point because it serves a very important purpose.
The green leaves are photosynthesizing and directing energy to the rhizome below. This same energy will be stored in the rhizome over the winter months and redirected back into producing flowers next spring.
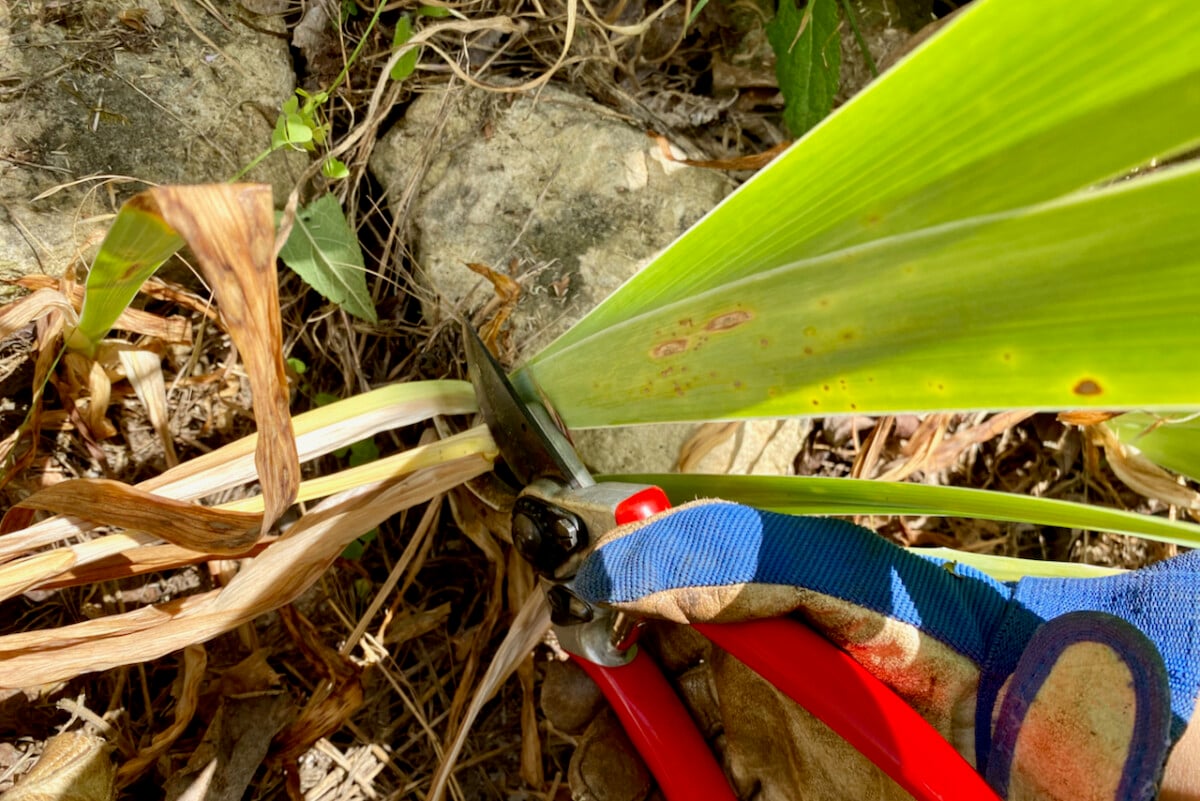
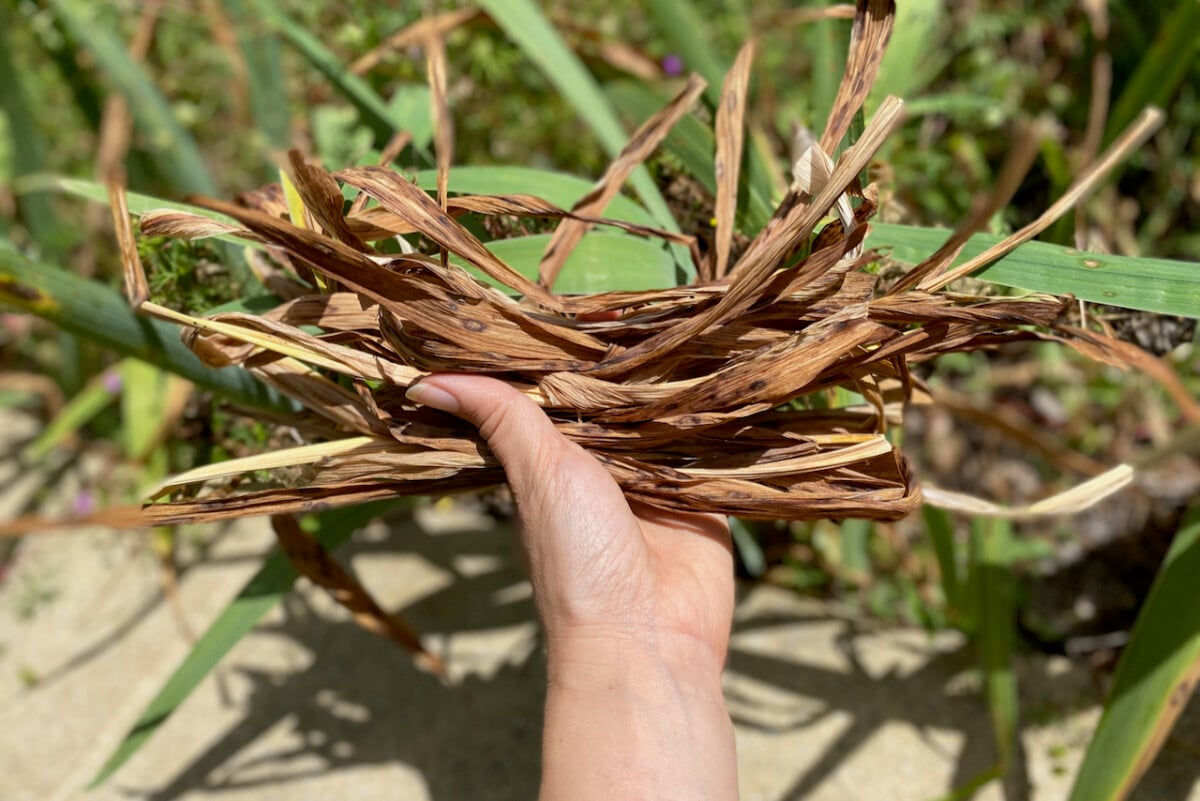
However, if there are any spots where the leaves are turning yellow, brown or spotty, I try my best to only remove those leaves. Again, I’m cutting at an angle, as close to the base as possible.
The most important thing to look out for and remove is leaf spot. This is a common fungus (Didymellina macrospora) that affects iris foliage, and it’s especially common in gardening zones with wet winters.
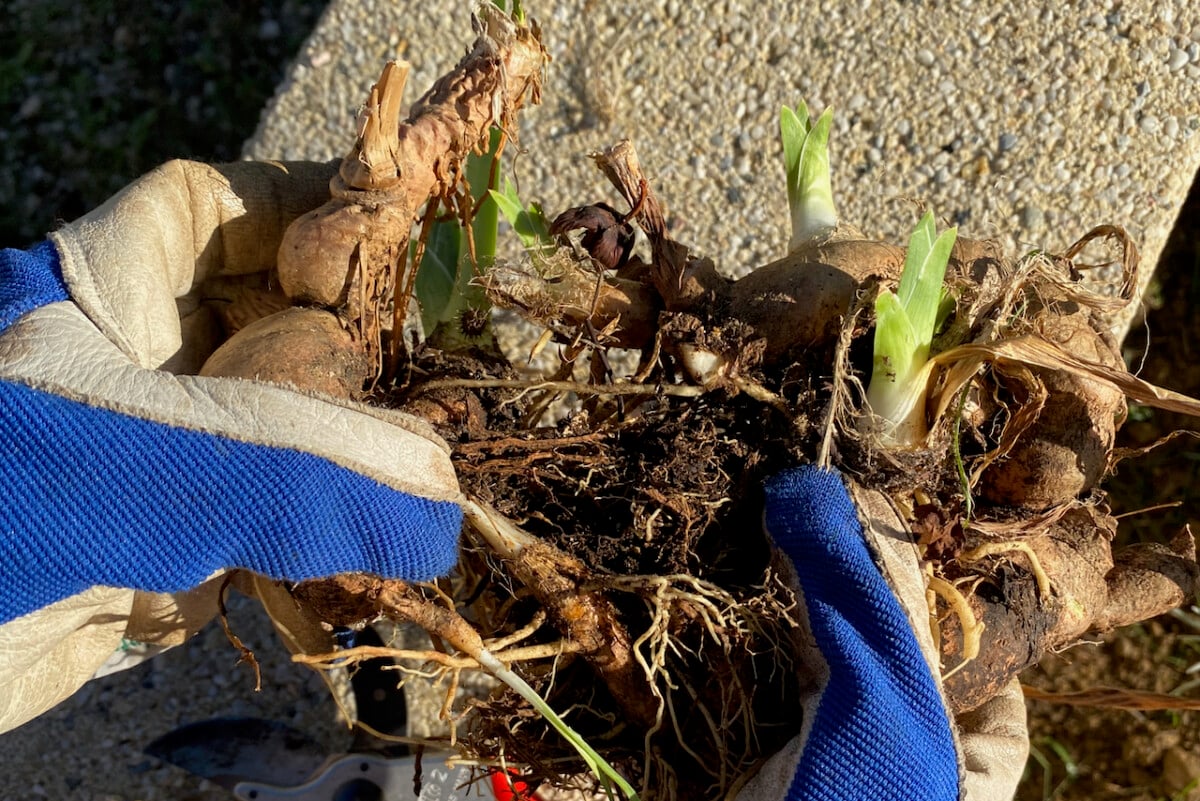
3. Do a quick rhizome inspection.
The health of the foliage matters, but it’s the state of the rhizomes that’s a better indicator of whether your irises will live and bloom another year.
Hopefully the rhizomes are partially exposed (they should be) and you can easily inspect them. If not, brush the mulch or the soil aside and do a quick check.
What are we looking for?
Mushy soft spots could be a sign of rot caused by too much moisture in the soil or (knock on wood) the dreaded iris borer. Another sign of iris borer is anything that looks like a hole or a tunnel dug in the rhizome or in the crown of the plant (that spot where the leaf fan attaches to the rhizome).
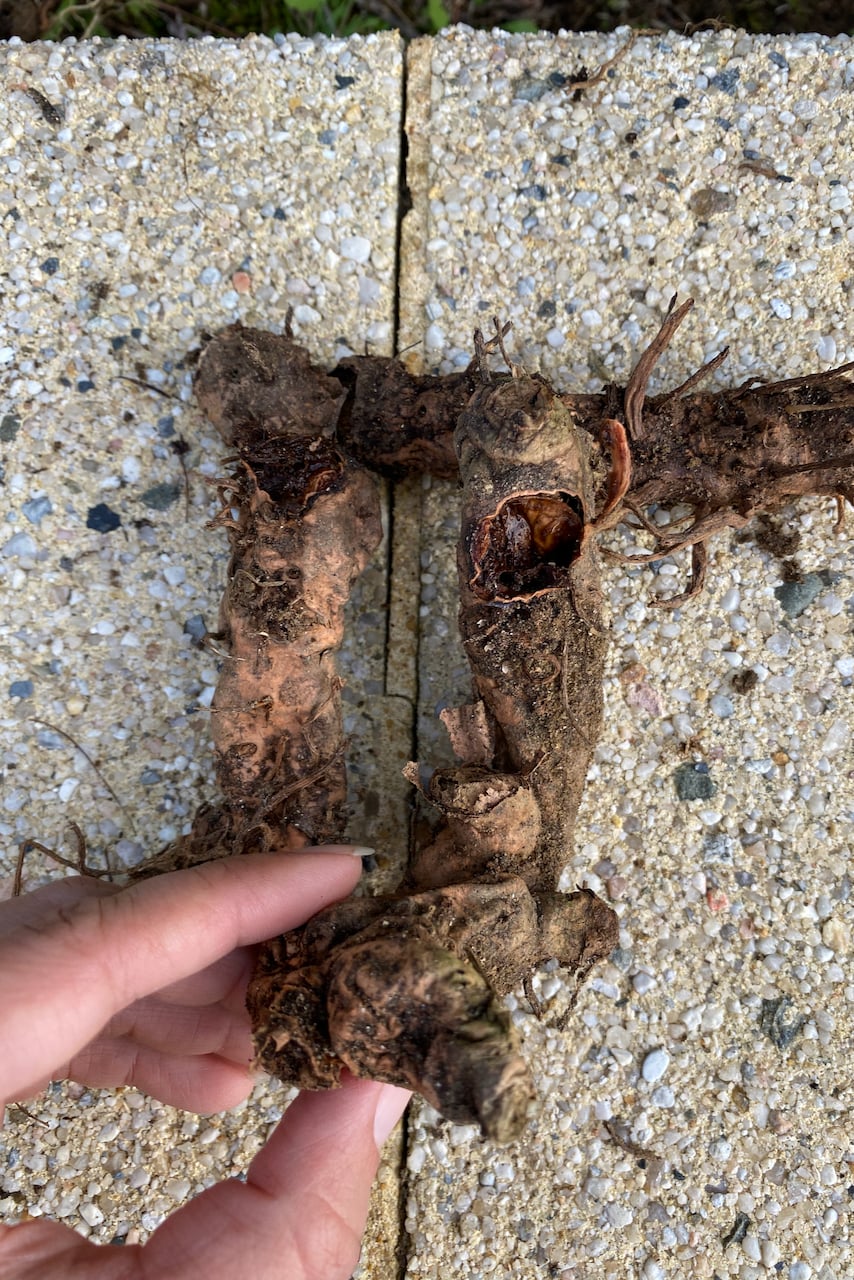
The iris borer (Macronoctua onusta) is actually a moth. In its caterpillar stage (peachy-pink and about two inches long) it will enter through the crown and chew through the leaves of the iris all the way down to the rhizome. Then it will continue to feed on the rhizome from the inside out.
Any other signs of rot, soft tissue or foul smell would also be bad news.
And what should we do if we find something wrong with iris rhizomes?
We should start by digging out the affected rhizomes. If the damage is not that serious, we can simply cut off the rotted part and allow the cut part to scab over in the sun for a few days. Then we can replant the rhizome.
If the damage is more severe and it looks like not much is salvageable, we have to discard the rhizome. I wouldn’t risk putting it in my compost bin.
4. Don’t divide the rhizomes … just yet.
I usually try to avoid dividing iris rhizomes after they’ve bloomed. Mostly because dividing can be a shock for any plant and it will require quite a bit of time and care to recover from.
First of all, I know that if I divide the irises now, I’ll have to remove some of the leaves. As established, we really need to leave the foliage in place for now.
And secondly, I know that as we’re heading into the hot months of July and August, recovery will take much longer. Irises, which are cold-loving plants, will not appreciate being dug up and divided in the middle of a heatwave.
However, if you’re reading this post-bloom care guide later in the summer or in early fall, go ahead and divide your irises. The good news is that this is not an annual task. We only need to divide irises every three to five years.
But overcrowded irises will likely have poor flowering, so we need to decongest them for a fresh start.
Late summer and early fall is the perfect time to divide irises. The stressful heat is winding down, but the soil is still warm and the rain is returning after summer drought. Also, the new divisions have plenty of time to put down roots before the cold months roll around.
Diving irises (much later) after flowering, in a nutshell.

First, we have to dig out around the rhizomes and carefully lift the irises up from the soil. To separate the irises, we can cut them apart, either as a single rhizome or a set of two or three for a fuller look.
Some gardeners pull at them to see where they break apart, but I prefer a cleaner cut. Every section we’re separating needs to have at least one set of leaves (called a leaf fan) and its own healthy roots.
Then cut back the foliage to about a third of its height. This reduces evaporation thus reducing the stress on the plant.
Finally, we have to replant the divisions, always keeping the top of the rhizome above soil level. Also remember to space them out more in order to allow room for airflow and for future growth.

Have a look at my guide on how to lift and divide irises for some extra tips to make sure you get it right.
5. We don’t need to fertilize irises after bloom.
Irises don’t need much fertilizing anyway. But especially now, when they’re redirecting energy through the leaves to the rhizomes for next year. Now would be a bad time to feed them and induce more foliar growth.
Do we still need to water irises after they’ve bloomed?
We do, especially in hot and dry summer months.
Iris rhizomes have pretty deep and fleshy roots that can tap deep into the soil for moisture. This is why irises are one of the most drought-resistant perennials we could be planting in the garden.
But as usual, “resistant” doesn’t mean “thriving.” Iris rhizomes struggling in the heat and drought this summer will affect next year’s set of blooms. So we shouldn’t wait until the rhizomes shrivel up before we water them.
Half of my irises are planted in clay soil; and if I didn’t water them throughout the summer, the clay would turn to cement around the rhizomes.
Keep in mind that we don’t want to overwater our irises either, as waterlogged irises are prone to rotting. Saturating the soil around the rhizomes, rather than just pouring a stream of water on top of them, is a better option.
Irises belong to that selective club of “plants that can live for decades.” And with a bit of loving care a few times a year, they can fulfill that potential in our gardens.
Have your columbines also finished blooming? There are some important post bloom tasks to care for your plants, and a few tricks to grow hundreds of new ones for free. You can read that guide here.

Get the famous Rural Sprout newsletter delivered to your inbox.
Join the 50,000+ gardeners who get timely gardening tutorials, tips and tasks delivered direct to their inbox.