

Are you craving a taste of the tropics from your home garden? Consider the ground cherry.
This humble berry is easy to grow and tastes reminiscent of mango mixed with pineapple. Best of all, it can be grown in any climate that supports a tomato.
Whether you’ve stumbled upon this husked fruit at your local farmers’ market or grew some in your garden, learning how to make ground cherry jam is well worth your time.
What is a Ground Cherry?
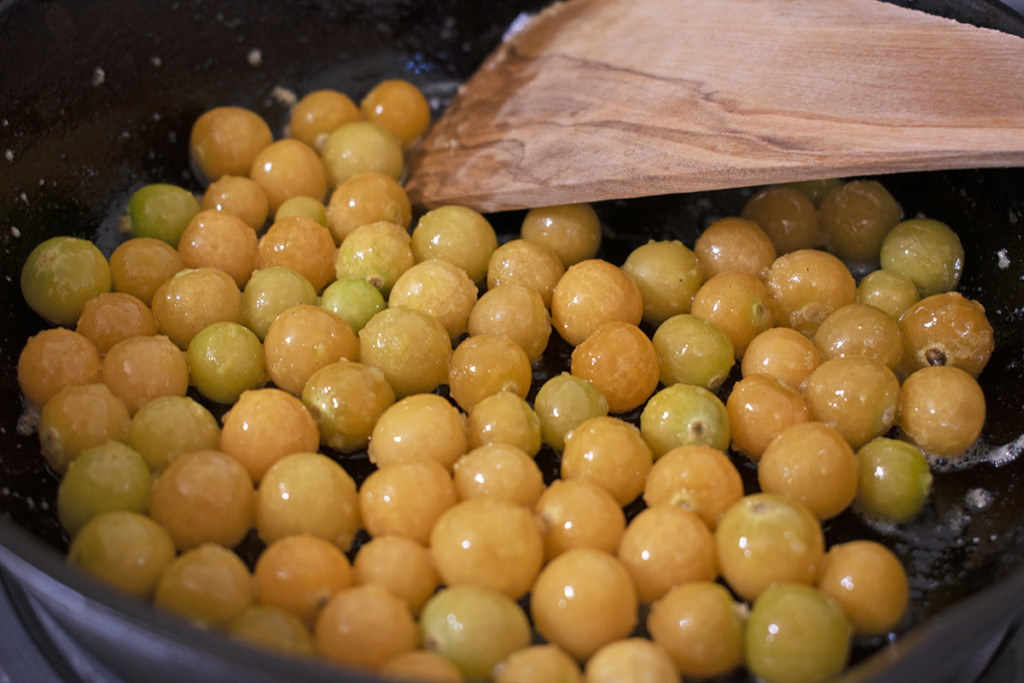
Ground cherries, commonly called husk cherries, cape gooseberries, and strawberry tomatoes, are a member of the nightshade family and look a little like miniature tomatillos.
The bright yellow fruits grow encapsulated in a papery husk that splits open as the fruit ripens.
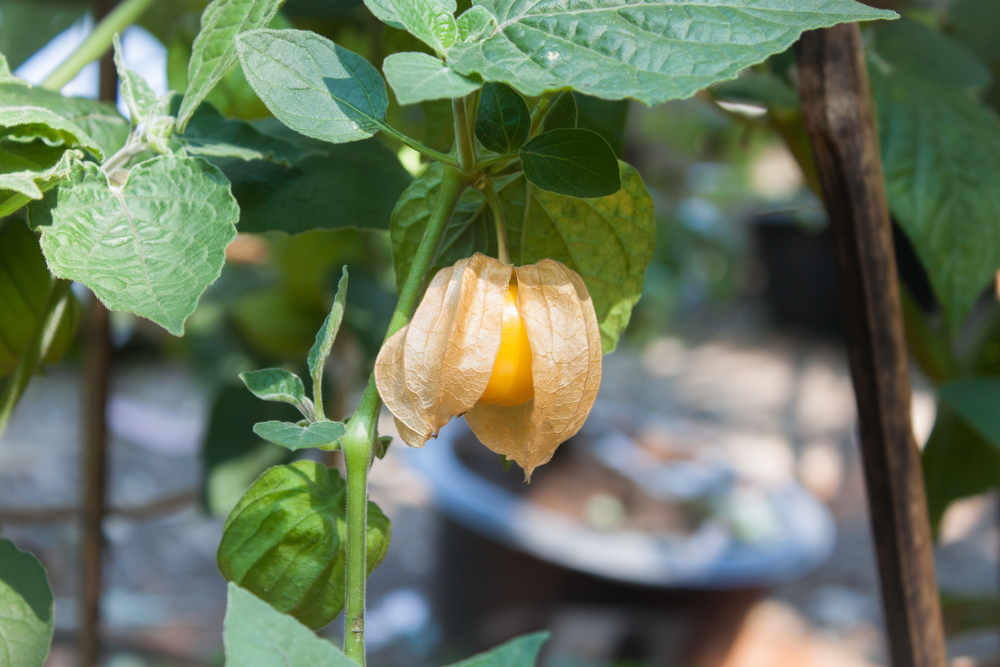
Each ground cherry plant looks similar to a tomato early in the season, but they tend to sprawl across the ground instead of growing vertically. Expect each plant to produce hundreds of fruits each, and you’ll know they are ready to eat once they fall off the plant.
Husk cherries are hardy and will keep in the refrigerator for several weeks if you remove their papery covering first. This lets you stock up until you have a large enough supply for jam.
Alternatively, consider freezing them first on a rimmed cookie sheet before packaging them in freezer bags. This prevents them from sticking together, and the cherries will keep until you’re ready to process them.
How to Make Ground Cherry Jam
When it comes to homemade jam, I prefer simple recipes that let the garden-fresh produce speak for itself. My go-to ground cherry jam recipe requires only the following ingredients.
Ingredients:
- Three cups husked ground cherries (that’s about two pounds in husks)
- One cup of sugar
- Two tbsp of lemon juice concentrate
Note: It’s best to use lemon juice from concentrate when canning so that the acidity is standardized. If you use fresh lemons, you risk having the acidity levels vary too much to ensure its safety.
No pectin listed? That’s not a typo. Ground cherries naturally produce enough of this classic jam thickening agent that there’s no reason to add more.
Instructions:
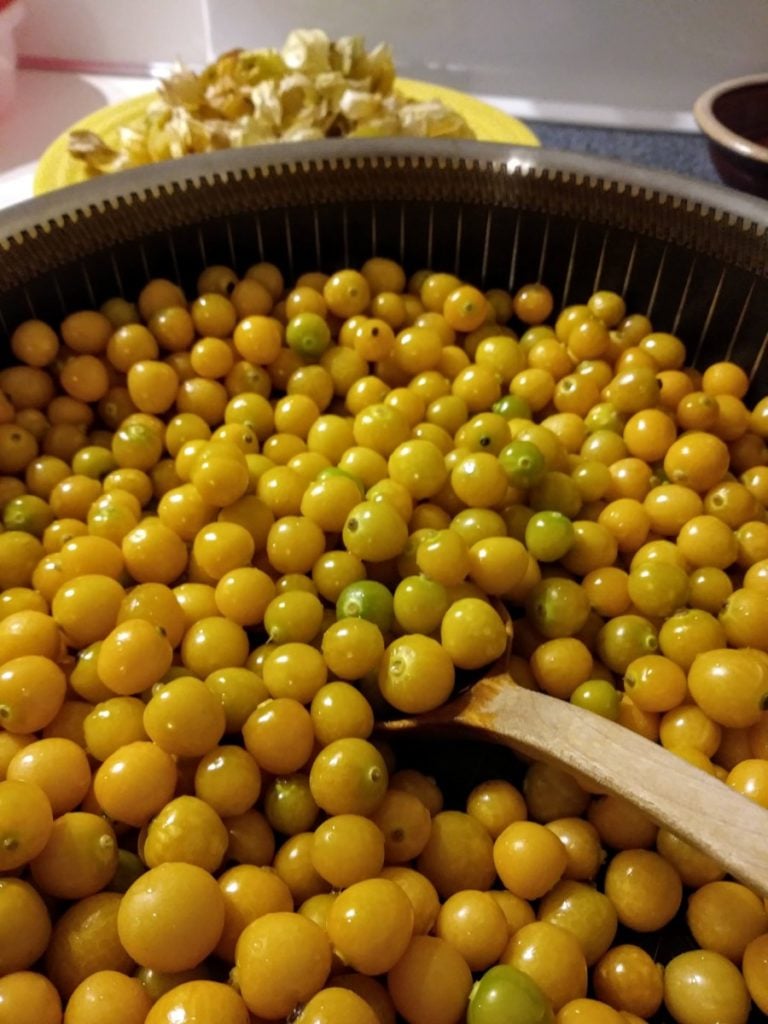
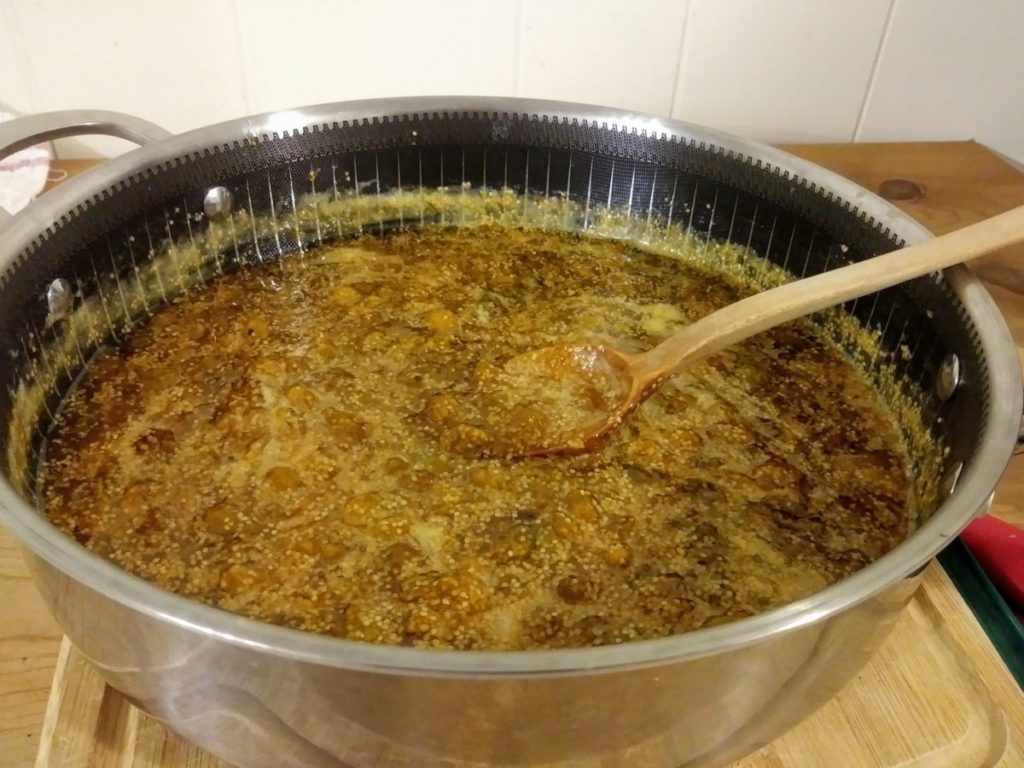
Now to make your ground cherry jam. Start by husking and washing your ground cherries before adding them to a large saucepan at low heat.
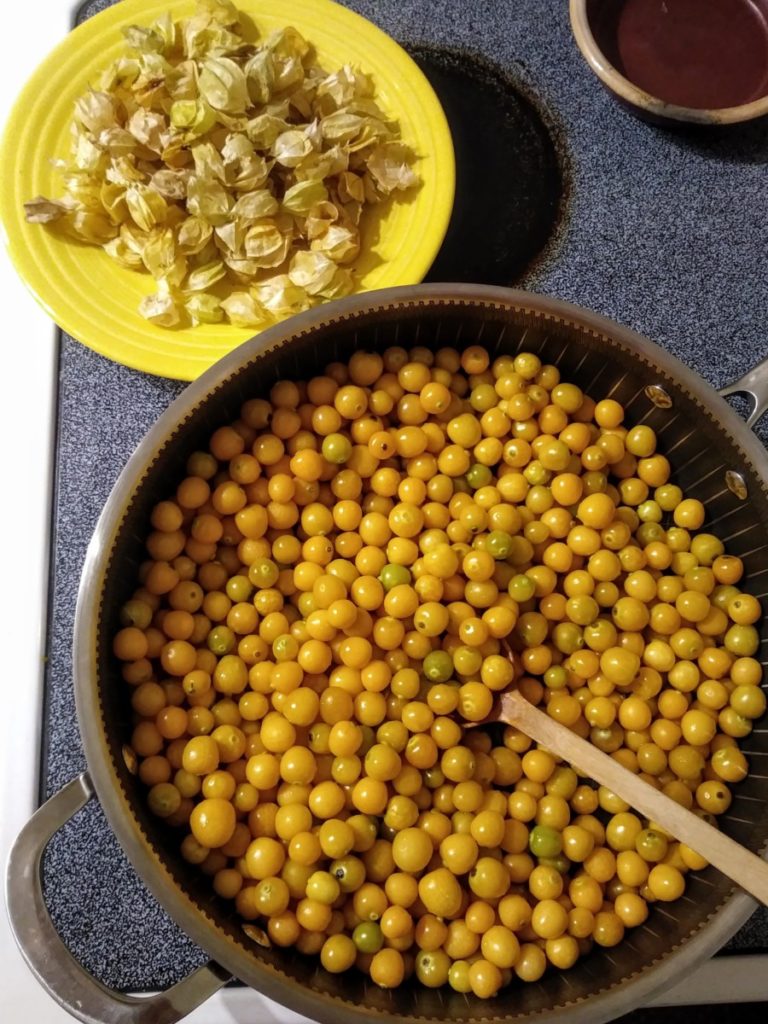
Add the lemon juice and stir occasionally until all the berries have burst, similar to how you would make cranberry sauce.
Next, add the sugar and bring the heat up to medium, stirring continuously for fifteen minutes or until the jam thickens. It’s okay if you still see some individual skins within the mixture.
Before the jam cools, pour it into prepared half-pint mason jars, ensuring you leave at least ¼ inch of headspace. You can pop the jars directly into the fridge if you plan to consume within a month or preserve it for a year or longer by processing it in a water bath canner for five minutes at a rolling boil.
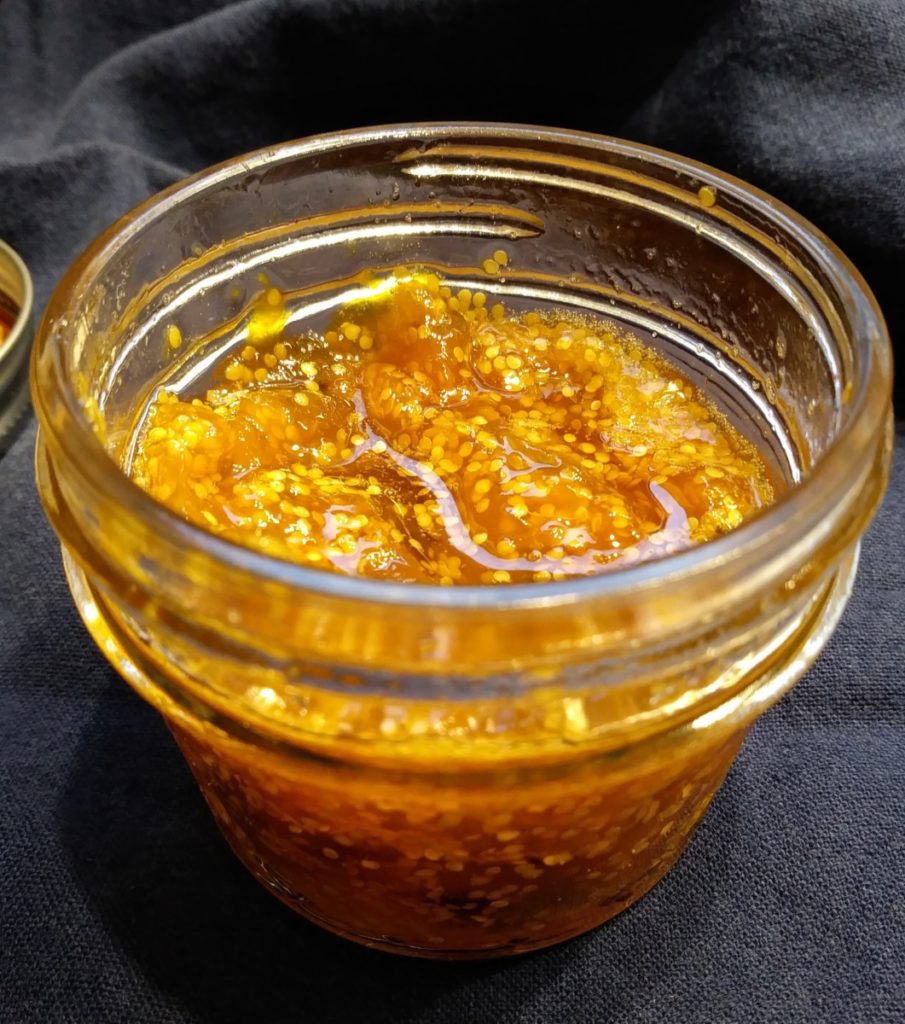
Pull your jars out at the end and let them set for 24 hours before moving. If you hear a “pop,” you’ll know the lids have sealed properly, and your jam is good to go.
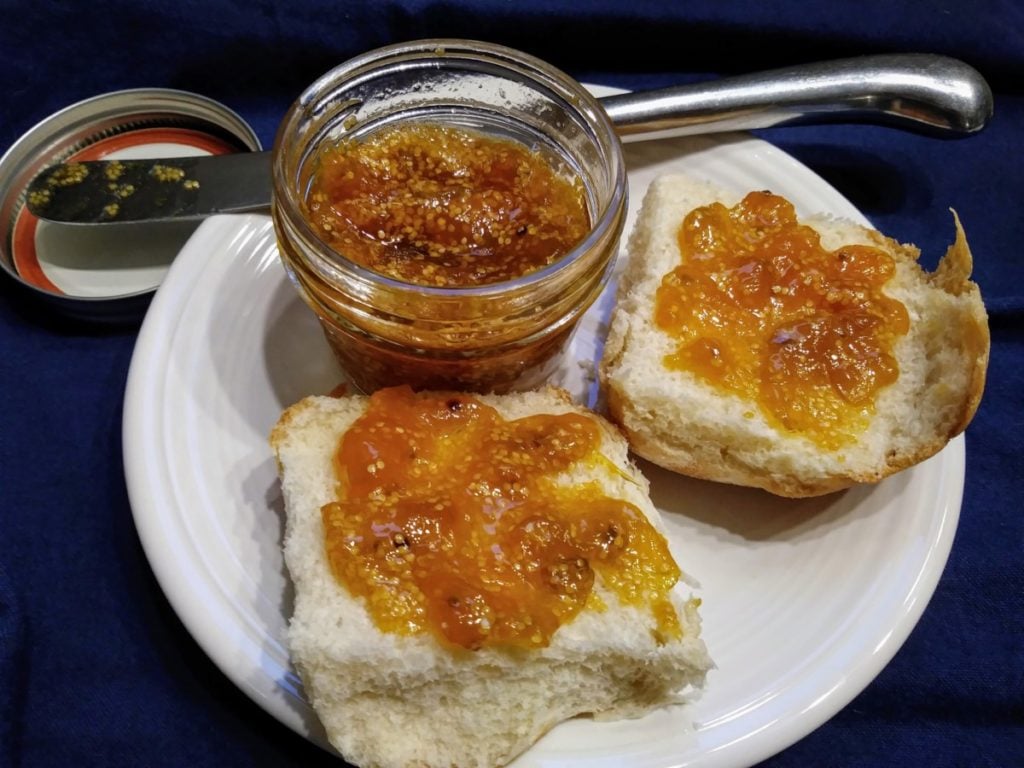
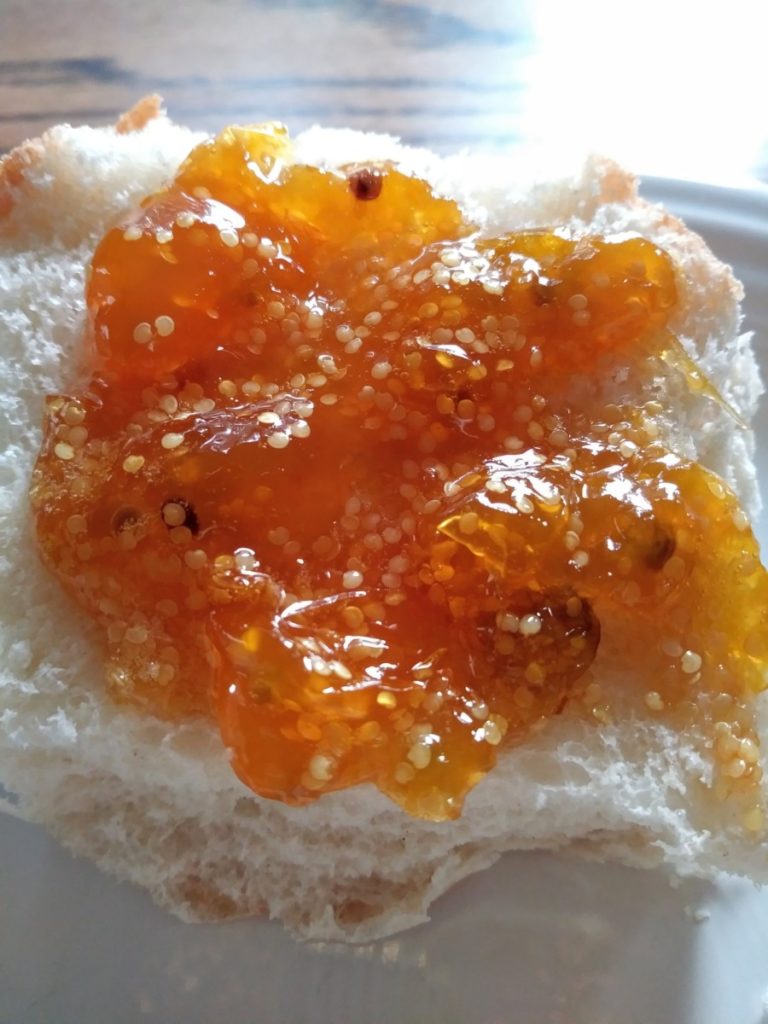
This tangy condiment is perfect on toast or used as a glaze for chicken and pork. For my next batch, I plan to add a few jalapenos to give it a spicy kick.
Quick Tips for Growing Ground Cherries
If you’re feeling inspired by this recipe, know that the most cost-effective way to secure a supply of ground cherries is to grow your own. Don’t be intimidated—if you can grow a tomato, you can handle this crop.
First, you’ll need to choose your variety. I prefer Aunt Molly’s Ground Cherry from Baker Creek Heirloom Seeds because of its high pectin content, but other popular choices include Cape Gooseberry, Mary’s Niagara, and Strawberry Husk.
Planting-wise, it’s best to start ground cherries indoors at least six to eight weeks before your average last frost date (approximately the same timing as your tomatoes). Most families will do fine with just four to six plants.
You can plant your hardened transplants once the risk of frost has passed in well-prepped garden beds that have fresh compost worked into the top few inches. These plants will develop deep roots and do best spaced three feet apart from each other.
After planting, ground cherries tend to be low maintenance. Give the plants at least two inches of water a week, and consider feeding them a liquid organic fertilizer once they set flowers.
The fruit is ready once it turns a golden yellow and falls off the plant—hence the name ‘ground’ cherry. You can expect your first harvests around 70 days after transplanting and for them to continue until the season’s first frost.
My biggest ground cherry cultivation problem this year was that chipmunks adored the fruit and ate more than half of the harvest before I could get to it. Consider a secure garden fence!
Ground cherries are exceptional self-seeders, so it’s important to pick every fallen fruit out of the garden bed—that is, unless you’re happy to have them regrow in the same space next season.
This prolific nature is a blessing for most gardeners, as you’re likely to take one bite of this tropical-tasting fruit and feel inspired to come up with your own recipes for preserving its flavor for fall cooking and beyond.
Take a look at our total guide to growing ground cherries here.
More Ground Cherry Recipe Ideas

Get the famous Rural Sprout newsletter delivered to your inbox.
Join the 50,000+ gardeners who get timely gardening tutorials, tips and tasks delivered direct to their inbox.