

I’m trying out the new GreenStalk vertical growing tower that I keep seeing everywhere. Let’s put it together and give it a grow, shall we?
I love vertical gardening systems. When I was limited to the rooftop of my apartment building and my second-story balcony, having my Garden Tower 2 really saved my bacon. Even with a traditional garden setup, I still use my Garden Tower 2 every year. Because let’s face it, more veggies in the same footprint is always a good thing.
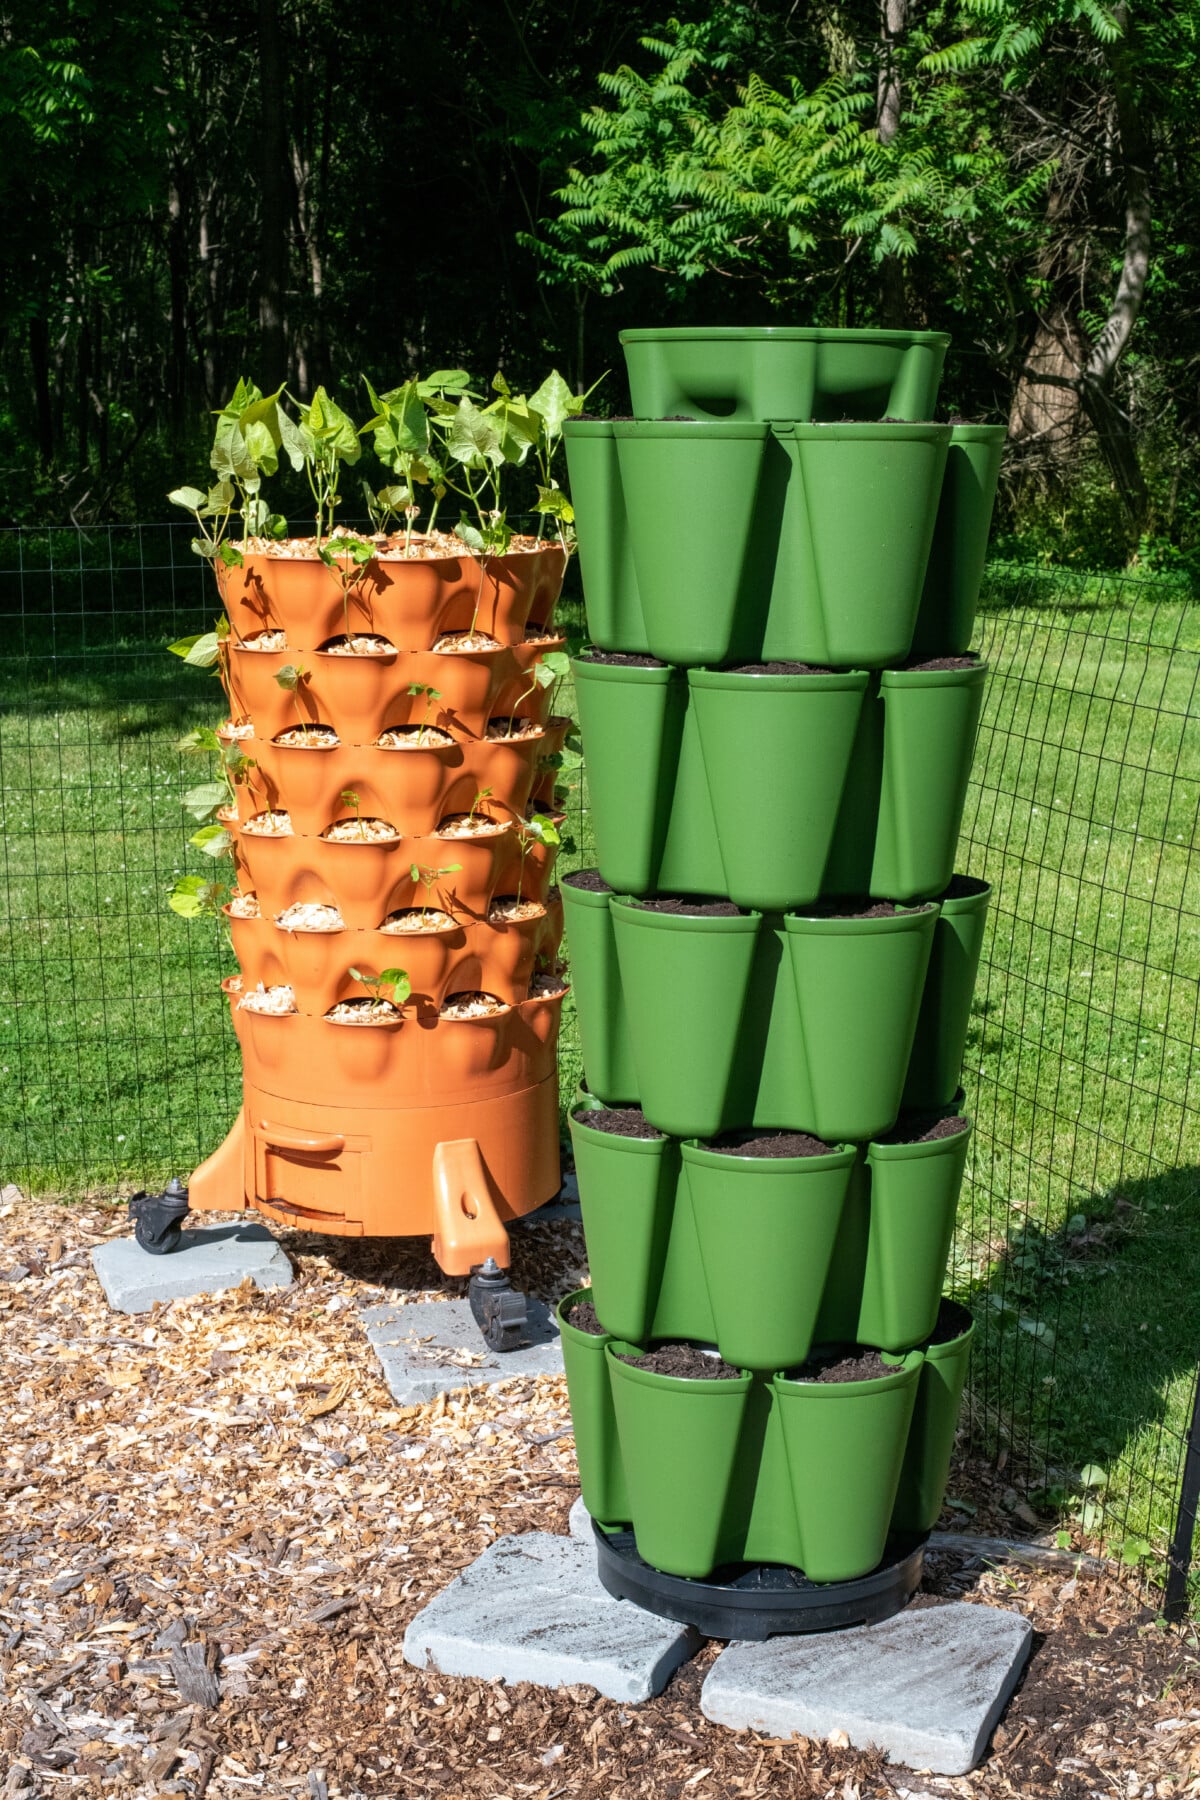
It’s hard to believe it, but I’ve had my trusty Garden Tower 2 for five years now.
I’ve been kicking around the idea of getting another one, but there are a few things about it that I didn’t really like. The main thing is the hefty price tag. Naturally, Google ads came to the rescue the moment it figured out I was in the market for another vertical gardening planter. I kept seeing ads for something called the GreenStalk planter.
I finally gave in and checked it out.
The first thing I noticed was that it cost so much less than a Garden Tower 2. For the price of one Garden Tower 2, I could have had two GreenStalks and grown twice as much back in my balcony gardening days.
The second thing I noticed was that it came in nicer colors beyond boring terra cotta and boring beige, and you could even get one that has a pretty basketweave pattern. I chose the Evergreen and checked out.
GreenStalk is a small, family-owned business here in the United States, and their products are made right here, too. Gotta love that.
Setting the GreenStalk Up to Grow
I’m growing bush beans in my Garden Tower 2 this summer to save space in my raised beds. I love bush beans, but they do tend to take up quite a bit of real estate, which is why having a vertical growing system comes in handy.
My plan is to grow bush beans in the GreenStalk as well, so I can do a side-by-side comparison.
So, let’s put this thing together and plant some beans!
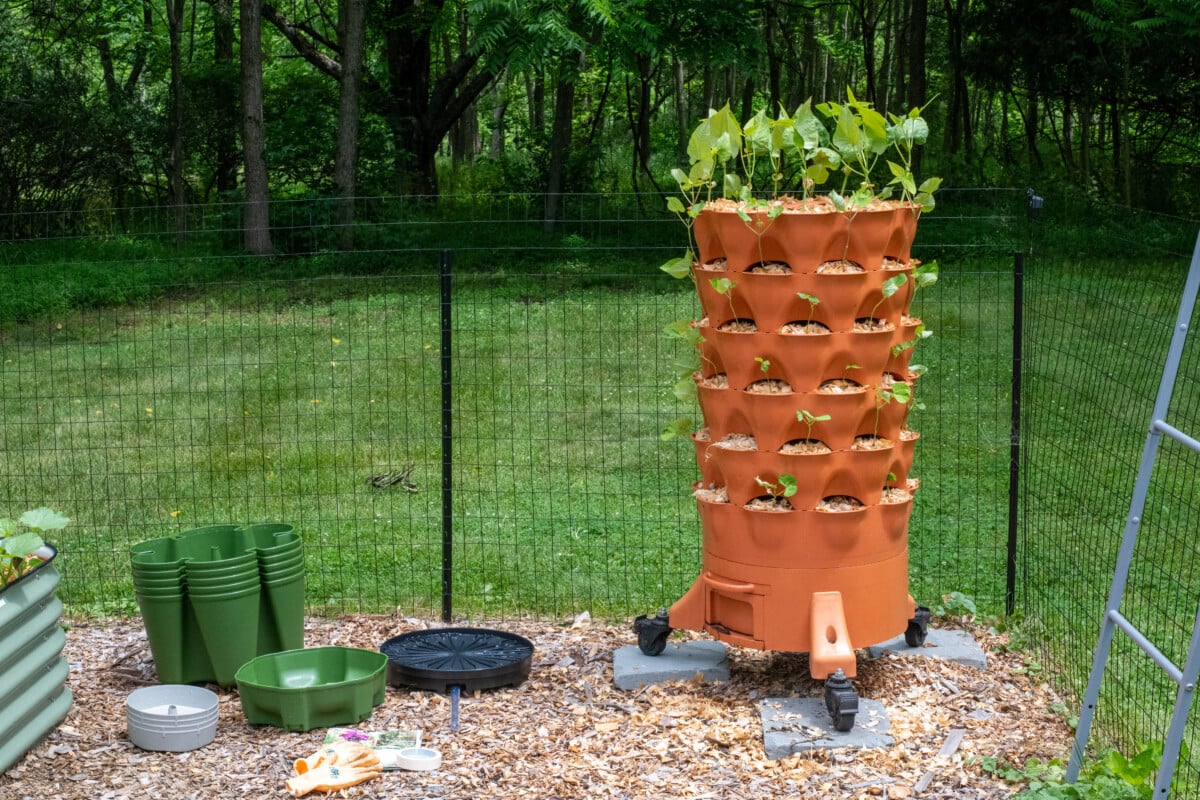
I also ordered their custom spinning base, so that I could set up the planter close to my garden fence, but still be able to spin it to harvest my beans. Both the planter and the base were shipped together in the same box, which I appreciated.
What’s in the Box?

The spinning base came with casters, but I won’t need them, as once this is planted, it’s not going anywhere.
I was a little surprised at how simple the whole thing is when broken down. There are five planters that stack one on top of the other. In the center of each is a small tray with a cone in the center; these all attach, so that when you put water into the reservoir in the top of the planter, it catches in these trays. Each tray has drip holes in the bottom, watering that level of the planter.
It’s a pretty ingenious system.
The planter came with a beautiful booklet showing how to set it up, as well as suggestions for what you could grow in it. A lot!
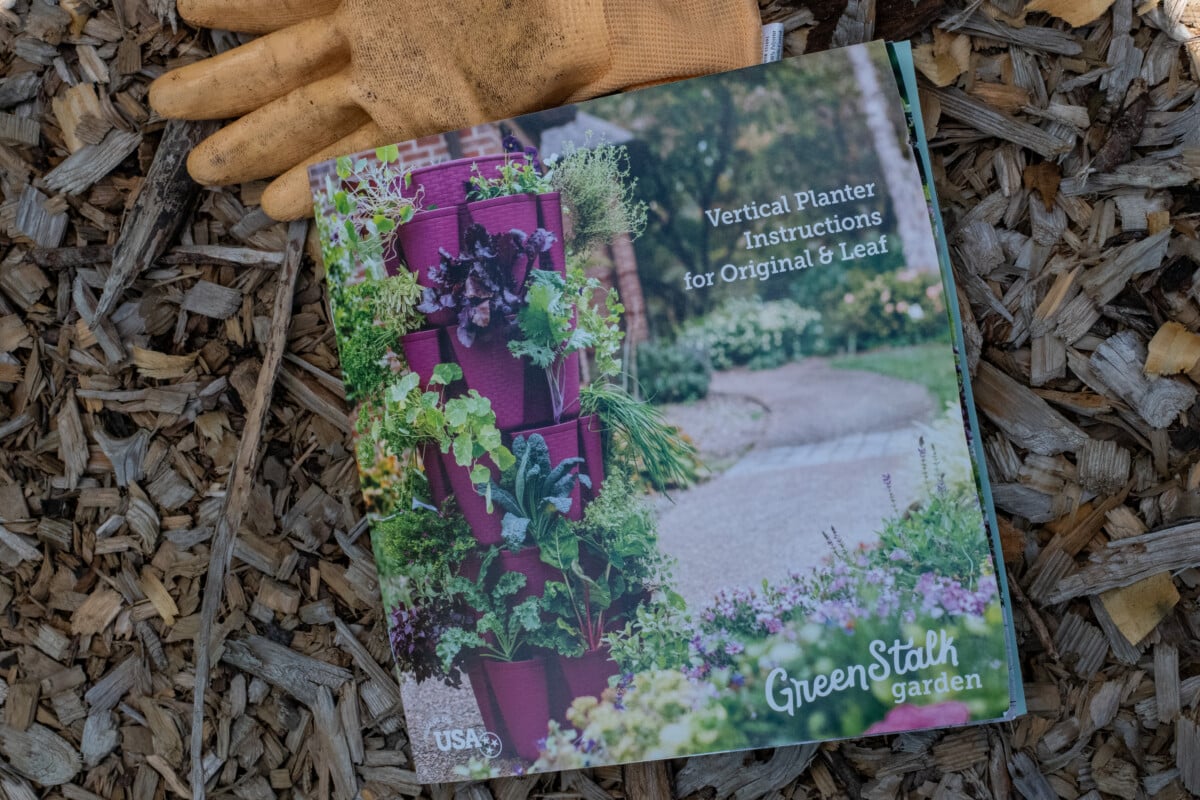
Also, these folks know what they are doing. Do you see that gorgeous planter on the cover? That’s their ‘Razzleberry’ special edition planter. I immediately went looking for it online, but couldn’t find it, so I emailed the company. The lovely lady who helped me explained that because they are a small outfit with limited warehouse space (for now), they only offer a couple of their special-edition colors at a time, cycling them out every three months.
You can bet I’m waiting for the Razzleberry to be back in stock.
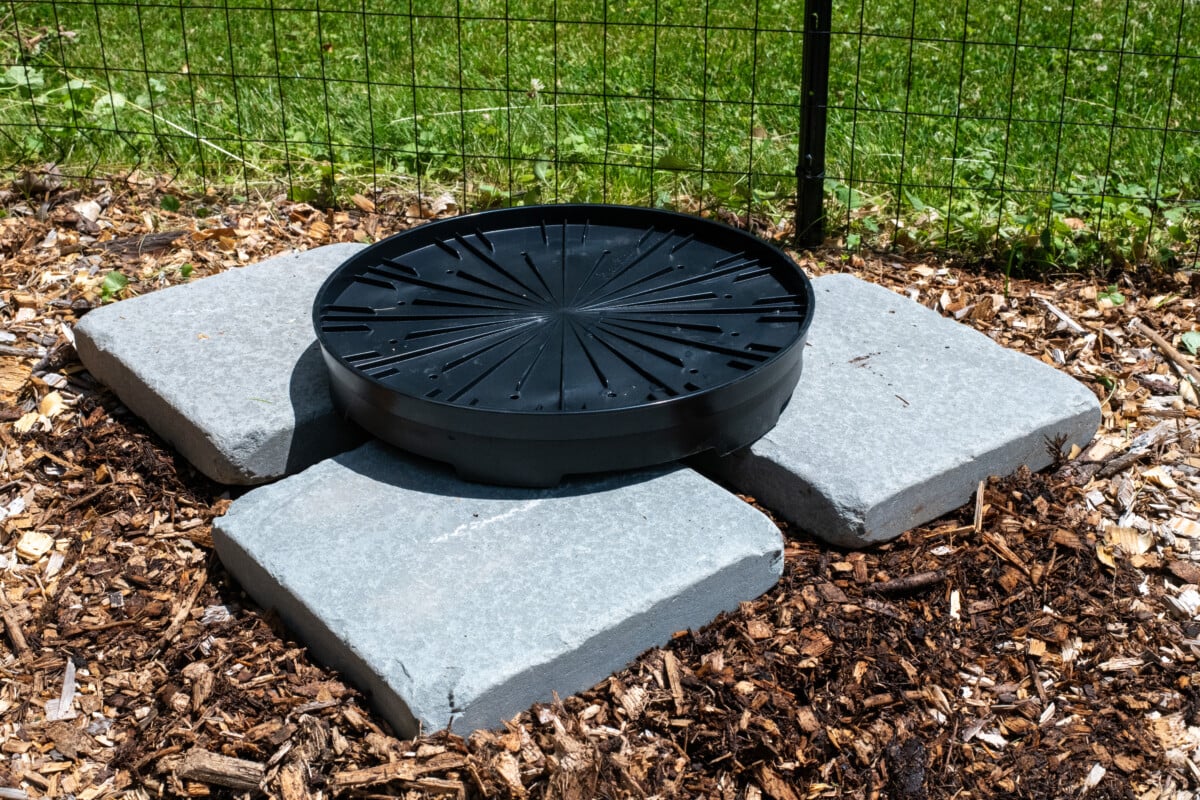
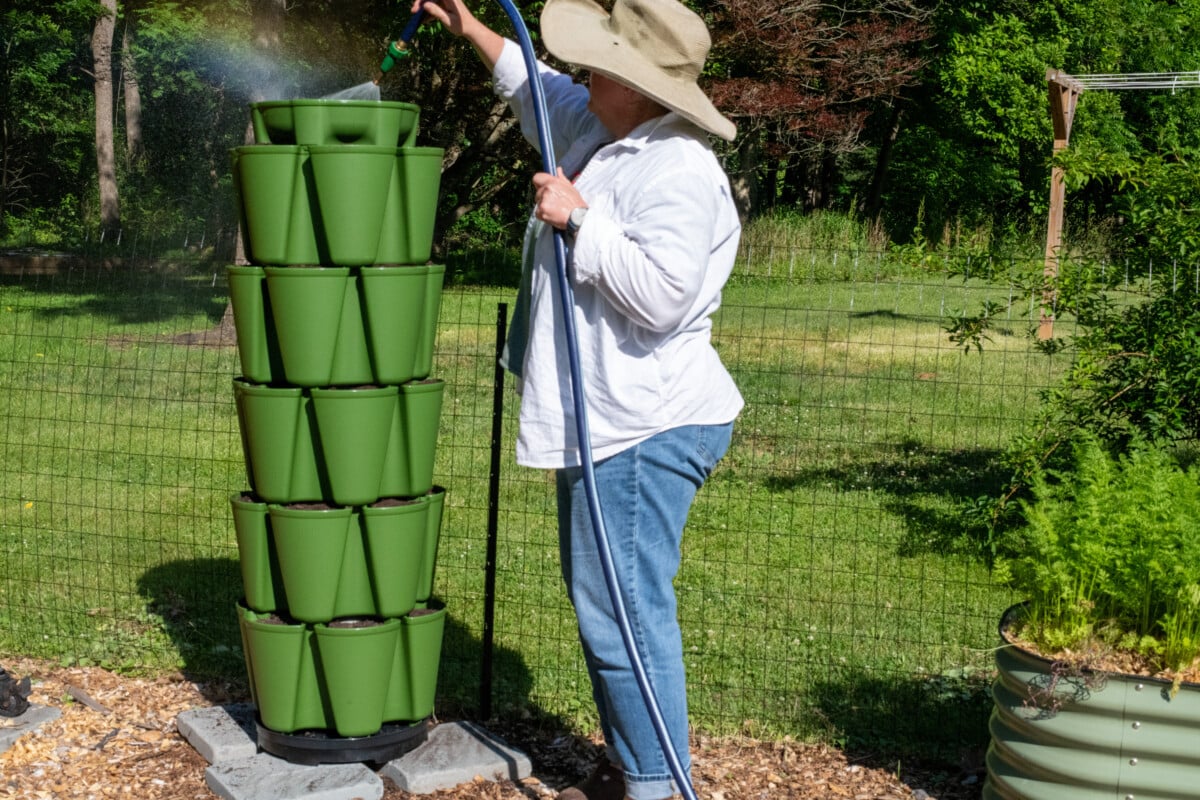
I put down a few spare pavers, so I would have a level spot to set up the planter and got to work. The booklet provided simple instructions on how to fill the planter and put it together.
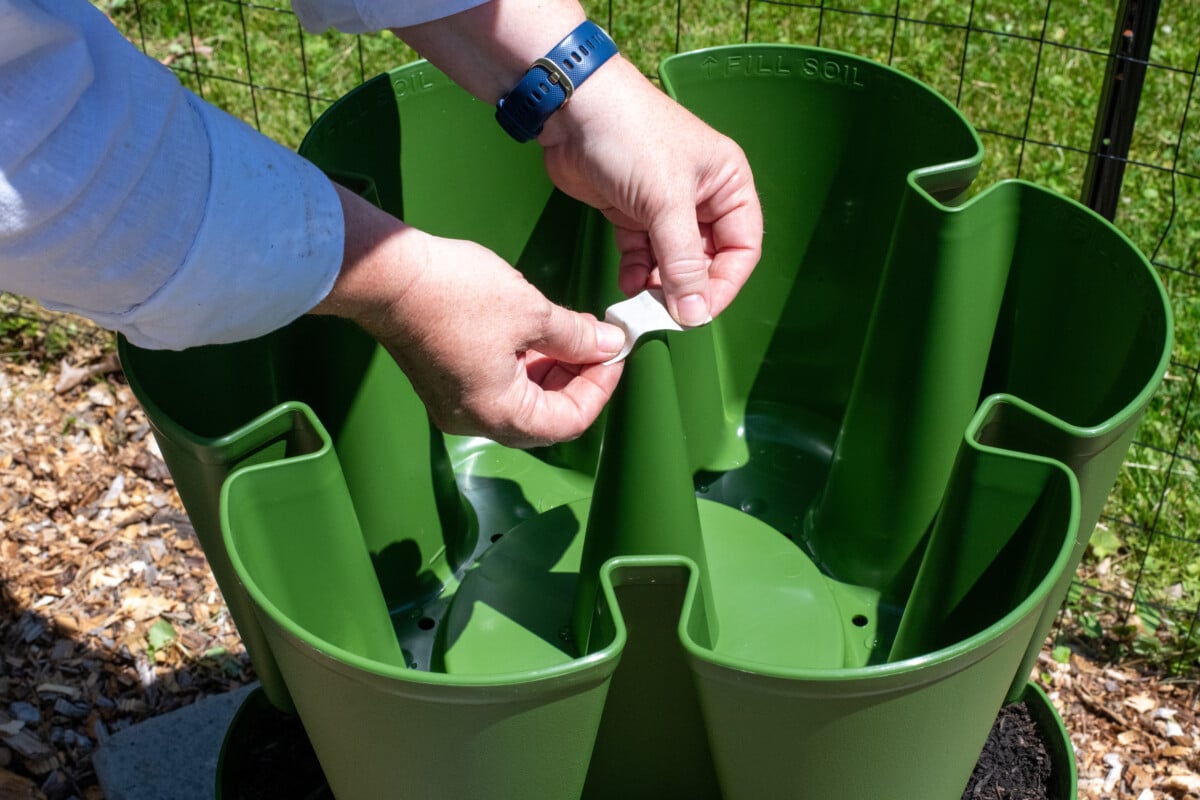
One helpful tip, which I wouldn’t have thought of, was to put tape over the center hole in the cone, to keep dirt from ending up in the water reservoir tray for that level. You remove the tape once you’re finished filling it with dirt.
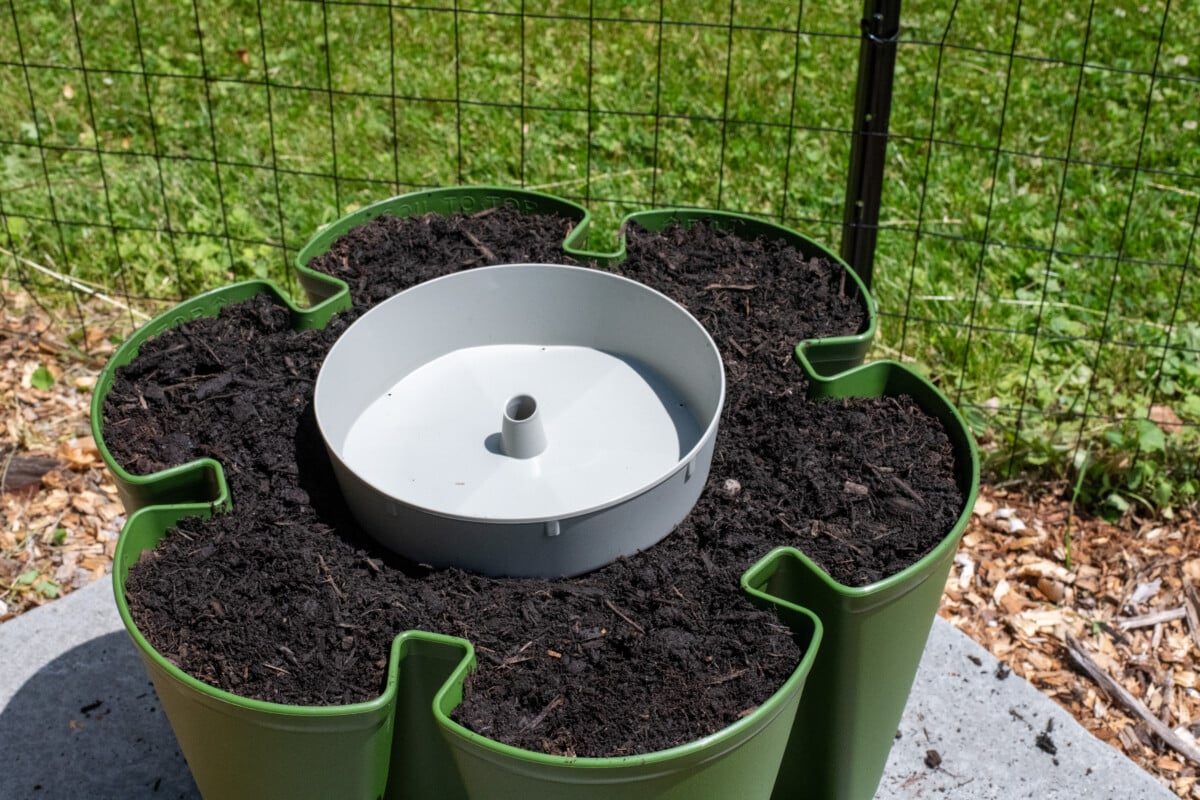
Next, place the watering reservoir tray in the middle, centering it over the cone, then poke some beans in the dirt, and then we’re on to the next level.
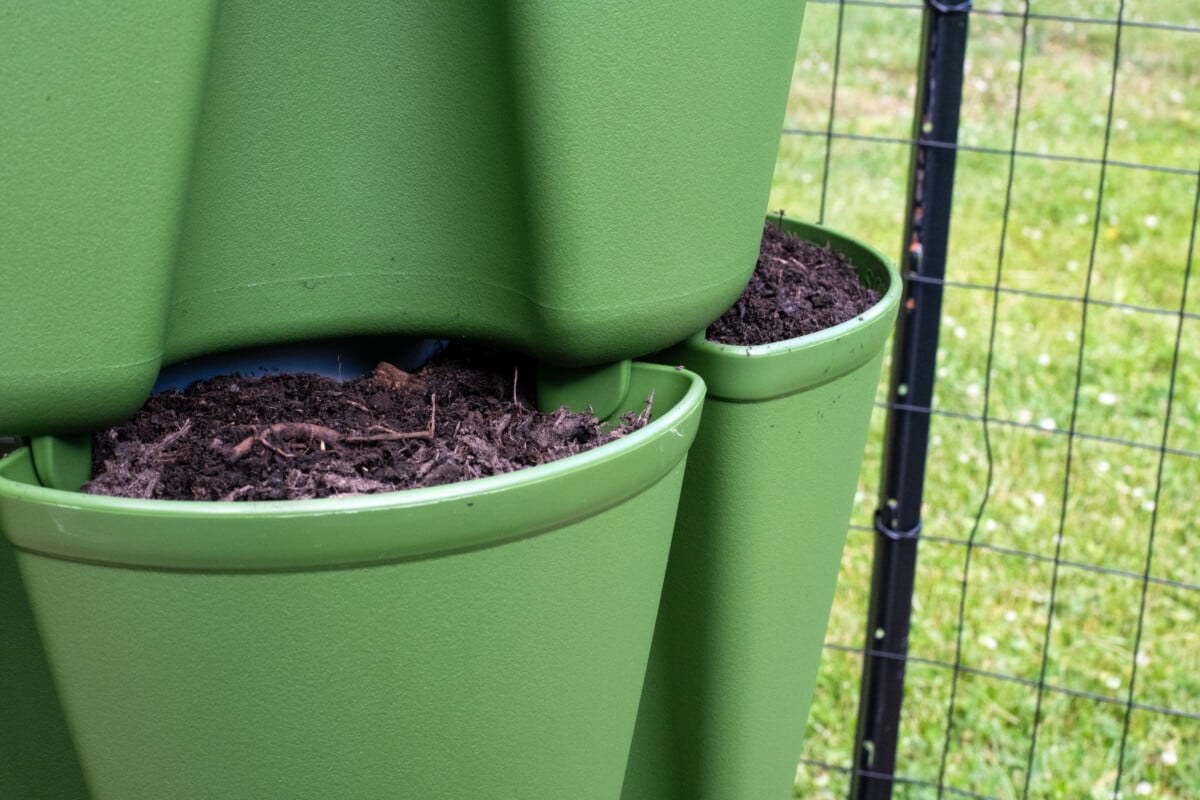
Each level snaps securely to the one beneath it with the little feet fitting together like a puzzle.
Once you’ve finished filling and stacking the separate planter trays, you add the water reservoir to the top and fill it with water.
First Impressions
So far, I really like it. I hate to say it, but I think I like it more than my old Garden Tower 2. The GreenStalk is much slimmer, with a smaller footprint. (The Garden Tower 2 has a vermicomposting tower in the center that takes up a lot of space. I rarely use it anyway.)
I think when I order my next GreenStalk (yes, I’m already planning on ordering at least one more, if not two), I will order the 3-level planter.
I’m 5’6”, and I think the height of the 5-level one could become a problem in future years.
I like that each planting pocket is larger than the Garden Tower 2, which means I can plant more than one bush bean per pocket. The planter is lighter and much less bulky overall, which makes it much easier to spin on its base. My Garden Tower 2, fully planted, is really heavy. It can be hard to spin, so that I can reach all of the plants.
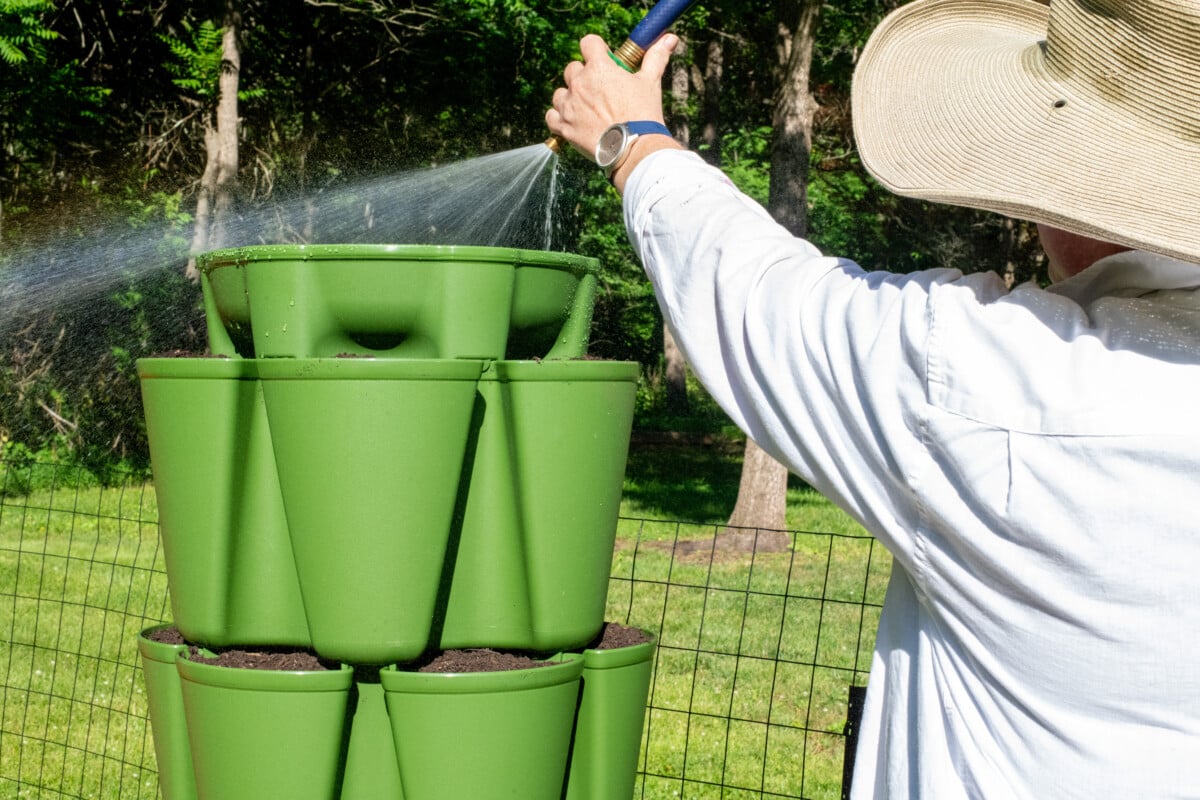
I also like the GreenStalk watering system much better. It delivered water to each level of the planter quickly and efficiently.
All in all, I’m impressed with this vertical growing system, so far. Both planters have been planted with beans, so let’s see how they stack up this summer.

Get the famous Rural Sprout newsletter delivered to your inbox.
Join the 50,000+ gardeners who get timely gardening tutorials, tips and tasks delivered direct to their inbox.