


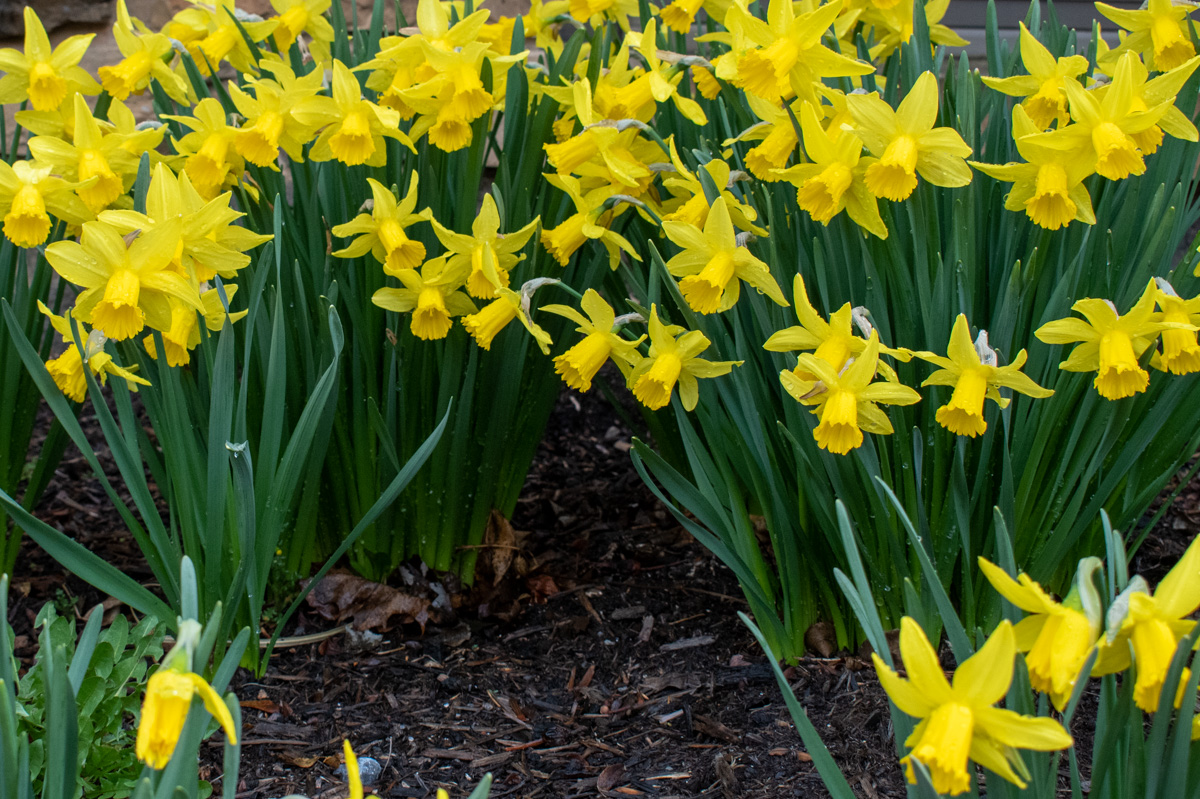
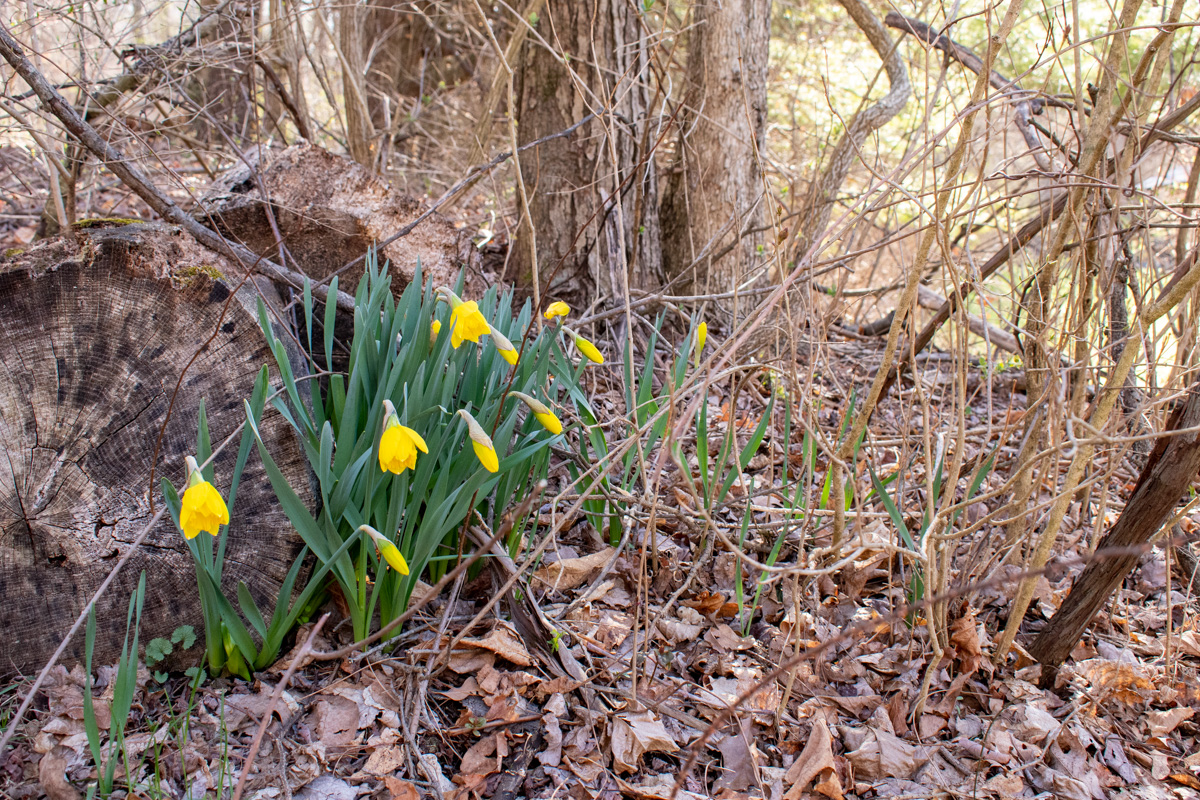
When it comes to daffodils, most of us think about planting bulbs in the fall. We rarely think about growing daffodils from seed. Yet each spring, daffodils grow seed pods with seeds ready to reproduce. With a little effort and a lot of patience, you can grow those seeds into beautiful daffodils.

If you want to grow daffodils from seed, the process is quite easy, but you’ll need to be patient. It will take anywhere from five to seven years for the bulb to develop to a point where it can produce flowers.
This is why we usually plant bulbs, not seeds.
But as I say whenever I start a new batch of mead, the time will pass regardless of whether I start mead today. The question isn’t can I wait that long, but do I want to be drinking mead in two years or wishing I was.
So, let’s grow some daffodils from seed. The time is going to pass anyway.
Related reading: 9 Things Every Gardener Needs to Know About Daffodils
Harvesting Seeds
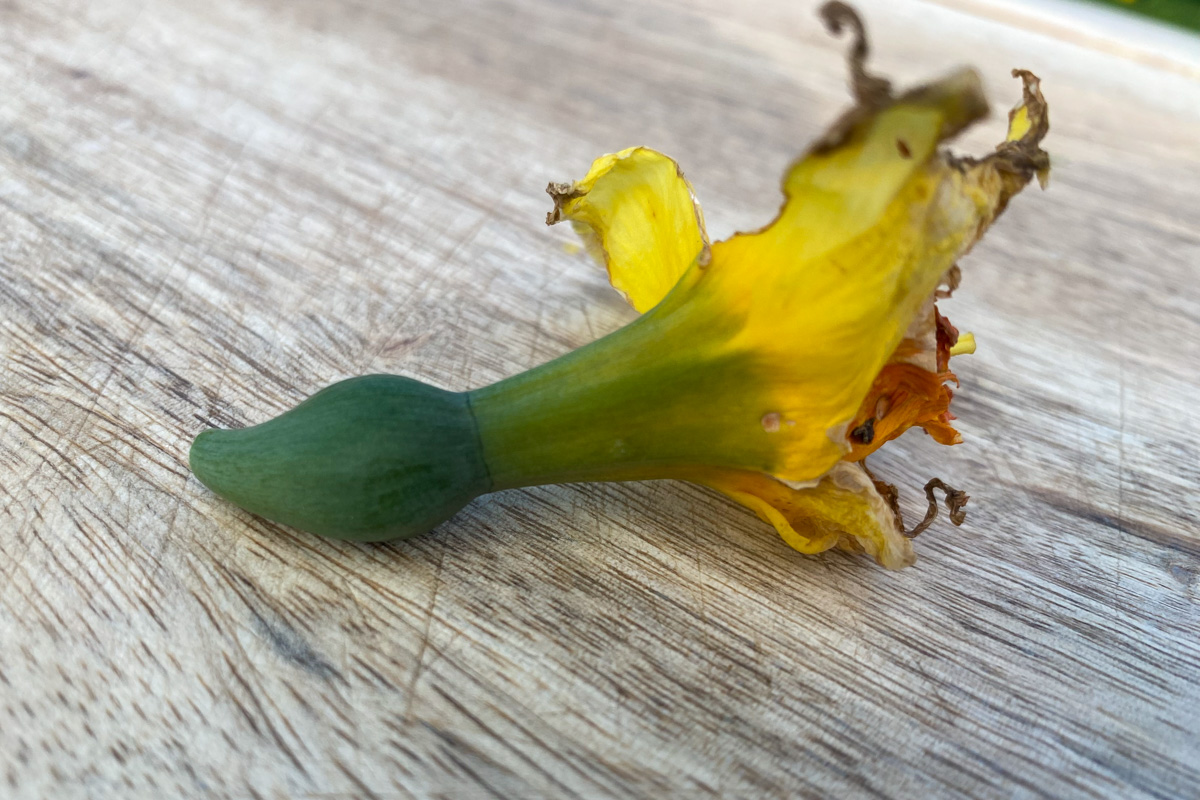
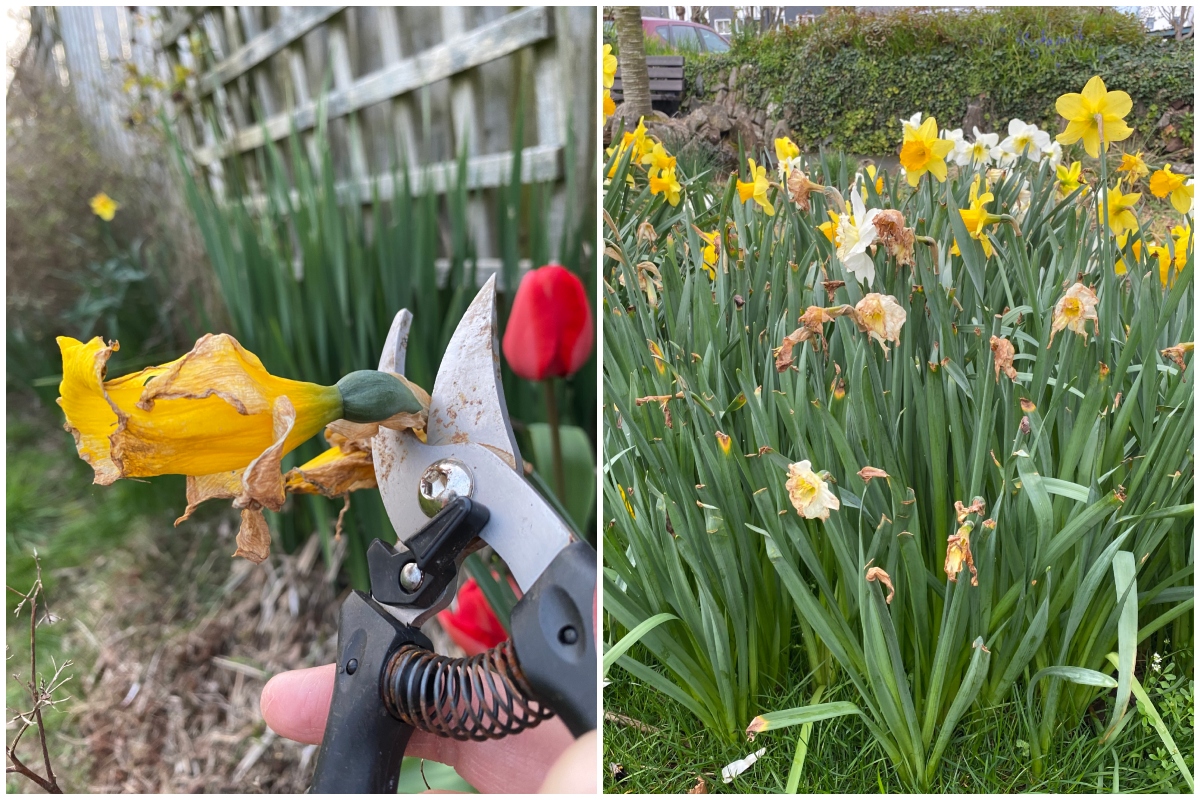
Once a daffodil is pollinated, a seedpod will develop just behind the bloom. You’ve probably seen the swollen, green pods after the flowers have faded but paid them no mind as you cut back the daffodils.
However, for the plant to develop seeds, you’ll need to change your after-bloom daffodil care a bit.
Rather than cutting off the flower heads, leave them attached to continue to grow, just like the leaves. Of course, you don’t need to let all of them grow. Choose a few of the largest and healthiest-looking flowers to be your seed donors. You may want to tie a string around the stems of those particular plants to mark them.
The plant will continue to grow and store energy, and the seeds will continue to develop.
Seeds are ready to collect around the time when the leaves start to die back, and the plant enters its dormant stage. Around six to eight weeks after they’ve bloomed. You’ll notice the seedpod dry out and turn brown. Begin checking on them frequently around the six-week mark.

If you’re too late, nature will do its thing, and the seedpod will break open, releasing the seeds.
At this point, you should be able to break open the pod and collect the seeds. They will be dry, hard and black. Store the seeds someplace cool and dry until the fall.
Planting & Growing

Plant the seeds in the fall using a tray or small pots. Choose a light, well-draining soil or seed-starting mix, and plant the seeds ½” deep. Adding compost can help provide nutrients and organic matter.

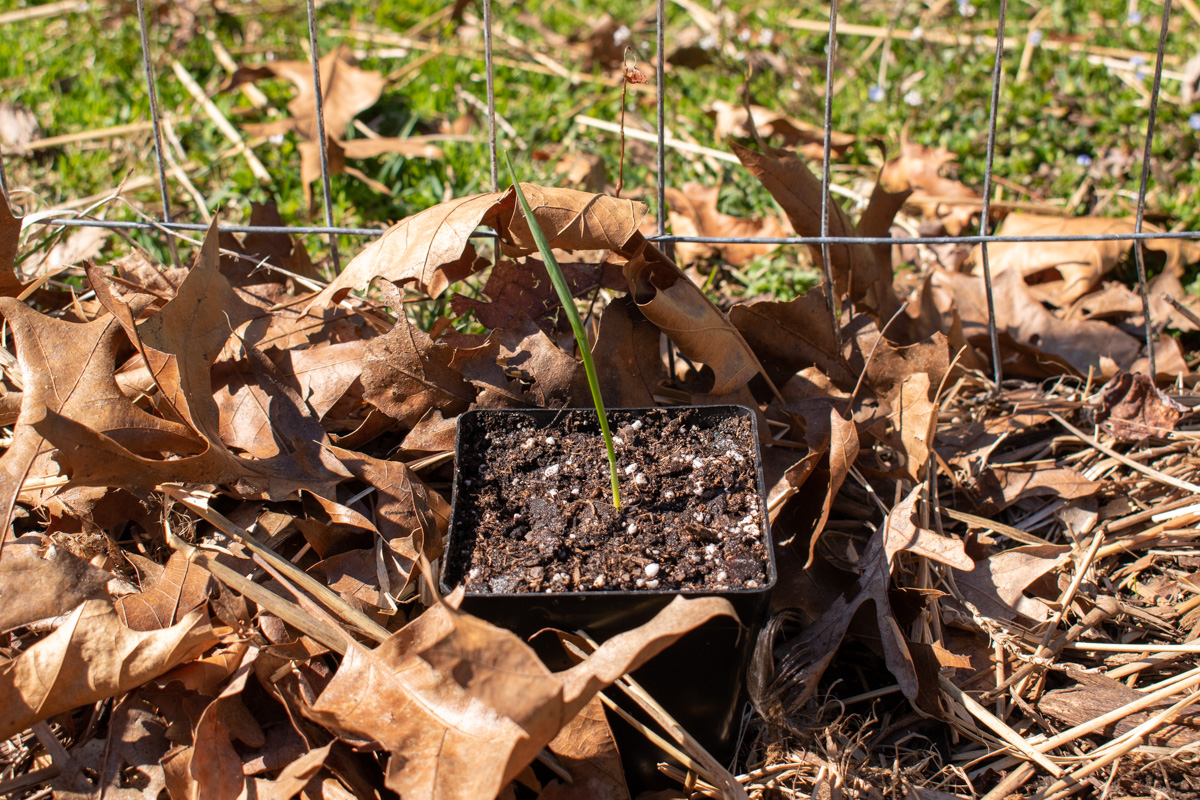
Place the containers outside so the seeds go through the winter outdoors. Make sure the container has drainage holes so the developing bulbs don’t rot from sitting in damp soil.
Next spring, you’ll see a small, single leaf from each seed. A tiny new bulb will develop below the soil. Let the daffodils grow outside in their tray or pots for the next two years. Top dress with compost each year.
After the third year, the bulbs should be large enough that you may need to pot them up so it has room to continue to grow. (They don’t like to be cramped.)

Continue to pot up the growing bulb, adding compost each year as needed. Eventually, the bulb will be big enough to flower, at which point you can plant it six inches deep in its final spot.
While this may not be the easiest way to grow daffodils, it can lead to some interesting flowers.
Using Hybrids or Species Daffodils
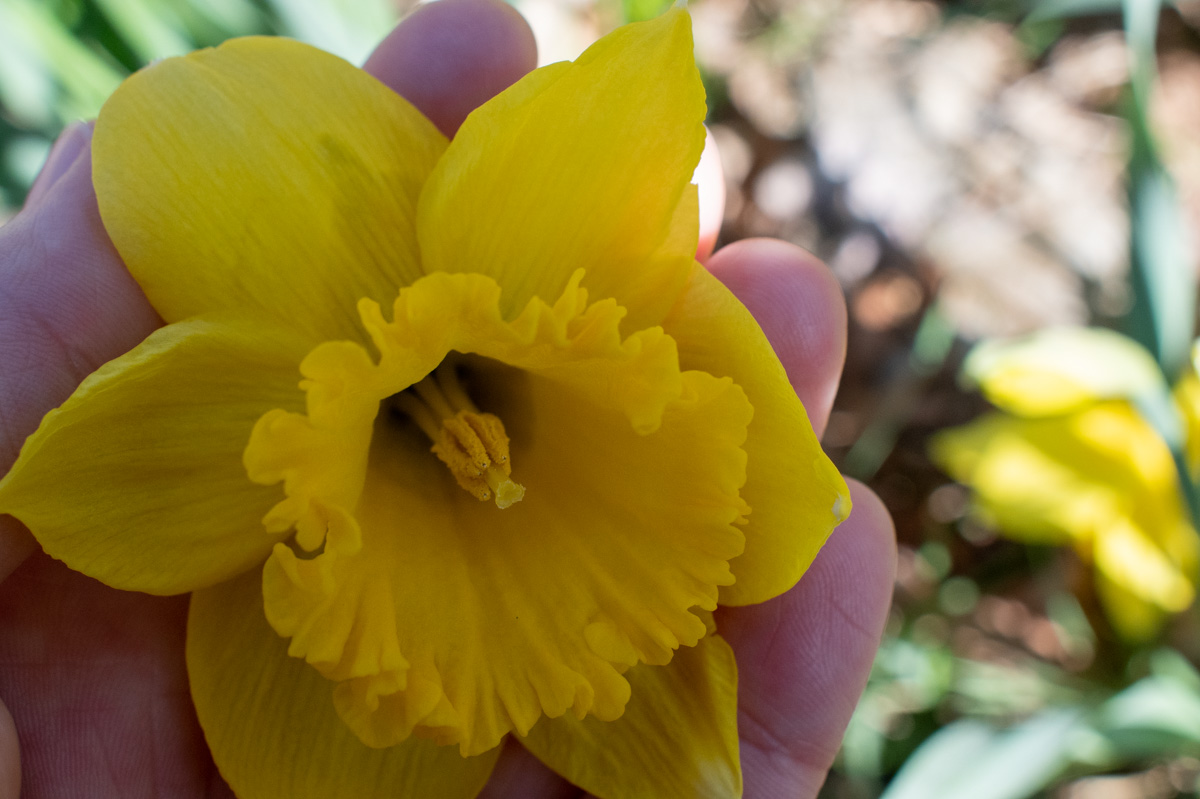
Many of today’s daffodils are hybrids. We’ve bred these flowers to bloom earlier, grow larger, be disease and pest-resistant. We’ve changed their shape and color. Much of that breeding comes at a cost, mainly in the sexual characteristics of the flower. Most hybrids produce very little pollen.
This means if you want seeds from a hybrid, you will have to hand-pollinate the flower.
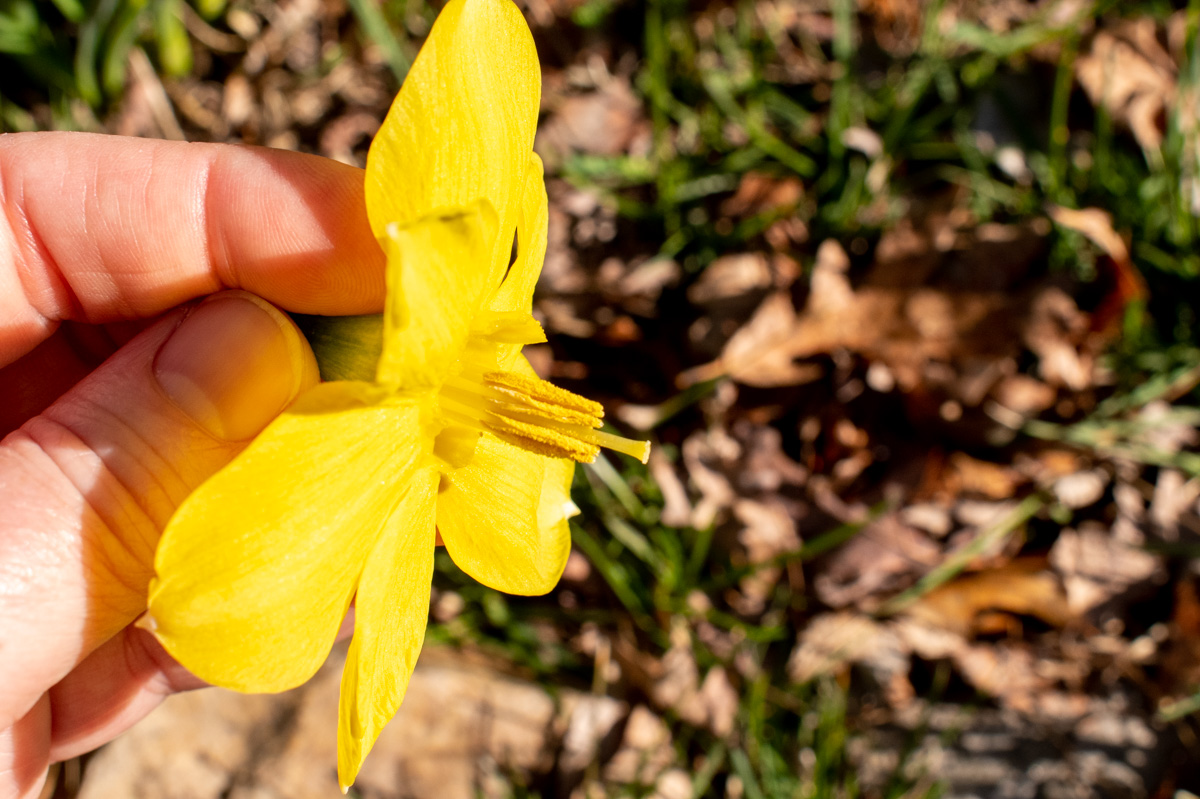
Gently pull off the bell from one flower to reveal the pollen-covered anthers.
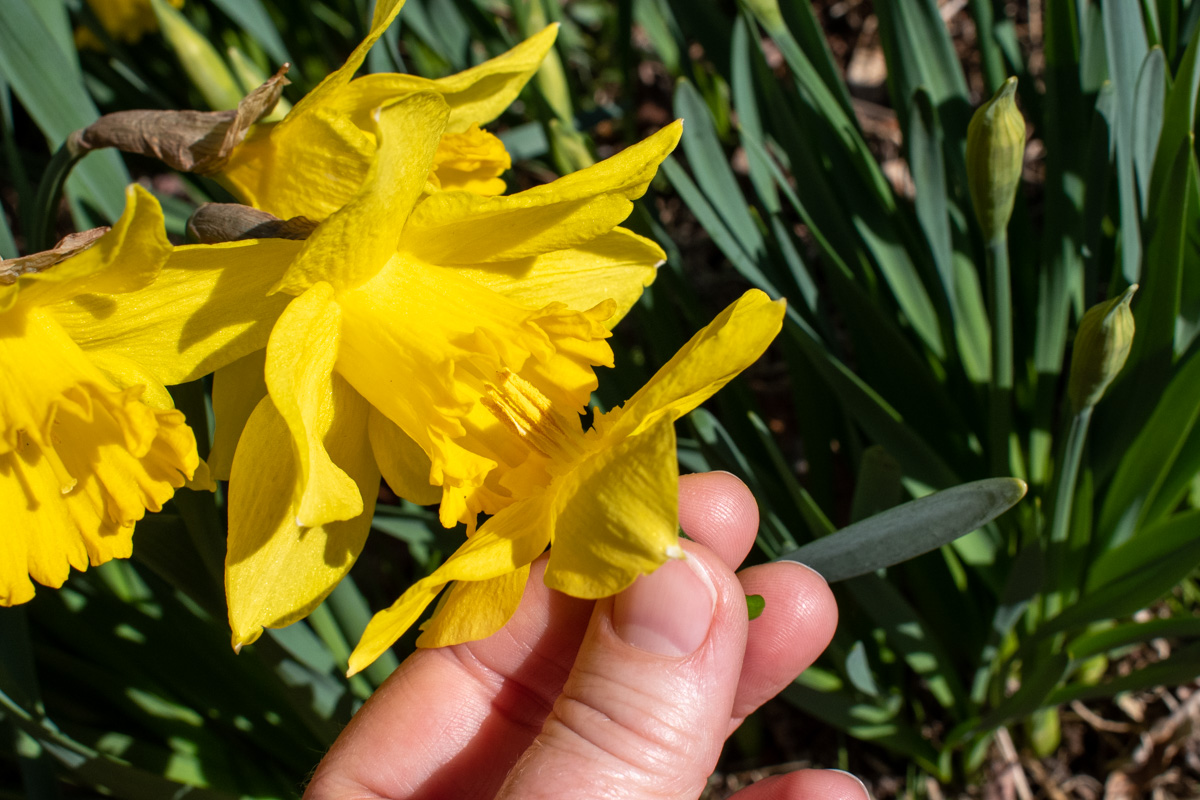
Carefully rub the anthers along the stigma of another flower you wish to collect seeds from. You should notice a seedpod develop a week or two later once the bloom has faded.

Because you’re using hybrids, the resulting daffodil will be different from the parent flower. But this can be part of the fun. Try pollinating two different varieties of daffodils and create your own new hybrid.
If you want the best chance at getting viable seeds with recognizable flowers, collect seeds from species daffodils. Species daffodils breed true. They are recognizable by their Latin names.
Is growing daffodils from seed practical? Heck no, but we’re gardeners. Sometimes we do things just to see if it will grow, to see if we can. So, let’s grow some daffodils from seed.
Read Next:

Get the famous Rural Sprout newsletter delivered to your inbox.
Join the 50,000+ gardeners who get timely gardening tutorials, tips and tasks delivered direct to their inbox.