

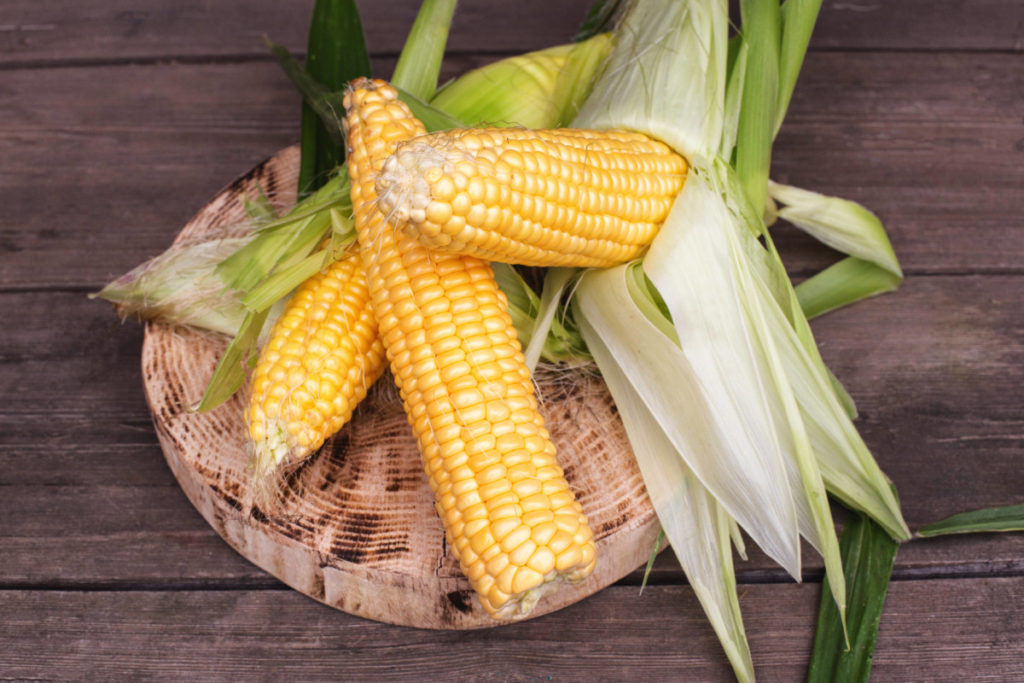
It’s sweet corn season!
Eating fresh corn on the cob is something we all look forward to each summer. But as you’re working your way through our list of 20 Creative and Delicious Sweet Corn Recipes You Need To Try, you’re going to end up with a lot of corn husks.
What do you do with your corn husks?
Pitch them in the trash?
Compost them?
Do you save them to use around the kitchen and garden? Did you even know you could put corn husks to good use?
Oh, dear reader, we will change the way you look at these bright green corn wrappers.
But before we get into what you can do with them, let’s take a look at choosing good ears of corn and a couple of ways to husk corn.
Husking corn seems to be one of those summer chores that people either love or hate. I’m in the latter group; if I’m cooking, this is one task I am happy to pass off to the kids or a helpful dinner guest.
What to Look for When Choosing Corn
We all need to stop peeling the husk back to observe the kernels; it just dries out the corn. Everything you need to know can be deduced from the outside of the corn.
Pick up an ear of corn and look for these factors.
- Corn should be firm and hefty.
- The outer husk should still be bright green and tightly curled around the ear. It should not be brown or starting to curl away from the ear.
- The ear should always have a tassel that is golden to brown. Avoid ears with no tassel or black or mushy silk.
That’s all you really need to choose good corn from a pile of ears.
2 Ways to Husk Corn
If you plan on roasting or grilling your corn, you may not want to husk the corn until after it’s cooked. The husks and silk do an excellent job of creating a nice, steamy cooking environment.
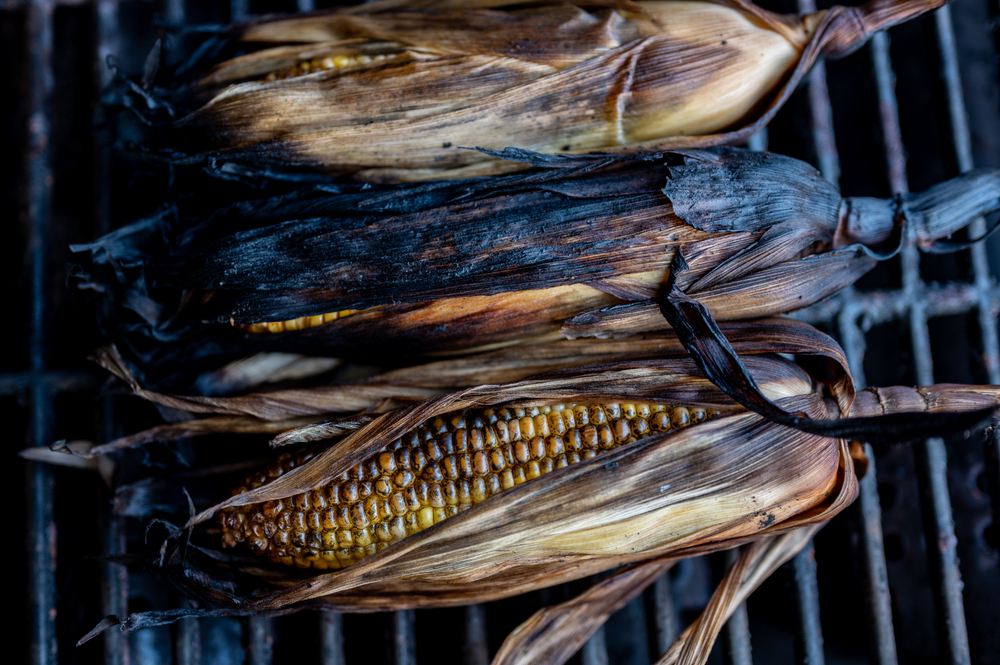
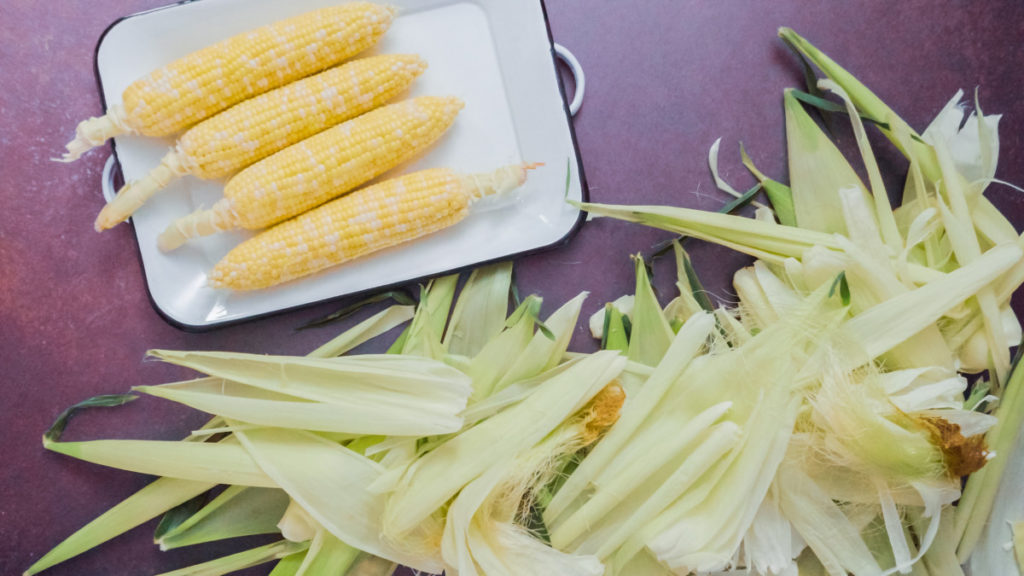
However, if you plan to boil your corn, you’ll need to remove the husks and pull the shiny silk from the ears of corn first.
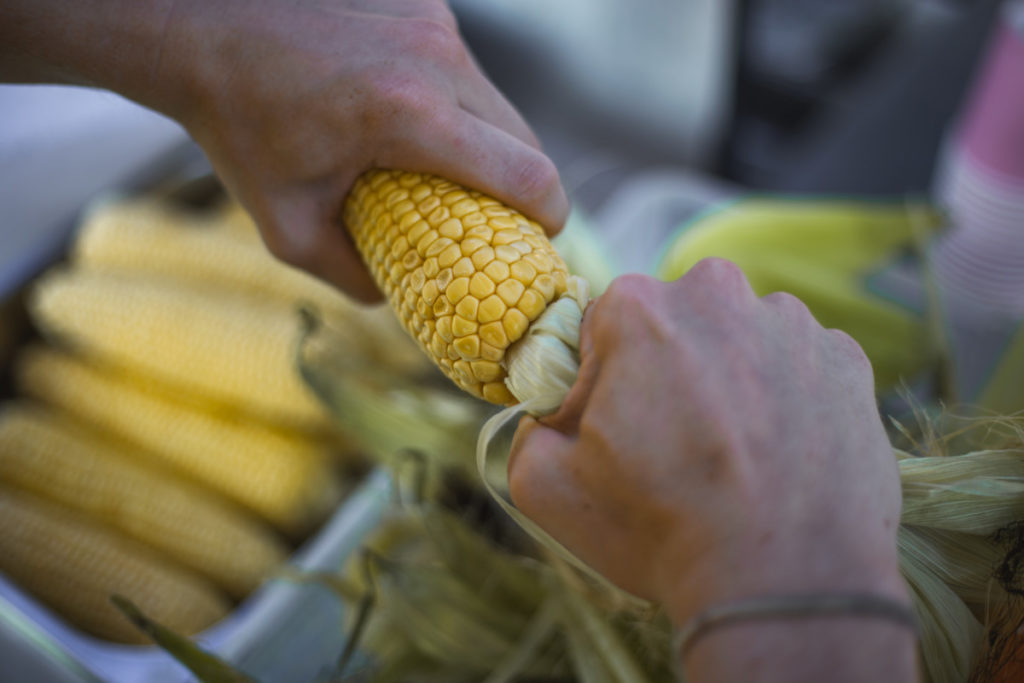
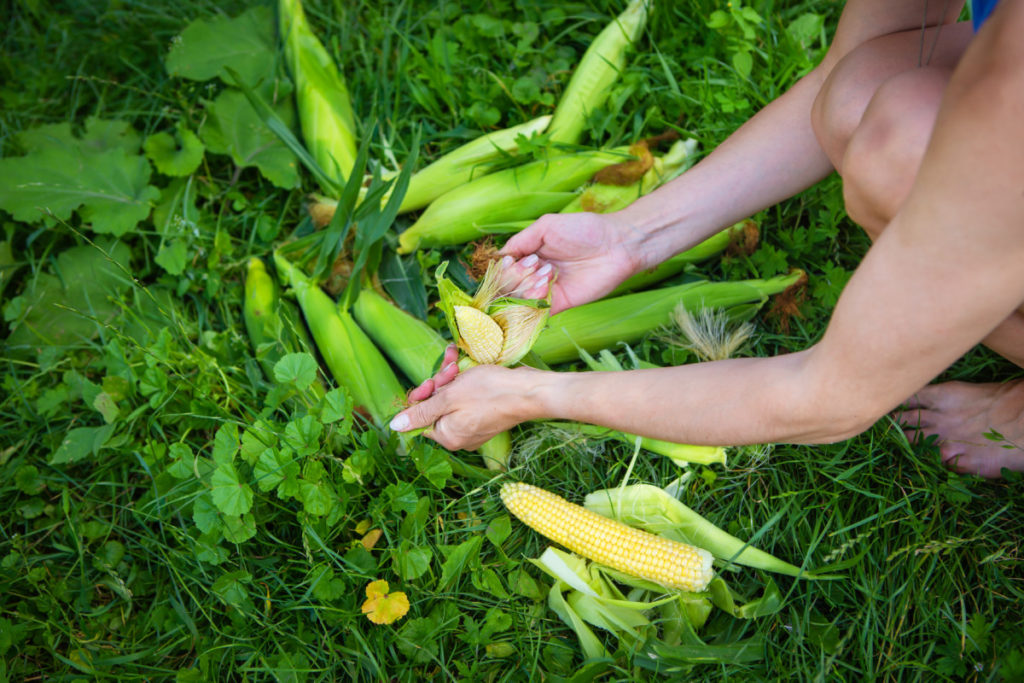
1. Hand-Shucking
This time-tested method is the way we’re most familiar with. But there’s a trick to it to remove as much silk as possible while you’re at it.
Start by removing the outer leaves until there’s only a few left. Now grab the corn by the tassel as close to the top of the corn as you can and pull the leaves off. Most of the silk should come away with it too. Do the same on the other side of the corn.
Then you’ll pull all of the fine silk from the corn kernels (otherwise, you’ll get it stuck in your teeth).
If you’re husking a large batch of corn for canning or a big barbecue, you might want to pick up a corn silker brush. This special brush will make quick work of removing all the tiny silk hairs from a cob.
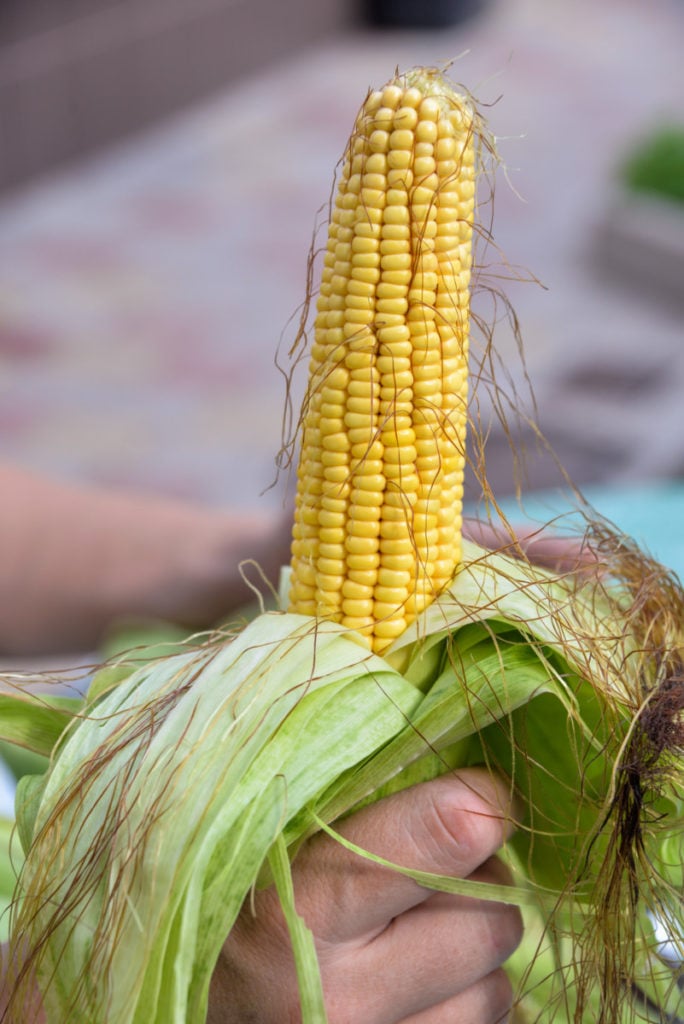
2. Microwave
By far, this has to be the easiest way to husk corn ever devised. You simply cut the end of the corn off (the end attached to the stalk) and pop the entire thing into the microwave for 30 seconds to a minute.
You may wish to use oven mitts when handling the hot corn.
After you’ve microwaved the corn, you simply squeeze the corn out of the husks holding onto the tassel end. It’s a bit like squeezing toothpaste out of the tube.
Out will pop a silk-free ear of corn. It truly is a thing of beauty.
If you want to, you can even cook your corn on the cob this way, simplifying the whole process. Just bump up your time to 4-5 minutes and serve immediately after you’ve removed the husk.
If you don’t plan on eating the corn right away, you can keep it hot by boiling a pot of water, adding the corn and then turning the heat off. Cover the pot, and your corn will still be perfectly hot and tasty when it’s time to eat.
Finally, you’ll need to decide if you want to break off the stalk at the bottom. Some folks leave it on as a handle. I prefer to break mine off, so the corn fits in my pot better. If you use corn picks, you’ll want to break off the stalk.
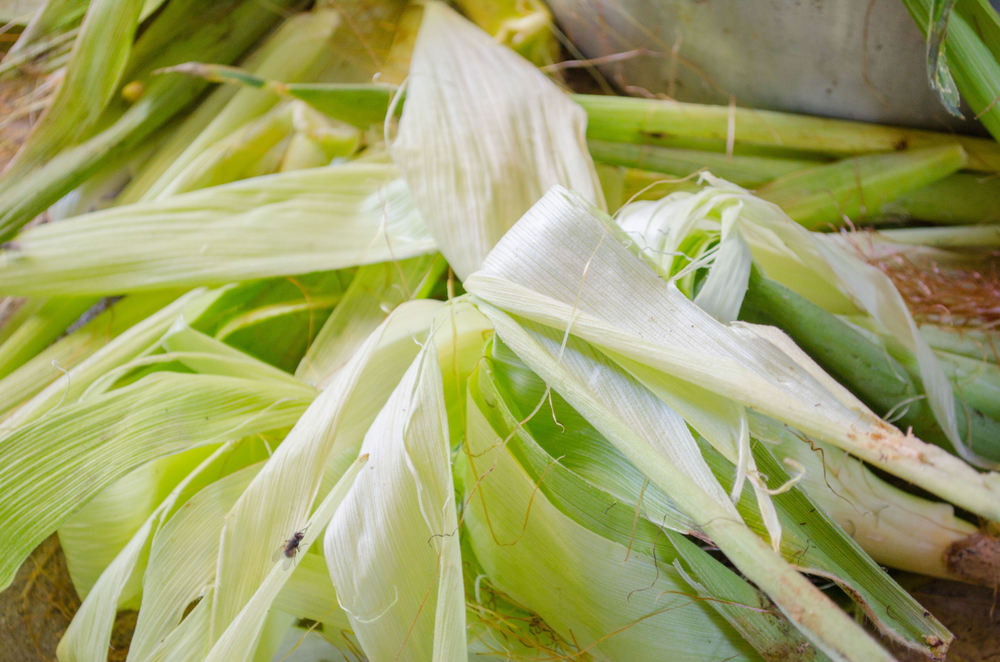
Fresh Husks or Dried Husks?
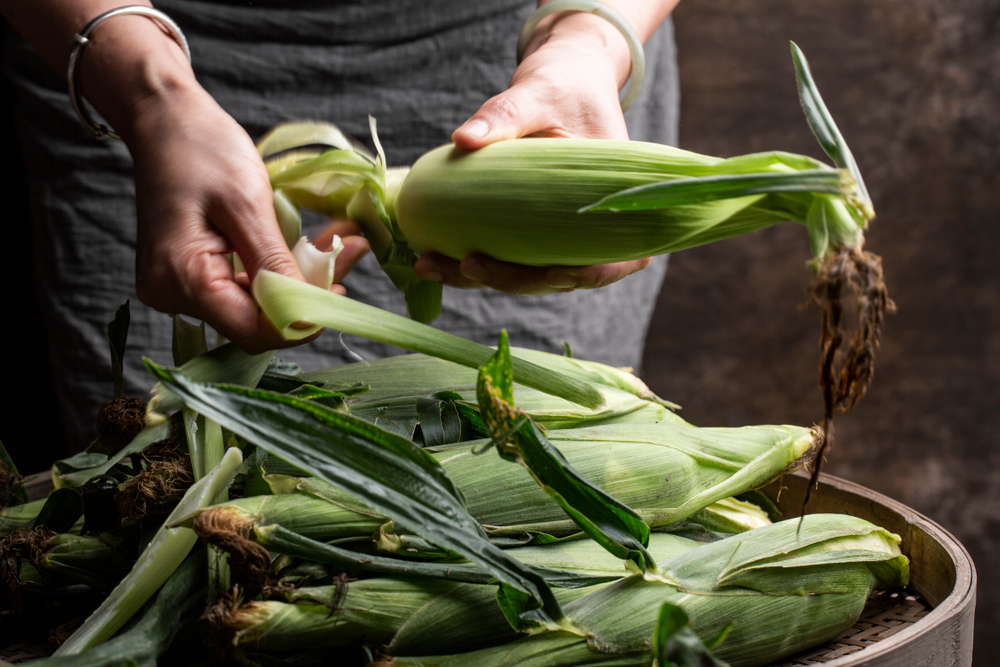
Fresh Husks
Fresh corn husks have quite a few uses. The nice thing about sweet corn is that little to no pesticides are needed to grow it. In fact, sweet corn is #2 on the Environmental Working Group’s “Clean 15 List” for produce containing the fewest pesticides.
When cooking with corn husks, be sure to use husks from the inner layers of the corn, as they will be the freshest, cleanest and have the most moisture.
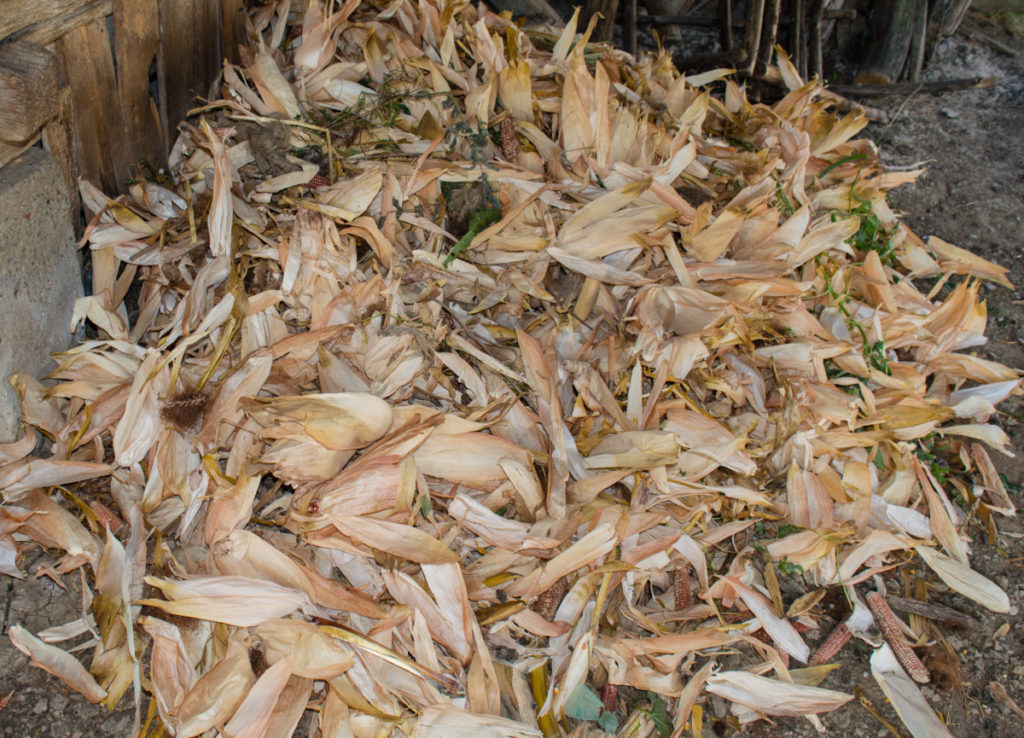
Dried Corn Husks
You can also use dried corn husks. To dry them, lay them flat on a metal baking rack and place them in a sunny location. You may want to cover them with cheesecloth and tuck in the ends to keep them from blowing away.
Similarly, you can dry them in your oven on the lowest setting. Keep the oven door propped open with a wine cork or wooden spoon handle. Check the husks frequently after about an hour or so. Be careful when opening the oven door; once the husks are dry, they could catch fire if they fall onto the heating element.
So, what can you do with corn husks?
1. Tamales
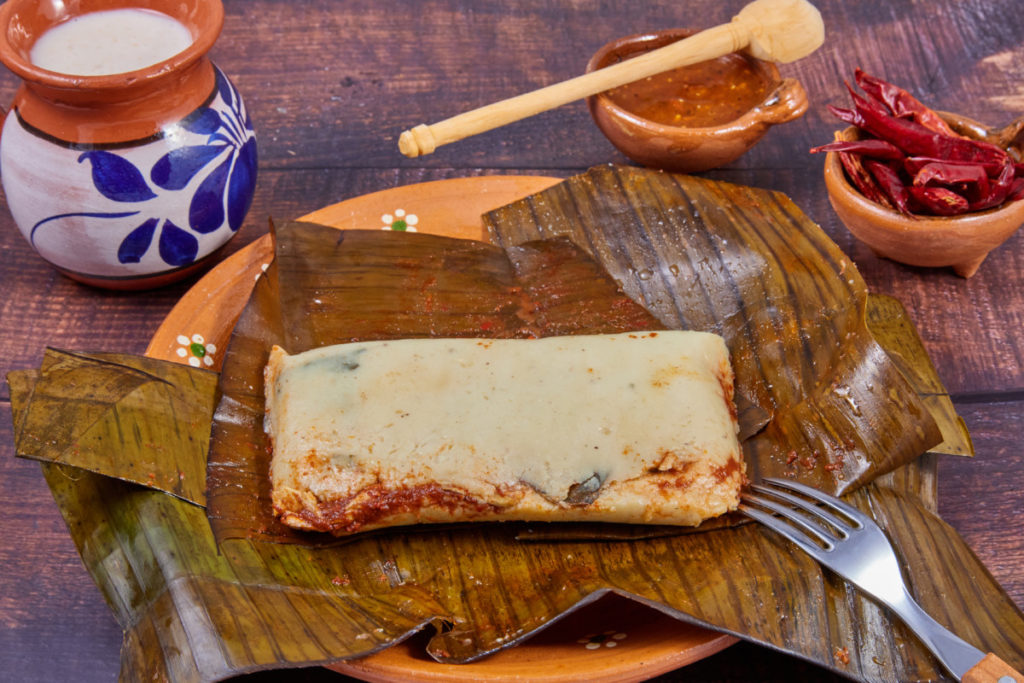
This might be the one most of us are familiar with. Tasty masa (a corn-based filling) mixed with spices and pork, chicken or beef, all wrapped up in a corn husk. Save your dried corn husks and make tamales from scratch. You won’t be disappointed.
Give this authentic tamale recipe a try from My Latina Table.
2. Steam Fresh Fish
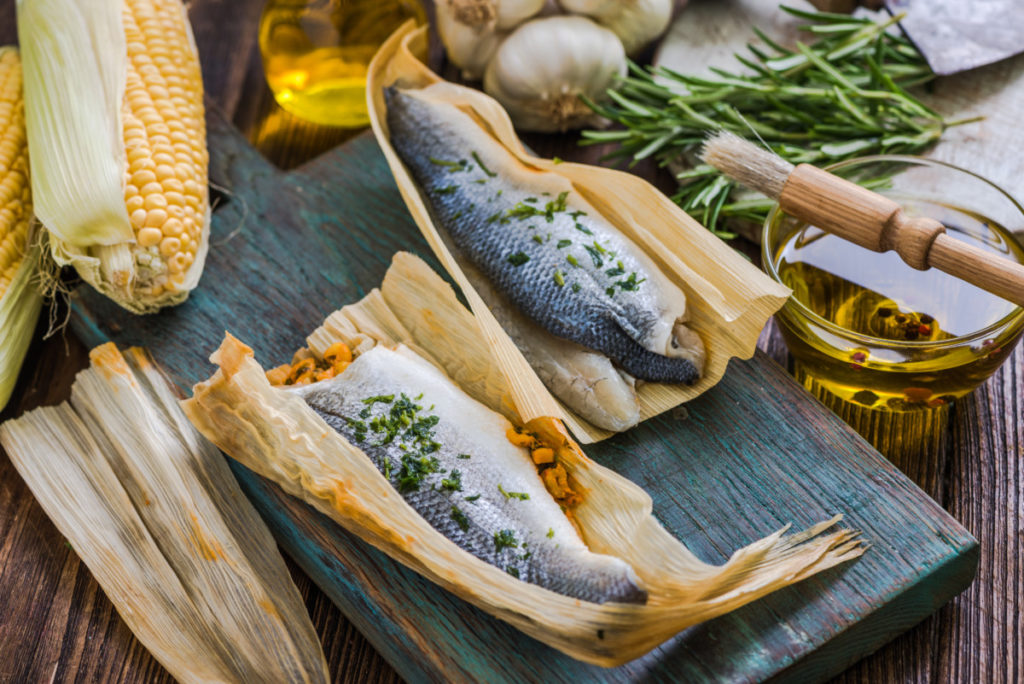
Use fresh corn husks like you would parchment paper to steam fresh fish. Wrap the fish in several corn husks and throw it on the grill or in the oven.
3. Keep Dumplings from Sticking to the Steamer
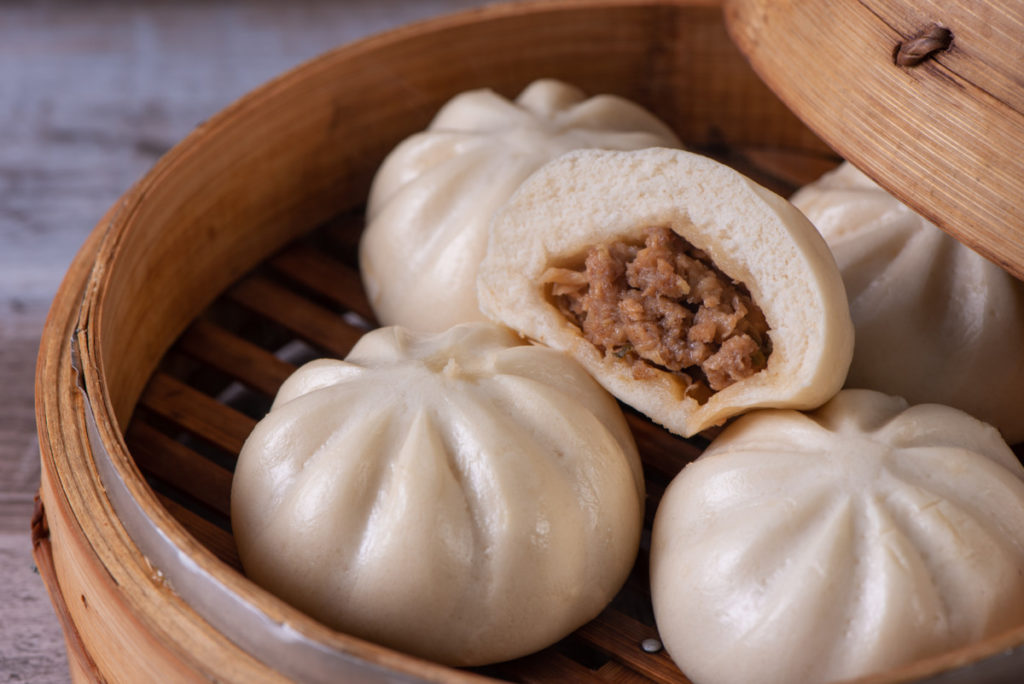
I am a sucker for a good dumpling or baozi. I usually toss a piece of parchment paper into the bottom of my steamer basket to keep the dumplings from sticking. But you can use fresh corn husks too. The husks will prevent your dumplings from sticking to the bottom of the pan. Mmm!
4. Use Corn Husks Instead of Banana Leaves
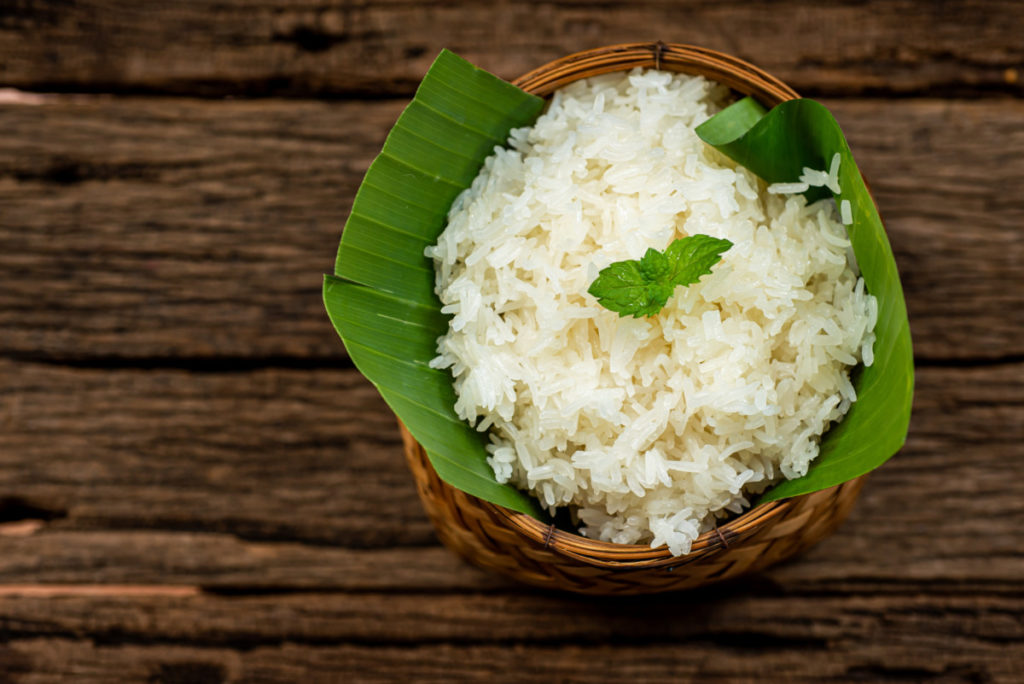
Many dishes from the Pacific Islands use banana leaves as wrappers. Fresh corn husks make a great replacement when making things like sticky rice,
5. Tinder for Starting Fires
Dried corn husks are great for starting fires. Save husks for camping trips or for starting fires in your fireplace and wood stove.
Make Beautiful Crafts with Dried Corn Husks
Corn husks can be used to make beautiful rustic crafts and decorations.
6. Make a corn husk wreath for your front door

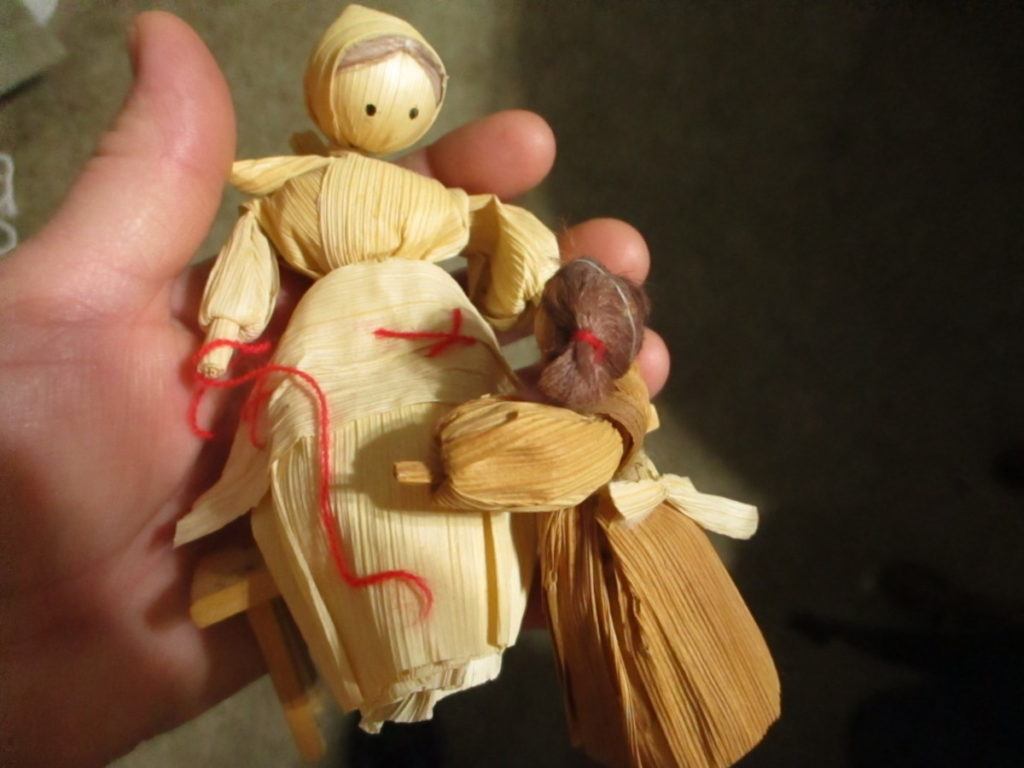
7. Create rustic corn husk dolls
8. Christmas trees
9. Corn husk angels

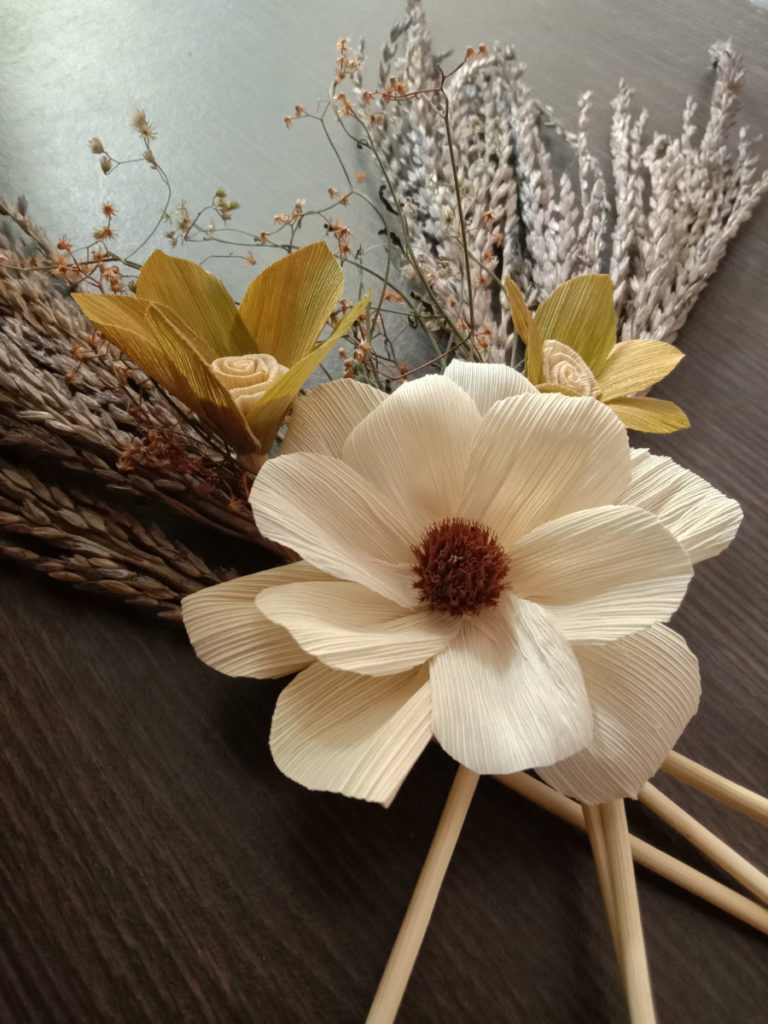
10. Create corn husk flowers
11. Use Corn Husks as Mulch
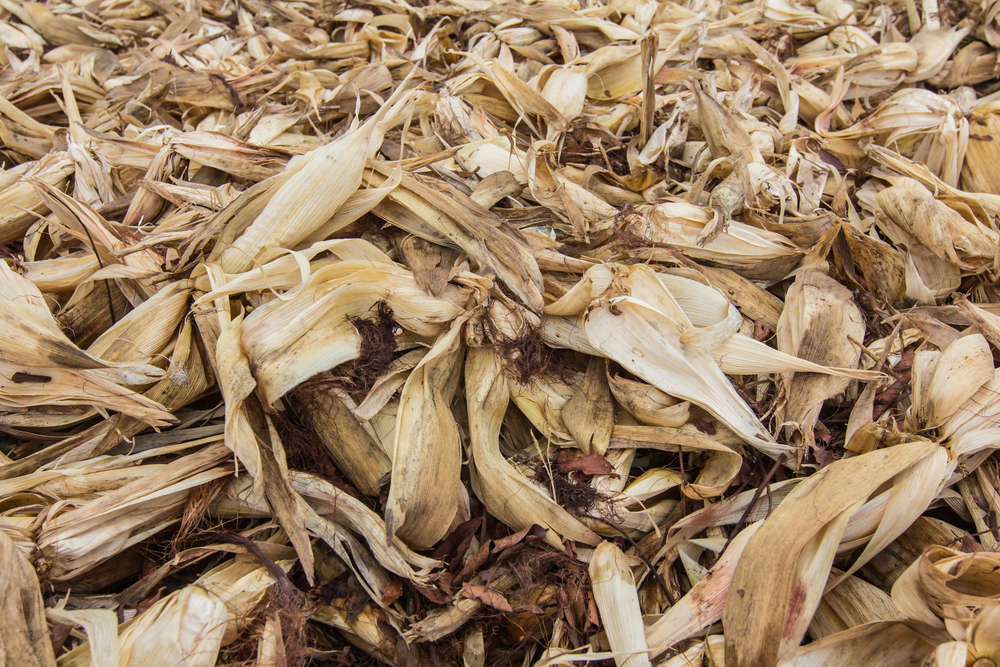
Corn husks, and the silk, make for a great mulch because they cover so much surface area. And they add nutrients back to the soil as they break down.
You’ll want to wet the corn husks well, so they don’t blow away. A great way to do this is to shuck your corn directly into a 5-gallon bucket. Then add water to the bucket, so it’s good and sopping. Now grab handfuls of the husks and mulch away.
If you have the means, you can also chop the husks first and use the resulting mulch as you would with any other shredded mulch.
An easy way to chop the husks is to lay them on the lawn and make a pass over them with the lawnmower. Rake up your chopped corn husk mulch and layer it around your plants to lock in moisture.
If you grow corn, you can do this with the stalks at the end of the season too.
As corn stalks and husks are readily available in the fall, they’re perfect for all that all-important fall mulching of the garden.
For even more mulch ideas you’ll want to read – 19 Types Of Garden Mulch & How To Use Them
Save the Cobs for Corn Cob Broth
The corn cob is the largest part of an ear of corn, and it’s the part we always throw away. Instead of pitching them, make corn stock with the cobs.
Add your ears of corn to a stockpot and cover with cold water. Bring the water to a boil, then reduce the heat and simmer your cobs for half an hour. Drain the liquid and save it in a jar in the fridge (it will last for a week) or freeze it in ice cubes in the freezer.
The resulting corn broth will have corn starch in it, a natural thickener. Use your corn broth to add flavor and body to soups and stews. Use it as a thickening agent for gravies and stews. Boil rice in it for a little extra flavor.
Not bad, right? When you think about how little of the corn plant we eat, it makes sense to put the rest of it to good use, with all of these ideas that should be easy enough to do.

Get the famous Rural Sprout newsletter delivered to your inbox.
Join the 50,000+ gardeners who get timely gardening tutorials, tips and tasks delivered direct to their inbox.