

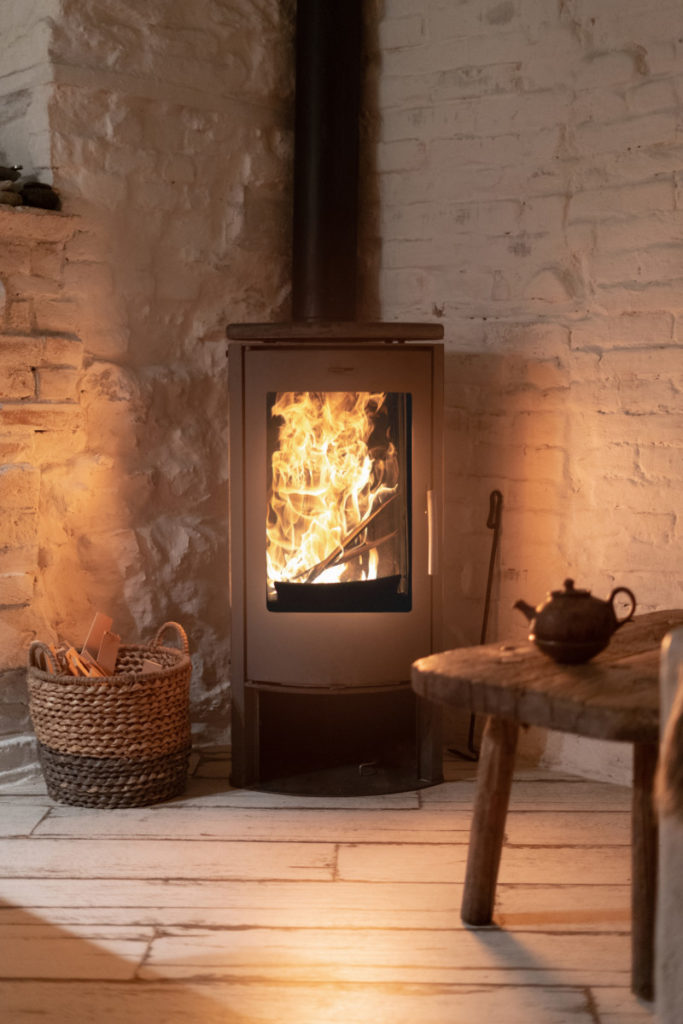
The sound of the crackling fire, the smell of the burning wood, the dancing flames, and warmth that penetrates deep into your bones – are all perks of heating with a wood stove.
Over time that pleasant wood fire creates creosote buildup and ash accumulate in the firebox meaning it’s time to clean the stove.
It’s necessary to clean your stove periodically to prevent accidental fires and to get the most efficient burn from your wood.
A dirty wood stove can also lead to unpleasant smells in your home and furniture. And let me tell you, once that smell gets into your upholstery it’s difficult to get out.
Creosote is extremely flammable and can lead to a chimney fire. Creosote forms from a combination of moisture and debris not being fully consumed by the fire. This sticky substance builds up on the inside of your stovepipe, where if left unattended, it can become a serious fire hazard.
Hotter burning fires create less creosote, another good reason to maintain a clean wood stove.
Softer woods like pine are known for producing more creosote. Pine is great for starting a fire and has a lovely smell, so rather than giving up burning pine, you can always clean your wood stove more frequently.
Related Reading: What’s The Best Wood To Burn In Your Stove?

Safety Tips
- Never clean a hot stove. Let the stove cool off entirely first.
- When scooping out ash, always wear gloves.
- Keep in mind that embers buried in the ash can stay hot long after the fire has gone out.
- Always put ash in a metal container, never a plastic one.
- Take your pail of ashes outside once you have finished cleaning, in case there are still any hot embers in the ash.
Tools For the Job
- You will need a metal ash pail with a shovel. Choose a pail with a lid to avoid ash billowing throughout your house when you take it outside.
- I recommend picking up a sturdy metal dustpan, and a heavy bristled dust brush to make clean up of stray ash, wood, and bark around your wood stove easy.
- A couple of pieces of soft, clean cloth, such as flannel and a spray bottle with water, are needed to clean the glass of the woodstove door.
- While it’s not a necessity, a small shop vacuum comes in handy for cleaning up spills and really deep-cleaning your firebox.
- And if you choose to clean the stovepipe yourself, you will need a chimney brush that fits the inner diameter of the pipe snuggly and extension rods. A note – if your chimney brush is showing signs of being worn down, be sure to replace it.
- Cleaning your wood stove tends to be a messy job. You’ll want to dress appropriately, and if you have furniture nearby, you may wish to cover it with a sheet.
How often you clean your stove really depends on how often you use it. If you’re using your wood stove every day as your primary heating source, you will need to at least scoop out the ash daily and do a more thorough cleaning once every week or two.
You must clean your stovepipe more often during the winter as well. If you tap on your flue when it’s cold and hear debris fall, you need to clean your pipe immediately.
If you only use your wood stove occasionally, you can clean it less frequently.
A good rule of thumb is to scoop the ash out once it’s a few inches deep. Too much ash prevents good airflow in the firebox, and you want a good, hot burn. If you begin to notice creosote buildup of 1/8”, it’s time to do a thorough cleaning.
How to Clean a Wood Stove
To clean your stove, you’ll first need to let the fire go out, and let the wood stove cool completely. Safety first, you don’t want to risk getting burned. Remember that embers buried in the ash can stay hot long after the fire itself has gone out.
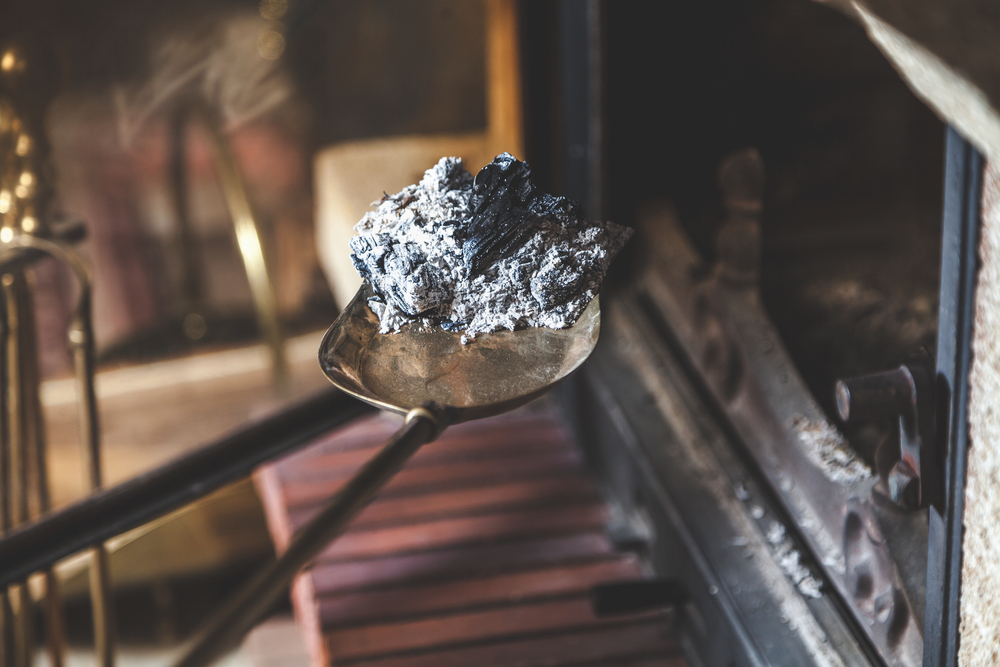
Start by removing the ash using the shovel and place them in a metal pail.
Spritz the top layer of ash lightly with water to make the job less messy. Once a year it’s advisable to clean out all of the ash entirely so you can inspect the firebox and fire bricks, but usually, you can leave a bit of the ash behind.
If your wood stove has one, empty the ashtray and ash box.
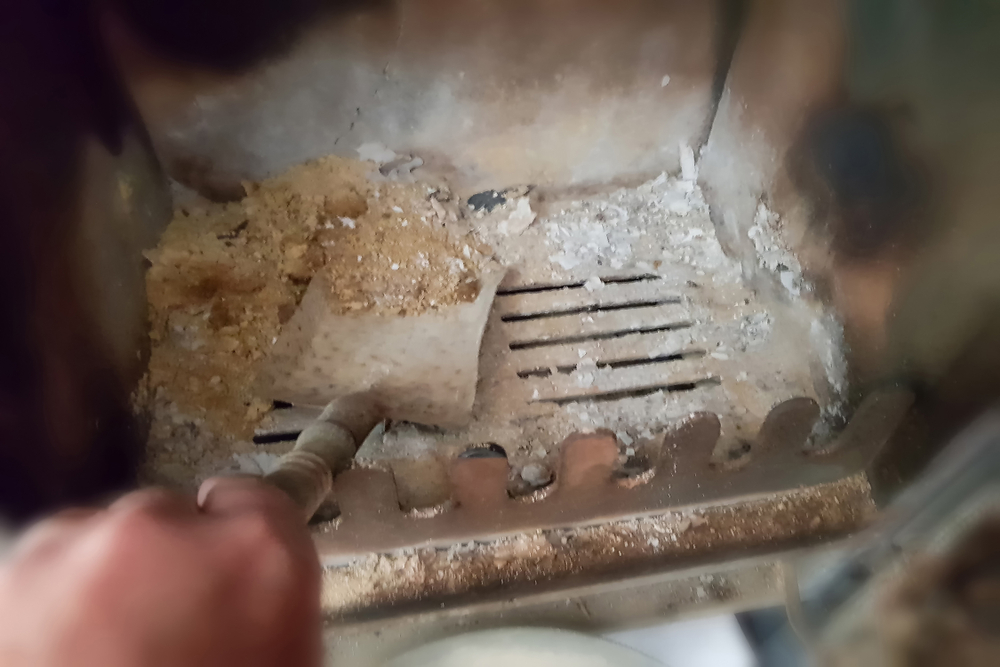
Using a flashlight inspect the inside of the firebox, the flue, and the chimney for creosote buildup or glazing. You can use the chimney brush to scrape and clean around the flue. If the creosote is 1/8” or thicker, you will need to clean the stovepipe. More on that later.
If your wood stove door has a window, you’ll want to clean the glass so you can enjoy the beauty of the fire.

An easy trick is to dampen your flannel square and then dip it in some ash. Gently scrub the glass with the ash to loosen and remove the buildup. Wipe it clean with a little more water and a clean piece of flannel.
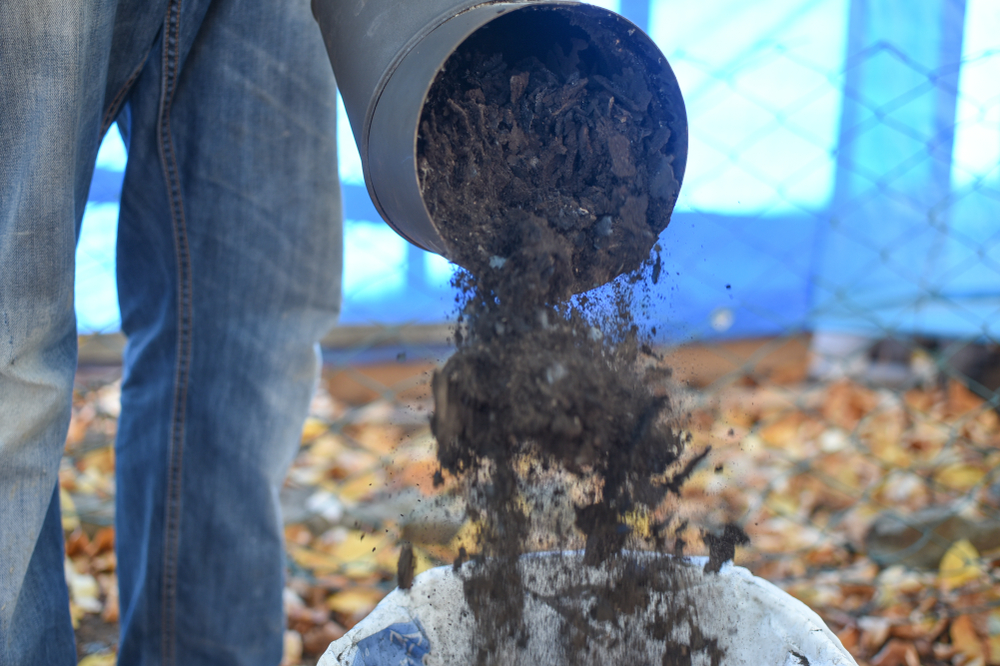
Put the lid on your pail and take the ashes outside.
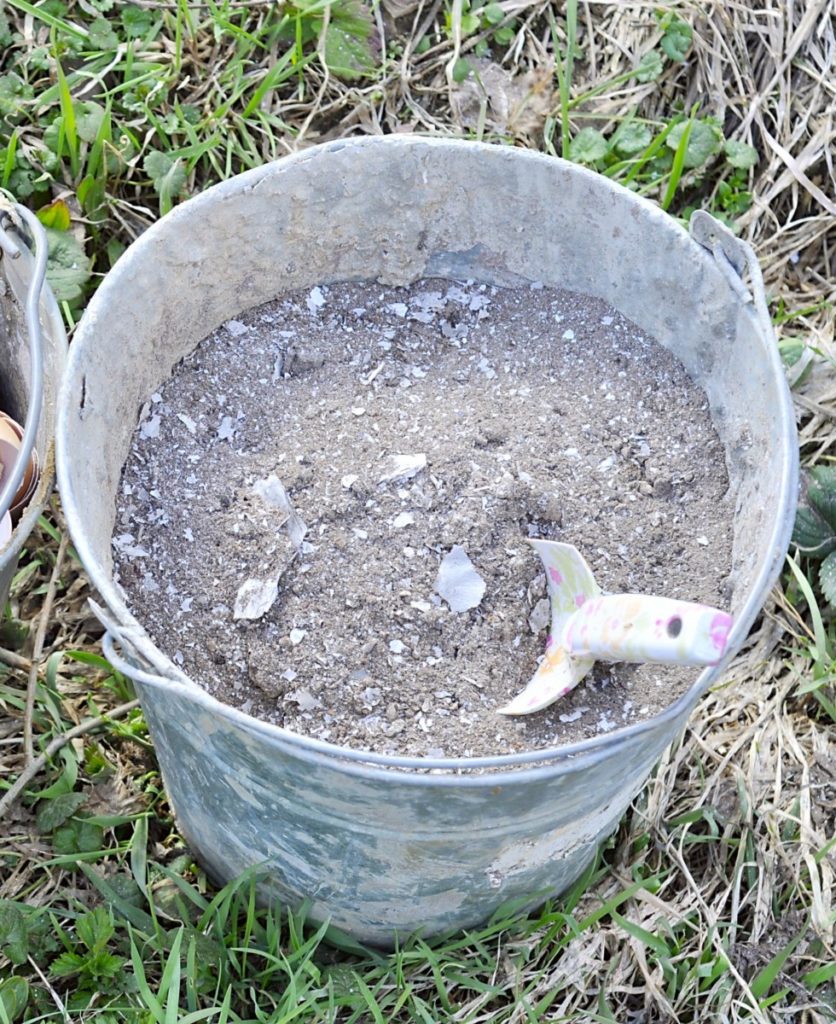
Be sure to put them away from any buildings and allow them to cool for at least 24 hours before using them.
If you need some ideas, here is a fantastic list of 45 Practical Ways to Use Wood Ash Around the Home and Garden.
Cleaning the Stovepipe
You should clean your stove pipe each year before the heating season. Aside from creosote, it’s common for birds and mice to build nests in your stovepipe in the offseason.
While you can clean your chimney, and many people do, having a professional do the job is sometimes preferable.
Not only will they clean your stovepipe, but they can also inspect it for wear and tear. When deciding whether or not to clean your stovepipe or pay someone else, bear in mind that this means you will be on the roof, sometimes in inclement weather.

It also requires a lot of physical effort to use the chimney brush and do a thorough job. Please keep your safety in mind when making this decision.
If you opt to clean your stovepipe, never do it alone. Always have a helper on hand.
To clean your stovepipe, make sure the flue is wide open and shut the door to your wood stove. It’s not a bad idea to put an old towel or sheet under the door anyway.
From the roof, you’ll need to remove the chimney cap.
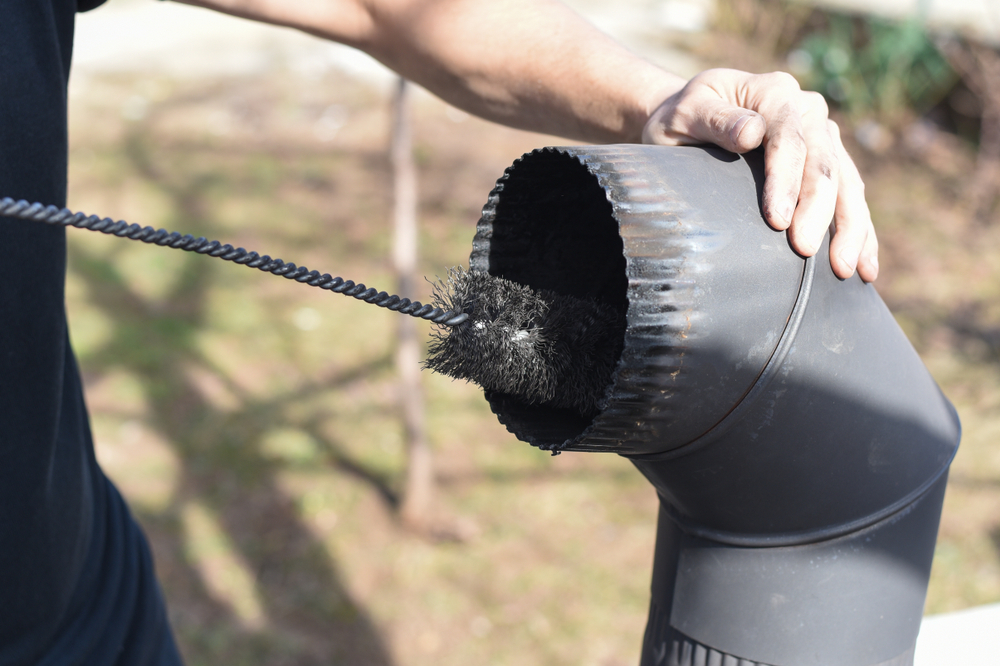
Tie a length of rope to the handle end of your chimney brush, and tie the other end around the base of the stove pipe, that way if the brush slips out of your hand while cleaning, you can pull it back up.
Begin by scrubbing the topmost inside of the pipe.
Really put some elbow grease into it and be sure to twist the brush as well as plunge it up and down.
Once you get down into the chimney a bit, you’ll want to screw the next extension rod onto the end. Continue brushing and scraping and adding extension rods as needed until you run into the flue.
If you have a spark box, this is an excellent time to brush off the vents with your chimney brush.
Replace the chimney cap and you’re done.
Great! You’ve just made a huge mess in your wood stove, but the stovepipe sure looks nice.
Back on the ground and inside the wood stove, scrape and clean the smoke shelf above the damper if there is one and sweep or vacuum the debris from inside the firebox.
Clean up debris around the outside of your wood stove with the dust brush or shop vacuum.

(The fine ash will tear apart a standard household vacuum cleaner’s motor.) It’s important to keep flammable items away from the wood stove to prevent fires.
Take this time to wipe down the outside of the stove with a damp, wet cloth.
And of course, if you use a pot or kettle filled with water to help add moisture to the air, now is a good time to refill it.
Slow the Buildup of Creosote
- Only burn wood in your stove – not garbage or papers.
- Burn only properly seasoned wood – not wet wood.
- Do a ‘hot burn’ each morning when you start the fire by opening the vents fully. After about 15-20 minutes, you can adjust the vents.
- Occasionally, burn a Creosote Buster log in your fire.
- Be diligent about cleaning your wood stove if you burn wood daily. Consider marking period cleaning and inspections on a calendar.
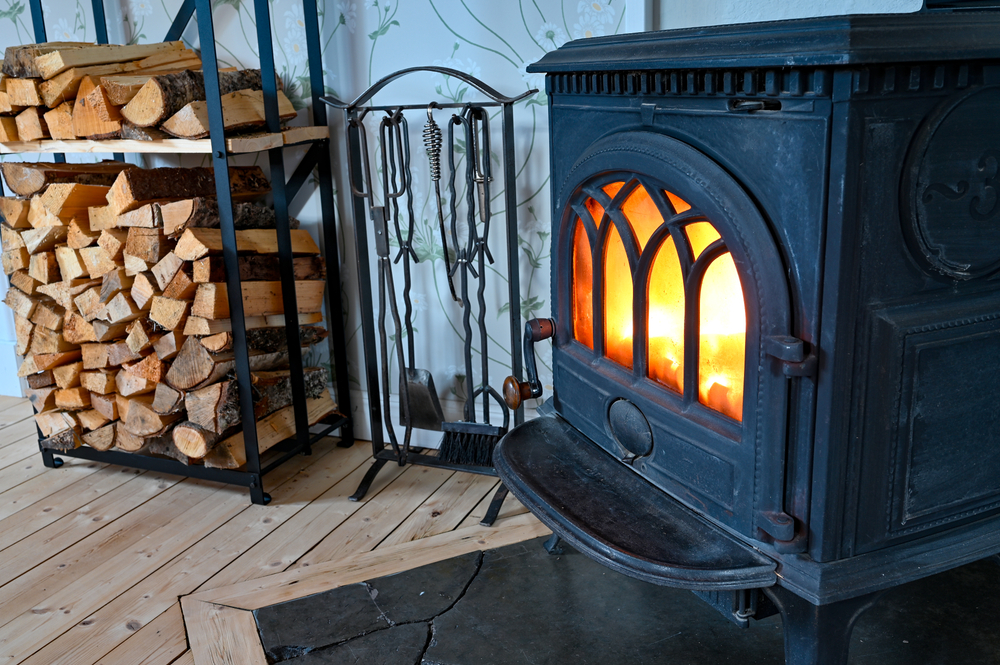
A wood stove provides a wonderful and economical way to heat your home. It provides ambiance and a sense of comfort and security. With proper care and maintenance, it’s a safe way to heat as well.

Get the famous Rural Sprout newsletter delivered to your inbox.
Join the 50,000+ gardeners who get timely gardening tutorials, tips and tasks delivered direct to their inbox.