

One of my earliest memories is of sitting on my grandfather’s lap as a toddler.
We were sitting next to the big old cookstove in grandma’s kitchen. I had an ear infection and was inconsolable. Grandpa snuggled me up next to the heat of the stove and blew puffs of smoke from his corncob pipe into my ear to soothe me.
I ate many a meal and baked goods cooked with that cast iron beast. (The stove, not my grandfather.)
My grandmother was a pro at keeping the fire burning at just the right temperature. Between the woodstove in the cellar and the cookstove, their house was always cozy during colder months of the year.
There was a never-ending supply of well-seasoned wood coming into that house. And that’s what we’re going to talk about today – how to properly season firewood.
If you heat your home with wood, then having access to seasoned firewood is essential for a hot and clean-burning fire.

If you have a newer, high-efficiency wood burning stove, then burning well-cured wood is a must.
Unseasoned, or ‘green’ wood has a higher water content, which leads to a smoky, weak burning fire. Trust me; you don’t want your house smelling like smoke and creosote.
Unseasoned firewood doesn’t burn off the tar and pitch in the wood, which leads to creosote build-up. Creosote is responsible for that gross black film on the glass doors of your wood stove.
It will also build up in your chimney at the least, requiring more frequent chimney cleanings and at the worst, causing a fire.
Related Reading: How To Clean Your Wood Burning Stove For Improved Performance & Safety
Aside from having a good hot burn, seasoned firewood is just a safer fuel.
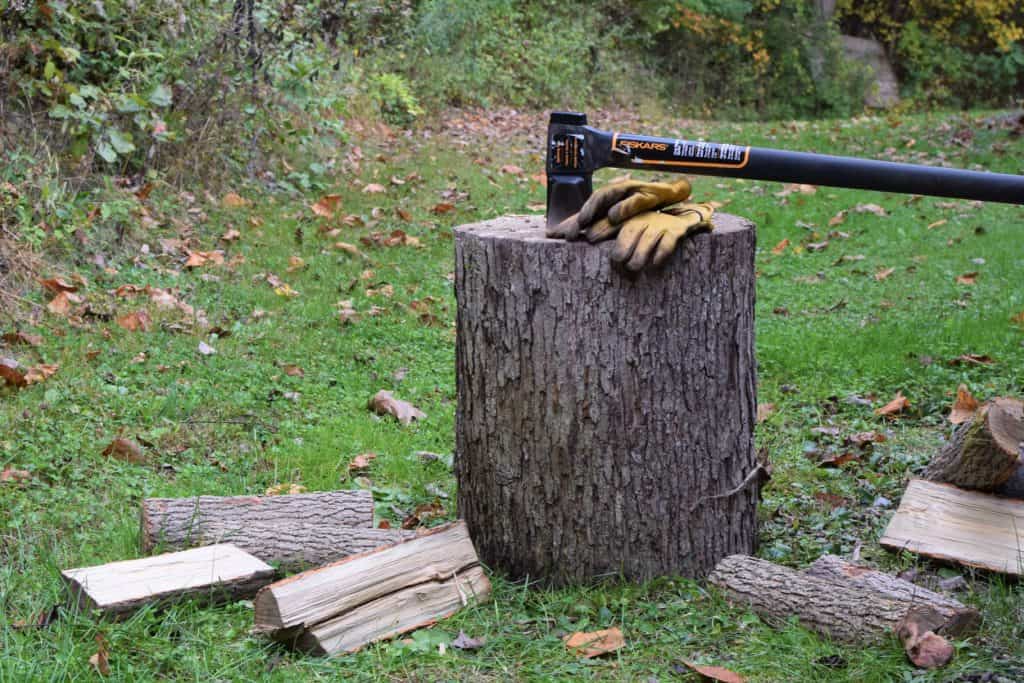
Before we go any further as someone who has spent many a year chucking and stacking firewood, (Ask my dad, kids are cheap labor.)
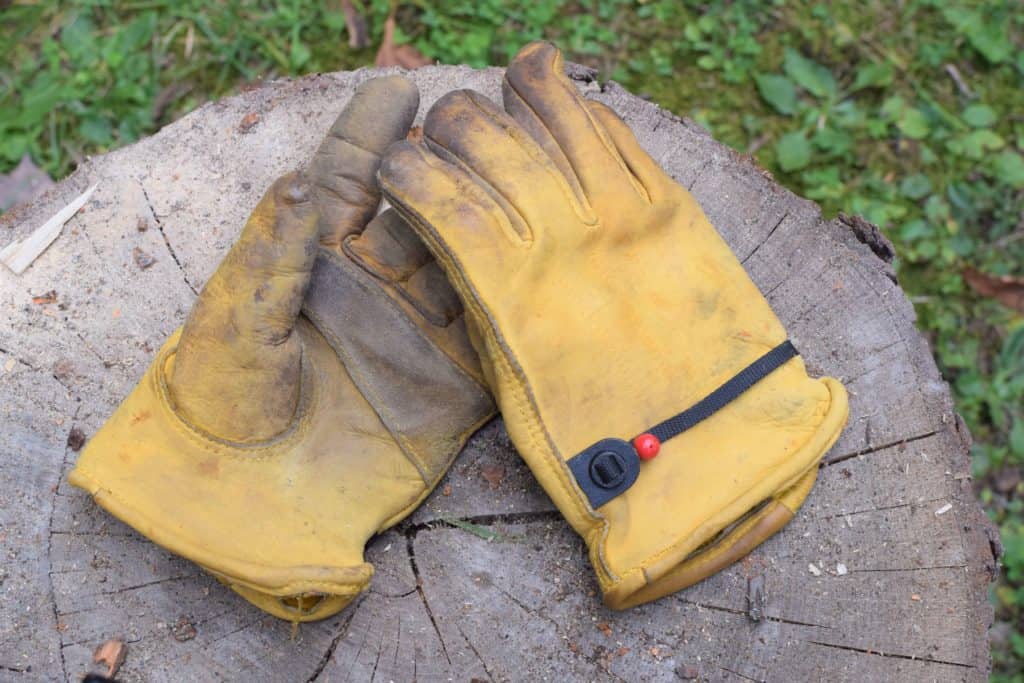
I highly suggest investing in a sturdy pair of leather work gloves.
Whether you are bucking a tree, splitting logs for stacking, or adding fuel to the fire, your hands will thank you for the added protection.
I’ve always had a pair of Wells Lamont leather work gloves since I was a kid. They are nearly indestructible, and I swear by them. At 40 years of age, I’ve only had to replace them three times.
Obviously, the best way to have control over your source of fuel for your woodstove is if you are cutting the wood yourself.
In this way, you can be sure you’re cutting at the best time of year and control the entire seasoning process.
When to fell trees
You should cut trees for firewood during the winter and early spring months. You want to fell your trees when the sap isn’t running, so before the maple syrup season.
You also want to cut a year ahead of when you need to burn your wood to give the wood optimal time to dry out.
If you’re planning on burning oak, an excellent burning hardwood, your curing time can be up to two years.
Don’t use rotting or diseased trees for firewood, and you shouldn’t burn wood that’s been sprayed with insecticides or pesticides either. Damp wood is a breeding ground for mold, and you don’t want to bring mold into your home. Curing your wood as soon as it’s cut prevents mold growth.
Airflow is key to drying out wood, so cut and split your wood as soon as your trees have been felled and bucked.
Related Reading: What’s The Best Wood To Burn In Your Wood Stove?
Bucking
Bucking is cutting a fallen tree into logs.
When you are bucking a tree, you want to keep your logs uniform in length. Ideally, your firewood should be around 3” shorter than the firebox of your stove.
16”- 18” is a standard firewood length, and to make things even easier, 16” and 18” are common chainsaw bar lengths. In a pinch use your chainsaw bar to measure your next cut.
Splitting
Get the wood split as soon as possible. You want to expose as much of the wood to air as you can. If you don’t own or want to rent a log-splitter, you’ll need a splitting axe.
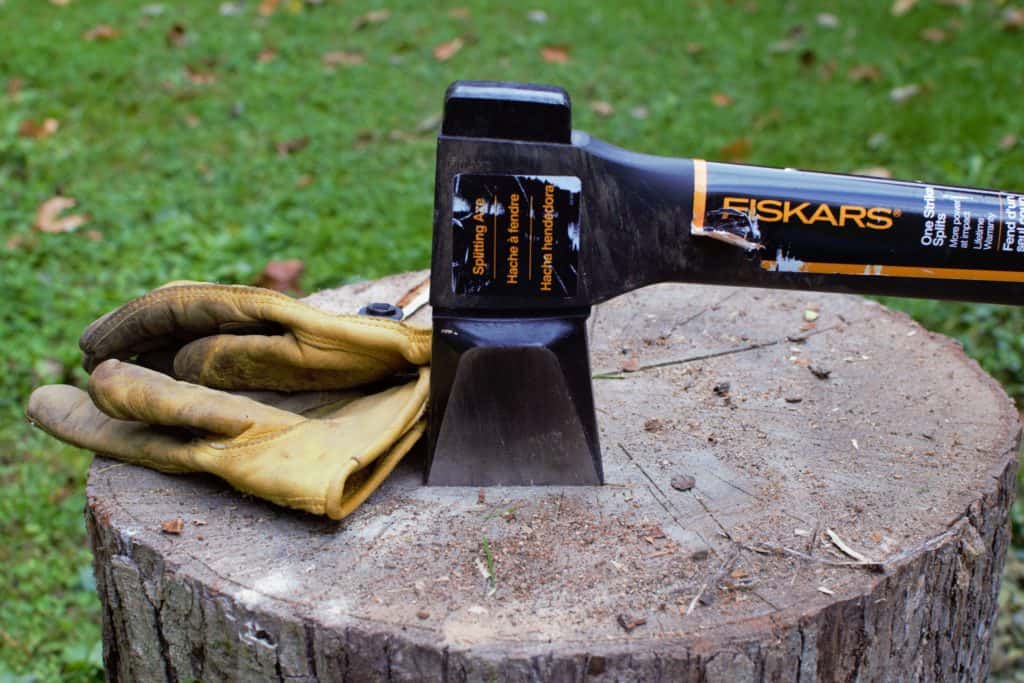
I have always used and always will use a Fiskars Super Splitting Ax (36”). It’s the best splitting axe money can buy, and no I don’t want to argue about it. Trust me.
Ideally, you don’t want pieces much bigger than 6” in diameter. At the very least, split even the small logs in half. Having a nice variety of sizes means good airflow while your wood is burning as well. And smaller pieces are always handy to have when lighting a fire.
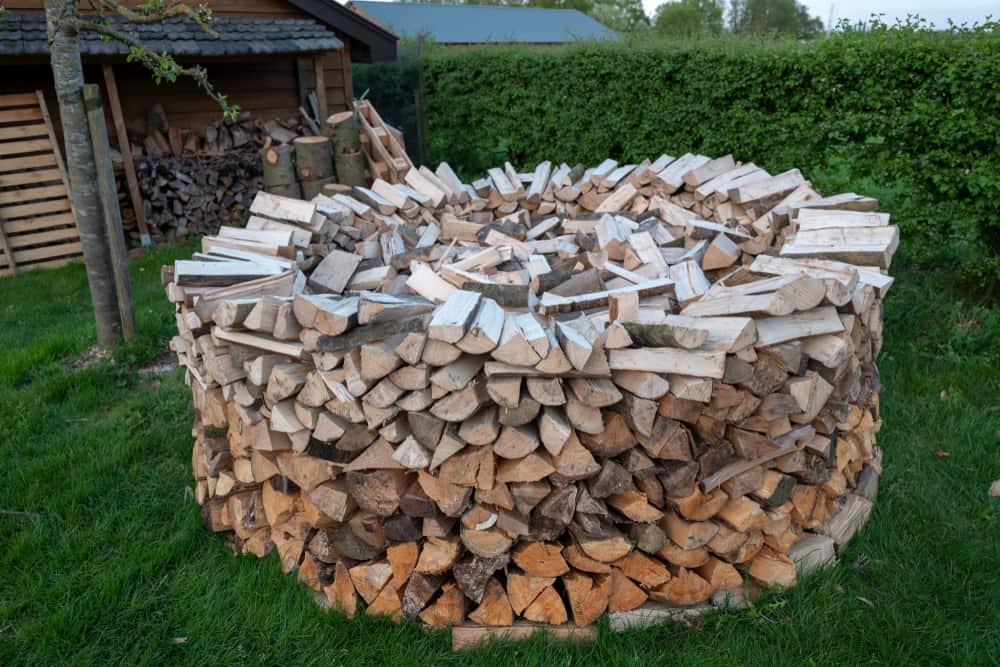
Stacking
Wind and sun are your friends when it comes to seasoning firewood, take a few minutes to find an area of your property that gets a good amount of both. This is where you’ll set up your stack.
You don’t want to stack wood directly up against buildings as this is just asking for a six-legged critter invasion.
Don’t stack your wood directly on the ground; use some old 2×4’s or even straight tree branches laid down to stack it on.
Airflow, airflow, airflow is the key to seasoned wood.
You want to stack facing the wind and in a single row for the best circulation. The sun will bake the moisture out and the wind will wick it away.
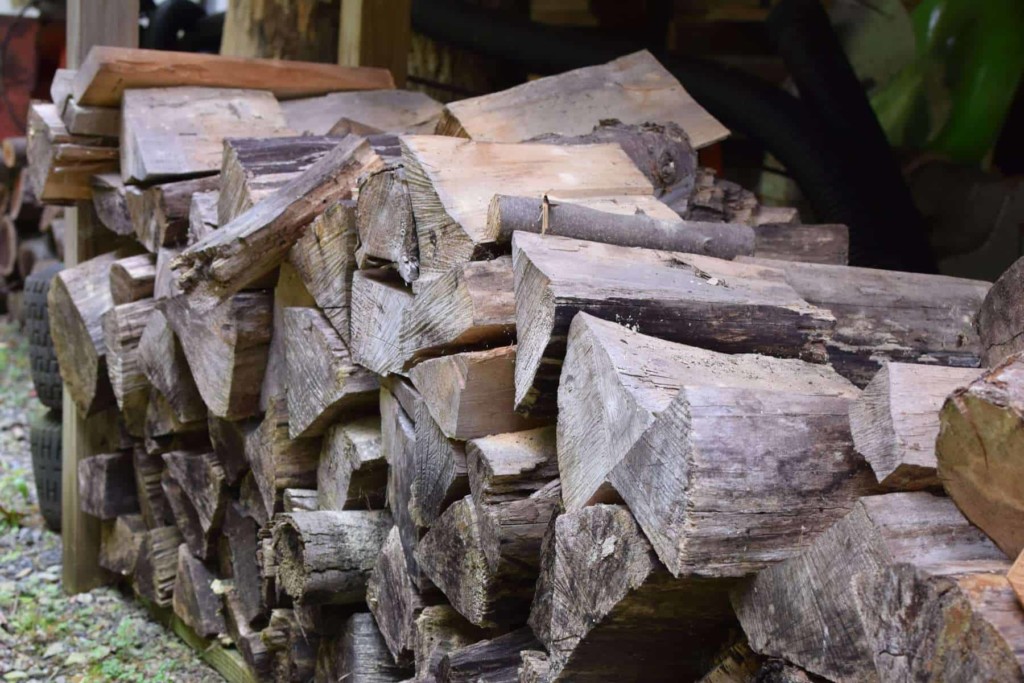
For safety reasons, don’t stack your pile higher than 4’ high. And for the last top layer, be sure to put your wood down bark-side up. This will add a layer of protection against moisture.
If you stack against a fence, be sure and leave a few-inch gap between the fence and your pile.
To cover or not to cover
There seems to be some debate when it comes to covering stacked wood. Some people insist that it traps moisture in, others say the wood will keep getting wet if you don’t cover it. In the end, I feel that this comes down to personal preference. Do what works best for you.
If you’re lucky enough to have your wood stove in a large cellar, you can finish seasoning wood indoors. I spent many a weekend in the basement stacking wood along the cellar wall as part of my chores at Dad’s house.
If you want to get fancy, have a go at building a Holz Hausen.
Many people on the internet swear it’s the best way to season wood. Check out this YouTube video for details.

Buying firewood
If you’re purchasing wood from someone else, you can’t always take their word that the wood has been properly seasoned. What they consider seasoned could mean it sat, unsplit in a pile in their backyard all summer.
My suggestion to you would be if in doubt – season the wood yourself after you purchase it.
And always purchase your wood a year before you will need it. You can usually get a better price for buying green wood too. It will be fewer headaches in the long run.
Related Reading: 10 Smart Ways To Find Free Firewood
How do I know when my firewood is ready?
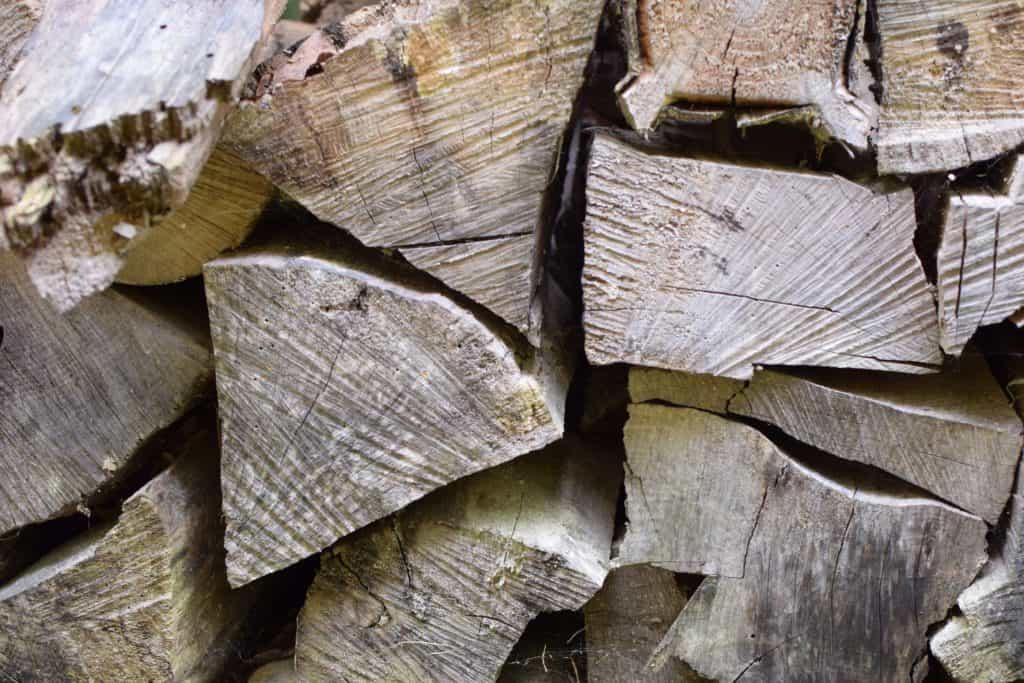
Cured wood will be below 20% moisture. While you can purchase a fancy moisture meter, there are a few easy ways to tell when your wood is seasoned.
- Check the ends of your split wood for cracks.
- As your wood loses moisture, it won’t be as heavy.
- The color will have faded and become grayer.
- Check the sound. Smack the ends of two split pieces together. You should hear a ringing crack rather than a dull thud.
- Split a piece into kindling. It should split and splinter easily.
Now that you are master at wood seasoning, you’ll be ready to face the harshest winter weather.
Stay warm and check out our article on what to do with all of the ashes left from those toasty fires.

Get the famous Rural Sprout newsletter delivered to your inbox.
Join the 50,000+ gardeners who get timely gardening tutorials, tips and tasks delivered direct to their inbox.