

If you’ve been gardening for any length of time, you know that compost does magical things for your yield. But even the most active compost bin can’t break down all of your food waste.
Enter a bokashi bucket.
A bokashi bucket system can increase the range of food scraps you’re able to compost at home – and speed up the process of decomposition for a range of different materials.
But what exactly is bokashi? Is a bokashi system a good option for your home? And how do you get started?
Grab a cup of coffee, settle in, and we’ll cover everything you need to know about the bokashi composting method.
What is Bokashi?
Bokashi is a Japanese word that means ‘fermented organic matter’. A bokashi system ‘ferments’ rather than composts – this is an important distinction to make. By fermenting food waste first, you can add it to your garden or compost where it will decompose more efficiently.
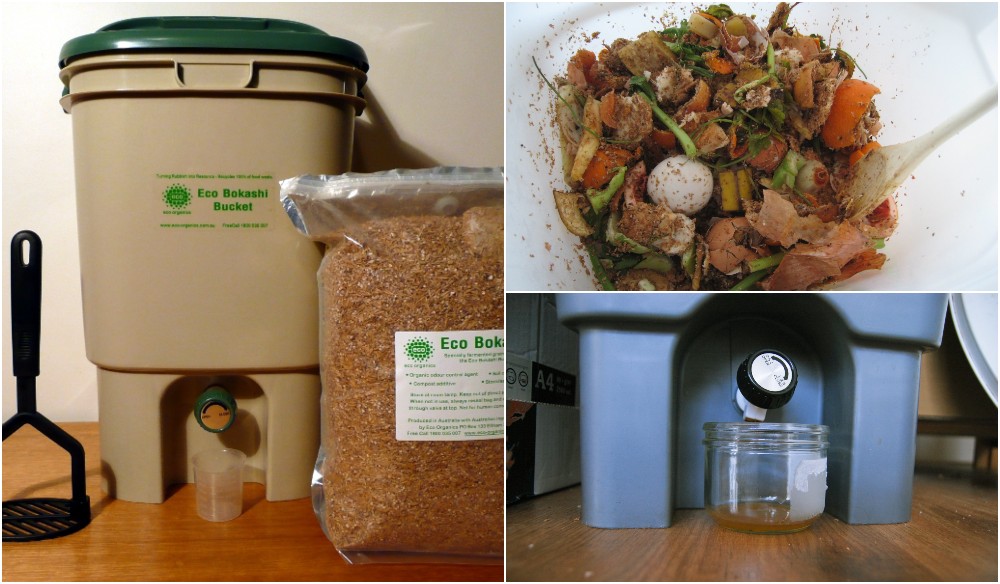
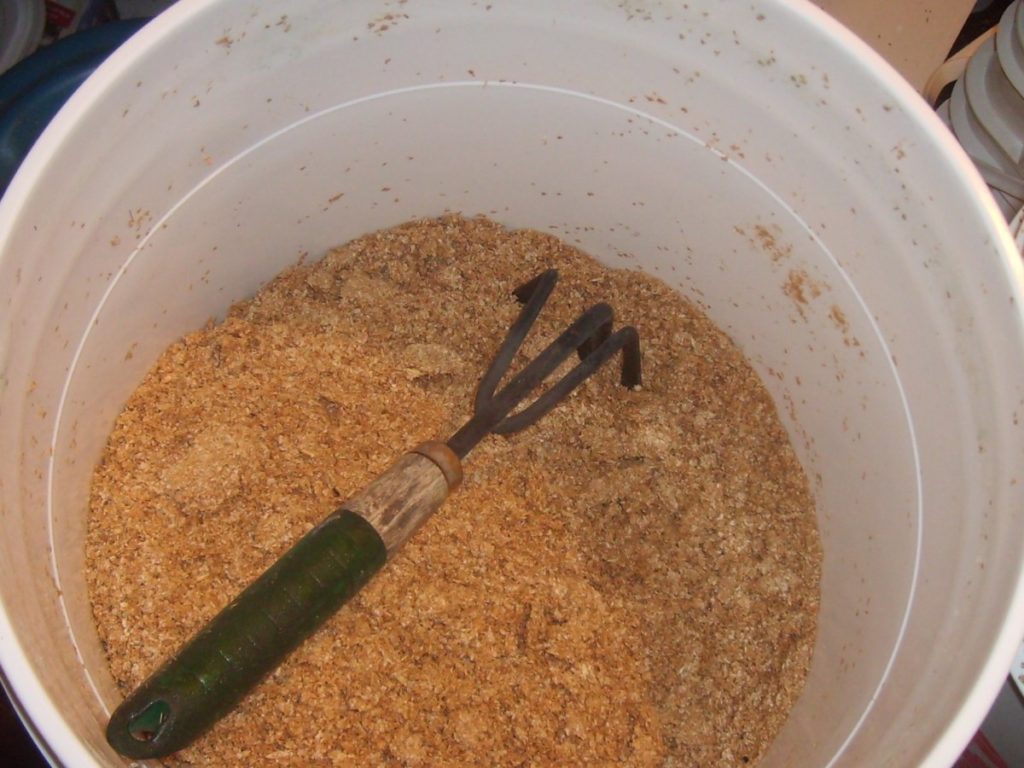
In a bokashi system, compostable materials are placed in an airtight container. Scraps are combined with layers of a special inoculant; usually, a carbon-rich substrate combined with molasses and a microbial mix of what are known as ‘efficient microorganisms’.
Commonly, the substrate is wheat bran, wheat germ, or sawdust, though you can use a number of different materials. The inoculant is usually referred to as ‘bokashi bran’. We’ll talk more about bokashi bran and the microorganisms which it contains a little later on.
Professor Dr. Teuro Higa developed the bokashi method while at the Okinawa University of Ryukyus, in the early 1980s. Since then, home-growers around the world have adopted his method.
In a bokashi system, the materials ferment in closed containers where oxygen is excluded as much as possible. The fact that bokashi is anaerobic makes it different from the more traditional forms of aerobic composting you’re probably familiar with, which all rely on oxygen to help break things down.
The Benefits of the Bokashi Method
A bokashi bucket takes up very little space making it a great alternative for anyone who doesn’t have the room for outdoor composting.
Hello, apartment dwellers, this is perfect for you.
Bokashi fermenting is quick too. Organic matter can be transformed into a nutrient-rich substance in about ten days or so.
You can bury the resulting fermented mixture in your garden or add it to another composting system to continue the process of decomposition. Bokashi ferments are great to feed the worms in a vermicomposting system.
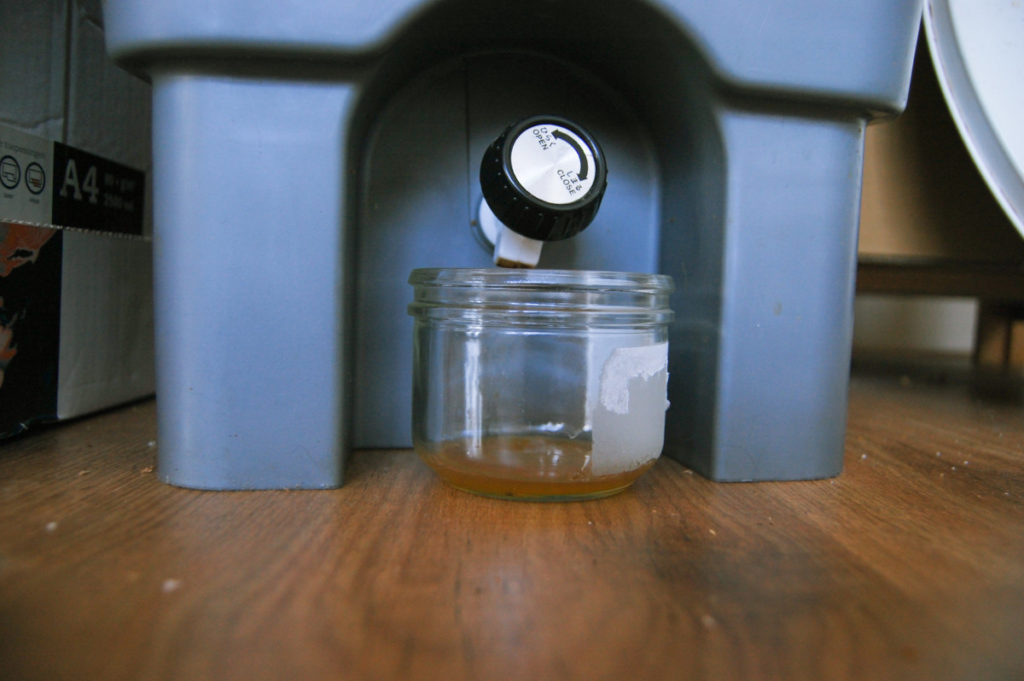
The substance created in a bokashi system is higher in nutrients than more traditional composts. Bokashi systems also produce a highly nutritious liquid run-off giving you an endless supply of free plant fertilizer.
Another benefit of a bokashi system is its ability to break down food scraps that you can’t put in other composting systems – such as meat and dairy.
By keeping more of your food waste at home, you can reduce the amount that ends up in landfills.
Organic waste in landfills releases methane – a potent greenhouse gas that contributes to our climate crisis. The more you can do yourself, the better!
The Cons of the Bokashi Method
The most important thing to understand about bokashi systems is the substance you create is not compost. Rather, it’s a fermented waste product which can be buried, or added to another composting system for further decomposition.
The bokashi system also requires you to reapply the inoculant throughout the process. You can’t start piling materials in a heap or spreading them on the ground as in traditional composting.
And you’ll need a sealed bucket with a way to drain off the resulting liquid. Getting started requires a little more initial investment than simpler methods, and you’ll need to purchase more bokashi bran from time to time.
That said, as you’ll discover below, it’s easy to reduce the costs associated with bokashi fermenting. And once you get your system set up, maintaining it is easier than you might think.
Setting Up Your Bokashi System
Here is what you’ll need to get your bokashi system up and running:
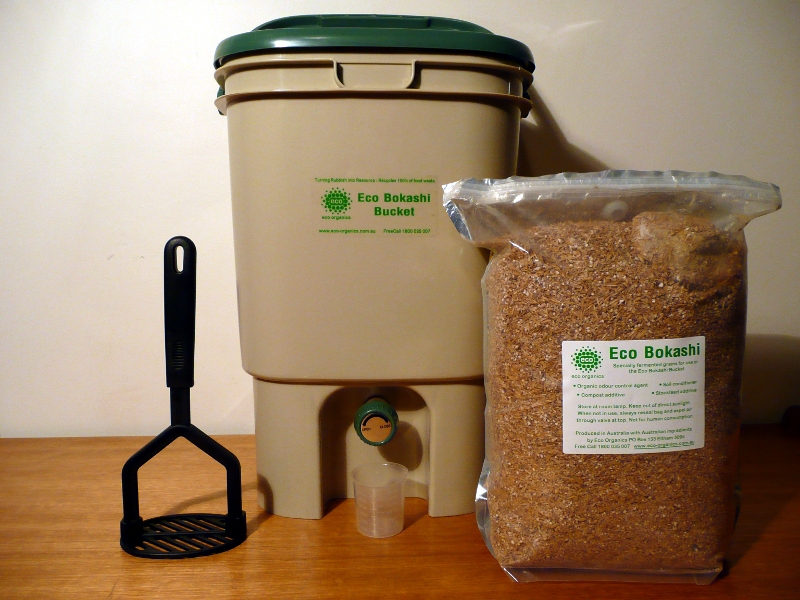
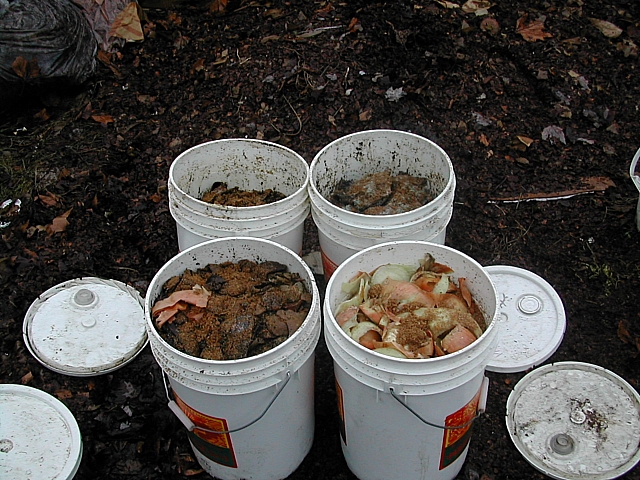
- A bucket or other container with a tight-fitting lid (ideally at least two, to keep the processes going over time).
- An activator/ inoculant often referred to as ‘bokashi bran’.
- Kitchen scraps.
Choosing a Bokashi Bucket
When choosing your bokashi bucket, there are a number of things to bear in mind. A suitable bokashi ‘bucket’ will have:
- Well-sealing lids to exclude oxygen.
- A spigot or way to drain off excess fluid (or the potential to add one yourself to a repurposed container).
- Enough space for your bokashi set up in your home. (Obviously, a single person needs a much smaller system than a family.) You can choose a number of smaller containers, or a couple of larger ones, depending on your needs.
Of course, you can make your own bokashi system using 5-gallon buckets or other similar containers. Be sure the item you use is food-grade and hasn’t been used to hold any hazardous substances.
Here are a few DIY guides from around the web:
Making an Inexpensive Bokashi Bucket @ thespruce.com.

Or if you’d rather purchase a bokashi system that’s got everything you need, there are a number of great options out there.
This option includes the bokashi bran along with the bucket.
And this kit has two buckets, which will keep you going once the first fills up.
Choosing Your Bokashi ‘Bran’
When it comes to choosing a bokashi ‘bran’, you have a number of options to consider.
The easiest (and most expensive option), is to buy it ready-made.
Whenever you buy bokashi bran, you’re looking for an effective mix that combines the substrate with molasses or similar and EM-1 (the name given to the effective organism mix).
Here are a few popular brands to choose from.
Amazon recommends SCD All Seasons Bokashi Bran.
And this Bokashi Brothers bran has great reviews.
Or grab 10lbs. and be done with it.
Make Your Own Bokashi Bran
The next option is to make bokashi bran by combining your own substrate mix with EM-1. I would go with this inoculant by TeraGanix.
In addition to using substrates like rice or wheat bran, you can also consider using:
- Sawdust
- Shredded cardstock
- Shredded newspaper

- Crushed, dried leaves
- Oat bran flakes
- Leaf mold
- Wheat bran purchased from an animal feed store.
Add molasses, the EM-1, and a little moisture to the substrate, and you’ll create a product that works just as well as the ready-made options. As a general rule of thumb, the EM, molasses, water ratio should be 1:1:100.
You can spread the resultant mix out to dry in the sun, or in another location, then add it to your bokashi bins in the same way as the ready-made options.
Getting Started With Your Bokashi System
Whether you buy your bokashi activator or make your own, getting started always involves the same steps – adding kitchen scraps to your bucket then sprinkling some of your ‘bran’ over the top.
Don’t open the container and let air in unless you’re adding scraps. When you do add scraps, also add a little of the inoculant/ bokashi bran on top.
It’s also a good idea to use a plate, or a piece of cardboard that fits the top of the bucket, to push down and compress the materials within.
This will help to make sure there aren’t any air pockets. (Remember, this is an anaerobic process and you want to exclude oxygen as much as possible.) It will also make it easier to fit as much waste into the containers as possible.
Once the first of your buckets are full, leave it to one side for the fermentation to continue. You can then continue and add your kitchen scraps to the other container.
Every couple of days or so, draw off the liquid from the bottom of the full container. You can dilute this liquid and use it as a beneficial plant feed.
After a couple of weeks, the transformation of the material in the first bucket will be complete. On the outside, you may see a little white mold, and note a fermented smell. But otherwise, the material may look more or less the same. Under the surface, however, decomposition is well underway. The good bacteria will be hard at work.
What to Add to Your Bokashi Buckets
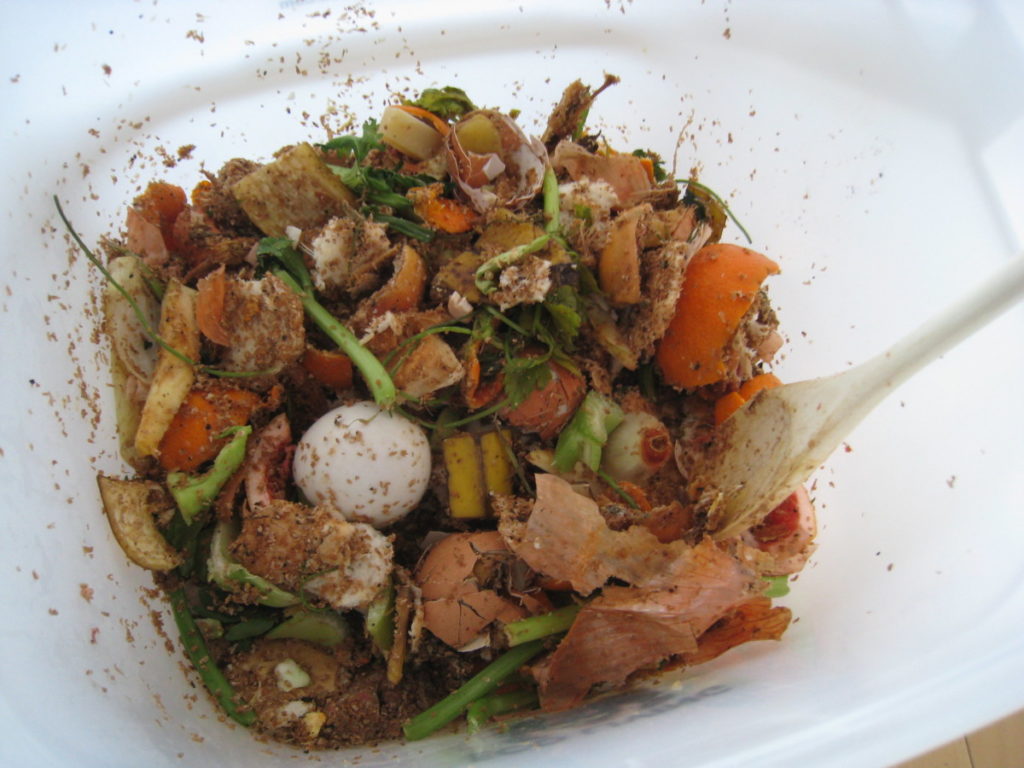
You can add any of the green (nitrogen rich) kitchen scraps that you would usually add to your compost heap. However, as mentioned above, you can also include things that you wouldn’t usually put in other composting systems, such as:
- meat and fish
- dairy products
What Not to Add to Your Bokashi Buckets
However, there are still some things that you can’t put into your bokashi bucket, such as:
- Meat bones
- Oils
- Too much liquid
Of course, you must also avoid adding anything inorganic and non-compostable.
What To Do With Your Finished Ferment
Traditional composting systems will generally decompose materials in around 3-4 months. But the substance obtained from your bokashi system will break down in the soil in around 2 weeks in summer, or a month in winter. You can simply bury your bokashi waste in the soil to allow the nutrients to be returned to the natural system.
However, to make the most of your fermented product, you should consider adding it to a vermicomposting system. As mentioned above, this makes great worm food. The worms will speed up the ongoing composting process, so the material will break down even more quickly and efficiently.
Of course, the final composted material is excellent to spread on your vegetable patch or other growing areas.
And if you’re adding bokashi to a traditional compost system, be sure you aren’t making these common compost mistakes.
Bokashi systems can be a great solution for many gardeners and growers. So is it time to consider one for your home?

Get the famous Rural Sprout newsletter delivered to your inbox.
Join the 50,000+ gardeners who get timely gardening tutorials, tips and tasks delivered direct to their inbox.