


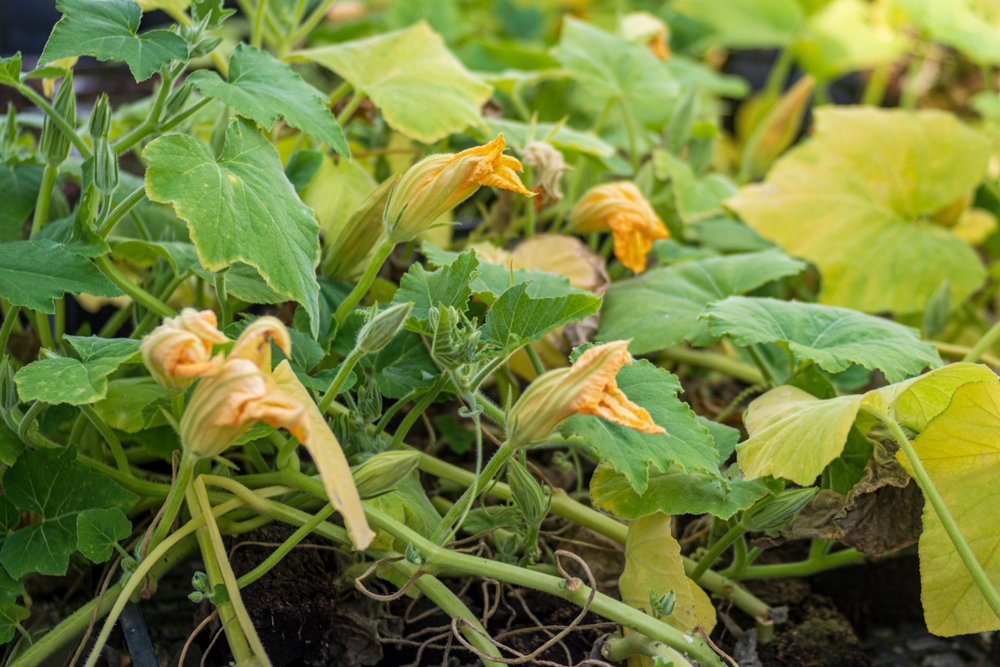
Looking to elevate your gardening game this spring? Consider skipping buying transplants and starting seeds at home instead.
Seed starting allows you to begin the fun of gardening season a few months earlier than your local weather conditions might allow, and you also get the joy of looking through gardening catalogs to choose precisely what varieties you want to grow.

In other words, no more living with the limited selection at your local nursery.
But, starting seeds indoors isn’t always as easy as you may assume. I’m an experienced gardener now, but I’ve made my share of mistakes learning how to establish a seed starting system.
Here, I’m sharing the seed starting lessons I learned the hard way to help you avoid making the same ones and enjoy your most successful gardening season yet this summer.
1. Don’t Skimp on Lighting
One of the first considerations when started seeds at home is what your light source will be.
I initially set up our seed-starting center on a five-shelf rack next to a south-facing window. I assumed this vibrant natural light source meant minimal artificial supplementation was necessary, so I only installed one LED shop light over each shelf and kept them high so the light would spread further.
That turned out to be a miscalculation. My seeds were slow to germinate and never seemed to gain momentum. The ones that did sprout grew tall, spindly, and too fragile to withstand me moving them around to water them.
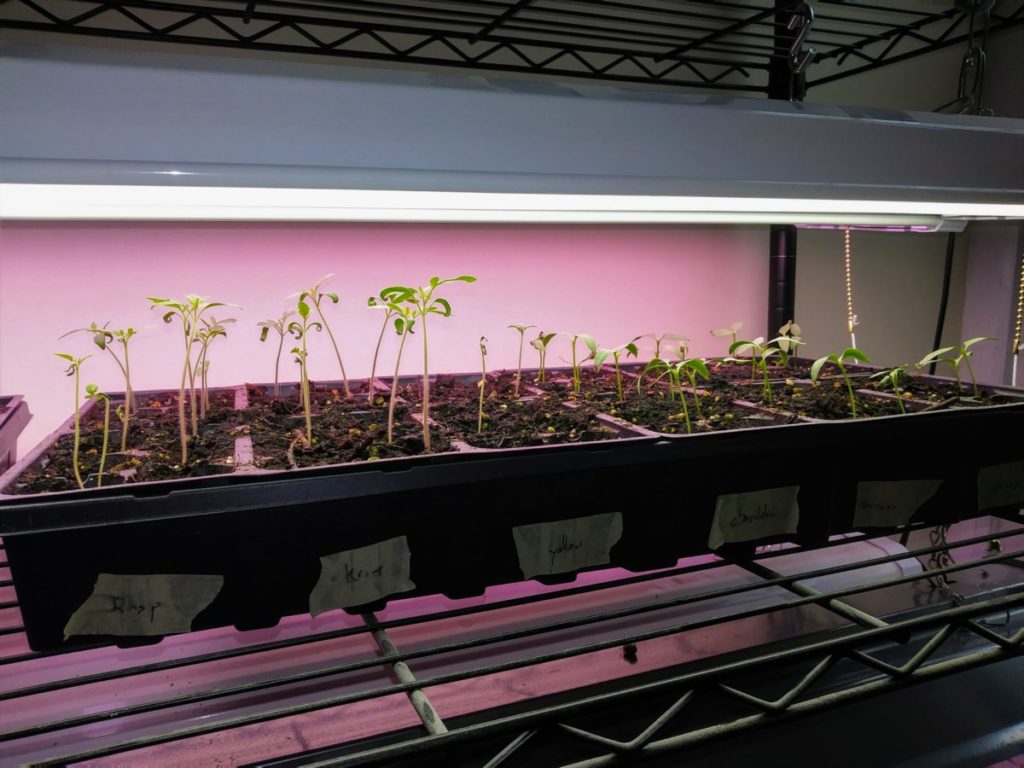
Many grew into contorted shapes as they put all their effort into reaching what light was available. Some survived through the transplanting stage, but only because I buried them halfway up their stems to give them extra support.
Later in the season, I added a second row of grow lights on each shelf, which essentially doubled the light per plant. I also added adjustable chains to make it possible to position the lights just a few inches above the soil at first and then slowly raise them as the plants grew.
The transformation was instant. This second batch of seeds sprouted and grew twice as quickly as the previous ones, and they developed sturdy stems with lots of leaves.
So, lesson learned—don’t skimp on lighting when starting seeds.
To learn more about LED lighting for seeds, read Tracey’s brilliant guide here.
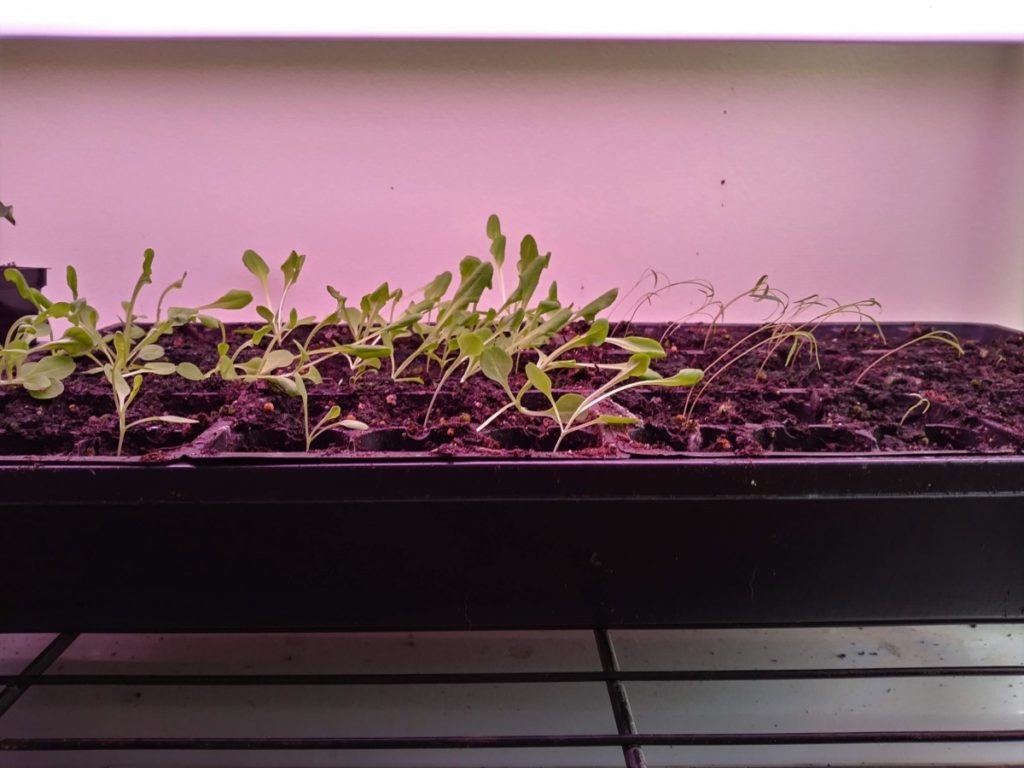
2. Keep Things Labeled!
When you’re an experienced gardener, it’s easy to assume you know how different varieties of baby plants look.
Our first gardening year, I started a sloppy labeling system that I abandoned early into seed starting because I assumed I’d be able to identify everything as soon as it sprouted.
Unfortunately for me, my zucchini, cucumbers, and honeydew melon sprouts looked much more alike than anticipated, and the seedlings became irrevocably intermixed after a few weeks of rearranging their pots while watering.
I re-sorted them as best I could before transplanting time but clearly made some errors. This meant I had a few rogue cucumbers hiding in my melon patch, as well as massive zucchini plants growing alongside my cucumber trellising.
Because I didn’t label things appropriately, my garden was chaotic and challenging to cultivate. I used simple wooden plant labels the following year and didn’t have a single confusion between plant species.

A tiny bit more work at the onset saved lots of stress and inefficiency over the growing season.
3. Maintain Good Airflow Between Plants
When you’re starting seeds indoors, it’s tempting to pack plants in together to maximize your growing space. However, this can lead to issues if you water your plants from above and inadvertently spread a disease between them.
One year I left my cucumber sprouts slightly too wet, and a downy mildew infection ravaged the seedlings. Better spacing and a floor fan to keep air circulating would have kept things dry and prevented the fungus from getting established.
4. Pay Attention To Unwanted Pests
Your seedlings aren’t immune to pests just because you grow them indoors. One spring, I had a hungry mouse mosey through my pepper seedlings, digging them up and eating every other sprout.
A humane mouse trap put an immediate end to the problem the following evening, but the damage was already done, and I had to start completely over with my pepper plants.
Now, I know to set out traps before signs of a problem so that I can stop hungry snackers before they damage my seedlings.
5. Think Through Pot Sizing Beforehand
Garden vegetables all have different space requirements, even at the seed starting stage. Some have poor germination rates, while others are extra temperamental about having their roots touched or growing in too small containers.
These factors mean you need to carefully think through the size of each container when you start your seeds.
My advice? Choose larger pots the first time around for squash and cucumbers that tend to get root bound, and flats with smaller holes for temperamental flower seeds and any plant that has a low germination rate—otherwise, you’re wasting growing space on empty soil.
6. Don’t Plant Seeds Too Deep
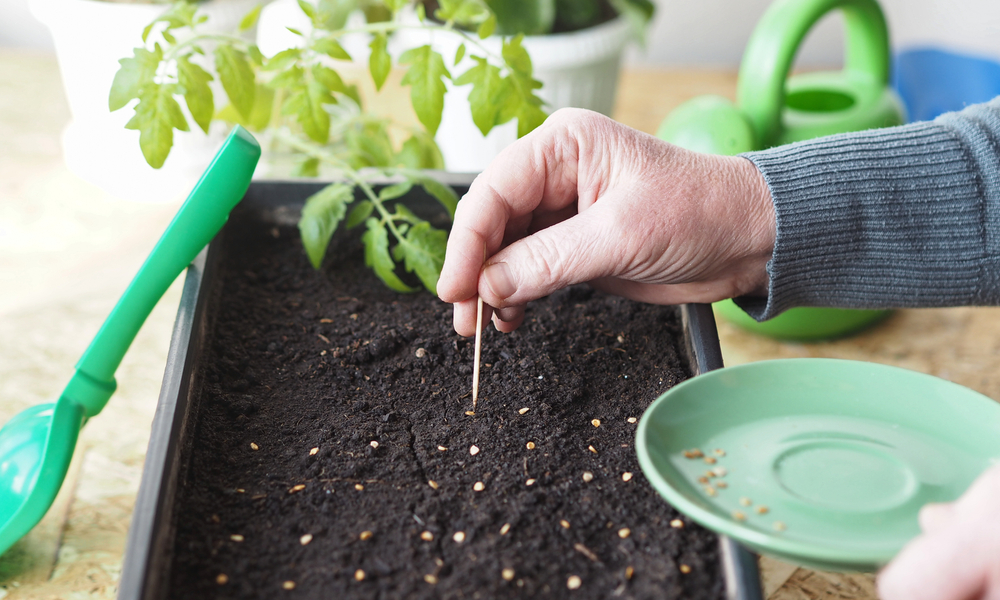
It’s easy to go on autopilot when starting seeds and plant everything at the same depth. That creates problems because each seed variety has different requirements, and some won’t germinate without exposure to light.
Don’t assume that the instructions are the same within a plant species, as you may find that three types of tomatoes all have different requirements.
I ran into this problem with a pepper variety that needed to be surface sown. Instead of following directions, I planted them the standard quarter-inch I followed for my other seeds and consequently had a pitiful germination rate.
Make sure you read the instructions on each seed packet carefully to determine planting depth. It’s easy to misjudge a quarter-inch when you’re only using your finger, so you may want to use a planting ruler for the first few seeds until you have a mental idea of how deep to plant them.
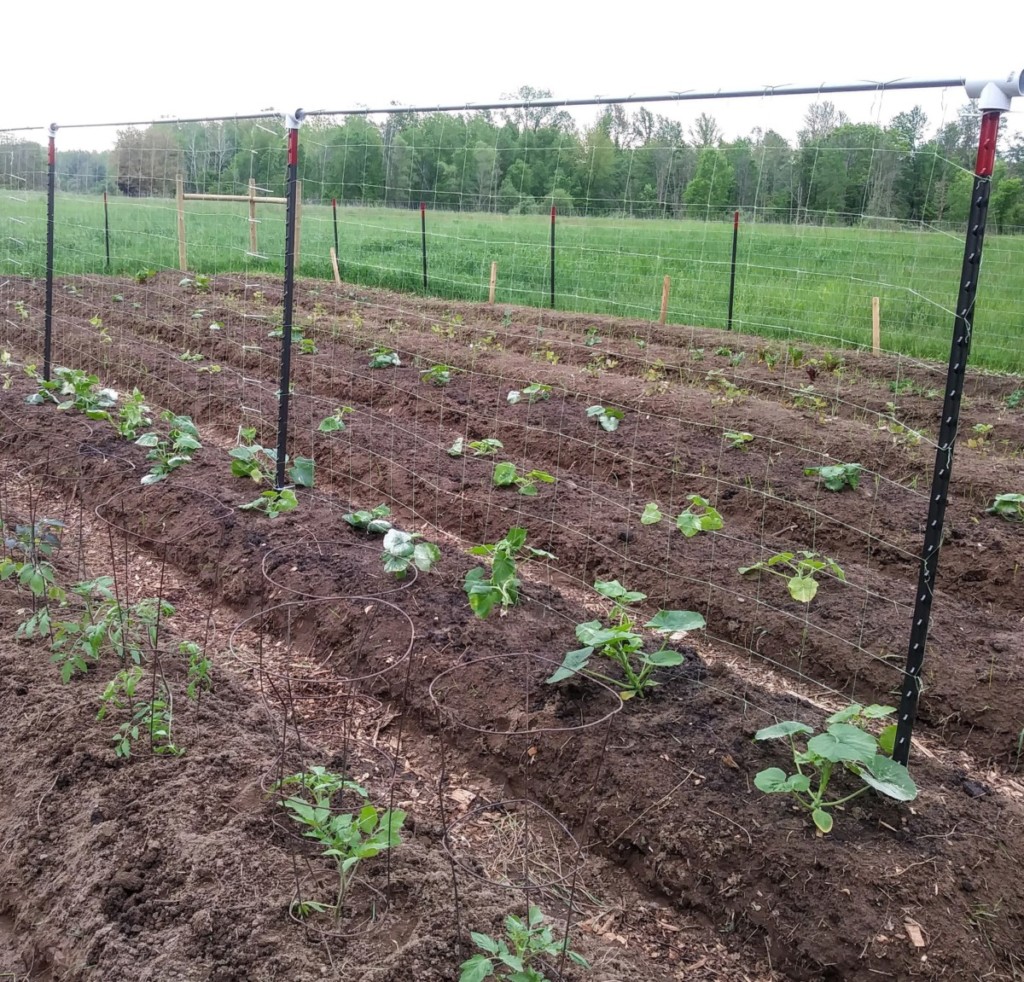
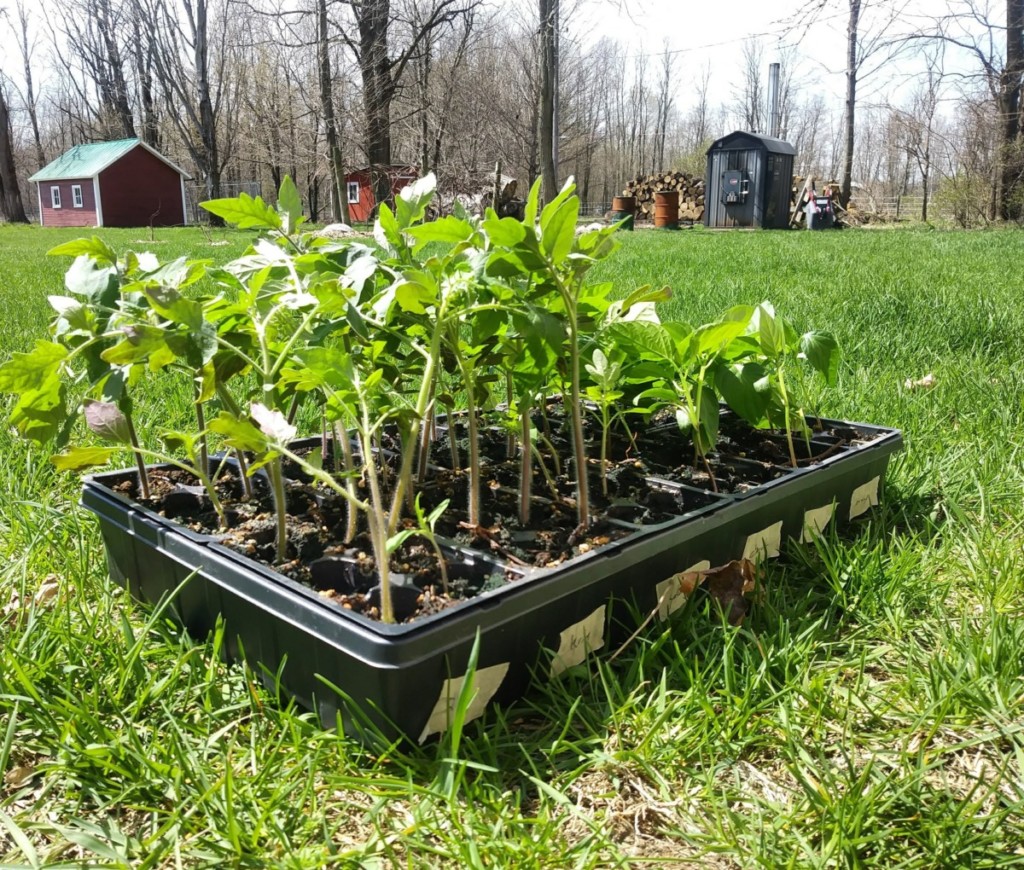
7. Don’t Overcrowd Your Growing Space
One seed starting lesson I learned the hard way is that less is more, especially when you’re limited on space. Once my flats of tomatoes and peppers started taking off, I hated the idea of wasting a single seedling and consequently transplanted far more sprouts than I initially planned to put in my garden.
The result? My indoor growing space became extremely crowded and maneuvering flats to water them became perilous for the plants involved. I suffered snapped stems, and many plants on the fringes withered from neglect, only to end up wasting a quarter of the seedlings by the end from lack of garden space anyway.
My garden would have been better off if I had been more ruthless initially and only planted as much as my setup could handle.
8. Start Sensitive Plants Later Than You Think You Need To
When you start seeds indoors depends primarily on your region’s last frost date. Pair this with how old plants need to be before they can handle the outside world, and you have a range of several weeks over when to start your seeds.
During my first few growing seasons, I tended to err on the earlier side of these planting recommendations with the idea that I didn’t want to get behind and waste valuable gardening time.
Unfortunately for me, we experienced a frigid spring one year that delayed outdoor planting timelines by two weeks. This proved disastrous for my squash plants, which grew several feet long each and starting wrapping their tendrils around each other and my planting shelves.
Though I attempted to slow their growth by limiting their light exposure for the last few weeks, it was too late to save many of them. The plants had become too big to survive the shock of transplanting.
That season, I also direct seeded some squash seeds outdoors at the same time I attempted to transplant the too-large plants. Within a few weeks, these seeds actually surpassed the transplants because they never went through the stress of getting too big in a confined space.
Going forward, I made sure to start seeds at the last acceptable date so they wouldn’t suffer the same space constraints if the frost date prediction proved off.
Obviously, this won’t be as much of a factor for you if you have a larger indoor growing space that can tolerate too-large plants for a few weeks.
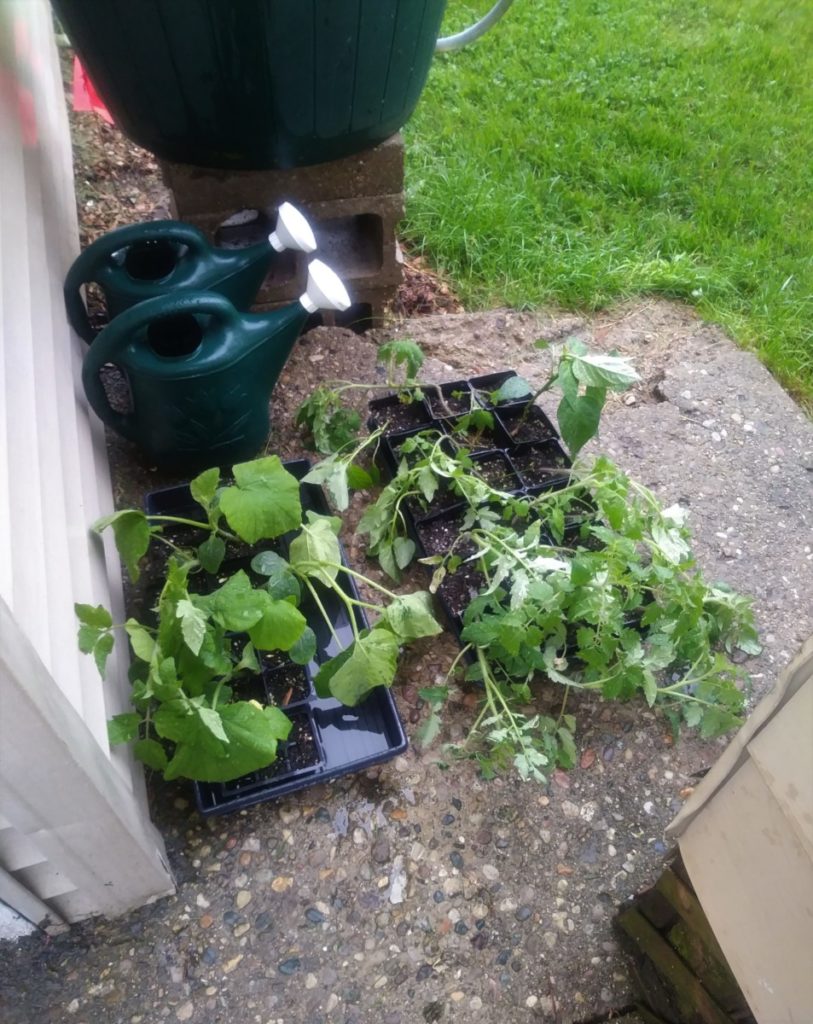
9. Help Plants Adjust to the Outdoors Slowly
An essential step in starting seeds indoors is helping them transition to outside elements.
This process is called “hardening off,” and it requires you to leave plants outdoors for increasing lengths so that they build their resilience. You might start placing plants outdoors for an hour at first and gradually extend that over two weeks.
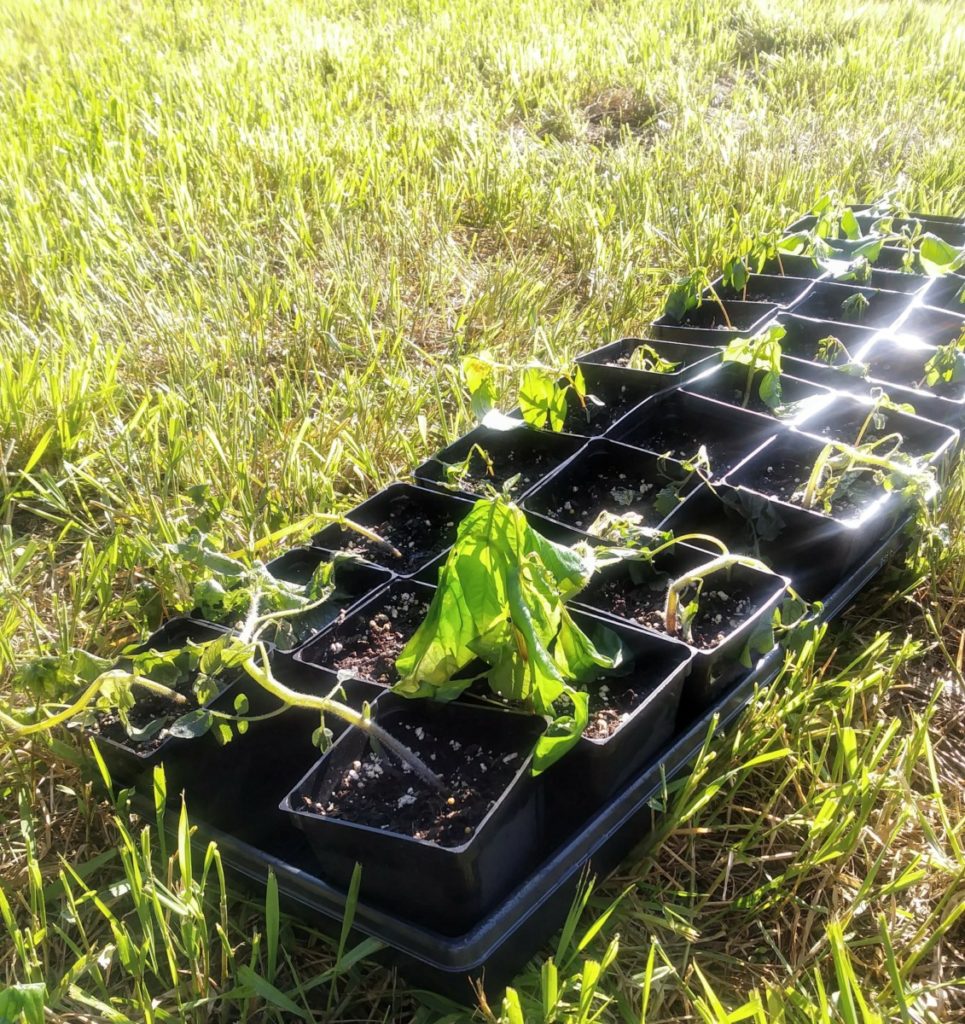
Here’s my mistake—I pushed this process too fast. I put spindly, fragile tomatoes that had only lived a life of indoor luxury outside on a pleasant, slightly blustery day and left them alone for several hours.
When I came back, they were completely flattened by the wind, and many had snapped stems. They developed spots of sun scalding later that evening, and some lost more than half of their foliage.
One day of “hardening off” severely stressed my plants and put them several weeks behind in growth. Some never recovered.
Going forward, I took a more cautious approach. I only put my seedlings outdoors in shaded, sheltered spots for their first few hours outside. This leads to a gentler acclimation period and less damage in the long run.
You can give your plants an extra head start while growing indoors by using a fan to mimic wind and encourage them to develop stronger stems.
10. Water Just Enough (Never Too Little!)
Mastering watering for starting seeds can be a tricky balance. You want to keep things perpetually moist but not saturated, as overly wet conditions can lead to a fungal disease known as damping off where plants wilt and even rot.
You may deal with the opposite problem as your plants get bigger, as the growing root systems will suck up any moisture quickly and leave you with bone-dry pots.
The lesson here is to monitor your plants daily and adjust watering strategies as needed over their growth cycle.
Here’s another tip—make sure you have an adequate system for catching drips! When I first started gardening, I opted to maximize space and didn’t always keep my individual pots on a drip tray, meaning that water leaked from their bottoms onto the grow lights below.
Suffice to say, this made things filthy and possibly shortened the lifespan of the lights. Now I always keep pots on trays, even if it seems less space-efficient.
11. Don’t Tempt Your Luck by Leaving Seedlings Outside
I learned a harsh seed starting lesson early one growing season when I failed to give weather reports more credibility.
After a few weeks of hardening off my tomatoes, pepper, and basil, I believed they were ready to go in the ground. The weather report looked to approach frost temperatures that night, but I assumed we wouldn’t get close to the predicted lows, so I left my flat outdoors to plant them in the morning.
When I ventured outdoors the next day, it was to discover each plant was sparkling with frost. I immediately brought them indoors, but the damage was done—every plant unthawed and collapsed into a pile of green mush. I had lost my entire tomato harvest before the season began.
Now I know to take the cautious approach and assume the weather will do the worst of what’s predicted. I’ve never lost seedlings the same way again.
12. Keep Records from Year to Year
In the middle of seed starting, everything feels so fresh in your head you assume you’ll remember it forever.
I’m here to tell you that’s totally wrong.
You’ll have no idea next year when you started your tomatoes or how many germinated per flat unless you keep careful records of the process.
Invest in a gardening notebook where you log what you do each day. Ensure you record the date, what you planted and how much, and any other pertinent information, such as watering amounts and germination rates.
Stay consistent, and you’ll better build on your progress next season without wasting mental energy relearning the same lessons.
13. Choose Good Potting Soil the First Time Around

Soil serves as food for seedlings, and your plants can only grow as well as the quality of the growing medium you give them. I went the cheaper route when I first started gardening, and my yields suffered because of it.
At first, I was filling seed trays with a topsoil blend with chunks of bark and woodchips within it, and my nitrogen-loving plants like peppers and tomatoes barely sprouted and stayed stunted. Once I switched over to a nutrient-rich potting mix a few weeks later, I started getting robust seedlings that soon overtook the spindly ones.
Avoid this problem by investing in quality potting soil with a light, fluffy texture. You want air pockets that can hold water and provide plenty of space for small roots to grow.
14. Protect Your Seeds for the Following Year
You’ll often find you don’t sow all the seeds in the packet. My first year, I left my unused seeds in the insulated envelope they shipped in and stowed it away in my basement, not giving them another thought until late winter.
Unfortunately, my neglect provided enough opportunity for the basement mice to find my seeds and have a feast. They chewed through every packet, leaving me with nothing worth planting and the unwanted expense of repurchasing every variety.
A simple hard-sided container would have solved this problem. Look for an opaque storage box that will protect your seeds from light exposure as well as hungry rodents.
15. Don’t Give Up Too Soon!
Starting seeds indoors can be a challenging process. You invest in bulky equipment, keep lights on at irregular hours over the day, and have to wait weeks, even months, to know whether you’re producing anything worth putting in the garden.
Sometimes it feels easier to just drive to a nearby nursery and purchase plants outright.
Here’s my final advice—do it anyway.
There’s nothing more satisfying than watching baby plants thrive that you’ve nurtured since they sprouted or knowing that your pantry is filled with canned tomatoes that got their start in the next room over.
Learning how to start seeds at home gives you complete control over one aspect of your personal food system, and it’s a stellar way to reduce your household’s carbon footprint.
I learned many seed starting lessons the hard way. I’m sure you will too. But even so, every mistake puts me one step further ahead for mastering the process next season. The rewards of growing your own food are well worth any challenges along the way.

Get the famous Rural Sprout newsletter delivered to your inbox.
Join the 50,000+ gardeners who get timely gardening tutorials, tips and tasks delivered direct to their inbox.