

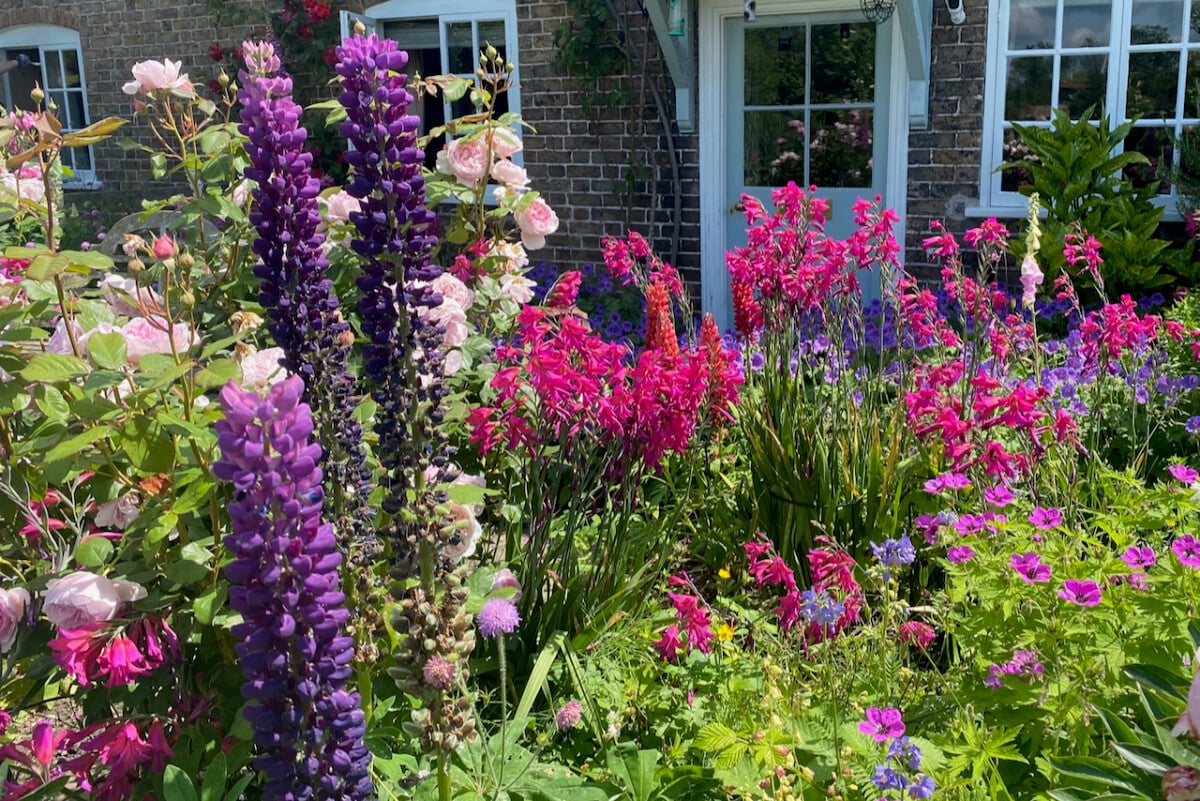
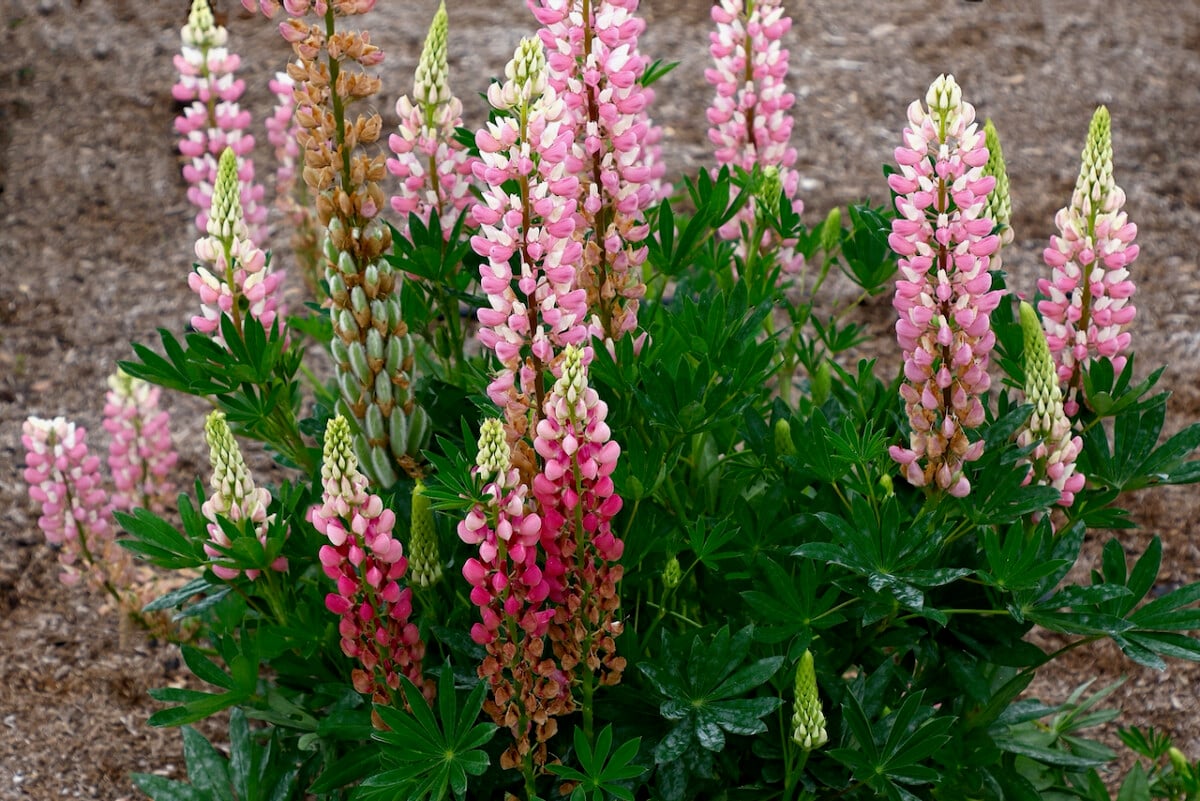
If you have lupines planted in your front yard and see a stranger walking up and down the street every hour gawking at them, rest assured, I mean no harm.
It’s me. I’m that stranger, and I can’t help myself from stopping and staring at (aka admiring) every single lupine I come across. By this point, I think there might be a whole thread of messages about my suspicious behavior on the Nextdoor app.
But I know that we’re riding on the tail end of lupine season, and I’ll have to let my obsession go dormant until next year. At which point the baby lupines in my new garden (the ones I started from seed in this article) should start blooming.
I also know that if I want my lupines to become established and thrive, post-bloom lupine care is essential. There are a few things we should do now, as the flowers of lupines are fading, that will ensure we’ll enjoy their statuesque, colorful blooms for years to come.
1. Deadhead lupines for a chance at a second bloom.
Listen, I won’t give you a definite promise that your lupines will rebloom. But I can tell you that the chances of them doing so go up based on a few factors.
The two most important ones are the age of the plant – older plants have stored more energy for a second set of flowers – and how well we’ve been taking care of them throughout the growing season. Stressed plants, either because of not enough watering, poor, depleted soil or too much heat, are less likely to have the stamina needed to rebloom.

We’ll give it a try anyway.
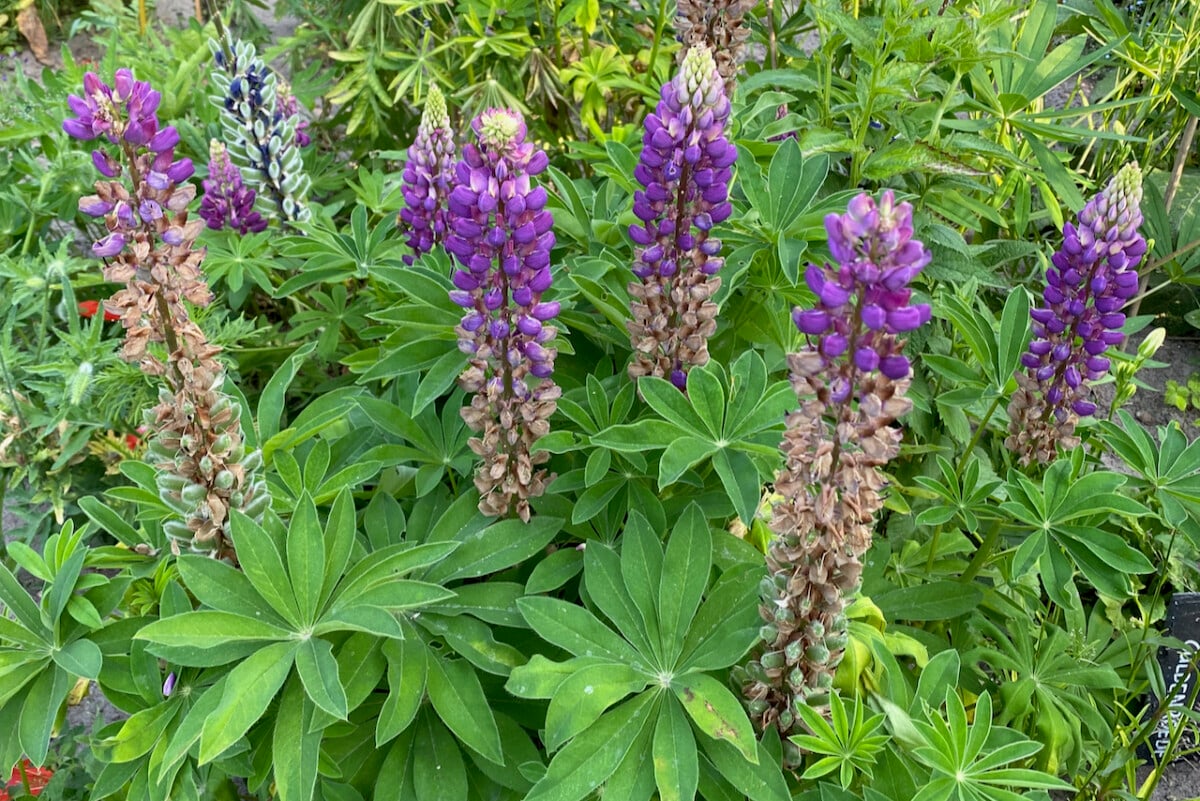
Deadhead the spent flowerheads back, trimming right above a set of leaves. This will prevent the plant from expending energy on producing seeds. It will also give it a sense of urgency to try to bloom again in order to reproduce. If you deadhead as you go, your lupines might surprise you and keep blooming well into July, rather than stop in mid-June.
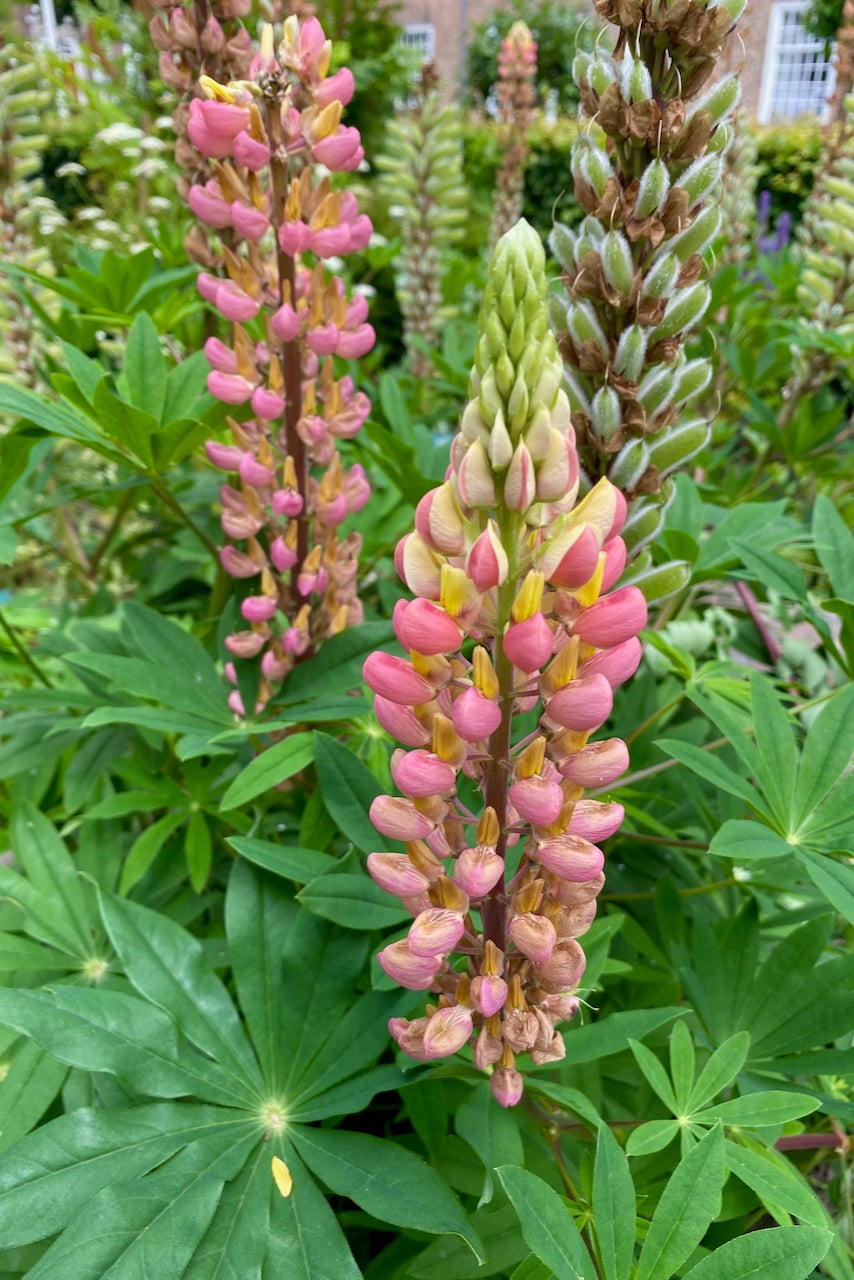
One detail I want to mention is that often this second set of flowers will be a bit smaller than the first batch. But they’ll still pack that lupine charisma.
2. Save lupine seeds to start a new generation.
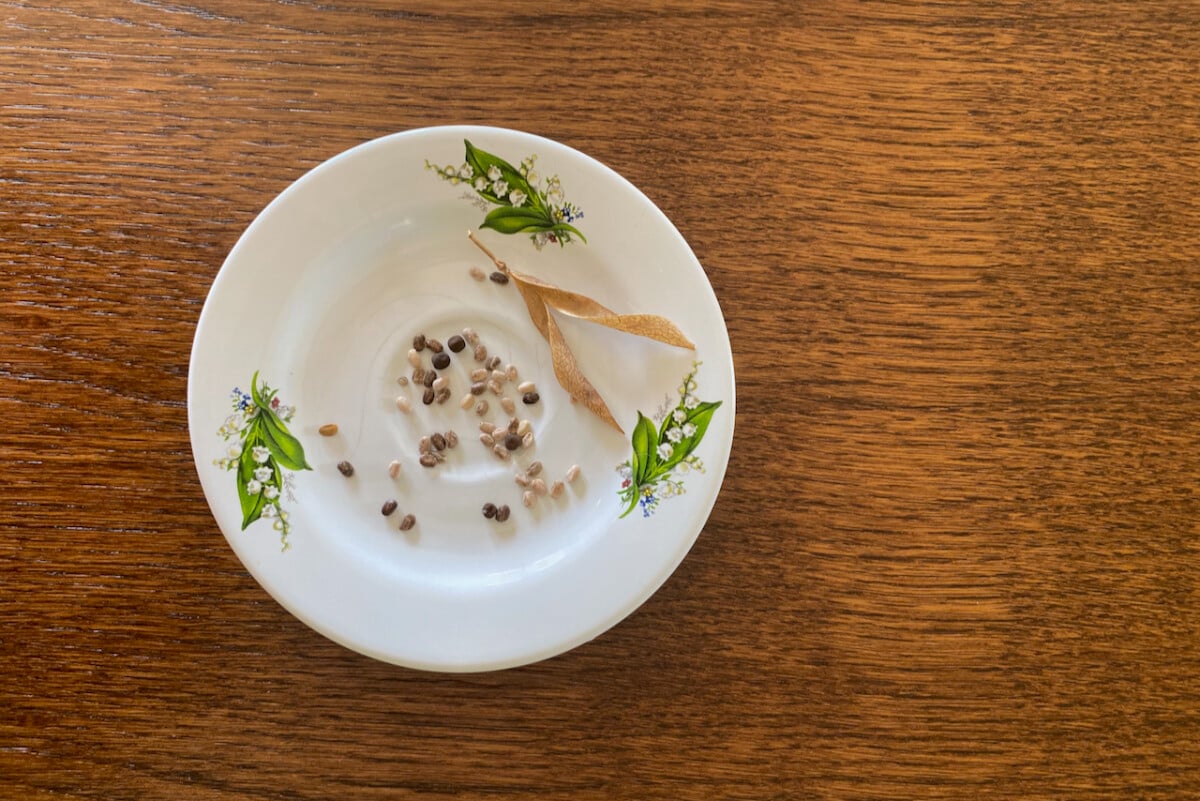
The lovely thing about saving seeds is that we can do it in conjunction with deadheading. We don’t have to remove all the dry seedheads after bloom. Since lupines are such prolific bloomers, select a couple of stalks with large seed pods and allow them to dry on the plant.
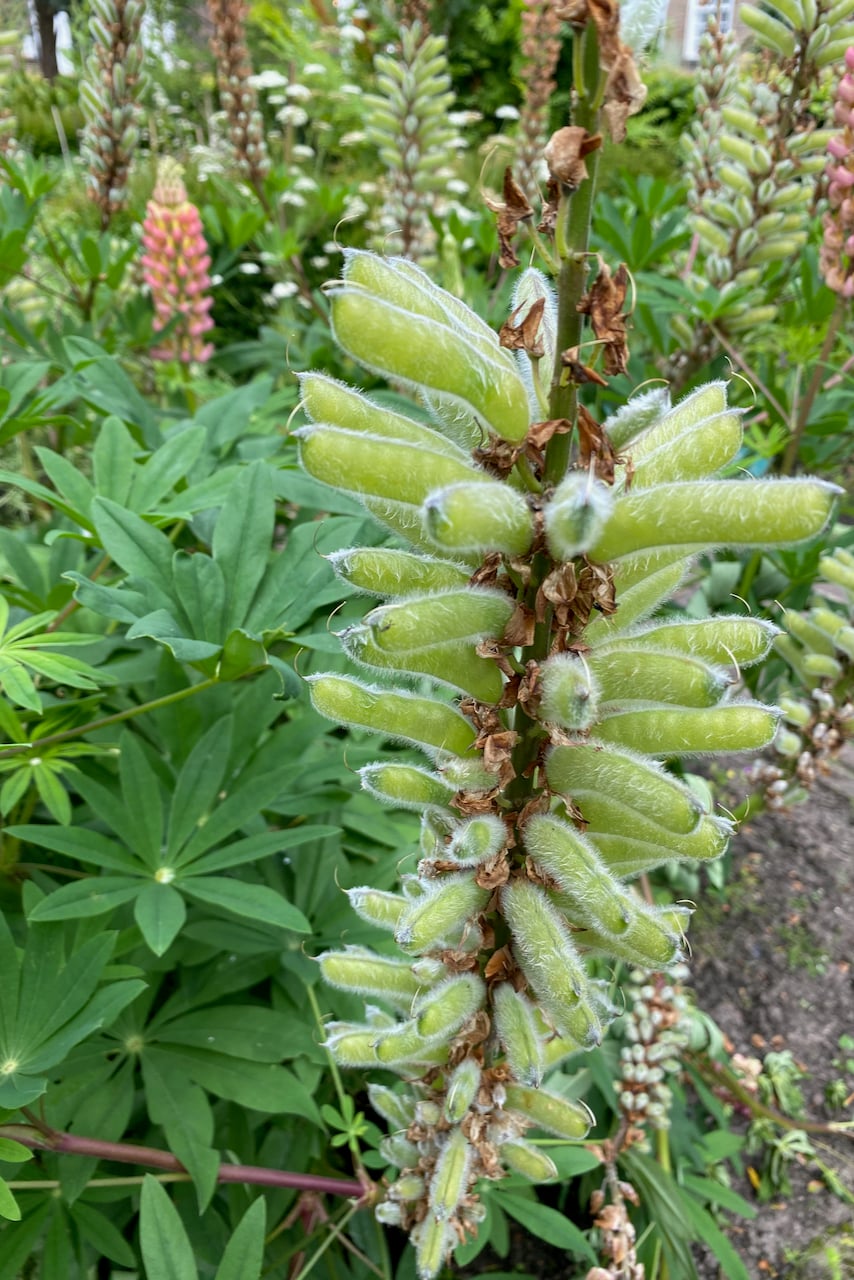
Just know that once the seedheads dry, they will pop open. This will disperse the seeds everywhere. So you’ll want to keep a close eye on them if you want to collect the seeds. Pick them while they’re almost dry (they should look yellow-ish, but not crispy brown). Then let the pods finish drying in a jar indoors.
An easier method that I’ve been using is to cut off the entire seedhead, put it in a paper bag, shake it to loosen the seeds, then pick out the shells. Store the seeds in a cool, dry place until next year.
One thing to keep in mind is that the fancy lupines (usually some of the ones where a single flower torch is multicolored) might be hybridized. Which means there’s a chance that whatever we grow from those seeds might differ from the mother plant that we collected the seeds from. But that’s ok, because it is still going to be a lupine.
One note about starting lupines from seed.
I know now’s not the time to start baby lupines, but put this info on the bag of seeds as a reminder to your future self:
“Must chill before planting!”
Then put a note in your gardening calendar to do this the following February.
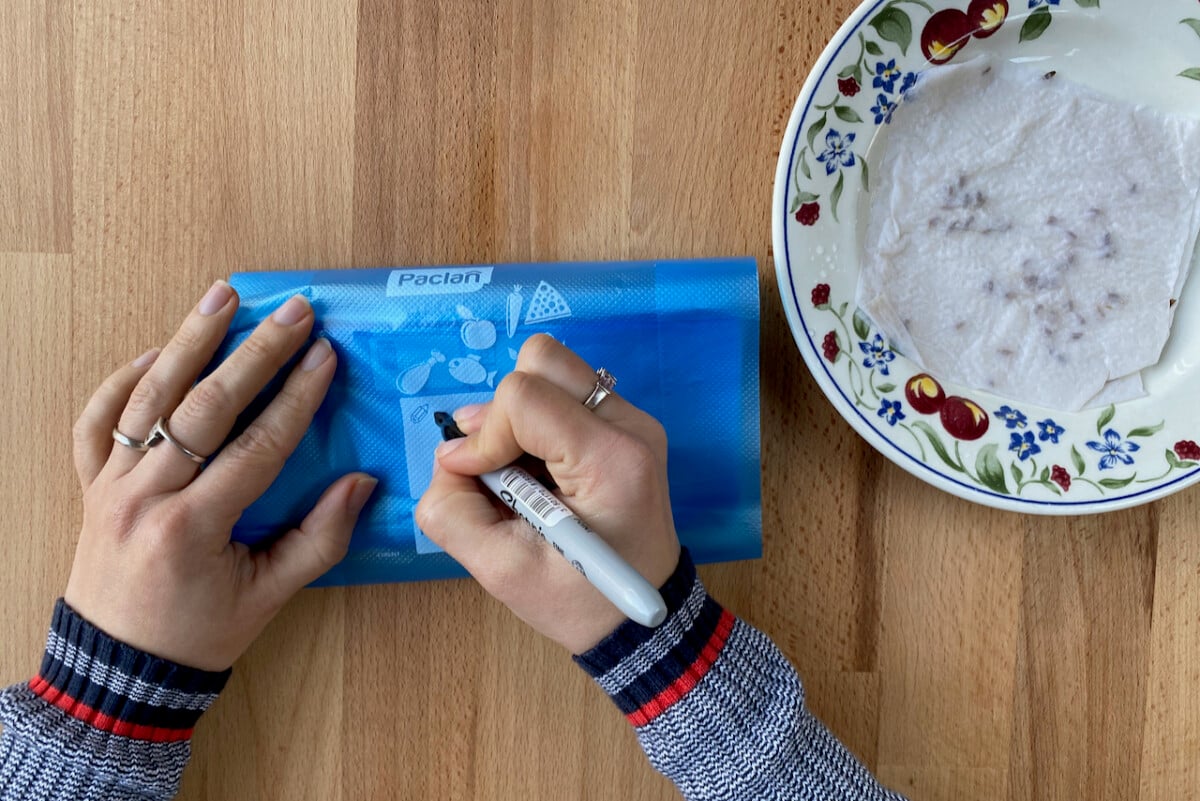
This is called cold stratification, and it will increase the germination rate of your seeds. I have a guide that describes six methods to do cold stratification before spring planting. And all of them apply to lupines.
3. Allow the lupine seeds to drop and self-seed.
Lupines grow either as biennials or as relatively short-lived perennials. So we’ll have to keep adding to our lupine collection in order to have them adorning our gardens in the long run.
By the way, if you want perennial lupines, look for Lupinus perennis (also known as wild lupines), Lupinus arboreus (more similar to a shrub) and the super popular Lupinus polyphyllus (particularly the Russell Hybrid lupines). But remember what we said about hybrid seeds, ok?

I’m a lazy gardener, so I’m all about letting the plants do the work. I must confess that I have a hands-off approach now because I have a larger garden. But when I was gardening in a small backyard, I had to optimize every single inch. Let’s just say I was a bit more proactive. I would not let plants romp around.
Most lupines are prolific self-seeders. So when we let the seeds drop where they may, we’re just letting nature do the work for us. These seeds will lie dormant on the surface of the soil (or under a layer of dead leaves in the fall) and emerge in spring.
Not all of them will sprout. Some will become unviable over the winter. Others might start sprouting in spring, only to be taken out by a late frost.
Relocating self-seeded lupines might be tricky.
For the lucky lupine seeds that start developing into fully fledged seedlings by late spring, we can come up with a relocation plan. Baby lupines are super cute, but as they turn into teenagers, they don’t like having their tap roots disturbed.
So we’ll have to either transplant them early enough to where we want them, or thin them out early in the season. We could also keep neighboring plants together and transplant them all as a big clump. This will avoid disturbing the roots too much.
4. Tidy up the lupine foliage.
If you’ve been reading my articles on this website, you’ll know I’m not much into tidying the garden. Sure, leaves can look a little tired, so I’ll remove any that are damaged and yellowing, then let them be.
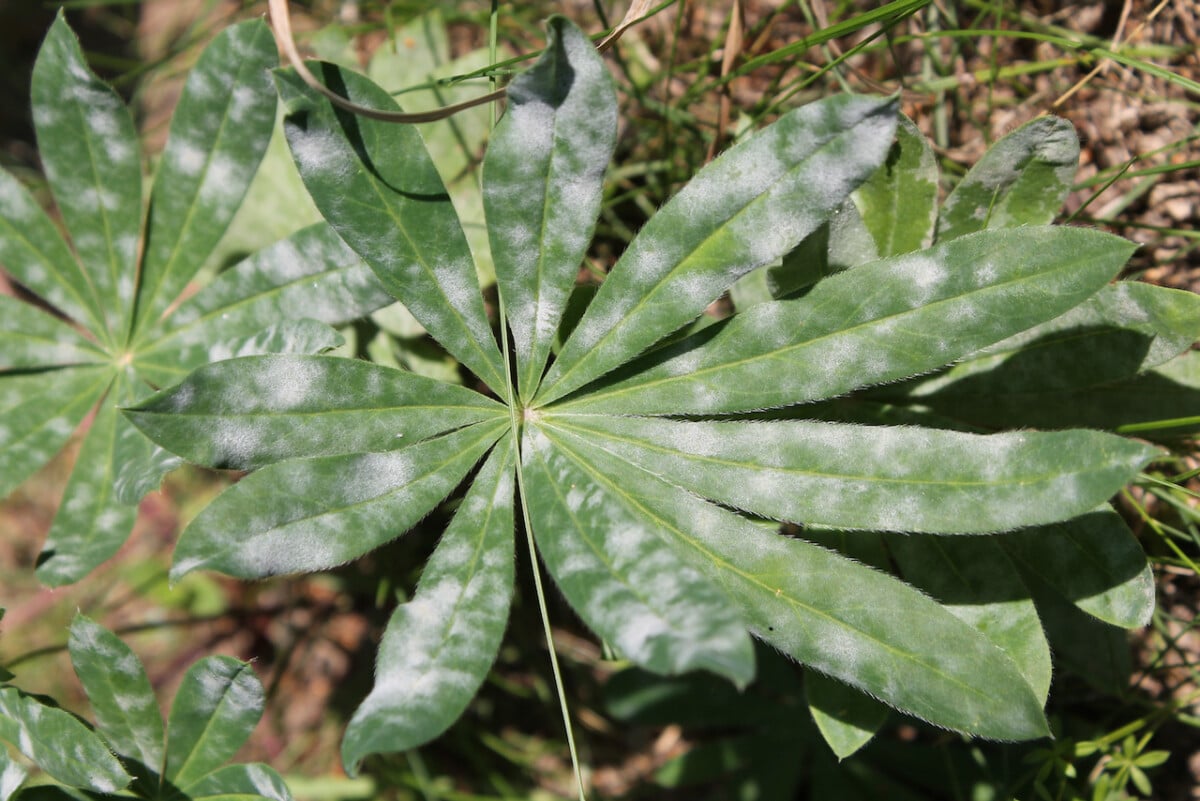
This applies in the case of lupines, too, with one exception. Lupines are very prone to mildew, unfortunately. They are cold-weather plants and will do cold-weather things. Such as getting covered in a white dust if there’s too much humidity and not enough sun. There’s no going back from mildew this year, so remove the leaves that are most affected and discard them.
If your lupine is happy living its best life with nary a mildew spore in sight, then avoid cutting back any foliage. The longer we keep it on the plant, the better it will help the root structure store energy for next year’s bloom.
5. Keep watering your lupines.
Don’t ignore their need for water. This is a mistake that I used to make quite often with plants that flower in early summer.
I mean, I know that I have to water my dahlias (that are yet to flower) and my roses (that are continuously putting out blooms). So I tend to focus on what’s to come and ignore ornamentals that have already reached their blooming potential for the year.
If you have the same tendency, here’s my gentle reminder to keep watering your lupines, especially during a hot summer. Even if they’re planted in part shade, the heat will dehydrate and weaken them.
6. Add a layer of compost to feed and mulch lupines.
Lupines are one of those reliable ornamentals that don’t need heavy feeding, so I don’t fertilize them. At least, not with synthetic fertilizers.
But I do like to give my lupines a boost after bloom by applying a layer of compost at their base. You can think of this compost as the mulch, or add an extra layer of mulch on top. The compost will slowly release the nutrients into the soil over the summer and fall. That way, the roots will have plenty of reserves to survive the winter. They’ll come back with a bang next year.

Get the famous Rural Sprout newsletter delivered to your inbox.
Join the 50,000+ gardeners who get timely gardening tutorials, tips and tasks delivered direct to their inbox.