

Making a hotbed for winter growing is a great way to extend the growing season. It allows you to grow more, both towards the end of the year and early next year.
You can create this simple project for little cost, using materials from your garden and other materials you can source easily (sometimes for free) in your area.
Why Grow Food in Winter?
Since it’s so much more effort to grow food during the winter months than the summer months, you may be asking yourself – why bother?
No matter how organized you are over the summer, you’re unlikely to be able to can, preserve, or freeze enough food to sustain you all winter long.
By the end of winter, many of the root crops and other items you’ve stored will begin to lose their appeal.
You will use up some, while others may be past their prime.
By growing some fresh crops over the coldest months, you’ll be able to continue to eat well during the winter and get a jump on the next year’s growing season.
You’ll want to plant leafy greens, like these cold-hardy lettuces, and other crops you can graze on and harvest a little at a time over winter.
But don’t forget to add crops that will remain dormant over the coldest part of the year to give you a head start growing in the spring. Even in cold climates, there is a range of crops you can successfully overwinter to provide you with an earlier crop next year.
What is a Hotbed?
A hotbed is basically a raised bed filled with layers of decomposing straw and manure or other organic matter. You then add a thinner layer of growing medium (soil/compost) on top to grow plants or seeds.
Like any other compost heap, a hotbed is built up using organic materials. Ideally, there should be a good mix of nitrogen-rich ‘green’ and carbon-rich ‘brown’ materials.
Why Make a Hotbed?
A hotbed is one of a number of methods that can protect the crops that you grow during the coldest part of the year – through fall frosts and into winter.
By providing a source of gentle, natural heat, a hotbed is an alternative to more costly methods of winter heating.
It’s an effective measure to keep plants frost free – especially when used inside a greenhouse or polytunnel. Even when implemented outside, a hotbed can be covered by glass or plastic to retain the heat that is given off by the composting materials.
Keeping a cover over your hotbed will retain the heat and stave off frost.
It will also protect your plants from heavy precipitation, strong winds, and other winter excesses. What’s more, it will provide a level of protection against a range of pests that are a problem at this time of year.
Not only can a hotbed protect traditional overwintered plants, but it also provides some protection for tender or even exotic plants that could not usually be grown where you live.
Finally, after the winter is almost done, a hotbed is still very useful. It will give a head start to seedlings sown in cold areas during the earliest months of the year.
Where To Place a Hotbed
As mentioned above, a hotbed can be positioned either in a covered garden structure such as a greenhouse, polytunnel, or even a garden building or conservatory – or outside.
Where you decide to place your hotbed will ultimately depend on where you live and your local growing conditions. Obviously, it will also depend on the logistics of your site and how much space is available.
In a particularly cold region, placing your hotbed within a covered area will be a good idea as it allows you to double up on your protection.
It’s important to make sure you don’t position your hotbed in a particularly windy spot or in a frost pocket.
If you live in an area with a much milder winter, this type of protection and care may be more than is required. You are able to be more flexible when choosing a location for your hotbed.
When deciding on a location for your hotbed, think carefully about the other elements in your garden and how you’ll commonly move between them.
It’s a good idea to position your hotbed within easy reach of your home.
In winter, you won’t want to walk too far to check on, harvest, and tend your winter crops.
It’s also more convenient if your hotbed is close to the sources of materials (ie – the compost heap and chicken coop etc..).
One final thing to consider is the proximity of a water source (ideally rainwater rather than tap water). The closer the water source is, the more easy and convenient it will be to water your winter plants.
Materials for a Hotbed
Once you’ve decided on a location for your hotbed, it’s time to think about the methods and materials you’ll use to construct it.
First of all, let’s take a look at the different options to consider for the edges of your hotbed. What you choose to use to contain the materials inside will obviously have a bearing on the hotbed’s heat retention capacity.
You could consider using:
- Stone
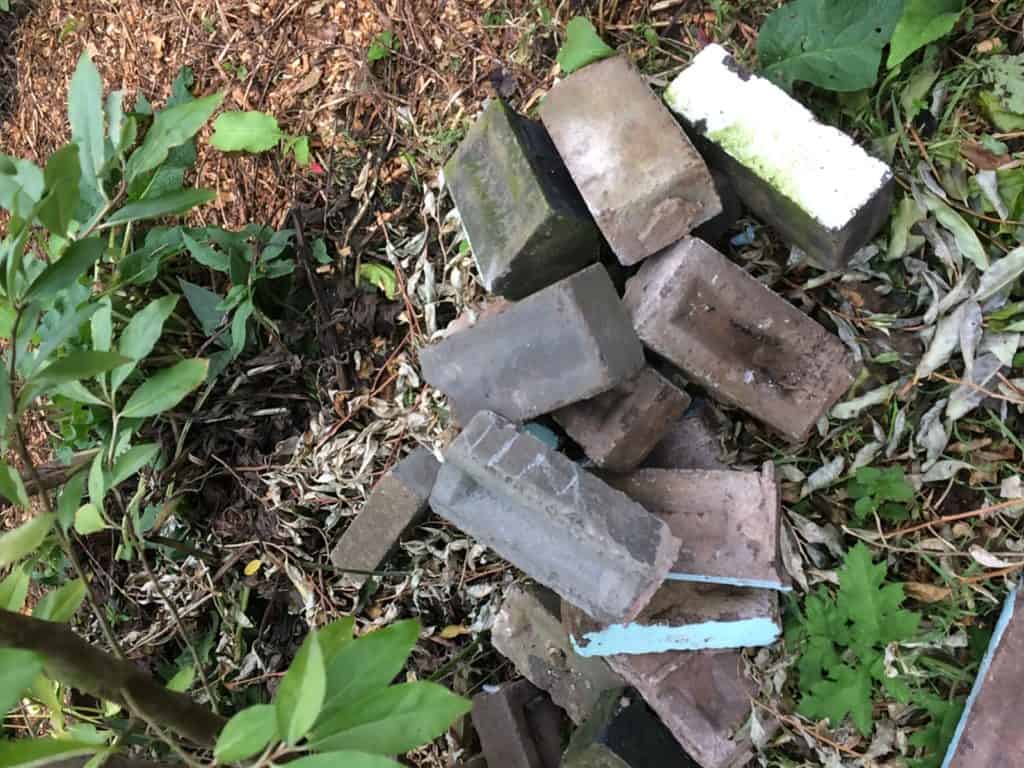
- Reclaimed bricks
- Reclaimed concrete
- Clay/ adobe/ cob
- Upcycled items – plastic containers, old troughs, baths, etc.
Or, for less permanent structures:
- straw bales
- reclaimed timber
- natural wood/ logs
Constructing the Edges of Your Hotbed
The process of constructing the edges of your hotbed will obviously depend on the materials that you’re using. However, the first stage will be to gather those materials. It can be helpful to know how much/many of the materials you will require.
Determining Details:
For this, you’ll have to decide upon the size and shape of your hotbed, and how deep it will be. For best results, the contents of your hotbeds should be at least 80cm – 120cm deep.
This will allow for sufficient materials to generate the needed heat, plus a top layer in which to grow your plants or sow your seeds.
You may wish to make the structures higher. You can grow seedlings under a cover supported on the bed edges this way.
Constructing Bed Edges:
Once you have determined the size of your hotbed and collected the edging materials that you’ll need, it’s time to begin construction.
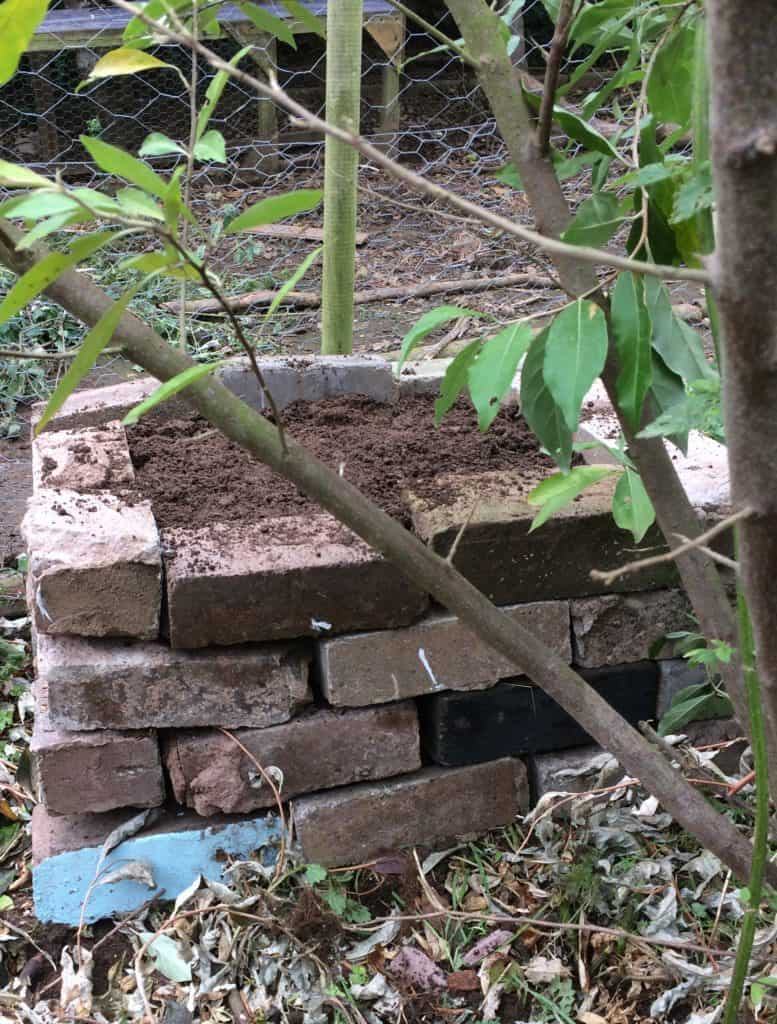
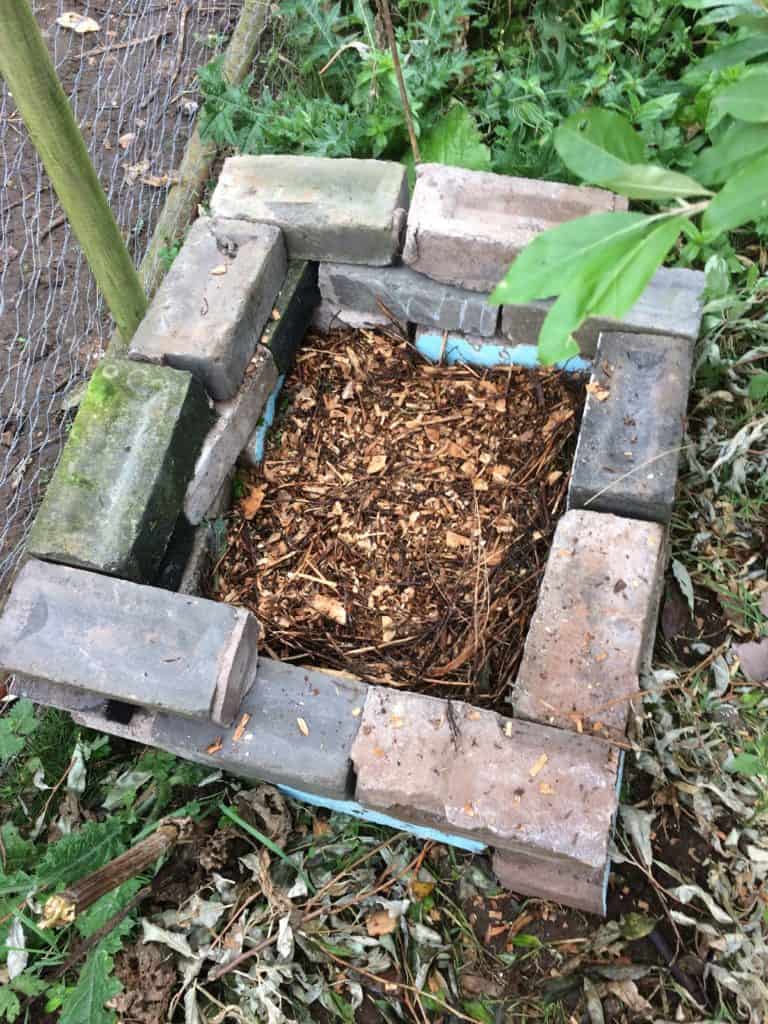
In my new hotbed, I used reclaimed bricks from our barn renovation, dry-stacked to create the bed edges.
The advantage of using bricks, stone, or reclaimed concrete is these materials are excellent at storing heat since they have good thermal mass. They will store heat and gently release it when temperatures fall.
Filling Your Hotbed
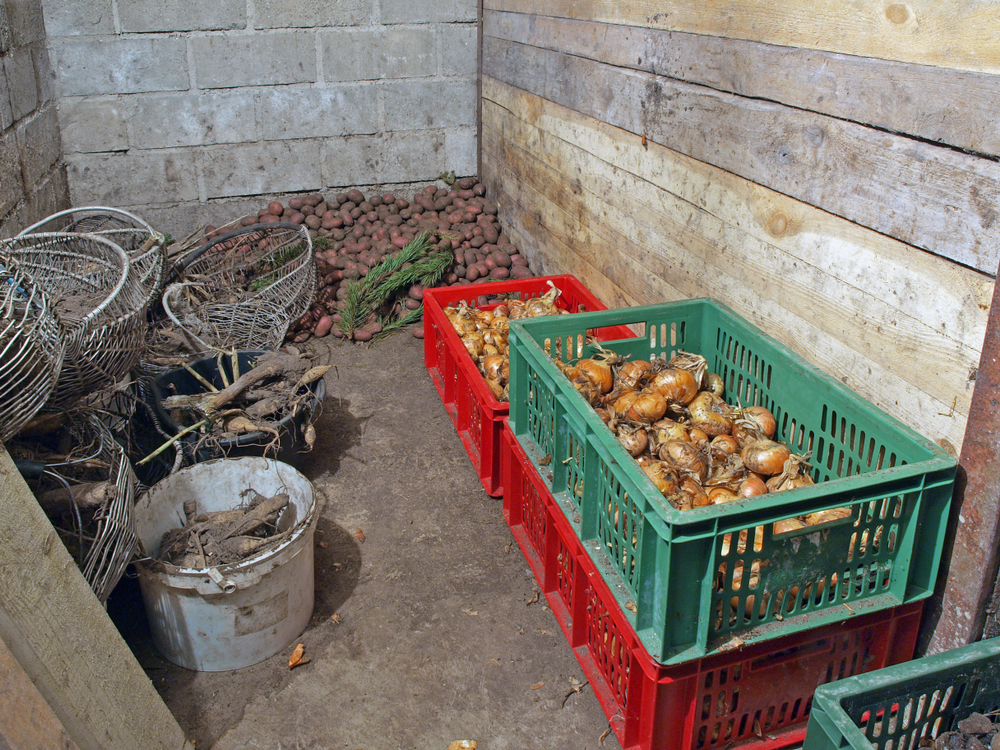
Traditionally, a hotbed is filled with horse manure and straw. Many Victorian/ 19th Century greenhouses had beds made in this way. However, you don’t necessarily have to use horse manure and straw. Many different compostable materials can be used to create the same effect and generate heat.
Chicken Manure & Wood Chip Hotbed:
For example, when making my hotbed, I used:
- chicken manure, from the coop where we keep our 15 rescue hens
- partially composted chicken manure & bedding (from the top of the compost heap near the coop)
- wood chips used in their nesting boxes
- other materials on hand – further wood chips that were shredded prunings from the forest garden, and dried leaves

I added these materials in thin layers, which helps to aid decomposition.
The key to sustainable growing systems is making use of all the materials available in your garden and local area, and using what you have on hand.
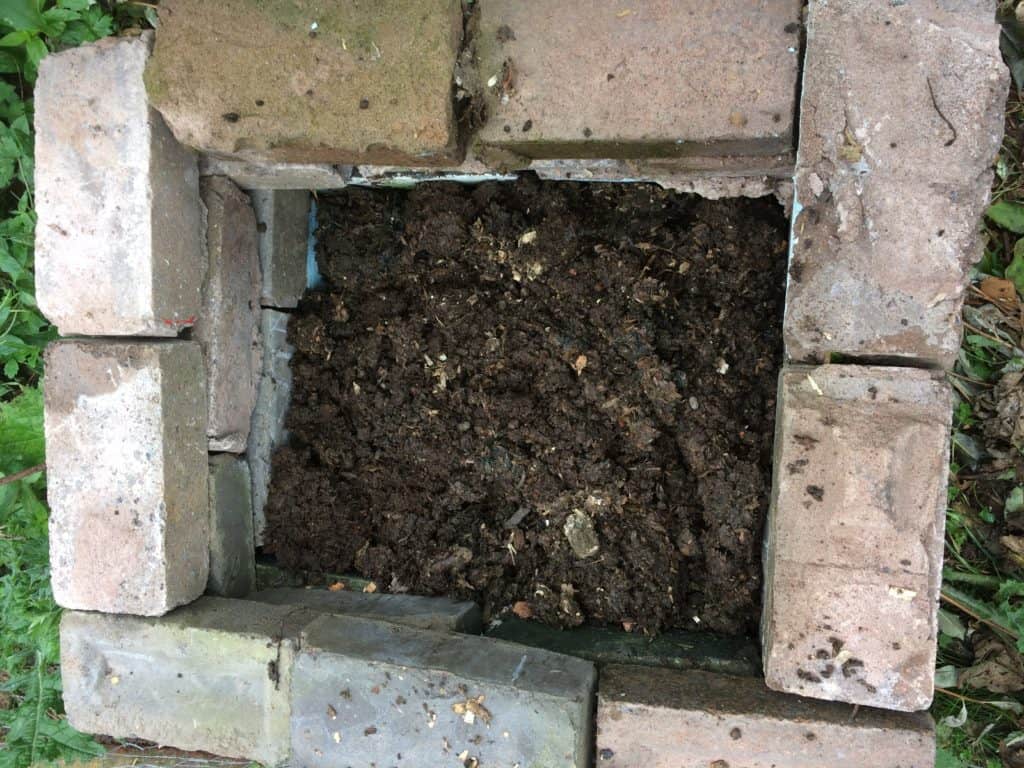
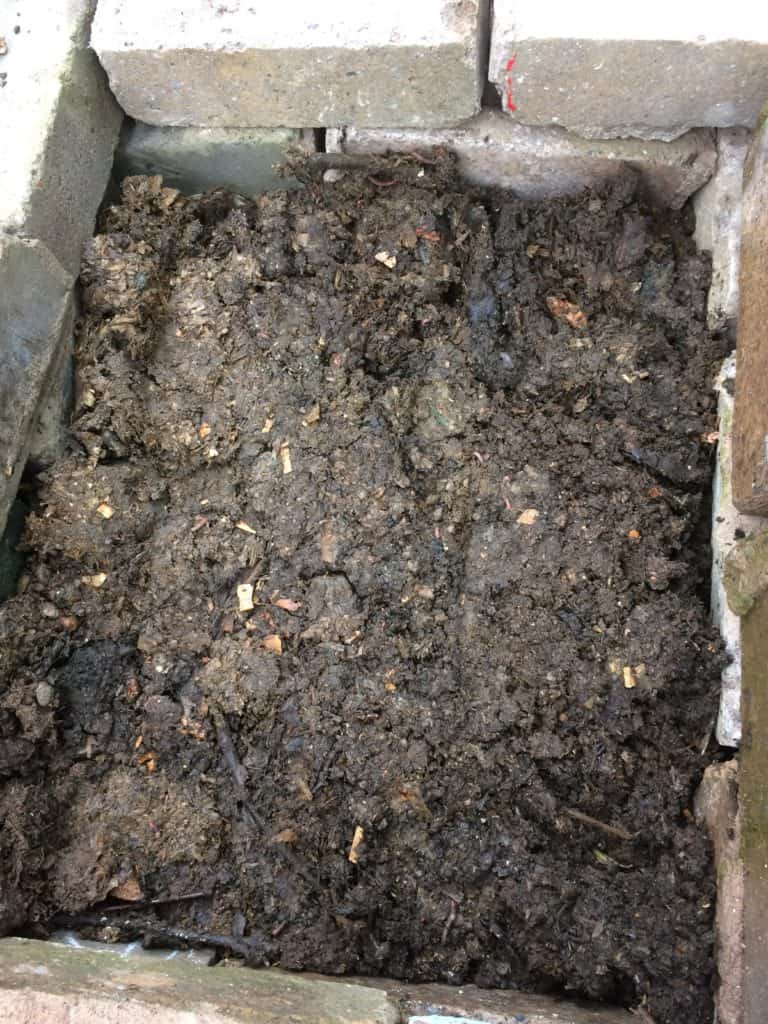
Compressing Hotbed Materials:
Once you’ve added the compostable materials, tamp the mix down gently to compress them. Compressing the materials will increase its heat generation capacity. You should aim to create a layer of materials that is, once compressed, around 60-90cm deep.
Topping Your Hot Bed With Growing Medium
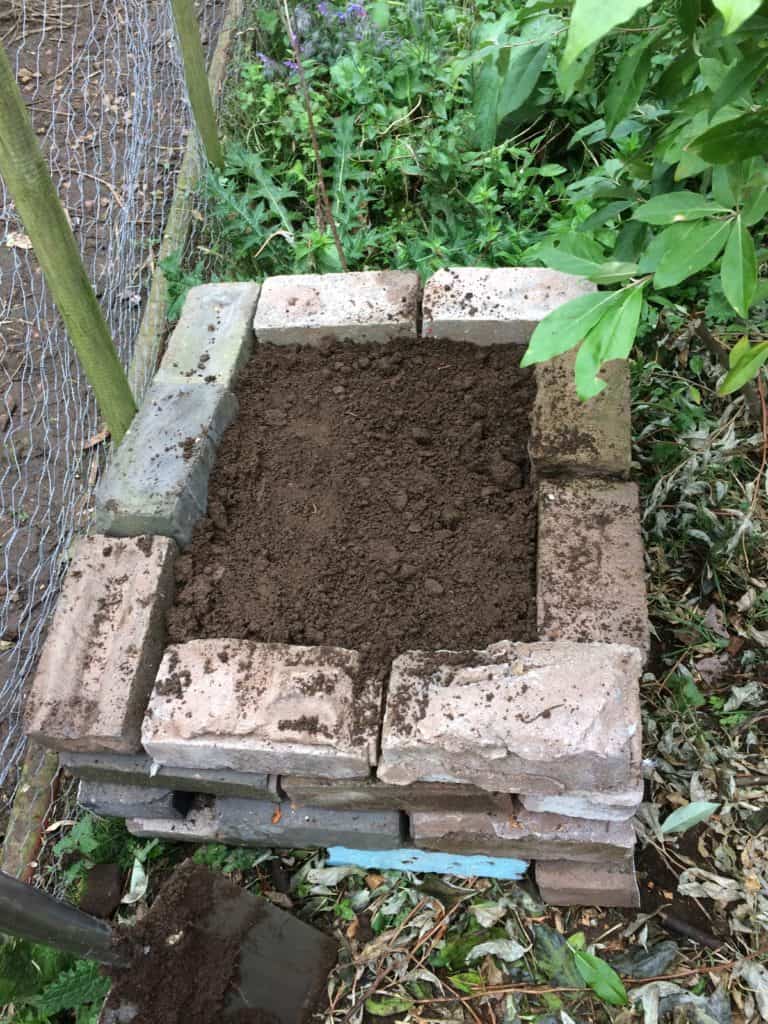
After adding your compostable materials, top your hotbed with a mix of soil and compost. I find that a 1:1 mix is ideal. Ideally the compost should be homemade. But if you don’t yet have your own compost, be sure to source and buy a peat-free variety. (Using peat compost is terrible for the environment.)
The ratio of heat-producing material to the growing medium should be 3:1, as this achieves an ideal temperature of around 24 degrees C/73 degrees F. Therefore, your growing medium of soil and compost should be around 20-30cm deep.
Creating a Cover For Your Hotbed
There are a number of different ways to cover your hotbed. You could use, for example:
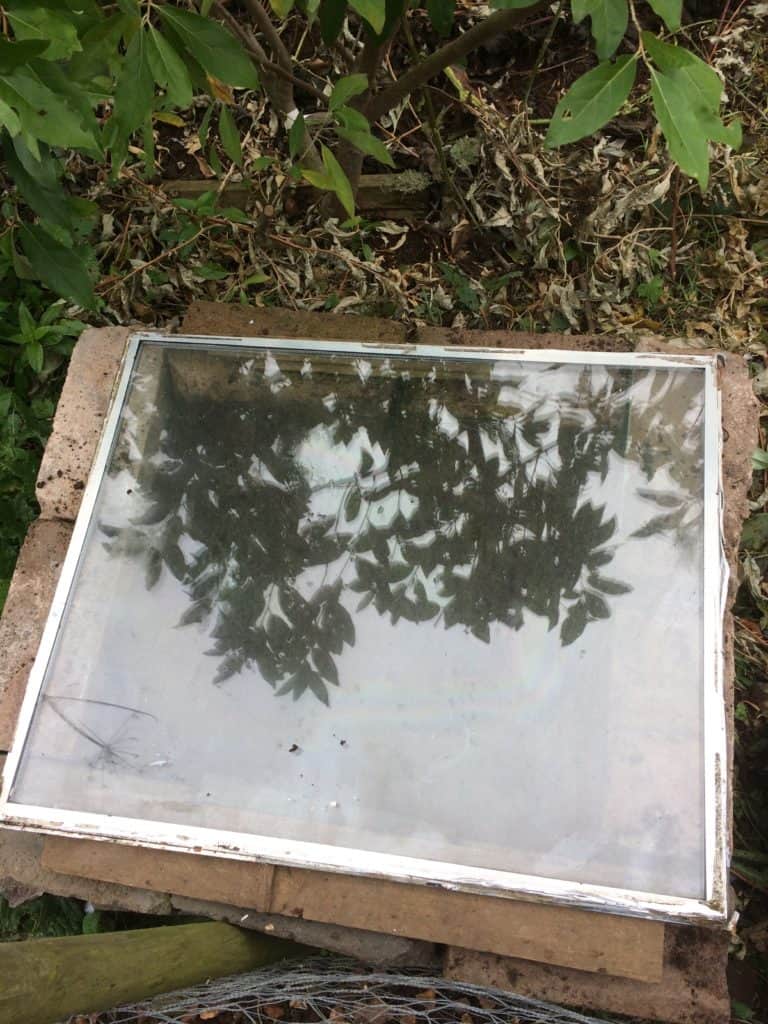
- An old glass windowpane
- A glass cloche or mini greenhouse, or ‘hot box’ as they are sometimes called
- Reclaimed polycarbonate sheeting
- Plastic row cover or mini plastic polytunnel or greenhouse
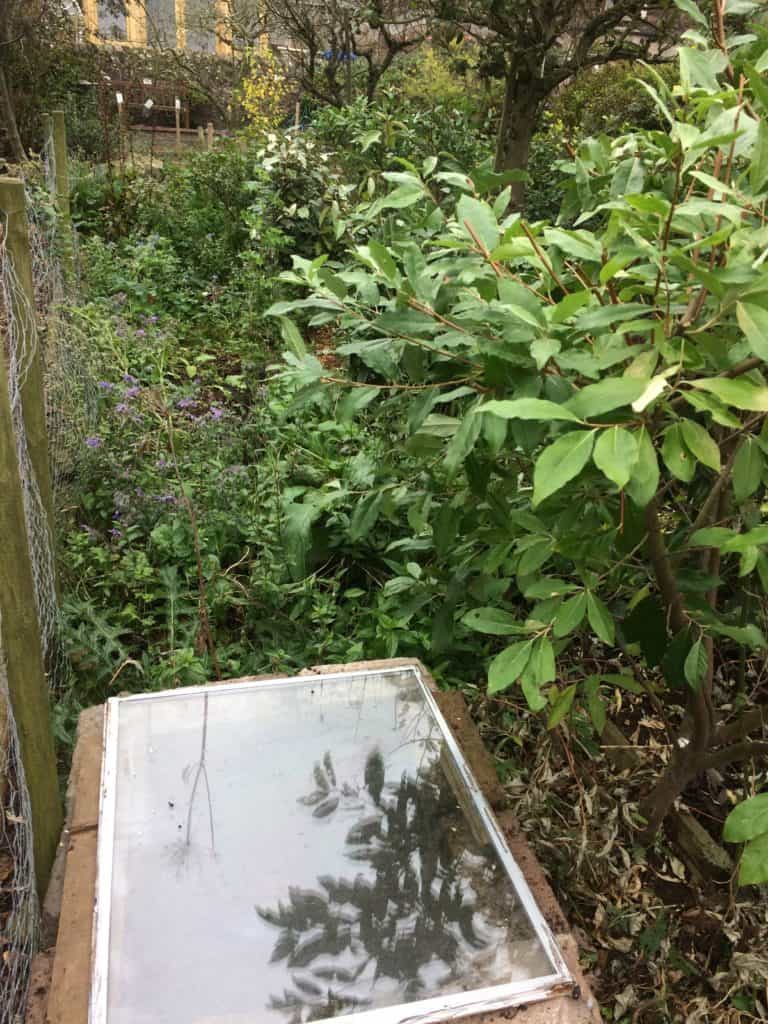
To cover my hotbed, I used a glass windowpane which was reclaimed from the demolition of an old porch on our property.
The bed edges are slightly above the surface of the growing medium, and the glass is placed directly on these. This is because I will use the hotbed for seedlings, which will be pricked out and transplanted to other areas before they get very big.
Planting Up Your Hotbed
You should leave your hotbed for around a week to warm up. After this, you can use it to sow seeds or plant it up right away. Plenty of different seeds and plants will appreciate the gentle heat rising from your bed.
It’s important to remember, however, that this is not a permanent addition to your garden.
The materials will have largely composted within 2-3 months and so will no longer be giving off sufficient heat.
The Future
However, even though it will no longer be a hotbed, it’s still a fertile raised bed. So, you can continue to use it to grow your plants. You just have to make sure that you keep top dressing with new compost, and using liquid feeds to maintain a nutrient rich growing area.

Alternatively, you could consider removing the composted material and using the compost somewhere else in your garden, or removing just the fully composted top layers and replenishing them with more compostable manure, straw etc. and growing medium.
A hotbed is a flexible and useful addition to your winter garden. So why not consider making one or two this fall? If you’re looking to extend your growing season even further we’ve got 10 inexpensive ways to do it.

Get the famous Rural Sprout newsletter delivered to your inbox.
Join the 50,000+ gardeners who get timely gardening tutorials, tips and tasks delivered direct to their inbox.