


Citrus fruit goes hand in hand with the holidays.
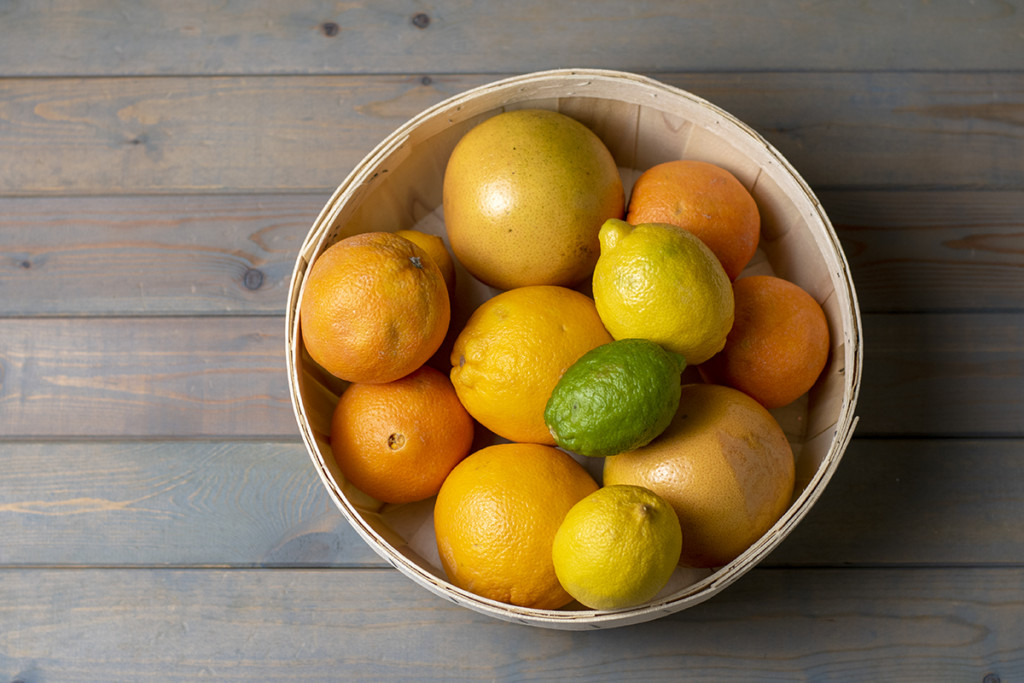
It’s the time of year when oranges, grapefruits, tangerines, and the like are at their peak of freshness.
While I can usually skip the bags of oranges in July, come December, rarely do I come out of the grocery store without a bag of some sort of citrus fruit. These sweet treats rarely last long in our house, and a Christmas stocking isn’t complete without a clementine tucked inside it.
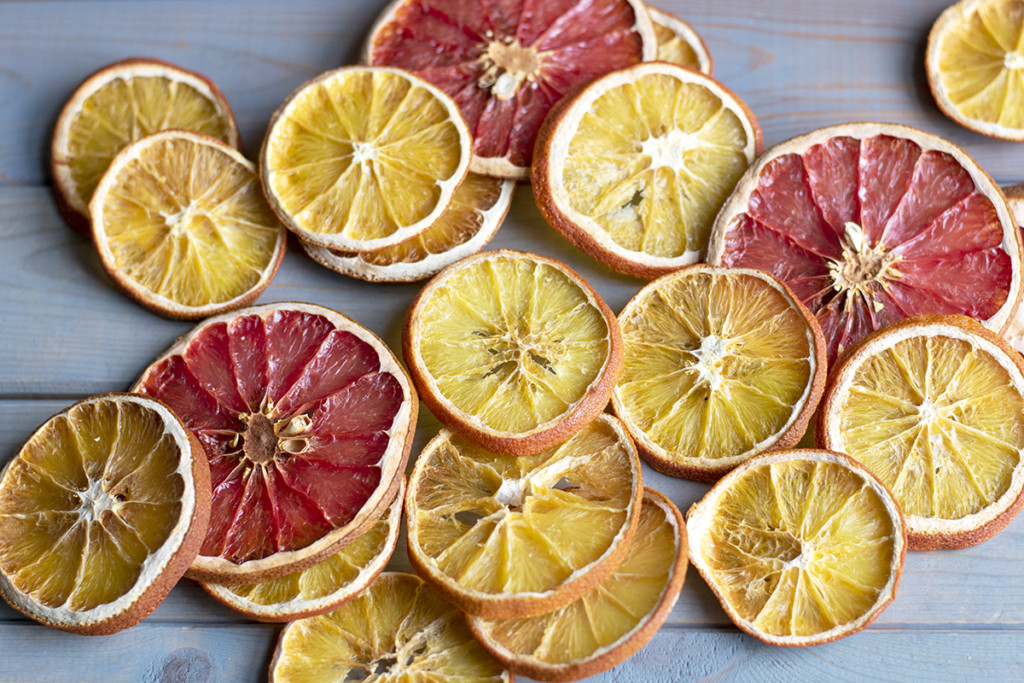
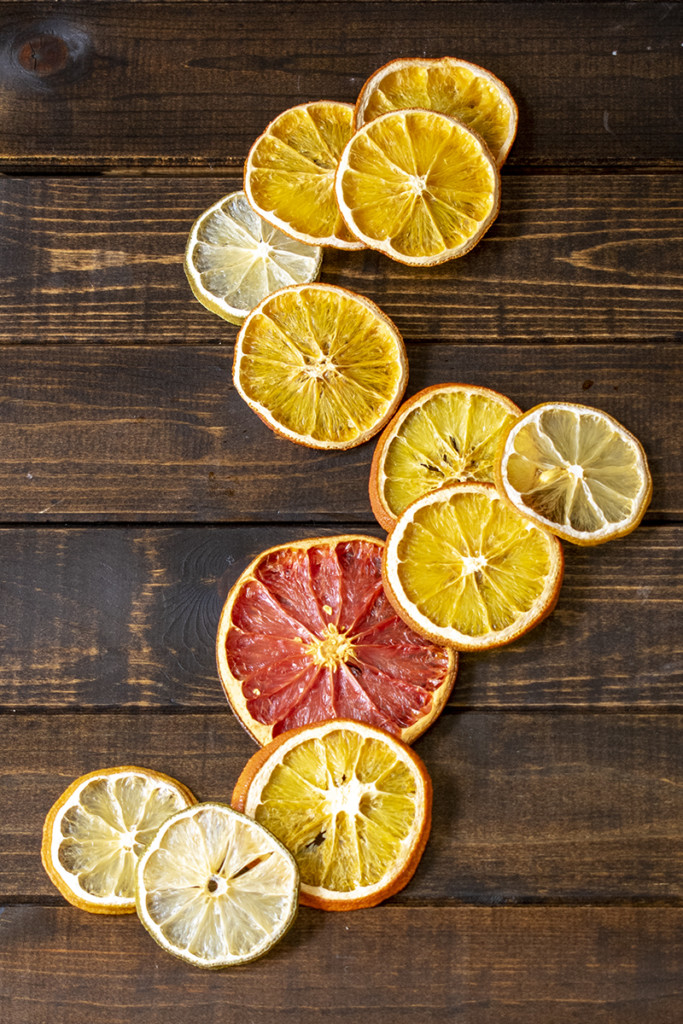
Not only are they delicious, but dried, citrus fruit can be made into beautiful holiday decorations.
Their bright pulp dries into shiny little stained-glass windows encased in the rind. They smell lovely and add a fresh, natural look to your Christmas.
Drying oranges (and other citrus fruit) is a great weekend craft. You can get the oranges going and then do other things while the fruit dries in the oven. You’ll have plenty of beautiful, dried slices to decorate with by evening.
And once they’re finished, you can create beautiful Christmas decorations for your home. Ornaments, garlands, and wreaths are just a few ideas.
Round up your favorite citrus fruits, and let’s decorate.
Types of Citrus to Use
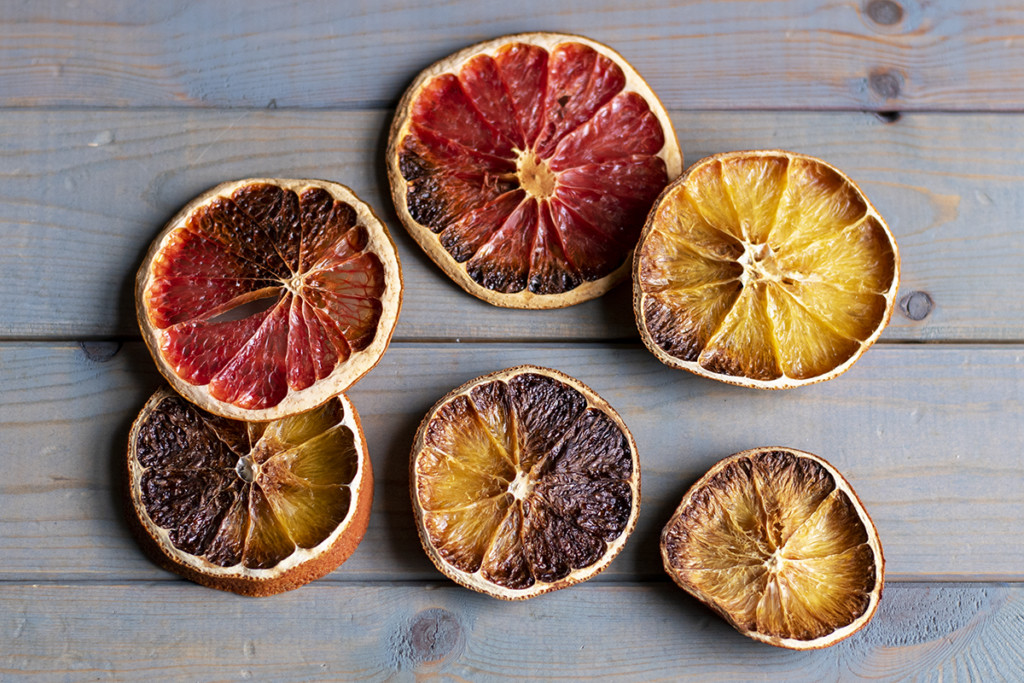
For this project, nearly any citrus fruit works, but some are better than others.
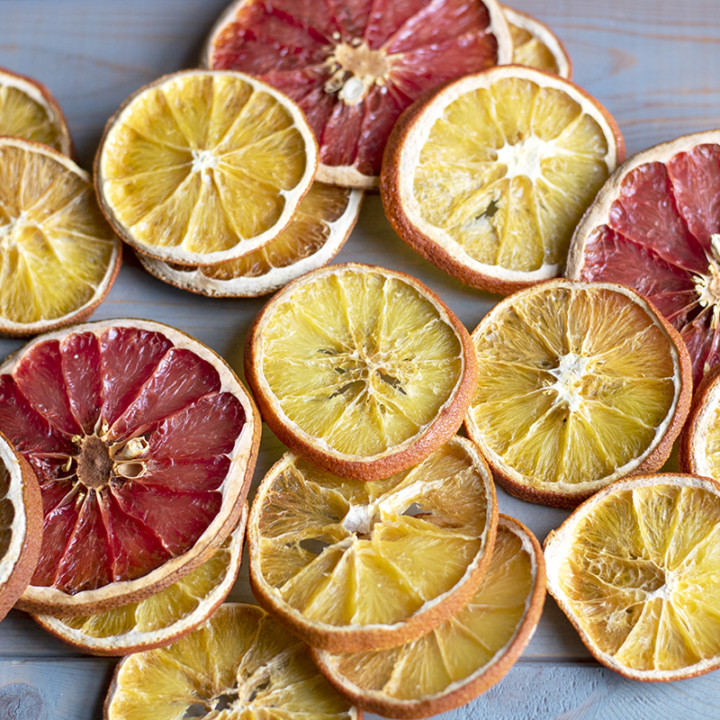
Oranges always seem to be the most popular choice. Grab one of the bargain bags of the smaller navel oranges, and you’ll have enough dried oranges to decorate your whole home with. Add a couple of the larger navel oranges for some nice big slices, and you’re all set.
Blood oranges, though pricey, are beautiful when dried.
Ruby red grapefruit is simply gorgeous. Their large size and beautiful pink make them a great accent among your oranges.
Both lemons and limes work well, although the pulp is almost clear and nearly indistinguishable from one another when dried. The rinds on both lose their bright colors and fade quite a bit. They are better added to your craft for contrasting sizes, rather than being yellow or green.
Tangerines and clementines are the only citrus fruits that don’t work too well for this kind of project. They’ve been grown specifically to be easy to peel, which means they separate from their skin as they dry. Their smaller size makes them much harder to slice with fewer slices per fruit. Save these for eating instead of crafting.
Fresh vs. Older Fruit
This is a good way to use up older fruit that’s starting to get a little soft. However, fresh, firm fruit is much easier to slice. When the fruit gets softer, it’s hard to keep it stable while you’re cutting it, as it no longer holds its nice round shape. So be extra careful if you are using older fruit.
If you’re using fresh fruit, you shouldn’t have any issues.
Using the Proper Tools
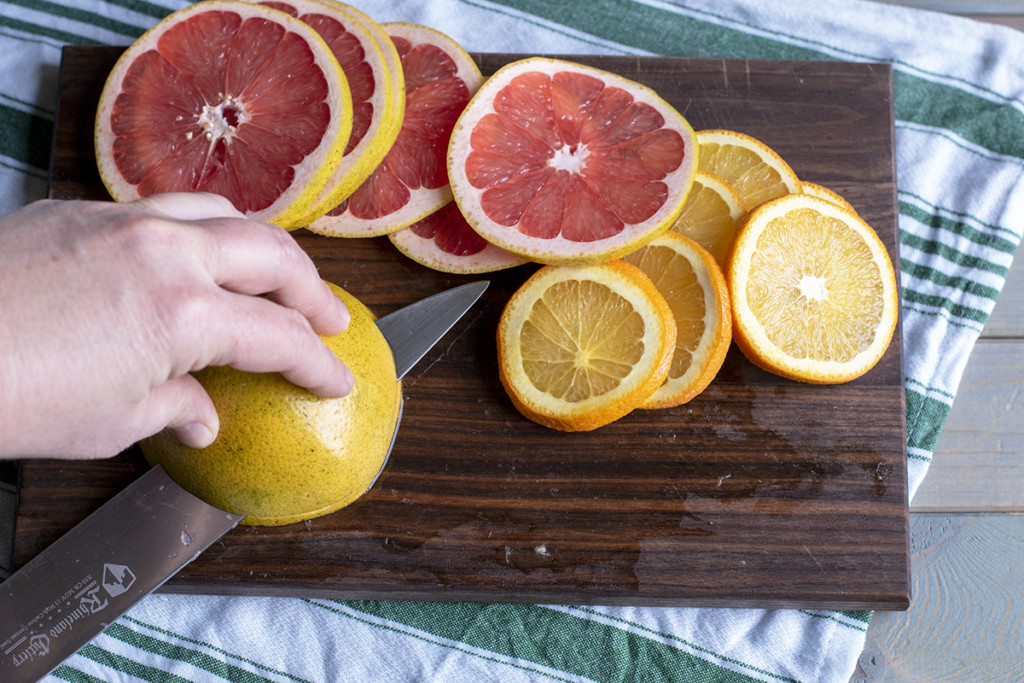
You’ll want a very thin, long knife. A filet knife or carving knife is ideal. Sharpen your knife before you begin for the best control and to prevent any accidents. Using a dull knife is always more dangerous than using a properly sharpened one.
Place your cutting board on a damp kitchen towel laid on the counter. This will prevent the cutting board from slipping around and soak up any juice. The fresher the citrus, the juicer it tends to be. Keeping your workspace relatively clean will also help prevent the fruit from slipping while you’re cutting it.
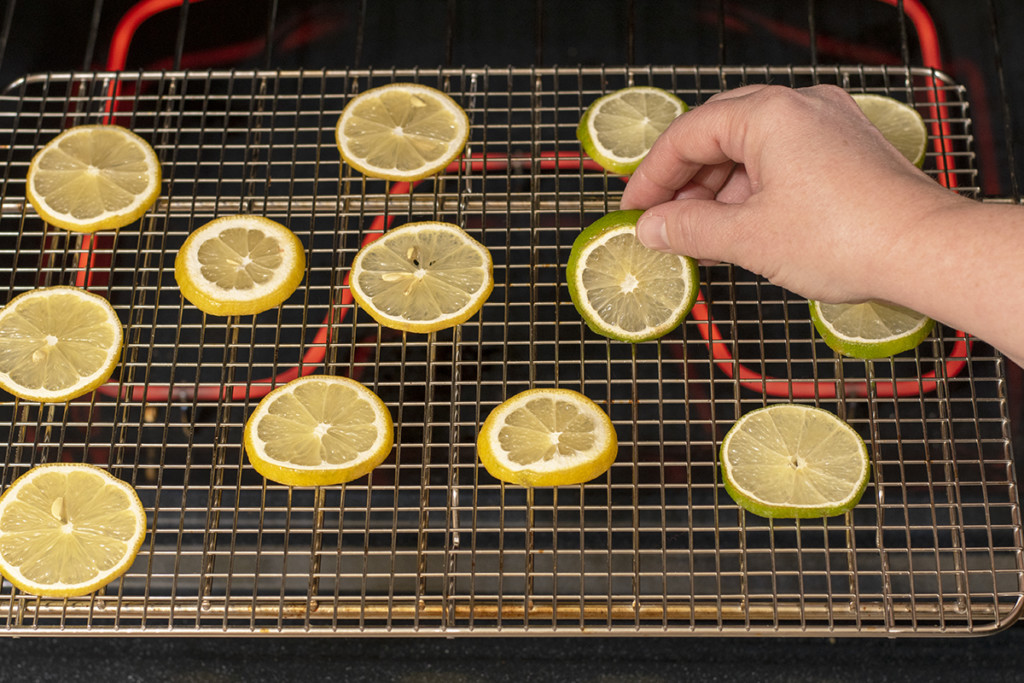
Use a cooling rack (not a baking sheet) to dry your citrus on in the oven; this will ensure good airflow around both sides of the fruit slice.
Don’t Be Me
I made a lot of mistakes while making these beautiful gems. I did this on purpose, of course, for your benefit. Learn from my carefully pre-planned mistakes.
Don’t add new slices as you pull out completely dry pieces. You’ll add more moisture back into the oven, lengthening your drying time. Wait until a batch is finished before adding a new, separate batch.
Keep your slices around ¼” to 1/8” thick. Any thicker, and it will take you until next Christmas for them to dry completely. Any thinner and they burn too easily. After some trial and error, this size seemed to be the sweet-spot and gave me consistent and lovely results.
After that first hour, check on your fruit often; they go from beautiful to burned quickly.
Remove drier pieces as they finish. I’m forgetful with projects that run in the background like this, so I set a timer on my phone every fifteen minutes.
Drying Temperature
When I was looking at other tutorials for drying orange slices, I saw lots of temps ranging from 135 degrees (Whose oven even goes that low?) to 250 degrees. I tried drying the oranges at the very lowest setting my oven has (170 degrees F), all the way up to 250 degrees. I had the best luck at 200 degrees F. Anything higher, and the oranges burned; anything lower and one batch took all day.
What’s Considered Done?
You want to remove the oranges slices before they are completely crispy. They’re much too dry to work with at this stage, and they start losing some of their gorgeous color. Crispy oranges are more likely to crumble apart when you’re trying to craft with them.
Pull your fruit out of the oven when the outer skin is hard and the pulp has lost most of its shine. The pulp should be slightly tacky to the touch. The fruit will continue to harden as it cools. And, of course, the orange slices will continue to dry over time.
Should I Wash My Fruit First?
It’s entirely up to you. You don’t need to wash your fruit first. However, there are a few advantages if you do. Once you’ve dried all of these citrus slices, not only will you have a great crafting material, but the dried orange slices will be edible.
Of course, I don’t mean you should eat them like chips. But they do make beautiful garnishes in cocktails. The dried orange slices also look lovely floating in your Christmas punch. Add a few to a batch of homemade mulling spice mix to create texture and add visual appeal.
How Long Will My Orange Slices Last?
As I mentioned previously, the slices don’t need to be completely dry when you use them. The orange slices will continue to dry as time passes. Once they’re completely dried, they will last for years.
Unfortunately, their color often fades over time, especially if you hang them in the sun. So, this is one craft that you might want to consider making an annual tradition. After the holidays, you can hang your (plain) citrus decorations outside for birds and squirrels to enjoy.
Okay, let’s get this party started.
Ingredients
- Oranges and other citrus fruits
Tools
- Baking/Cooling rack
- Sharp carving or filet knife
- Cutting Board
- Kitchen Towel
Crafting Tools
- Twine or ribbon
- Large-eyed needle
- Baker’s twine or butcher’s string
- Glue gun
- Decorative items like wooden beads, cinnamon sticks, star anise, and bay leaves
Instructions
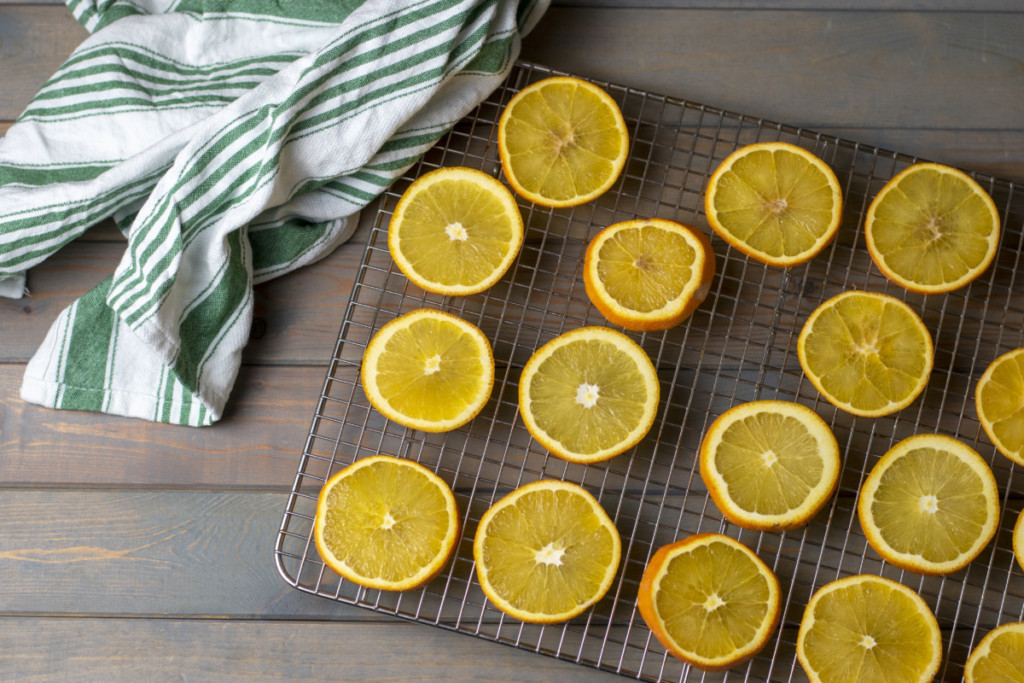
- Preheat your oven to 200 degrees F. Slice the fruit to 1/4” to 1/8” thick. Pat the slices dry with a clean kitchen towel and arrange on a baking rack. Allow one centimeter between slices for good airflow.
- Place baking rack in the oven and set a timer for 30 minutes. After thirty minutes, flip the orange slices over. Flip the fruit over once more after another thirty minutes.
- After about two hours, begin checking the orange slices more often. I checked mine every twenty minutes or so.
- When the slices are almost completely dry, remove them from the oven and cool them on the rack.
What to Do with Dried Orange Slices
You can keep it pretty simple or dress up your finished fruit.
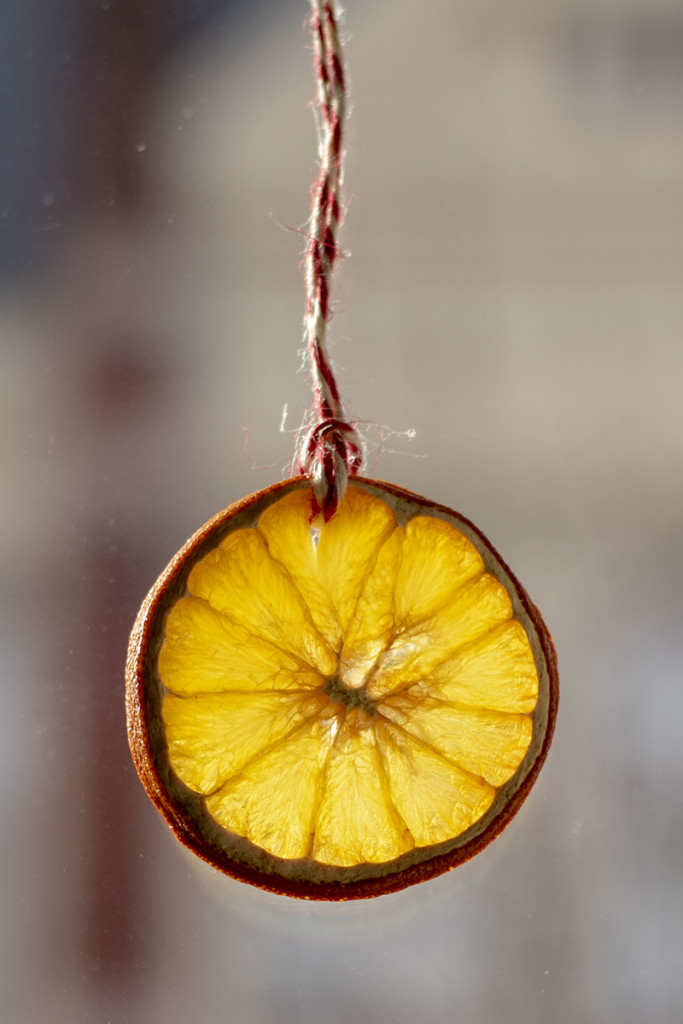
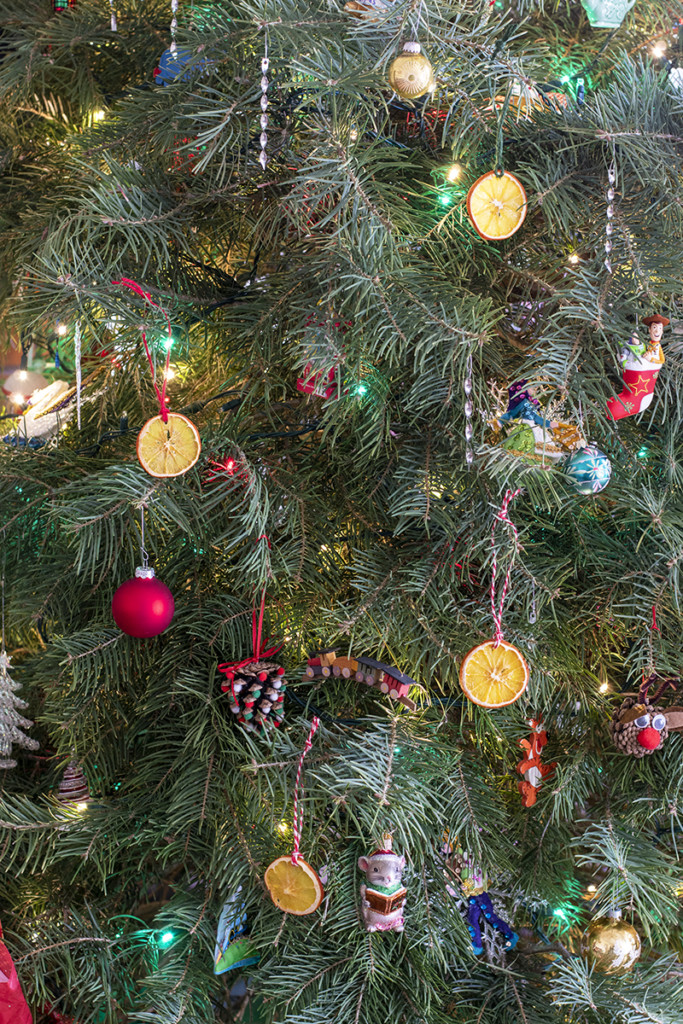
Simple Citrus Ornaments
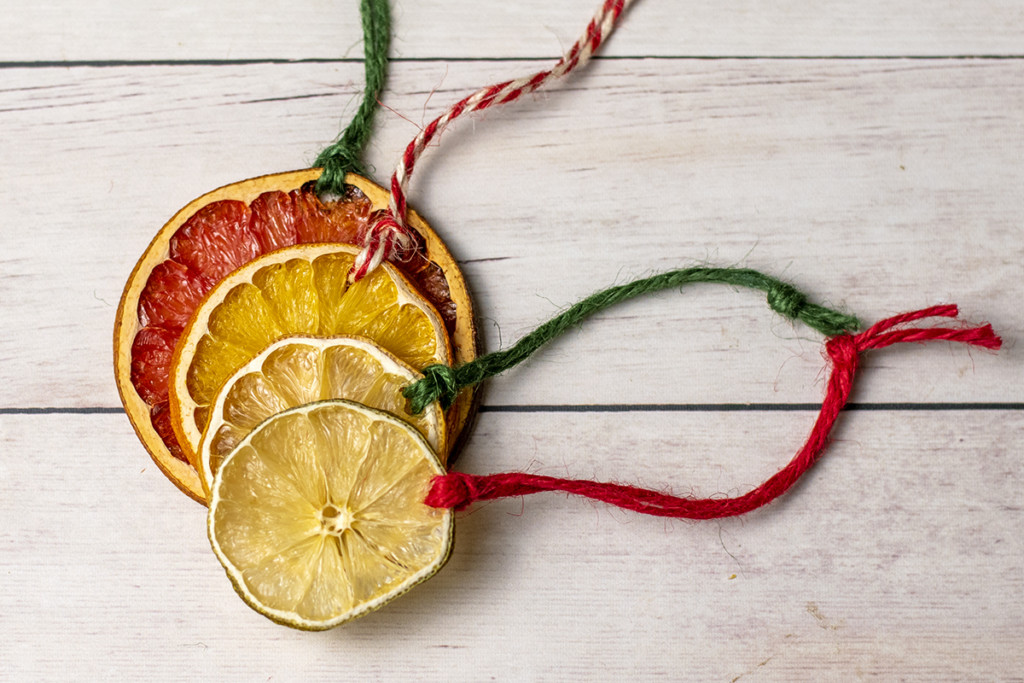
For simple, rustic looking ornaments, poke a hole in the rind near the skin and thread a bit of twine through. These beautiful ornaments look lovely on the Christmas tree, especially when placed in front of a light.
Something a Bit More Fancy

Raid your spice rack to create these stunning orange slice ornaments. Hot glue bay leaves, cloves, cinnamon sticks, cardamom pods, or star anise to create beautiful patterns. Thread a wooden bead or two onto the twine loop and hang them on your Christmas tree. Attach them to gifts to dress up packages.
Dress up Evergreen Wreaths

Whether you make your own wreath or purchase one, you can add a bit of citrus flair to it with a few dried orange slices.
Make a Citrus Slice Wreath

Skip the evergreens and make an entire wreath out of dried citrus fruit. Use different types of fruits, so you have lots of different sizes, colors, and textures.
To make this wreath, I laid out a base circle of larger slices and then hot glued additional pieces filling out the wreath shape.
Attach a bit of twine at the top to hang the wreath. Add interesting contrast with cinnamon sticks or star anise.
Forget your front door and hang this gorgeous wreath in a window where it can catch the sunlight.
Orange Slice Garland

A plain garland made of dried orange slices is a staple Christmas decoration for many. It’s not hard to see why; this simple garland goes with any décor, and it’s so easy to make.
Use a large-eyed needle and baker’s twine or butcher’s string to thread your dried orange slices.
Keep it simple and understated, or get fancy and add cinnamon sticks, pine cones, star anise, small bows, or wooden beads.
Make a garland big enough to go around the tree or use it to decorate the handrail on the stairs.
Not only will these stunning pieces add natural beauty and charm to your home, but their citrus scent will also perfume your holidays. Plan a day of citrus crafting with your kiddos or a few friends. And enjoy the wonderful smell of baking citrus in your home all day long.
And if you’re looking for even more nature-inspired Christmas decorations, look no further.
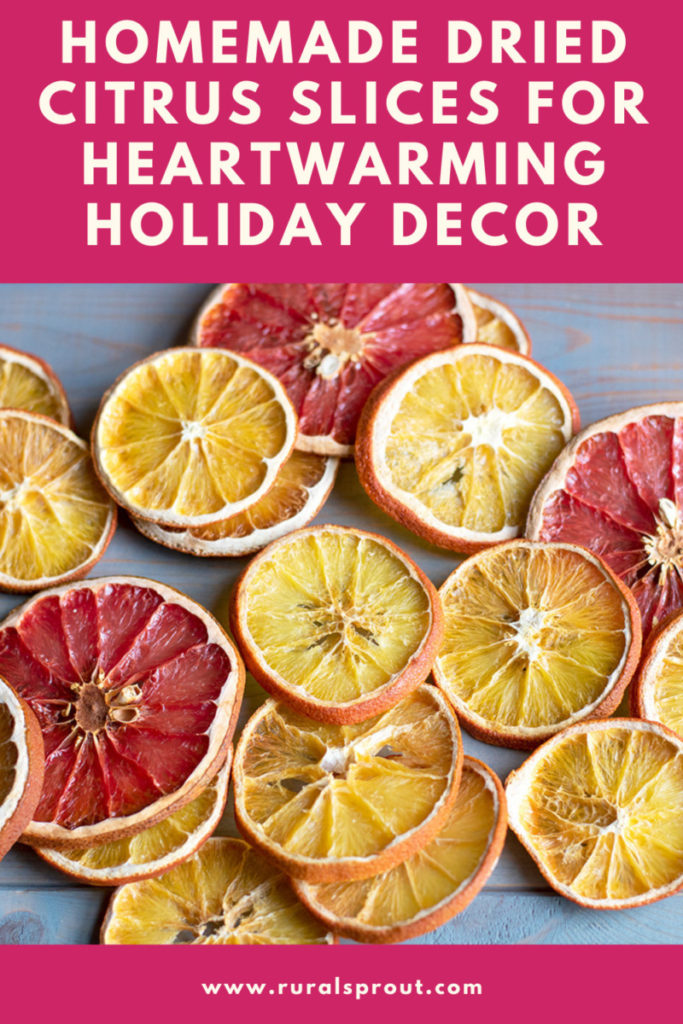
Homemade Dried Orange Slices
Drying oranges (and other citrus fruit) is a great Christmas craft. And once they’re finished, you can create beautiful Christmas decorations for your home. Ornaments, garlands, and wreaths are just a few ideas.
Materials
- Oranges and other citrus fruits
Tools
- Baking / cooling rack
- Sharp knife
- Cutting board
- Kitchen towel
Instructions
1. Preheat your oven to 200 degrees F. Slice the fruit to 1/4” to 1/8” thick. Pat the slices dry with a clean kitchen towel and arrange on a baking rack. Allow one centimeter between slices for good airflow.
2. Place baking rack in the oven and set a timer for 30 minutes. After thirty minutes, flip the orange slices over. Flip the fruit over once more after another thirty minutes.
3. After about two hours, begin checking the orange slices more often. I checked mine every twenty minutes or so.
4. When the slices are almost completely dry, remove them from the oven and cool them on the rack.

Get the famous Rural Sprout newsletter delivered to your inbox.
Join the 50,000+ gardeners who get timely gardening tutorials, tips and tasks delivered direct to their inbox.