

Around the middle of the winter, many a gardener starts to get “the itch”. It usually starts when we open our mailbox and find that first seed catalog.
Right there on the cover is some plump and gorgeous vegetable, center stage reminding us that warmer days with dirt under our fingernails are just around the corner.
We start dreaming about this year’s garden, and many of us reach for a pad of paper to start planning. Boy, those paste tomatoes did great last year, but that new lettuce we tried didn’t pan out.
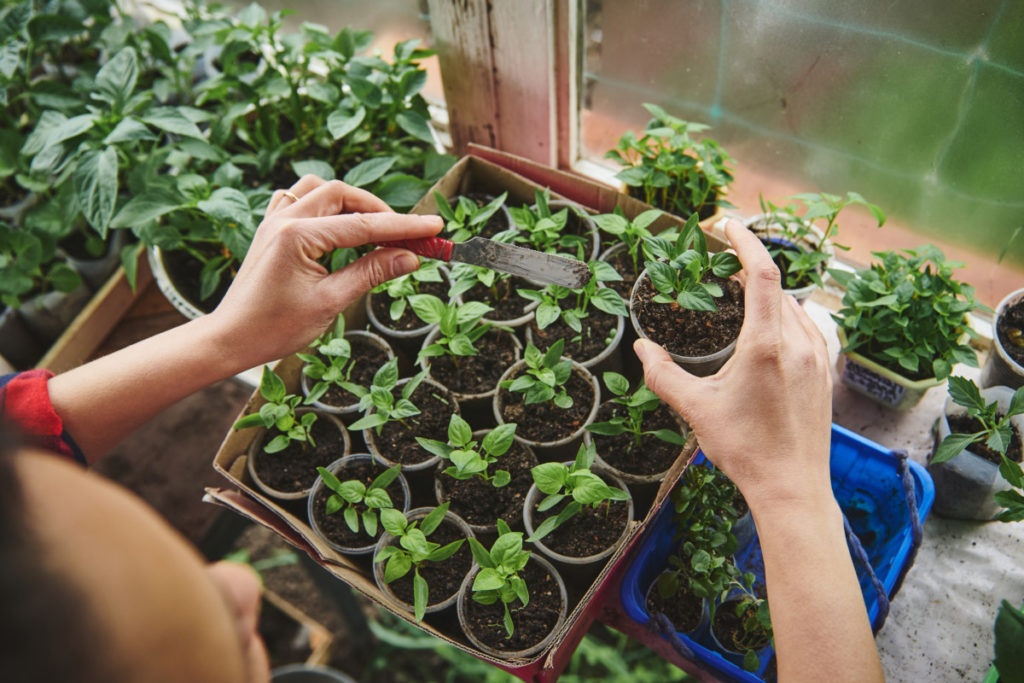
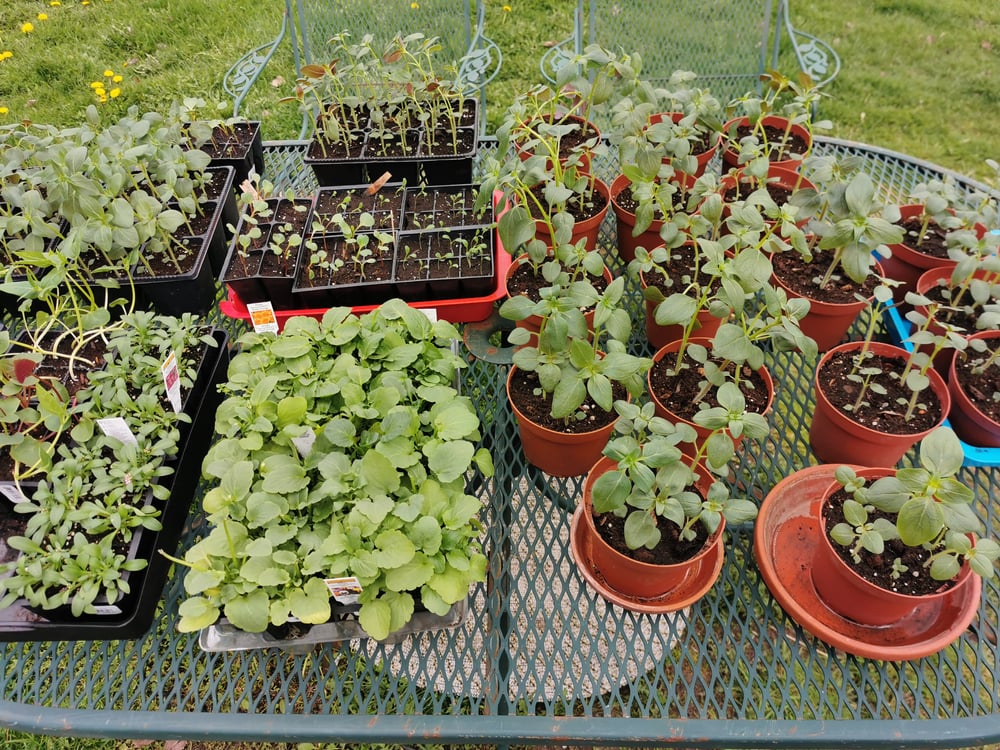
And come mid to late winter, there’s usually seed trays and grow lights crowding out some portion of your living space.
But don’t forget to save a few spots under the grow lights for herbs.
I can’t tell you the number of years we’ve forgotten to start herbs along with our vegetable seedlings.
Why start herbs from seed?
Plenty of folks choose not to start herbs from seed, preferring to buy nursery starts. But if you’ve got quite a few herbs planned for your garden, buying those small potted plants can add up quickly.
Perhaps you want to grow something specific, an herb that’s tough to find in most garden centers, like horehound or lovage. It makes sense to start these types of herbs at home; that way, when it comes time to plant, you know you’ll have them.
It’s handy, too; if you’re already starting vegetable seeds, it makes sense to start herbs right alongside them. Save yourself a little money.
Related Reading: 15 Vegetable Seeds To Sow In January Or February
And then some of us gardeners are just weirdos who like to do everything ourselves, and we’re always looking for the next dirt challenge. (Hi, friend!)
Sowing In January or February
Most herb seeds suggest starting them 6-8 weeks before the last frost date. That means starting their seeds somewhere around March or April for many folks. But starting your seeds earlier has some great benefits in the long run.
I prefer to start all my herb and vegetable seeds in January because not everything germinates. There’s nothing more frustrating than planting seeds and waiting the amount of time suggested for germination, only to find nothing is coming up. Either the seed has rotted in the soil mix, or it’s a dud.
Starting your seeds early means you still have time for a do-over, maybe even two.
And for the seeds that do sprout immediately, when it’s time to plant them outside, you’ll have a jump on the growing season with larger, more mature plants.
If you live somewhere with a short growing season, starting seeds early helps you maximize your season.
Tips for Starting Herbs Inside
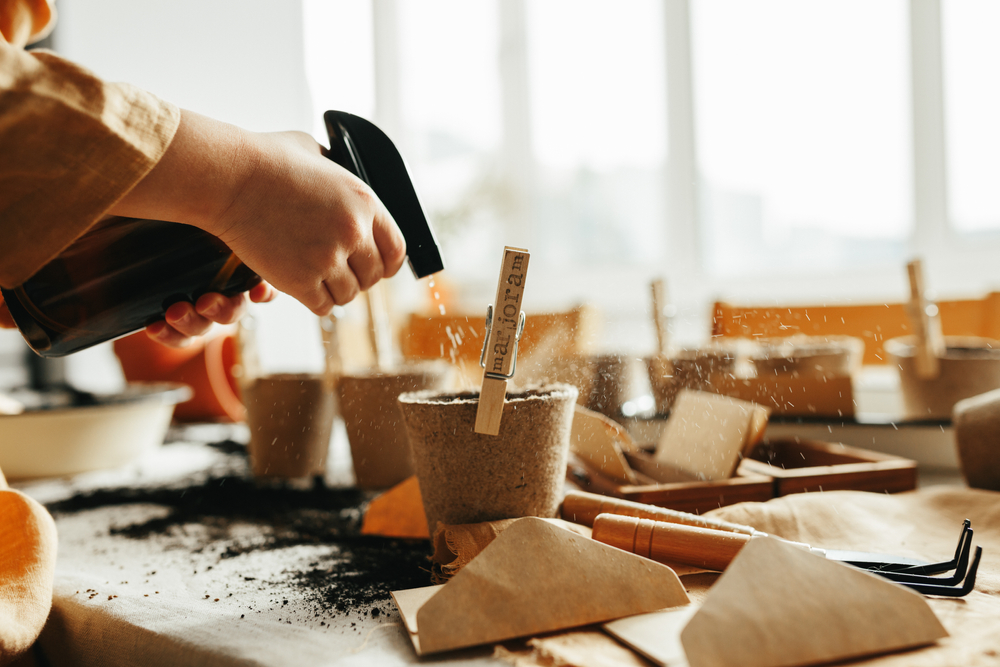
Seed-Starting Mix
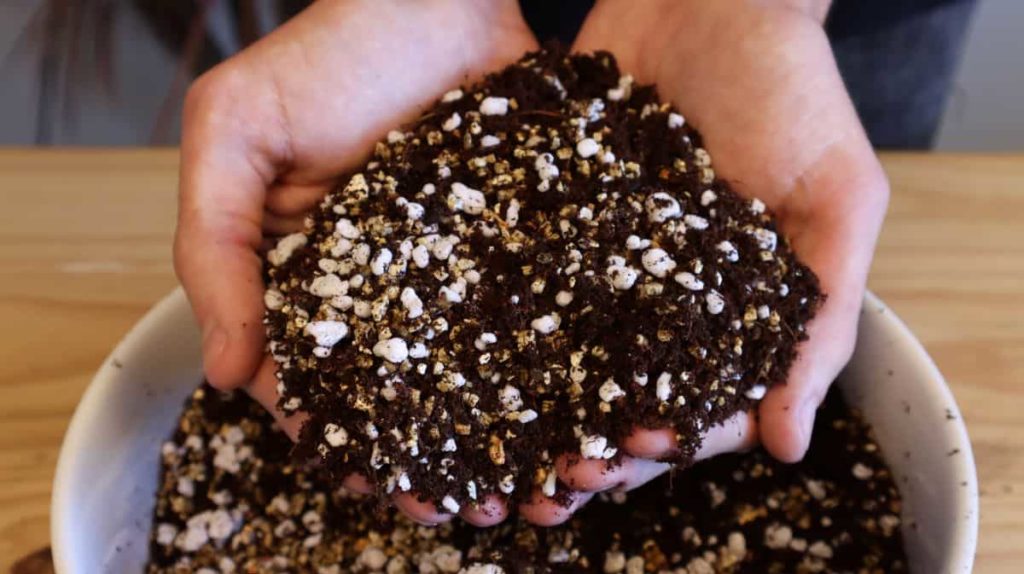
You’ll want to choose a soil-less seed-starting mix for the best results. These lightweight blends give you better germination results.
More and more people are choosing to purchase peatless mixes. Peat moss is one of the most important carbon sinks on the planet, holding around 30% of the earth’s stored carbon. But farming peat to use in potting soil releases that carbon back into the atmosphere, and it destroys the bogs. Not good!
If you’re interested, Lindsay wrote an excellent piece about peat moss problems, and she gives some great alternatives to use instead.
4 Reasons To Stop Using Peat Moss & 7 Sustainable Alternatives
If finding a peatless seed starting mix locally is proving tough, Madison has you covered –
How To Make A DIY Seed Starting Mix (No Peat!)
Pre-Moisten Your Mix
You’ll want to add water to your seed-starting mix before you divvy it up in the seed trays. Add water and mix it in, then let it sit. Then add a bit more water, mix, etc. The mix should feel a bit like you’re squeezing a sponge when you’ve added enough water. It should be damp but not dripping wet.
Don’t Poke a Hole
Many instructions for starting seeds advise you to poke a hole in the mix and drop your seeds into it. I’ve had much better germination rates since I stopped this practice.
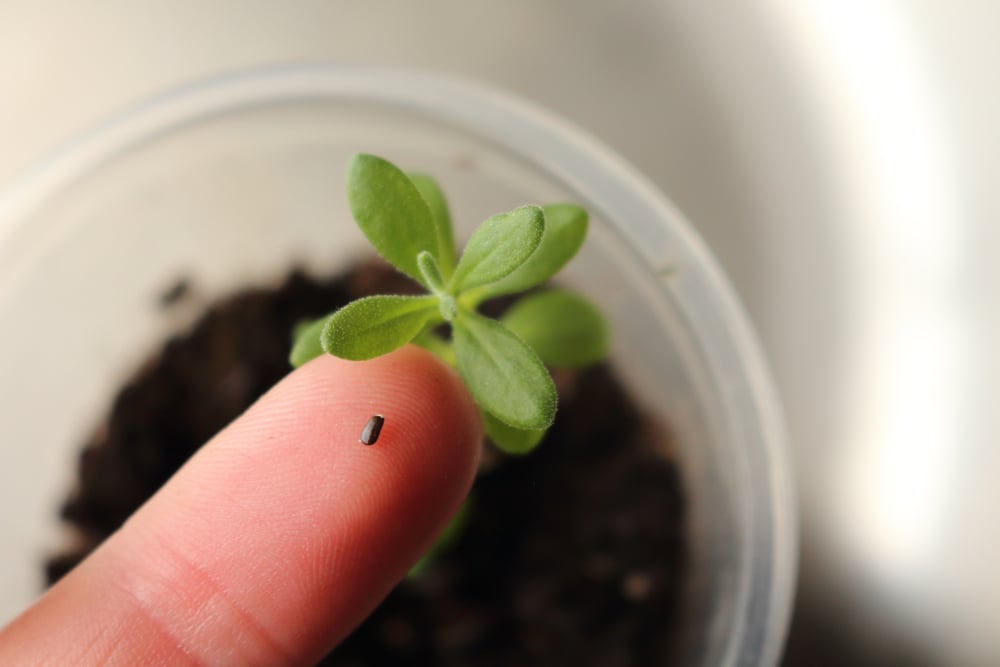
It’s far easier when working with tiny seeds (and most herb seeds are) to sprinkle them on the surface of the seed-starting mix and then cover it with the recommended seed planting depth.
Plant Several Seeds

I used to be that person that would put one seed in each cup or cell of a seed-starting tray. Then I got wise. Sprinkle a few seeds in each cell, you’ll have a better chance of germination, and you can thin out the plants once they begin to grow.
Watering Seeds & Seedlings
After carefully planting seeds to their correct depth, there’s nothing more disheartening than watering them and watching them run all over the place in the deluge.
When dealing with seeds and seedlings, it’s best to spray them with a fine-mist spray bottle. Not only does this prevent the seeds from being unearthed, but it provides new seedlings with plenty of humidity as well.
Once the seeds have sprouted, my preferred method of watering is underneath. Adding water to the tray the seed starting cells sit in allows each cell to soak up what it needs. I dump any standing water once I see that all of the cells are moist.
You can do the same if you aren’t using seed-starting trays, so long as your vessel has a drainage hole. Simply set your pots, cups or whatever you’re using in a shallow dish with water.
Germination Requires Heat
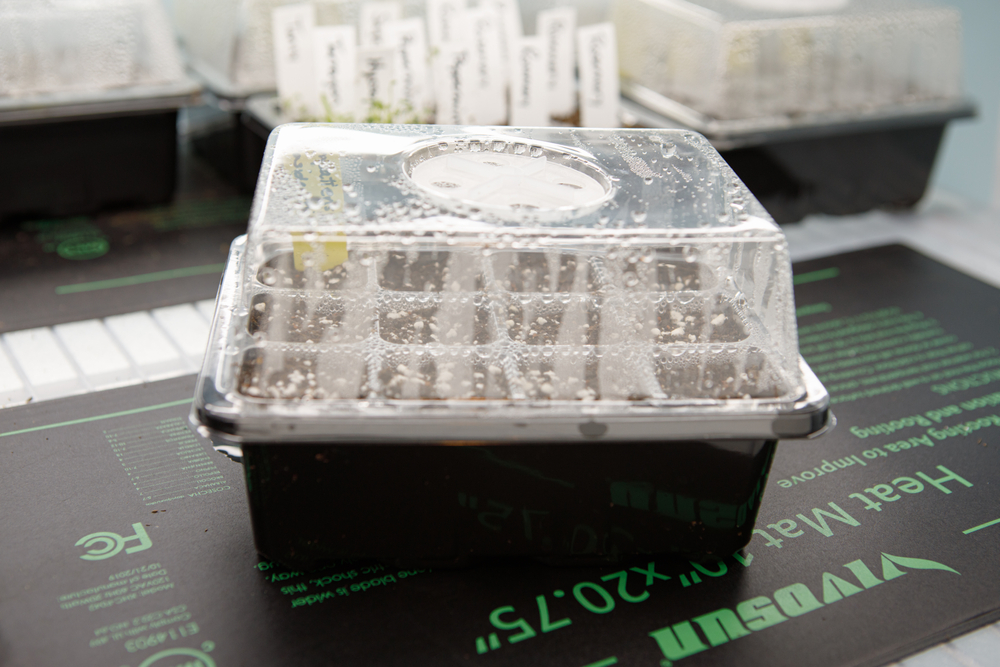
Many seeds won’t germinate if it’s too cold; again, this is a reason to start seeds indoors. You can get even greater germination rates using a seed starting heat mat. These mats go directly under the seed trays and provide consistent, gentle warmth to the soil.
Lindsay rounded up some of the best seedling heat mats in her article here.
Light, Light, Yup, More Light
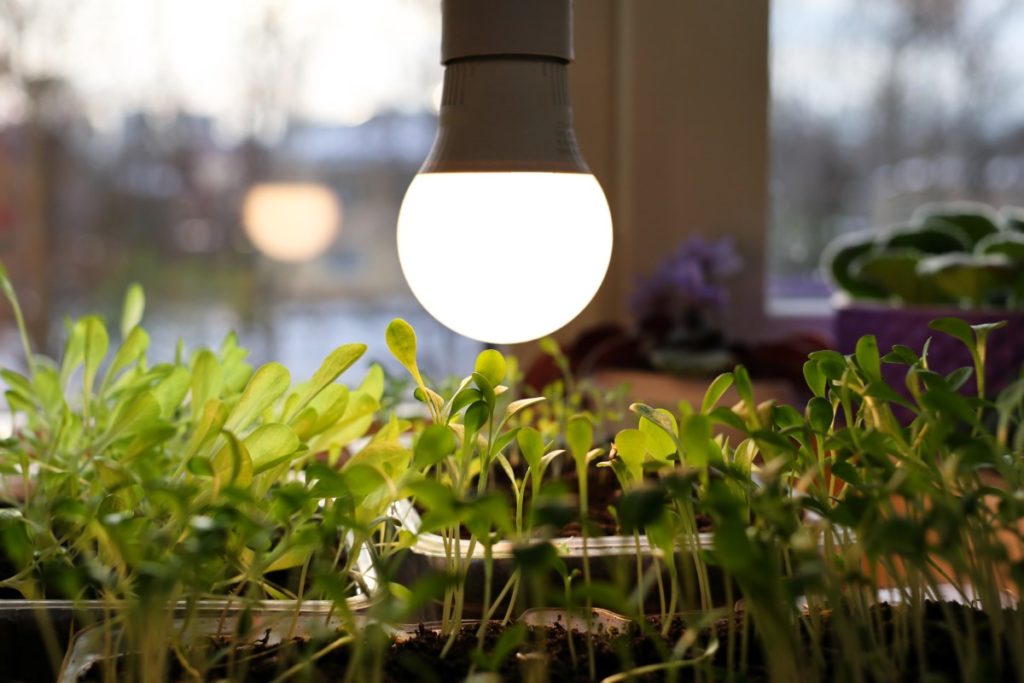
Seedlings, especially herbs, require bright light to grow strong without becoming leggy. A bright southern or western-facing window should be plenty when germinating your seeds. However, once your seeds have sprouted, you’ll want to supplement with grow lights.
Whether you choose more traditional fluorescent setups or opt for LEDs, you’ll want to keep the lights relatively close to the developing seedlings. Around 4” above them is a good rule of thumb.
Pinch and Grow
To prevent leggy herbs and ensure your mature plant is bushy with plenty of foliage, pinch off the top set of leaves after your seedlings begin to produce lateral leaves. This will encourage more lateral growth and give you a nice bushy plant.
Harden Off
After all of your hard work growing your herb seedlings, don’t forget to take the time to harden them off before transplanting them outside.
Hardening off seedlings is when you take them outside for a few hours at a time as the weather becomes milder. Start with a short period, say half an hour, and slowly add more time.
Don’t forget to protect vulnerable seedlings from wind, direct sun or rain while you’re hardening them off. It only takes a week of consistent hardening off to prepare seedlings for the great outdoors.
Okay, let’s look at herbs that are great for getting an early start.
1. Thyme
This culinary favorite provides a wonderful and distinct flavor to so many dishes that it deserves a spot in any herb garden.
Because thyme is a relatively slow grower, starting it inside early will ensure you’ve got a decent-sized transplant ready when your spring growing season starts.
And like many herbs, the seeds are quite small, so starting them in a controlled (not windy or rainy) environment means better germination rates.
Thyme seeds require a consistent temperature of around 60-70 degrees to germinate. Their germination time varies wildly, from a week to twelve weeks depending on the variety, making thyme an ideal early start candidate. Just remember to be patient.
For more information on growing thyme, be sure to read: How to Grow Thyme From Seed, Cuttings Or Starter Plant
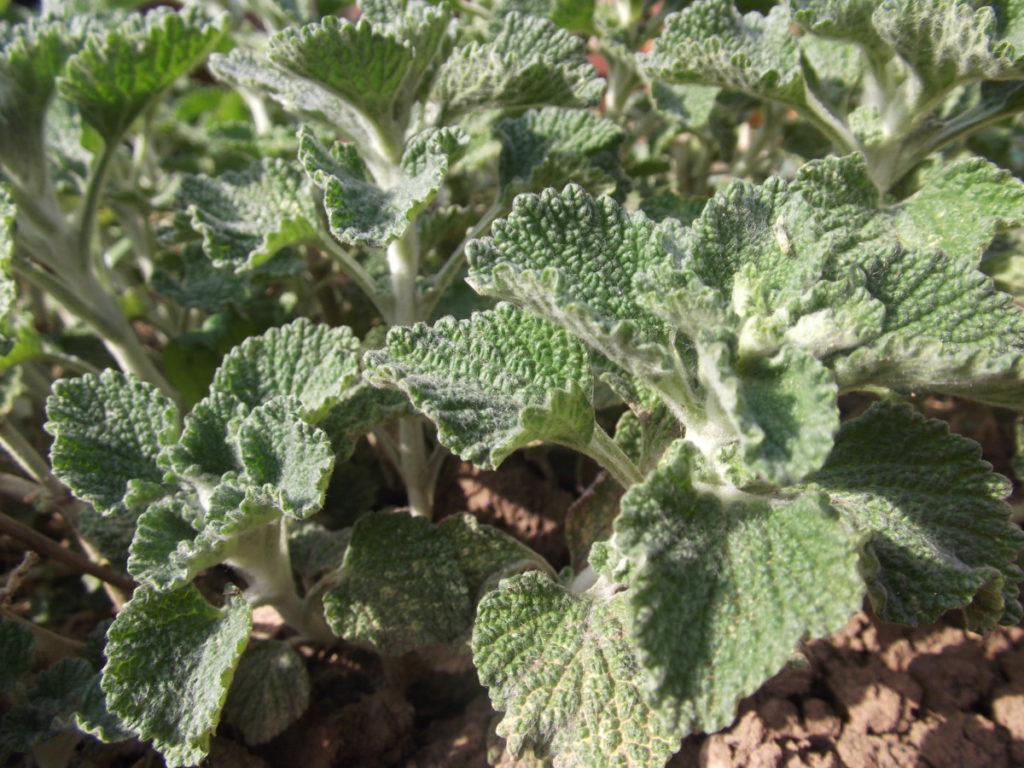
2. Sage
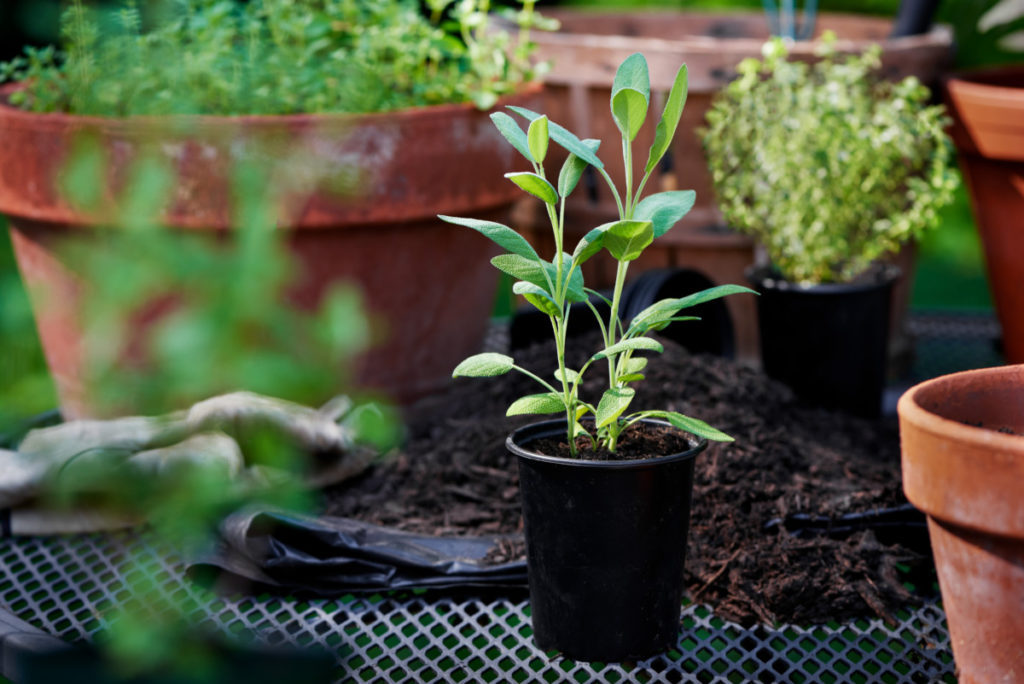
It’s hard to smell sage and not think of Thanksgiving and stuffing. Dang, now I’m hungry.
Because sage takes a long time to germinate, it’s a candidate for getting a head start. But your patience will pay off when you see those tiny green sprouts emerge from the potting mix.
Sage needs light to germinate, so your best bet is to plant it on top of the soil and don’t cover it. You can also soak the seeds in water for about twelve hours before planting them. Soaking improves germination times and can often give you better germination rates too.
Consider covering your seed trays with plastic wrap while waiting for the seeds to germinate, as this is the best way to provide adequate and consistent moisture. Once your sage has germinated, you can remove the plastic wrap and mist the seedlings while they grow.
And if you think sage is only for Thanksgiving, I’ve got 12 Reasons To Grow Sage In Your Garden.
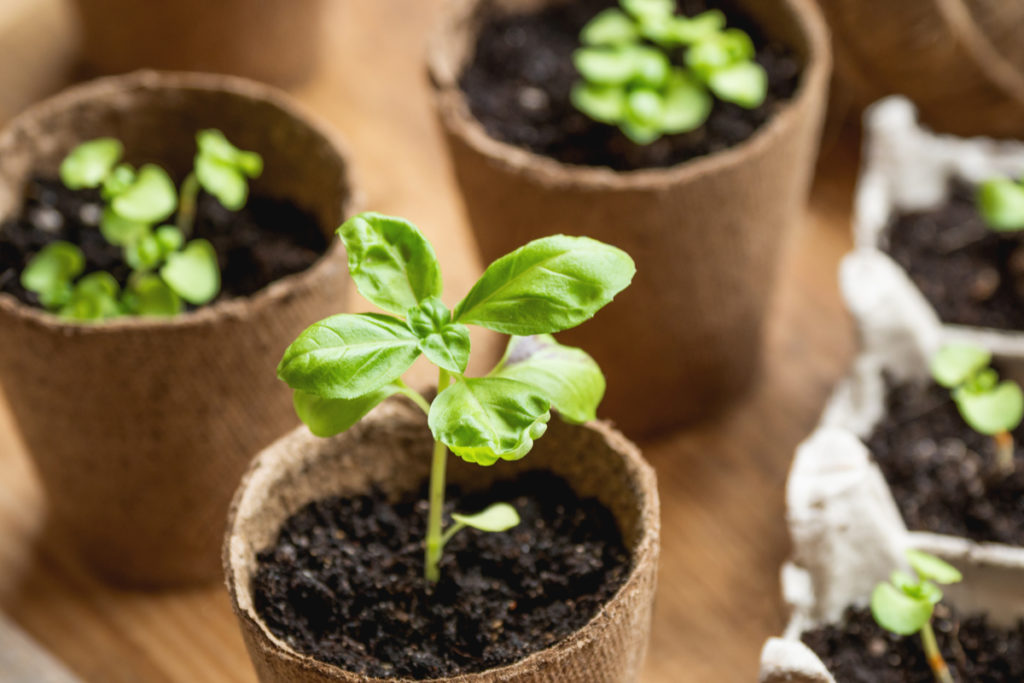
3. Basil
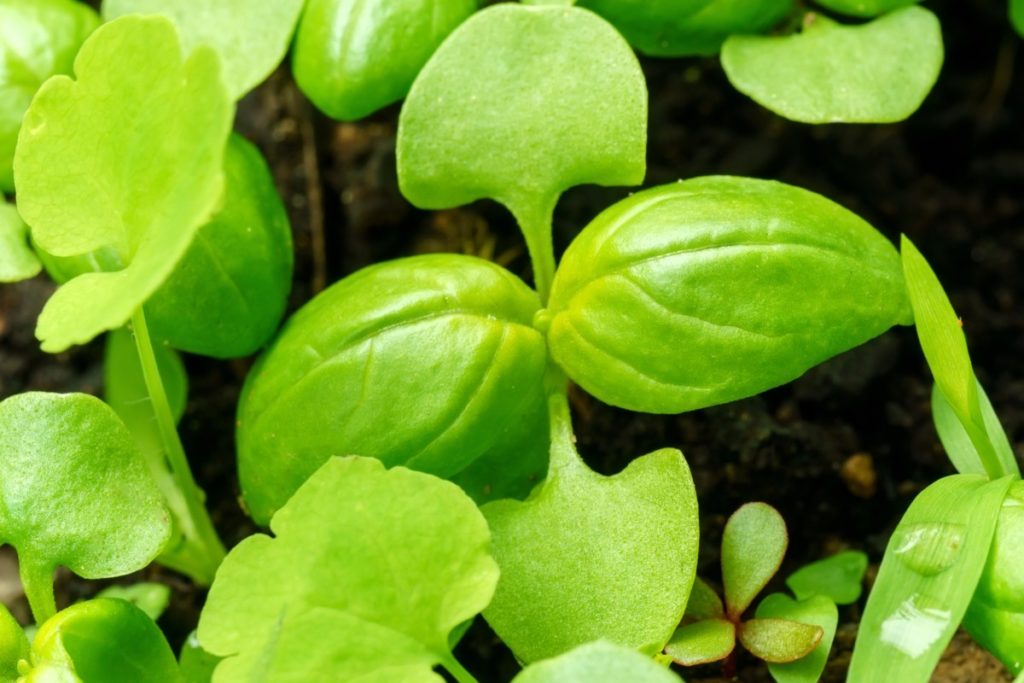
My biggest reason for growing basil from seed is because you can never have too much of it. Forget spending the money on 3 or 4 (or 6 or 8) nursery starts when you can grow them yourself.
Basil is quick to germinate, but you need to provide warm, moist soil, around 70 degrees. You’ll see sprouts in about a week. Don’t panic if they take a little longer.
Once your basil sprouts, the best thing you can do for it is providing lots of bright light. Grow lights really help with basil.
Basil can be especially leggy if not grown correctly. Lucky for you, we’ve got a great guide on how to grow massive, bushy basil plants. And once it’s growing, it’s important to know how to prune basil, so it stays huge.
4. Parsley
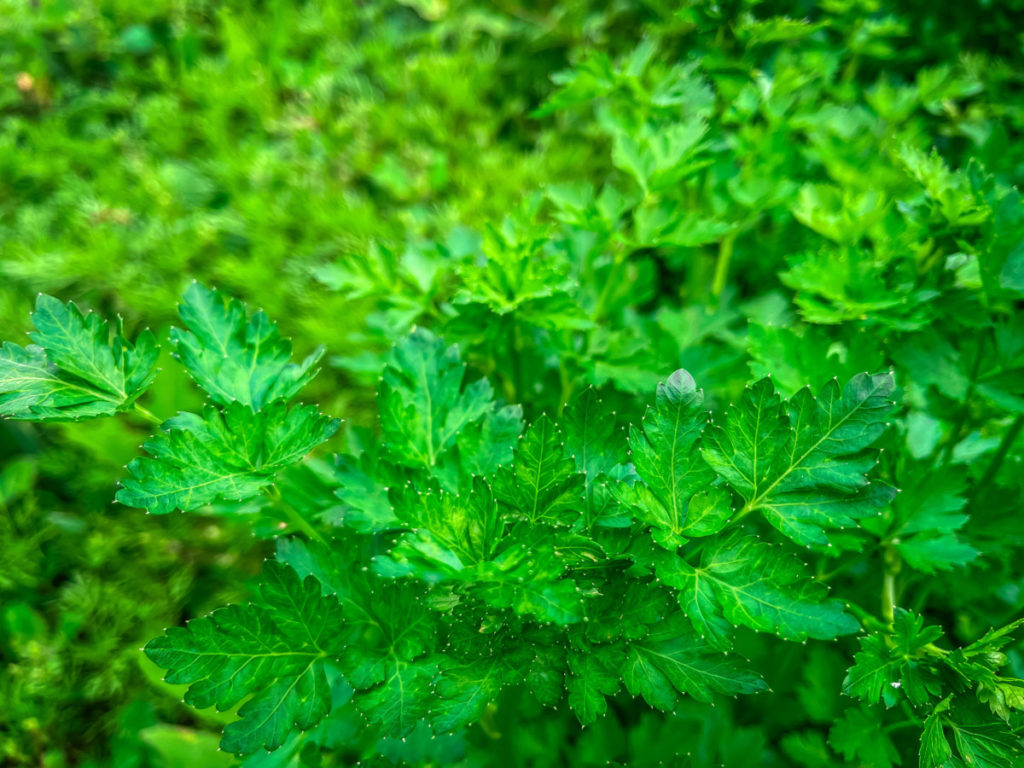
Like many herbs on this list, parsley is a great herb to start early because it can take up to three weeks to germinate. You can give the seeds a jump start by soaking them in water for 8-12 hours before you plant them.
Give your parsley seeds a nice humid environment, and they should sprout just fine.
While most people don’t think to do so, letting some of your parsley go to seed is a great way of saving seeds for next year’s parsley.
How to Grow Massive Bunches of Parsley From Seed Or Starter Plant
5. Oregano
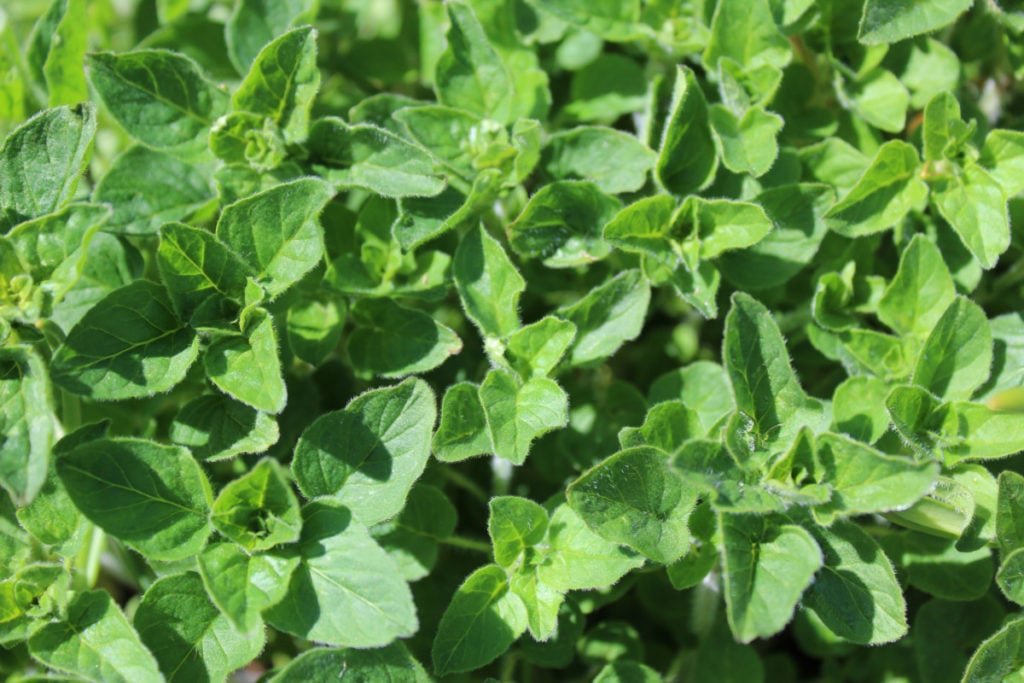
Oregano is another popular culinary herb that benefits from an early head start. The seeds require light to germinate, so you only need to place them on top of your damp seed-starting mix. Mist them well, and then cover the container with plastic wrap.
Keep your oregano seeds warm, around 65-75 degrees, and within a couple of weeks, you should see them peeking up through the soil. Once your oregano has germinated, you can remove the plastic wrap.
8 Brilliant Uses For Oregano + How To Grow & Dry It
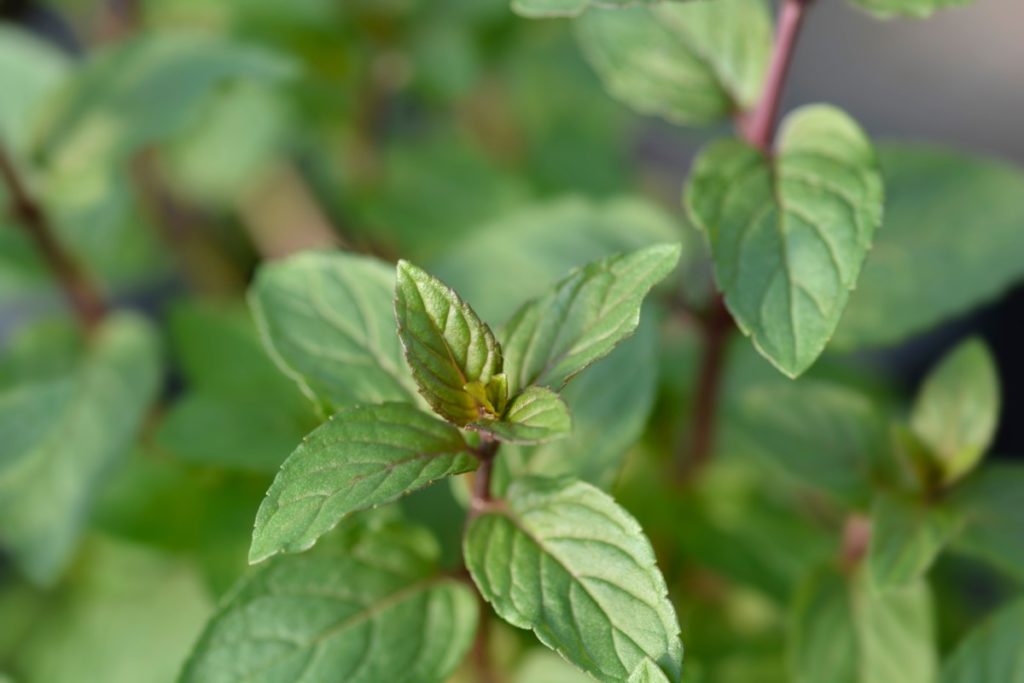
6. True Mint
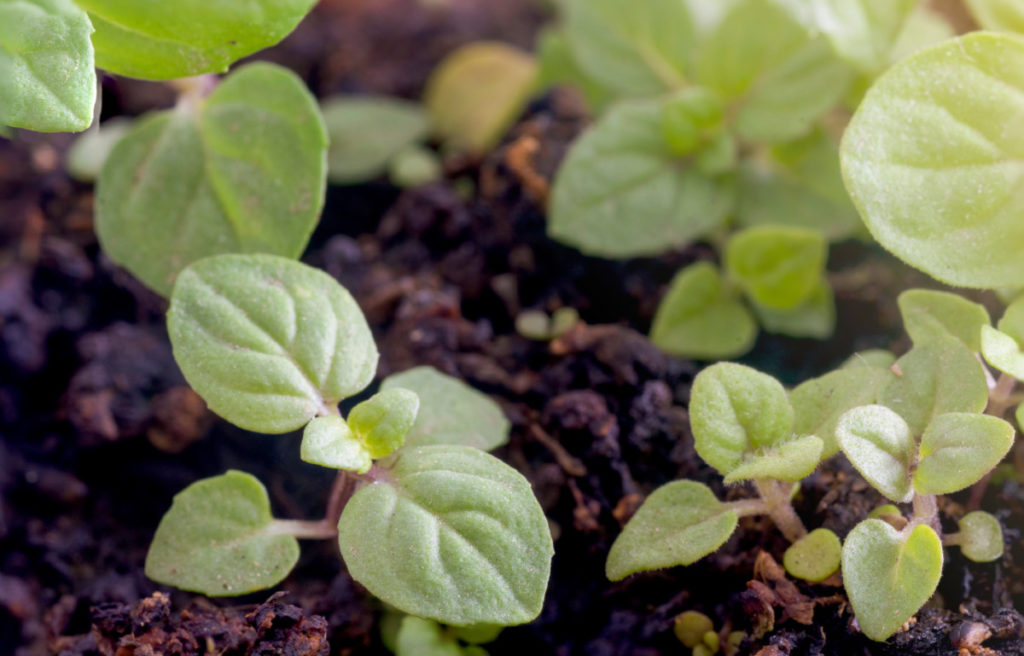
You’ll see my note below about flavored mints, but if you want to grow mountain mint, peppermint or any other type of true mint, you can start it indoors to get a jump on the season.
Mint needs light to germinate, so don’t cover the seed; however, you may wish to cover the container with cling wrap to keep in moisture.
Be patient, as mint can take a couple of weeks to sprout. And like most of these, you’ll need to give it temps of around 65-70 degrees.
Related Reading: 16 Reasons To Grow Mint (Without Fear Of It Taking Over Your Backyard)
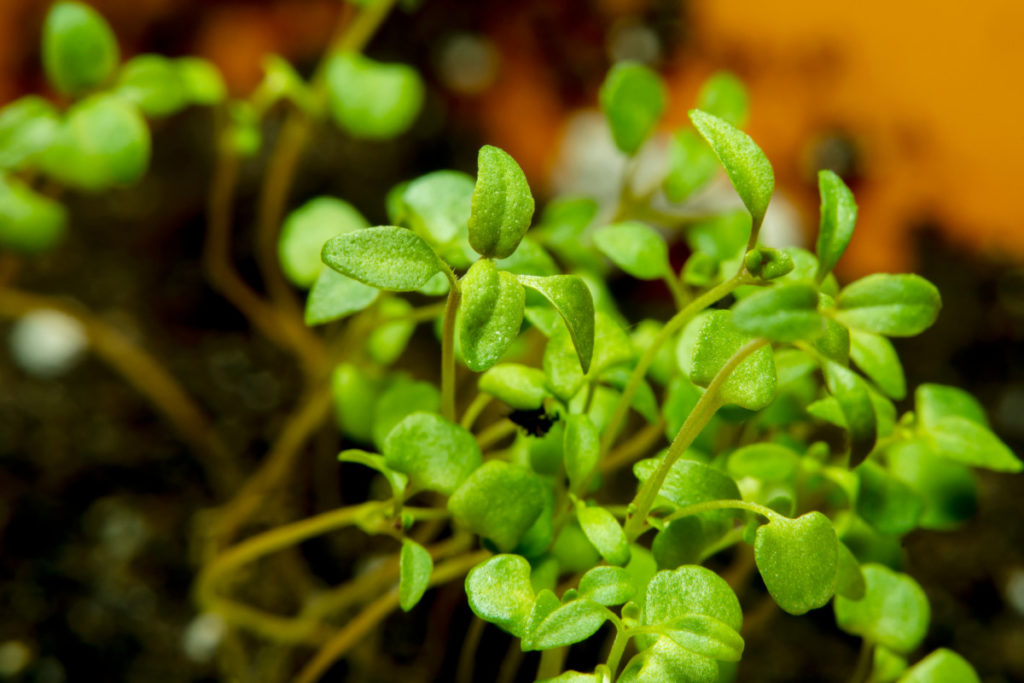
7. Lemon Balm
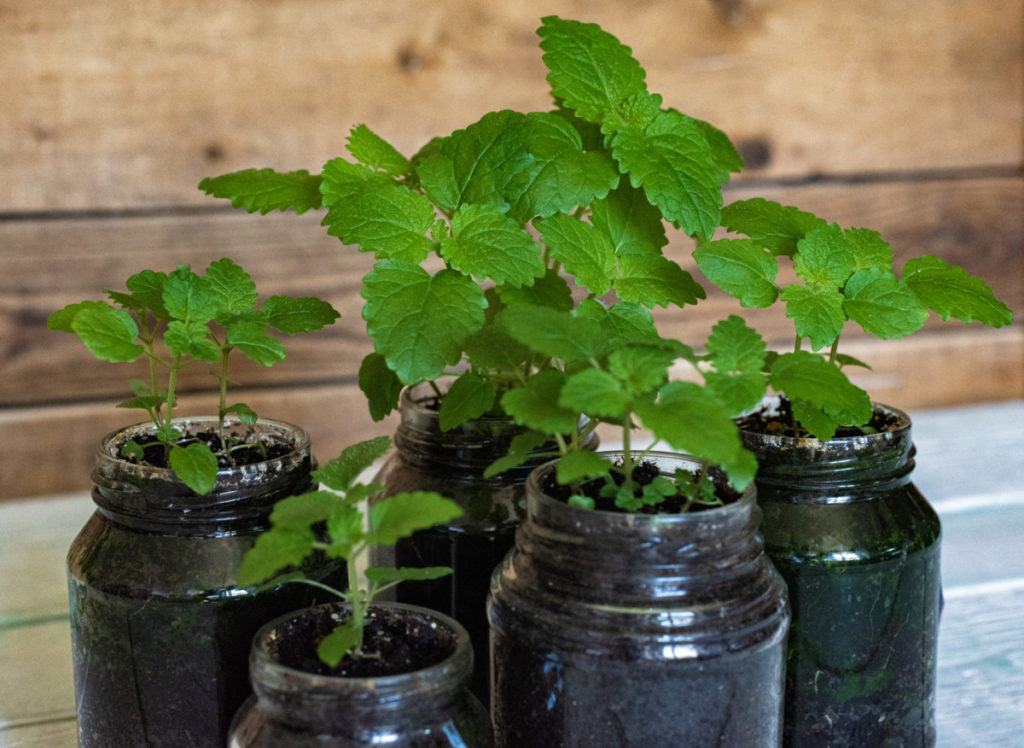
Lemon balm is another seed that takes a while to germinate, around 2-3 weeks, and as I mentioned initially, starting them early leaves room for do-overs.
You’ll want to keep the temperature between 65-75 degrees to ensure germination, and you don’t need to cover the seed, as lemon balm requires light to germinate. (Anyone else noticing a theme with herb seeds?)
Of course, if you start lemon balm inside, you may never have to do so again, as it’s a great self-sowing herb once you plant it outside.
Lindsay has a great article that goes into further detail about how to grow lemon balm: How To Grow & Harvest Lemon Balm: The Total Guide
8. Chives
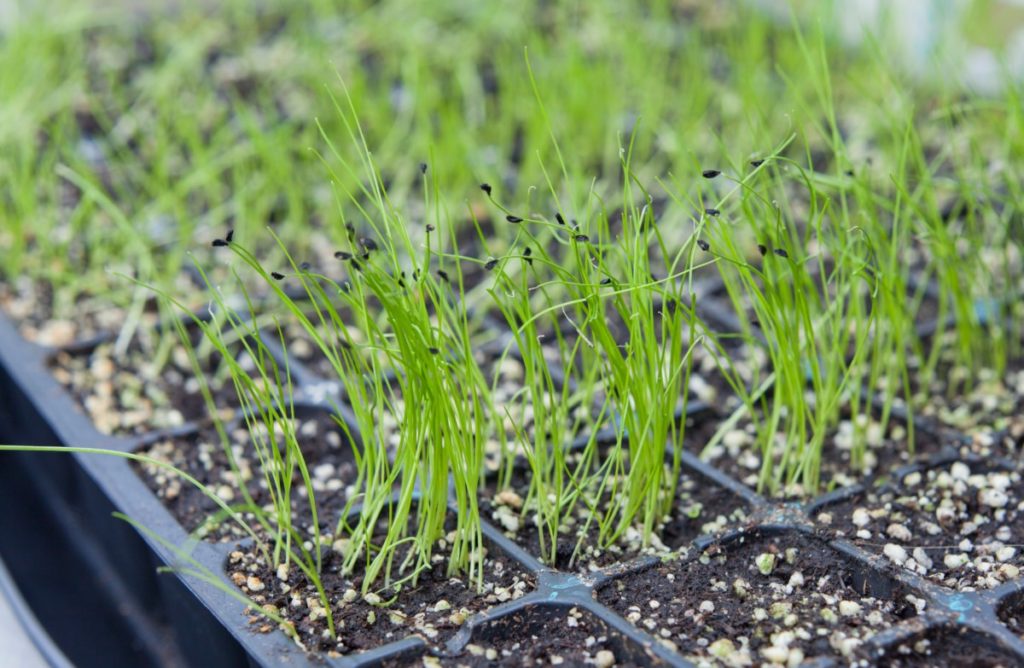
These spicy and oniony herbs are so easy to grow from seed and transplant; why wouldn’t you want to give it a try?
Chives need to be kept in the dark to germinate; cover their cells with a piece of newspaper or craft paper to block out light. They like temperatures around 70 degrees and can take up to two weeks to sprout. Once your little chives have sprouted, remove the newspaper and give them plenty of bright light.
They are pretty sturdy despite their fragile appearance, and transplanting them is a breeze. Simply remove the whole mass from each cup or seed cell and transplant the entire plug in your garden.
The best part is if you find yourself with more chive seedlings than you know what to do with, you can snip them and use them right away.
9. Uncommon Herbs
As I mentioned above, if you enjoy less common herbs, it’s best to purchase the seeds and grow them for yourself. Whether you’re branching out in the kitchen with new flavors or you’re committed to growing a medicinal herb garden, being your own nursery ensures you don’t come up short when the planting season is in full swing.
Before you go moving all of your lovely herbs outside, consider repotting some of those seedlings into pots and growing them indoors.
Cheryl wrote up a brilliant article about herbs that do particularly well indoors and how to grow them.
11 Herbs You Can Grow Indoors All Year Round
Herbs You Can’t or Don’t Need to Start Early
There are some herbs where it just makes sense to direct-sow them or purchase them at your local garden center. It’s not that you can’t start them indoors; it’s more that it might make better sense to save your seed-growing space and time for more suited plants.
1. French Tarragon
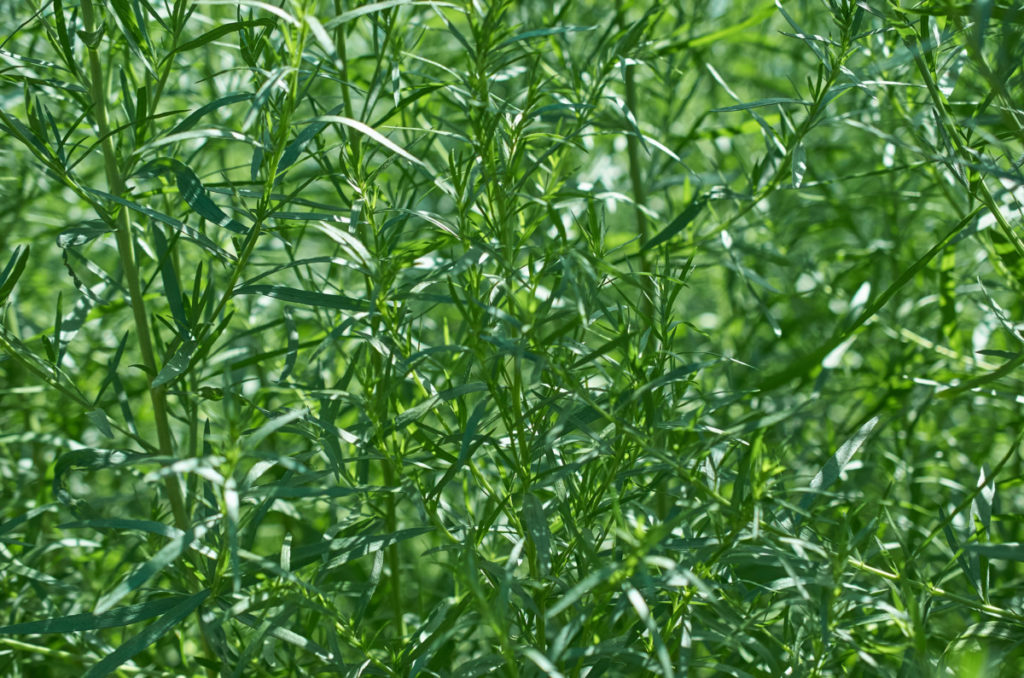
French tarragon is propagated from cuttings or by dividing larger plants. It rarely flowers, meaning there aren’t seeds to plant. If you want French tarragon in your herb patch, you’ll have to get it at the garden center or root it from a cutting.
In fact, here’s a bunch of herbs you can root from cuttings:
15 Herbs to Propagate From Cuttings & How To Do It
2. Cilantro
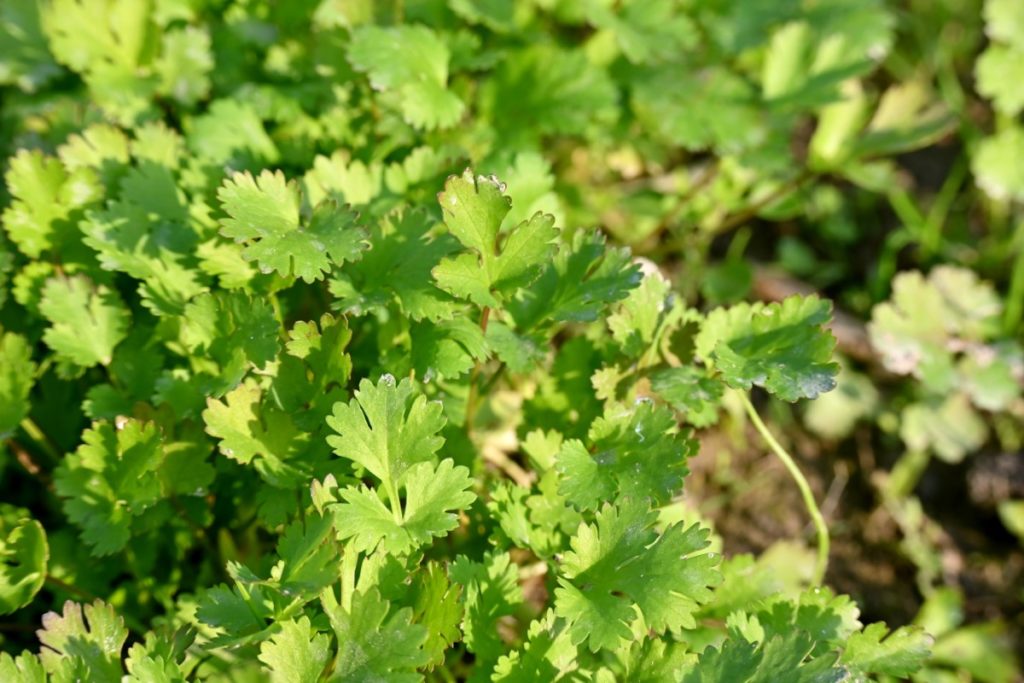
Cilantro is one of those herbs you either love or hate; very few of us are neutral where cilantro is concerned. I love it; my sweetie hates it. What are you going to do?
As for growing it, cilantro does best when it’s planted over a few weeks as it has a habit of very quickly going to seed. It also has a habit of growing quickly, so where this controversial herb is concerned, it’s easiest to plant it once all danger of frost has passed and keep planting more every couple of weeks. That way, you won’t run out of, “Gah! Don’t put that nasty green stuff on my tacos!” anytime soon.
3. Dill
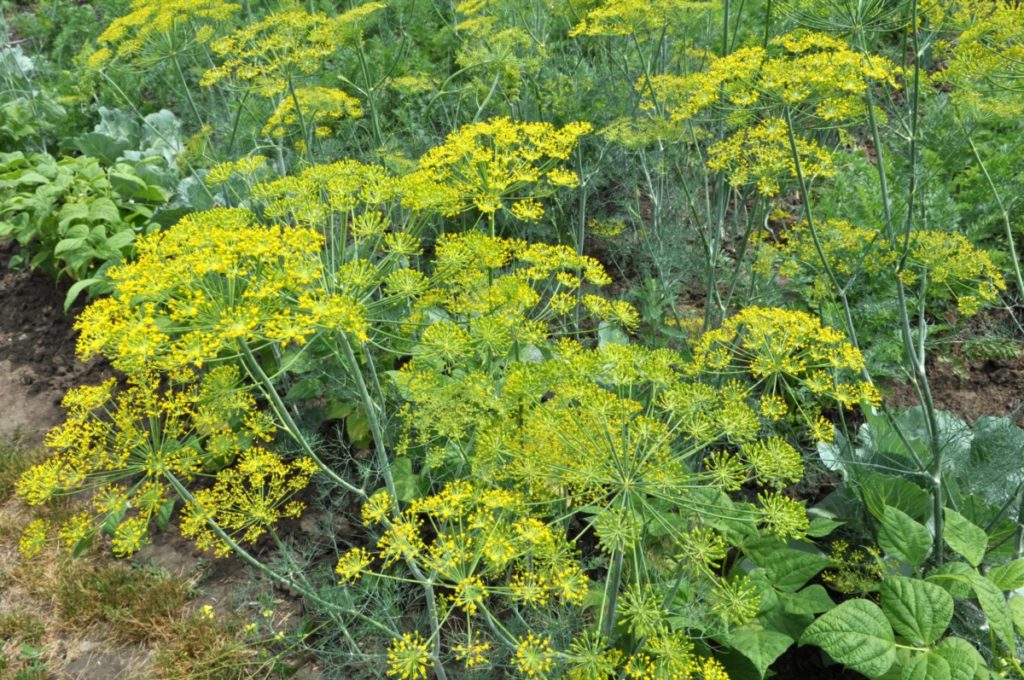
This is another herb that has a way of popping up quickly and taking over. There’s no need to start it indoors. You can simply direct sow it according to the package directions. And the tender young plants don’t often transplant well.
Dill is another herb that is great for succession planting so that you can enjoy it all season.
4. Rosemary
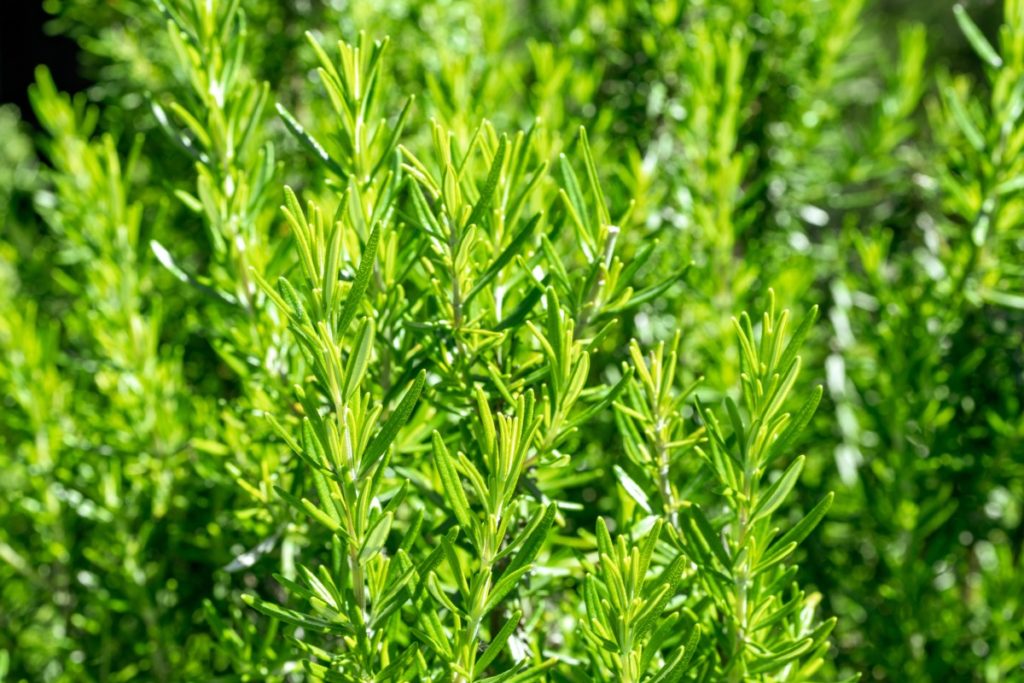
This popular Mediterranean herb is notoriously difficult to grow from seed. For this reason, most nurseries grow it from cuttings.
If you like a challenge, give it a go, but if you want to be sure you’ll have rosemary in the garden this year, skip starting it from seed.
5. Summer Savory
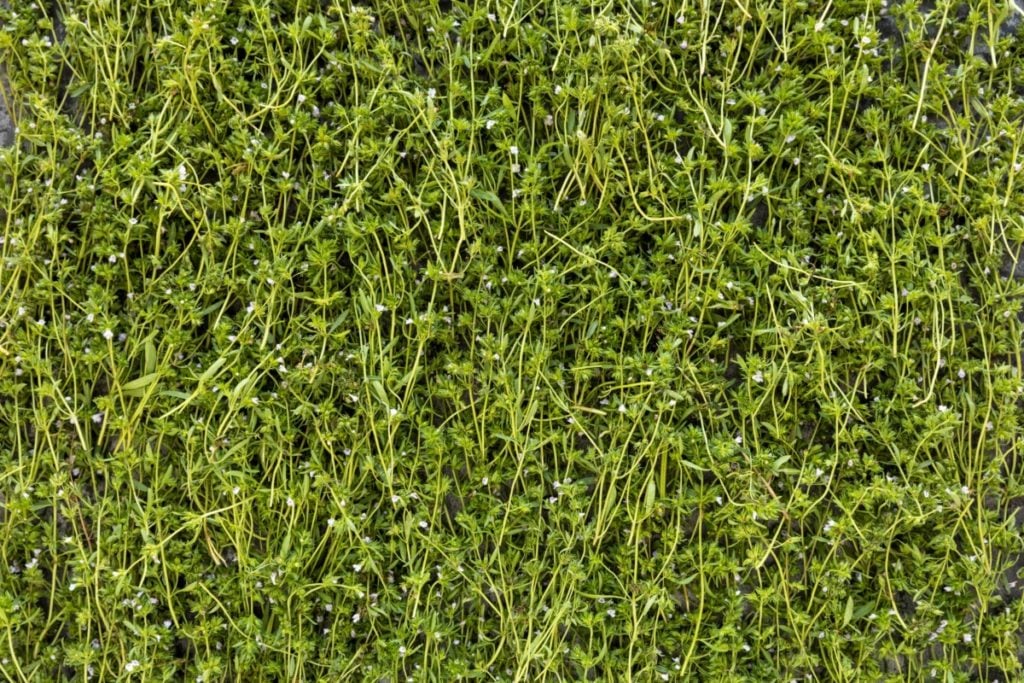
Because summer savory can deal with a bit of cold, it’s easy to plant outside by direct-sowing it.
This member of the mint family pops up and grows quickly, and you can begin using it even when the plant is on the smaller side. Save your indoor seed starting space for other plants.
6. Chamomile
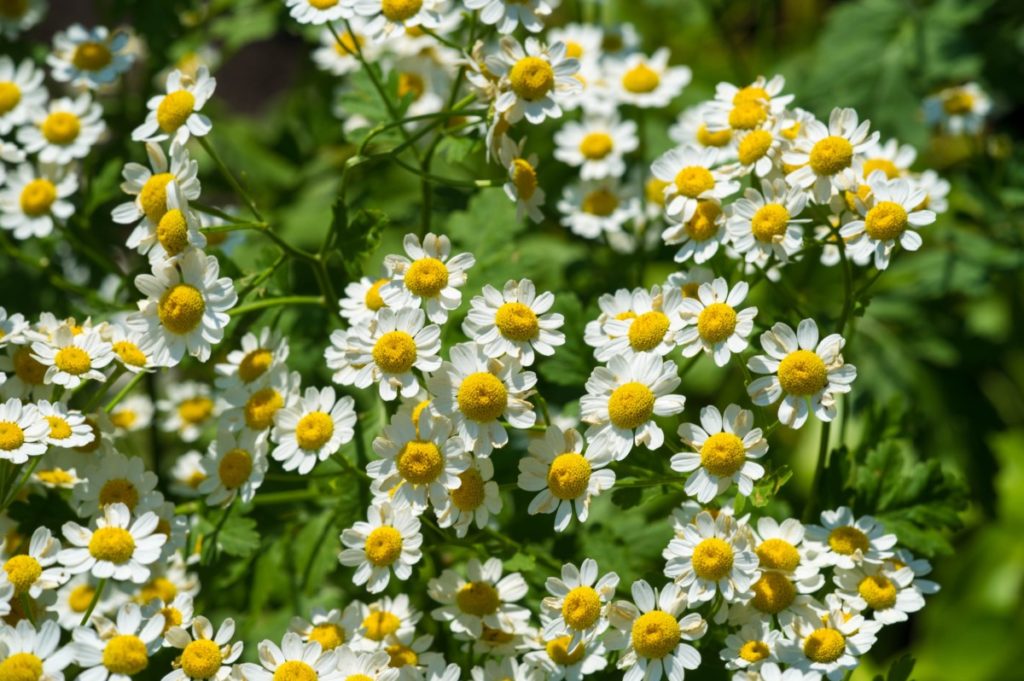
Chamomile is a great herb for direct-sowing, mainly because it will do it for you once it’s established. Sow your chamomile once all danger of frost has passed.
If you let some of the flowers go to seed, you’ll only need to plant chamomile once. It will happily volunteer seed over and over.
Related Reading: 18 Self-Seeding Plants That Will Spread All Over Your Backyard
7. Flavored Mints
Many hybrid mint varieties have shown up over the years – chocolate mint, orange mint, pineapple mint, etc. While these offer a refreshing twist on the classic mint flavor, they can’t be grown from seed. The parent plant is often sterile or won’t produce seeds that are true to the parent.
It’s best to purchase nursery starts of these delicious mint varieties. Then you can clone them with cuttings.
When you find yourself up to your eyeballs in seed catalogs this winter, don’t forget to include herbs in your seed-starting. You’ll be so glad you did come May.
And while you’re starting your herbs, don’t forget your veggies too:
15 Vegetable Seeds to Sow In January Or February
6 Biodegradable Seedling Pots You’ve Got To Try
12 Pro Tips For Starting Seeds Indoors In Winter
15 Seed Starting Lessons I Learned the Hard Way

Get the famous Rural Sprout newsletter delivered to your inbox.
Join the 50,000+ gardeners who get timely gardening tutorials, tips and tasks delivered direct to their inbox.