

When I moved into my second-story apartment downtown, it was the first time in my life that I didn’t have a yard. I had no patch of grass to call my own. I had no dirt to play in, to plant flowers and vegetables.
Needless to say, my green thumb was not happy.
I consoled myself with the idea that I would grow herbs on my kitchen windowsill and a few flowers in window boxes on my balcony.
However, I discovered these magical containers called grow bags.
And this summer, I’m currently growing:
- Lavender
- Johnny Jump Ups
- Gerbera Daisies
- Calendula
- Nasturtium
- Borage
- Hibiscus
- Osteospermums
- Dianthus
- Chamomile
- Geranium
- Wormwood
- Peppermint
- Orange Mint
- Chocolate Mint
- Sage
- Lemon Balm
- Dill
- Thyme
- Rosemary
- Lovage
- Tarragon
- Sweet marjoram
- Curly Parsley
- Italian Parsley
- Blueberries
- Black currants
- Radish
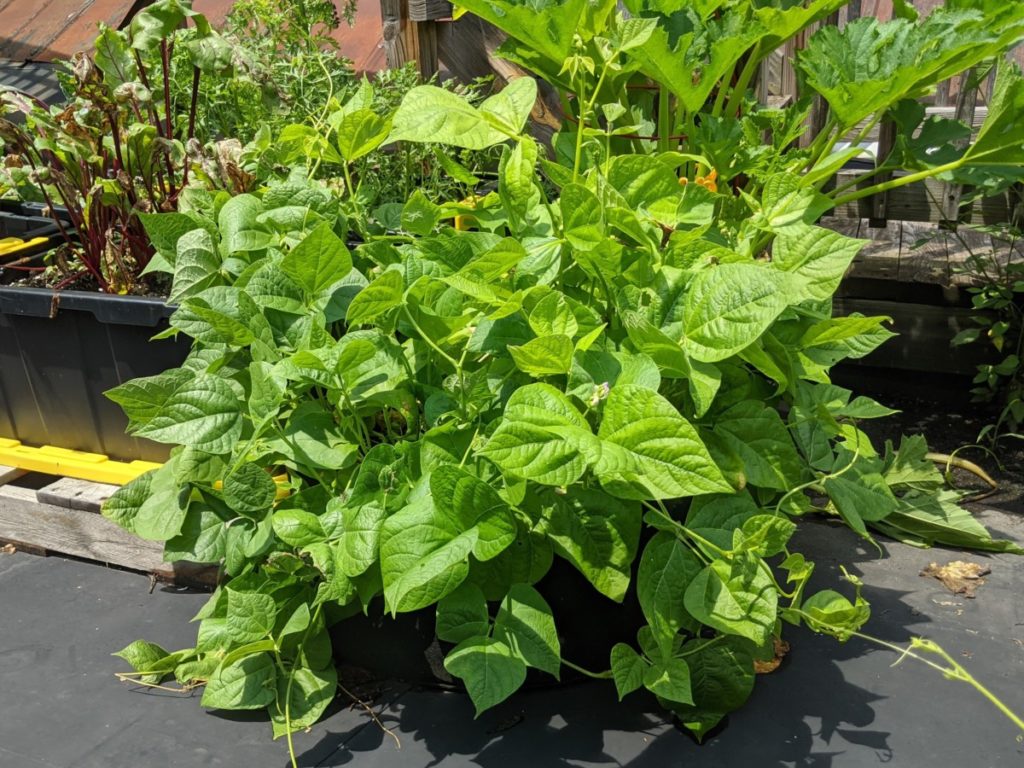
- Green Beans
- Ground Cherries
- Potatoes
- Sugar snap peas
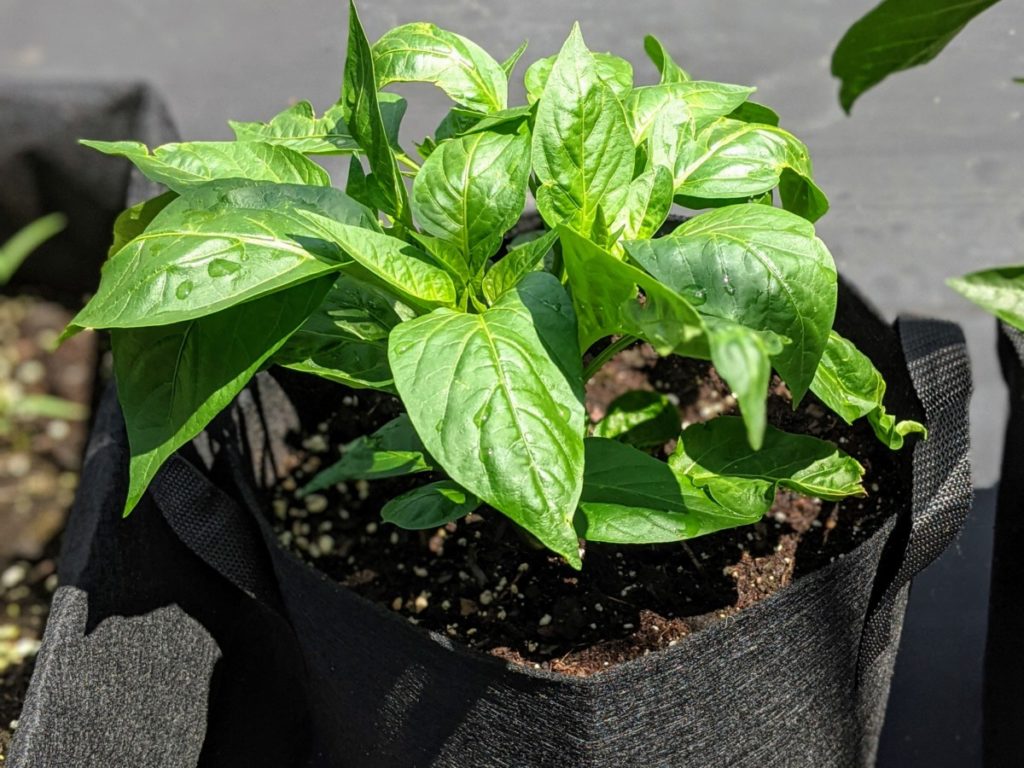
- Hot and sweet peppers (5 types!)
- Onions
- Shallots
- Garlic
- Leeks
- Bok choy
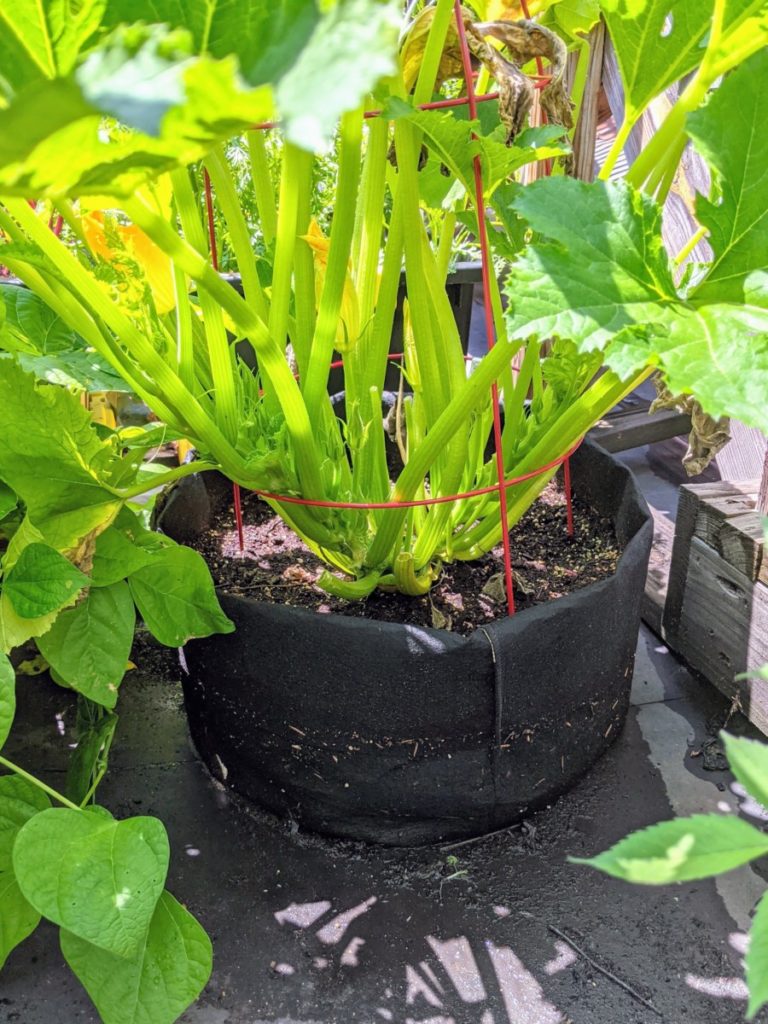
- Zucchini
- Cucumbers
- Tomatoes
- And a partridge in a pear tree, just kidding.
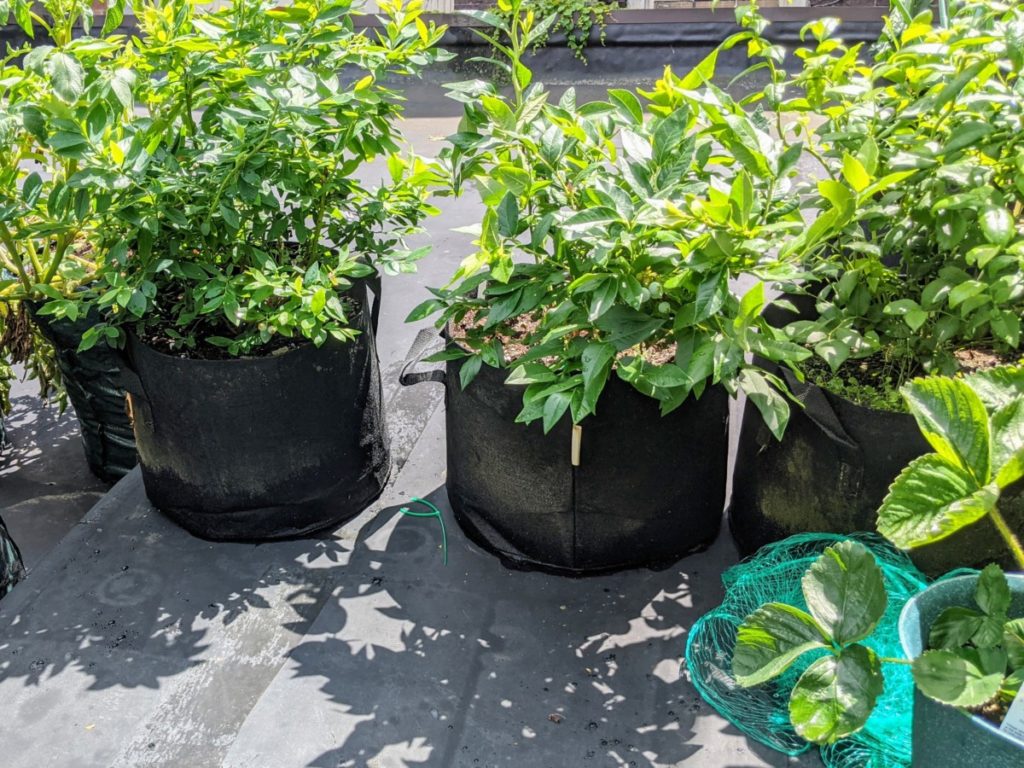
Everything on that list is growing in grow bags.
(Plus, I’ve got my Garden Tower 2 planted full of about a dozen other veggies, flowers, and herbs.)
Yeah, I’m a little obsessed with grow bags.
Okay, I’m a lot obsessed with grow bags.
But as I’ve made the switch from growing in the ground to container gardening, I’ve found grow bags to be an invaluable gardening solution. If you’re a container gardener, you need to give them a try. If you aren’t a container gardener, you should still give them a try.
There are some great benefits to using these handy cloth bags. No matter what you’re growing, there’s a grow bag that will fit the bill.
1. Perfect Garden for Renters
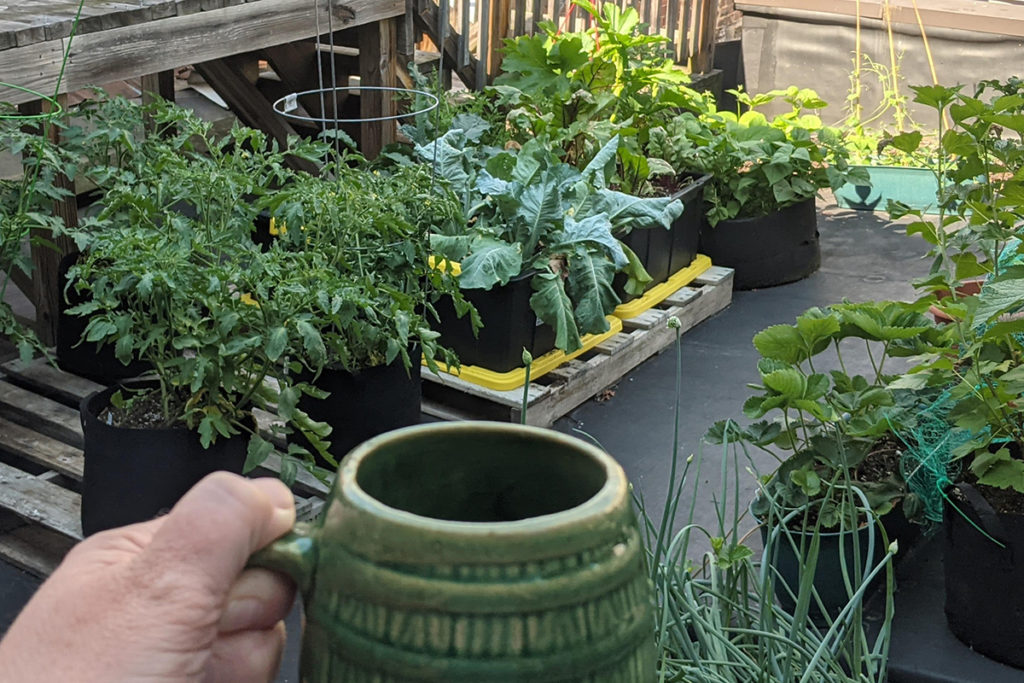
As you can see from my lengthy list, grow bags have allowed me to enjoy a garden on my rooftop and my balcony without having a yard. Fellow apartment dwellers, grow bags make it easy to grow veggies, herbs, and flowers while you’re renting. And if you move, you can simply pick up your garden one bag at a time and take it with you, even in the middle of the growing season.
2. Grow Bags are Portable
And speaking of portability, because of their sturdy handles, grow bags are easy to lift and move around. The fabric bottoms slide easily over surfaces smooth and bumpy alike. So even really large bags, like my 20-gallon grow bags, can easily be moved.
This is incredibly important if you’re growing in a small area with tall trees or buildings nearby. As the season progresses, I can move my bags to optimize the amount of sun they get each day. And at the end of the growing season, I can bring my Meyer lemon tree inside quite easily.
3. Air Pruning
What the heck is air pruning?
It’s the absolute best reason to grow in grow bags. Here’s what happens when you grow plants in a plastic or terra cotta pot. The roots grow until they hit the sides, but once they do, they don’t stop growing. They keep circling around and around inside the pot.
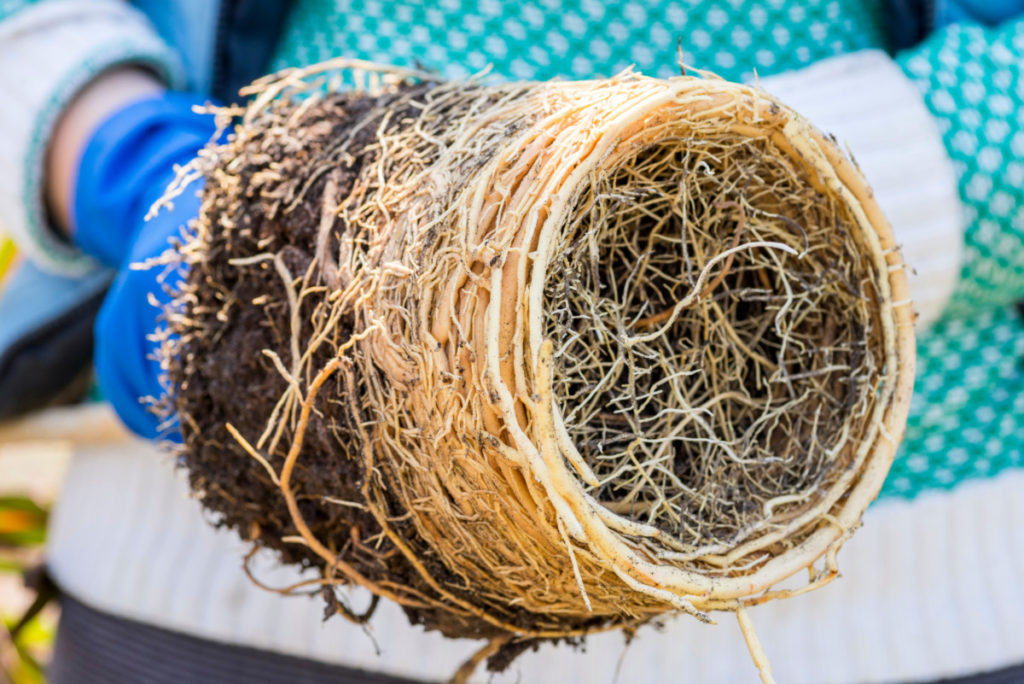
Pretty soon, you have a rootbound plant.
If you’re growing anything that lasts more than a season in containers, for instance, a lemon tree or blueberry bushes, this is a huge problem. You’re constantly having to size up, trim roots and repot your plant.
Not so with grow bags. Because the fabric is quite porous, as the roots reach the edge of the pot, they sense the air. This causes the root to send a signal to the plant, making the tip of the root die back a little bit and telling the plant to push out more roots from the center.
This natural process means you have a ridiculously robust and healthy root system, leading to healthier and more drought-resistant plants.
Even if you’re only growing things in the grow bag for one season, take tomatoes as an example; air pruning of the roots will give you a healthier plant. Now add mycorrhizae to that combination, and you might have your best yield yet.
4. Use Grow Bags to Attract Pollinators or For Companion Planting
When you’re growing in containers, things like companion planting can be tricky. But using grow bags makes it easy to do. And you can attract more pollinators to your container garden.
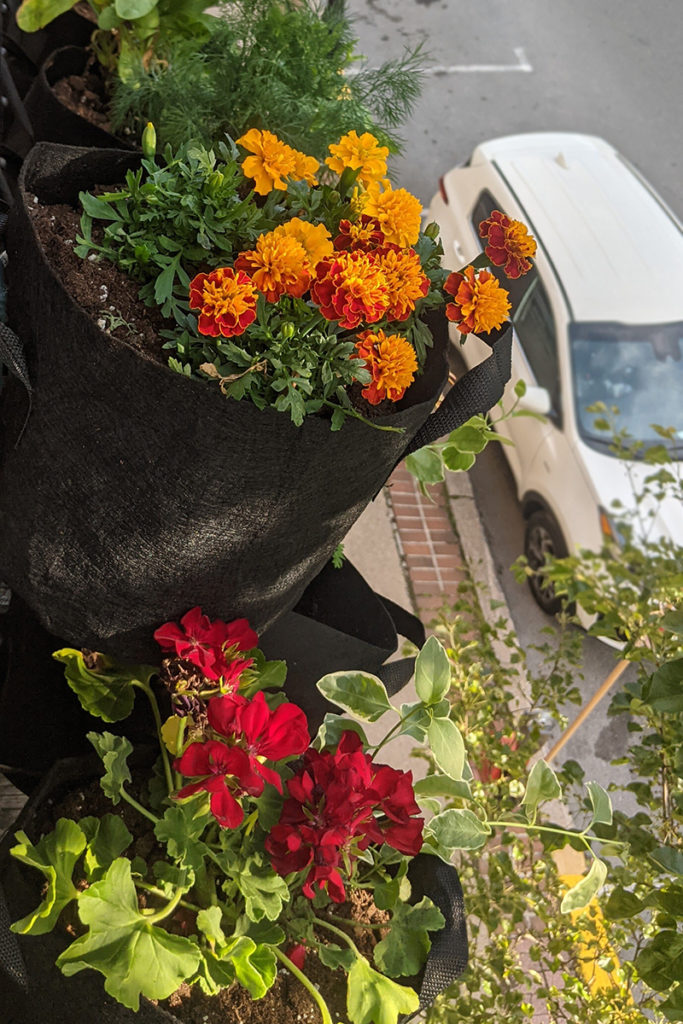
Let’s take marigolds for an example; plenty of plants do well with these happy orange flowers growing nearby. Pick up a couple of packs of 1-gallon grow bags and plant a few marigolds in each one. Now set them near your container tomatoes, eggplants, basil, and kale, etc.
You can plant other smaller flowering plants and tuck the grow bags around your container garden to attract nearby pollinators.
5. Grow Bags are Better than Window Boxes
When I started looking into window boxes for my balcony, I was shocked to see how expensive even the simplest options were. Once I added in the necessary hardware to hang them safely from my railing, I was easily looking at a couple of hundred dollars!
I had a few herbs growing in 2-gallon grow bags, sitting on my balcony, so I got the idea to hang them from the posts of my balcony.
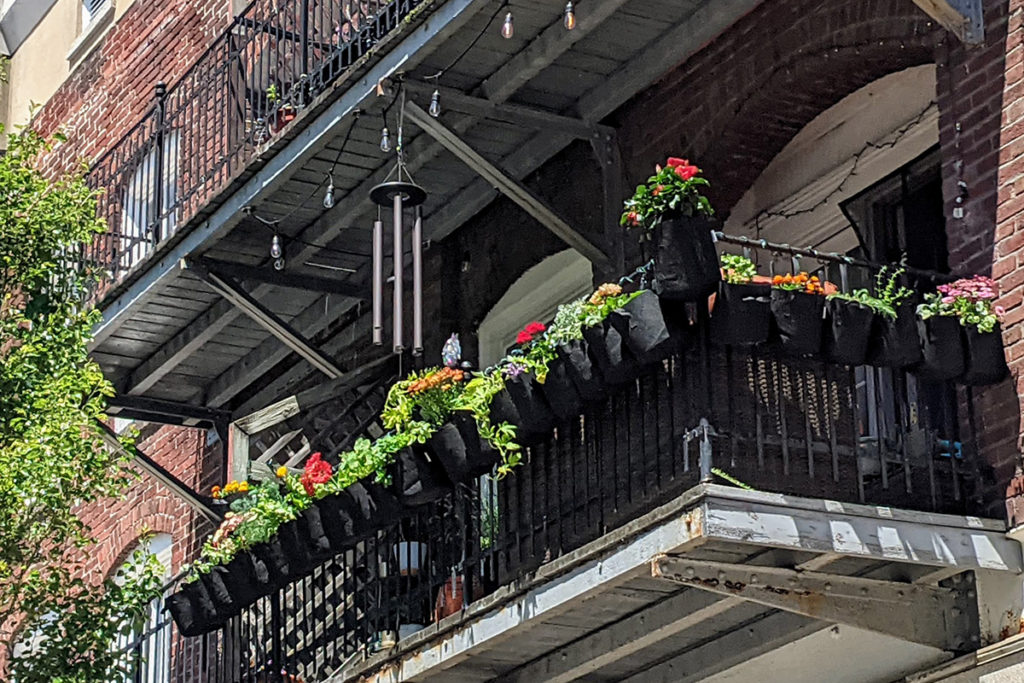
28 2-gallon grow bags later, and the rest is history. No special equipment is needed.
I ended up hanging grow bags the entire length of my railing for around $55. I get compliments all the time on how beautiful my flowers and herbs look.
The nice thing about using grow bags instead of window boxes is how easy it is to customize them to the length you need. You’re not stuck with 24” or 36” window boxes. You can hang as many bags as you like to get the look you want.
6. Grow Bags are an Inexpensive and Instant Raised Bed Option
If you want to grow vegetables in raised beds, building them can end up being a huge chunk of change to get started. Don’t get me wrong; they’re great if you have the money and time to invest. But sometimes, raised beds aren’t the right option.
Grow bags offer an affordable and nearly instant raised bed option. Simply lay out your bags and fill them with your preferred soil blend. For an instant and portable raised bed, you may want to go with the 30-gallon sized bags set end to end.
And the best part about these raised beds is that you can tear them down or move them anytime. Want to mow where your garden is? Easy, slide it out of the way.
7. Maximize Small Space

I use a few rectangular storage totes as small raised beds, and they work great. But I have to keep them in specific spots because, well, they’re rigid plastic, and that’s the only place they fit. They don’t bend; I can’t squish them into a tight corner. And that limits how much I can grow in that footprint.
I love the soft sides of grow bags; it makes it easier to use all of your available space.
It’s easy to squish one more grow bag into that corner on your patio or your balcony. They’re also great to tuck into existing containers as you can squeeze them into the right shape – rectangular window boxes, square planters, round planters, it doesn’t matter. And with the wide variety of sizes offered, you can tuck a grow bag into nearly any size or shape planter.
8. Easy Clean Up and Storage
One of the greatest things I love about growing with grow bags is how easy they are to store. At the end of the season, you can simply compost the potting soil, fold up the bags, and stack them neatly to be used next year. They are surprisingly durable and hold up well season after season.
There will be no more worrying about what fun pests and diseases are overwintering in your soil. You can start fresh each season. Or, if you don’t want to replace the potting soil each season, you can amend the potting soil with compost and worm castings. You might even consider growing a green manure crop to add nutrients back into the soil.
9. Potatoes Were Made for Grow Bags
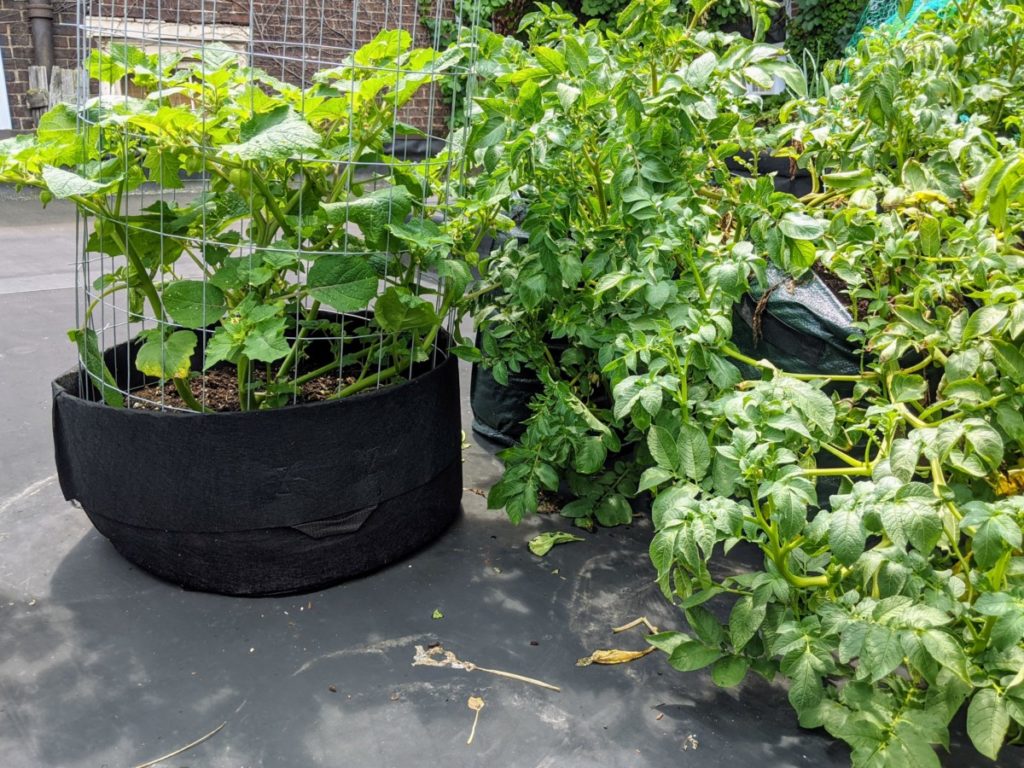
Oh my goodness, folks, if you grow potatoes, you have to try growing them in grow bags. It’s so easy to do! I roll my potato bags down at the beginning of the season and roll them up a bit further each time I hill the potatoes.
The best part is how easy it is to harvest!
You simply dump the bag out; no more worrying about losing potatoes because you accidentally skewered them with a fork or shovel.
If you want new potatoes and sturdier potatoes that you can store later on, I highly suggest purchasing potato grow bags with a flap on the bottom that allows you to harvest your potatoes while they’re still growing. Pick a few for now, and save the rest for later.
10. Watering While You’re Away is Easy
Keeping your container garden watered while you’re away on vacation is incredibly easy to do with grow bags. Simply fill a kiddie pool or two with a few inches of water and set your grow bags inside the kiddie pool.
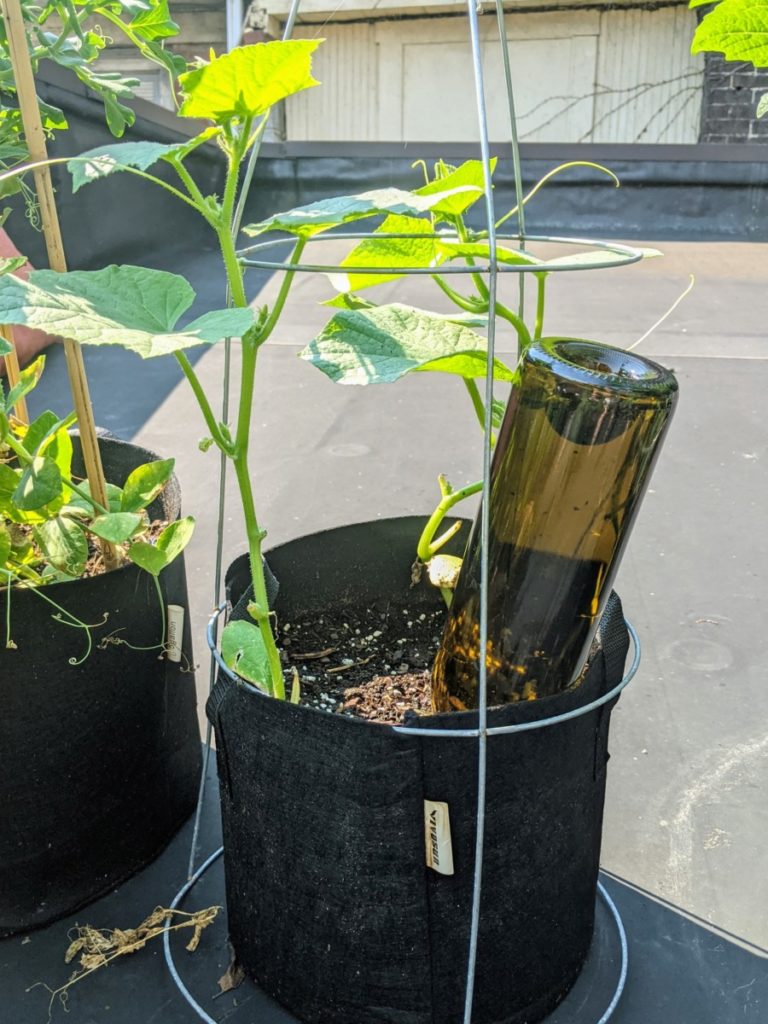
Or for shorter trips, invert a wine bottle or water bottle filled with water into each grow bag, and push it down into the dirt. The water will slowly seep into the soil.
You might want to give this setup a try before you head out of town so you can get an idea of how quickly the bags will absorb the water.
Bon Voyage!
Which Size to Buy?
By far, the size I use most for vegetables is the 5-gallon. I grow all of my tomatoes, blueberry bushes, peas, cucumbers and the like in them.
The 3-gallon size works great for pepper plants and eggplants, as well as larger perennial flowers.

The 2-gallon size is perfect for herbs and annual flowers. I have a ton of grow bags in this size, and it’s the size I chose to hang from my balcony.
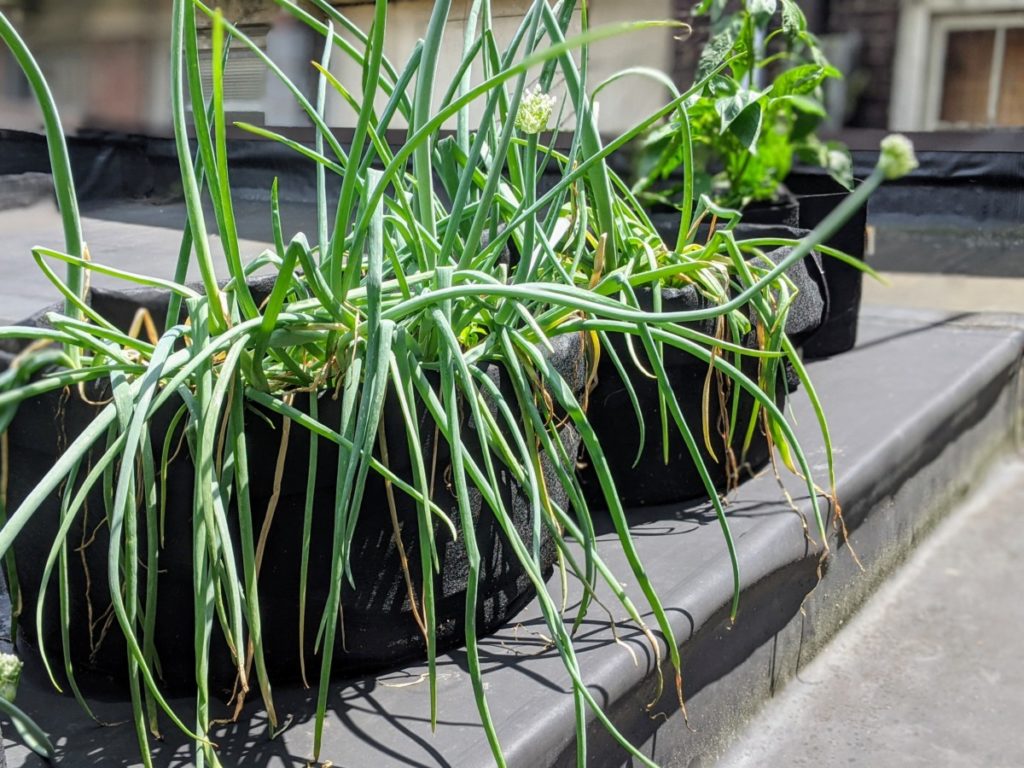
For larger items like zucchini, summer squash, or ground cherries, I use the 20-gallon bags. I also use these large bags to grow things like green beans, onions, radishes, bok choy etc. I fold the sides down and squish them into a square, and they are the perfect tiny raised bed.
Downsides to Grow Bags
I have noticed a couple of downsides to using grow bags; however, I still find the benefits make them my go-to container gardening choice anyway.
Frequent Watering
Because grow bags are incredibly porous, you’ll need to water more frequently. You can help offset this by inoculating your soil with mycorrhizae, mulching your plants, and using a potting soil blend that holds moisture in.
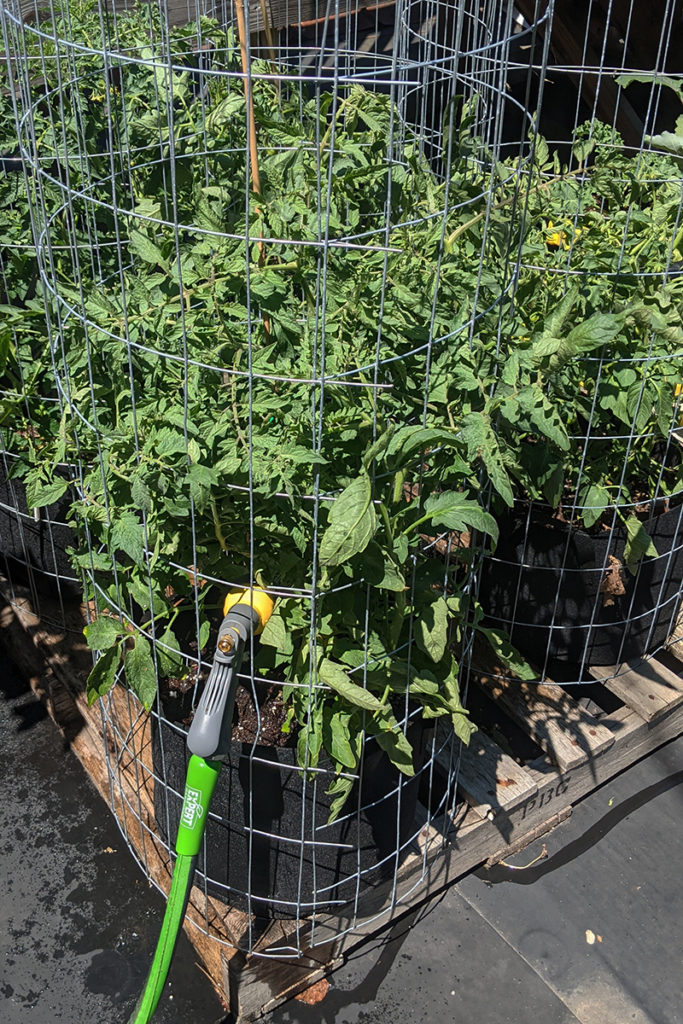
As with any garden, less frequent, deep watering of your plants is the way to go. I will soak my veggies in their grow bags until the bags start seeping. If you use a larger pot, it will help hold more moisture in the soil.
More Frequent Fertilizing
This goes for any container gardening. You’ll always need to fertilize more frequently as nutrients are used by the plants quicker in a smaller amount of soil, and nutrients are also washed out of the soil faster because of more frequent watering.
I love these things, and I hope I’ve converted you to the grow bag container club. These handy cloth bags have really been a game-changer for gardeners everywhere. Give them a try and let us know what you think.

Get the famous Rural Sprout newsletter delivered to your inbox.
Join the 50,000+ gardeners who get timely gardening tutorials, tips and tasks delivered direct to their inbox.