

Dill, garlic and beans – they are the melodious summer trio that sings to your taste buds.
But, you don’t have to sacrifice yourself to only eat them under the hot sun.
When you invest in learning how to put away food for later, in other words – learn how to can, you can munch on pickled beans as you picnic in the snow. Not that anyone would do that.
A picnic in the snow?!
It’s fun, you should try it.
Yet, now is the great bean harvest, approximately 50-60 days from the time of sprouting. If you grow bush or pole beans in your own garden, you can sample them as summer progresses, to know when the crunch is just perfect.
You may even be able to pick and pack your homegrown beans in jars the same day.
Every so often it can happen that backyard beans fail to produce enough quantity for your family’s needs. In that case, seek out some excellent produce from a farmers market, or hope that your CSA has done well this year.
What sort of beans to can?
If they aren’t straight enough to pack nicely into jars, you can cut the wavy beans into bite-sized chunks that turn into an instant casserole filler come cooler months.
Bottom line: work with what you have.
Don’t let food go to waste.
There is absolutely no good reason to refuse 6 pounds of less than pretty-as-a-Pinterest picture perfection. If it’s food, that was grown and picked by hand (bonus points for being organic), there’s a great chance that it will look amazing in a jar. That’s what we do around here and can only urge you to do the same.
We might even suggest you to get rid of your refrigerator and freezer, though you might not like the thought of that one quite so much. However, it can help you shave a bunch off your electric bill.
Stick to zero-food waste, for starters, and you’ll already start to lower your carbon footprint.
So, back to beans. Beans, beans, the magical fruit… No, not those beans.
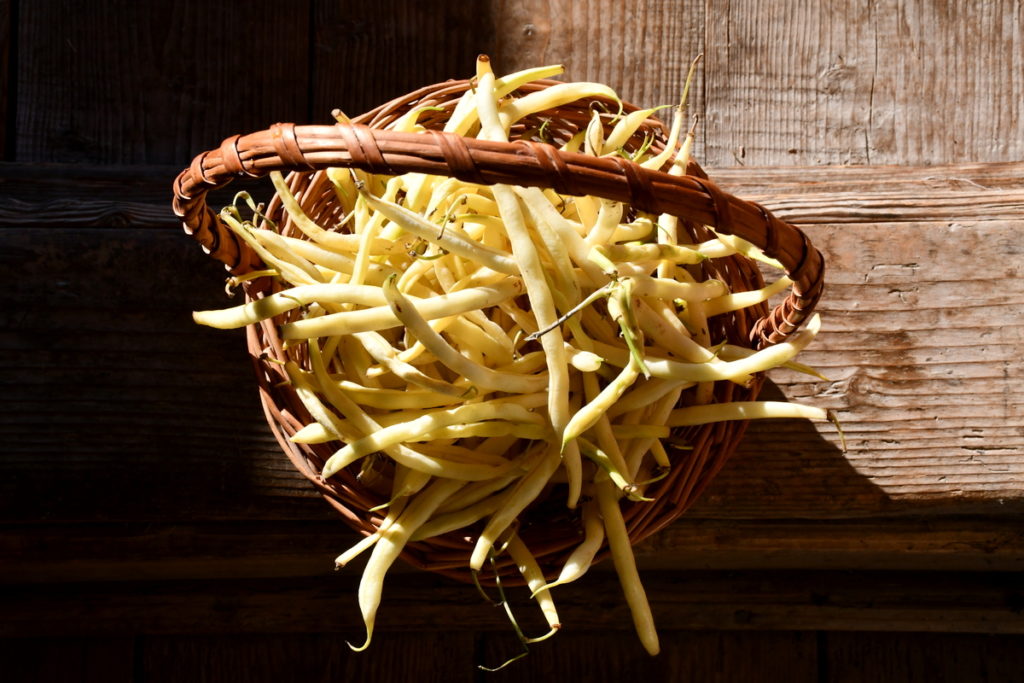
The long, thin, green or yellow ones. Begin there, with about 6 pounds of fresh harvested beans. You can also halve this recipe if that’s all your garden gives you at once.
Dill-Garlic Pickled Beans Ingredients
You can’t go wrong with making dilly beans. They are crunchy, appetizing and extremely flavorful. Fun for kids of all ages to eat.
That being said, you can get spicy here if you like, by adding a small, dried red chilli to each jar. Alternatively, you could toss in a dash of red pepper flakes or cayenne pepper.
I’m the only one in the family with a spicy tooth, not a sweet one, so I just add my own spice in later if the mood of the meal calls for it.
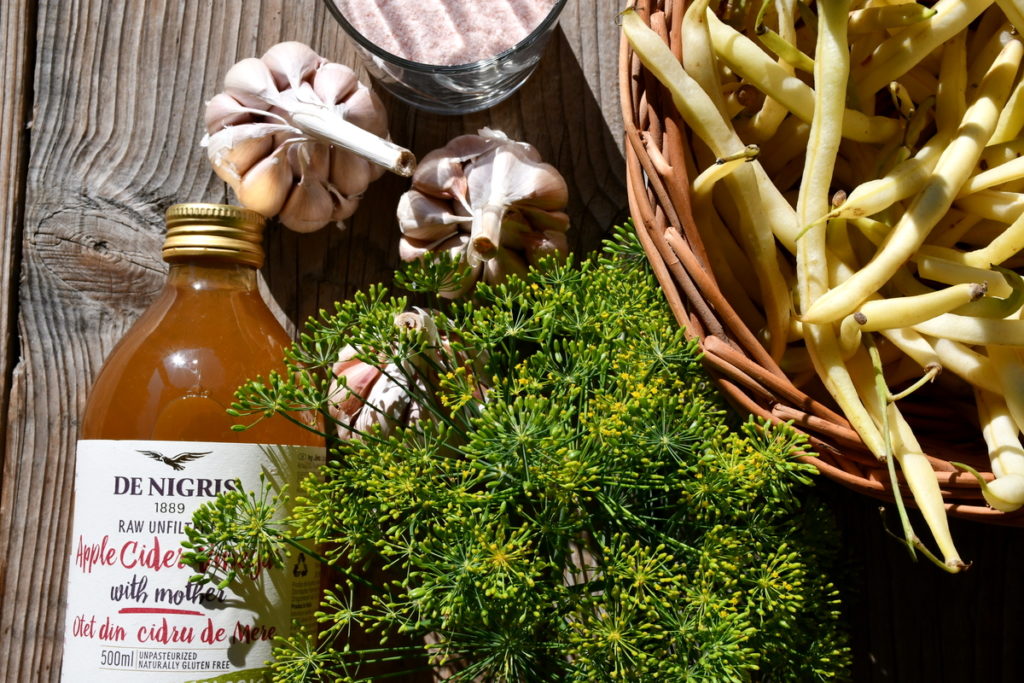
Gather your harvest and a few other ingredients to make a batch of pickled beans:
- 6 pounds yellow wax beans or green beans (as wonky or as straight as possible, no bean discrimination here)
- a head of fresh dill flowers for every jar (or dill seeds if you don’t have flowers)
- 3 heads of garlic (less if garlic isn’t your thing, more if it is)
- 7 cups apple cider vinegar (organic, if you can find it)
- 7 cups of water
- 7 tablespoons of pickling salt
Once you have gathered your ingredients, let’s stuff a few jars full of pickled beans.
Step-by-Step Pickled Beans
The one thing you need to know about canning, is that it gets easier and easier each season, provided that you practice it enough.
We have about 250 jars in our pantry that go through a random rotation based on likes, eat-it-nows and what best matches a meal. Red currants are a favorite in autumn, applesauce is useful year-round. Especially when it comes to baking.
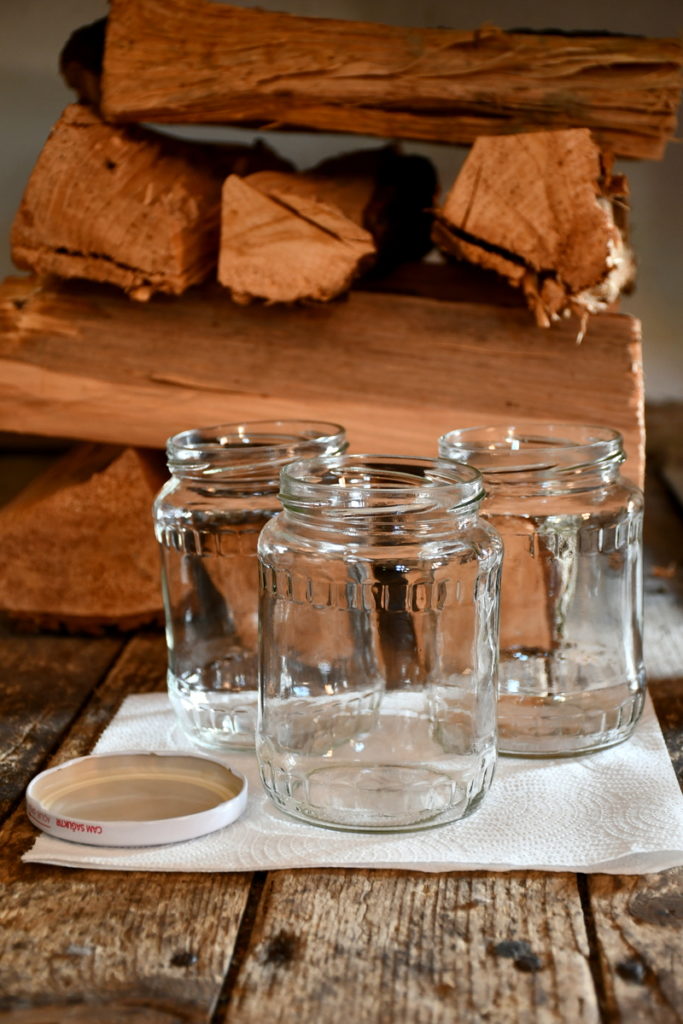
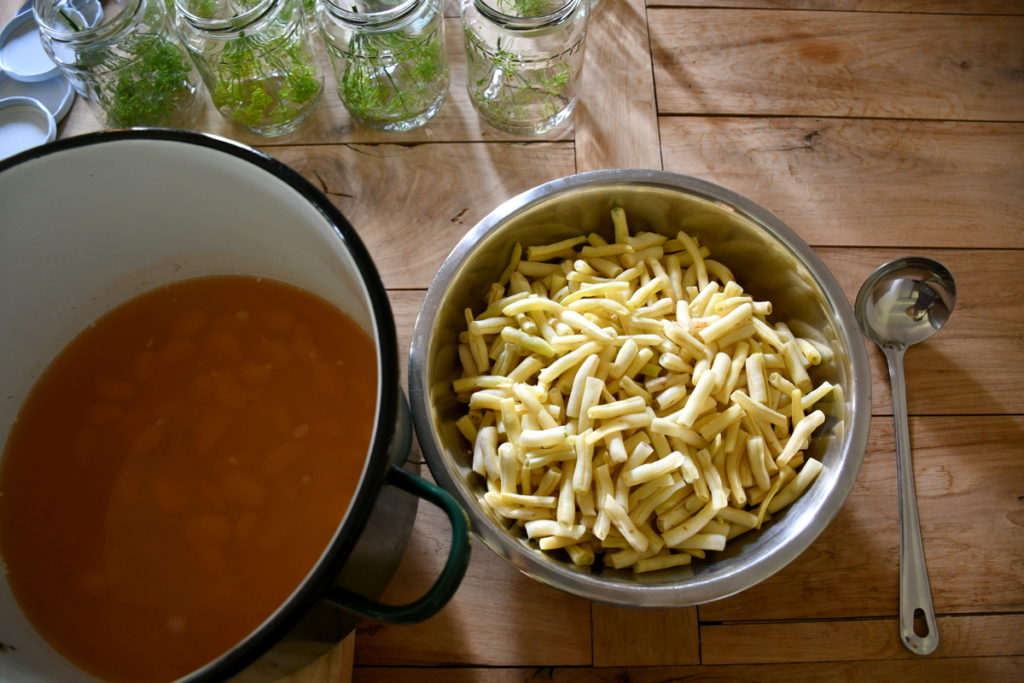
Step 1: Prepare your jars for filling with pickled beans.
Start at the beginning. The preparation of beans takes less time than you think, as it is quite straightforward: wash and cut. Before you get to trimming, be sure to wash and sanitize your jars first. This way they can dry out by the fire, or on your countertop as you prepare the rest of the ingredients.
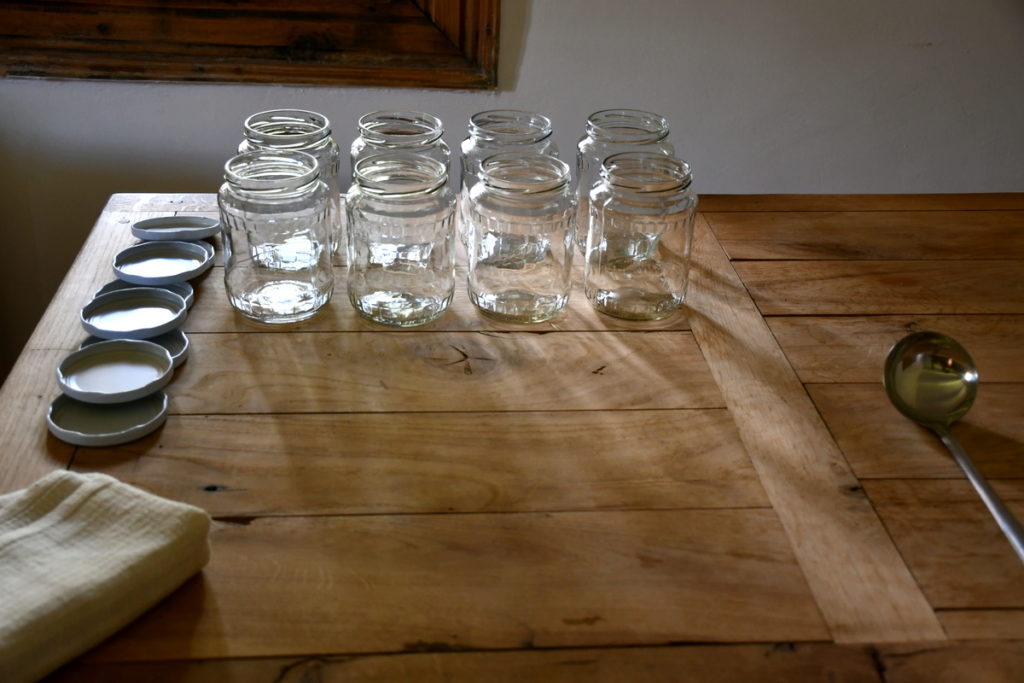
At the same time, you should also prepare your workspace, kitchen table or countertop for canning.
Step 2: Wash your beans.
No matter if you pick your beans from your backyard garden, or harvest them from the market, you’ll want to make sure to wash them well. Running water usually does the trick.
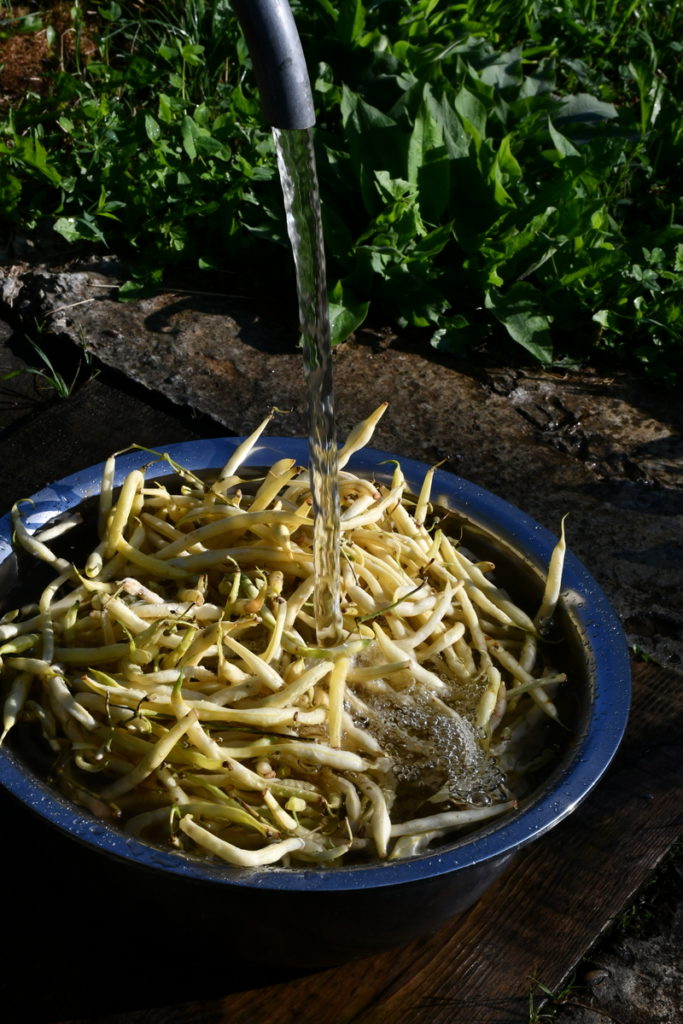
Be sure to give them a good swishing around, before draining them.
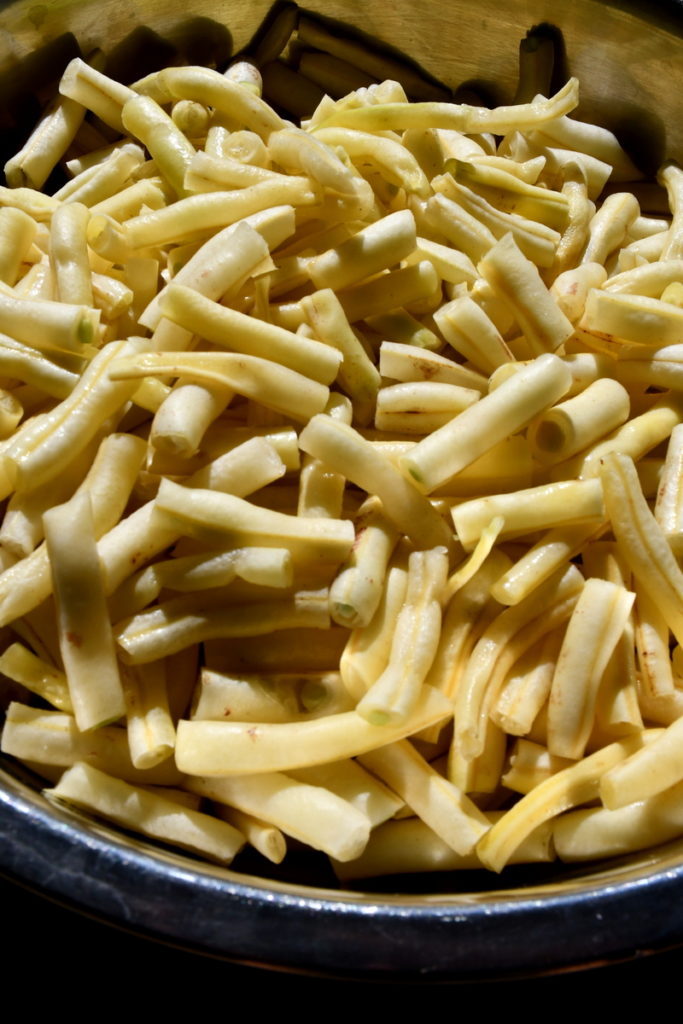
Step 3: Cut the beans to size.
Most recipes you find online suggest you to work with straight beans trimmed to fit your canning jars. Blasphemy! In an ideal world, everything would fit perfectly, but what about the trimmed ends? What about the beans that fall a bit too short?
One of the misconceptions about food in general is that it needs to look like it came off a store shelf. Real life isn’t like that.
Let’s get back to our roots and preserve like our great-grandparents did.
Trim the ends, but use the entire bean.
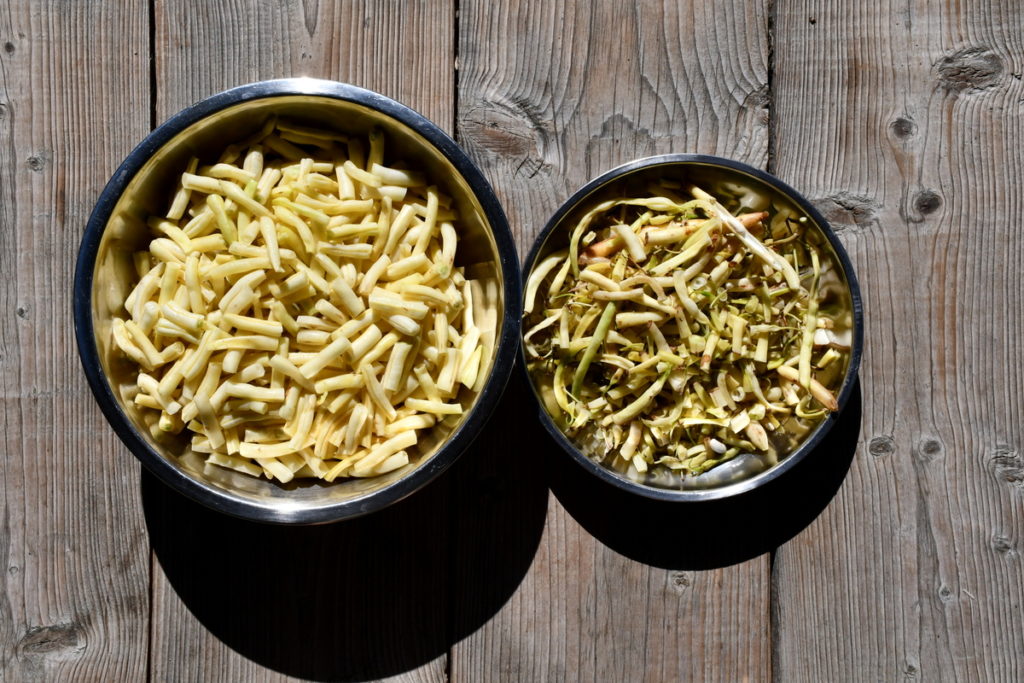
The best way to do this, is to cut them in more or less even, bite-sized chunks. About an 1″. It all depends on the bean.
Also use this time to peel your garlic.
Step 4: Making the brine.
More than the looks of the beans, the brine will make or break your pickled beans.
The ratio for canning is generally 1:1, regarding vinegar and water.

By the way, these pickled beans can also be made with white wine vinegar. Again, use up what you have. Vinegar doesn’t last forever either.
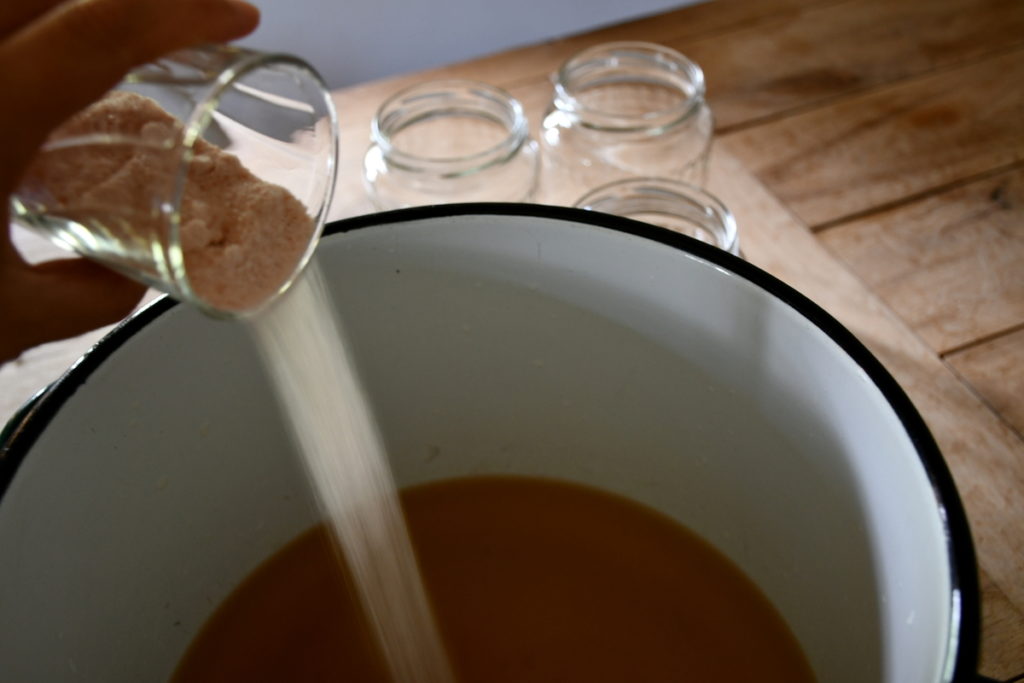
Take a moment to stir in the right amount of salt, then place the pot on the stove over medium heat.
Bring the brine to a boil – and be sure to open the windows if you haven’t already. If you are heating up brine in a poorly ventilated kitchen, you may even open the front door for better air flow.
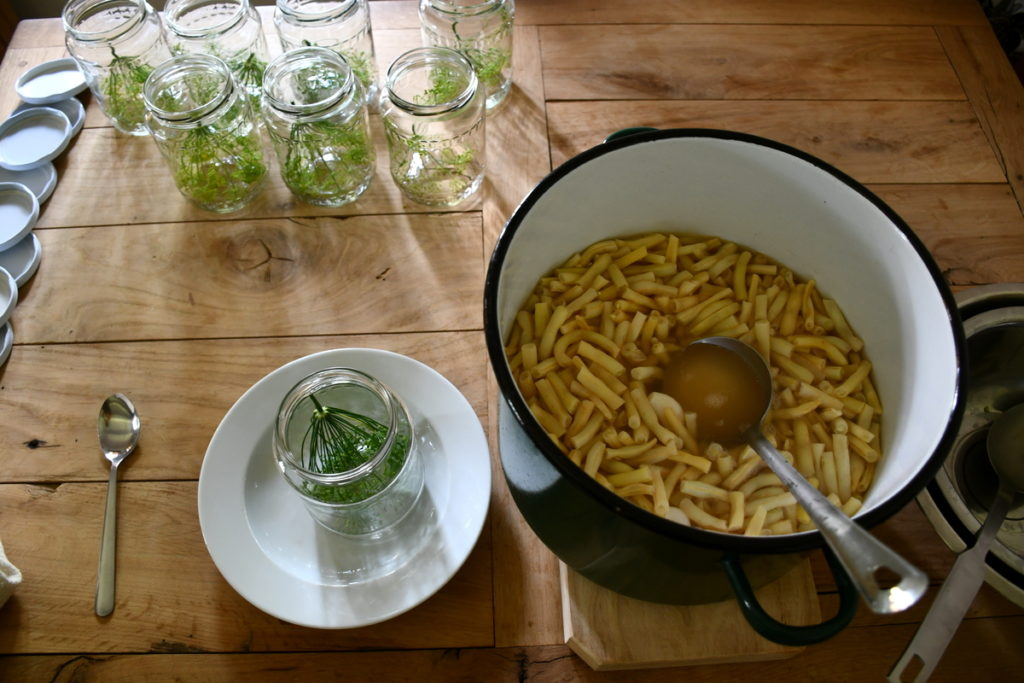
Step 5: Add the garlic and beans to the hot brine.
Once the brine has come to a low boil, I now add the whole cloves of garlic.
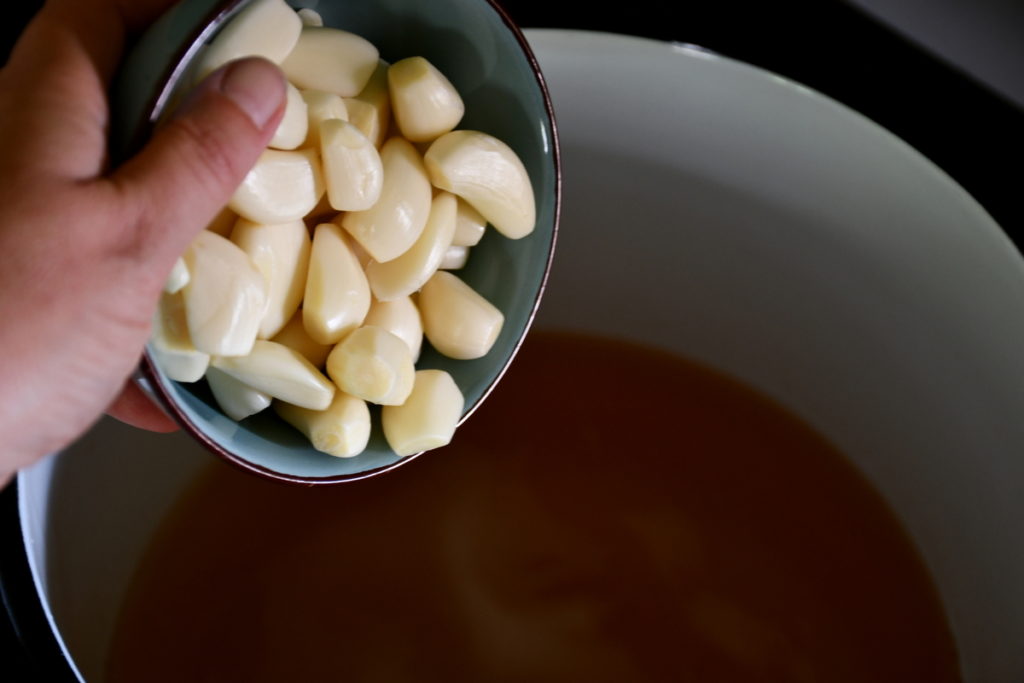
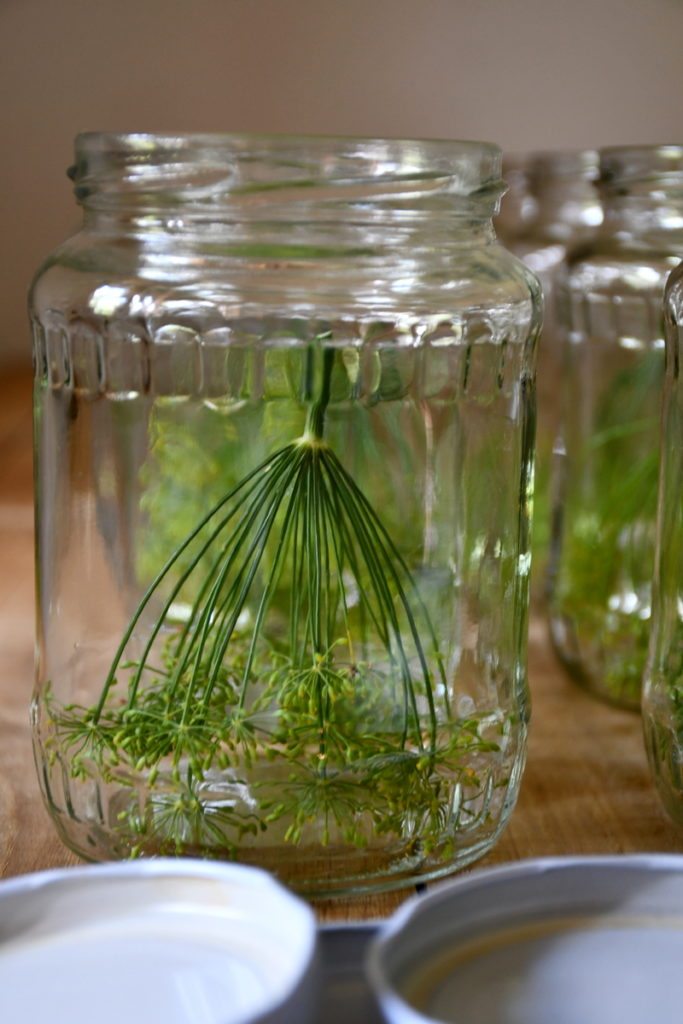
Let them simmer for about 10 minutes while you place the dill flowers in the jars.
Now it comes time to add the beans. Do this by the handful at first, to prevent splashing. Then dump in the whole lot at once.
Give it a stir and let it come to a simmer once again.
Allow the beans to simmer for 5-10 minutes until thoroughly heated, then head over to your clean workstation.
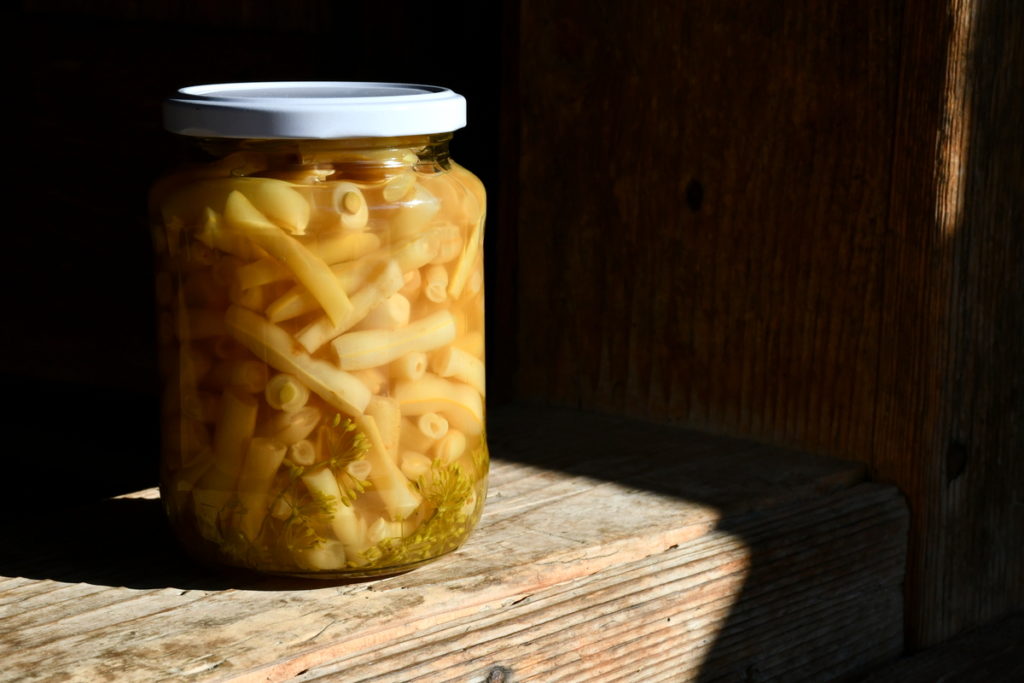
Step 6: Fill your jars with garlic, beans and brine, aka pickled beans.
In our kitchen, my husband and I have refined a canning process that’s been in effect for the last 15 years. I ladle, he wipes the rims and tightens the lids.
Both jobs are equally important, for you want the jar to have a tight seal.
As you ladle the beans over the dill flower, be sure to press down gently with the back of a spoon, to make sure you can fill the jar as efficiently as possible.
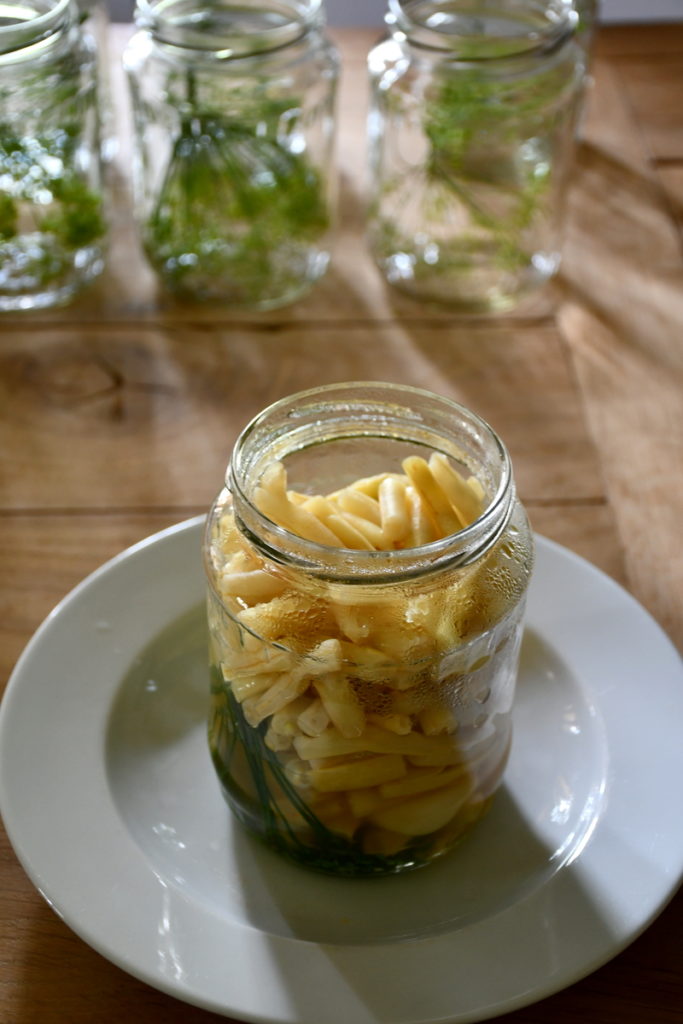
Bring the bean line near to the top, then fill with hot brine.
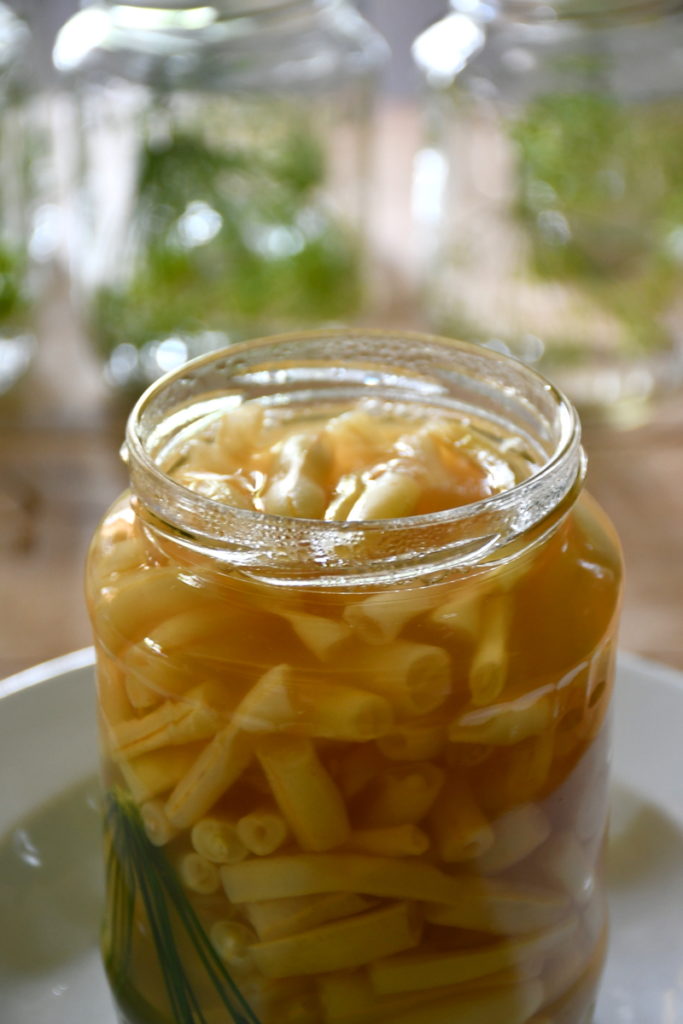
Be sure to get a few garlic cloves in each jar as you attempt to space them out evenly.
You’ll also want to leave about 1/2″ headspace at the top of each jar.
Step 7: Water bath canning or canning without special equipment.
To use, or not use, a water bath canner is your choice. You either have one, or you don’t. But that shouldn’t stop you from canning all manner of fruits and vegetables, especially pickled items.
Follow the basics of water bath canning and you’ll have a crop of crunchy pickled beans in no time at all. Process your jars of beans in a hot water bath for 10 minutes and all will be right with your pickles.
If you don’t have a water bath canner, check out this article on how to can food with no special equipment. While it won’t replace a pressure canner, it will allow you to get started with preserving your own food.
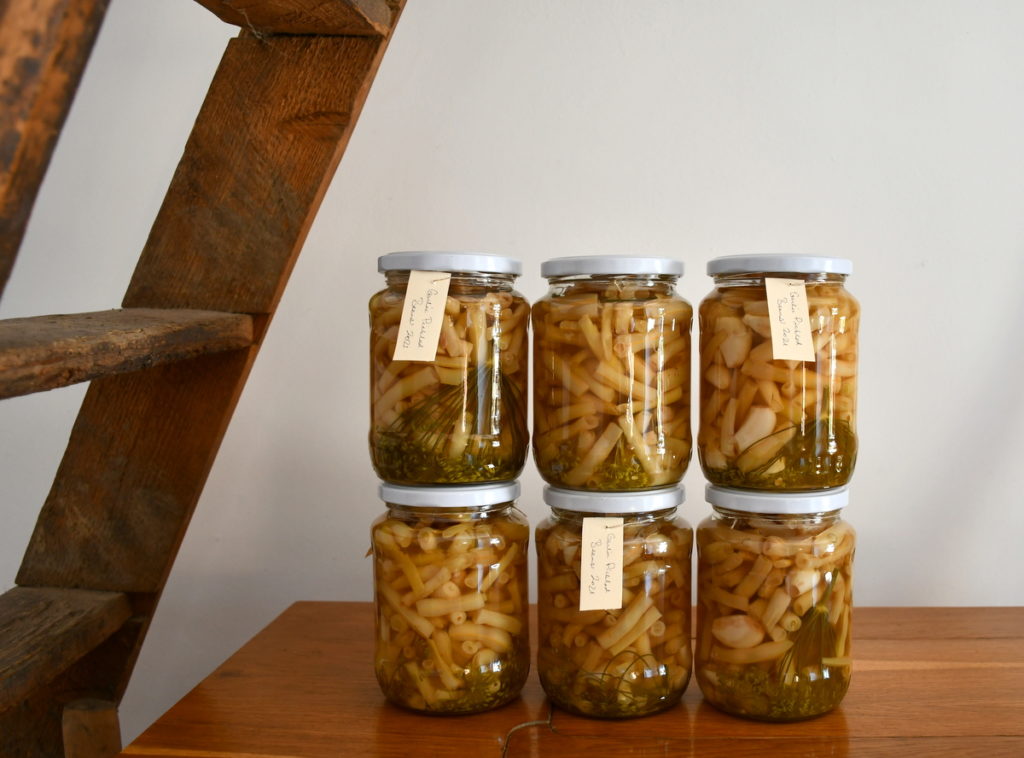
Step 8: Label your jars and eat the leftovers.
Give your jars proper time to come to room temperature before moving them.
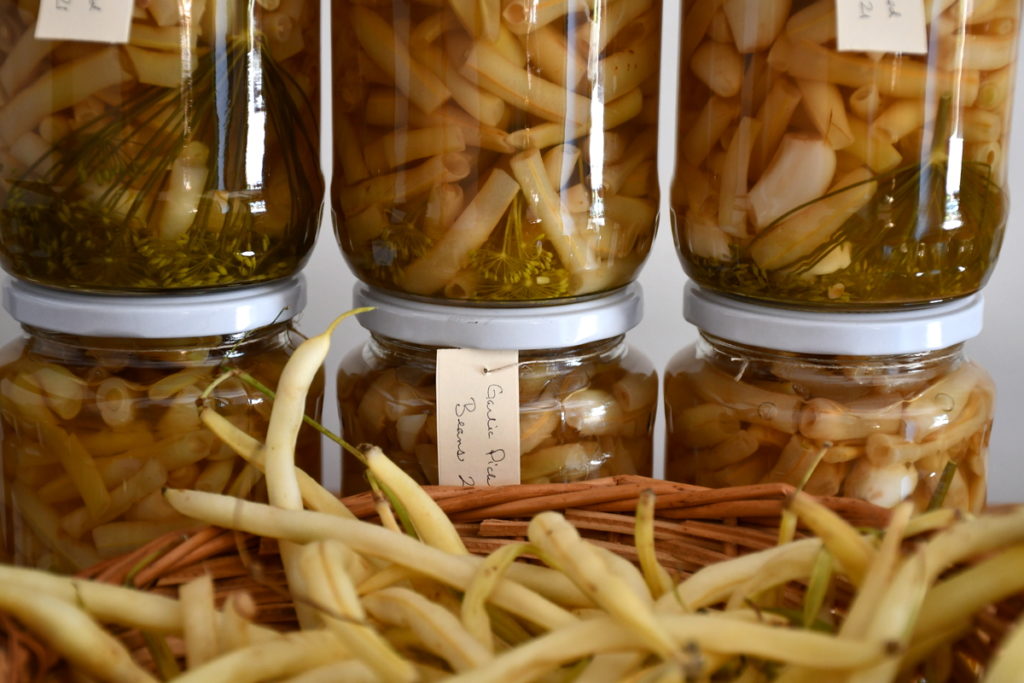
Then make sure to give them a label, so you and everyone else who comes to browse your shelves, knows what they are.
Even if you aren’t into long-term preservation, you can in fact, follow the steps from 1 to 6. Then store your pickled beans in the fridge for a couple of months.
In the pantry, your pickled beans will last a year or two. It all depends on how fast you get around to snacking on them.
How long should pickled beans sit before consuming?
To experience the best flavor your beans and garlic have to offer, be sure to let them sit and wait while you get back out to the garden to continue harvesting more crops. Zucchini isn’t nearly done yet…
Before diving into the first jar, give it time to mature. About 6 weeks is all it takes. Then eat them up as your heart (or belly) desires. Don’t forget to use up all that gorgeous pickle juice.
Enjoy your pickled beans with a burger, bake them in a casserole, serve them alongside some home fries or add them to a cheese and sausage platter.
Just make enough to share, because one jar is never enough.
Feel free to repeat this recipe until bean season is over.

Get the famous Rural Sprout newsletter delivered to your inbox.
Join the 50,000+ gardeners who get timely gardening tutorials, tips and tasks delivered direct to their inbox.