

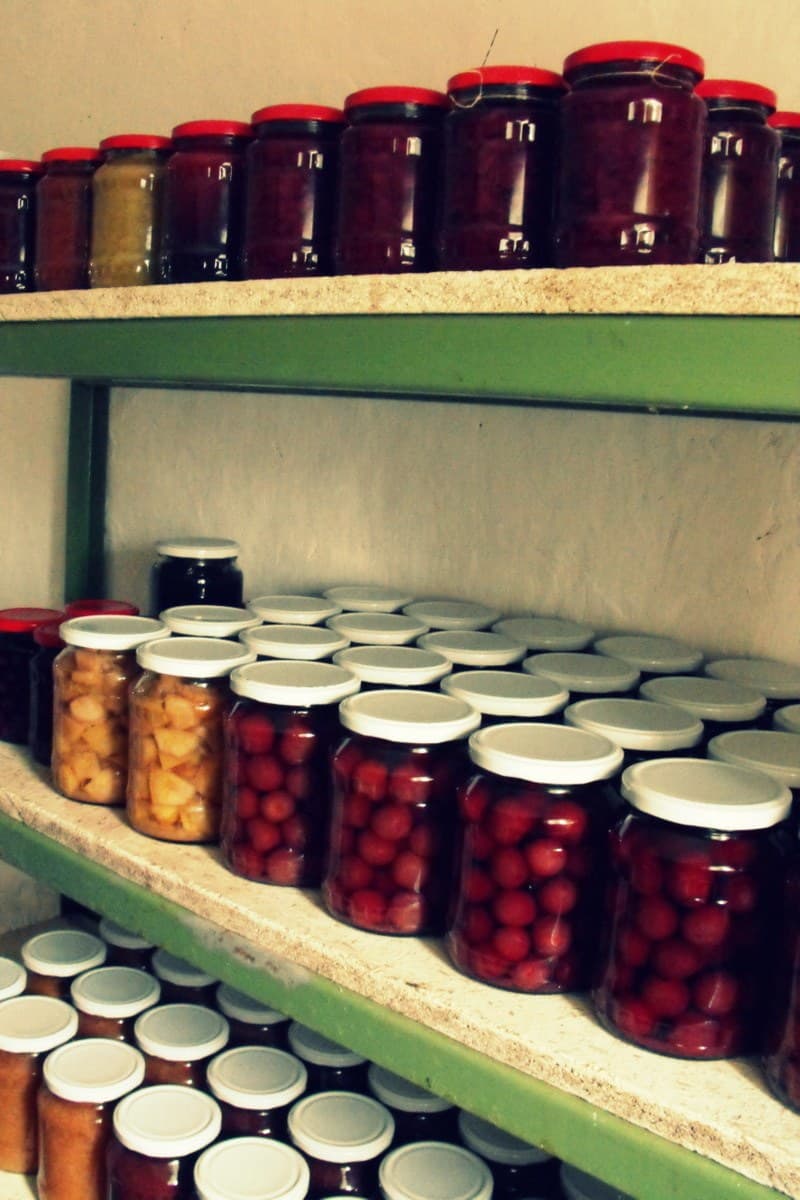
When life hands you too much of a good thing, the sweetest sun-ripened strawberries or a bounty of heirloom tomatoes for instance, there is no way that you are going to let it all go to waste.
Of course, you could feed the surplus to the pigs and the chickens, which they will gladly feast upon with delight, but winter is always around the corner and colder times are coming up – now is the time to get started canning and preserving food!
The choice to eat locally, and in season, coincides best with the summer sun. The sun, which is extremely useful in living off the grid, as well as in dehydrating summer fruit.
As homesteaders, we do our best to eat from the garden, then for a good part of the year we rely on the store to do the preserving for us. But it doesn’t have to be this way!
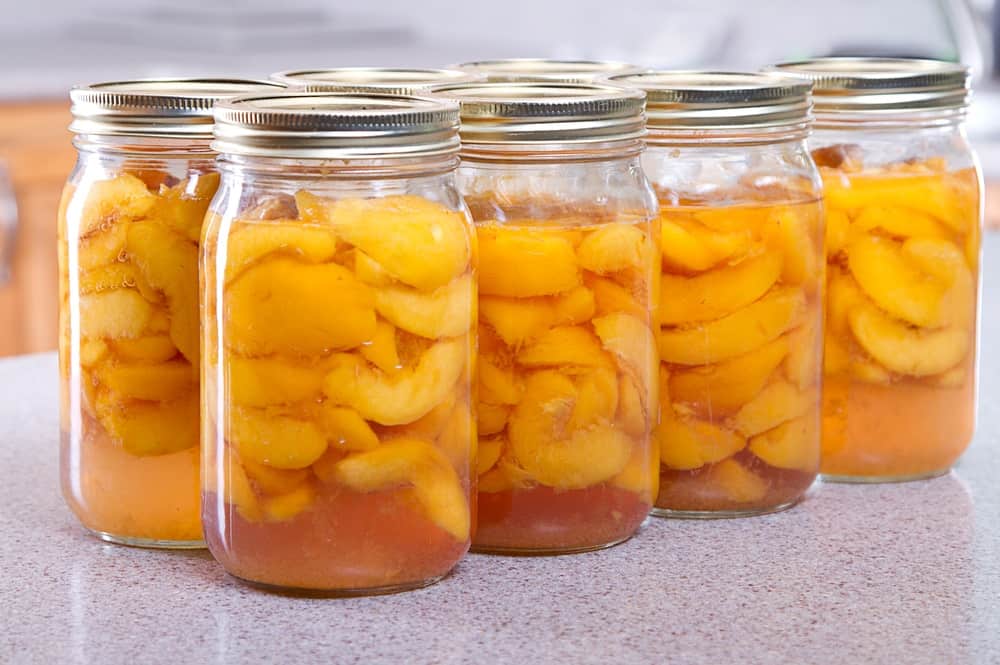
Think about how often you reach for a branded can of tomato sauce, a jar of pickles, raspberry jam or peaches in syrup, and think “I can make this too”.
Don’t just think you can, go out there and inform yourself about how to get started canning, and do it.
Canning food at home is one of the most empowering ways to provide for yourself and your family – taking direct control of plastic-free packaging and quality ingredients, as you avoid the shops as much as possible.
Let’s get started!
Canning Methods
There are two major ways of preserving both low acid and high acid foods: water bath canning and pressure canning.
Depending on the fruits, vegetables or meats you wish to can, choose the proper method and gain the ability to shop from your own pantry all year long.
Water Bath Canning
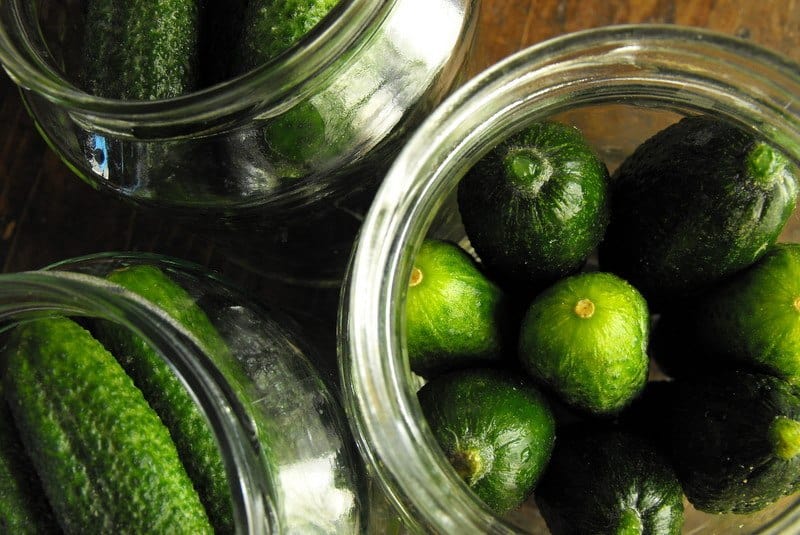
If you are just starting out with canning your crop, water bath canning is the perfect choice for making an assortment of pickles, chutneys, apple butters and cranberry sauces.
A water bath canner is a large pot with a wood or wire rack on the bottom to prevent the jars from touching one another as the boiling water flows all around and underneath the jars.
In the absence of a rack, clean cotton dish clothes can be packed around the jars. It is essential that the pot is deep enough so that 1 to 2 inches of boiling water can entirely cover the jars.
High acid foods for water bath canning
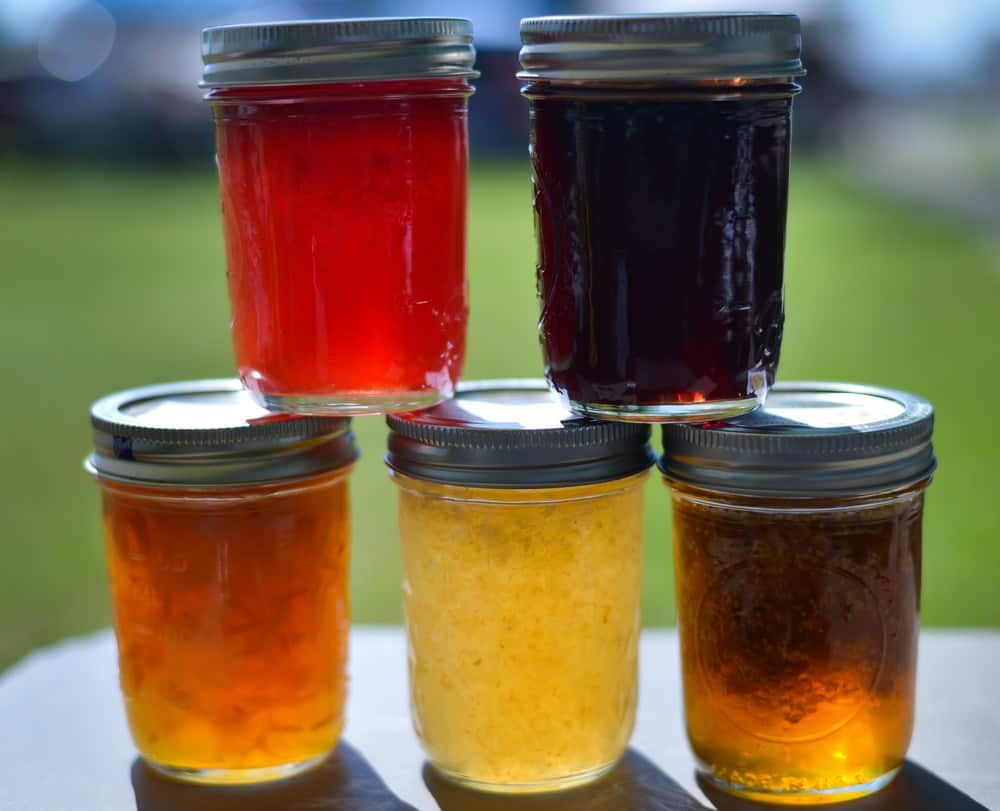
- fruit jams and jellies
- salsa
- pickles
- relishes
- chutneys
Pressure Canning
Intimidation and fear is in the back of everyone’s mind when they first encounter pressure canning. What if it explodes, what if someone gets sick?
And what if everything does work out according to plan?
If you want to preserve low acid foods, with a pH of more than 4.6, you’ll want to invest in a pressure canner to ensure that you can heat the contents of a jar up to 240°F or more. The reason for doing so is to prevent the spores of botulism from growing.
A pressure canner is a cast-aluminum or stainless steel pot with a lid that locks, as well as having a pressure gauge.
Cooking under pressure allows the temperature of the boiling water to rise from 212°F (100°C) up to 240°F (116°C). Always follow the instructions that come with your pressure canner, and you will be off to a great start. Also, consult your recipe for processing times for each type of food. If you live 1,000 feet above sea level, you will have to adjust for your altitude.
Setting all inhibitions aside, pressure canning really is a wonderful way to preserve food, but you may just need to try it to believe it.
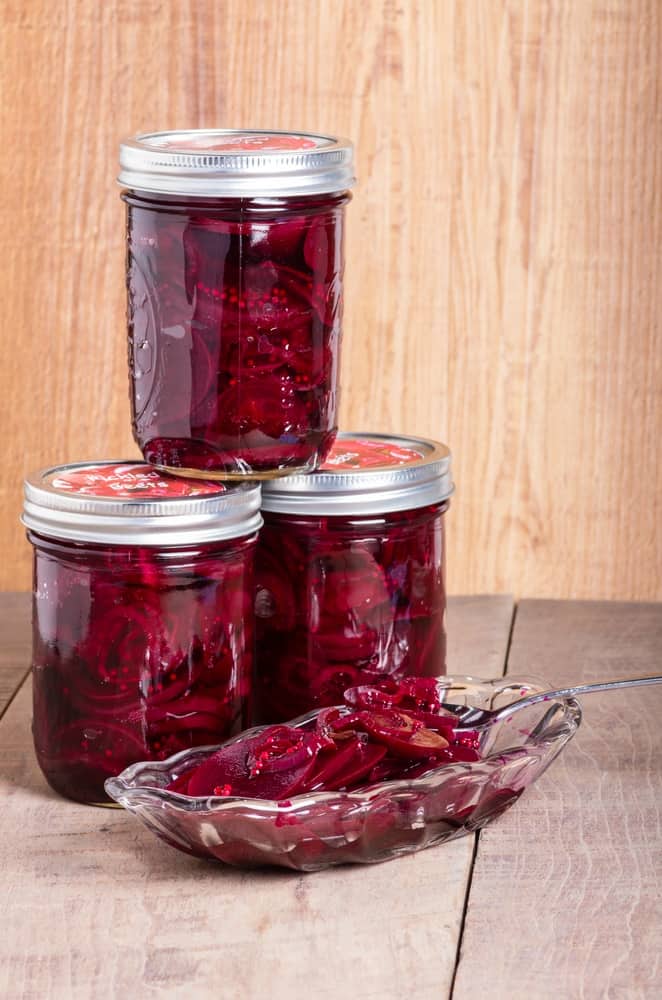
Low acid foods for pressure canning
- meats
- poultry
- seafood
- potatoes
- green beans
- carrots
- corn
- beets
- sweet peppers
- pumpkins
A great way to get your pressure canning feet wet is with our easy ratatouille recipe. Not only will it help you manage a large bounty from the garden, but it’s an easy first-time pressure canning adventure.
Essential Canning Equipment
In order to preserve food at home, you’ll need a few things to get started. A water bath canner is a must if you are interested in making jams, pickles and chutneys. If you are canning low-acid foods, then a pressure canner is the first item on the list.
For canning you’ll also need:
- Jars and lids – in various sizes
- Jar lifter or canning tongs – for removing hot jars from the canner
- A stock pot that stands 3″ taller than your jars (for water bath canning)
- Canning rack – to raise jars off the bottom of the pot
- A ladle – for filling
- Wide-mouth funnel – to make jar filling easy
- Timer – for measuring time in the water bath or pressure canner
- Skewer or knife – for releasing trapped air bubbles in the jars
- Magnetic lid lifter – for grabbing lids from the hot water
- Clean cotton towels
Choosing a canning recipe
You’ll likely be canning what you have in excess, and as tempting as it may be to use a recipe handed down to you by a long-lost relative, it is always wise to check current food guidelines that have evolved over the years.
Cleanliness in the kitchen is something to always strive for. Sterilize your jars before ladling the goodness in, use tried and tested canning recipes and your jars of food will be more flavorful than anything from the store.
Don’t forget to label your jars!
Now that you have done all the laborious work of washing, chopping, grinding, cooking and properly putting the food into jars, you will want to take a moment to reflect on how beautiful the science (and art) of preserving your own food is.
And if you can so much that it lasts more than a year, it is nice to remember when it was made. Trust me, you can actually forget the year and the ingredients inside each jar, especially once the jars in your pantry start gathering in the hundreds. It is always wonderful to know what apple tree a particular sauce came from, rather than just guessing.
To label your jars, a simple piece of tape can do the trick, but you may want to go fancier than that and tie a paper label on with a length of natural string.
Use your best handwriting, or a printer, and make sure to give your creation a name, as well as a list of ingredients (if more than one) and a date. The year and month will be sufficient, though the amount of information you put on the label is up to you.
If you would like to tweak a recipe in the following year, be sure to take notes of your canning preparation in the kitchen by keeping a detailed journal. This applies to taking notes of drying herbs as well – where you foraged for them, how long they took to dry, etc.
Passing down the knowledge of canning
In the beginning, it is best to focus on preserving your family’s favorite fruits and vegetables – these are the sought after jars that you will take absolute pleasure in opening. Start with a few basic canning recipes and grow from there, this way you can gradually add more variety each season to your pantry’s expanding repertoire.
Remember that your grandmother learned the art of preserving food throughout many years with the know-how being passed down from generation to generation. You might remember their successes, but they also had plenty of unseen failures too.
Don’t worry too much if the lids of your first batch don’t seal, it happens even to the most experienced homesteader. You should however, be curious to find out why they did not seal, to prevent future problems.
In the meantime, you could put the entire jar in the fridge and quickly eat it as is, or freeze the contents of the jar in freezer-safe containers. There is no need to throw away your hard work, just repurpose your food, after all it was lovingly produced, perhaps even grown in your own garden.
5 Reasons For Jars Not Sealing
It always feels a bit discouraging when your jars fail to seal, though often times this can be resolved by checking the lids and reprocessing the jars. If your jars aren’t sealing properly, these factors might be to blame:
A chip on the rim of the jar. You will likely catch this while washing the jars, if not, you’ll find the problem here. If you discover any chips, no matter how small, it is time to recycle the jar and move on. Simply transfer the hot contents to another jar and reprocess it with the correct time temperature.
The rim was not clean. Jars and lids need to be sanitized first and foremost, though it may be the case that you spilled while filling the jar. Make sure to wipe the lip clean before putting the lid on, so that a tight seal will form.
Jar wasn’t filled properly. You always need to leave just enough headspace in the jar for the food to expand when heated. Follow the instructions in your recipe, so that the headspace allows for a vacuum seal to form during the processing.
Lid wasn’t centered. If the sealing compound does not make direct contact with the jar’s rim, it may not hold, in which case you may need new lids.
Jars were not processed long enough. Have a timer handy and stick to it! Proper temperature/pressure is essential for a vacuum seal to form.
If it doesn’t work the first time, try and try again. Thousands of jars were produced for the very reason of preserving the finest jellies, pickles, chutneys and jams – it works wonderfully when you follow the steps in a logical order.
Additional Canning Resources
Although videos can be useful in figuring out the basics of canning, they can also contain misguided information, so use your intuition and be aware.
Until you get the hang of preserving your own garden crop, stick to the tried and true recipes of a good canning cookbook and learn as much as you can from the National Center for Home Food Preservation.
Now it is time to reap the bountiful summer harvest!
Invest time, energy and love in dehydrating fruit and in drying medicinal herbs, then gather all the necessary pieces of canning equipment and start preserving that bumper crop of plums, strawberries, beans and zucchini – even if it comes from the market!
Go forth and gather those amazing skills of self-reliance that will keep you, your family and your friends well fed in the winter seasons to come.
Are you preparing to can up a storm this summer to fill your pantry? What are your favorite go-to canning recipes?
Pin This To Save For Later
Read Next: How To Make Spruce Tips Syrup + More Uses For Spruce Tips

Get the famous Rural Sprout newsletter delivered to your inbox.
Join the 50,000+ gardeners who get timely gardening tutorials, tips and tasks delivered direct to their inbox.