

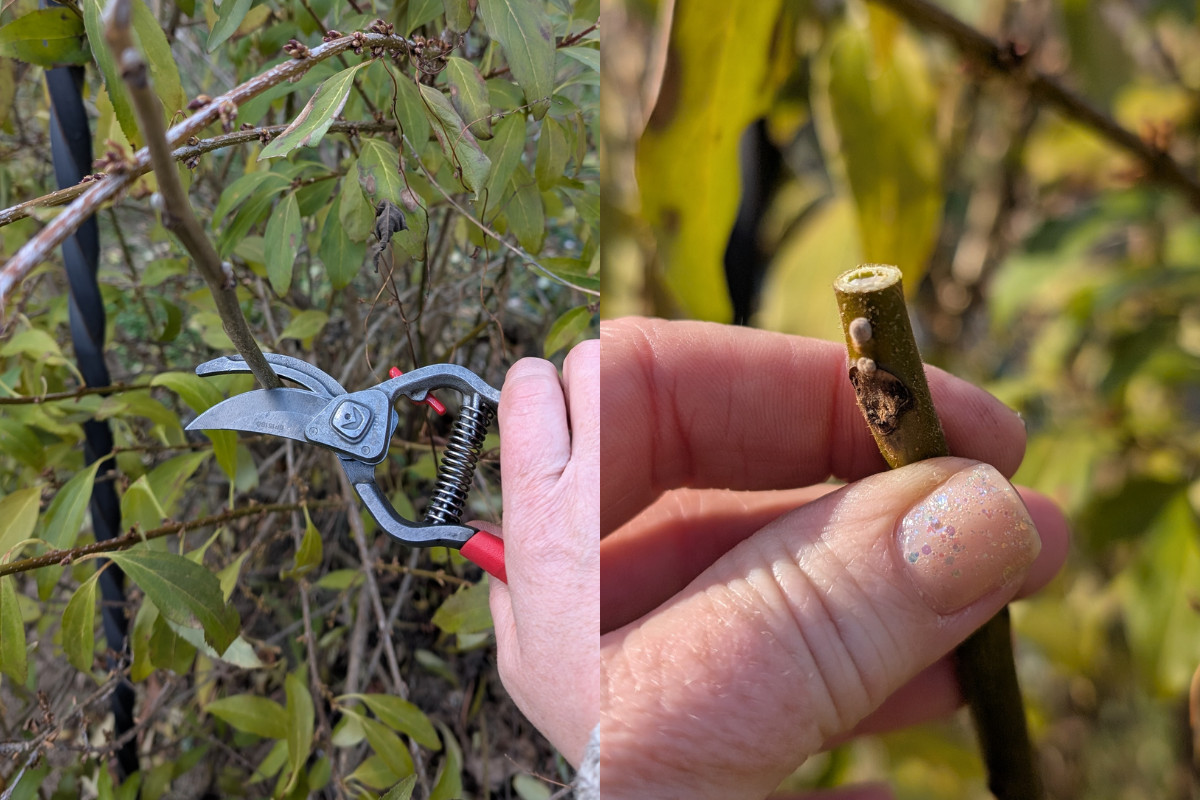
When it’s time to prune a plant, nothing makes the job harder than a pair of dull, rusty pruning shears. Instead of a nice, crisp, clean cut, you end up with a gnawed-off nub. Not only does this make pruning harder on your hands, but it’s harder on the plant, too. Thankfully, it’s easy to keep your pruning shears in tip-top shape.
They Always Look Worse Than They Actually Are
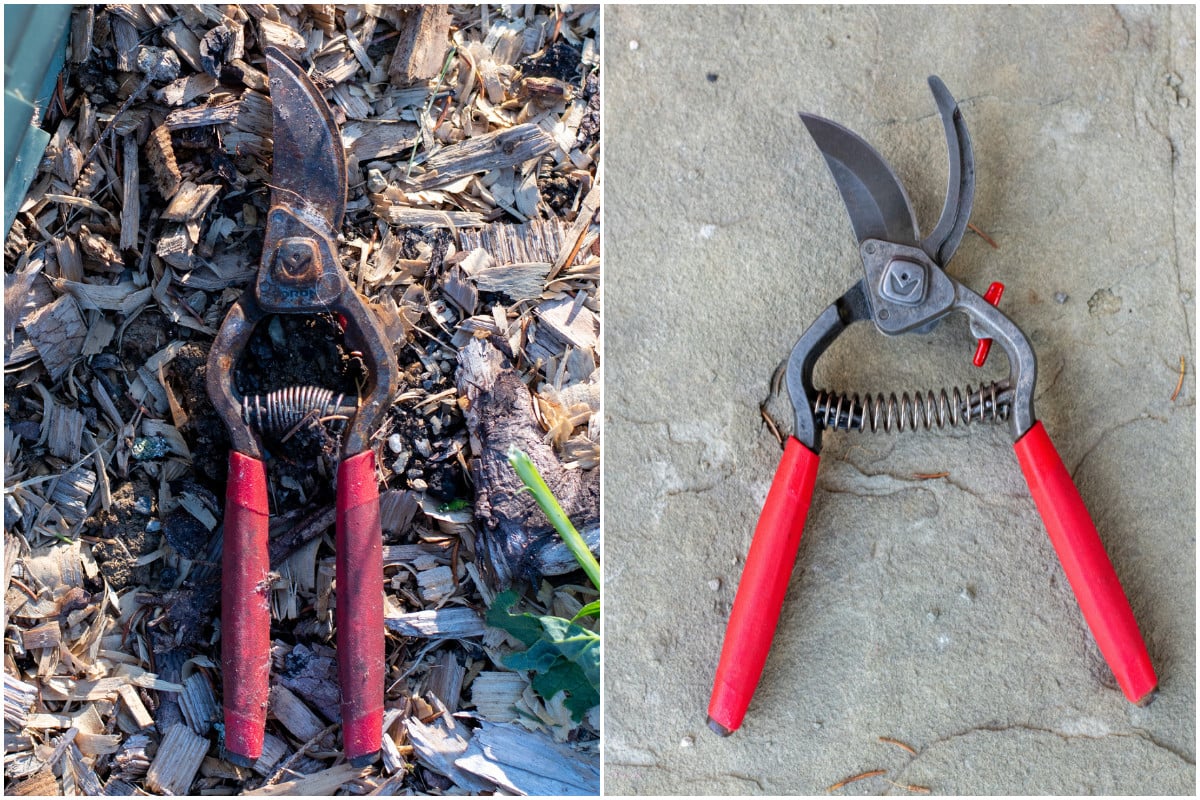
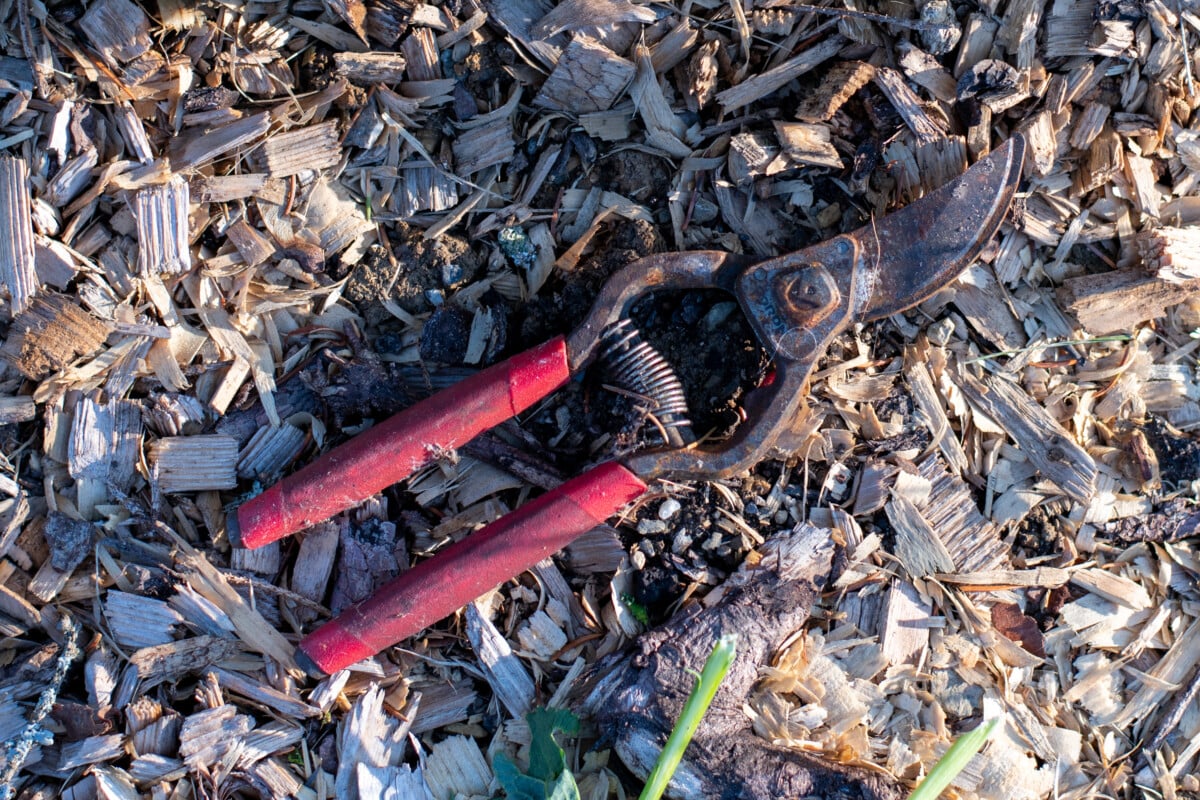
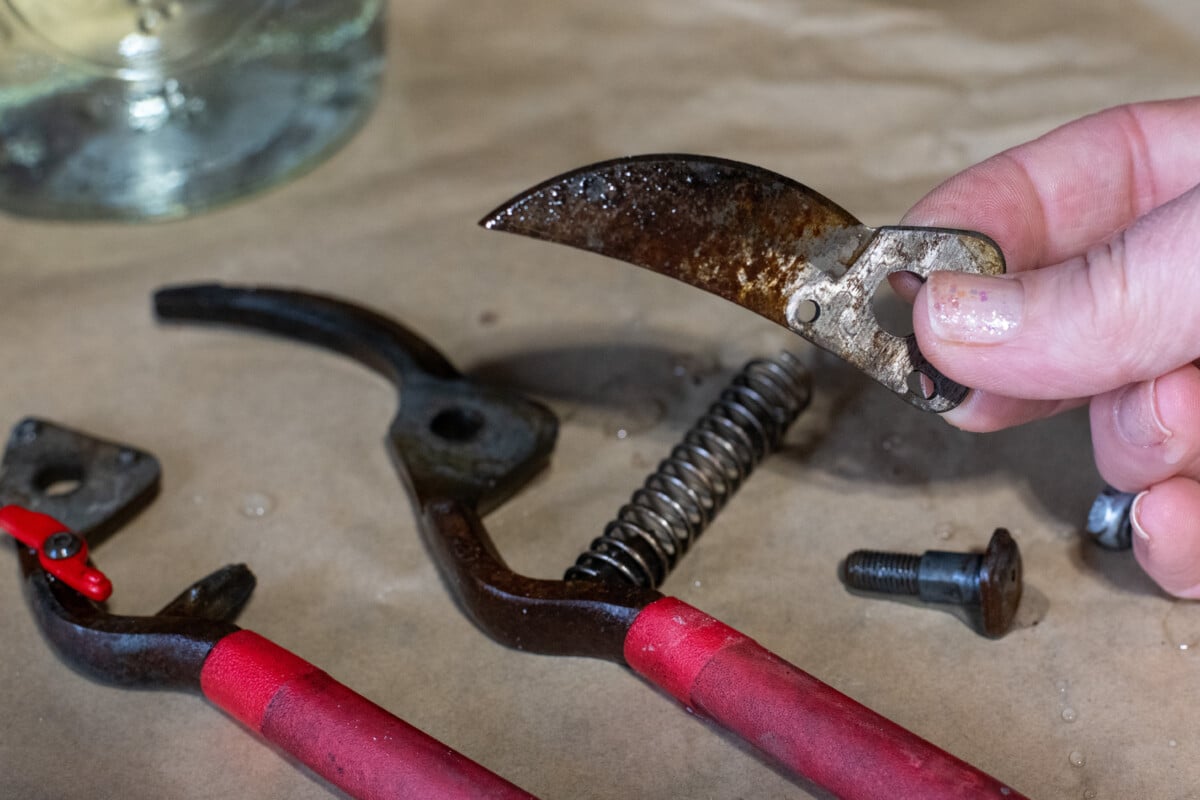
I have a couple of pairs of pruning shears of varying degrees of quality. (It helps to have multiple tools when you’re trying to encourage your teenage boys to help out. Although the Felco pruners are mine. They can get their own pair.) One pair disappeared sometime around June this year, and I found them again recently while tidying up the garden for the fall.
(Oops, I think this was me, not the teenagers.)
I think it’s safe to say I won’t be using these to prune anytime soon. Dull, rusty pruners do more damage to plants than a pair of clean, sharp ones. When you use dull, dirty hand pruners, the jagged and ripped cuts they leave behind make the plant more susceptible to disease.
But don’t forget, tools like these are designed to be used and, yes, sometimes abused. A decent hand tool is meant to withstand this kind of wear and tear, so don’t discard them if they end up looking rusty and worn!
All you need are a few simple household items to get them back in good working order. (And a little time.)
Here’s what we need:
- A glass jar or baking dish (like an 8”x8” or a 9”x13”)
- White vinegar
- Table salt
- Baking soda
- Multipurpose oil
- Carbide sharpening tool or diamond file
- Steel wool
- Clean rag
Vinegar and Salt Bath
Using vinegar and salt to remove rust is a well-known trick, especially among those who enjoy tinkering. Acid is good at removing oxidation (rust) from metal. Adding the salt to the white vinegar assists in the process by making the acid more effective. (We’ll skip the chemistry lesson for today.)
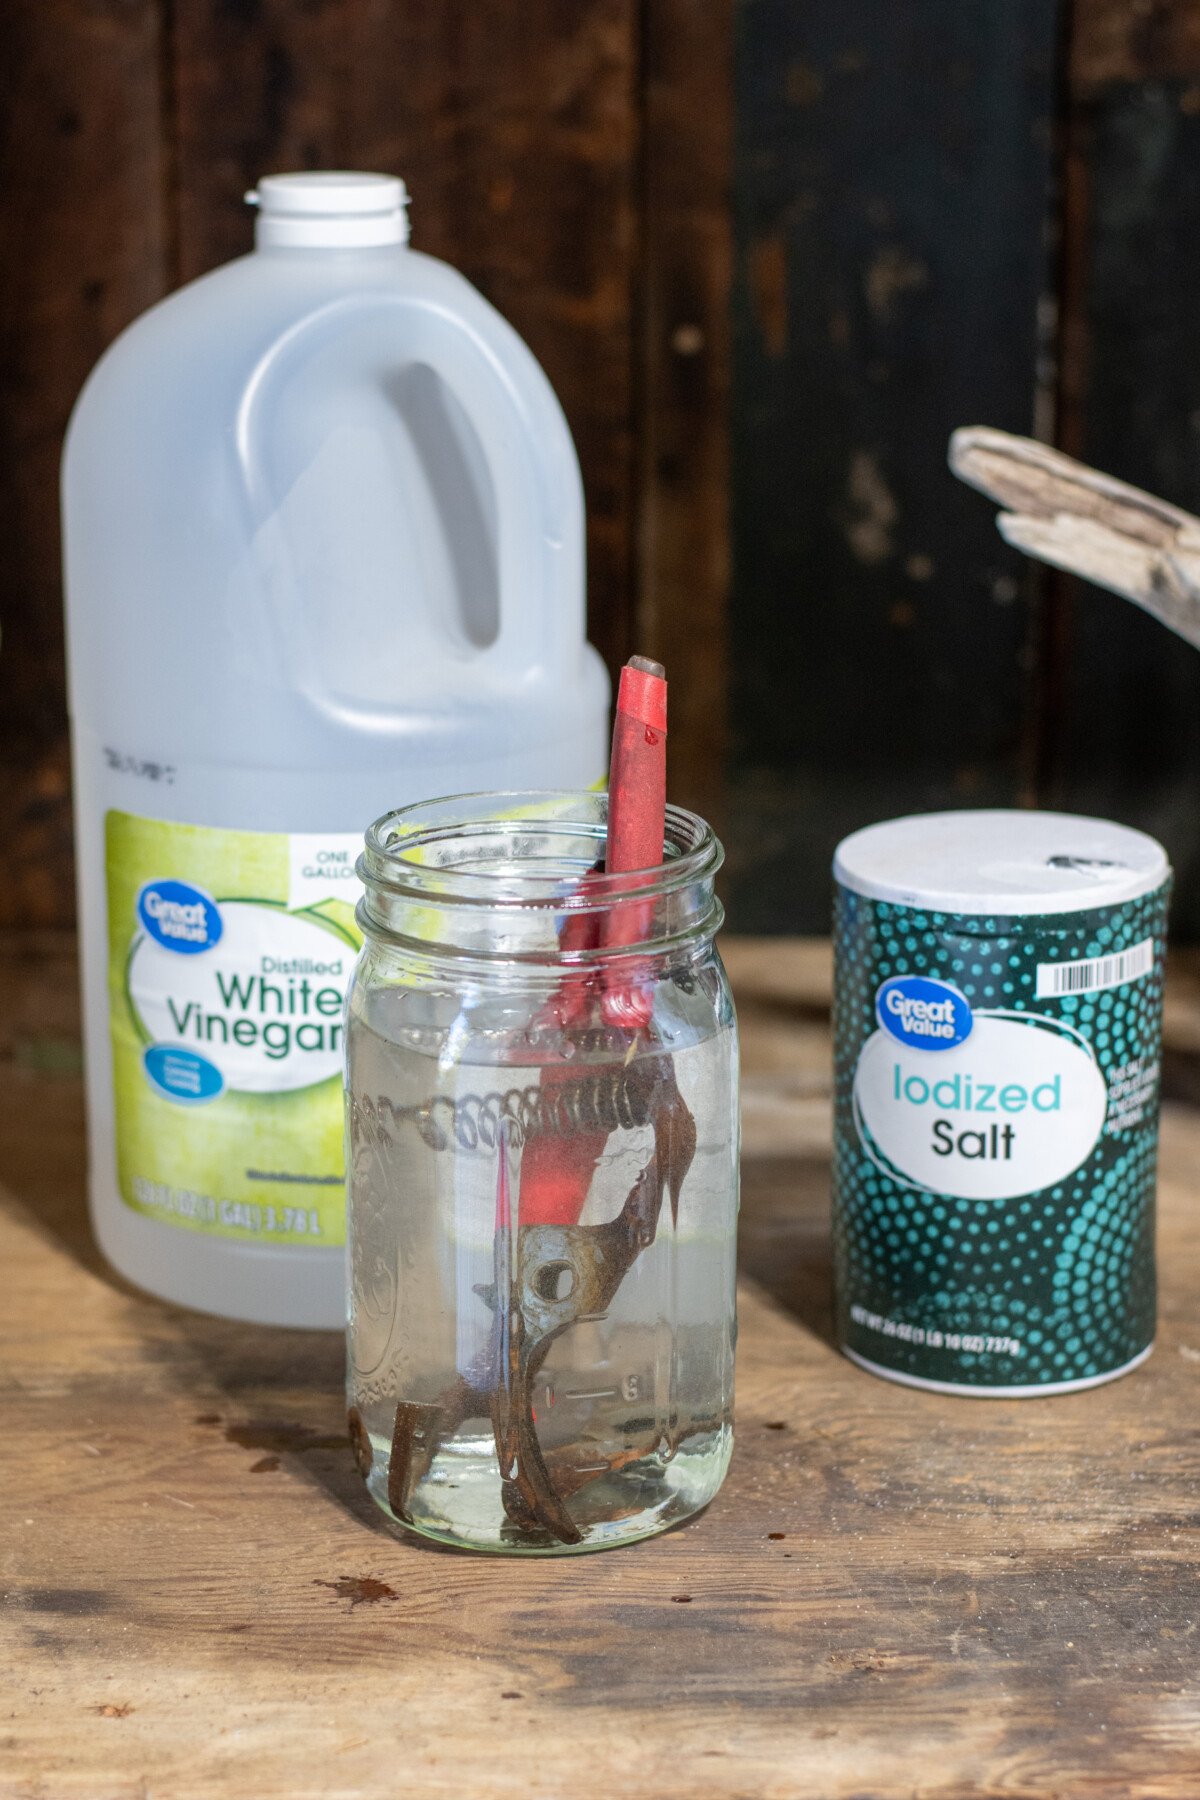
It’s always a good idea to completely disassemble your hand pruners. This allows the acid to reach every surface.
Now pour white vinegar into the container you are using and add 2 tablespoons of salt. (You can eyeball it.) Stir until the salt is completely dissolved.
Now put your pruners and any parts into the vinegar and salt solution.
It’s important to note that this solution isn’t going to magically clean your pruners. You won’t come out and find them rust-free in a couple of hours. It essentially dissolves (loosens) the rust, allowing you to wipe it away using steel wool and/or an old toothbrush. But this vinegar and salt soak ensures you don’t have to use much elbow grease to wipe the rust away.
Depending on how rusty your hand pruners are, you’ll need to let them soak for a few hours. (You can see how embarrassingly bad mine are. I let mine soak for three hours.)
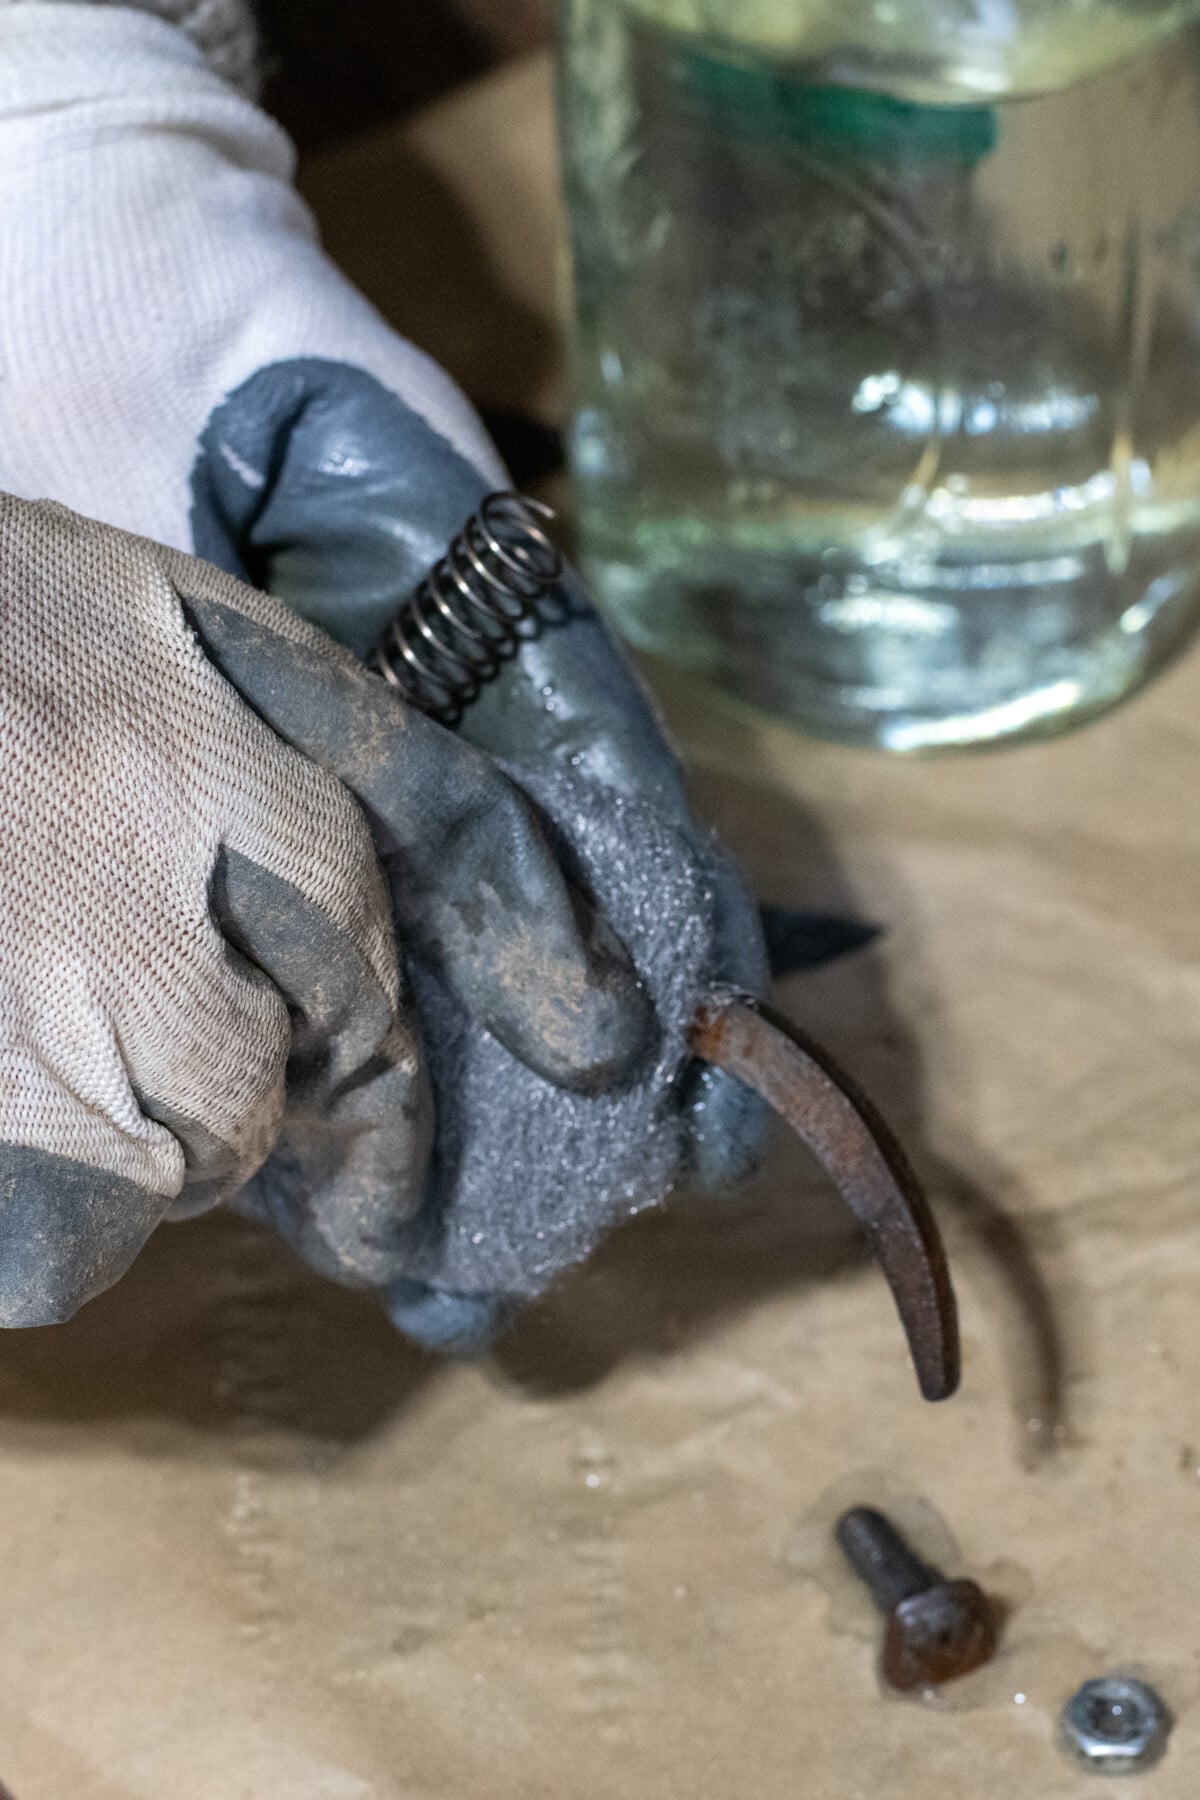
Use the steel wool (I also used an old toothbrush to get in the cracks and crevices) to gently scrub away the remaining rust. It helps if you dip the steel wool into the vinegar and salt solution and then scrub with it.
Once all the rust is removed, it’s important to neutralize the acid from the vinegar.
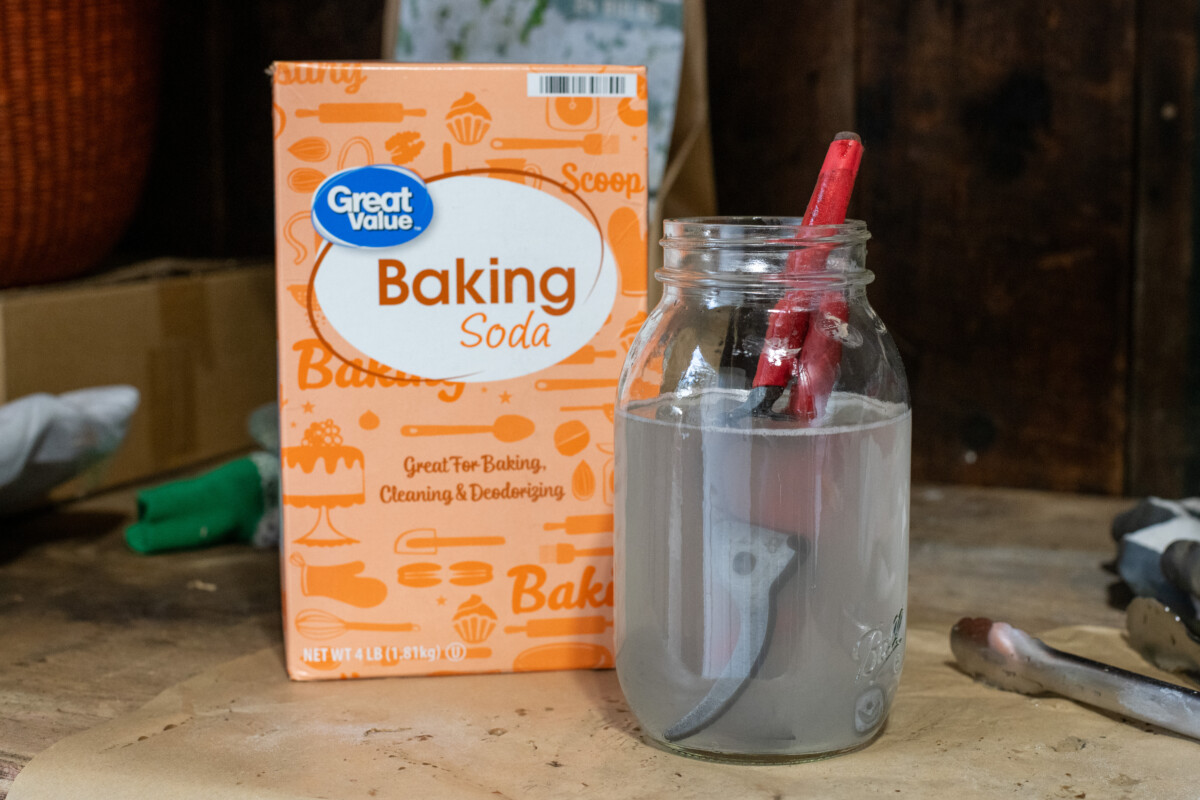
Dump the vinegar solution out of the jar and fill it with water and 2 tablespoons of baking soda.
Let the pruners and parts soak for 10 minutes in the baking soda and water, then remove them and set them somewhere to dry completely. (You don’t need to rinse them.)
Preventing Flash Rust
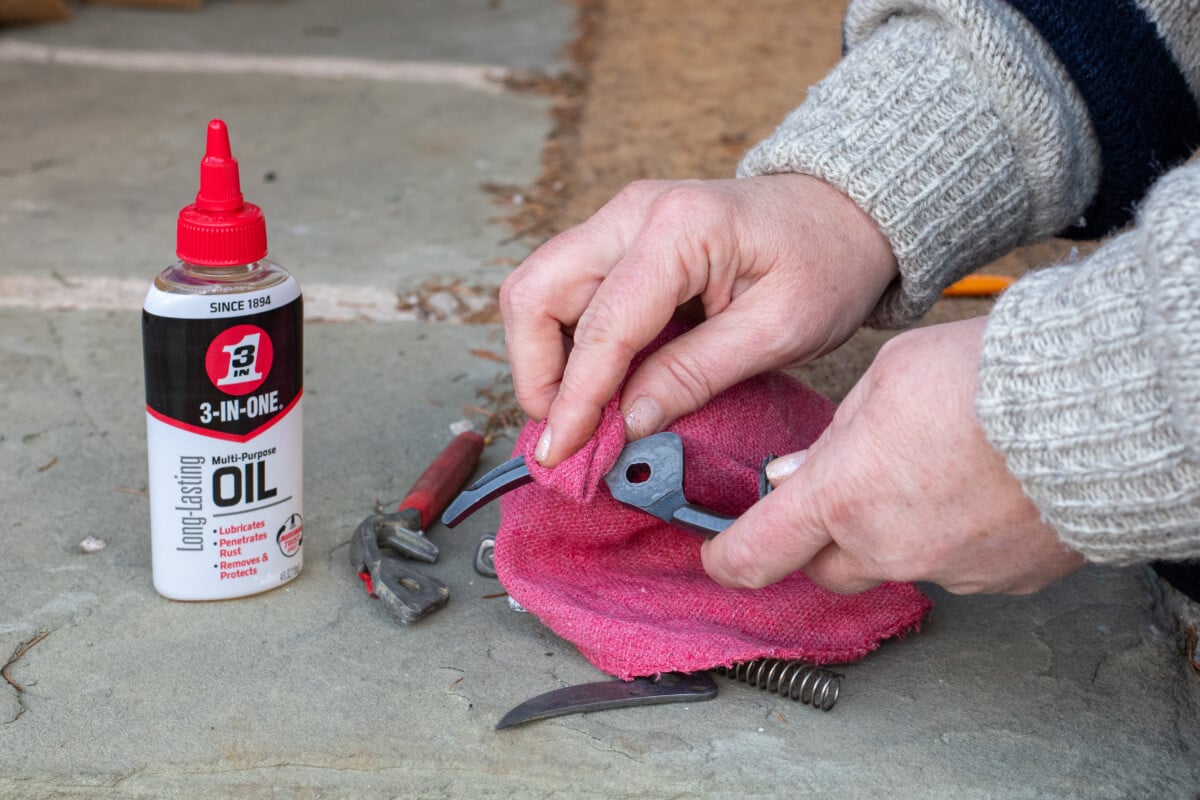
It’s important to lubricate the entire metal surface as soon as all the pieces are dry. Otherwise, you will end up with flash rust. Oiling the parts also prevents future rust and keeps the pruners working smoothly. (Protip: No, WD40 is not a lubricant.)
Using multipurpose oil (you can’t beat the original) and a clean rag, apply a light layer of oil to all the metal surfaces. I find it’s easiest to go a little heavy-handed with the oil and then wipe off any excess. I can be sure everything gets oiled this way.
Now, we just have to sharpen them before we put them back together.
Sharpening Pruning Shears
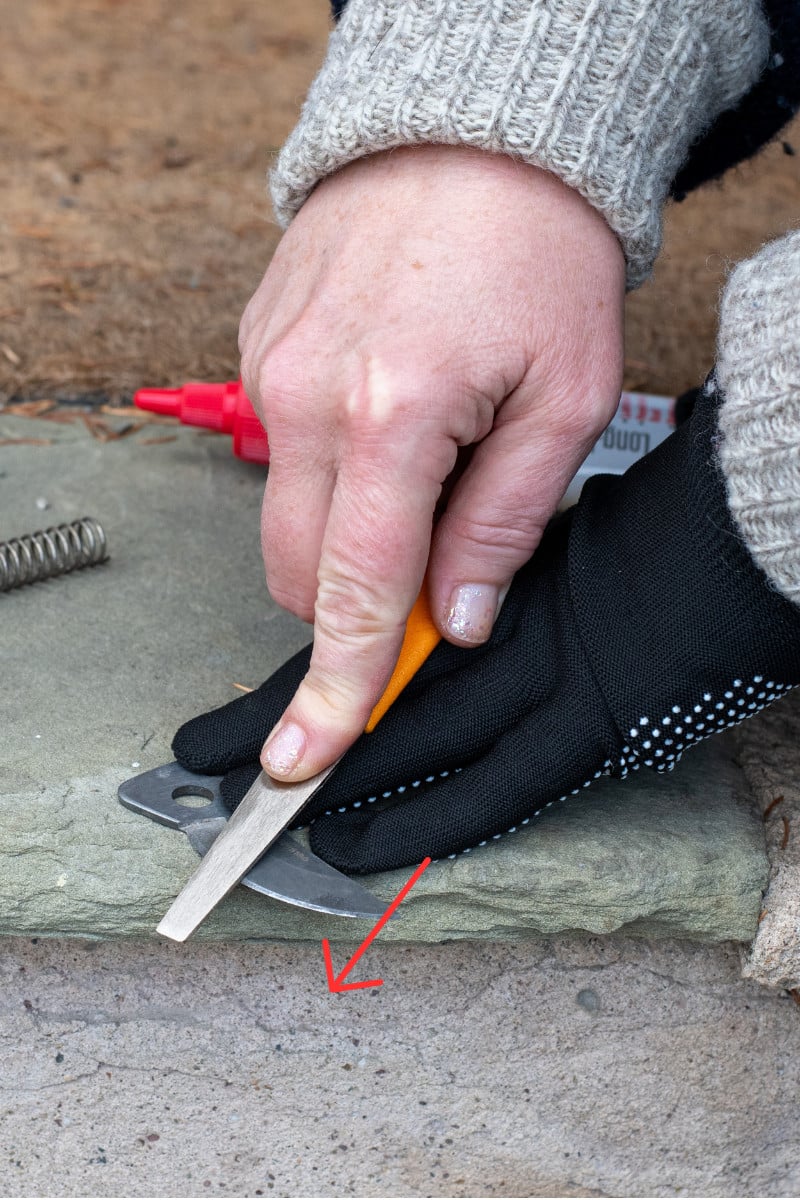
Sharpening your pruning shears is easier to do when you’ve got them apart. You’ll need a little diamond file (like this one), or a carbide sharpening tool.
Hand pruners typically have only one blade edge, making them relatively easy to sharpen.
Match the sharpening tool to the angle of the blade (usually 10 or 20 degrees), then push the sharpener down and away from the sharpened edge. Repeat a couple of times, moving along the entire edge.
Now turn the blade over. This time you’ll be sharpening straight across the edge. Again, push the sharpener away from the edge.
Wipe the blade with a small amount of oil, and you’re ready to reassemble them.
A Note About Cleaning
I often see folks advise you to clean pruners with soapy water. While this works for the handles, it’s terrible for the blades and other metal parts, as it encourages rust, and most soaps won’t touch things like sap.
That same multipurpose oil is a great way to clean dirty blades, and it completely dissolves sap. Apply a few drops of oil to the blades and rub them well with a clean rag to remove debris and sap.
Wipe down the blades with a cotton ball dipped in isopropyl alcohol to sterilize them, then apply another thin layer of oil. This will ensure your pruning shears last longer than you do!
See? That wasn’t so terrible. And now your hands and your plants will thank you whenever you use your clean, sharp pruning shears.

Get the famous Rural Sprout newsletter delivered to your inbox.
Join the 50,000+ gardeners who get timely gardening tutorials, tips and tasks delivered direct to their inbox.