

I often see peace lilies make it to the top of lists of houseplants that thrive on neglect. I believe – and you can disagree – that no plant thrives if it has been neglected. It merely survives. And that includes the sturdy Spathiphyllum, no matter how many lists of low-maintenance plants it’s featured on.
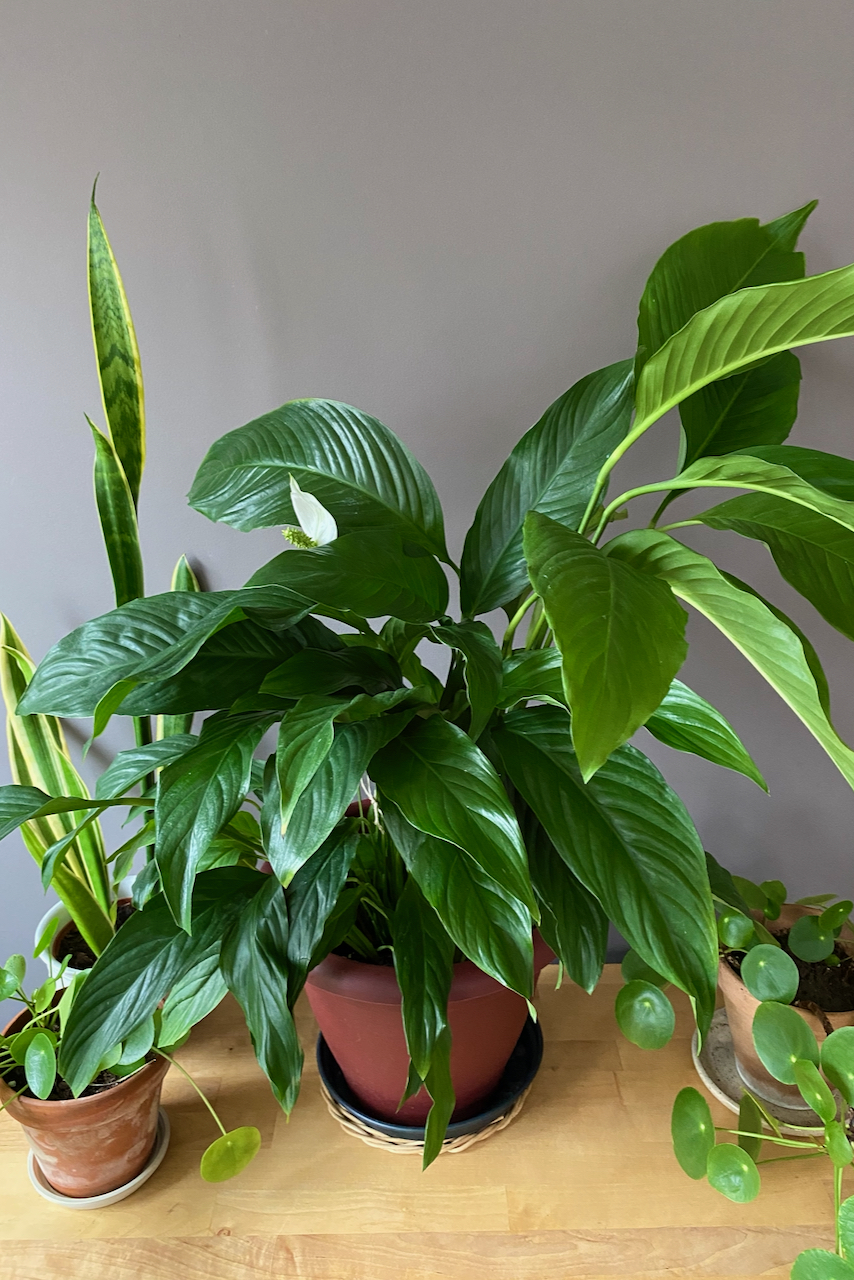
In the interest of practicing what I preach, and keeping it honest, I had a look at my own peace lilies. Two of them are looking great, but the middle child is definitely in need of a little TLC.
Related Reading: The Instant Fix For Brown Spots On Houseplant Leaves & How To Stop It Happening Again
It’s been two years since I repotted this peace lily. And even though it has been in bloom for most of the summer, the leaves look a bit tired. I also noticed that the surface of the soil is covered in mineral buildup. Which makes sense, because I use tap water for all of my plants. And I live in an area with really hard water.
Should I repot my peace lily?
I have a lot of houseplants, so I only repot them when it’s absolutely necessary. I’ve never been disciplined enough to follow a repotting schedule. Instead, I let the plants tell me what they need when they’re unhappy. And lest you believe I can talk to my peace lilies, let me put your mind at ease. They don’t actually tell me. Rather, it’s up to me to read a few of the signs that indicate it’s time to refresh their soil.
Here’s what I look out for in peace lilies:
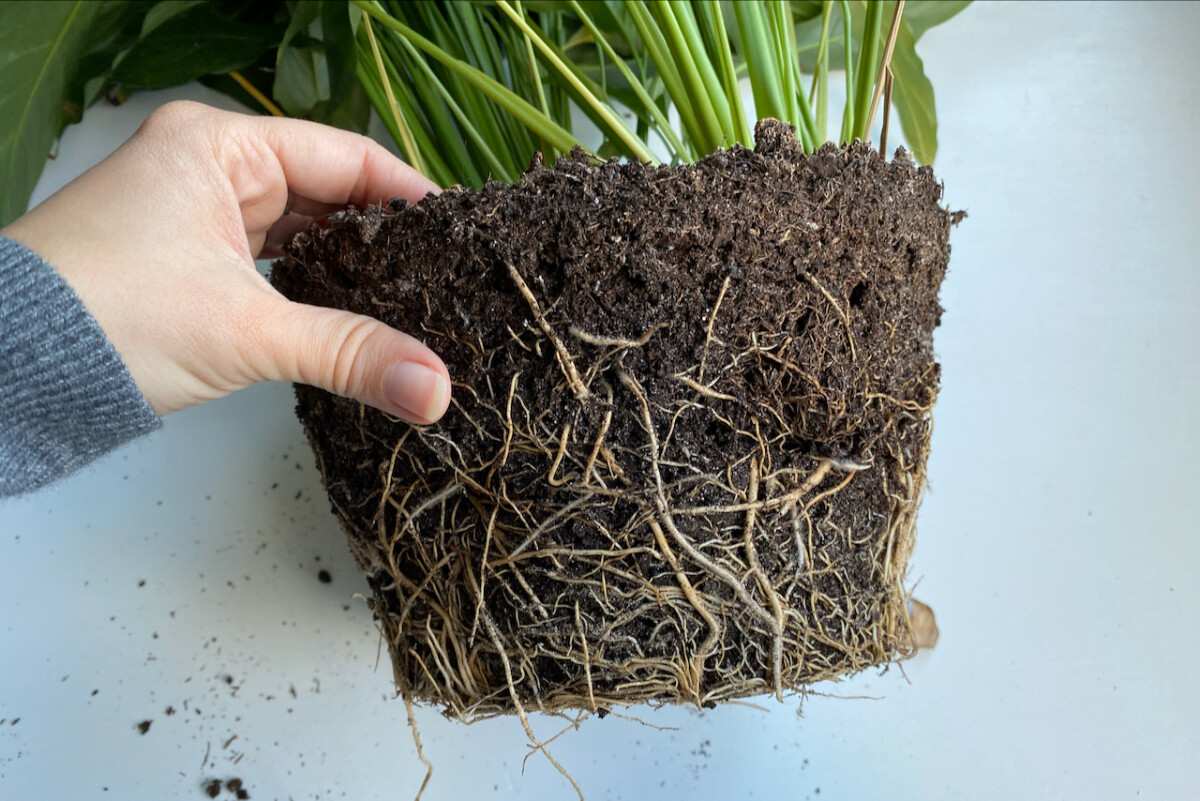
Warning sign #1: There is a mass of roots spilling out of the pot.
If you notice there are roots coming out of the container, that’s a clear sign that your peace lily has become root-bound. Usually, roots will poke out of the drainage holes. But they may also make their way to the surface of the pot and pop up there.
Both of these sightings are a clear indication that it’s time to upgrade the pot to the next size up. That’s usually no more than two inches (five centimeters) wider in diameter.
While peace lilies like to be a bit crowded, there’s a limit to how much they can grow when they’re pot-bound. That’s because a tangle of overcrowded roots will compact the soil which will, in turn, impact the absorption of water and nutrients.
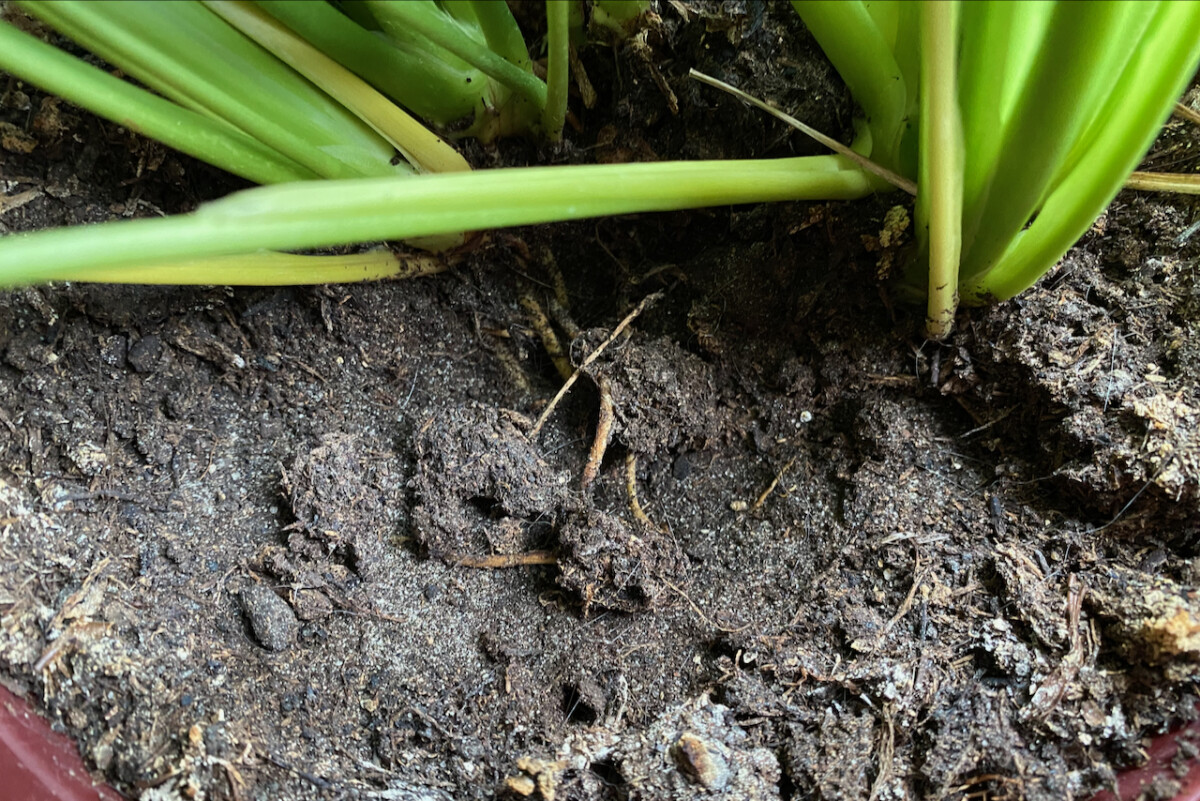
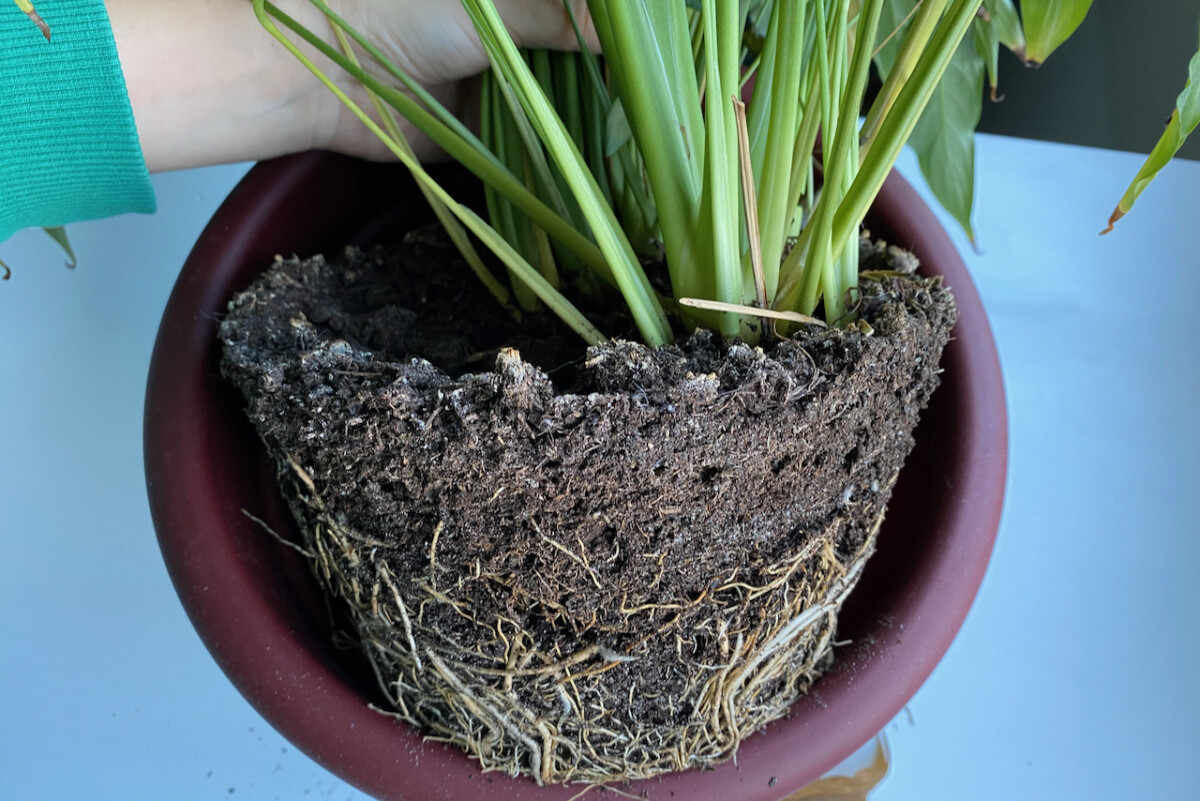
Warning sign #2: The soil is hard and crumbly. It looks depleted of nutrients.
This was very much the case for the peace lily that I’m repotting now. The last time I repotted it was more than two years ago. And boy, did my laziness show! Even though the plant didn’t look root-bound, the soil looked depleted of nutrients and in definite need of a refresh.
Another indication that the soil is spent is loss of water retention. If the water goes right through as soon as you give your peace lily a gulp, then the soil has become too compacted. This usually happens because the mass of roots is strangling and compacting the soil. It may also happen over time as the soil loses oxygen.
If you notice serious compaction, I suggest you first try aerating the soil. If that doesn’t improve water retention, then it’s time for a peace lily repotting session.
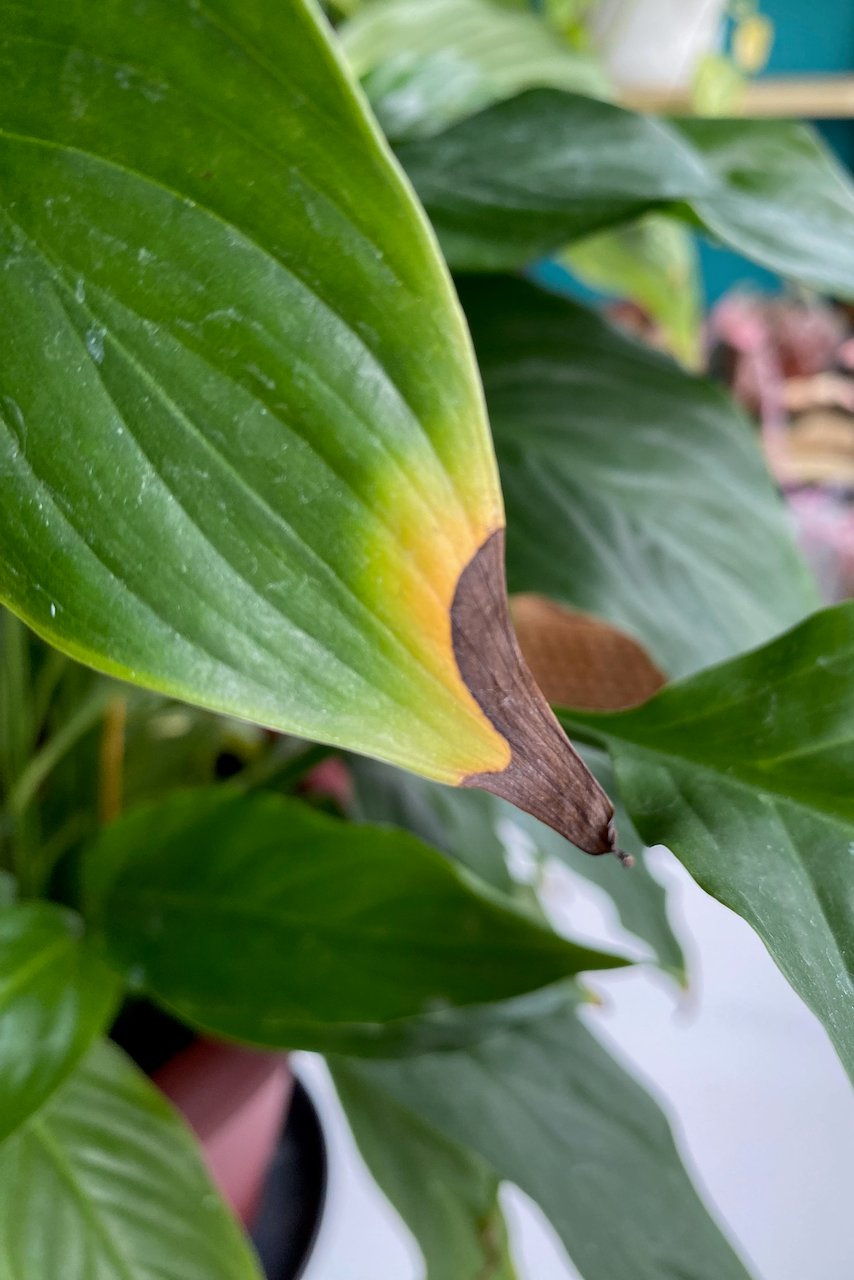
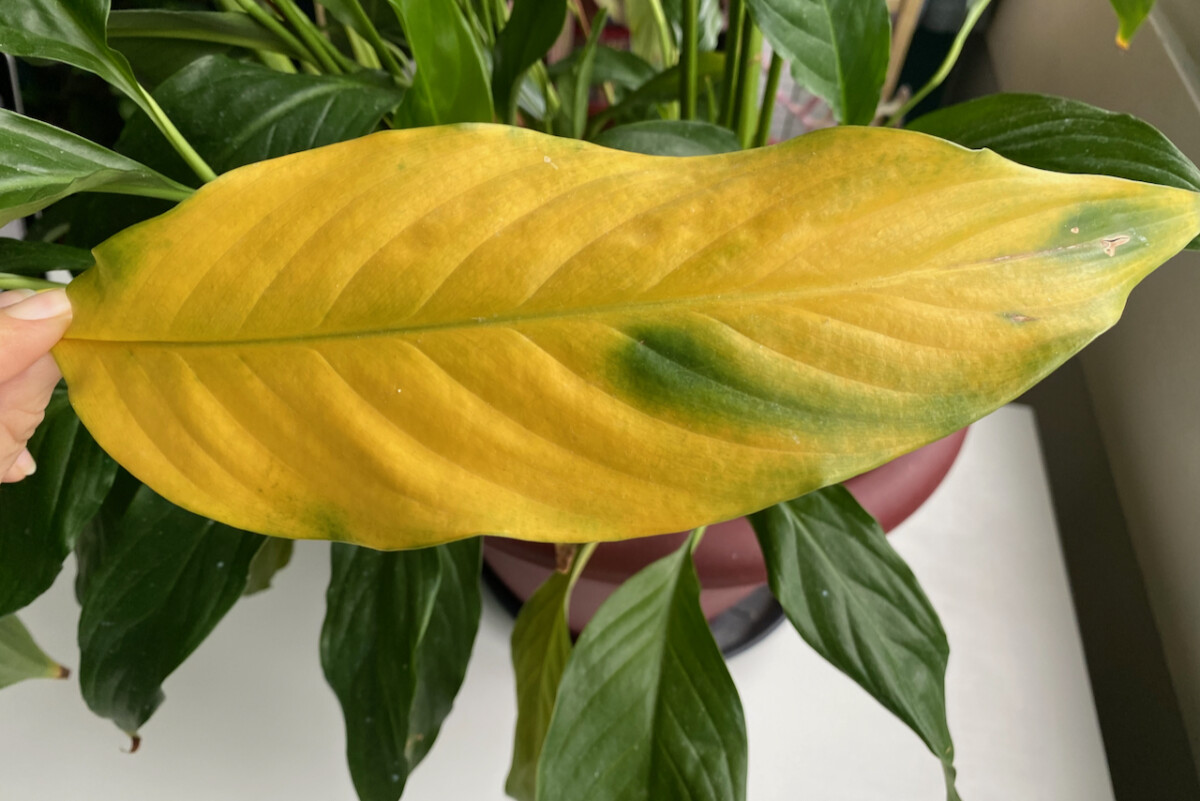
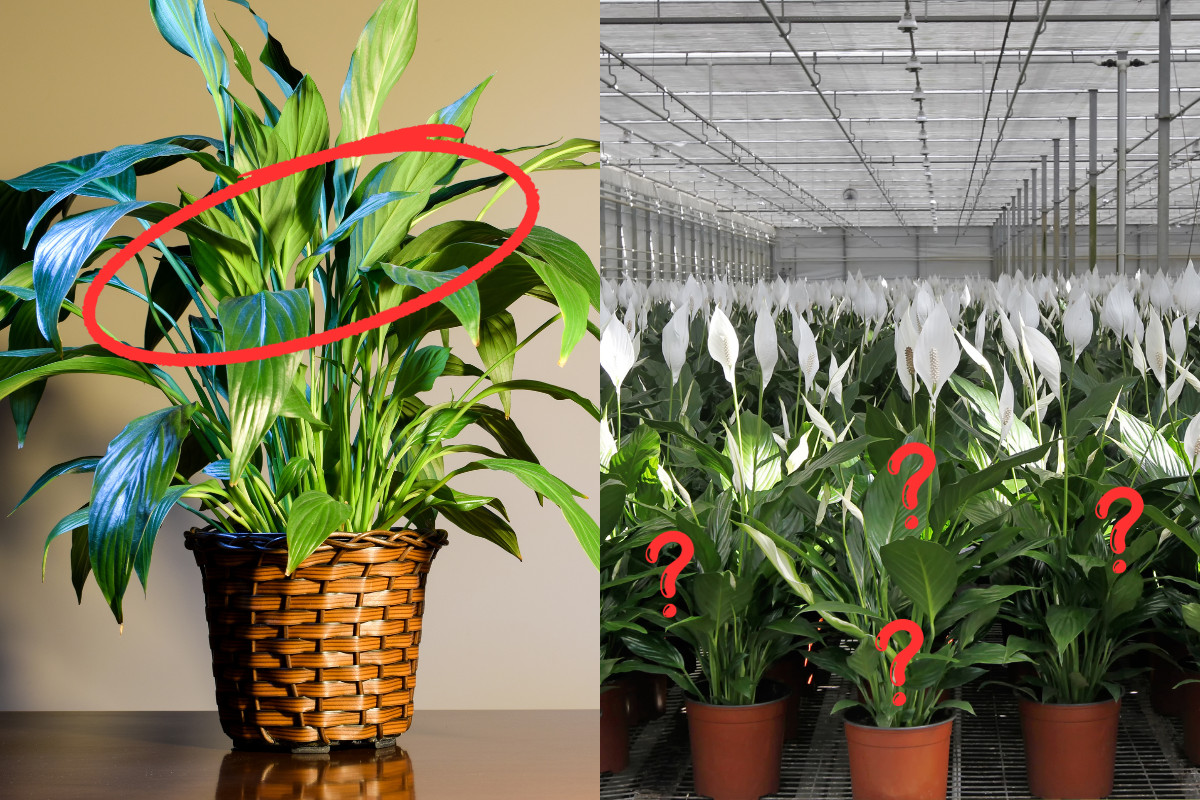
Warning sign #3: The leaves of the peace lily show signs of distress.
This is often the first problem we notice, but the trickiest one to diagnose. If the leaves start turning yellow or get yellow splotches on them, we may be dealing with nutrient absorption problems. And by the time we notice it, chances are the dreaded root rot has set in. Once the roots are damaged, they become useless at absorbing water and nutrients.
Peace lily root rot is just as slimy as it sounds. Its most common cause is an excess of water.
There are three main reasons why this happens:
- we’ve planted the peace lily in a pot with insufficient drainage;
- we’re watering it too often;
- we let the container sit in water too long after we’ve watered it.
Ironically, we mistakenly think that the foliage is turning yellow or brown because the peace lily needs more water. So in our attempt to fix the problem, we make it worse by continuing to overwater.
What we need to do instead is dig out the roots, remove the rot and repot the peace lily. Once this is fixed, we should remember to keep our overwatering tendencies in check in the future. Allow the peace lily to dry out before giving it another sip.
Repotting Peace Lilies 101
Ok, so now you know that repotting will fix these problems. I wish I could say once and for all; but realistically, it will only solve them for a couple of years tops.
Here’s a step-by-step guide of how I repot my peace lily.
And if you have even more tips for a smoother transplant, I’m always happy to learn more.
Step 1: The squeeze and lift.
Before I transplant my peace lilies, I usually let the soil dry out for about a week. That makes it so much easier to lift the root structure straight out of the pot.
I know this may sound counterintuitive because you don’t want to stress a plant by starving it of water before you stress it even further by transplanting it. But I only do it for my tough houseplants, such as peace lilies, ZZ plants and snake plants. I wouldn’t take this approach with fussy primadonna plants.
Start by gently removing your peace lily from its pot. If it’s in a container, you can squeeze the sides to loosen the soil and gently pull out the plant while holding it by the stems. You might need to give it a bit of a shake if the roots have been growing out of the drainage holes.
If it’s still not coming out, carefully slide a butter knife around the edges of the pot to dislodge the soil and loosen up the root structure.
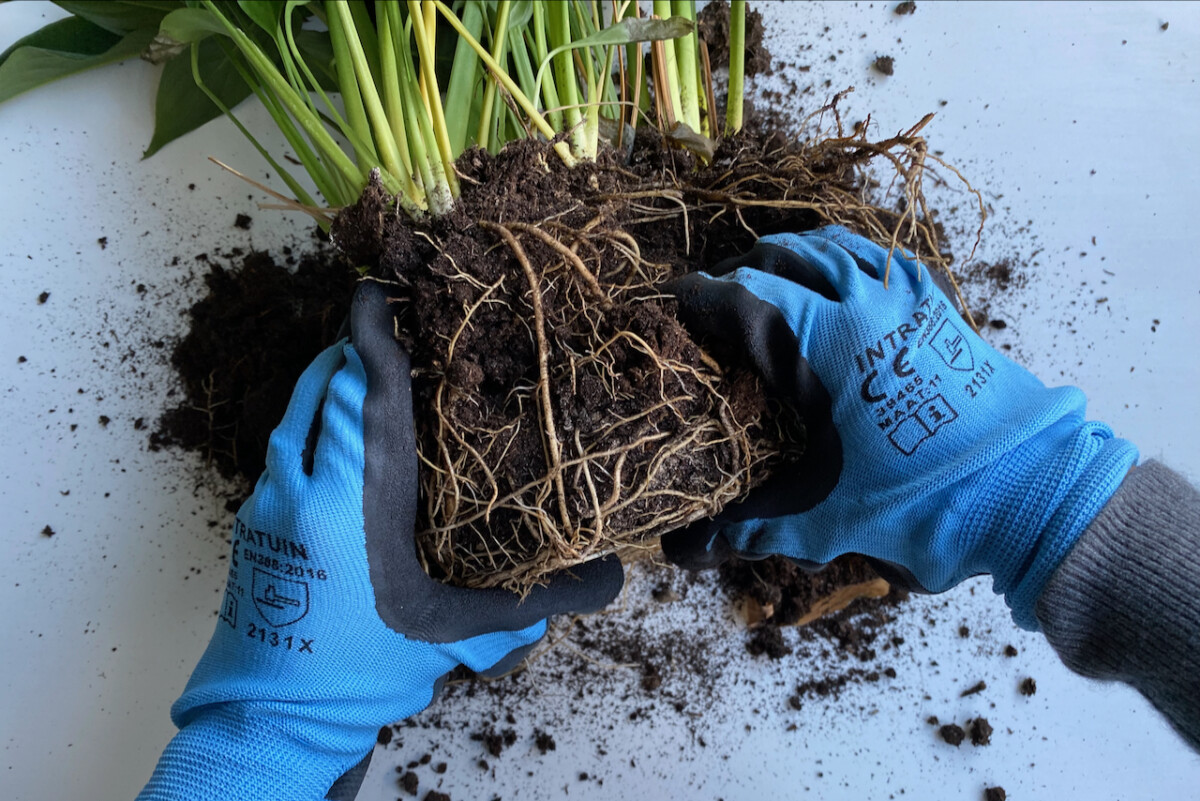
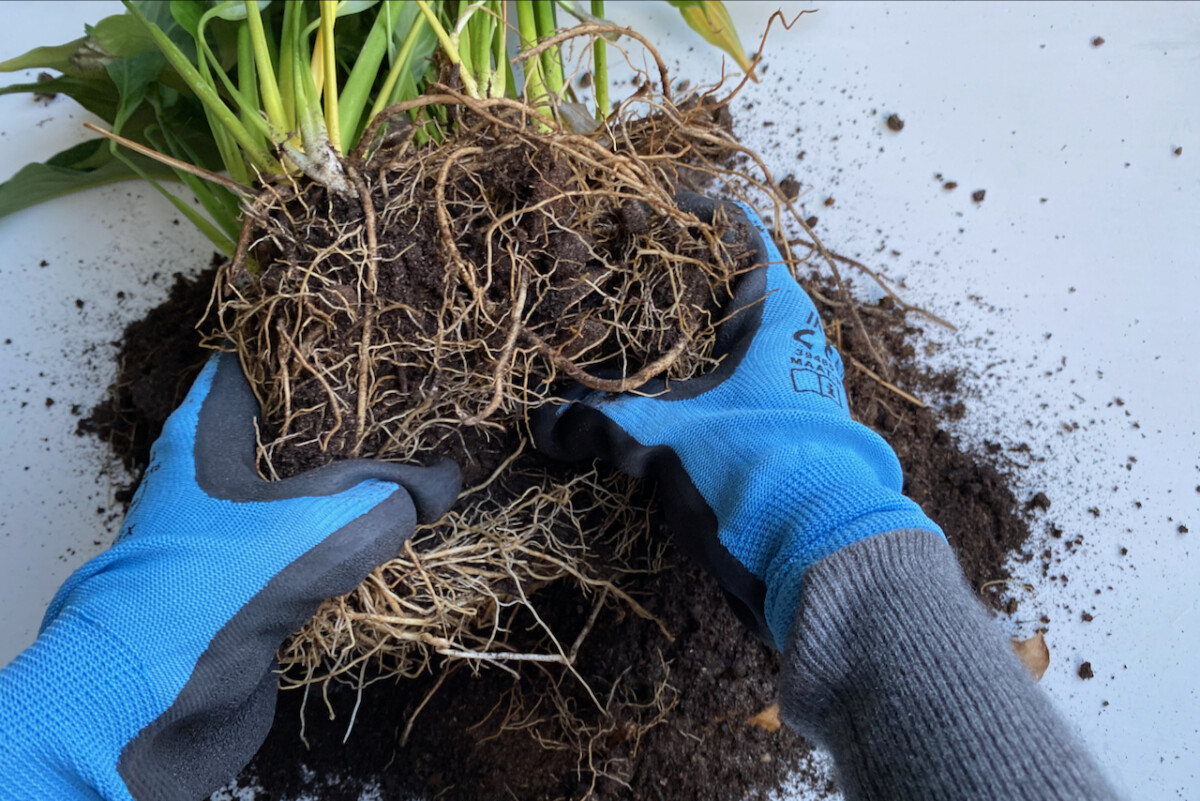
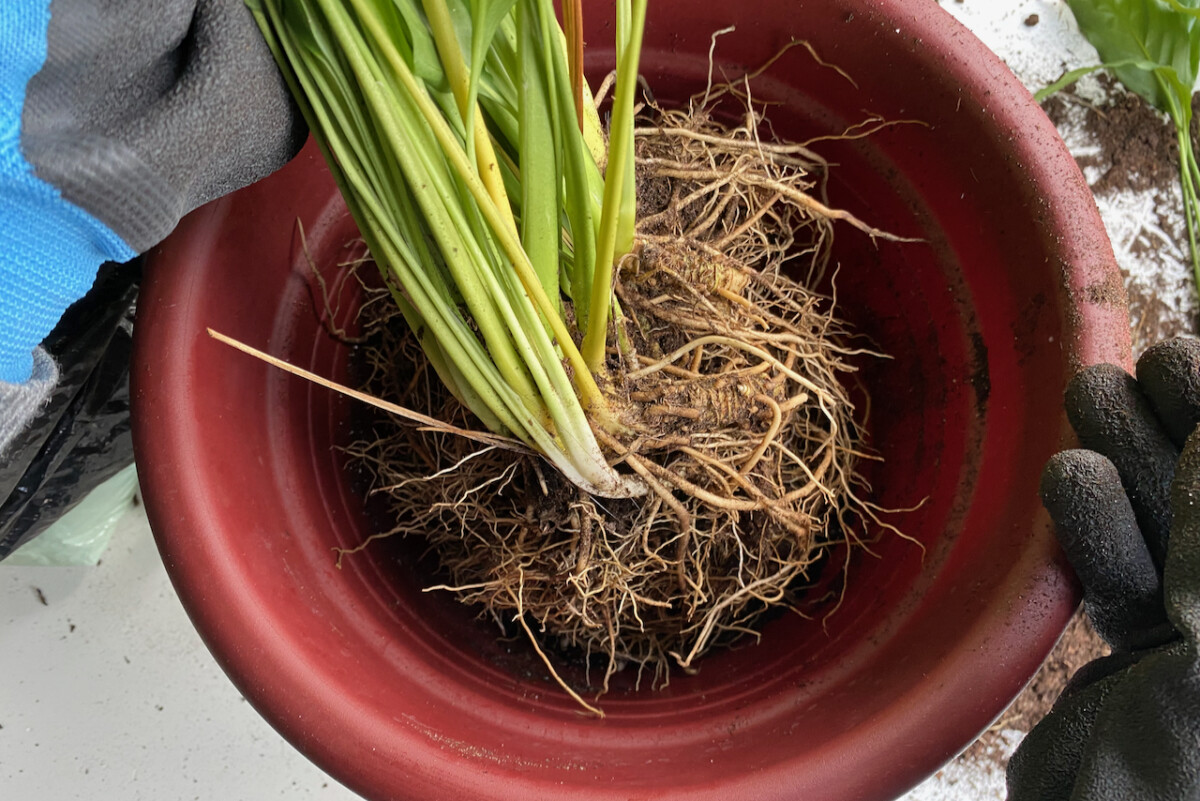
Step 2: The root inspection.
Remove as much of the spent soil from around the roots as possible, rotating it and making sure that you’re cleaning it evenly.
If you’re repotting because you’ve had trouble with pests – fungus gnats love peace lilies – go ahead and clean the roots more thoroughly. You can even run some tap water to clean the root strains properly, but make sure the water is at room temperature. I don’t see any signs of unwanted bugs on this peace lily, so I’ll skip washing the roots this time.
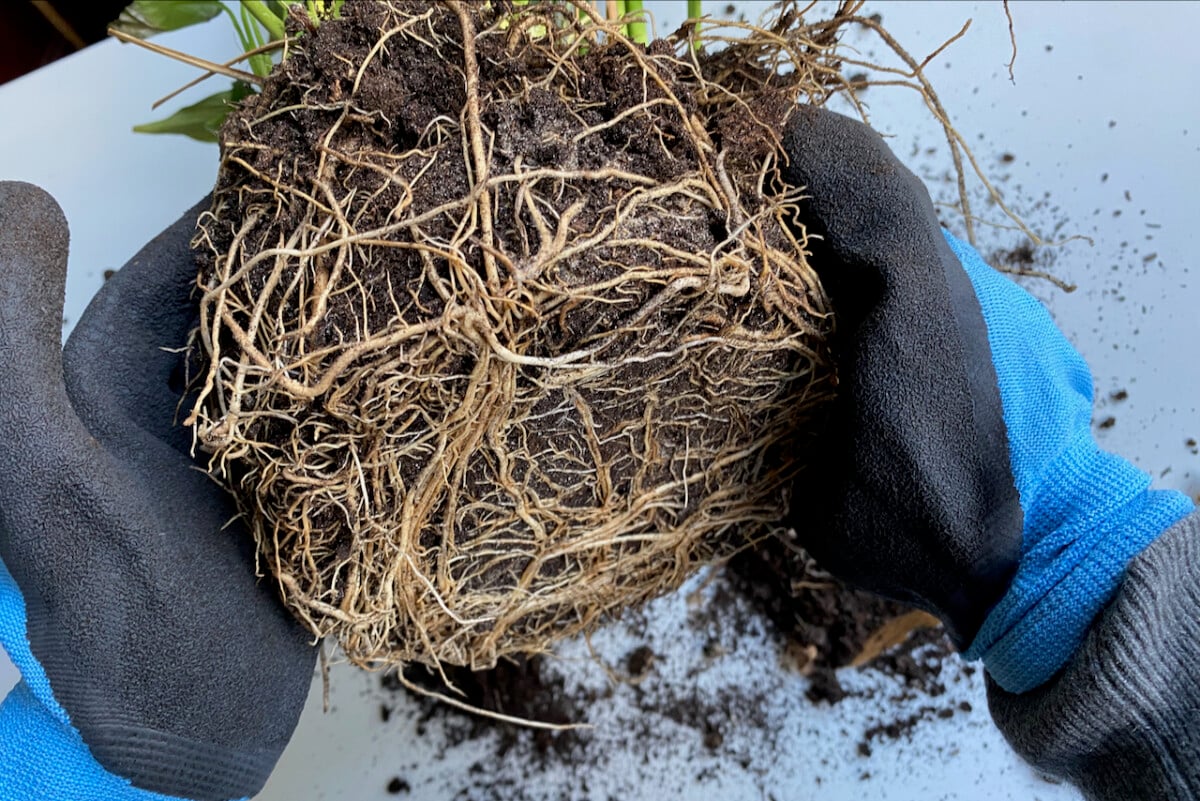
Once the roots are dirt-free, it’s time to inspect them closely. You’re looking for root rot, which will translate to mushy, slimy roots that look black or brown instead of their usual healthy white or light green. You may not see the rot right away. But you’re sure to smell it. Yes, rotted roots smell just as slimy and damp as they look.
While we’re at it, I’ll take the liberty of making another suggestion.
As weird as it may sound, have a sniff at the discarded potting soil. From a safe distance, of course., and only if you don’t have allergies. Does it give off a musty, moldy, rotten miasma? That may be a sign that you have been overwatering your peace lily and the soil has become waterlogged.
This is dead plant material, so whatever you do, don’t bury it back in if you find it. Cut everything off using sharp shears. Then wash the roots again until the water comes off clean.

I hate waste, so I do my best to never discard the potting soil, unless it’s absolutely infested with bugs. Here are a few ways I reuse my potting soil, but keep in mind that most of these methods will require access to a garden.
Step 3 (Optional): The root division
If you’re happy to keep your peace lily the same size, feel free to skip this step.
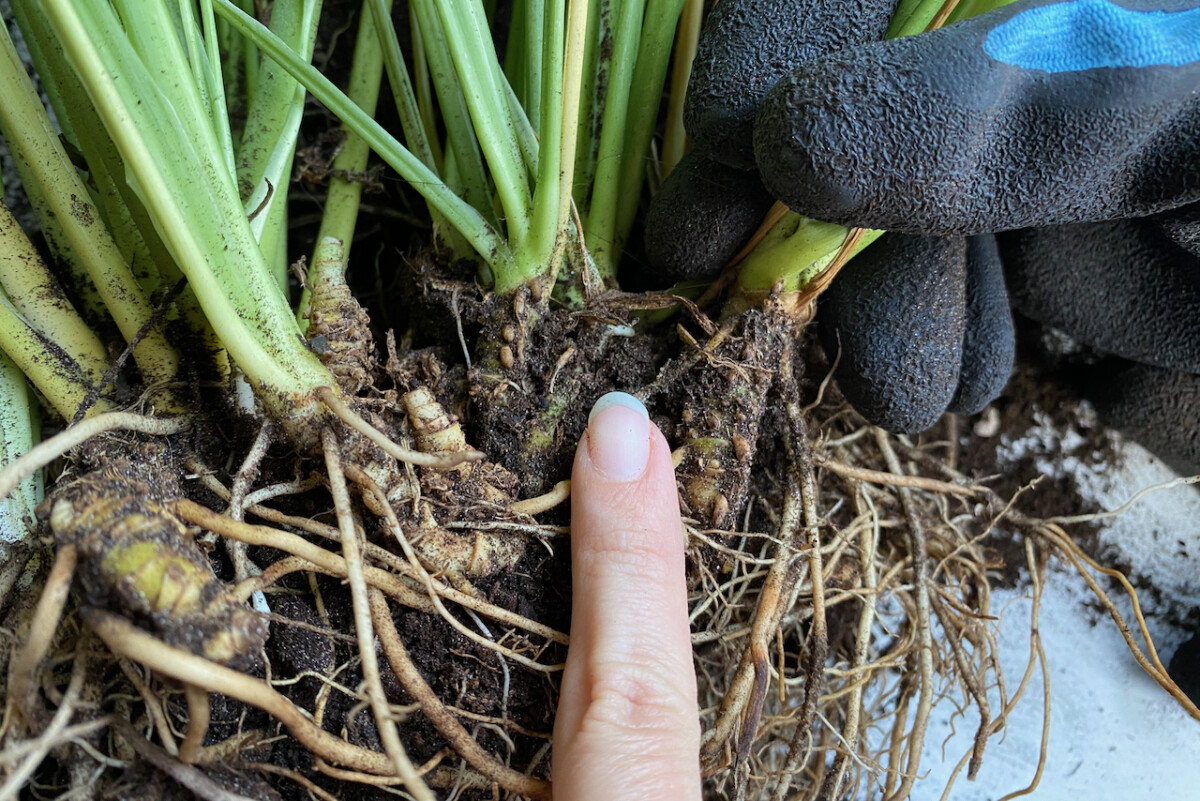
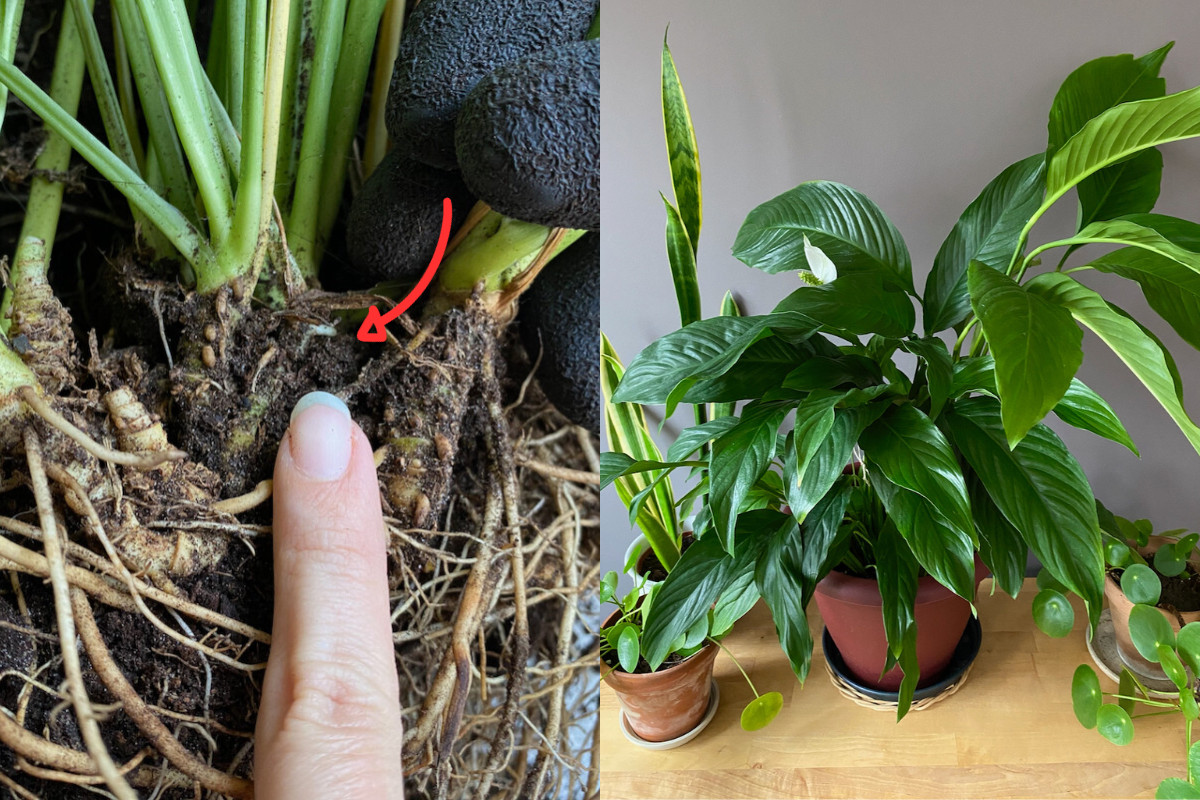
But if you have your eyes set on propagating this houseplant, repotting it presents the perfect opportunity. The roots are exposed and it’s very easy to see where you can divide the plant.
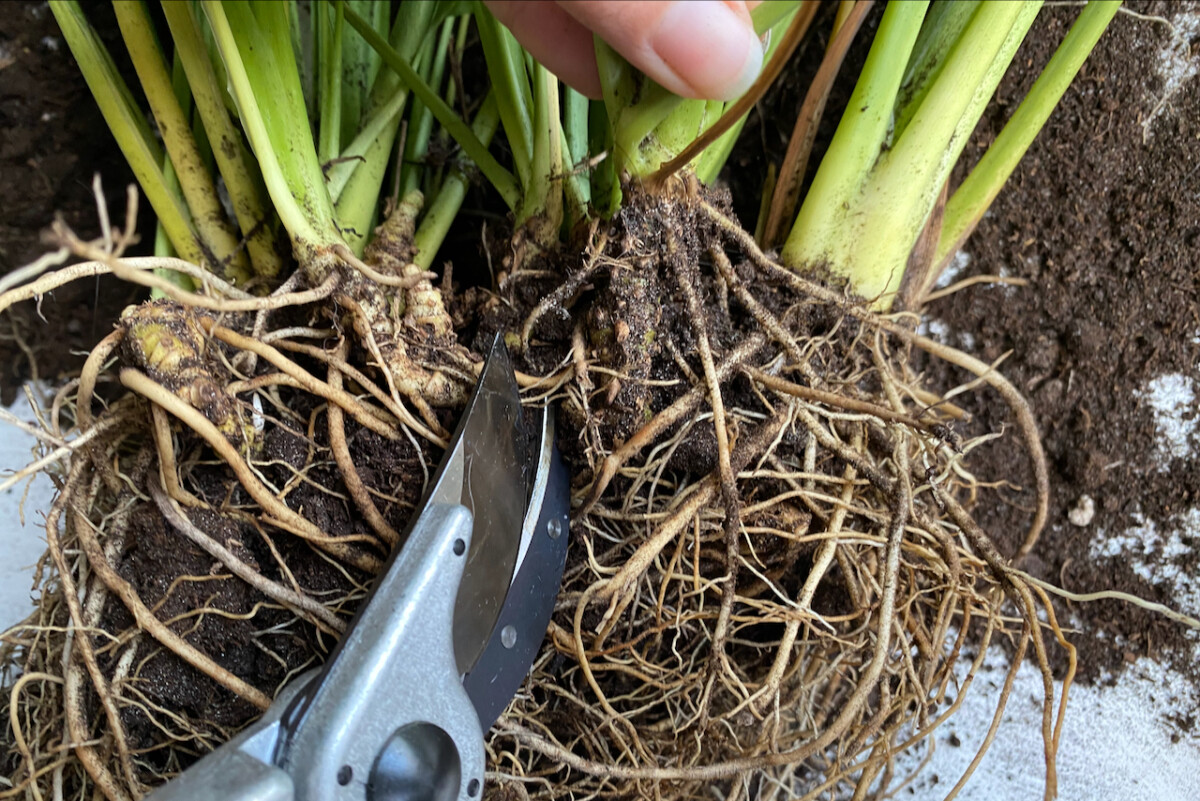
Simply find a root node – where the peace lily has sent underground offshoots – and cut it off the main plant. Since it already has a root structure, this little baby is ready for its own individual pot. If you have a larger peace lily, you don’t have to stick to one division. Take as many as you want.

The key to successfully establishing this as an independent houseplant is to give it a size-appropriate pot. That means a small enough pot so that the new plant doesn’t “swim” in too much potting soil. Remember that peace lilies prefer to be a little crowded; so the smaller the new plant (root-wise), the smaller the pot it needs.
Step 4: The repotting.
First, let’s talk about what type of container we need to repot the peace lily.
REpotting or UPpotting?
If we’re simply repotting to refresh spent soil, we don’t really need to use a different container if the roots haven’t outgrown the current one. We can simply clean and reuse the same pot.
If we’re up-potting, meaning up-sizing the container to give the roots more room, we shouldn’t succumb to the temptation of the lazy gardener. That’s what I call skipping a size, just because we can’t be bothered to upsize again in the future.
When it comes to choosing the right container for our houseplants, size does matter. Go just one size up, roughly two inches (five centimeters) larger in diameter than the current pot.
Right-sizing the container allows the peace lilies to have plenty of room to grow without having to adjust to an excess of moist soil. Whatever pot you choose, make sure it has plenty of evenly-spaced drainage holes.
What kind of soil does my peace lily like?
First, start by choosing a potting mix that’s specially designed for indoor houseplants. That means you should stay away from “garden soil,” “garden compost” or “soil for outdoor containers.” Even something that my garden center mysteriously calls “universal potting soil” is still too heavy for tropical houseplants such as the humble peace lily.
Related Reading: “All Purpose Potting Mix & Why You Shouldn’t Use It For Most Houseplants“
Remember that the heavier and moisture-retaining the soil is, the higher the chances for root rot to cause a problem.
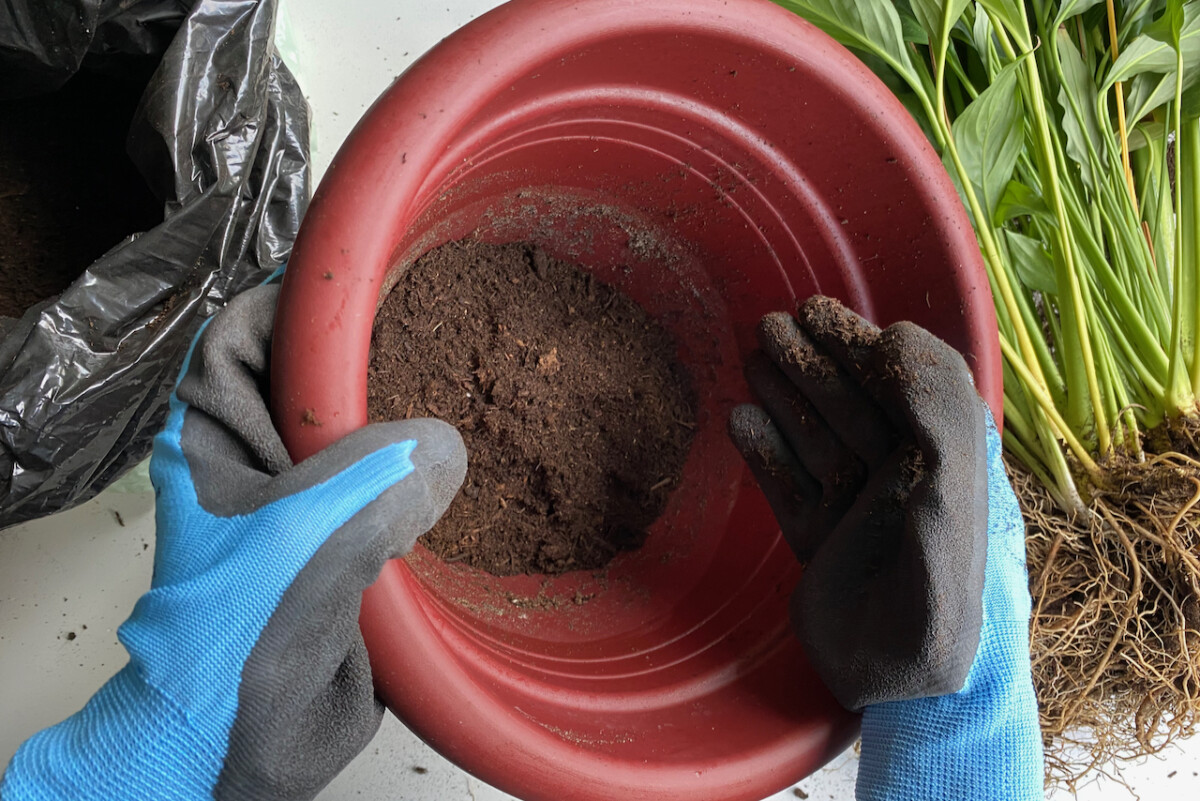
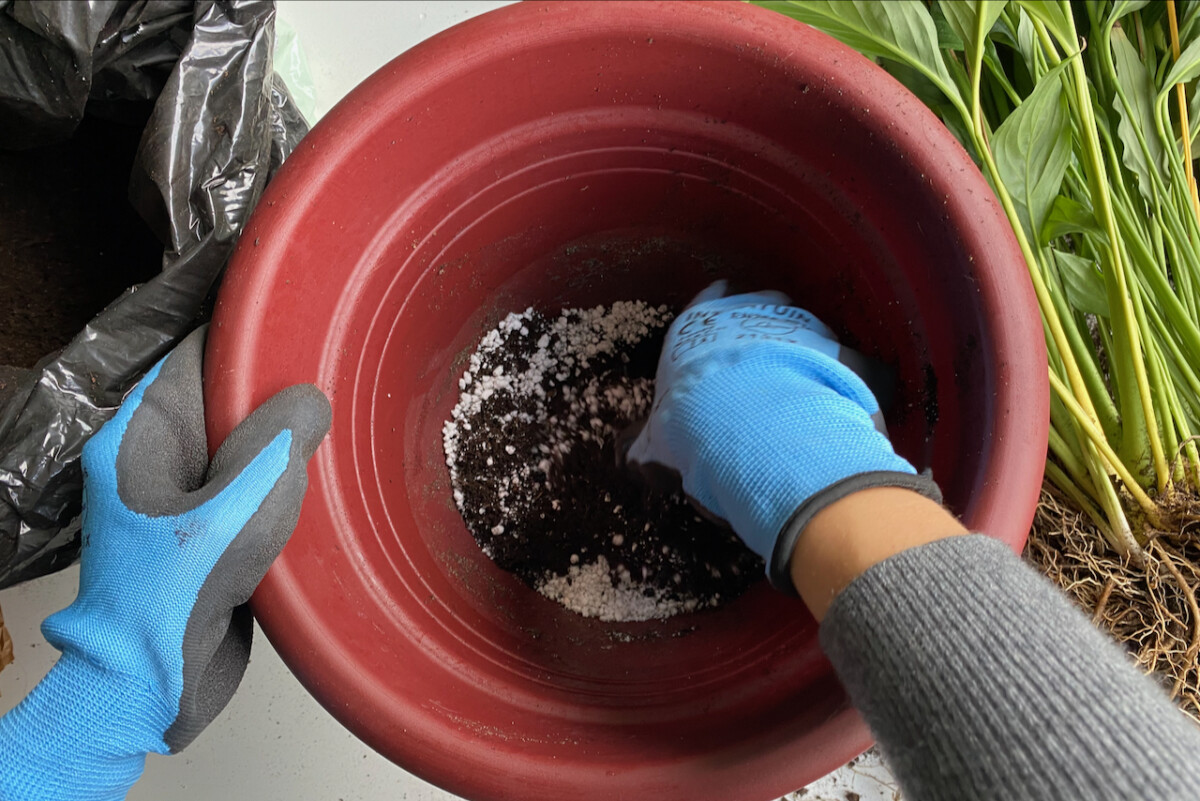
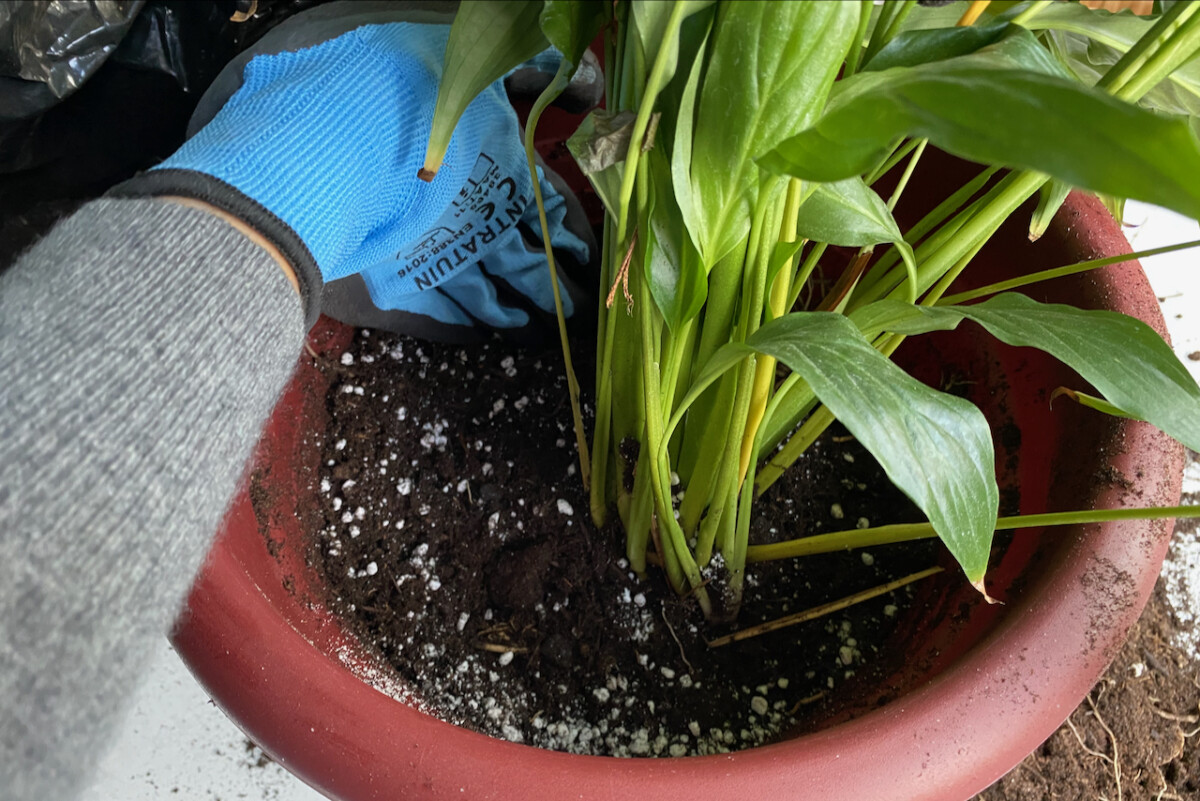
So far, I found that most of the ready-to-use potting mixes for houseplants that I buy still need a bit of finessing. So even though this potting mix already contained some coco coir and a little bit of bark – both excellent for drainage – I’ve decided to add a handful of perlite. This will make the soil lighter and improve aeration.
Repot at the same height.
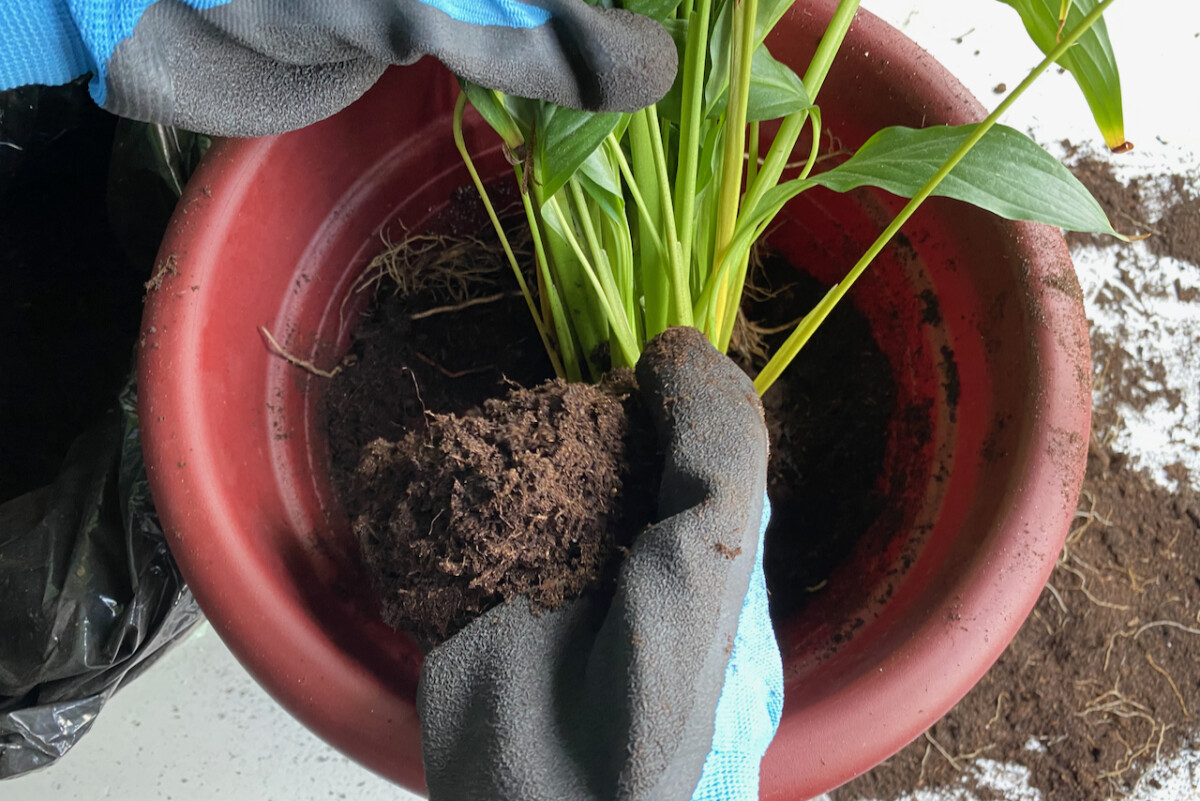
Start by filling the bottom third of the pot with fresh soil. Then place the root ball of your peace lily on top, making sure that the roots are pointing down or, at the very least, sideways.
Fill the empty space around the root ball with soil. You can rotate the container a few times to make sure you’re distributing the dirt as evenly as you can. As much as possible, make sure you place the peace lily in the middle and that you’re filling equally all around. Then tap the pot a few times to allow the soil to settle. Top it up, if necessary.
When you repot your peace lily, always bury it as close to the same depth as it was initially potted. If you bury it too shallowly, it might topple over. Too deep, and there will be too much moisture collecting around the bottom part of the stems.
Finish by watering the peace lily thoroughly. I usually place it in the shower and let the water run through and out of the soil. This helps the potting soil settle evenly. A thorough watering session at this time will also ensure that the plant recovers quickly from the shock of being transplanted.
Keep it stress-free.
It’s also important that you then place your peace lily in an environment with no further stressors (not too bright, not too cold, not too warm). This serves to speed up its recovery and help the plant get acclimated to its new home.
In my overzealousness to give you as much info as possible, I may have made it sound like transplanting a peace lily is a complicated process. It’s really not. In the long run, your plant will thank you for the extra boost of nutrients and oxygen into the soil. Who knows, you might even get it to bloom too.
Read Next:

Get the famous Rural Sprout newsletter delivered to your inbox.
Join the 50,000+ gardeners who get timely gardening tutorials, tips and tasks delivered direct to their inbox.