


Let me start with a weird question: have you ever tried to drink a glass of water while holding your breath?
It doesn’t sound like a good idea, does it?* But that’s essentially what we’re doing to our houseplants every time we allow their potting soil to get to cement-like hardness.
The solution is simple: soil aeration. Here is a short guide on why you should aerate your houseplants and how to do it.
*Take my word for it that it isn’t, so don’t try this at home.
What is houseplant soil aeration and why should I bother?
Even if your middle-school science classes were as boring as mine, you’ll still remember this tidbit: through the process of photosynthesis, plants use their leaves to absorb carbon dioxide and release oxygen. Humans need oxygen to survive, so humans should have more plants around them. (Or at least that’s what I tell myself as I go for yet another browse at my local plant store.)
It turns out that this is only half the story. Plants also need oxygen to survive, and this is not something we think about often enough. All plant cells need oxygen in order to perform aerobic respiration (breaking down food to get energy). Plants need oxygen around the roots, where there is no photosynthesis taking place, and they source that oxygen from tiny little air pockets in the soil.
Wait, I don’t aerate my garden? Why should I aerate my houseplants?
Well, in the garden, the soil is constantly aerated by worms and other microorganisms moving around and creating pockets of air. However, houseplants are not really “house” plants. We take tropical plants and put them in an artificial environment (a plastic or ceramic pot) in an almost sterile potting mix. But once we’ve removed the little critters that aerate the soil in the wild, that job falls on us.
Do I really need to aerate my plant’s soil?
You do, if you want a healthy and good-looking plant. When your plant’s roots can’t reach enough oxygen, the plant will slow down its growth. It will also lead to poor absorption of nutrients and water, causing the plant to look wilted and sickly. What do you do to resuscitate it: fertilize it and water it even more, right? And then wondering why the houseplant isn’t happy? Been there, (sadly) done that!
How can I tell that my plant needs aeration?
As I hinted above, lack of oxygen around the roots is often misdiagnosed as a lack of water or fertilizer. So watch out for other signs of poor soil aeration, such as:
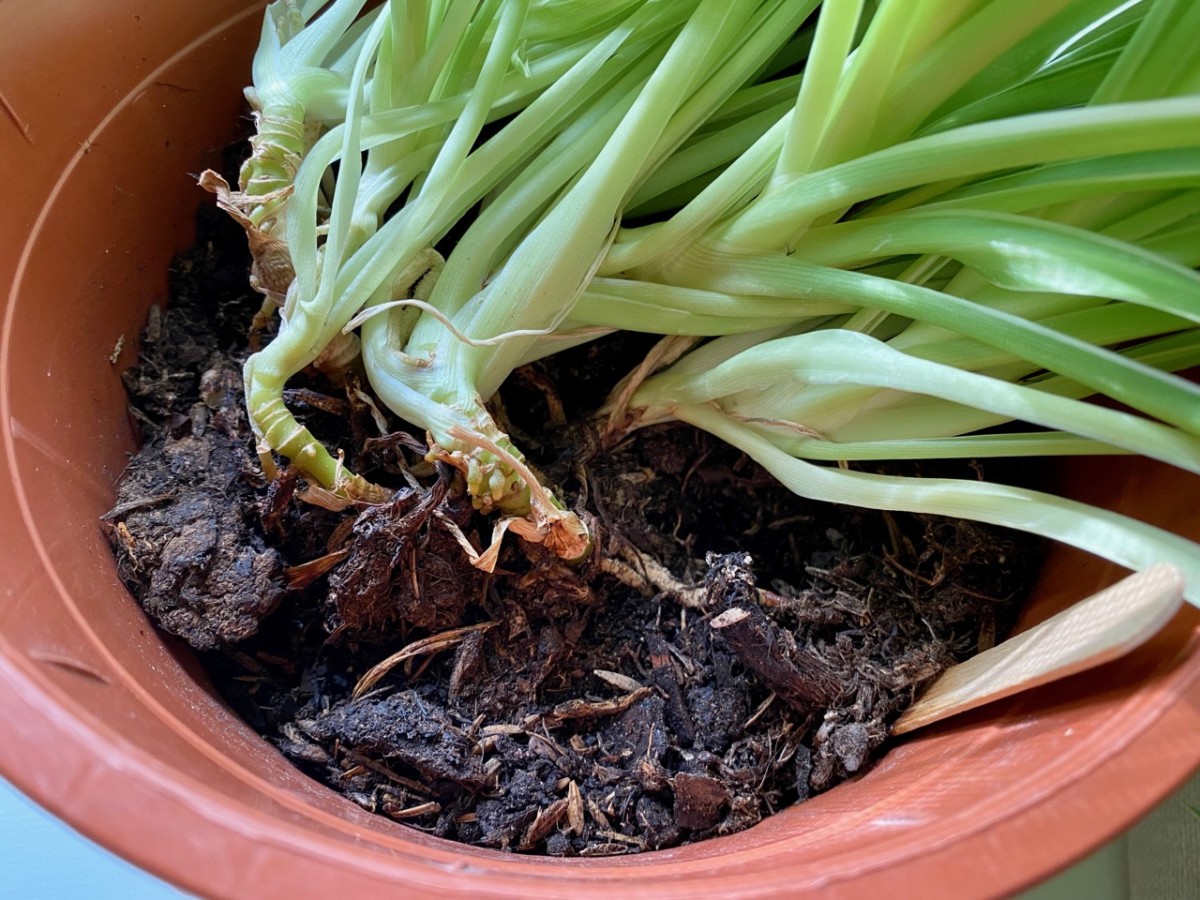
- Potting soil that is visibly compacted and looks like cement or hard clay;
- Water forming puddles on the soil surface longer than usual after you’ve watered your plant;
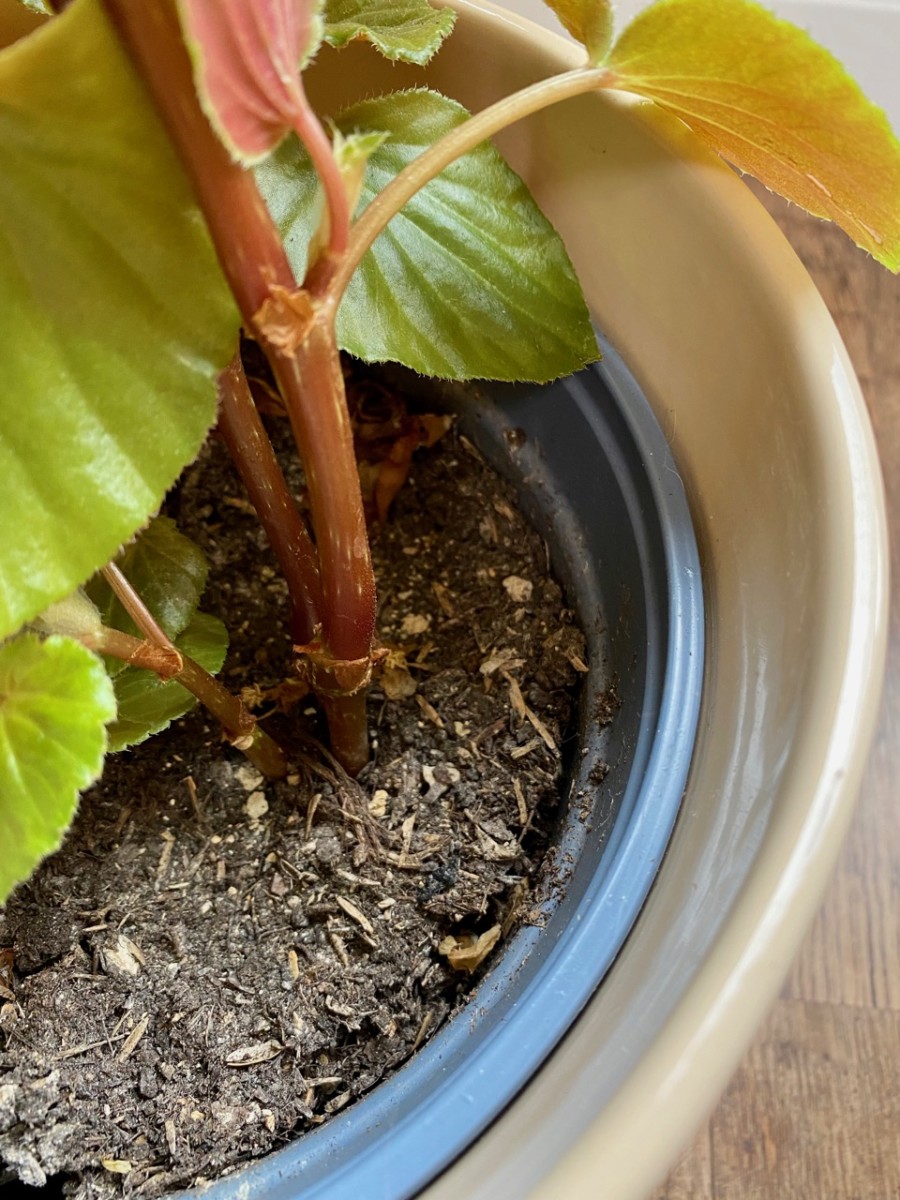
- The soil contracting towards the middle of the pot, thus leaving a thin gap between the soil and the walls of the pot;
- Water draining too fast through that gap I mentioned above.
How do I aerate my houseplants?
It’s really easy and you don’t need any special equipment, although you can buy some fancy tools, if you want to. It takes me under a minute per plant and I only do it about once a month.
Let me break it down for you if you’re doing it for the first time, just to see how simple it is.
Step 1: Collect your aerator of choice.
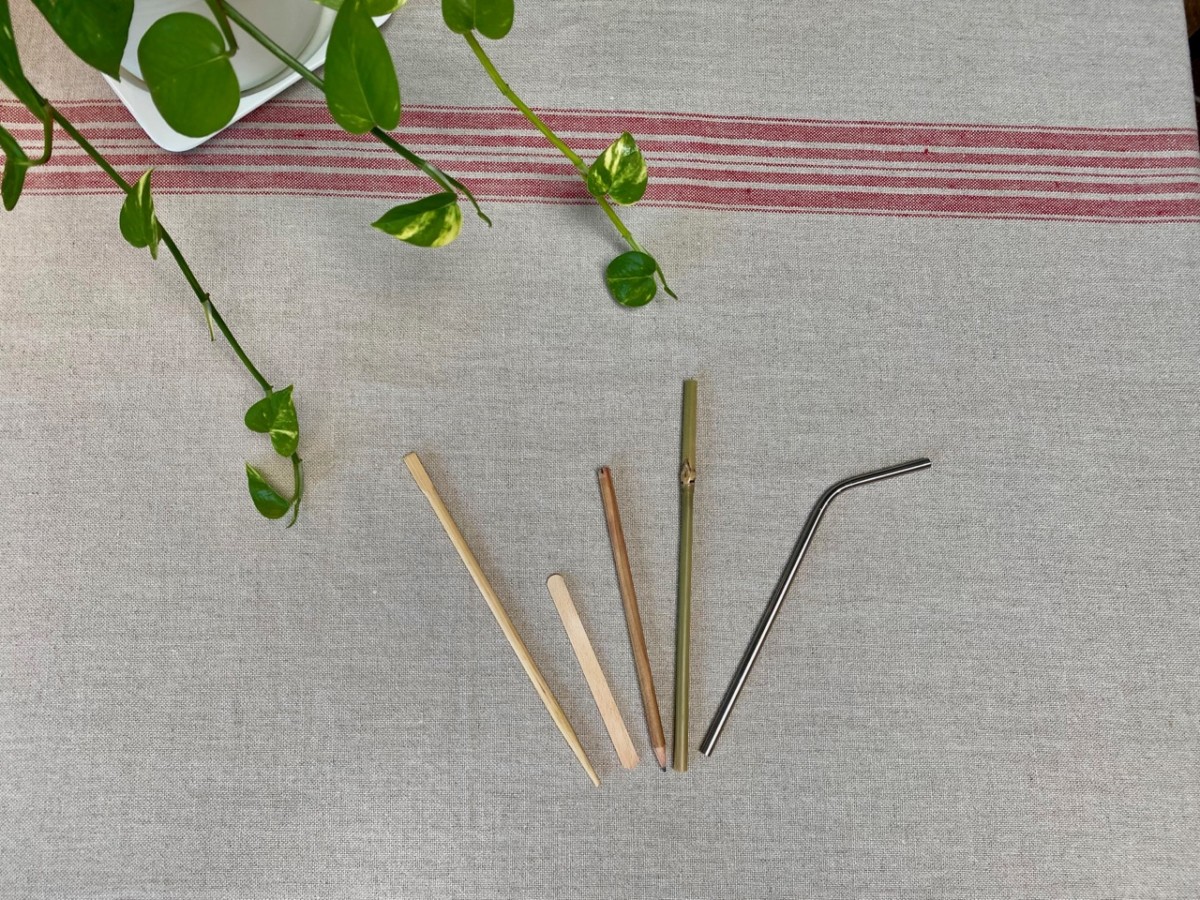
Aerator is rather a fancy word, isn’t it? I just use a chopstick or bamboo straw for taller pots and a few popsicle sticks for the smaller pots. If you’ve sworn off takeout and ice cream, you can use a pen or a pencil. Just make sure that whatever you’re using isn’t very sharp, for your sake and that of the plant. So don’t use knives, scissors or skewers, for example.
If you’re doing more plants at the same time, grab a paper towel and spray it with some rubbing alcohol. You’ll use this to wipe the aerator between plants. This is optional, but it’s a good idea if some of your houseplants show any signs of pest infestation.
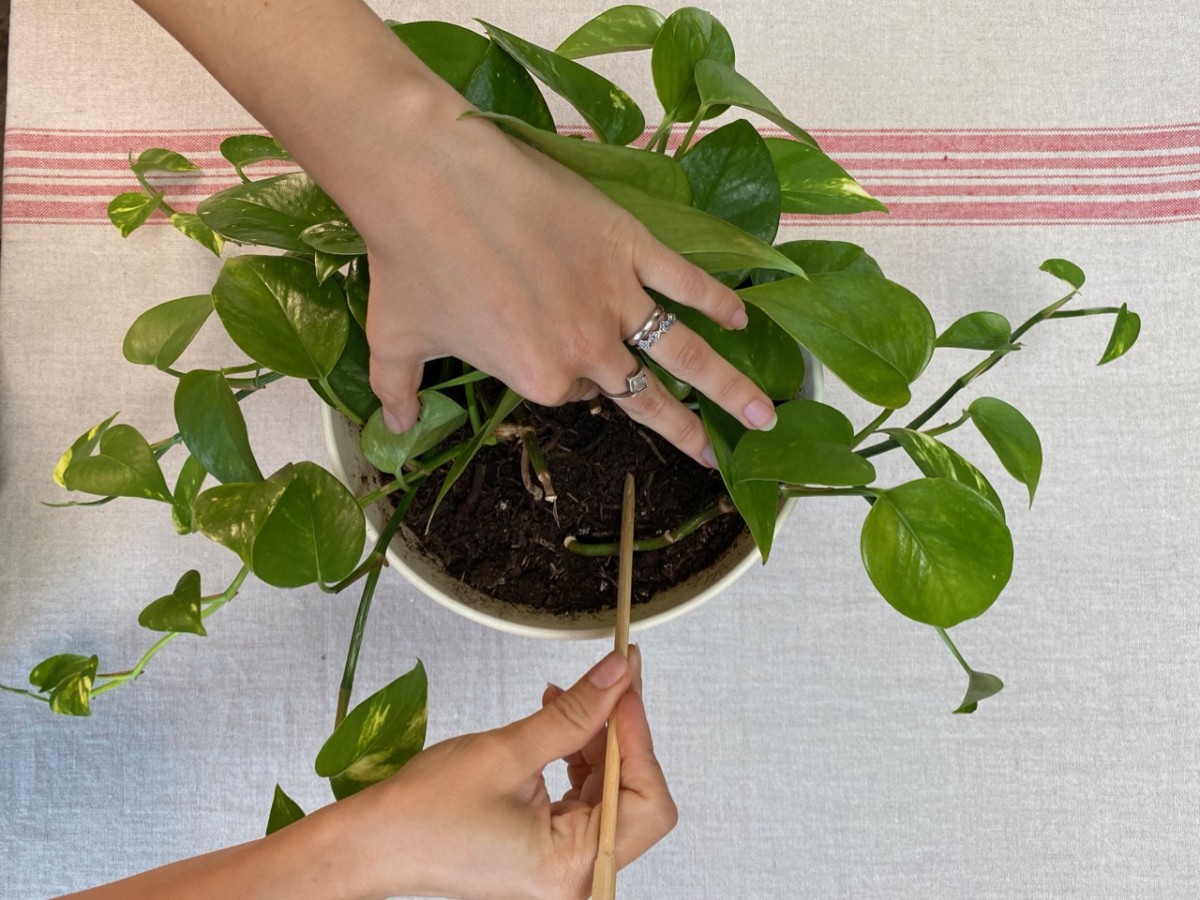
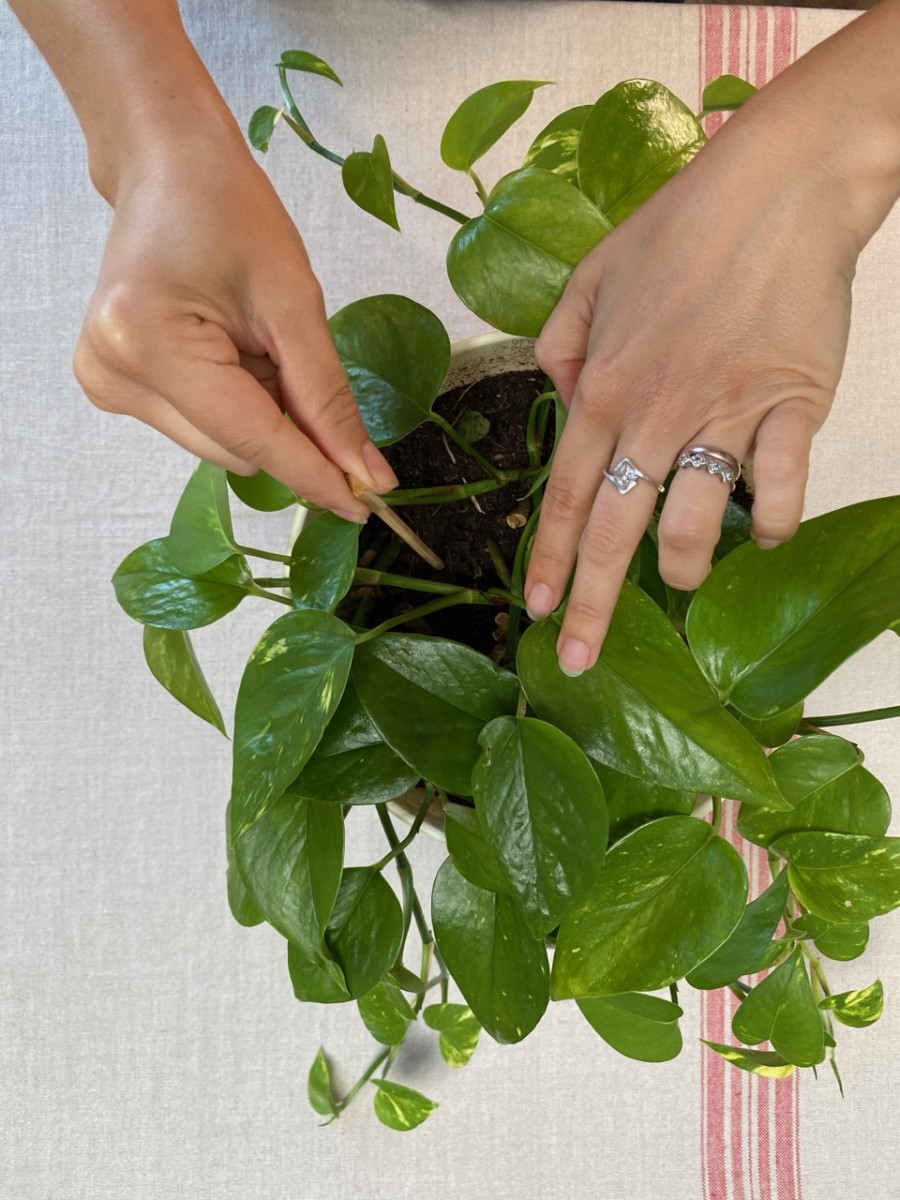
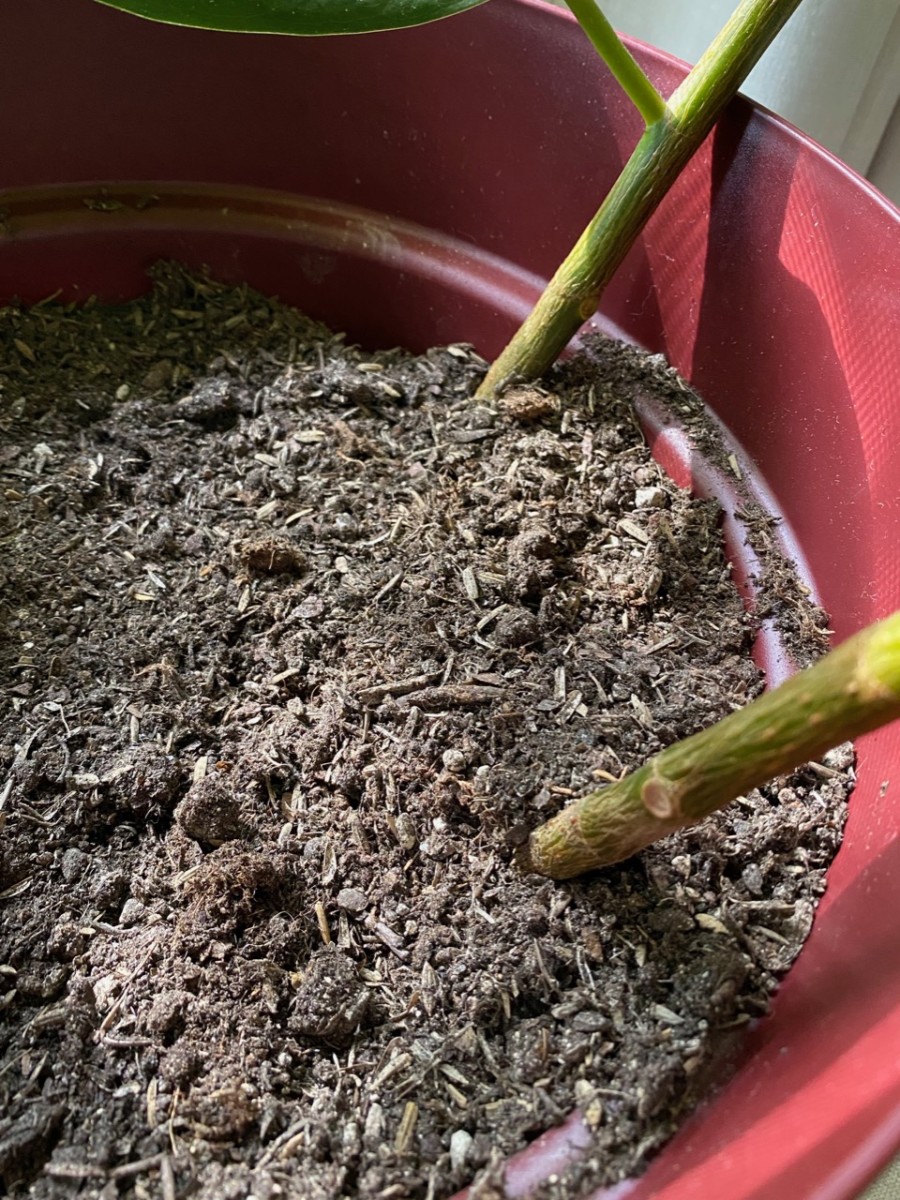
Step 2: Insert the aerator into the surface of the soil.
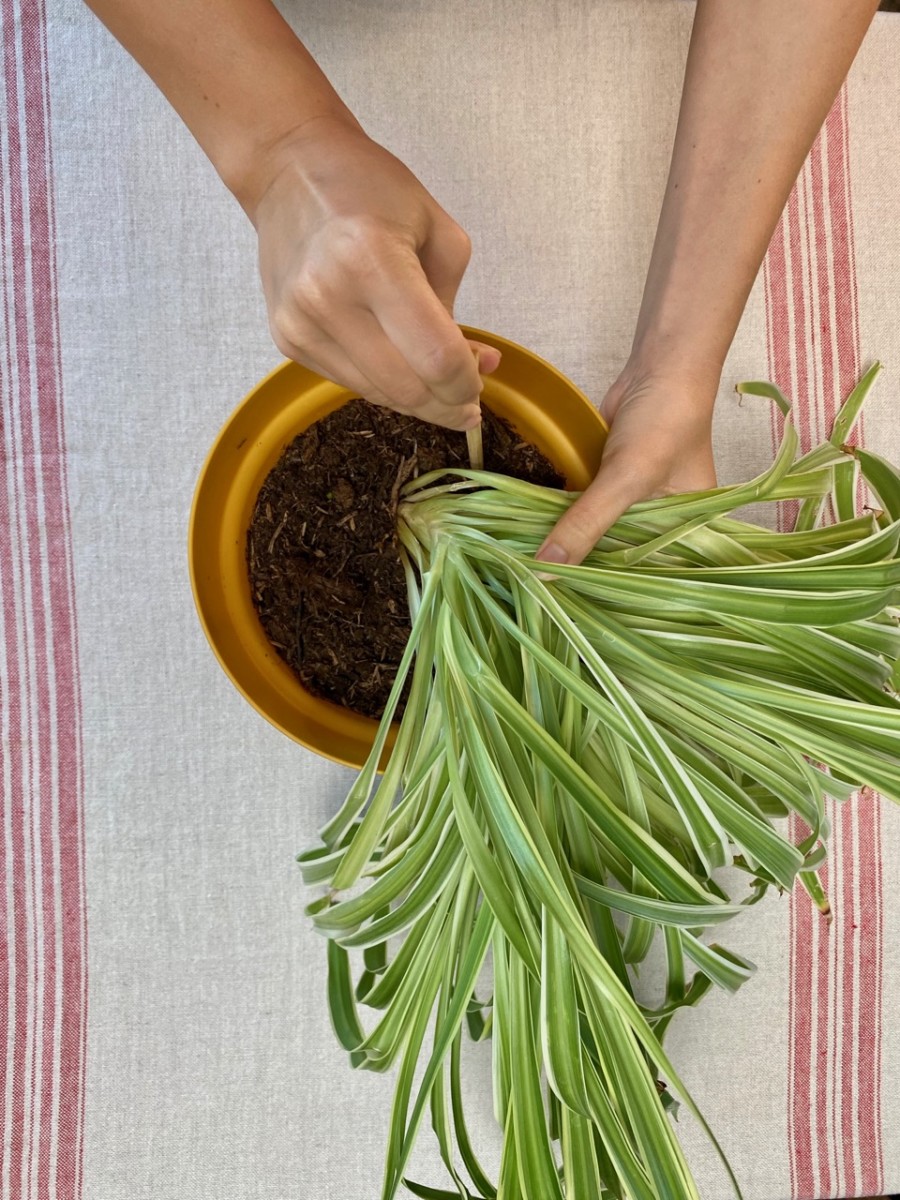
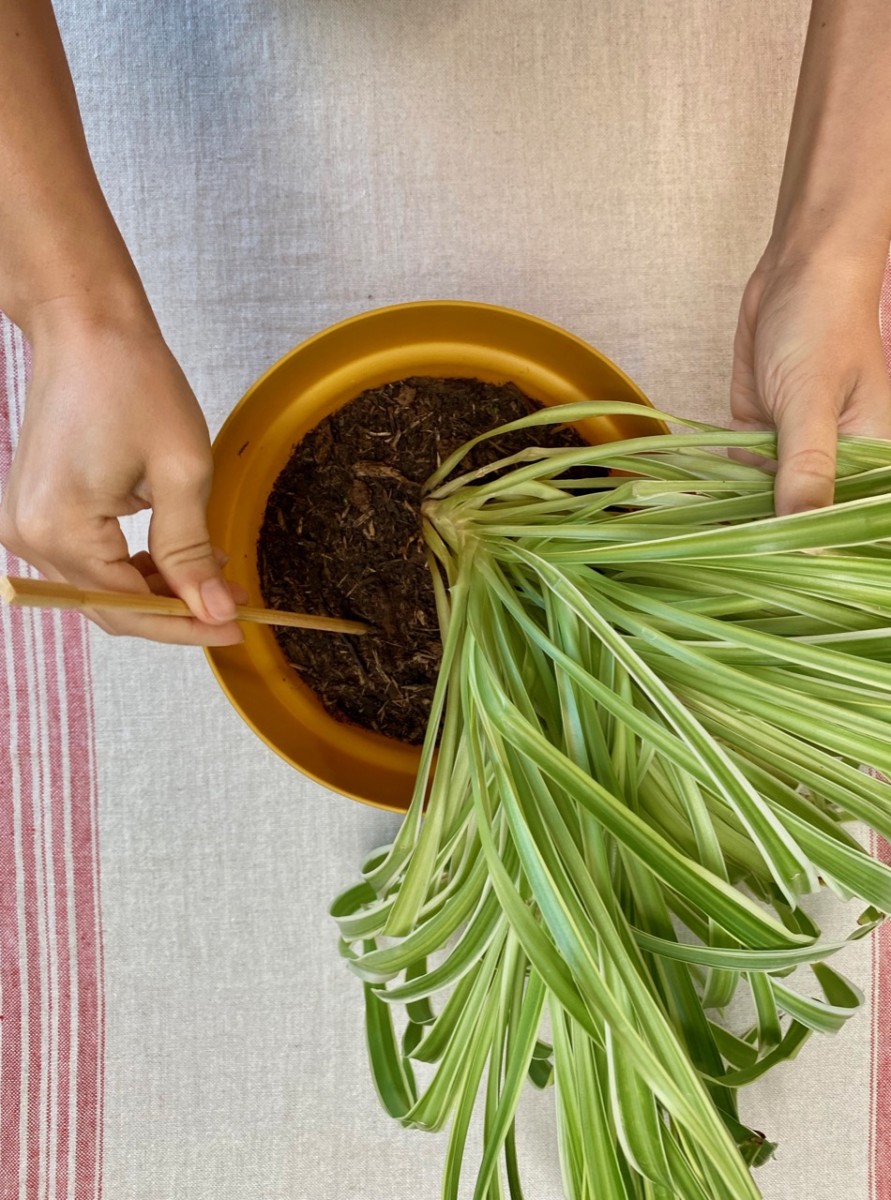
Use the aerator to loosen up the soil a bit through circular motions. Repeat this process every few inches until you’ve covered most of the potting soil surface.
If you encounter resistance or hear the sound of roots breaking, that’s ok. But please don’t get too aggressive in your zeal to do this right.
Remove the aerating tool and wipe it off with alcohol if you’re going to reuse it.
Step 3: Water your houseplant.
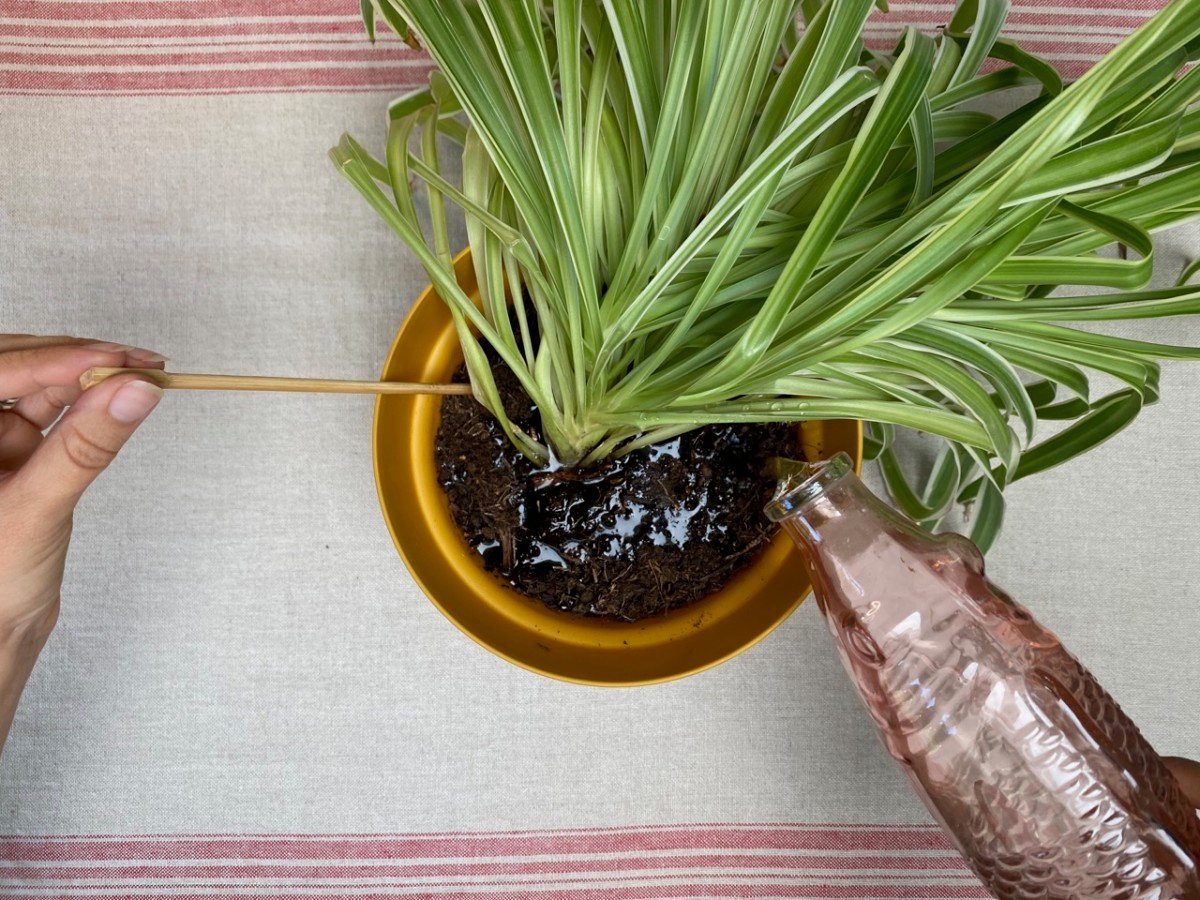
Now that the soil is aerated, the water will be distributed evenly and properly absorbed by the roots. Water will also further break down the soil clumps that you have manually dislodged. Rather than giving your plants extra water just because you’ve aerated them. Think of soil aeration as a monthly routine before watering your houseplants.
I only have time to do plant care on weekends, so I know that every first Sunday of the month, I aerate my houseplants. It only takes about 30 seconds per plant, but the benefits are visible. If you don’t think you’ll remember that, just set a reminder for the first couple of months until you get into the habit.
A few extra tips to improve soil aeration for your houseplants:
1. Use the right potting medium.
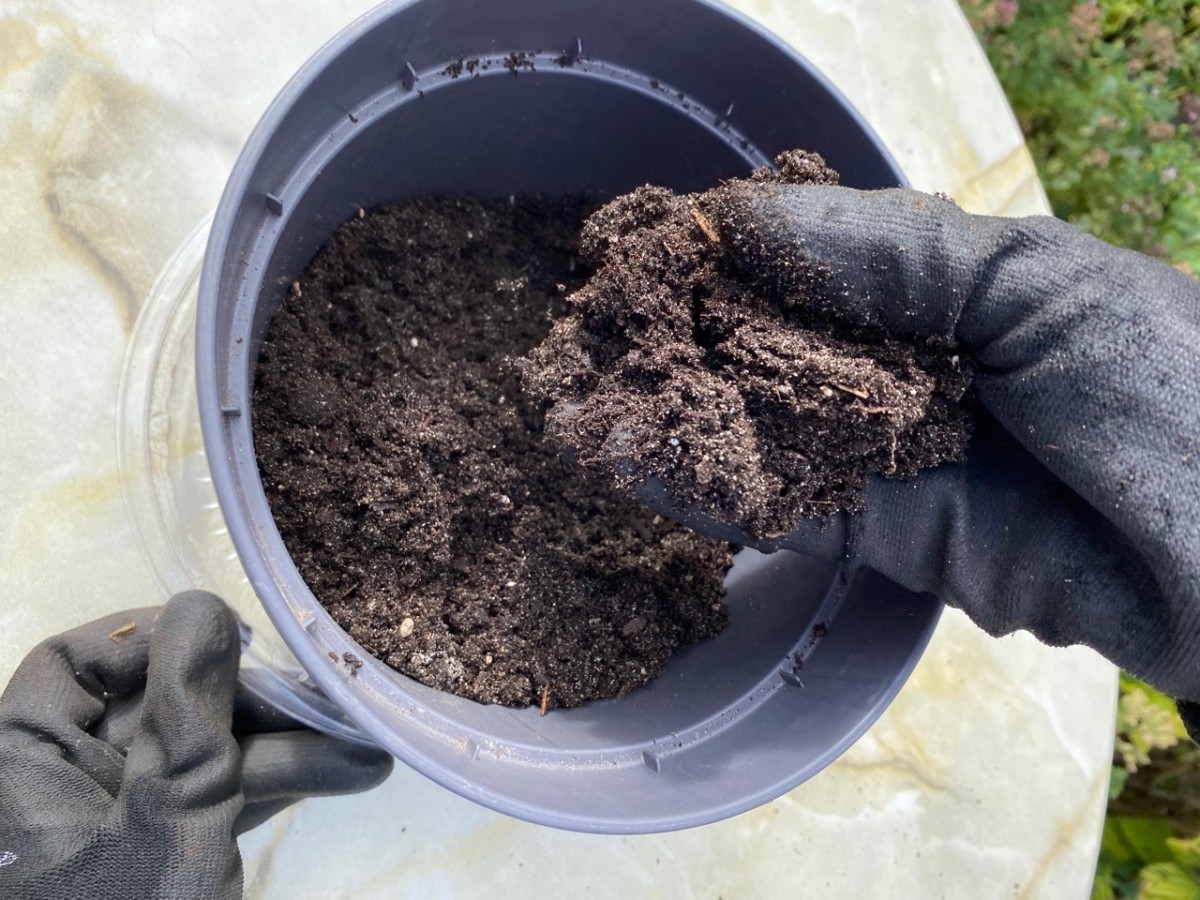
If I had a dollar for every time I was asked “Can I just use dirt from the garden for my houseplants?”, I’d probably have enough dollars to buy one of these expensive houseplants.
No, you can’t; and neither should you use leftover topsoil or compost from your garden stash if you plan on keeping your houseplant indoors. Potting medium designed for houseplants should contain elements that keep the soil aerated, such as coco coir, perlite or LECA. If it doesn’t, you can buy it separately and amend your potting soil when you next repot your plant.
2. Repot your plants regularly.
At some point, manual aeration just won’t cut it. The potting soil will have become too compacted and drained of nutrients, so only repotting will fix the problem. I try to repot all my houseplants once a year, give or take a couple of months as time allows in spring and early summer.
When you’re repotting, gently shake the pot as you add more and more soil on top, in order to allow pockets of air to form below the surface. And do not, under any circumstance, finish off a repotting session by applying pressure on the soil just to pack more in.
Read Next: 5 Signs Your Houseplants Need Repotting & How To Do It
3. Don’t place large objects on the surface of the soil.
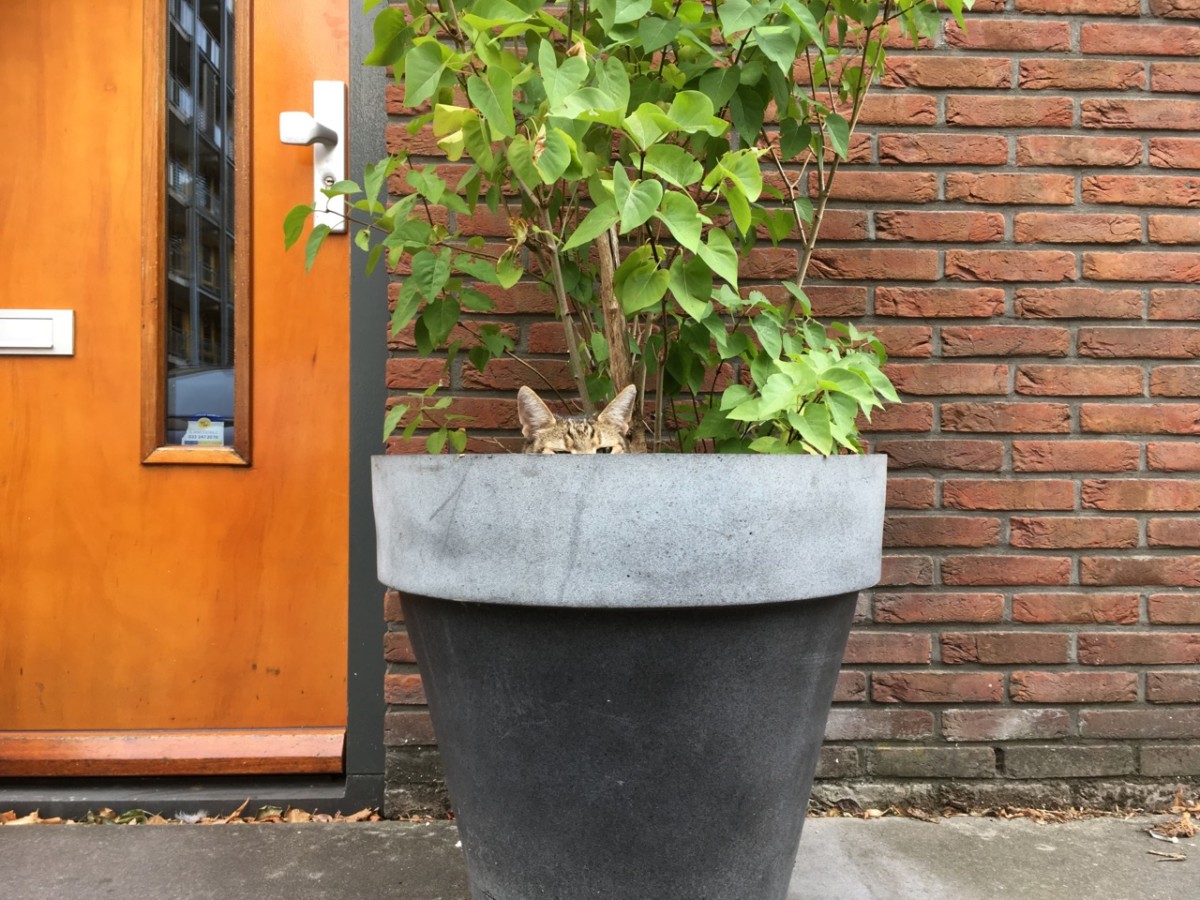
How to say “your cat is ruining your plant” without actually saying it. Don’t let Sir Fluffy nap on top of your houseplant pots, no matter how cute he looks poking its head up from behind your ZZ plant. It’s not worth it. While we’re at it, don’t place any heavy decorative objects (such as rocks or crystals) in the pot either.
Next time you do your houseplant care routine, think about it as ensuring your beloved houseplant has all four elements: water, light, soil and air.

Get the famous Rural Sprout newsletter delivered to your inbox.
Join the 50,000+ gardeners who get timely gardening tutorials, tips and tasks delivered direct to their inbox.