

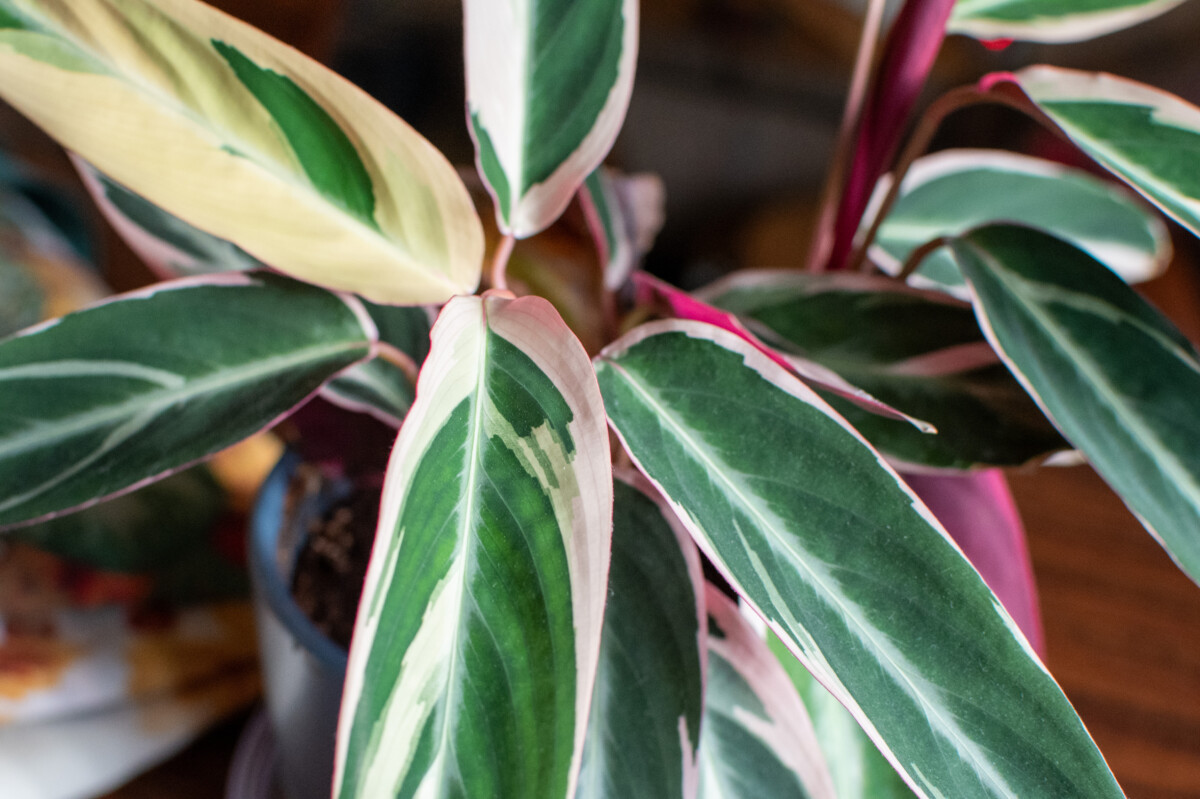
In your houseplant-keeping journey, you’ve probably noticed that your foliage plants are all some variant of green. Emerald green, yellow-green, pale jade green, sage green; you get the idea. Pink, burgundy and white also come into play.
Um, yeah, Tracey. I did notice that. Thanks?
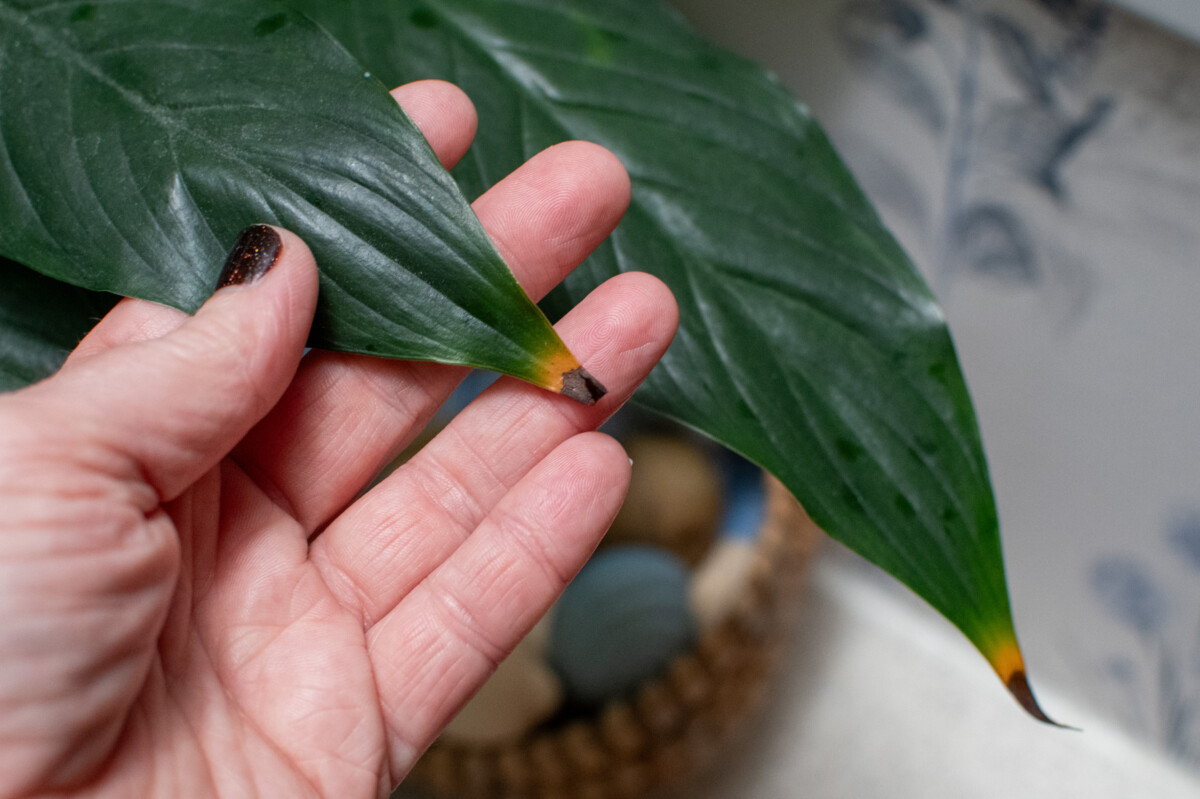
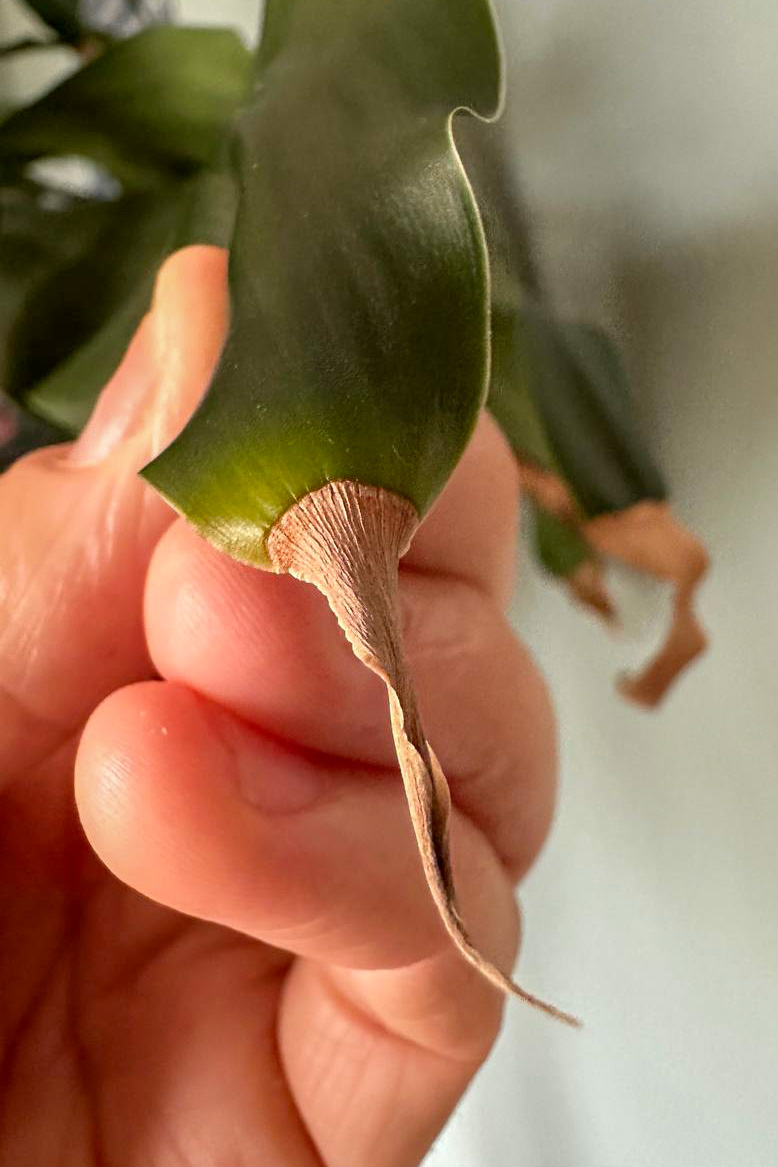
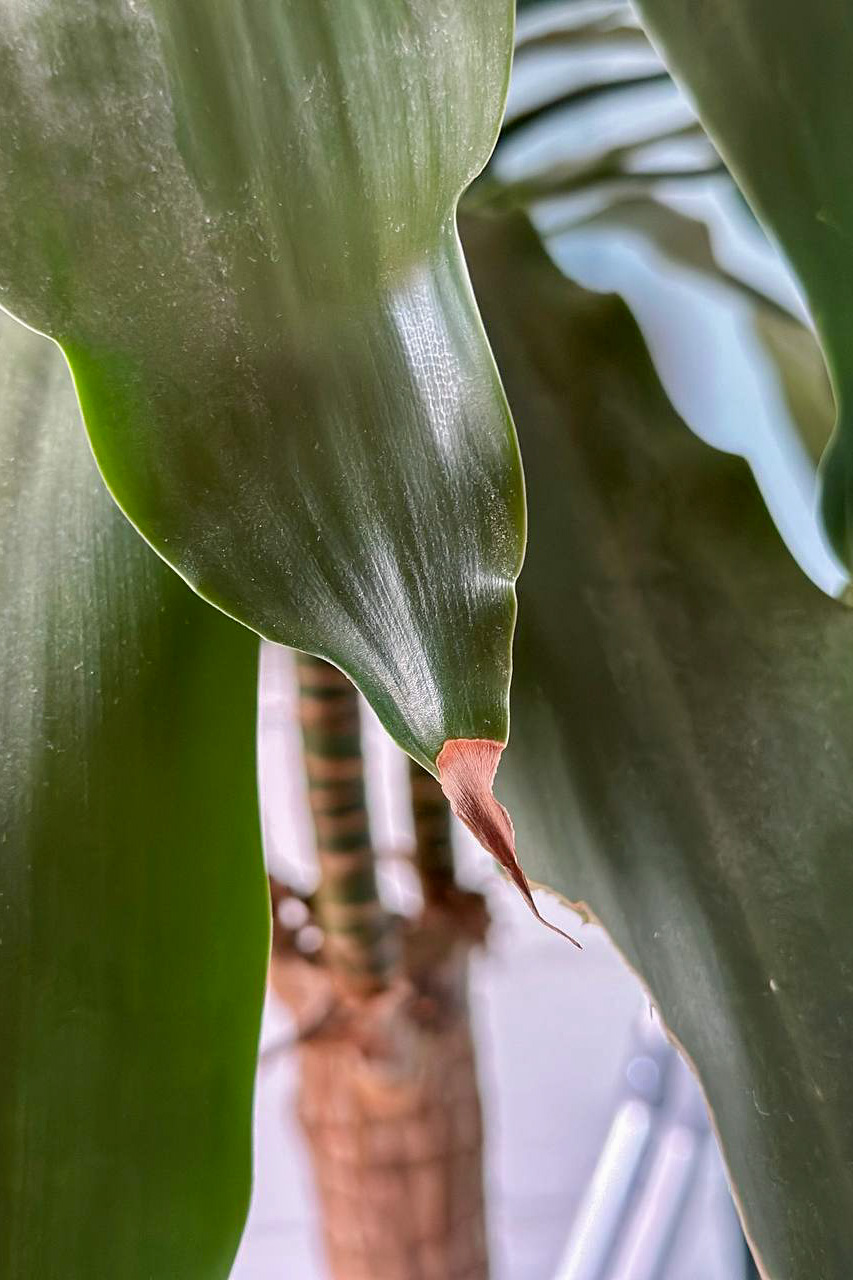
You also probably noticed that none of them are brown. At least not on purpose. This is why it’s never fun to walk into a room and see crunchy, dead tips on the leaves of your favorite houseplant.
The good news is it’s fixable and preventable. If you want to avoid this unpleasant surprise in the future, keep reading to get to the root of the problem.
Necrosis
No, it’s not the name of your nephew’s level 20 D&D mage. Or maybe it is, I don’t know. But in this case, we’re referring to tissue death on the cellular level within an organism.
Necrosis can be as severe as flesh rotting due to a poisonous spider bite or something a little less severe, like brown tips on your precious calathea.
In either case, a pest, disease or other issue has cut off the supply of nutrients to cells, causing otherwise healthy tissue to die.
While I can’t help you with that Brown Recluse bite, I can help you fix your houseplants.
Let’s look at what causes necrosis, what to do in the meantime with those crunchy brown tips and how to prevent it from happening again.
First Things Are First
Don’t beat yourself up. Necrosis is common in indoor houseplants. The plants we grow indoors are not meant to grow in our dark, dry homes in tiny pots. Yet, we force them to anyway. So, it’s only natural to occasionally fall short of the care standards each plant needs to thrive. You’re going to end up with a plant with brown tips from time to time. And nine times out of ten, you’ll correct the issue without trying before noticing it.
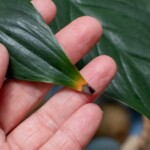
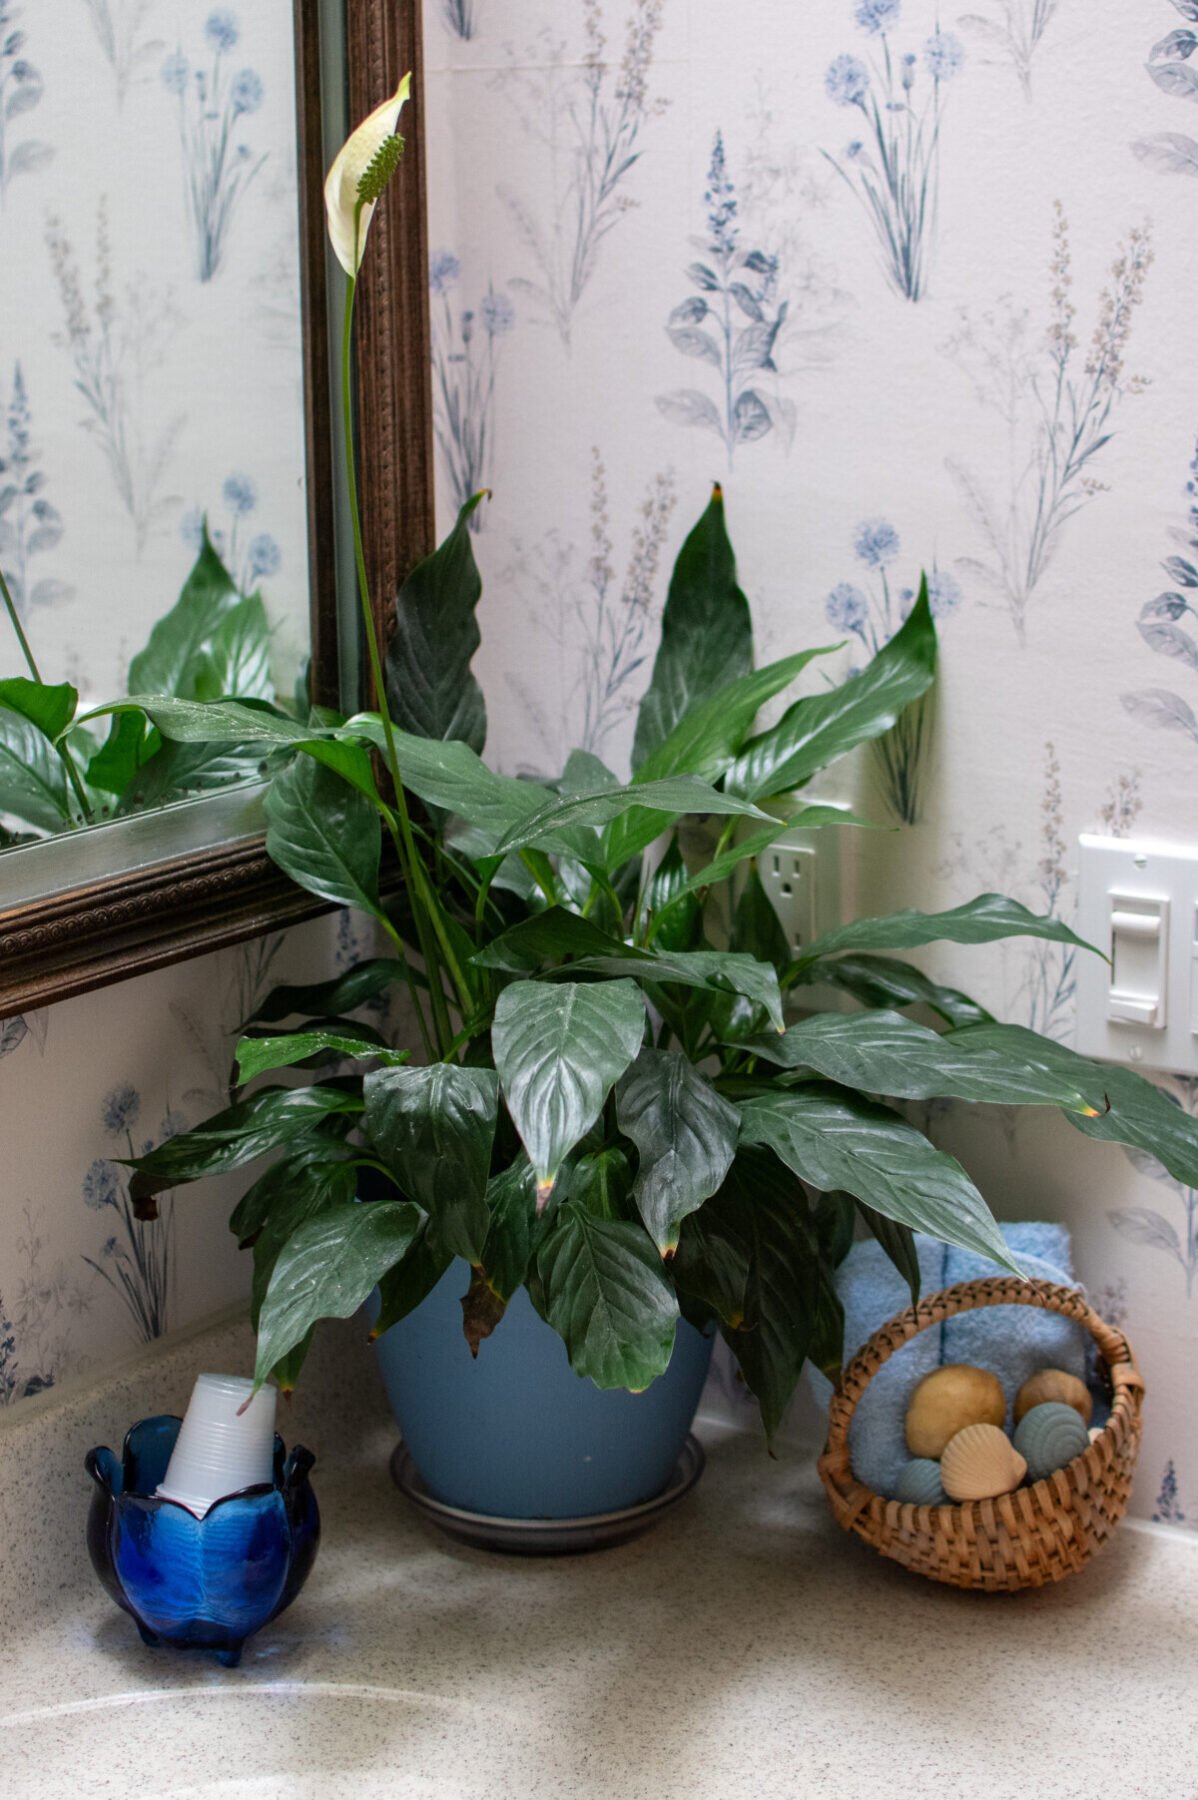
Take this happy peace lily, for example; it’s in the perfect environment: a bathroom with a skylight. You can tell it’s thriving. It gets the perfect amount of bright, indirect light and humidity. And even it has a few brown tips on the leaves.
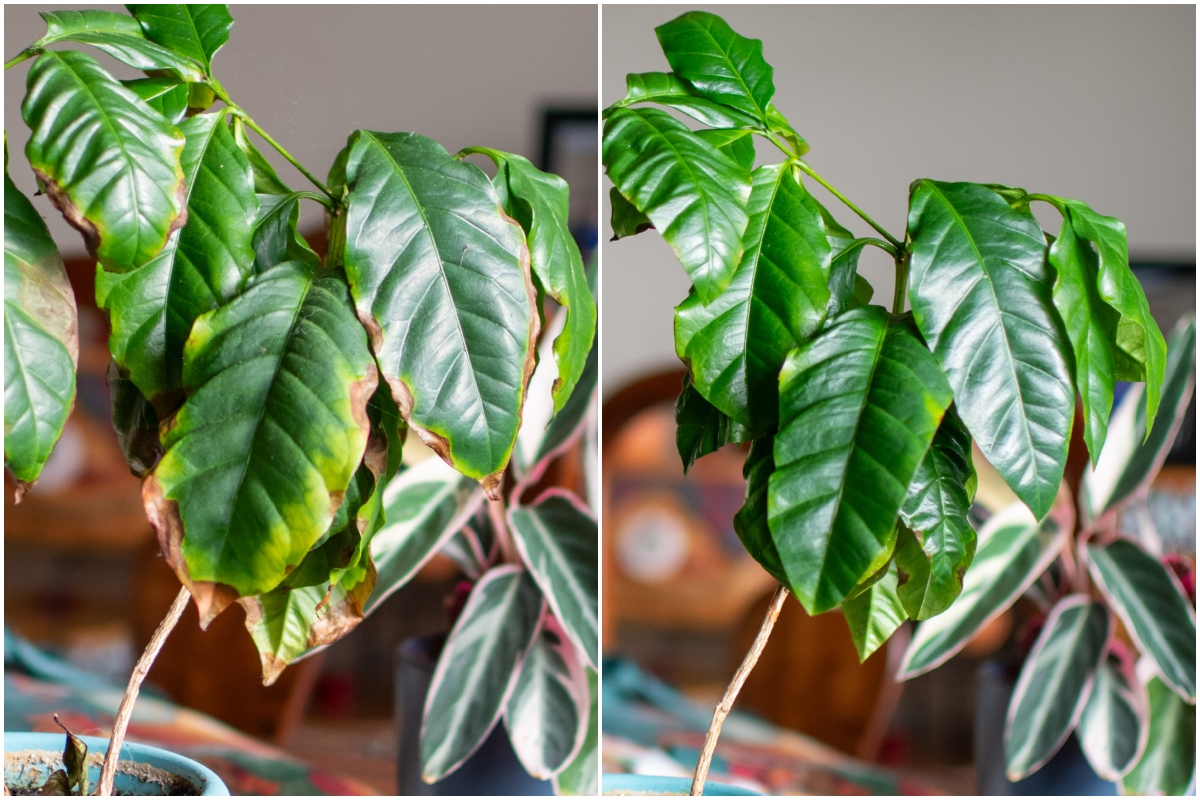
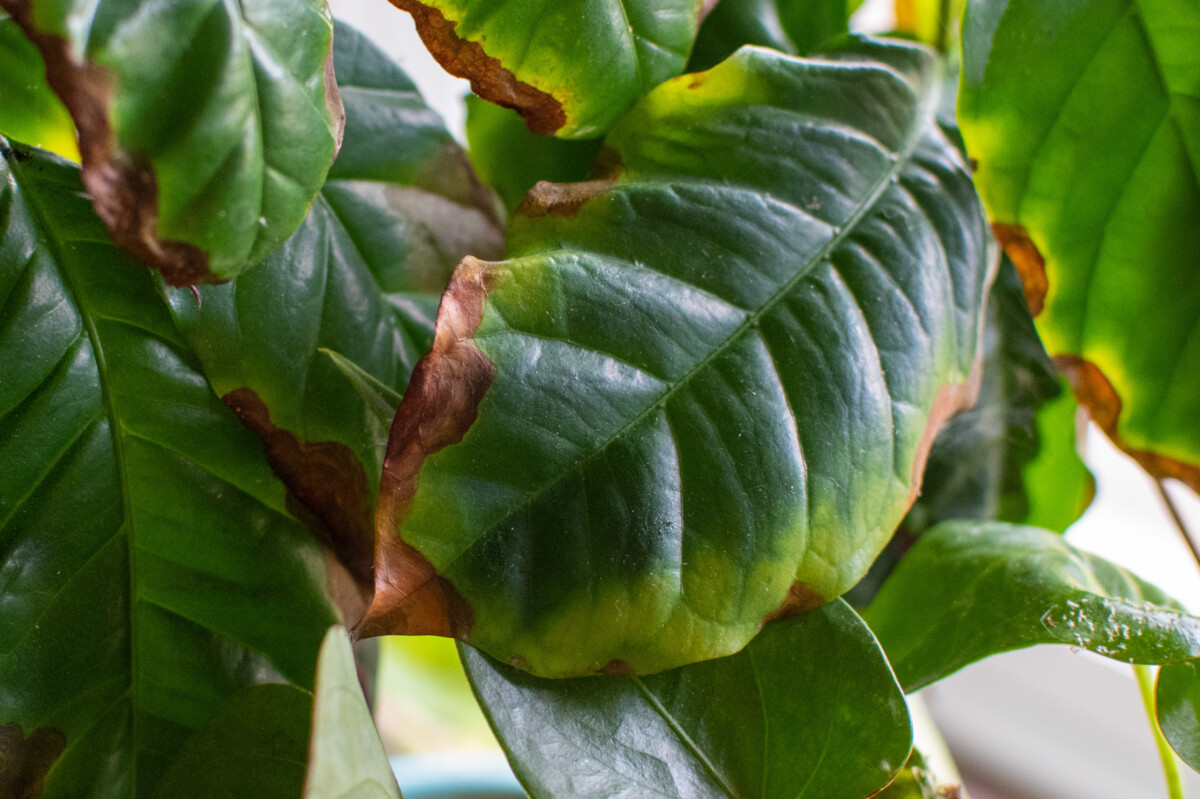
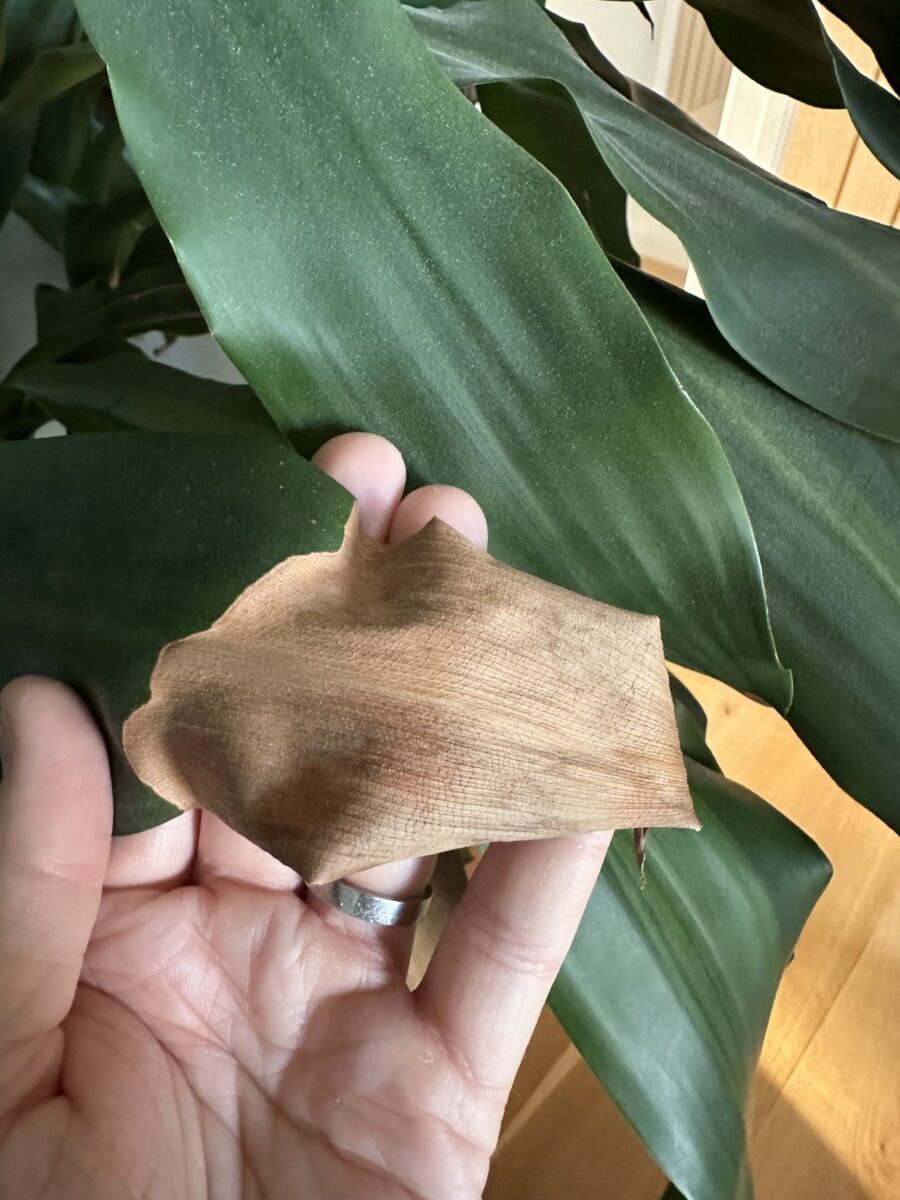
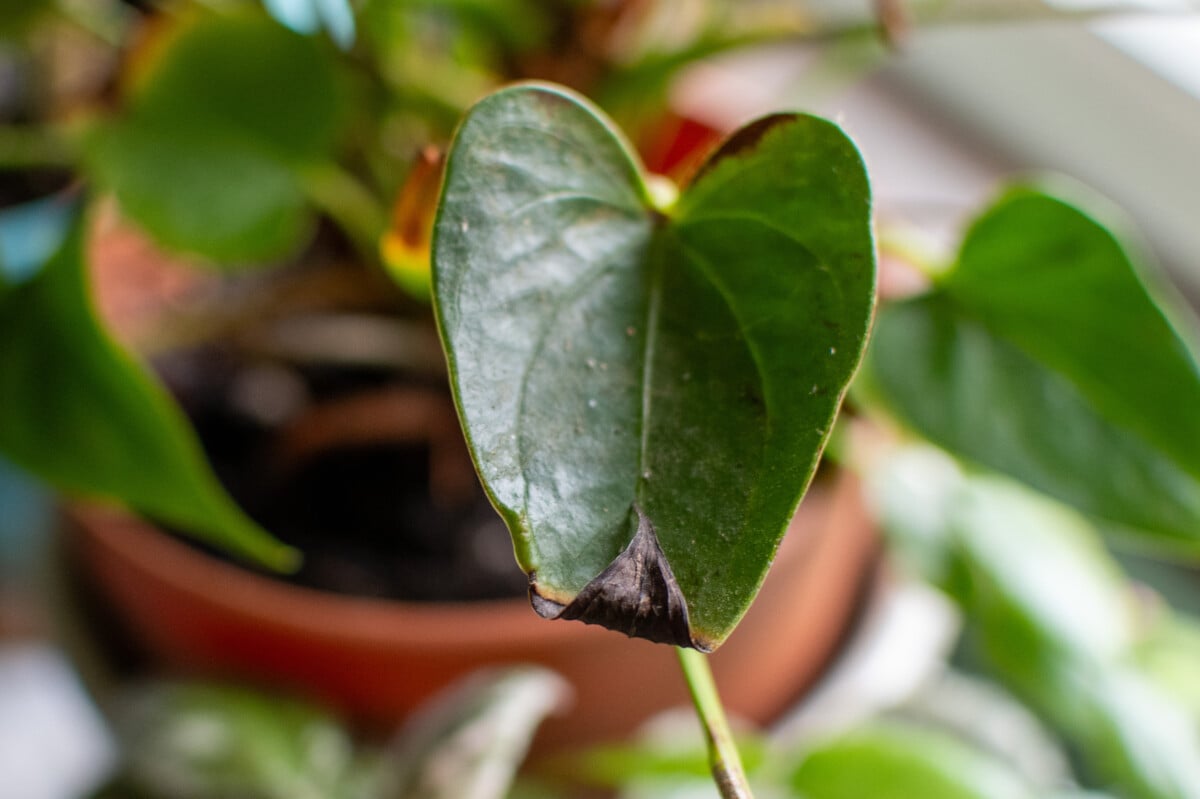
But what do you do when brown tips become brown edges, and suddenly, a third of your leaf looks like a burned potato chip?
What Causes Necrosis?
Quite a few things can cause necrosis, so again, no beating yourself up. With a wide range of causes, it’s important to know how to figure out which one is the culprit with your plant so you can take appropriate steps. Read on to learn more.
Overwatering
Wait. So, you’re telling me that overwatering my plant can cause dry, brittle, crunchy brown tips?
Yes, that’s exactly what I’m saying, and it’s one of the most common causes of necrosis in houseplants.
Here’s what happens. For whatever reason, you consistently give your plant too much water or water it and let it sit in standing water.
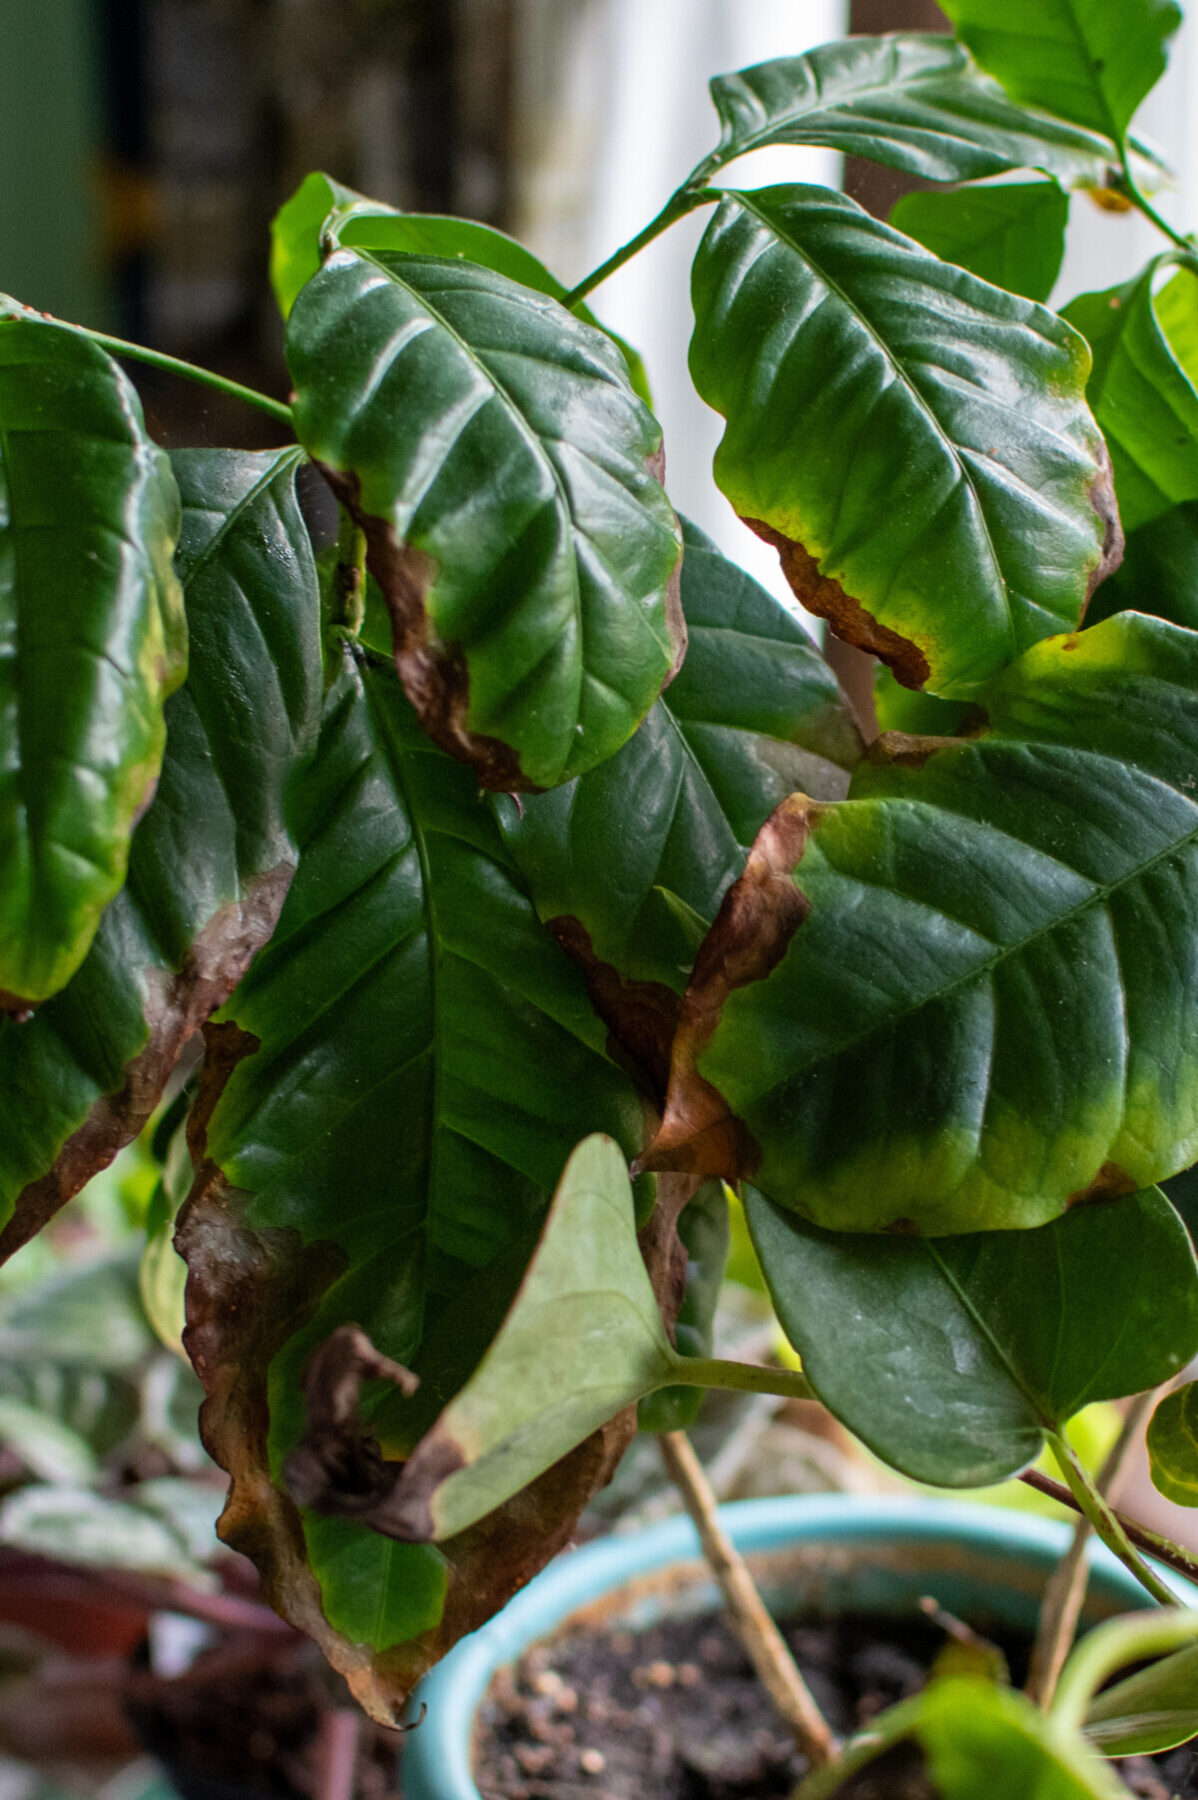
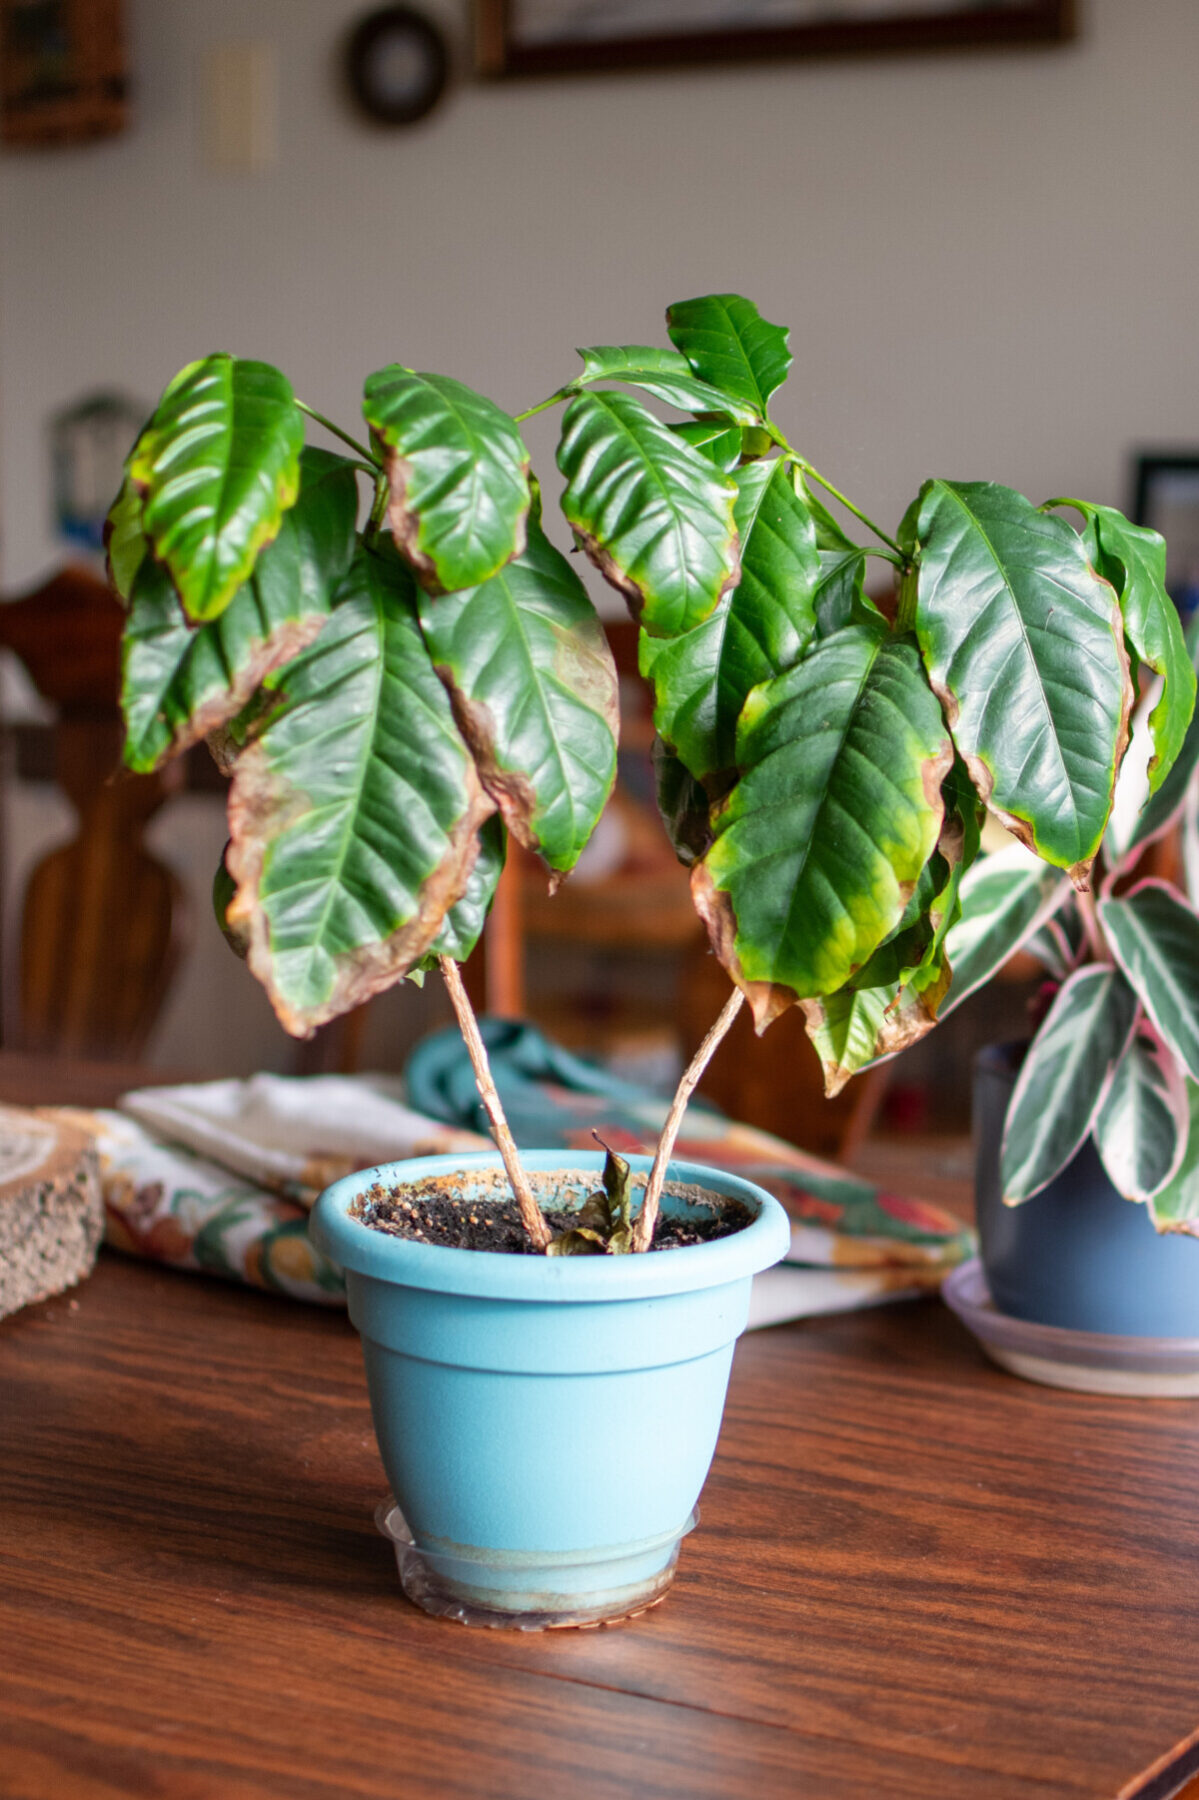
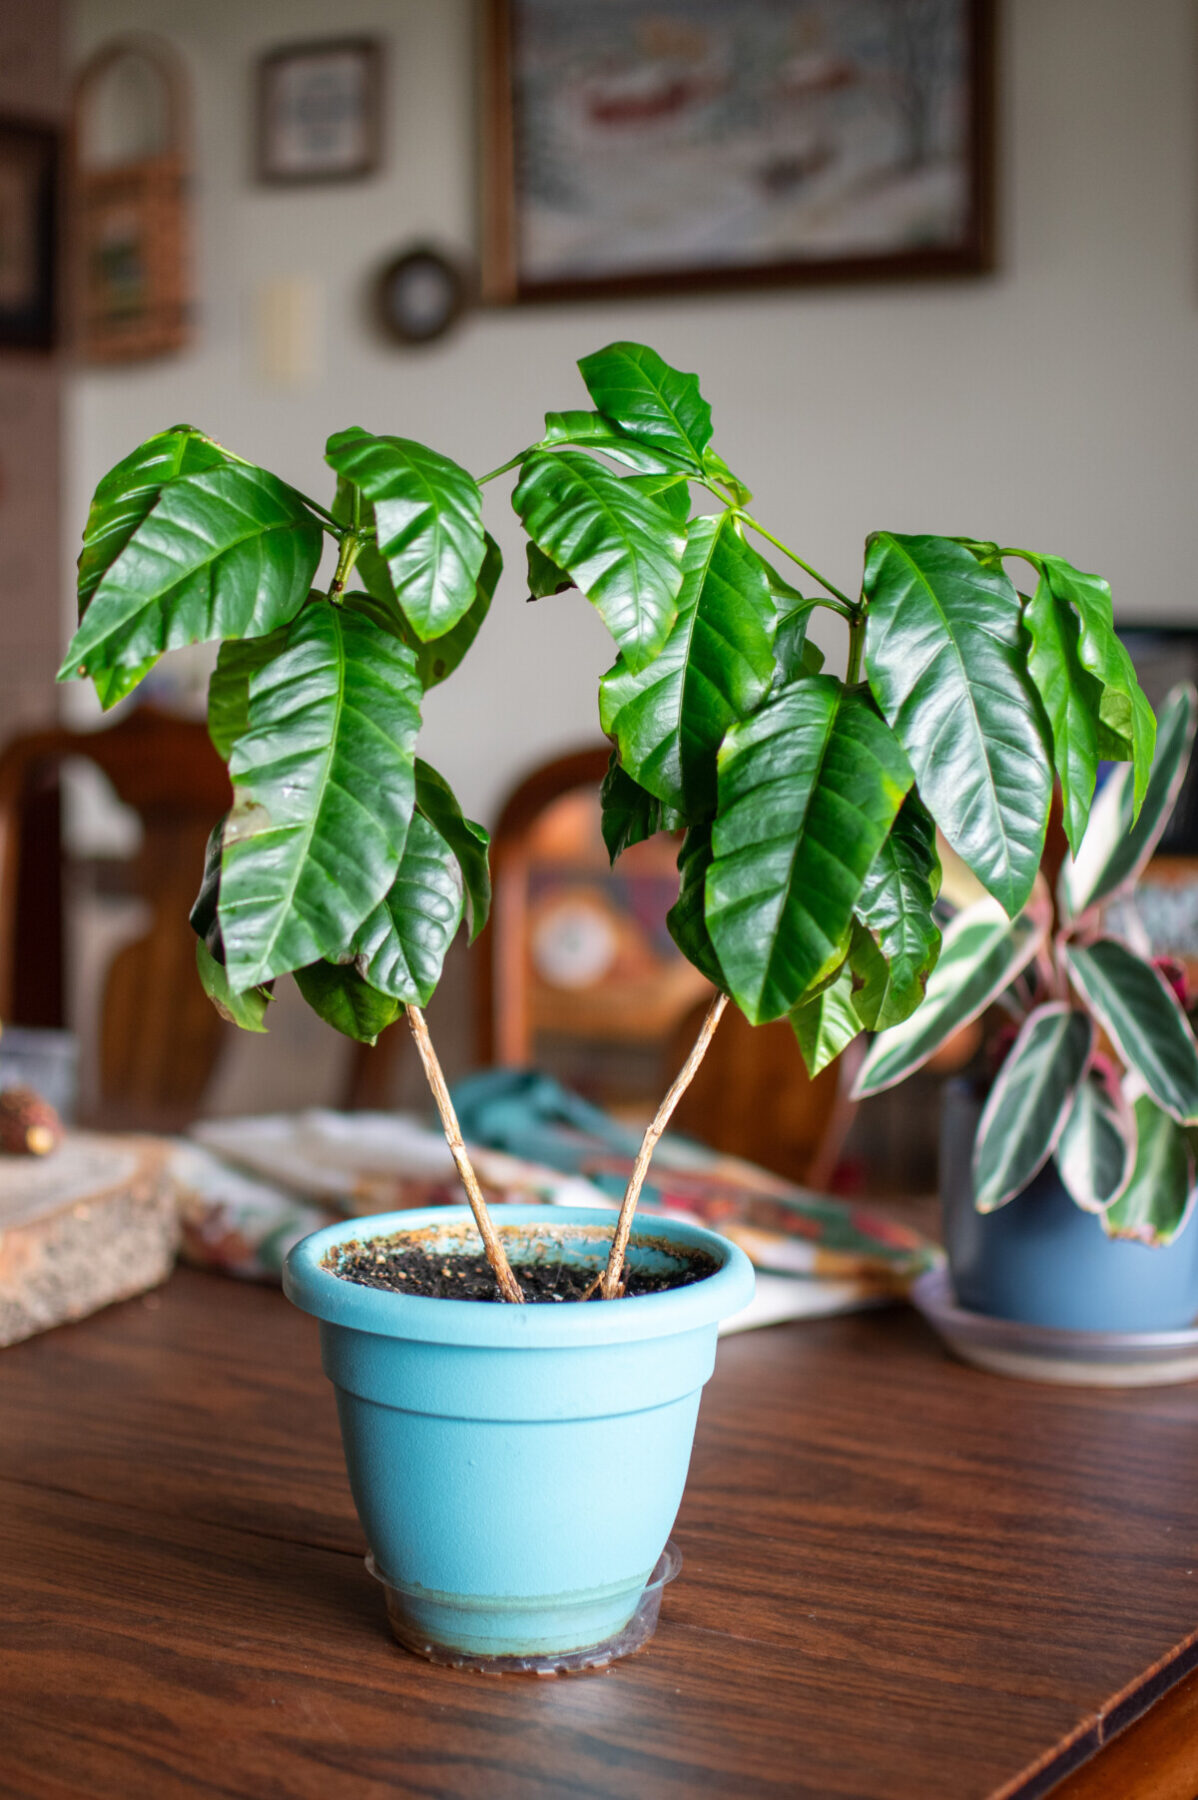
For instance, you could indiscriminately dump your leftover glass of water into the coffee plant that sits on your nightstand every morning.
I’m just using this as an example.
I’m not saying I personally know someone who might be the founder of a popular gardening website that recently confessed to this practice.
I’m just saying it’s a good example.
Anywho, if you did something like this, your plant would eventually develop root rot. The roots either “drown” because they don’t have access to oxygen, or the moisture triggers bacterial or fungal infection. Whatever the case, your plant’s roots start dying and can no longer take up nutrients and water from the soil to move them through the plant.
Oddly enough, once your plant’s circulatory system is compromised, you will see it first in the outermost appendages – the tips of the leaves.
The first thing you should do when you have brown tips on your houseplants is pull the plant from the pot and inspect the roots. They should be a healthy creamy white. They should not be mushy or moldy, tan or brown or give off an unpleasant odor, which means you have root rot.
To treat root rot, you’ll want to read How to Spot and Treat Root Rot in Houseplants.
The best thing you can do to prevent overwatering is to stick your finger in the soil before you water your plants—only water when the top ½” to 1” of soil is dry. Use pots with drainage holes and tip out any standing water after you water the plant.
Underwatering
This one seems a bit more obvious and less in need of a detailed explanation. If you forget to water your plant often, it has no water to circulate and, again, the first place you’ll notice this issue is usually at the very tips of the leaves. Most of us notice this before it gets too far.
Underwatering is also pretty easy to diagnose.
When was the last time you watered your plant?
Uh-huh. Oops is right.
Give your plant a drink, letting the water drain out of the bottom until the soil is moistened again.
Keep an eye on the plant as it heals over the next couple of weeks to be sure there isn’t another underlying cause for necrosis in the background.
Pests
Pest issues are usually more of a secondary issue when it comes to causing brown tips on your plant’s leaves.
Just like overwatering, you’ll want to look below the soil to diagnose this issue. Rarely do pests that hang out on your plant’s leaves cause the tips to turn brown.
Nematodes and other insects that live in the soil and feed on the roots of a plant are the main cause of necrosis from pests. Fungus gnats are a good example. While the adults pose no threat, their young, who are hanging out in the potting media, can damage roots.
Pull the plant from the pot and inspect the roots for pest damage.
You’ll need to treat the plant in much the same way as you would for root rot. Remove as much of the soil from the roots as possible and trim away damage before repotting the plant in clean, sterile potting soil.
Use a soil drench made with neem oil and water for the first couple weeks after repotting to ensure you’ve eliminated all the pests. Keep an eye on the plant once you’ve repotted it to ensure your pest problems don’t return.
High Humidity
Most tropical houseplants thrive in humid environments. This is why so many plants struggle in our dry houses, especially when we heat our homes in winter. Most plants do well in humidity of around 40-60%, easily achieved with a pebble tray, misting their leaves or a humidifier.
However, as we all know, you can have too much of a good thing.
When the humidity climbs, it can cause nutrient transfer issues in plants, specifically with calcium. Calcium is important for moving and regulating certain chemical compounds through the plant. It also regulates the production of ethylene. Too much ethylene will trigger necrosis in the plant.
High Heat
Heat can also trigger brown tips and edges on the leaves of your favorite foliage plants. This is usually directly related to drought-like conditions. If you have houseplants that you keep outside in nicer weather or near a heat source during the winter, water them frequently so the soil doesn’t dry out.
High heat can also disrupt the plant’s ability to take up or move specific minerals, just like high humidity can.
Check the soil more often to determine if the plant needs to be watered. If you notice the soil dries out much faster, relocate your plant to a cooler spot.
Chemicals in Water and Fertilizers
Certain chemicals found in drinking water, such as fluoride and chlorine, can cause plant necrosis. Over time, these chemicals build up in the soil, causing damage to the roots. This is why it’s best to water houseplants with filtered water or water from a rainwater collection system.
Sodium is another chemical that will cause brown tips and edges on leaves if there is too much of it in the soil. Keep this in mind if you have a water softener. You’ll want to flush your plants with filtered water once a month to prevent salt buildup in the potting media.
If you use a chemical plant fertilizer, be sure to flush the soil with pure water at least once a month to help rinse excess salts from the soil. Even better – switch to a natural liquid plant fertilizer. Dr. Earth’s Pump & Gro Indoor or All-Purpose Plant Fertilizer is my go-to.
Lack of Nutrients
We’ve already seen what happens when heat and humidity prevent a plant from using minerals in the soil, but if those nutrients aren’t even there, it only exacerbates the problem.
Be sure to feed your plants regularly with a balanced fertilizer for houseplants. Repotting with new potting media can also help to replenish nutrients. Add worm castings or eggshells to your potting media to impart important trace minerals.
Did You Get My Pun?
You may have noticed that at the beginning of this article, I said to keep reading to get to the root of the problem. I hope you’ve realized that, in most cases, brown leaf tips are caused by root issues. Whenever you find a plant with brown tips or edges around the leaves, always check the roots first. Believe it or not, brown tips are rarely a too-much-sun issue.
And as I mentioned earlier, unless the necrosis is spreading, you’ve probably already taken care of this issue without realizing it. But what do you do about the unsightly brown tips on your leaves?
Easily Fix Brown Leaf Tips & Edges
You don’t have to live with ugly, brown leaf tips or edges. In fact, it’s better for the plant if you don’t.
Grab a sharp pair of scissors and wipe them down well with rubbing alcohol. Smaller scissors work best for this kind of work. Carefully trim away the brown tips and edges from each leaf.
Well, great, Tracey, now I have wonky-looking leaves.
Here’s the good news: once you remove the brown parts, you can trim the leaf to a more natural shape for that particular plant. The plant will heal the cut edges, and the once-necrotic leaf will blend in with the healthy leaves.
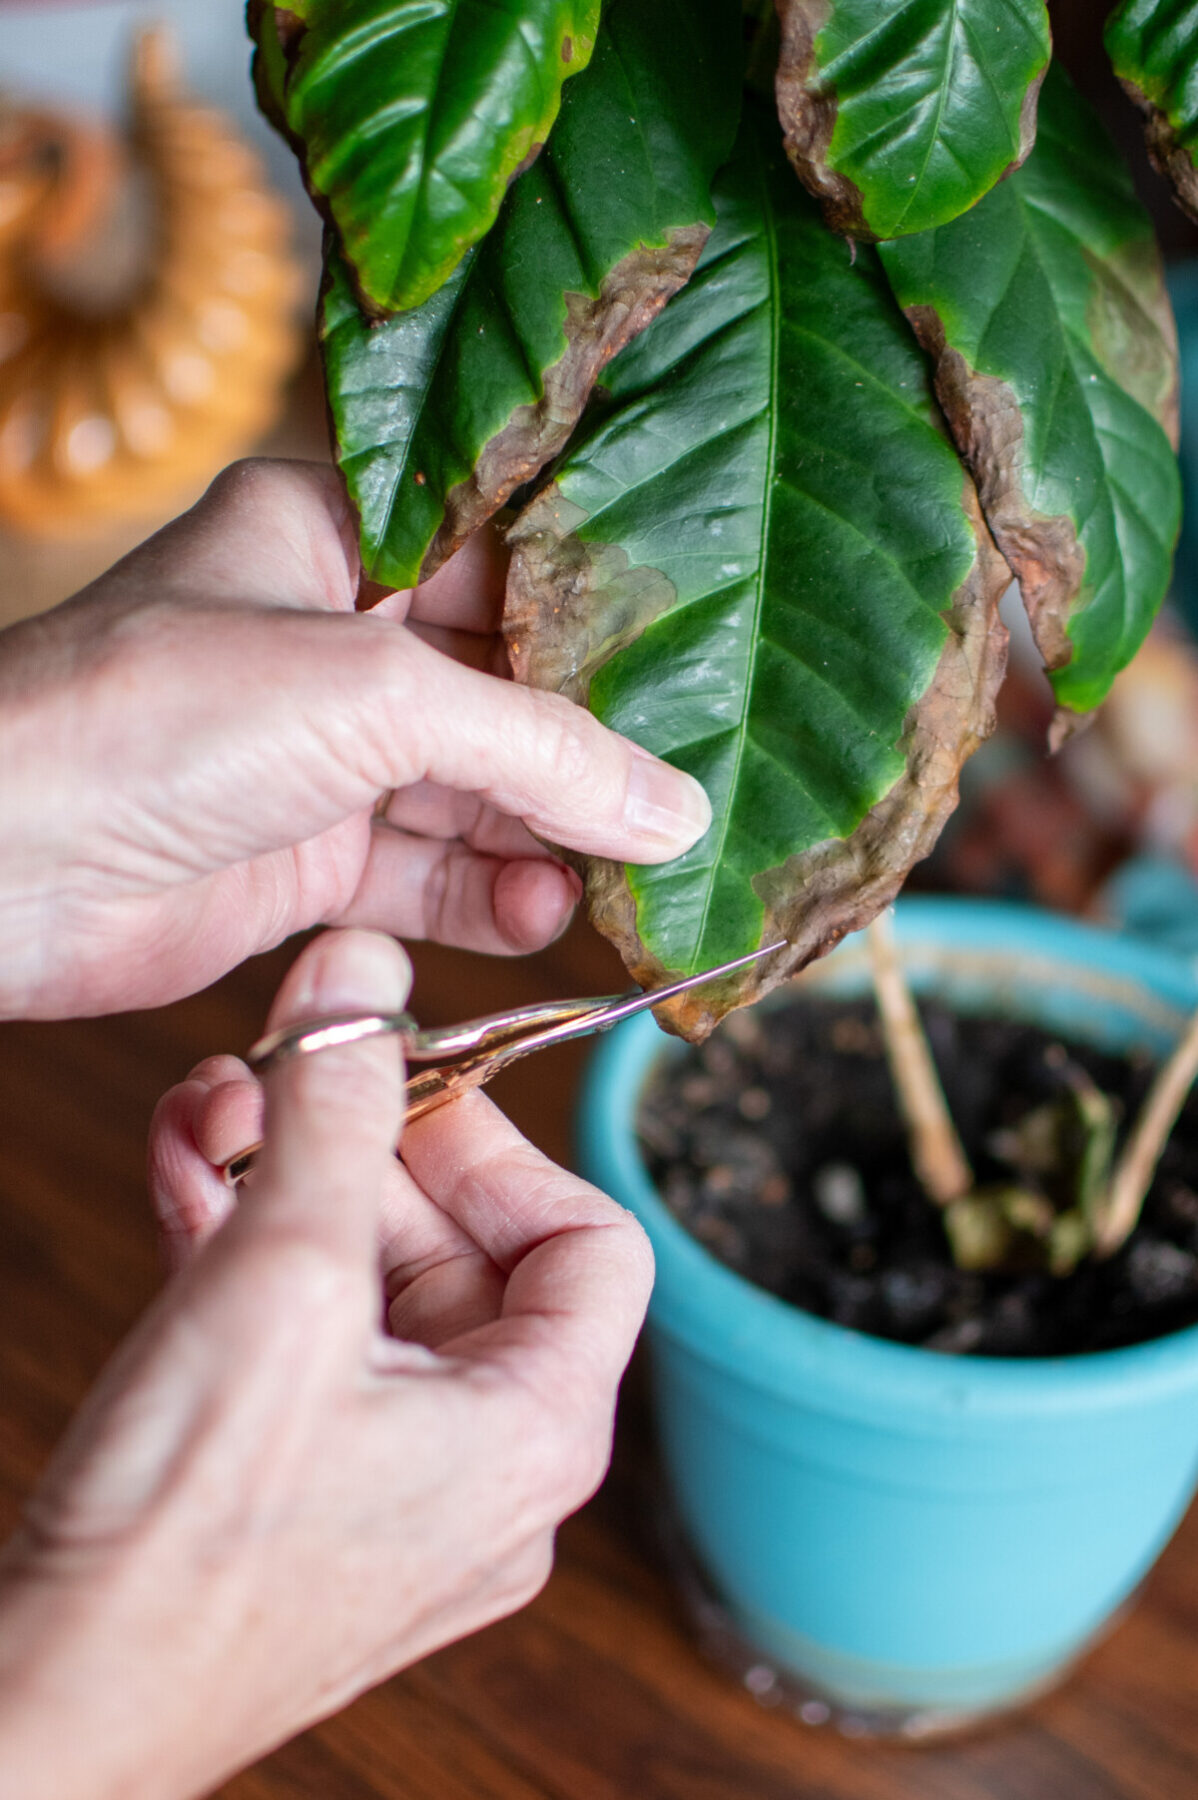
If you have leaves that are more than 50% brown, it’s best to remove them entirely. Pruning off these dead leaves will signal your plant to push out new growth as it recovers.
Make sure you clean and sterilize the scissors before moving from plant to plant to prevent the spread of disease.
Preventing Necrosis
I’ve covered most of what you need to know to help you diagnose why your plant has brown tips. Naturally, there are some clues about how to prevent it from happening again just in the diagnosis. But there is still something equally important to consider if you want to prevent necrosis in your houseplants.
It’s a Process, But We Never See It Coming
No matter the cause, brown tips don’t appear overnight. Whatever the issue, it’s there silently, causing damage for a week or two before we notice the inevitable results. One of the smartest things you can do to prevent brown tips in the future is to create a weekly plant care routine.
Noticing is hugely important in growing lush, thriving houseplants.
I’m sure you already have some sort of routine in place. You’re one of those folks who never forget to water your plants, and you always fertilize them when they need it, right? I thought so.
Regular and Consistent Care
My point is this. If you check in weekly with your plants, you’re less likely to be taken off guard by brown tips, invading pests, disease and other issues. A weekly care routine makes it easier to notice issues before they get out of hand. Pick a day of the week and a specific time, and get your watering can, plant mister, scissors, and fertilizer ready.
Now give each plant the once over.
- Does it need to be watered? Stick a finger in the dirt and see.
- Can you peek at the roots by lifting the plant from the pot a little? Are they a healthy creamy white?
- Look at the leaves; are they wilted, discolored, or brittle?
- Look under a few leaves and at the stems. Do you notice any signs of pests, such as webbing from spider mites, honeydew from aphids, or the brown bumps of scale?
- Do any of your plants need to be repotted or topdressed?
Doing this weekly for each plant means you’re more likely to spot issues early on and take corrective measures before you’re faced with a dead or dying plant. Not to mention, it’s relaxing. It’s good for you and your plant.
Put your earbuds in and listen to some tunes or an audiobook while you do your weekly plant check-in. Take a nice deep breath in, hold it, and then breathe out slowly. See? You and your plant are both looking better already.

Get the famous Rural Sprout newsletter delivered to your inbox.
Join the 50,000+ gardeners who get timely gardening tutorials, tips and tasks delivered direct to their inbox.