

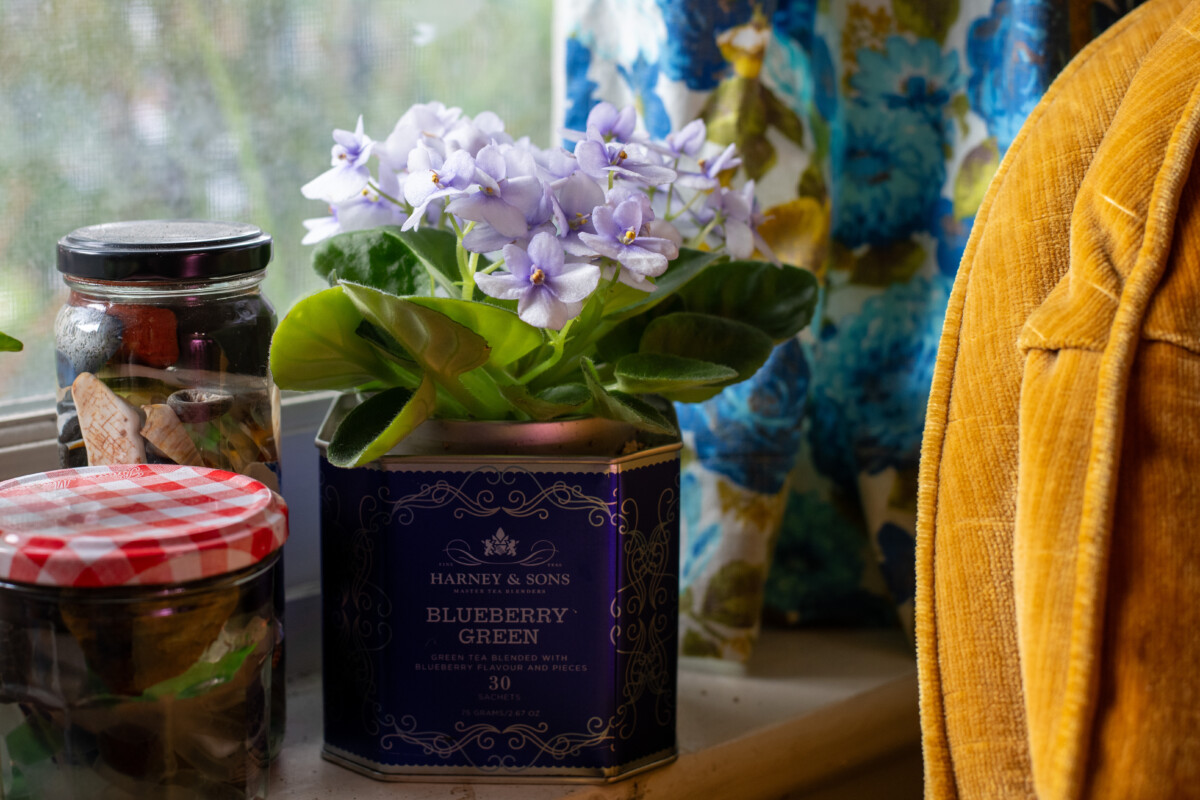
African violets are easy to grow, have the most charming blooms and take up far less space than other houseplants. Which means you can have more of them!
But to enjoy continuous blooms and make your violets last, they must be repotted regularly.
The African violet has very different repotting needs compared to other houseplants. Read on to learn how and when to repot them and why it’s so important for these plants to thrive.
African Violets – an Underrated Charmer with Specific Potting Needs
I feel like those of us who grow African Violets are in a secret horticultural club. When asked about them, most people think of the simple purple or pink violets you see for sale at the grocery store.
For those of us in the know, however, we would argue that you’d be hard-pressed to find a houseplant with more variety within the species. There are well over 16,000 different cultivars. Beat that, pothos.
- Solid color leaves
- Pink variegated leaves
- White variegated leaves
- Smooth-edged leaves
- Scalloped-edged leaves
- Oval-shaped leaves
- Tear-drop shaped leaves
- Minis
- Trailing violets
And the blooms!
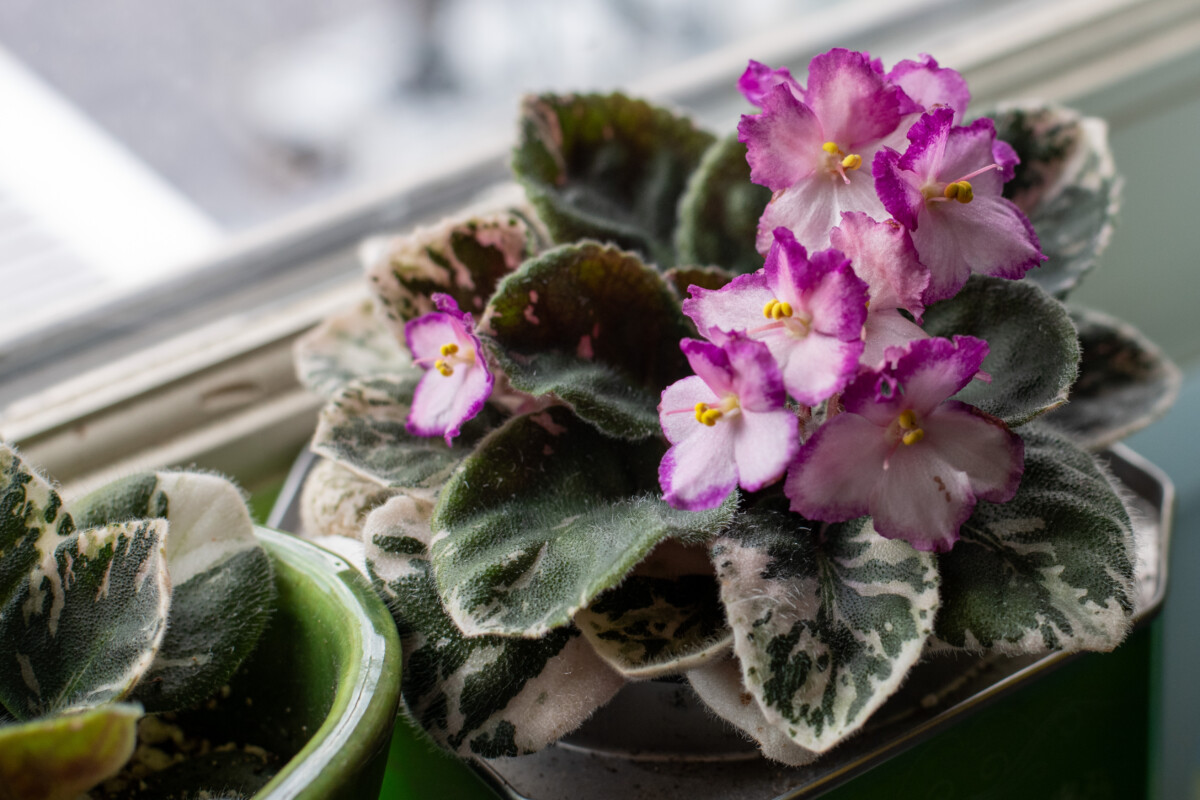
- Pink, white, red, mauve, purple, yellow, peach, orange and green blossoms
- Rosette blooms
- Blooms with scalloped edges
- Blooms with “stars” on them
- Multi-colored blooms
All in a plant small enough to leave room for “just one more.”
However, without the proper care, you rarely get to enjoy their delicate flowers. An often overlooked part of African violet health is repotting. While things like light, fertilizing and water are often considered, African Violets’ soil and container needs always seem to take a backseat. But for nearly continuous blooming plants, repotting needs to be a part of your care regimen.
Related Reading: African Violets: How To Care, Get More Blooms & Propagate
Native Habitats vs. Our Homes
The African Violet, or Saintpaulia, is a member of the Gesneriaceae family of plants. The wild versions of this highly cultivated plant grow exclusively in Tanzania, deep in the Usambara Mountains. Decades of deforestation have threatened the existence of these native plants. A discomfiting thought when you consider they can be found in supermarkets everywhere else in the world.
In the wild, African violets are lithophytic, which means they cling and grow on the surface of rocks.
The nutrients they need to thrive are constantly replenished with every rain, which washes new organic matter down the rock’s surface to collect among the other flotsam and jetsam the plant is growing in.
In the wild, it’s the perfect self-renewing potting system. However, rarely do we grow violets on rocks in our homes.
In the wild, the plants grow lush and verdant under the dark canopy of the rainforest, but they don’t bloom often. It’s usually the norm for travelers seeking these plants in the wild to find them without a flower in sight.
That’s because the plants need long periods of bright, filtered light to set flowers — not something they get regularly when growing far beneath the jungle canopy. But these lighting requirements are something we can easily accommodate in our homes.
How Often Should You Repot Your African Violet?
When answering this question, it’s important to consider how African violets grow in our home compared to the wild – upright, in a potting mix compared to clinging to the surface of a rock.
New growth comes from the center of the plant, like a fountain. To “prune” African violets and encourage new growth, remove the lowest and oldest leaves from the base of the plant periodically. Remove any suckers as well; these are small clusters of leaves growing on the stem of the main plant. You can easily propagate these new plants.
Related Reading: How to Propagate African Violets – Easy as 1-2-3
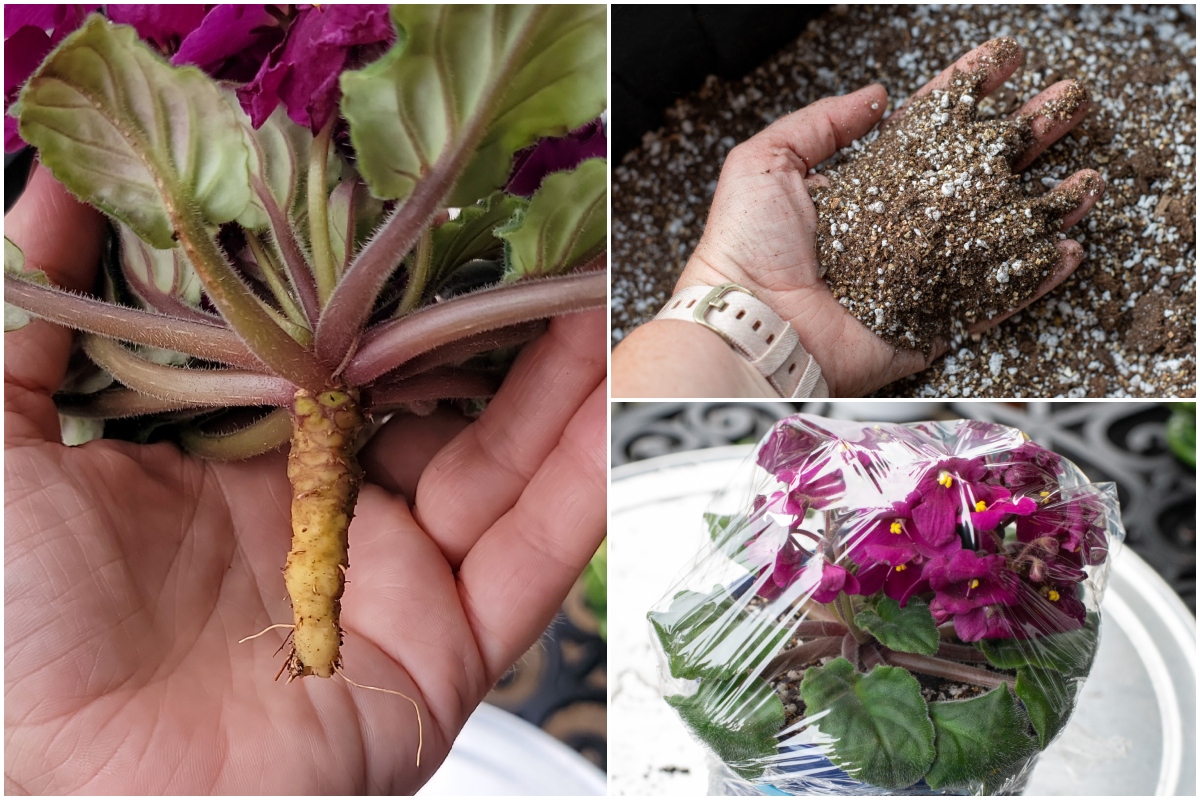
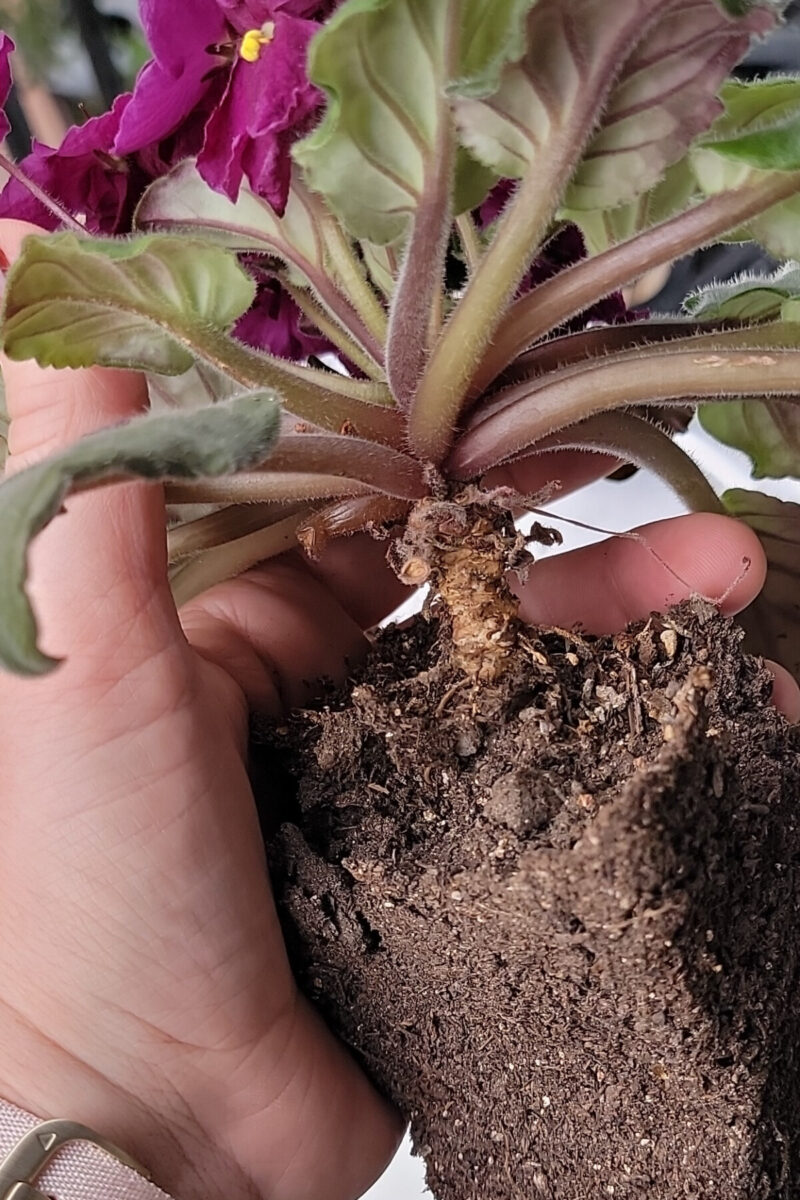
As you prune, more of the “neck” is exposed above the soil. Eventually, you’ll have a long-necked African violet that’s more likely to topple over.
To avoid giraffe-like violets, you should repot them every six months.
It’s much easier to repot a violet with a short neck than to restore a plant let go for too long. If you’ve got a long-necked violet, don’t worry; we’ll sort it out, too.
The general rule of thumb is to repot each time the neck of your violet reaches an inch above the soil, typically twice a year. It sounds a bit fussy, considering how infrequently most houseplants need repotting. But once you’ve done it a couple of times, you’ll find it only takes mere minutes and the reward is a plant that blooms almost continuously.
What Type of Soil Do African Violets Do Best In?
African violets need incredibly light soil that drains quickly but retains some moisture. They also prefer slightly acidic soil, much like the acidic rocks they grow on in the wild.
In short, your all-purpose potting mix won’t cut it.
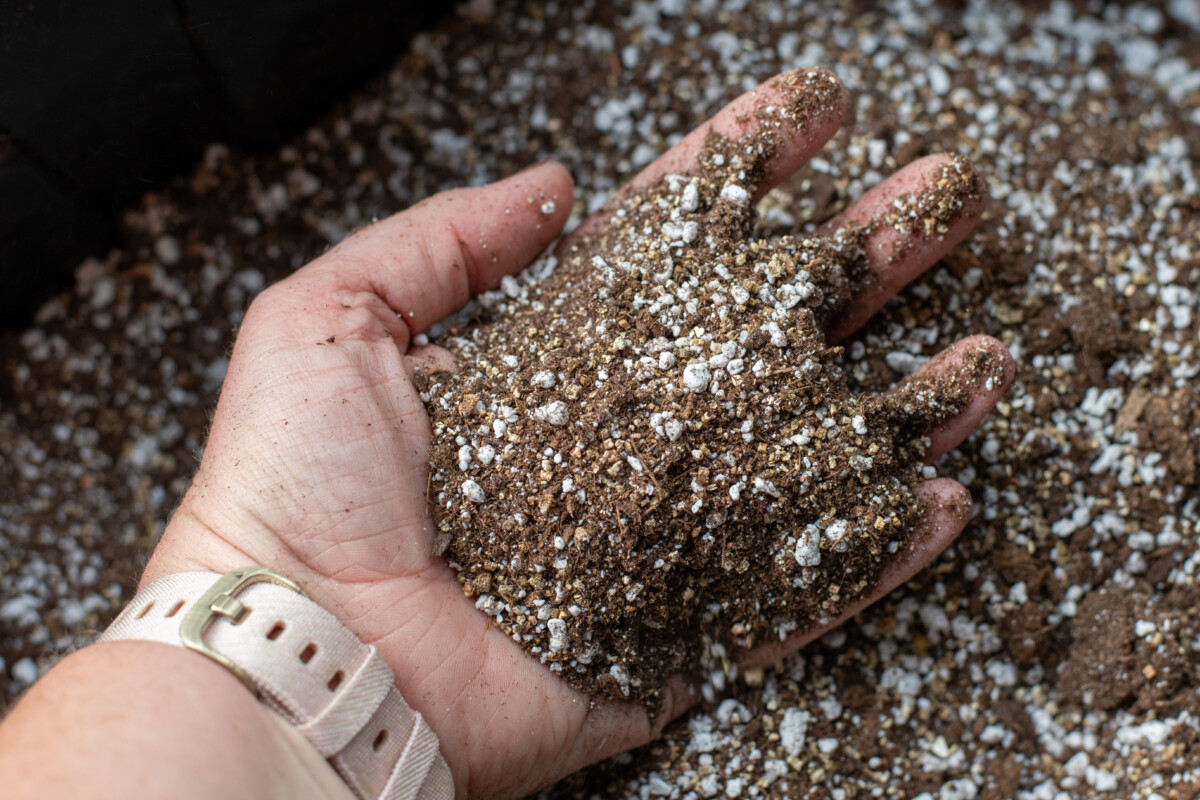
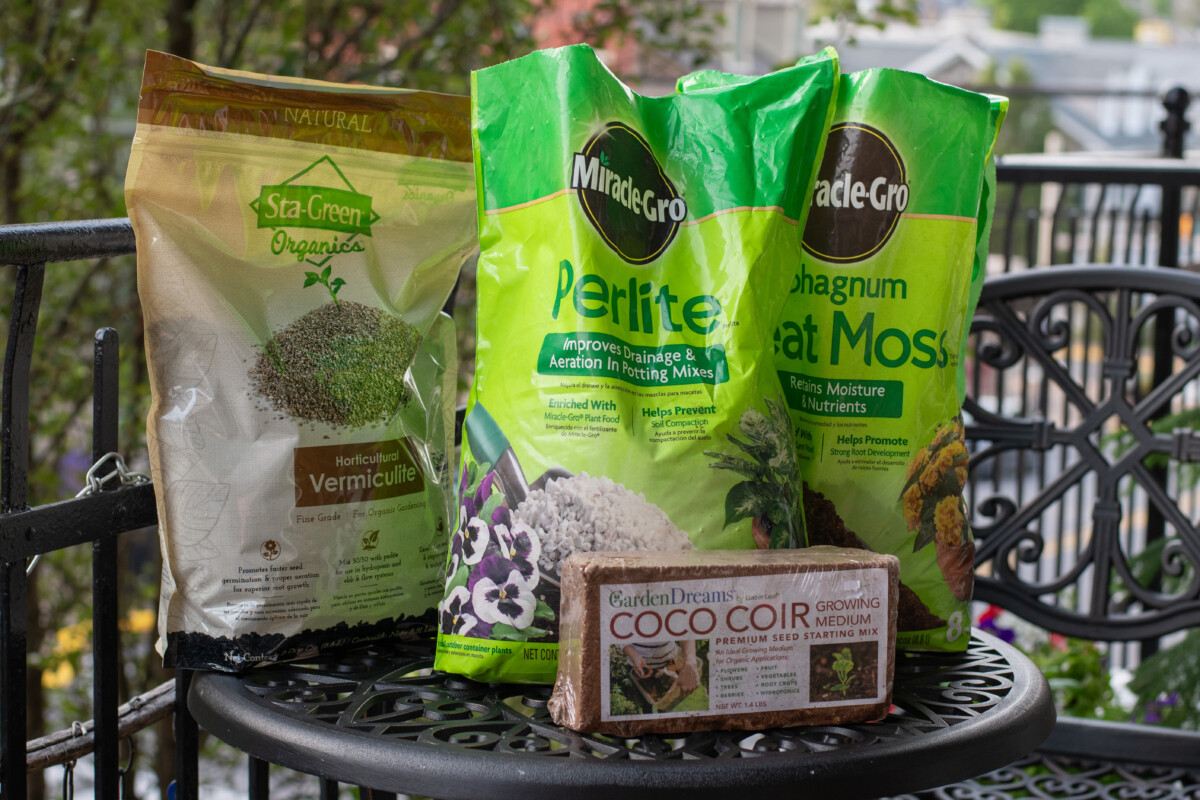
There are many good African violet-specific potting mixes on the market. (And some bad ones, too.) When choosing a potting mix, the bag should be light and airy. Anything that feels heavy or is pre-moistened (like all-purpose potting soil) is not what you want. A good mix will be around 50% perlite.
Peat moss is usually used in African violet mix because it drains easily and makes the potting media slightly acidic. However, those concerned with the destruction of natural habitats that occurs in peat harvesting can find blends that use coconut coir instead. An even better alternative is sphagnum moss, which you can easily grow yourself.
After years of trying different blends, I made my own African violet potting mix.
I liked knowing what was in it and having it on hand whenever I repotted my violets. Most of these ingredients are easy to find, so you can mix up a big batch and store it in a plastic tote.
My African Violet Potting Mix
This “recipe” is a ratio of three core ingredients. Perlite, coconut coir or peat moss, and vermiculite mixed in a ratio of 5:4:1. I use a cup or my trowel and measure the ingredients by the cupful or trowelful into a small storage tote. Then, I add any amendments and mix it all up by hand.
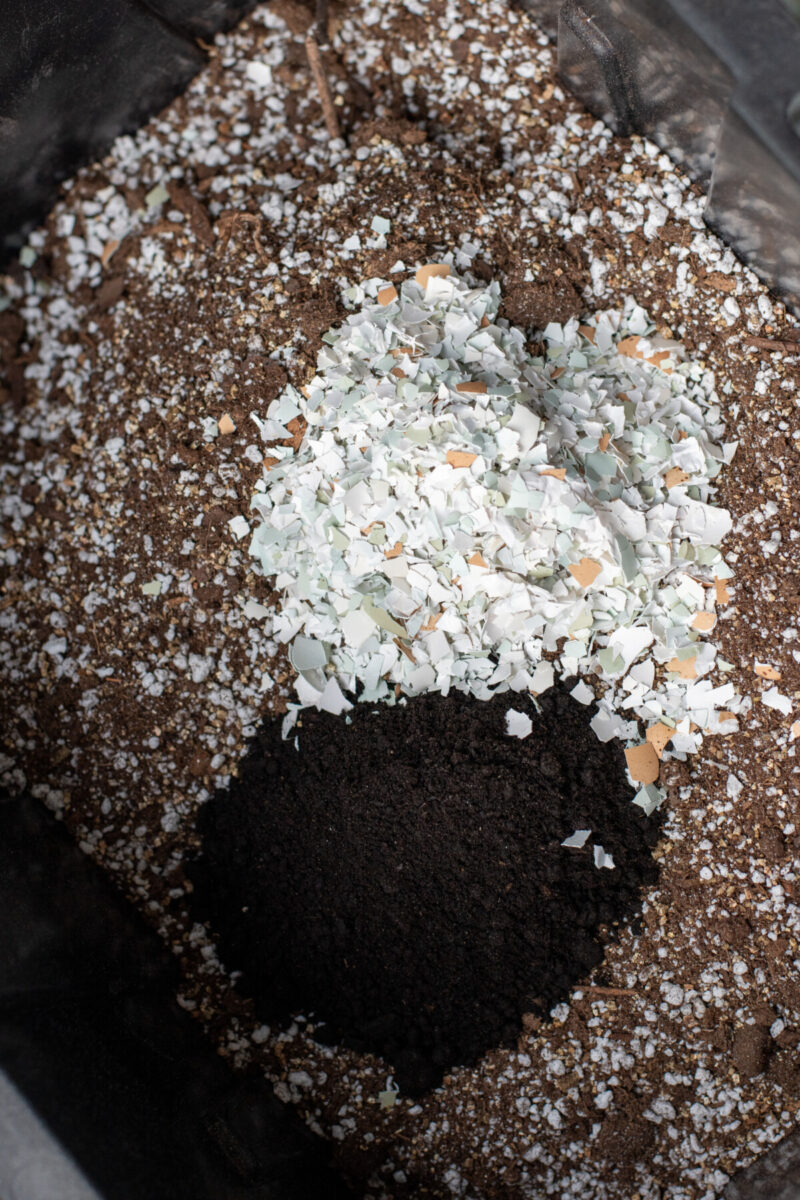
I don’t get too crazy with the add-ins. But a couple that I use often are:
- a cup of worm castings to help improve the structure and as a slow-release fertilizer.
- a few handfuls of coarsely crushed eggshells.
- orchid/fir bark for acidity.
What Type of Container Is Best for African Violets?
When repotting plants, the advice is to go up an inch in pot diameter each time you repot the plant. However, this doesn’t apply to African violets. A standard African violet (not a mini) will do best in a 4” diameter pot. When repotting your plant, you’ll simply be repotting it in the same pot. You don’t need a fancy self-watering African violet pot, although some people like them.
However, whatever you choose, it needs to have a drainage hole. African violets cannot tolerate sitting in standing water.
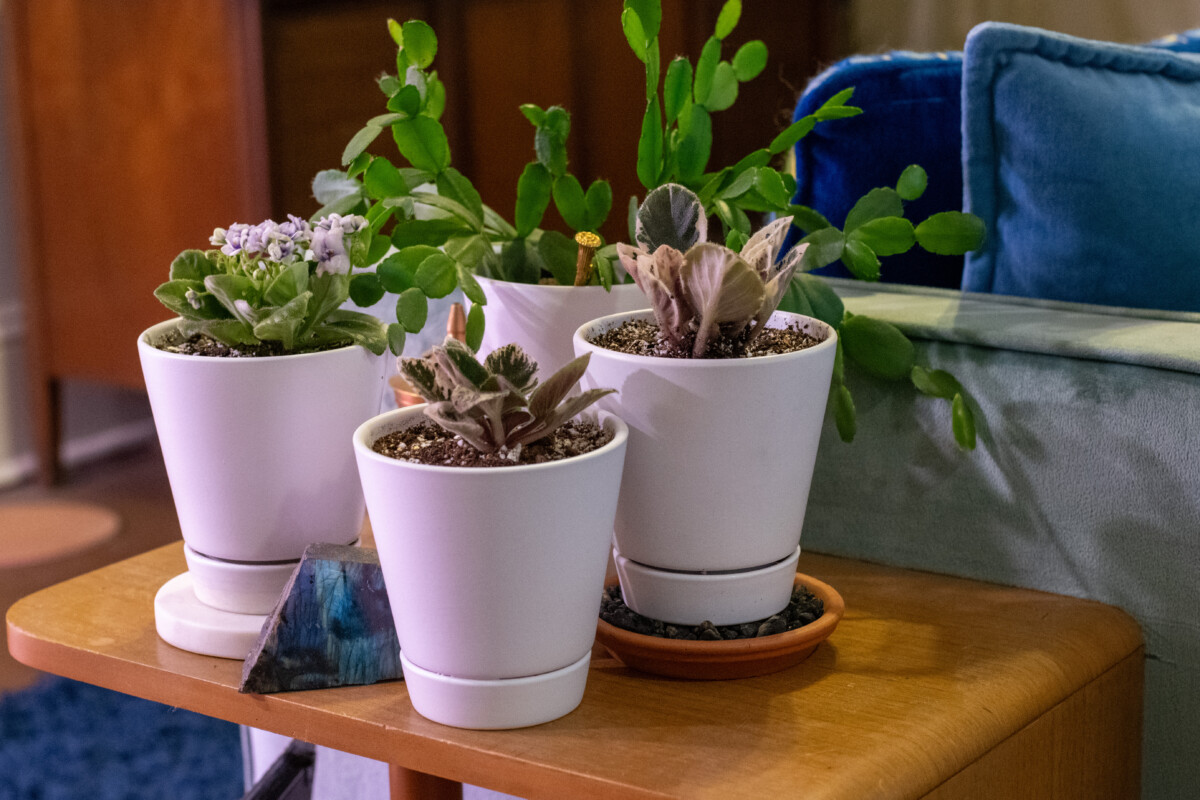
It’s not necessary, but I grow my African violets with their own pebble tray. Because they need moist air to thrive, I find it easiest to set each pot on a small tray of pebbles, and whenever I water the plant, I add water to the pebble tray. Check out thrift stores for fancy shallow dishes. They make the prettiest (and cheapest) pebble trays.
How to Repot an African Violet
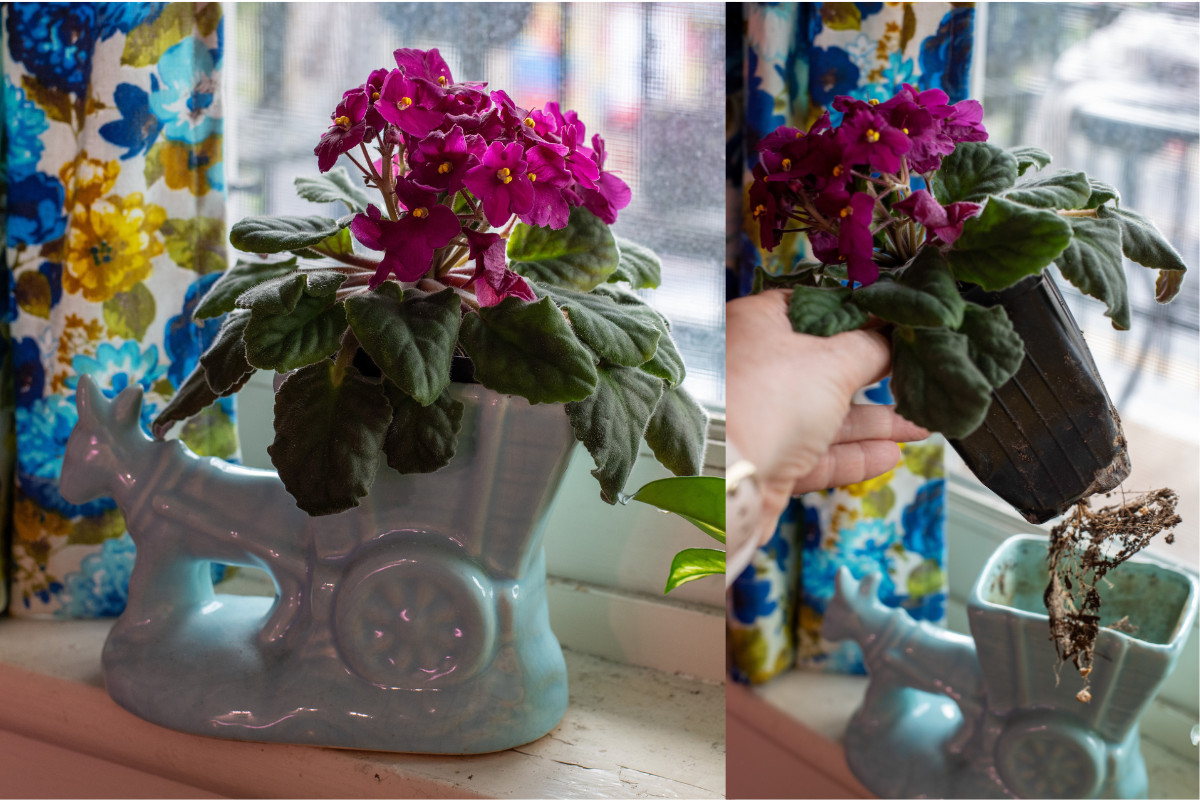
Repotting African violets is messy. It just is, so prepare a space with a towel or one of those fancy foldable potting mats. Because the leaves and the stems they grow from snap easily, extra care is needed when handling the plant. That said, it’s not the end of the world if you snap a stem or crush a leaf.
Remove the plant from its pot and set it aside.
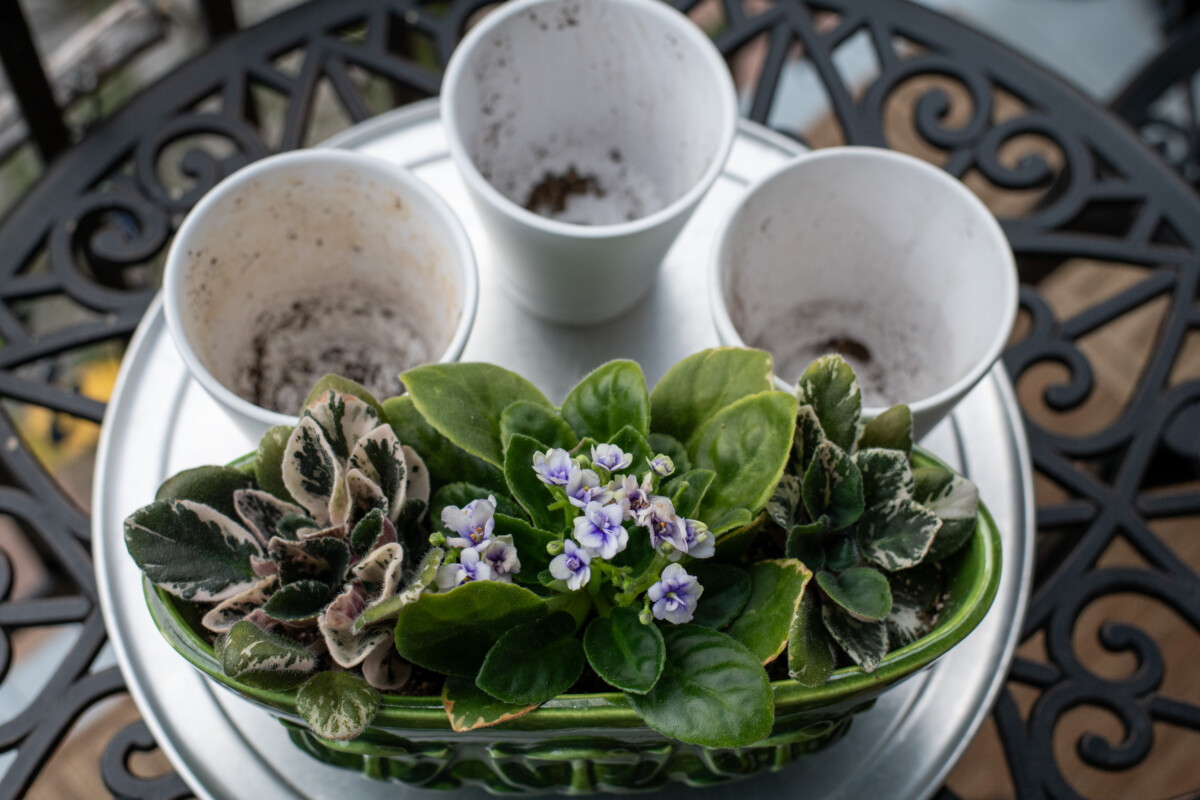
Wash out the container with a little dish soap and rinse it well. Since we’re putting the same (healthy) plant back in, getting it squeaky clean is unnecessary; it’s okay if traces of dirt remain.
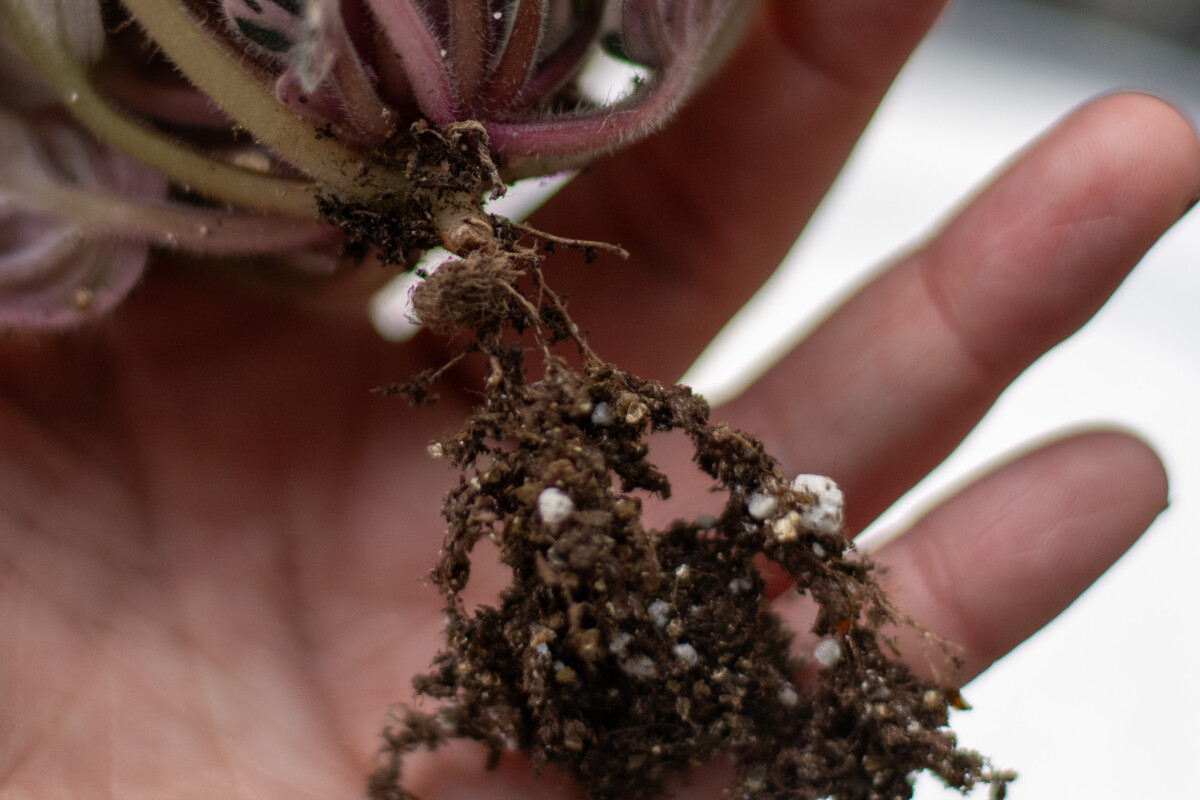
Carefully remove excess soil from the roots. Using clean, sterile scissors, trim away half of the root ball. This will encourage new root growth.
Gently remove old-growth leaves from the bottom of the plant so you have between 12-15 new leaves that make up the crown. Using a clean, sterile knife, gently scrape away the stubs from the newly removed leaves and any scabbed-over stubs further down the neck of the plant.
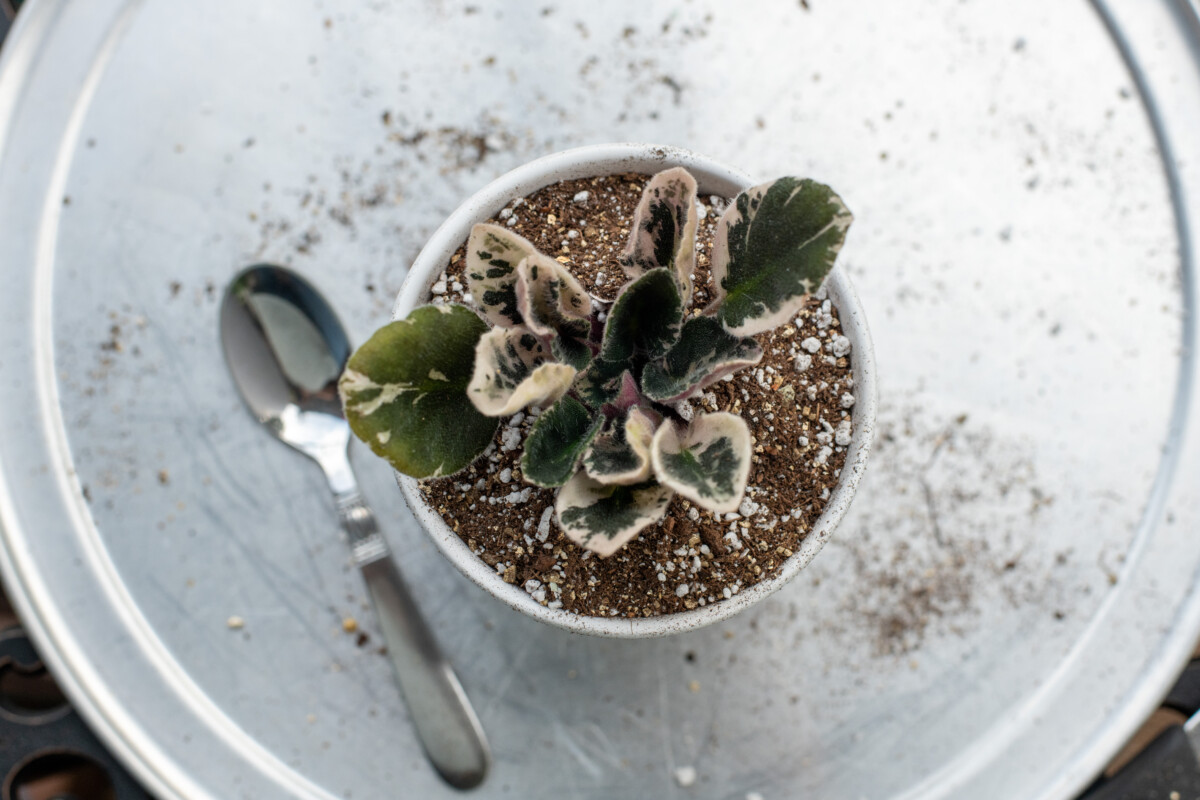
Using dry African violet potting mix, lightly press enough into the bottom of the pot so that you can set the plant in it and have the crown resting at the top. Gently tip the plant to one side and add more potting mix. I like to use a spoon as it’s much easier to maneuver around the plant than larger gardening tools. Now tip the plant to the opposite side and do the same. Turn the pot a quarter-turn and repeat the process.
The potting mix will be mounded up around the base of the plant. Gently press it down with your fingertips, working around the edge of the pot, just below the leaves. You want the soil to be about a half inch below the lip of the pot when finished.
Now, slowly water in the plant, allowing the potting mix to settle before adding more water.
African violet potting mixes are usually ridiculously hydrophobic at first, my mix included.
When watering in new potting media, I suggest adding two or three drops of liquid dish soap to your water and stirring it well before watering the plant. The soap will break the surface tension of the soil, allowing the water to penetrate.
The soil should flatten out and settle after a few applications of water. You want all excess water to drain freely out of the bottom. I usually allow the plant to dry out quite a bit after this initial watering in before resuming regular watering.
Important: If you have a pot with an attached saucer, tip out any excess water an hour or two after repotting the plant.
Voila! Your African violet is ready to keep growing and producing the beautiful flowers you know and love.
“Restarting” an African Violet with a Long Neck
You must follow a different approach if it’s been a while since you repotted your African violet. It will be a bit scary, but trust the process, and you’ll once again have a thriving, blooming African violet.
We’re going to decapitate the African violet.
Yes, I know, it’s extreme, but it will kick start new growth in the plant and correct the stem if it’s bent. Far too often, people decide the best way to deal with a long neck on a violet is to bury it below the soil. Unfortunately, this leads to rot, and the plant usually dies.
Instead, we will signal to the plant to put out a new root system.
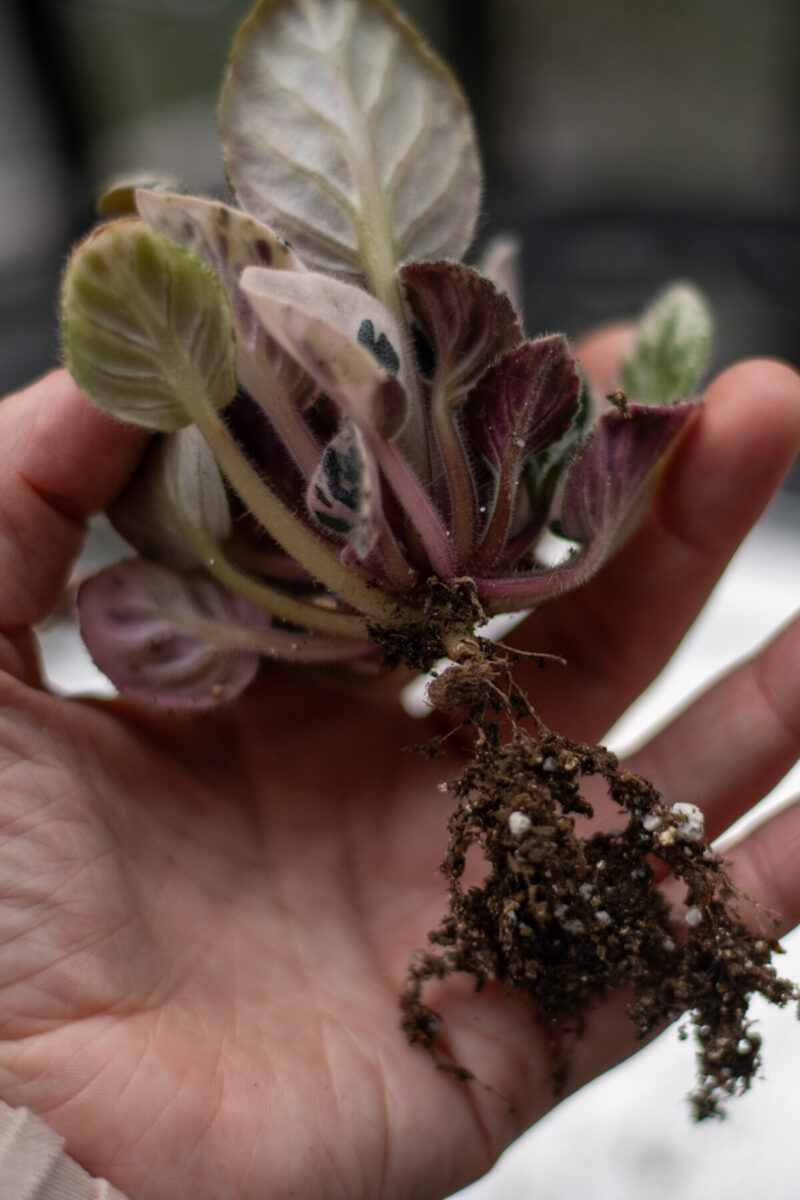
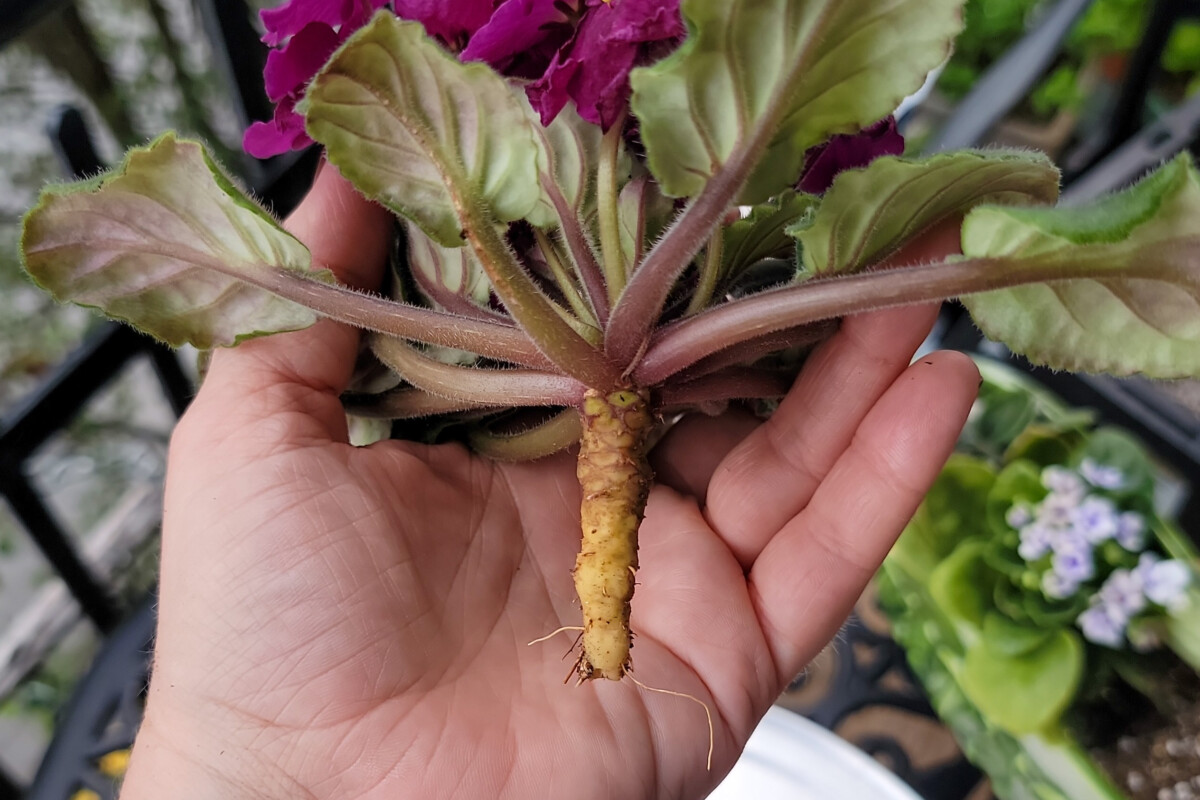
Take the violet out of the pot and gently snip off the root ball at the base with clean scissors. All you should have left is the long stem of the plant with the crown on top.
Working carefully to protect the growing crown, remove all the old growth leaves, starting from the bottom of the stem and working your way up until a dozen new leaves are left at the top.
It’s easiest to grasp leaves firmly, as close to the stem as possible and snap them off by pushing them downward.
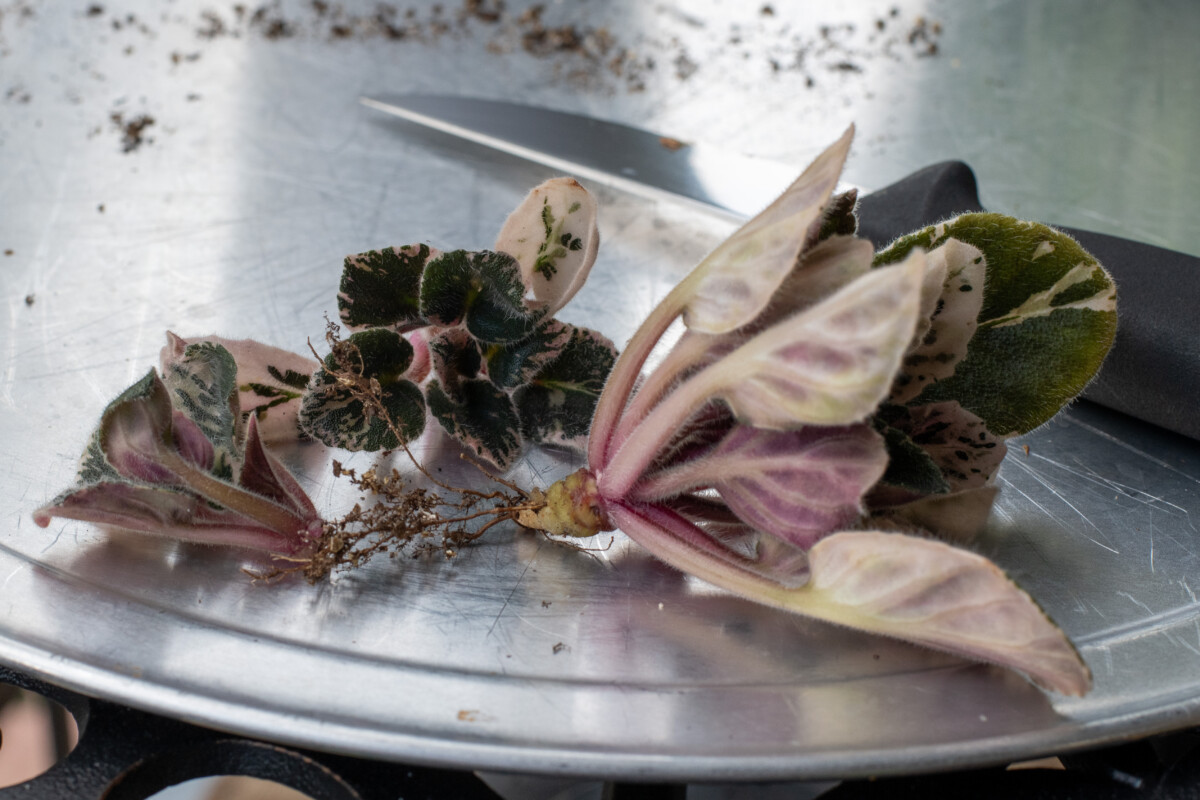
Now, using a clean, sterile knife, you want to gently scrape away any stubs left from the leaves you just removed to expose the stem. Scrape the outermost surface of older, scabbed-over stubs as well. We want to expose these bare nodes to the moist soil.
Finally, cut off the stem so you’re left with 2” of clean, bare stem below the bottom-most leaves of your crown.
Prepare your pot with new, well-moistened soil. When restarting a violet, I find it best to pre-moisten the soil before adding it to the pot. Add soil so that it comes to within a half inch of the top of the pot.
Carefully push the stem into the soil. You’re not trying to bury it or press the soil around the stem. You simply want to insert it so the stem is lightly surrounded by soil.
If the stem of the plant is bent from growing on its side, make sure the part in the soil is straight down.
It’s much easier for the plant to correct the direction of the growth of the leaves above the soil than the stem below. For now, you may need to have the crown growing sideways to ensure the stem grows straight down. The crown will eventually correct and grow upwards again.
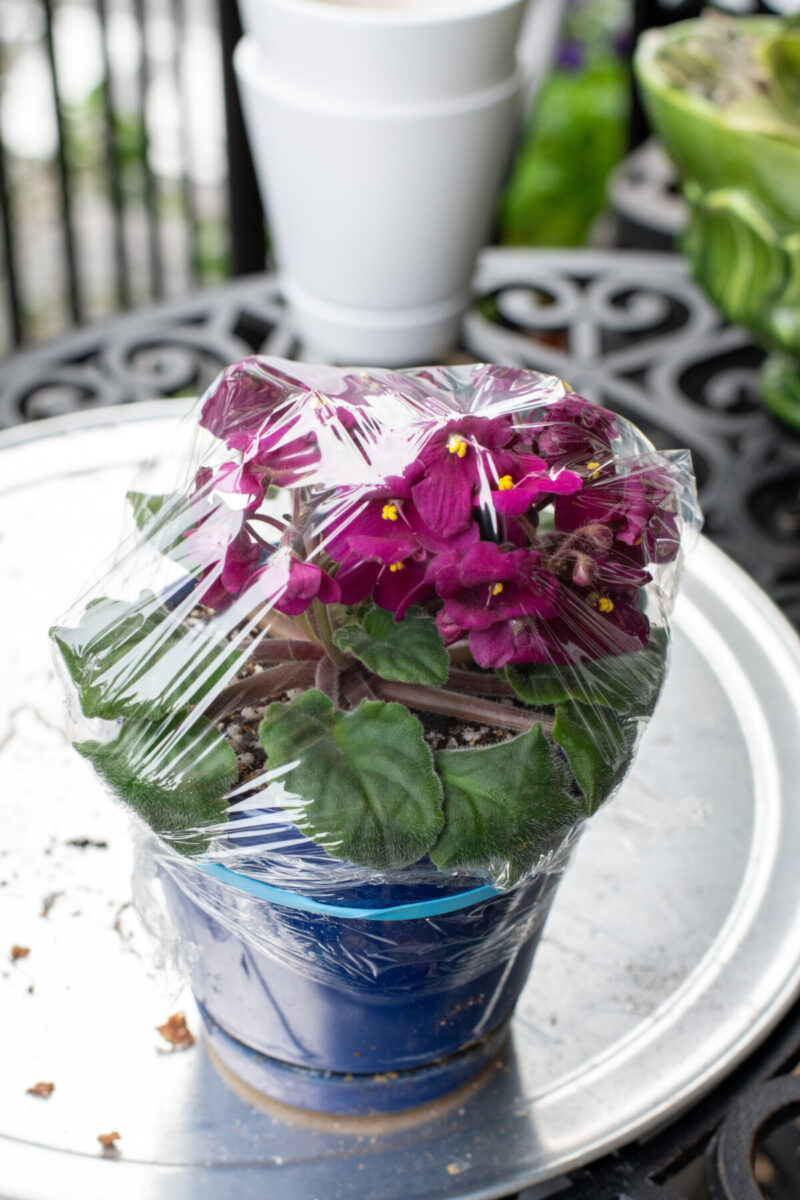
Now for the most important part. Cover the plant in clear plastic and set it where it will receive bright indirect light. Do not uncover the plant, and do not water it. Creating a humid environment around the plant allows it to stay moist without a root system while it grows a new one.
In about a month, the stem will have put out new roots. Reacclimate the plant to the dryer conditions of your home by opening the bag a little more each day over several days. Water the plant once the soil dries out a bit, and continue your normal African violet care routine, including regular repotting.
Repotting houseplants always feels like a major undertaking. However, when it comes to African violets, they’re small enough and don’t require a new pot each time, which makes their semi-annual repotting needs easy to manage. And you’ll be glad you’ve made the effort with an African violet that blooms all year long.
Read Next:

Get the famous Rural Sprout newsletter delivered to your inbox.
Join the 50,000+ gardeners who get timely gardening tutorials, tips and tasks delivered direct to their inbox.