

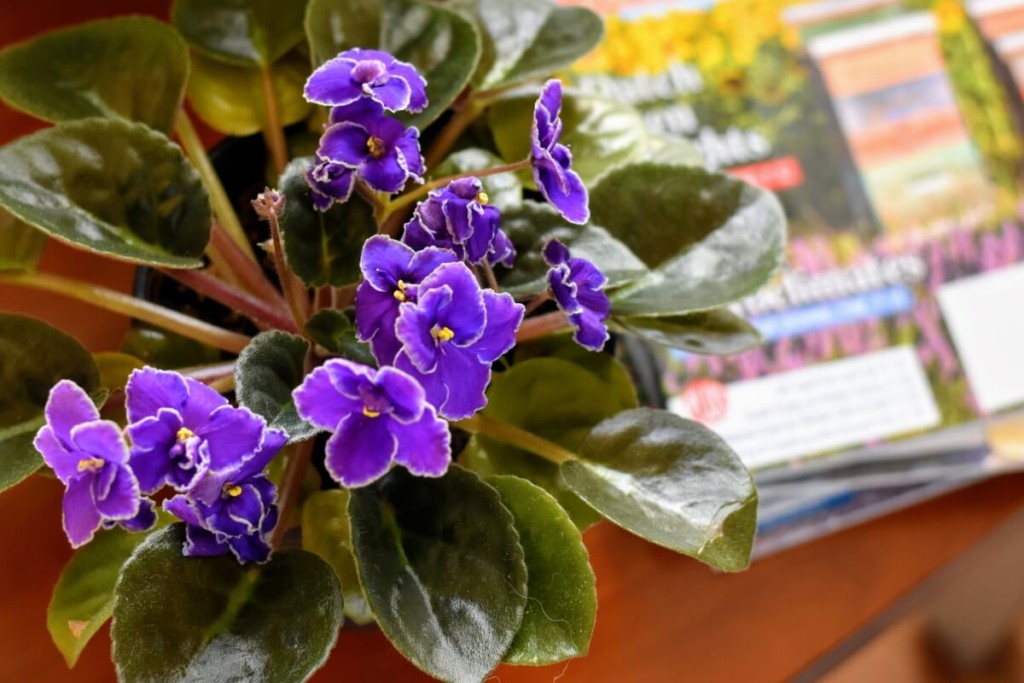
Charming.
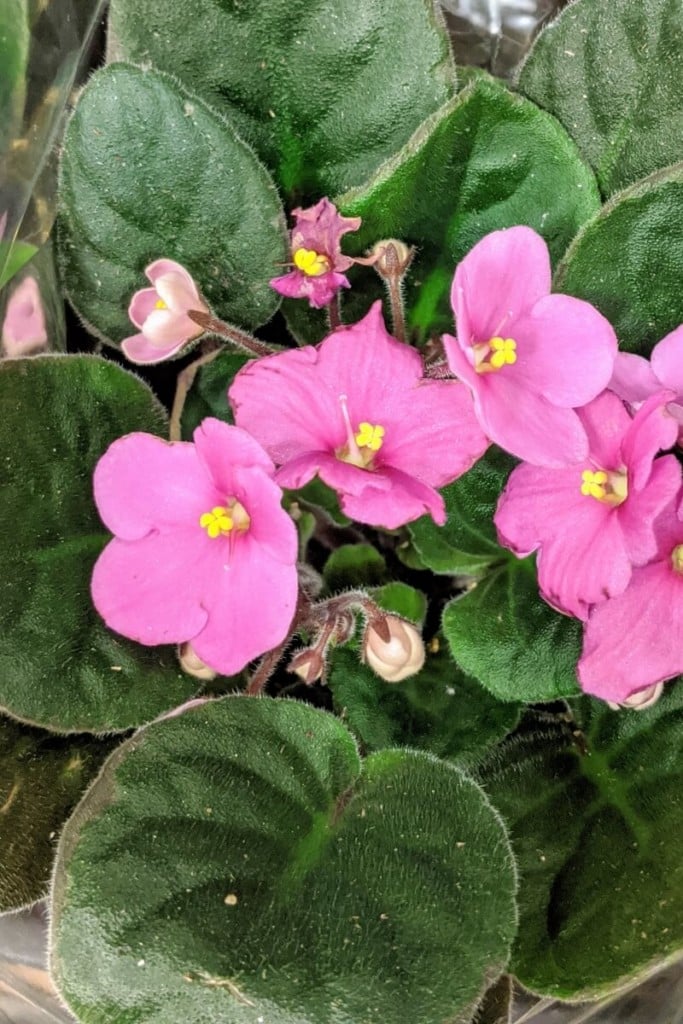
Yup, that’s the best way to describe African violets.
These popular little houseplants are an excellent choice for novice plant enthusiasts and diehard green thumbs alike.
Related Reading: 15 Rare & Unusual Houseplants To Grow In Your Home
African violets are easy to get your hands on, fun to grow, and bring a splash of color and cheer to your home.
If you’re anything like me, you’ve killed at least one poor African violet in your lifetime due to neglect. And one of the most common complaints about them is they never bloom once you get them home from the nursery.
These little plants aren’t difficult to grow, but knowing how to care for them properly will keep them looking great and blooming frequently for years to come.
Related Reading: 7 Things Everyone With An African Violet Needs To Know
About African Violets
The African violet, Saintpaulia, is a tropical plant native to Tanzania and Kenya. There are many subspecies of this beautiful plant, including many that are endangered due to their disappearing habitat.
Despite their prolific presence in our homes and nurseries, in the wild, these beautiful and delicate plants could quickly disappear forever due to rapid deforestation. (The Plight of the African Violets – In Defense of Plants)
Choosing your plant
One of the best things about these little guys is that you can find them nearly anywhere plants are sold. I even see them for sale in my local grocery store quite often.
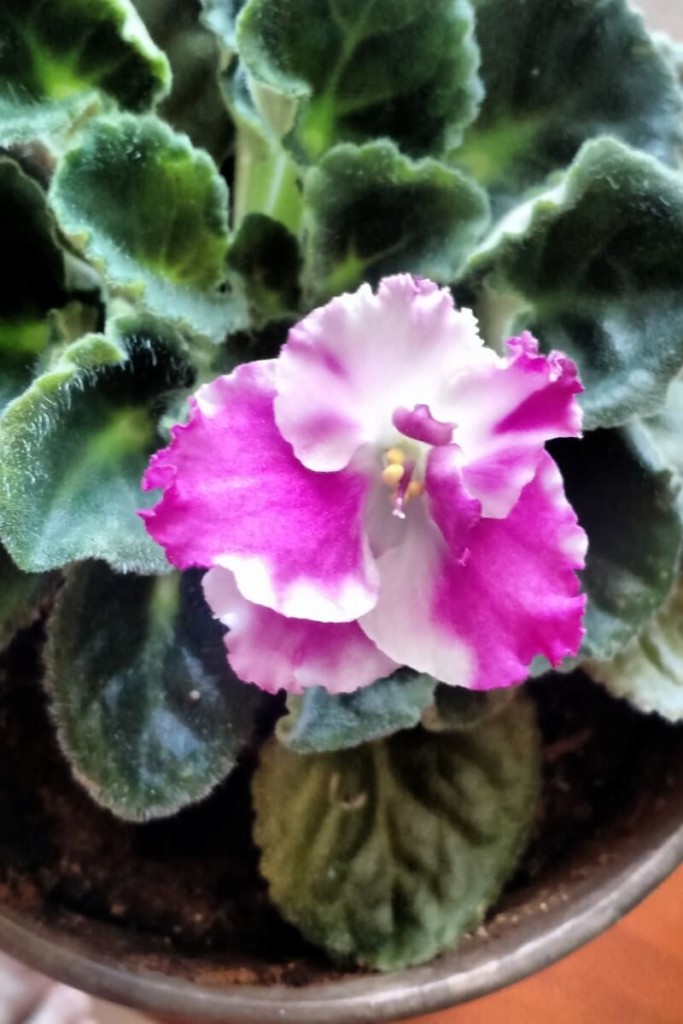
Generally, you will find more common colors and petal types locally.
However, African violets have a multitude of colors, petal shapes, and leaf shapes to choose from. If you want something with a little more flash, try a nursery or garden center for a more varied selection.
If you fall in love with these plants, you can find some beautiful variants of the species online. Etsy is one of my favorite places to find interesting plant varieties.
Don’t forget to look into local plant exchanges or horticultural clubs. These are all great options for something a little more exotic.
When picking out your plant, check it over for pests or disease.
The leaves should be dark green and relatively free of blemishes; however, one or two spots on the leaves from water damage is fine.
The stems should be firm and rigid, not droopy. The soil should be moist, not completely dried out, nor should it be waterlogged.
If you can, gently pull the plant from its pot and check the roots; they should be bright white and the plant shouldn’t be too root-bound.
Choose a plant with plenty of buds on it. You’ll enjoy the blooms much longer.
Soil
African violets need loose, quick-draining soil to allow their roots to breathe and spread out.
Your best bet for success is to purchase a potting soil made specifically for African violets. General-use potting soil is much too heavy for them.
I have always had great success with Espoma Organic African Violet Potting Mix. I usually add two or three cups of perlite to the entire bag and mix it well.
Water
Water African violets when the top inch of soil is dry. These plants do not like wet feet and are susceptible to rot root if they sit in water.
The best way to water an African violet is to put in the sink or a shallow dish and water it thoroughly just under its leaves. Never directly water the crown. Let your plant sit for half an hour for the excess water to drain before returning it to its usual location.
Something to be mindful of with African violets, the leaves burn easily. Water your violets using tepid water and water them from under the leaves, being careful not to snap the stems.
If you do happen to get the leaves wet, gently pat them completely dry before putting them back in the light, or you risk a burn spot.
Light and temperature
African violets are a tropical plant, and they love bright indirect sunlight. A window with northern or eastern exposure is ideal for these little guys.
They need between 6-8 hours of bright sun a day. However, they should not be in direct sunlight as they can burn.
Like many other houseplants, African violets prefer the same temperatures we do. They are happiest in daytime temps between 65-75 degrees.
Plants will benefit from a little extra humidity. You can easily achieve this by filling a saucer with marbles and then set the pot on top of the marbles. Add water to the saucer, but not enough to touch the pot.
In the winter, don’t let violets sit on cold windowsills and be careful to keep their leaves from touching the cold windows. Move them to the interior of a room to keep them snug.
Turn your African violet a ¼ turn every week or two to ensure even growth of your plant.
Fertilizer
African violets have particular nutrient needs. The best way to keep them healthy is to water them with an African violet specific fertilizer.
There are several violet plant food formulas on the market, but I prefer Shultz African Violet Plus.
My violets always look amazing, and one bottle lasts for ages, which means you’re using less plastic. I use it on a few of my other flowering houseplants as well with good results.
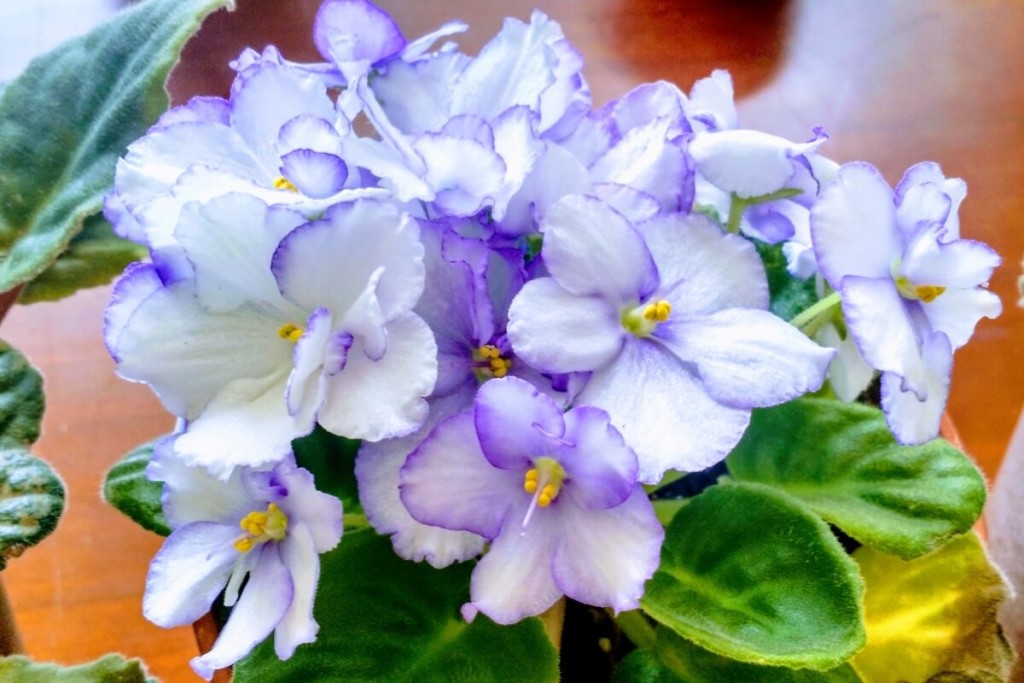
The key to blooming
If you ask around, one of the most common complaints you will hear about African violets is, “I can never get mine to bloom.”
How many plant owners have forgotten what color blooms their plant has because it’s been so long since it’s had any?
To get your violet to bud out and bloom over and over again, the trick is lots of light and fertilizer.
Give them as much bright indirect light as possible for as long as possible each day. Fertilize at a ¼ strength every time you water to give your plant the nutrients it needs to keep blooming.
A note – If you choose to fertilize with every watering, salts can build up in the soil.
To prevent damage to your violets, water them without fertilizer once a month to flush out the excess salts.
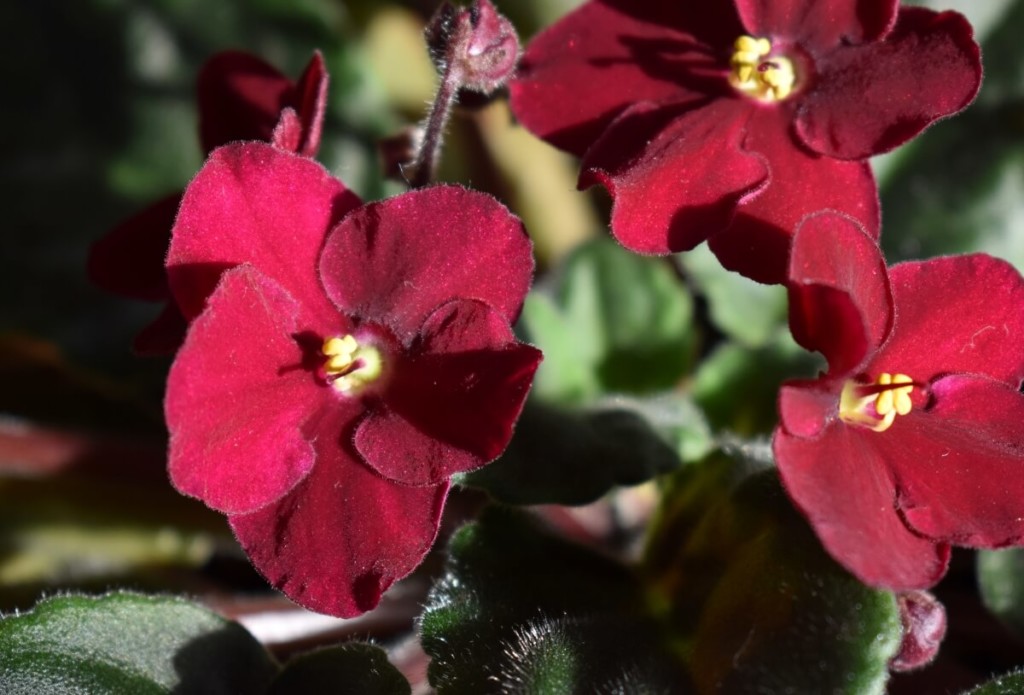
If you provide your plant with enough light and food, you’ll be surprised at how often they greet you with vibrant blooms and healthy emerald green leaves.
Common problems/pests
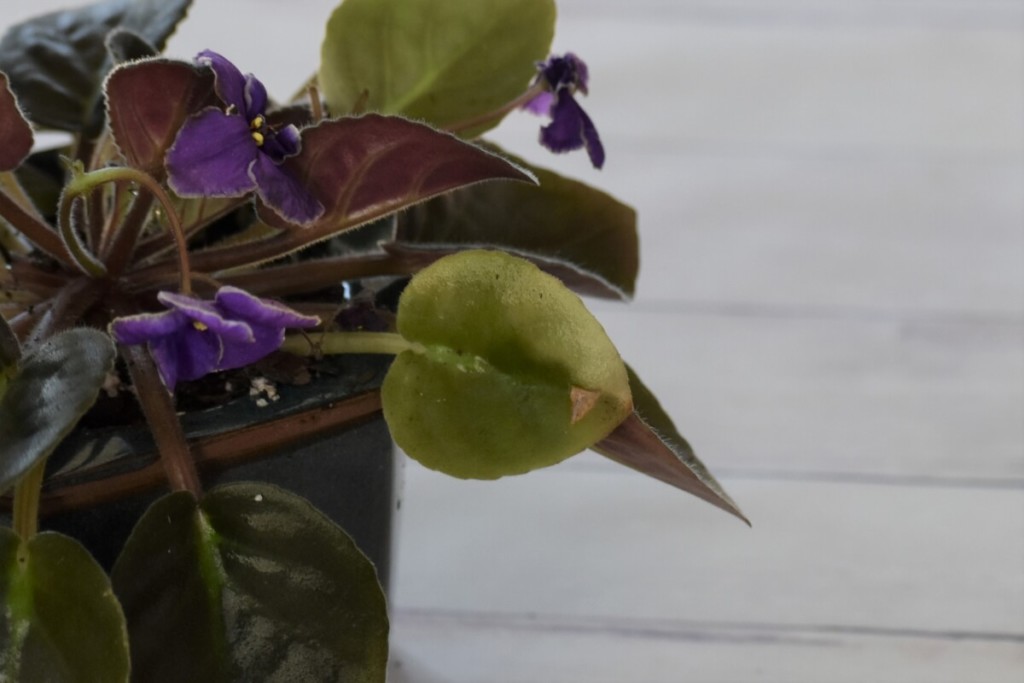
One of the most common issues with African violets is root rot from over-watering. You’ll notice droopy stems even after the plant is watered. Only water them when the top inch of soil is dry and don’t let them sit in water. Make sure the pot has a hole in the bottom for excess water to drain out.
If the leaves are a light green or appear bleached, your little violet is getting too much sun. Move it to a location with less direct sunlight.
Rust spots on the leaves is a sign that you are fertilizing too much. Water with plain water for a few weeks to flush excess fertilizer from the soil.
African violets can sometimes succumb to fungus or powdery mildew. This often happens when the plant is over-watered and/or too cold. The best way to treat the plant is to remove all of the infected leaves with a sterile pair of scissors and to spray it with a fungicide.
Some common African violet pests are aphids, cyclamen mites, and thrips.
While you can treat with an insecticide made explicitly for houseplants, I find it usually doesn’t work. When it comes to insect damage, most often, the best thing to do is to dispose of the plant and disinfect the pot.
Repotting
Unlike most plants, African violets thrive when they are a little root-bound. If they get too cramped, they will stop blooming though. When it’s time to repot your violets choose a pot that is about 1/3 the diameter of the plant.
Remember that African violets like to breathe and don’t tolerate damp roots, so be sure to choose a pot with a hole in the bottom for drainage.
Terra cotta pots are an excellent choice as they allow for good airflow to the plant’s roots. As they grow, the roots spread out rather than down, so a new pot shouldn’t be too deep.
An excellent choice is a traditional African violet pot.
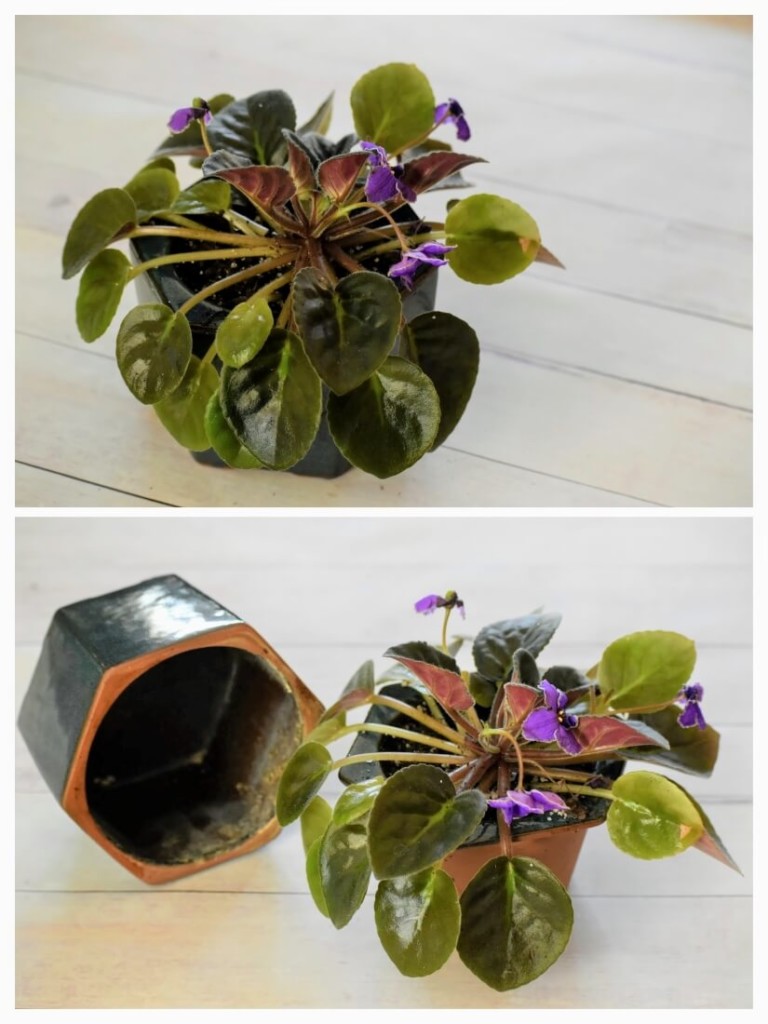
An African violet pot is a terra cotta pot that sits inside another glazed pot. You can water the plant beneath its leaves and any excess water will drain into the interior of the glazed pot, which you can later dump out.
This allows the plant to breathe, but also maintains a bit of the humidity the violets enjoy. They are usually shallower pots as well, giving the roots room to spread out.
Always start with a clean pot.
If you are using a pot that has had other plants in it, disinfect it first by soaking it in a solution of water and bleach – 1/3 cup of bleach for every gallon of water. Let the pot dry completely before potting a plant in it.
Water in your violet once it’s in its new pot with fresh soil and let it drain.
To give your plant a boost after repotting, place the pot in a terrarium or tent it with a plastic bag for a week or two. This will provide it with plenty of humidity.
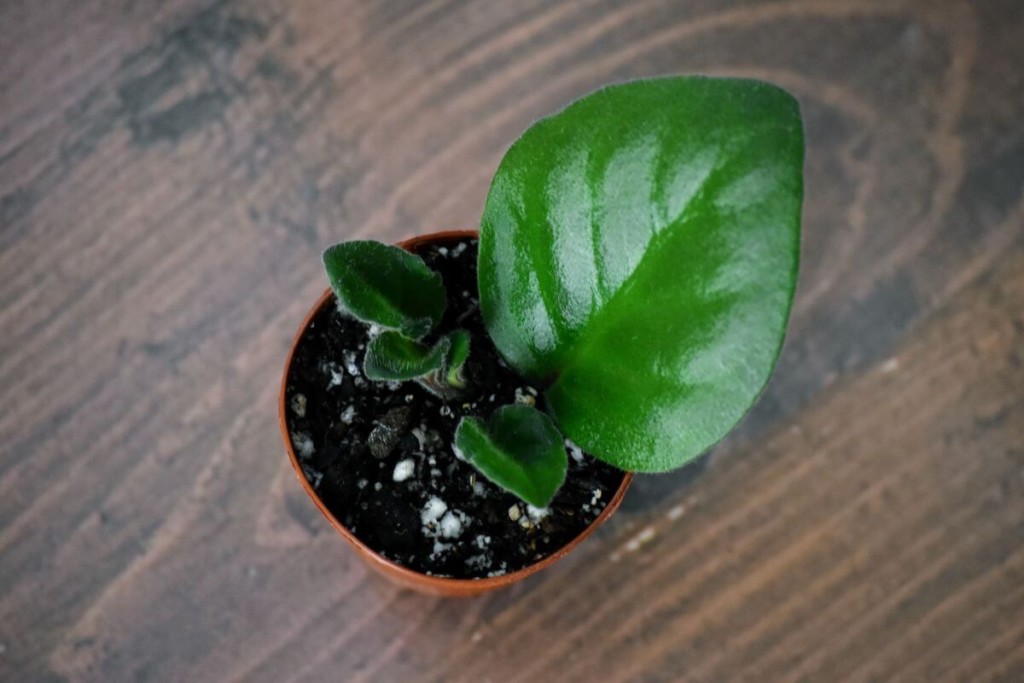
How To Propagate African Violets
Let’s be honest with each other; one African violet is never enough. It’s a good thing they are so easy and fun to propagate.
Take a look at our full step-by-step African violet propagation tutorial here or continue reading for a quick and easy overview of the process.
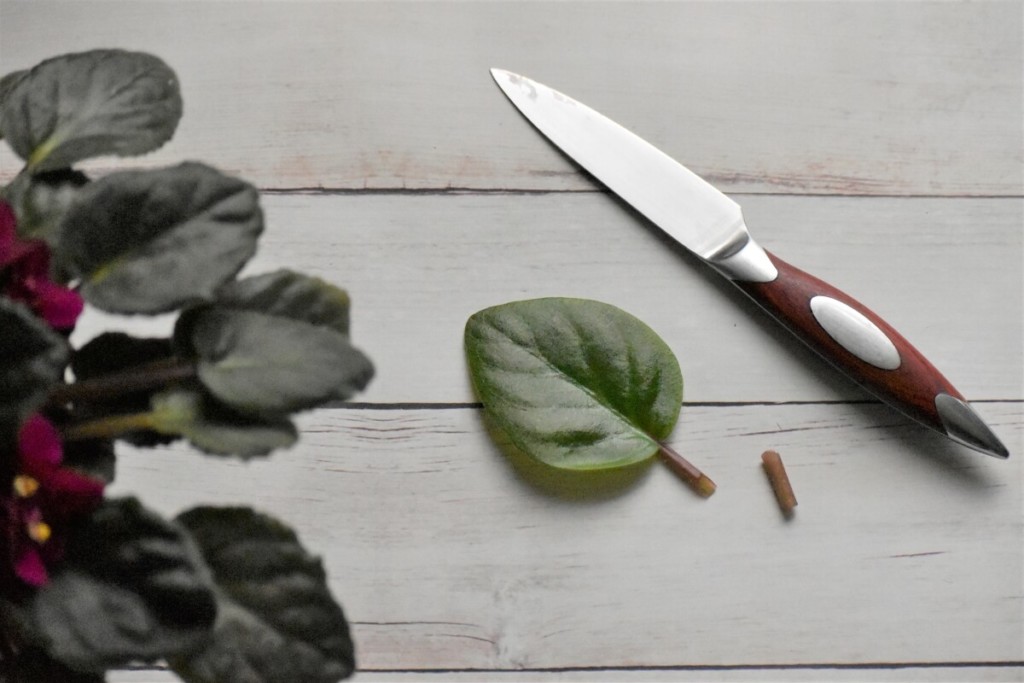
Cut a healthy leaf from the main plant with a sterilized knife or scissors. Choose a leaf from the middle row of leaves, not too close to the center, and not too close to the outer edge. Trim the stem so there is about 1/2” left. Now make a small 45 degree cut at the tip of the stem.
To start leaf cuttings, I like to mix African violet potting mix and perlite one to one.
Put your mix in whatever you will be using to propagate your new violets. Water it well and let it drain.
Using a chopstick or a pencil poke a hole in the soil at an angle and gently slip the notched stem into it. Now press the soil in place, very gently, just up to the bottom of the leaf.
You will need to keep your cutting moist and humid.
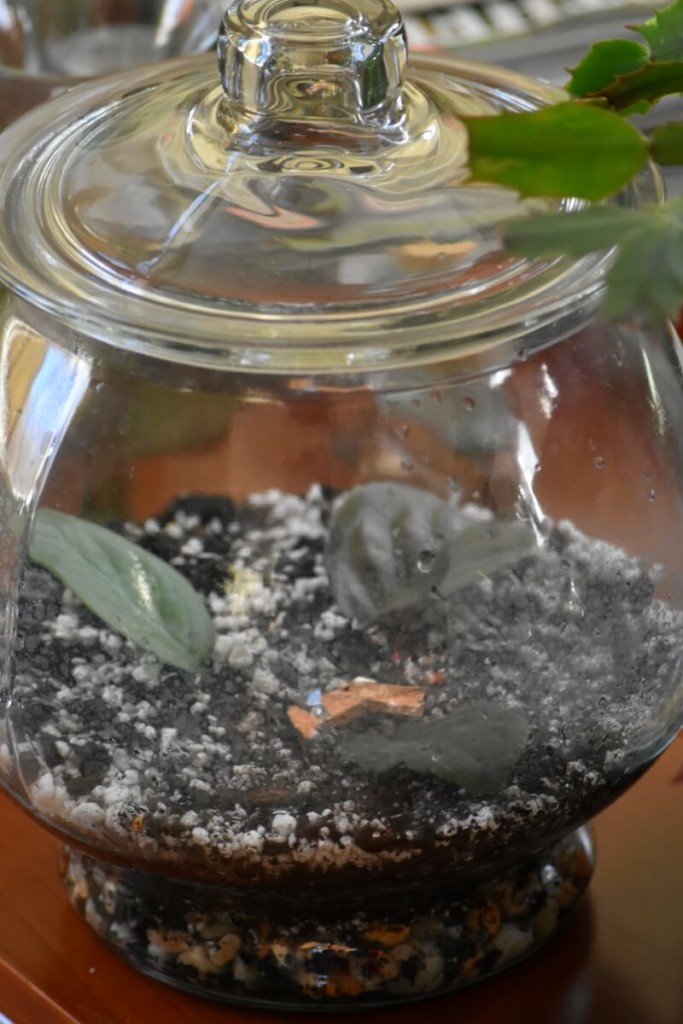
If you don’t have a terrarium, you can use a washed clamshell package as a mini-terrarium. A water bottle sliced in half also works well for small pots. Really, anything that will allow light in and help to retain moisture will work.
In about 2-3 months, you will see little leaves growing off of the cutting.
These can be gently separated from the main leaf-cutting and potted into small pots. It takes around six months for the plant to develop to the point where it will begin to bloom.
With proper care and feeding, these charming plants will provide cheer and color to your home for years to come.
Enjoy!
Read Next: The Total Guide To Growing Hoya – The Most Beautiful Houseplant In The World?
7 Secrets to Keep Your African Violet Blooming All Year Long

Get the famous Rural Sprout newsletter delivered to your inbox.
Join the 50,000+ gardeners who get timely gardening tutorials, tips and tasks delivered direct to their inbox.