

African violets are problematic for me. I do just fine keeping them alive, and I’ve even figured out how to keep them blooming more often than not. Keeping the leaves clean and dust-free – Oh, I’ve got my own secret weapon for that.
(Check it out here – 7 Things Everyone With An African Violet Should Know)
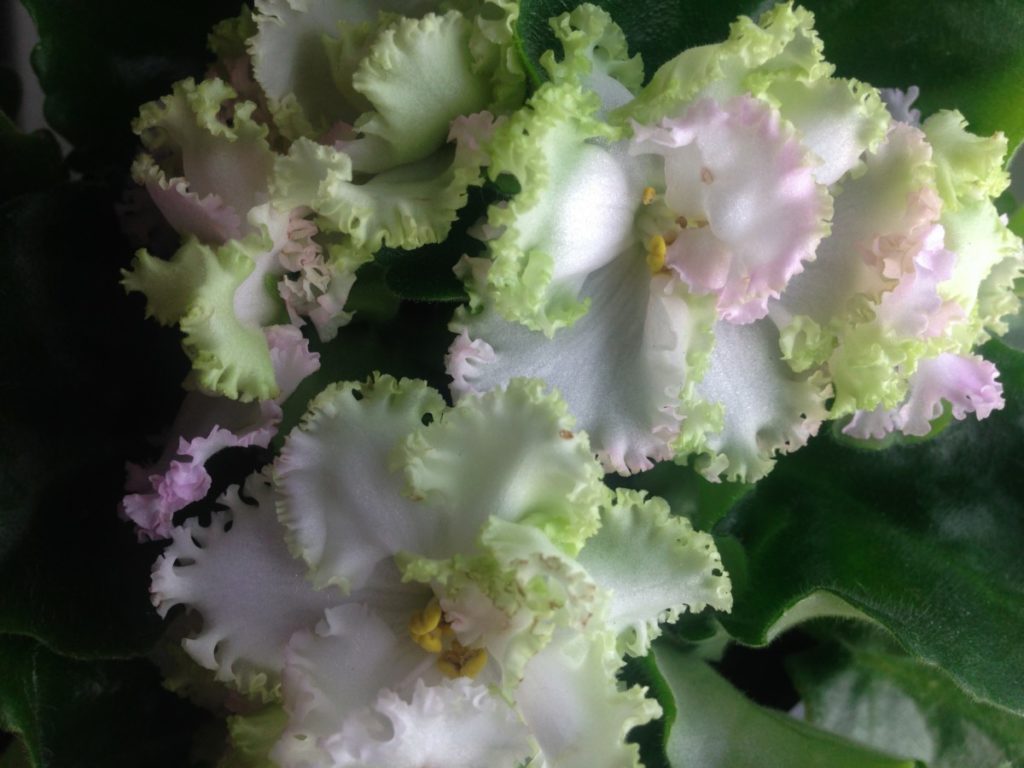
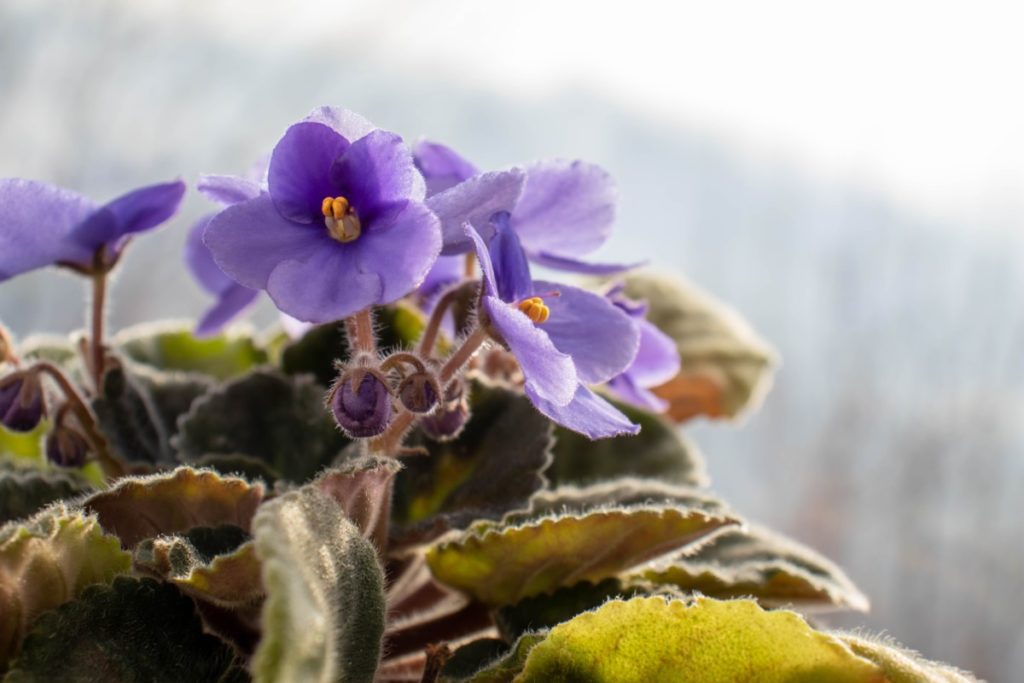
The problem is they’re just so darn cute! And with all the cheerful colors and varieties they come in, I’m always finding another one that I have to have.
It’s a good thing they stay small and compact.
To rationalize this love affair, I have a habit of propagating my violets and passing them off on friends and family. I’m doing this for you, not me.
Lucky for all of us, propagating African violets is incredibly easy.
You Can Propagate African Violets 3 Different Ways
You’ve got options when it comes to making more of these charming plants for free.
African violets can be propagated by leaf cuttings in water, a leaf cutting in soil, or finally, you can remove a pup from the stalk and root it.
I’ll provide step-by-step instructions for all three methods.
If you’ve read our great article 7 Things Everyone With An African Violet Should Know, then you already know you should be removing the lowest growing leaves from your African violets regularly. Doing this keeps the plant’s energy where it’s needed most – at the crown, making new leaves and buds.
Rather than pitching those extra leaves, you can easily propagate them and have new plants to give away. Both water and soil propagation use leaf cuttings.
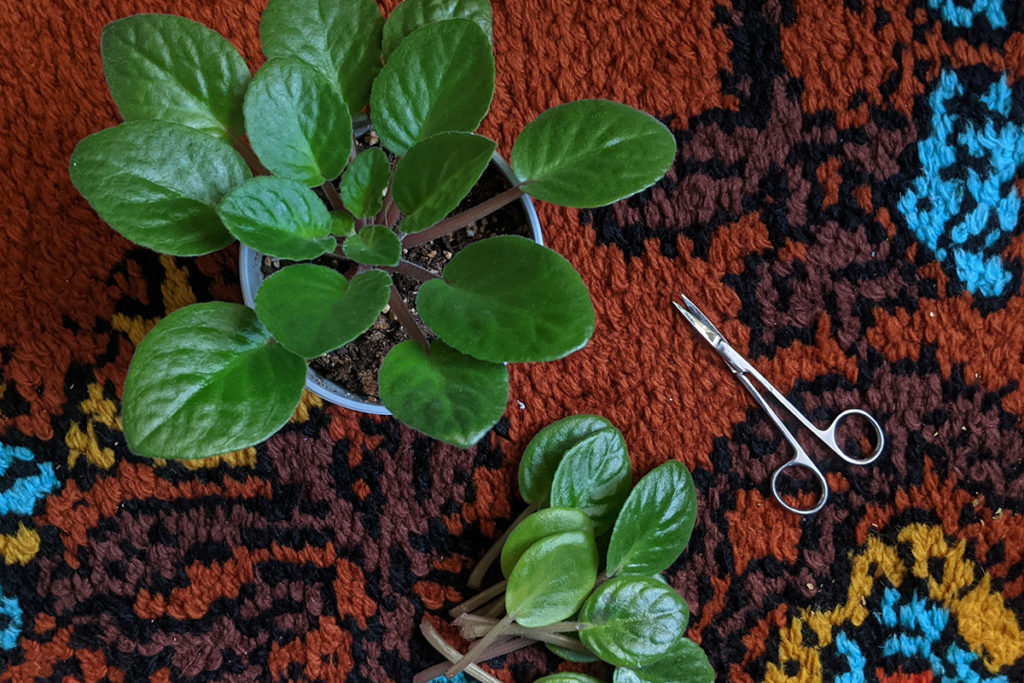
Taking a Leaf Cutting
I know you hear it every time you read an article about propagation, but it bears repeating – always use clean and sterilized tools when you’re cutting a plant. All it takes is the loss of one of your favorite plants to learn that lesson the hard way.
For the best chance of success, you’ll need to trim the stem at a 45-degree angle to increase the surface area for roots to grow. If you plan on propagating directly in the soil, cut the leaf stem to about 1”.
If you’re removing low-growing leaves from the stalk, don’t worry about making a clean cut directly from the plant. Simply recut the stem of the leaf once it’s been removed.
Now that we’ve got a few leaf cuttings, we’re ready to go.
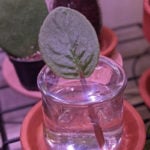
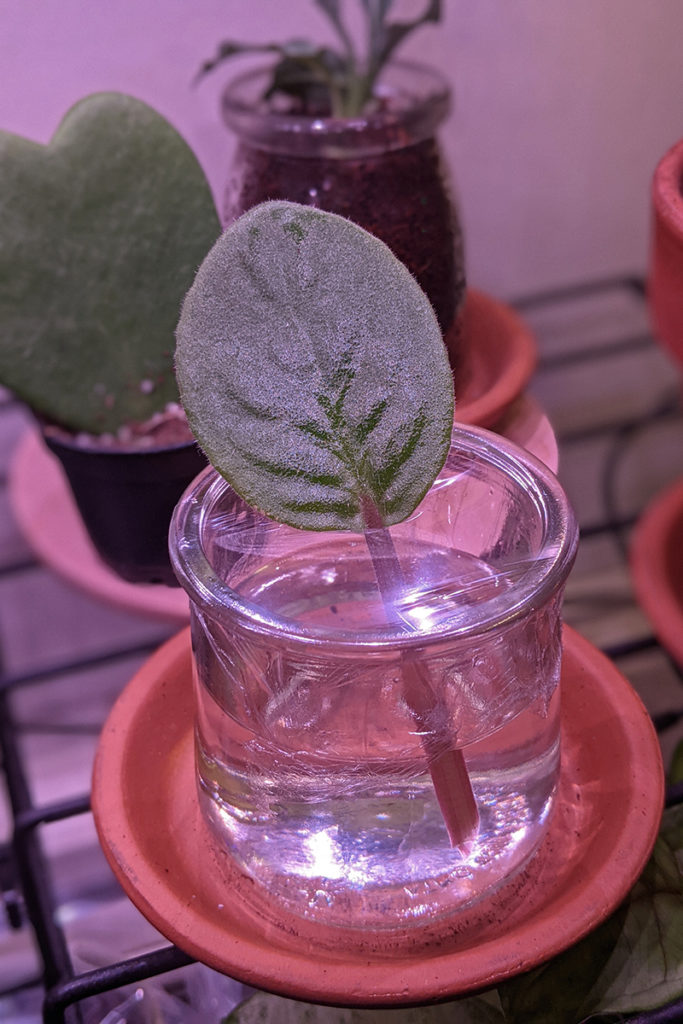
1. Water Propagation
To propagate an African violet in water, place the trimmed leaf cutting (or several) stem down in a small cup of water. Propagation stations with thin glass tubes are perfect for African violets, as the larger leaves sit at the top of the tube.
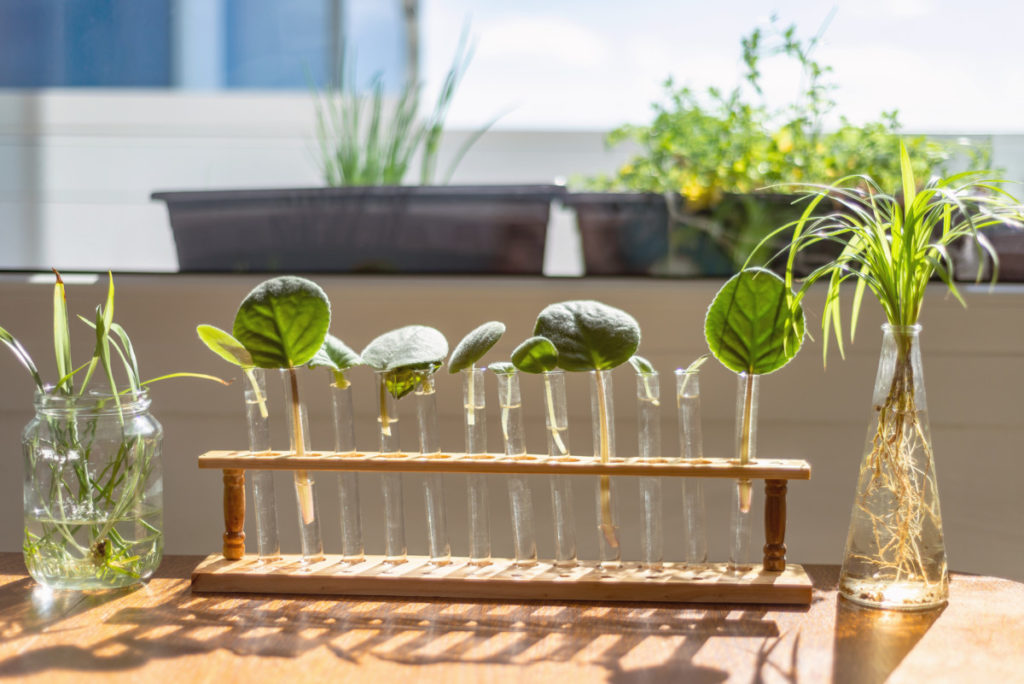
If you want something a little nicer than a bunch of thrift store shot glasses sitting on your windowsill, check some of these out-
13 Plant Propagation Stations To Grow New Plants In Style
Place your leaf cutting somewhere bright and warm. You’ll need to change the water weekly to prevent bacteria or other funky stuff from growing.
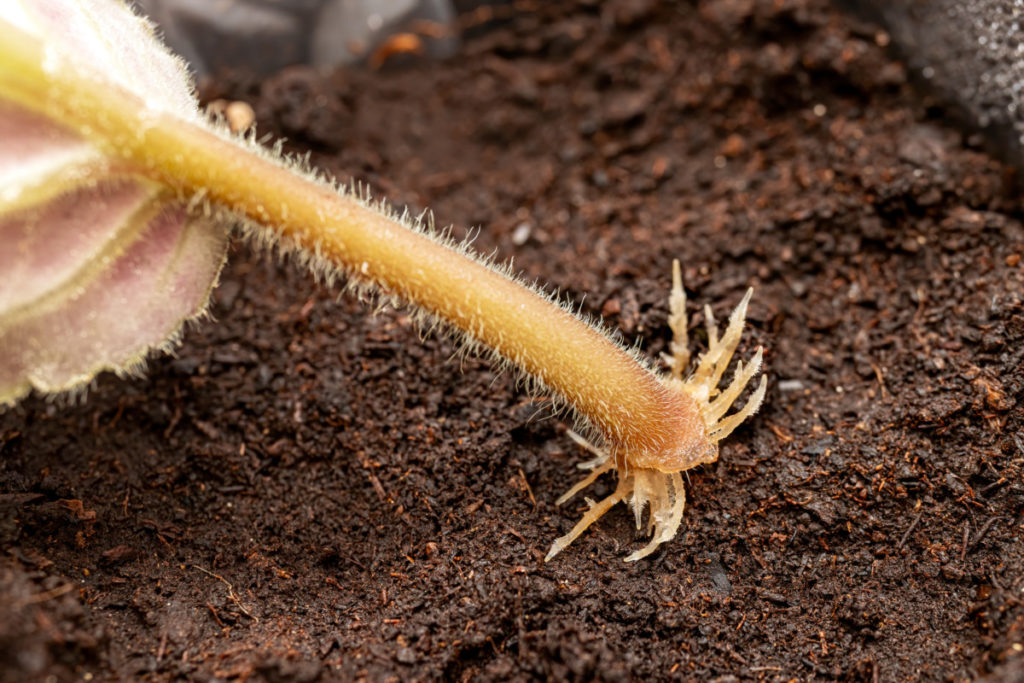
Within a few weeks, tiny roots will begin growing from the bottom of the stem.
Around the 4-6 week mark, a tiny new plant called a “plantlet” will grow off the parent leaf.
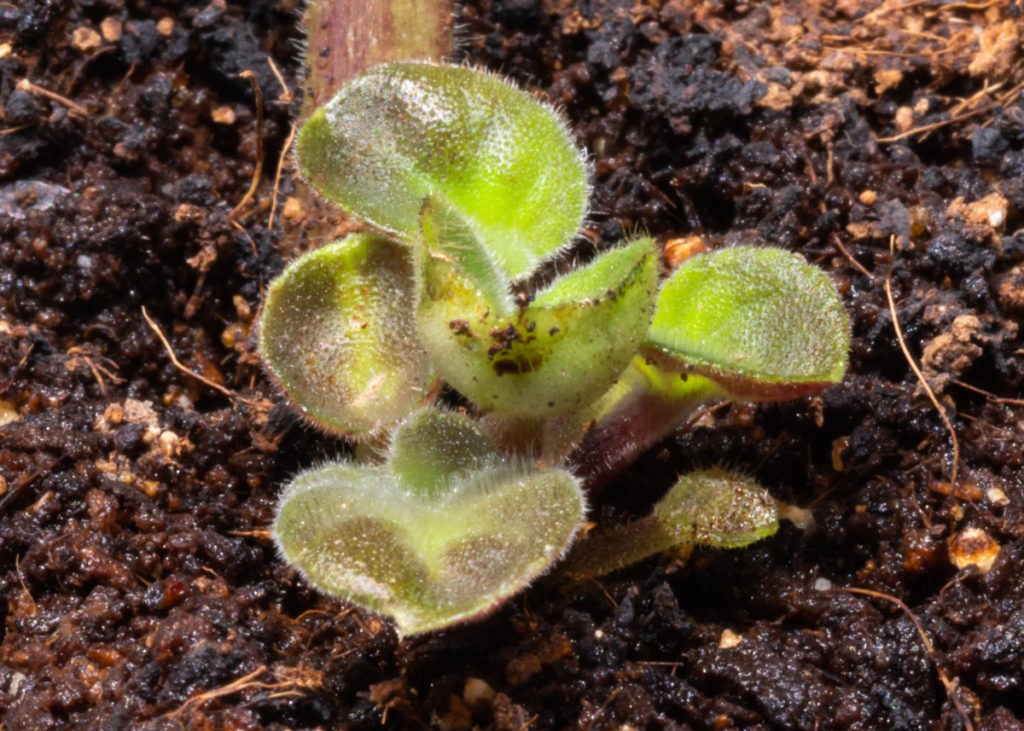
(They are ridiculously cute, you will ‘squee’ when you notice it.)
Once this wee new violet is about an inch big, you can transfer the whole thing to a pot. Use a good quality African violet potting soil, such as Espoma African Violet Potting Mix.
It’s important to create the right environment for the newly potted plantlet to survive. The soil should be quite moist but not water-logged, and the air around the plant needs to be kept humid.
2. Soil Propagation
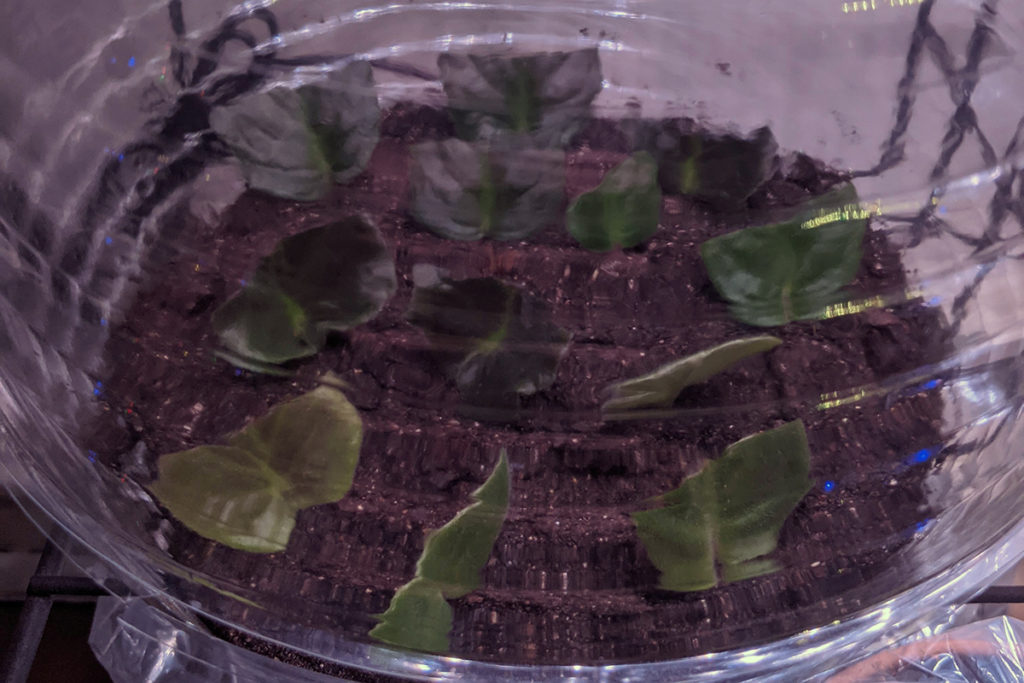
To propagate in soil, you need to create a moist and humid environment for your little cutting. A shallow dish of soil works best, especially something with a lid. Clean take-out containers that have clear lids work well. Or the next time you buy muffins at the store, save the clear plastic clamshell they come in. These containers are perfect for propagating new violets!
I also use the clear plastic drip trays you put under pots.
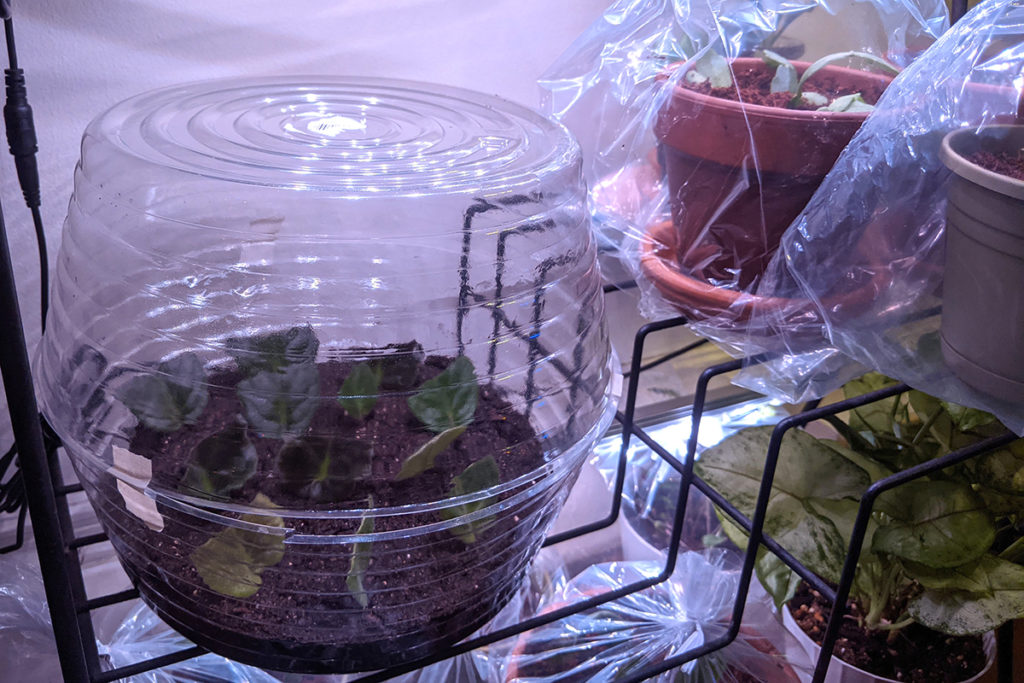
Use two of the same size, putting a couple of inches of soil in the bottom of one and then flipping the second over and taping it to the soil-filled one to create a little greenhouse.
Again, you’ll want to use an African violet mix to start your cuttings.
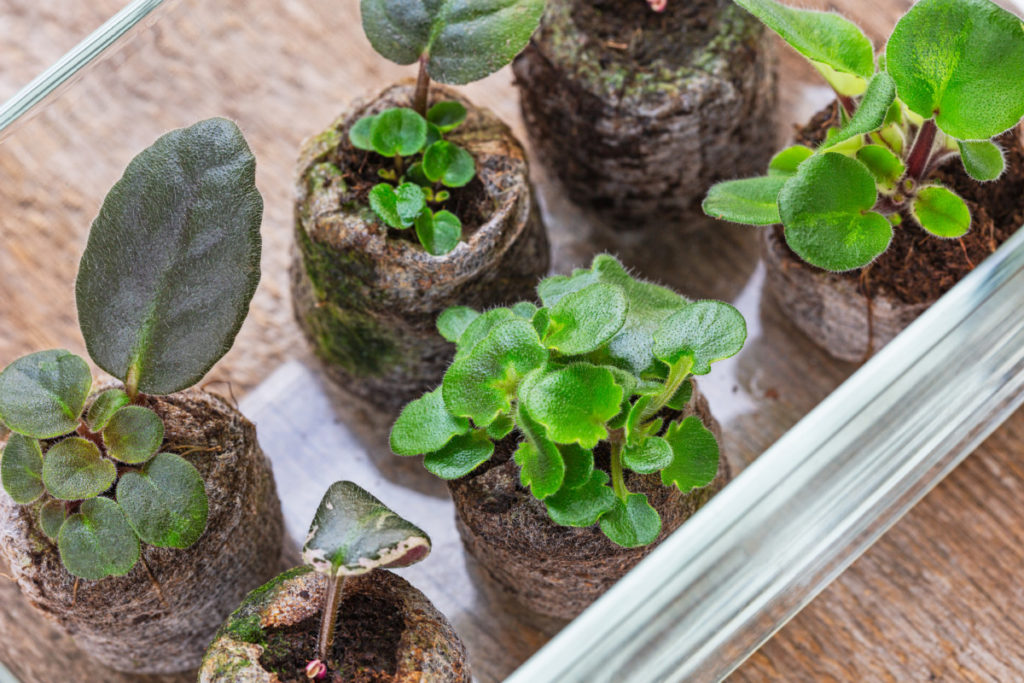
Prepare your leaf cutting as instructed above and gently push the stem into the soil up to the bottom of the leaf.
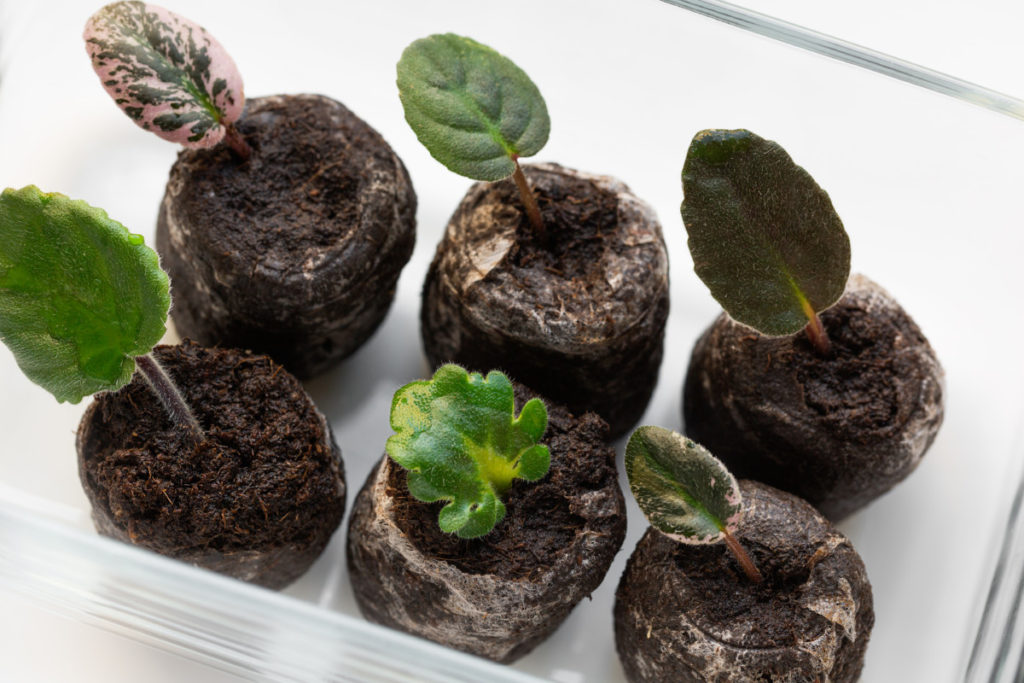
You won’t be able to see the roots growing, but again, after about a month to a month and a half, you’ll notice tiny leaves poking up out of the soil. Let these new plantlets grow to about an inch, or until it has more than four leaves, then transplant to their permanent pot.
3. Pup Propagation
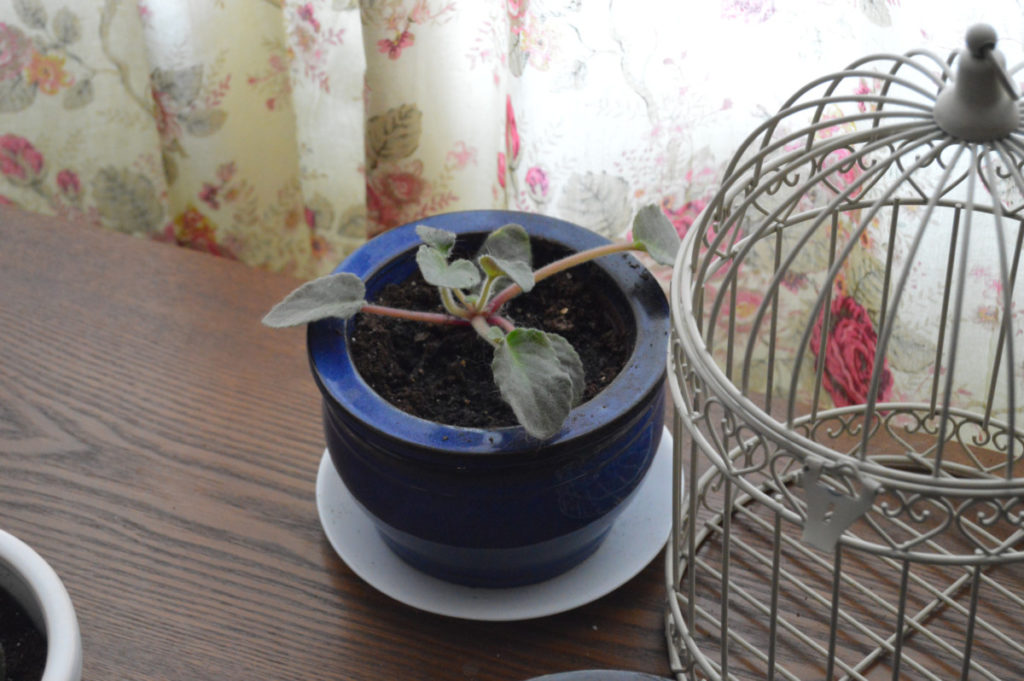
Like many plants, African violets will put out smaller versions of themselves. These pups, or suckers, will grow off the side of the stalk beneath the main crown. Using a clean and sterile knife, gently cut the pup off the main plant.
Plant the pup directly in soil, pushing the bottom cluster where the stems meet down into the dirt about a centimeter. Water the plant in and keep the soil moist but not soaking while developing roots.
A Few Tips
- Keep the leaf of your violet cutting up out of the water by using a piece of plastic cling wrap. Put the cling wrap over the mouth of the water-filled container, poke a hole in the center with a chopstick and put your cutting in the hole.
- When you repot the tiny plantlets, I recommend putting a sandwich baggie over the top of the pot for a month or so. This will create a little hothouse around the plant.
- You can also begin fertilizing your plants once you repot them.
- For water and soil propagation, once the plant is fully established and has around 8-10 new leaves, you can trim away the larger parent leaf.
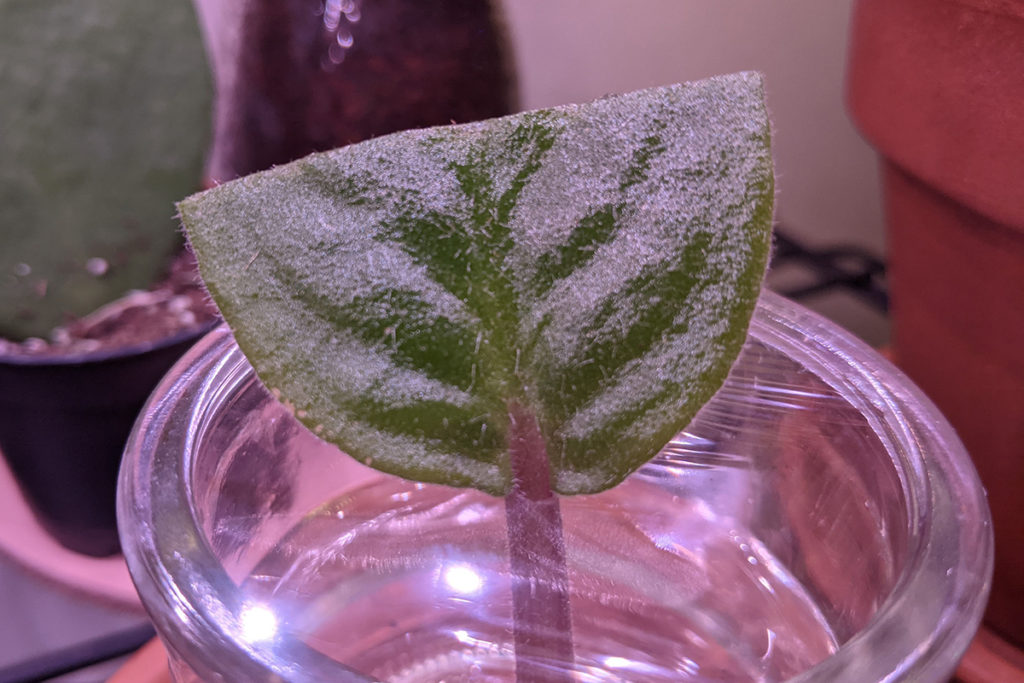
- If you want to force your cutting to put out roots quicker, trim the top half off of the leaf. This step isn’t necessary, but it forces more energy into rooting rather than maintaining a full-sized leaf.
- Be patient with new plants; it can take up to six months for new plantlets to bloom.
Share your new plants with family friends and swap leaf cuttings to add new leaf shapes and bloom colors to your own collection.
For more information on keeping African violets, check out:
African Violets: How To Care, Get More Blooms & Propagate
9 Houseplants That Are Ridiculously Easy to Propagate
How to Propagate Christmas Cactus + 2 Secrets To Big, Blooming Plants
6 Signs Your Houseplants Need To Be Repotted & How To Do It
Inch Plant Care & Propagation – The Perfect Houseplant

Get the famous Rural Sprout newsletter delivered to your inbox.
Join the 50,000+ gardeners who get timely gardening tutorials, tips and tasks delivered direct to their inbox.